
Installing the Google Android Development Kit (ADK) on Windows 11 enables developers to build, test, and manage multi-agent systems for Android devices. The ADK provides essential tools, libraries, and emulators needed for developing complex agent-based applications. Ensuring the proper setup avoids compatibility issues and streamlines the development process.
Install Google ADK Using the Official Installer
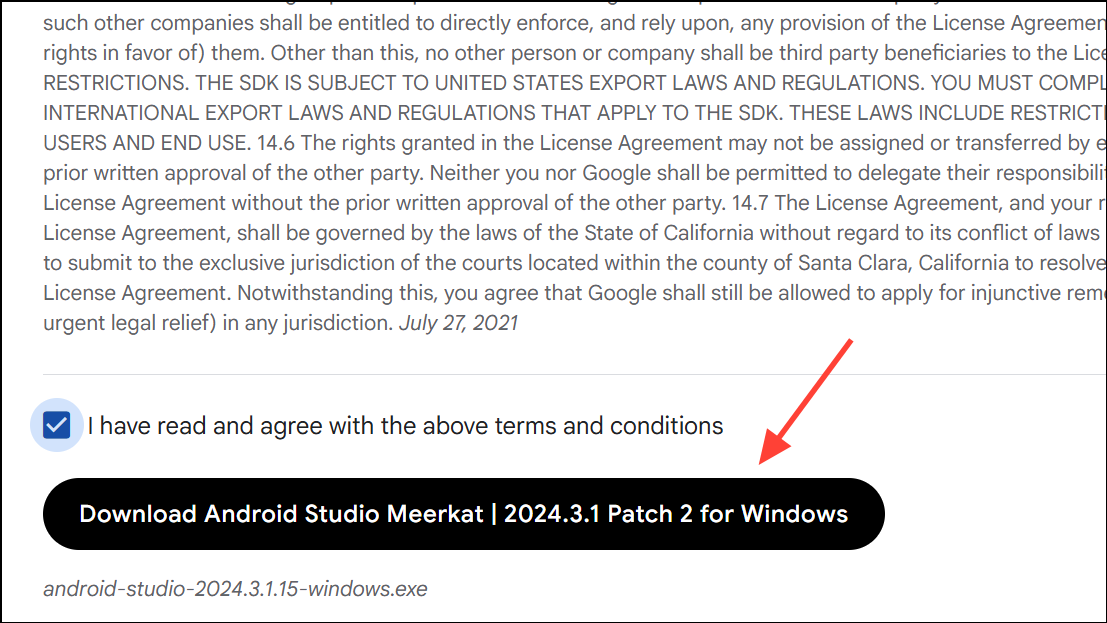
Step 1: Download the latest version of Android Studio, which includes the ADK, from the official Android developer website. Visit https://developer.android.com/studio and select the Windows installer.
Step 2: Run the downloaded installer file. If prompted by Windows SmartScreen, click More info and then Run anyway to proceed.
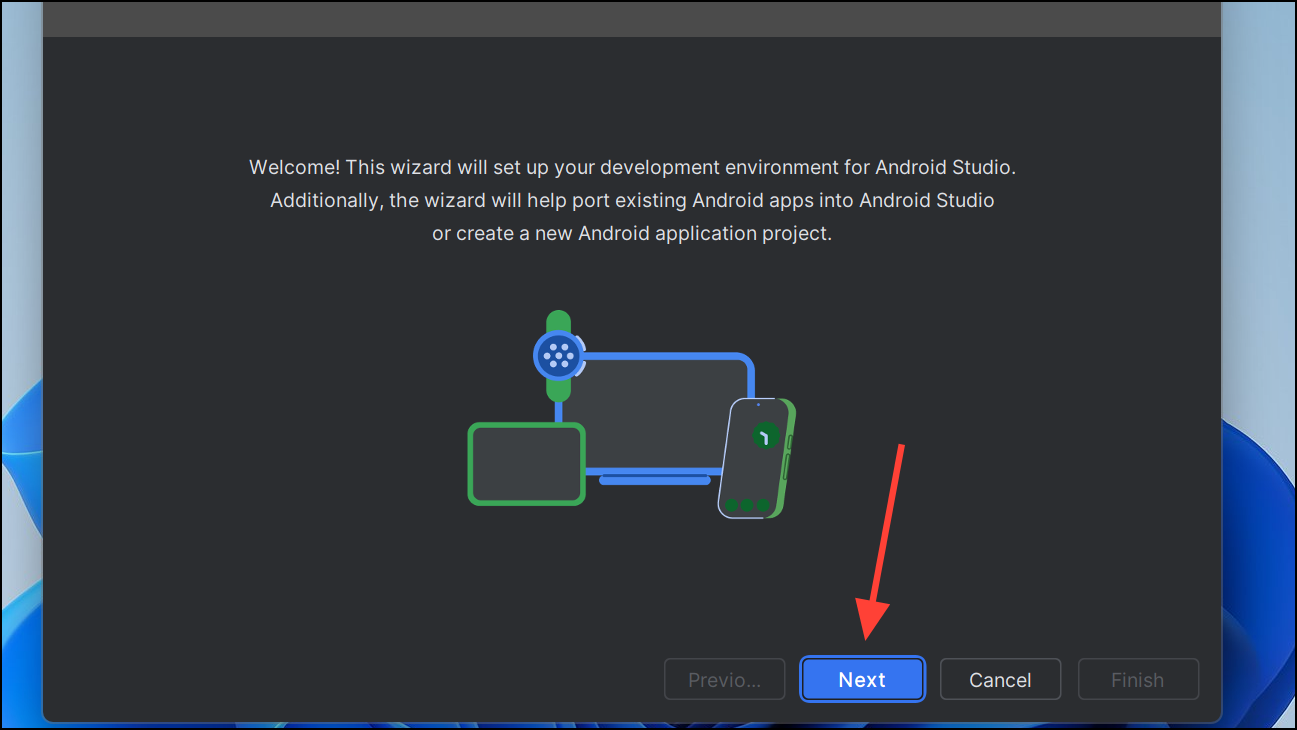
Step 3: Follow the installation wizard. Accept the license agreements, choose your installation location, and select the default components. The installer will automatically set up the Android SDK, emulator, and required build tools.

Step 4: Launch Android Studio after installation. The first run will prompt you to complete the setup wizard, which downloads additional components based on your development needs. Ensure the Android SDK, SDK Platform Tools, and Emulator are selected for installation.
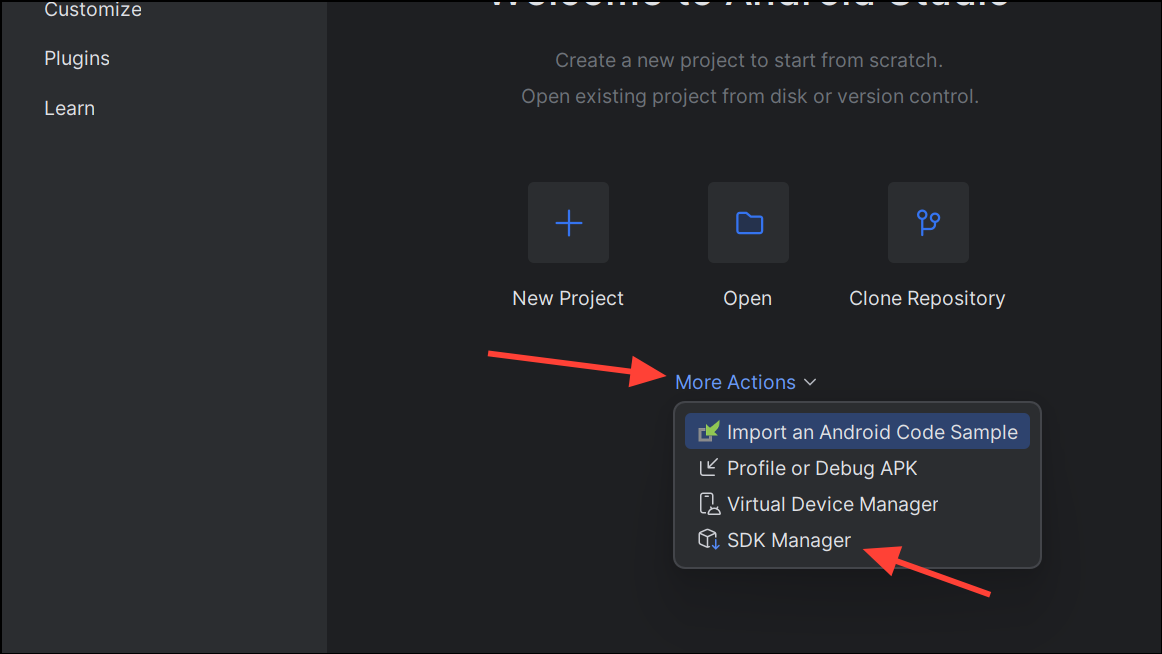
Step 5: Open the Android SDK Manager from within Android Studio by clicking More Actions > SDK Manager. Verify that the latest SDK versions and build tools are installed. Install any missing components required for multi-agent development, such as Google APIs or specific system images for emulation.
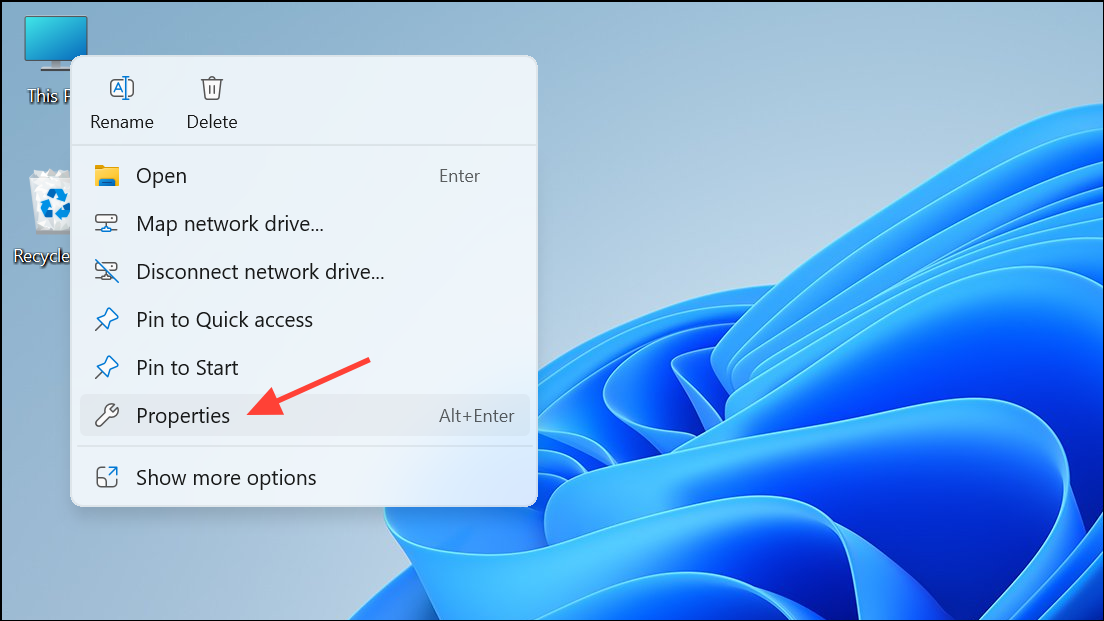
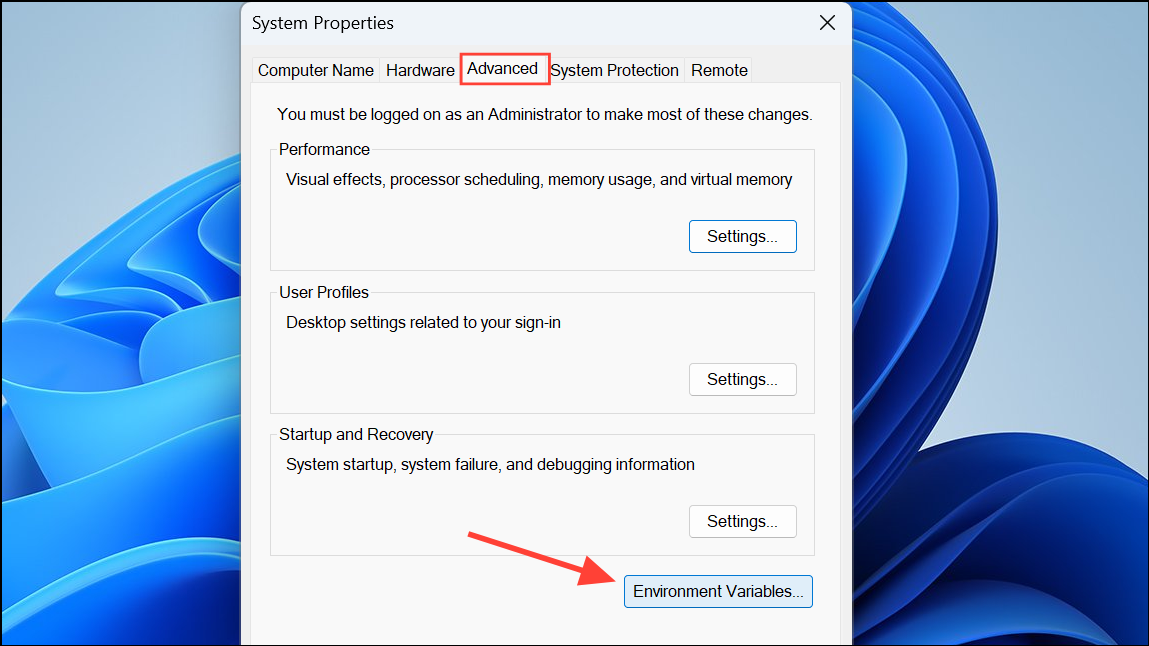
Step 6: Set up environment variables so that command-line tools are accessible system-wide. Right-click This PC, select Properties.
Step 7: Then click Advanced system settings on the Properties page.

Step 8: Click on Environment Variables in the Startup and Recovery section on the Advanced tab.
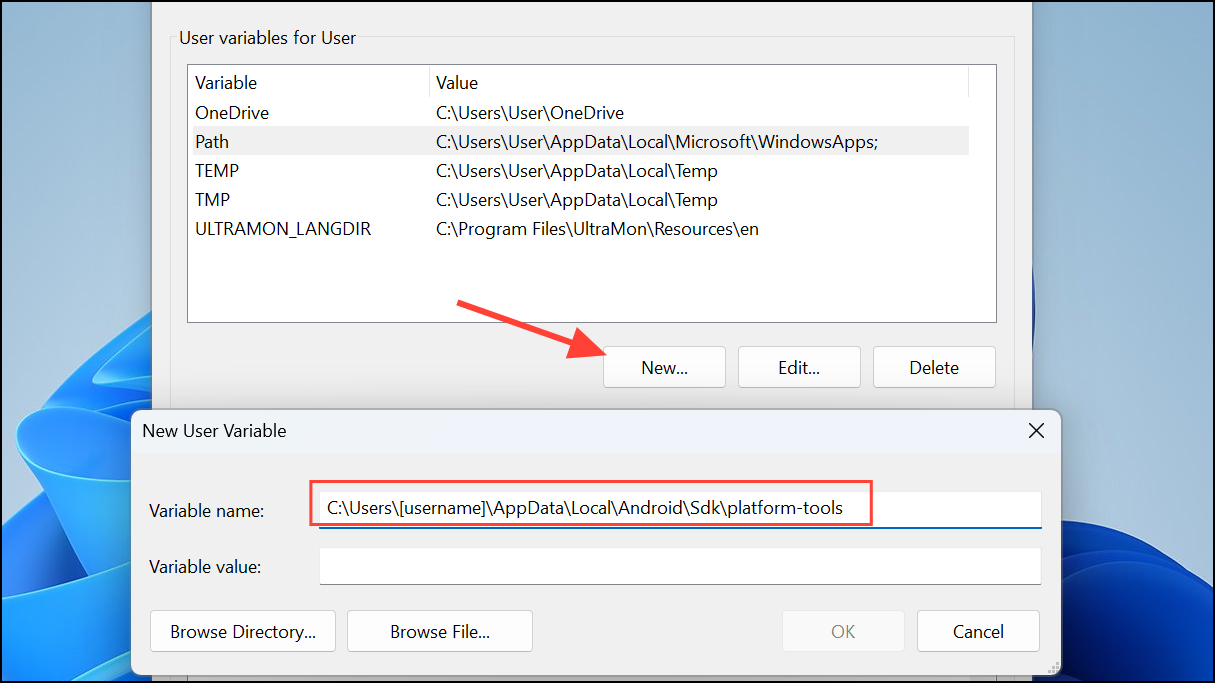
Step 9: Add a new entry to Path pointing to your ADK's platform-tools directory (commonly C:\Users\[username]\AppData\Local\Android\Sdk\platform-tools).
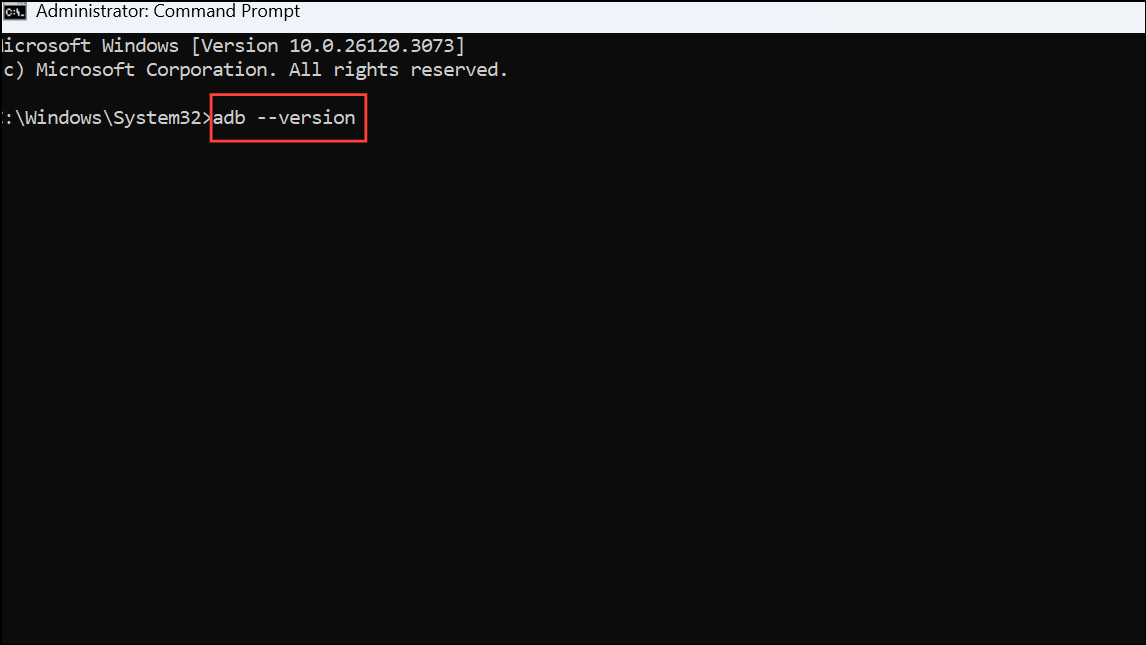
Step 10: Test your installation by opening a new Command Prompt and running adb --version. If the command returns version information, the ADK is installed correctly and ready for multi-agent project development.
Install Google ADK Manually Using SDK Tools Only
Step 1: Download the standalone Android SDK Command-Line Tools from the Android developer website. This approach is suitable if you prefer not to install the full Android Studio package.
Step 2: Extract the downloaded ZIP file to a directory of your choice, such as C:\Android\cmdline-tools.
Step 3: Set up environment variables to include the SDK's cmdline-tools\bin and platform-tools directories in your system Path. This allows you to access ADK tools from any command prompt.
Step 4: Open a Command Prompt and use the sdkmanager tool to download necessary packages. For example, run:
sdkmanager "platform-tools" "platforms;android-33" "build-tools;33.0.0"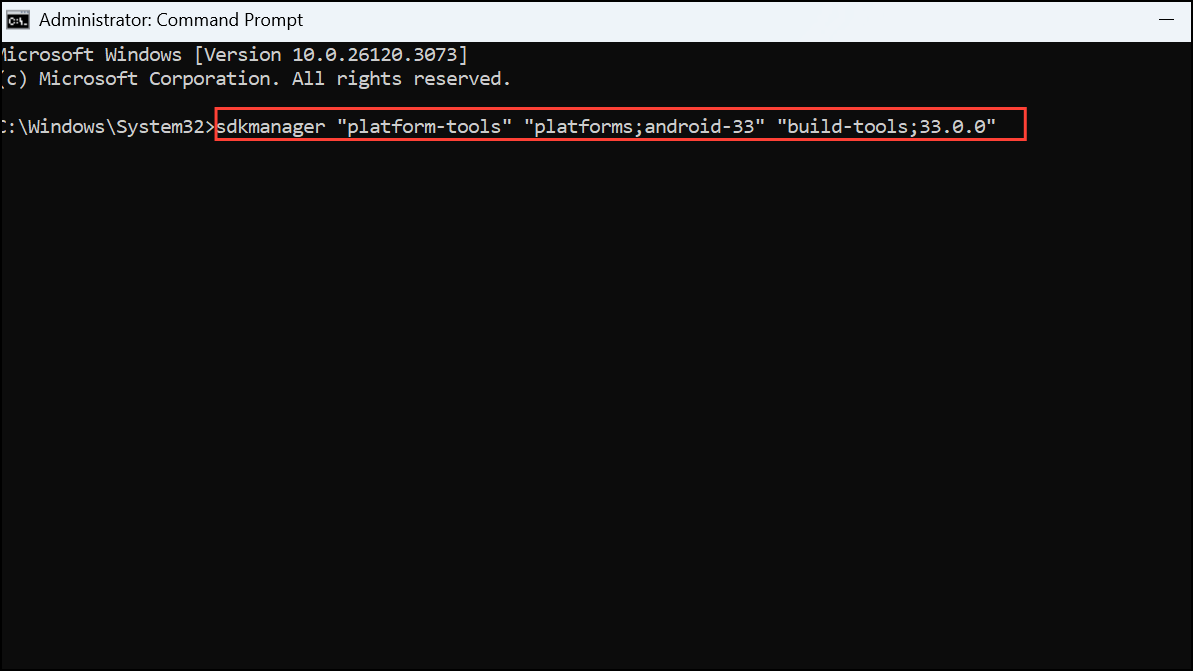
This command installs the platform tools, the Android 13 platform, and build tools version 33.0.0.
Step 5: Install emulator images and system APIs needed for multi-agent testing. Use commands like:
sdkmanager "system-images;android-33;google_apis;x86_64"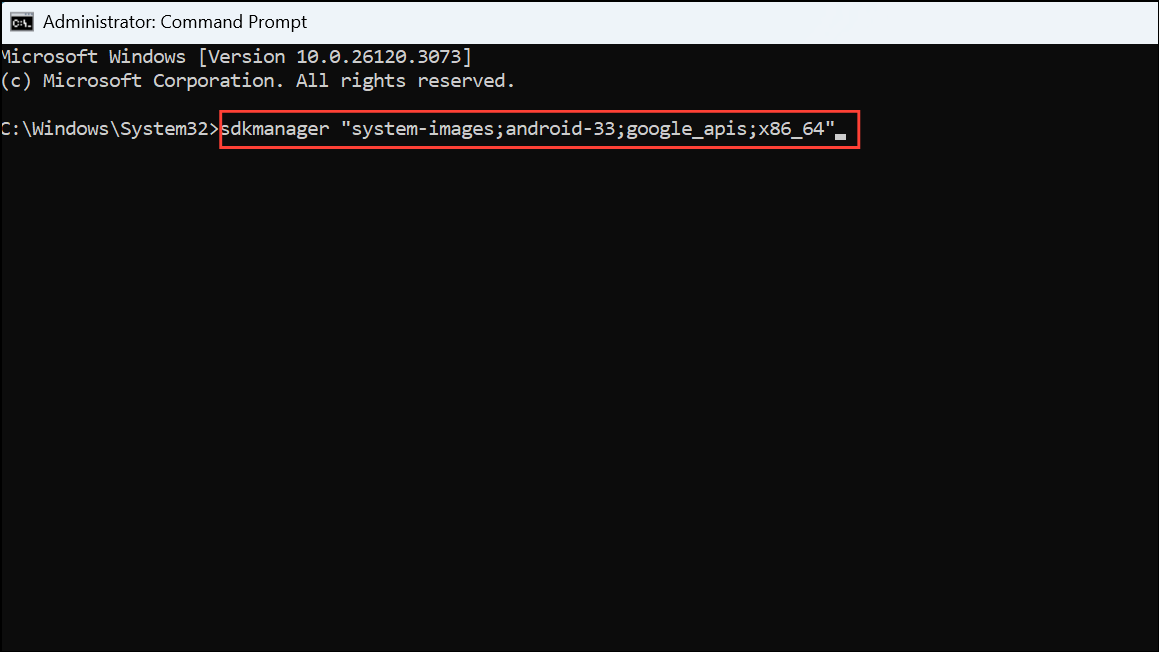
Then, create and manage virtual devices using the avdmanager tool.
Step 6: Verify the installation by running adb --version and emulator -list-avds to ensure tools are working as expected.
Additional Configuration for Multi-Agent Development
Multi-agent systems in Android often require advanced communication libraries, concurrency handling, and sometimes integration with cloud services. After setting up the ADK, install any additional dependencies required for your specific multi-agent framework, such as third-party libraries or plugins.
Keep your SDK and build tools updated by regularly launching the SDK Manager or running sdkmanager --update in the command line. This ensures compatibility with the latest Android versions and features.
Completing these steps sets up a reliable environment for multi-agent development with the Google ADK on Windows 11. Keeping your tools updated and verifying configurations will help you avoid common build and deployment issues as your projects grow.