
Remote Server Administration Tools (RSAT) allow administrators to manage Windows Server roles and features directly from a Windows 11 workstation. RSAT is not available as a standalone download for Windows 11; instead, it is integrated as a set of optional features within the operating system. This shift means that installation methods differ from previous versions, and certain prerequisites must be met for a successful setup. Below are the most effective methods for installing RSAT on Windows 11, with troubleshooting tips for common issues, such as missing features or installation failures due to network policies.
Installing RSAT via Windows 11 Settings
RSAT is available only on Windows 11 Professional, Enterprise, and Education editions. The process involves enabling features already present in the OS package. This approach is recommended for most users, as it provides a graphical interface and allows selective installation of tools.
Step 1: Open the Settings app by pressing Windows + i or by searching for “Settings” from the Start menu.
Step 2: In the Settings window, select System from the sidebar. Scroll down and click Optional features. If you do not see “Optional features” under System, use the search bar at the top of the Settings window to find it. On some Windows 11 builds, the location may vary, so using the search function ensures you find the correct page.
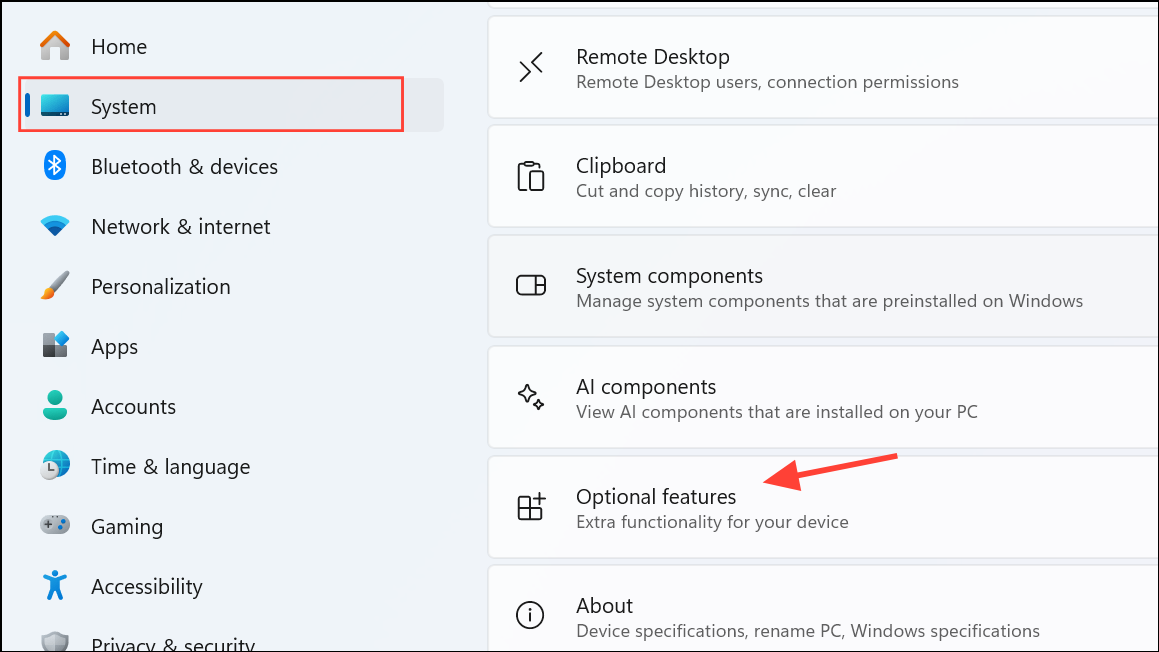
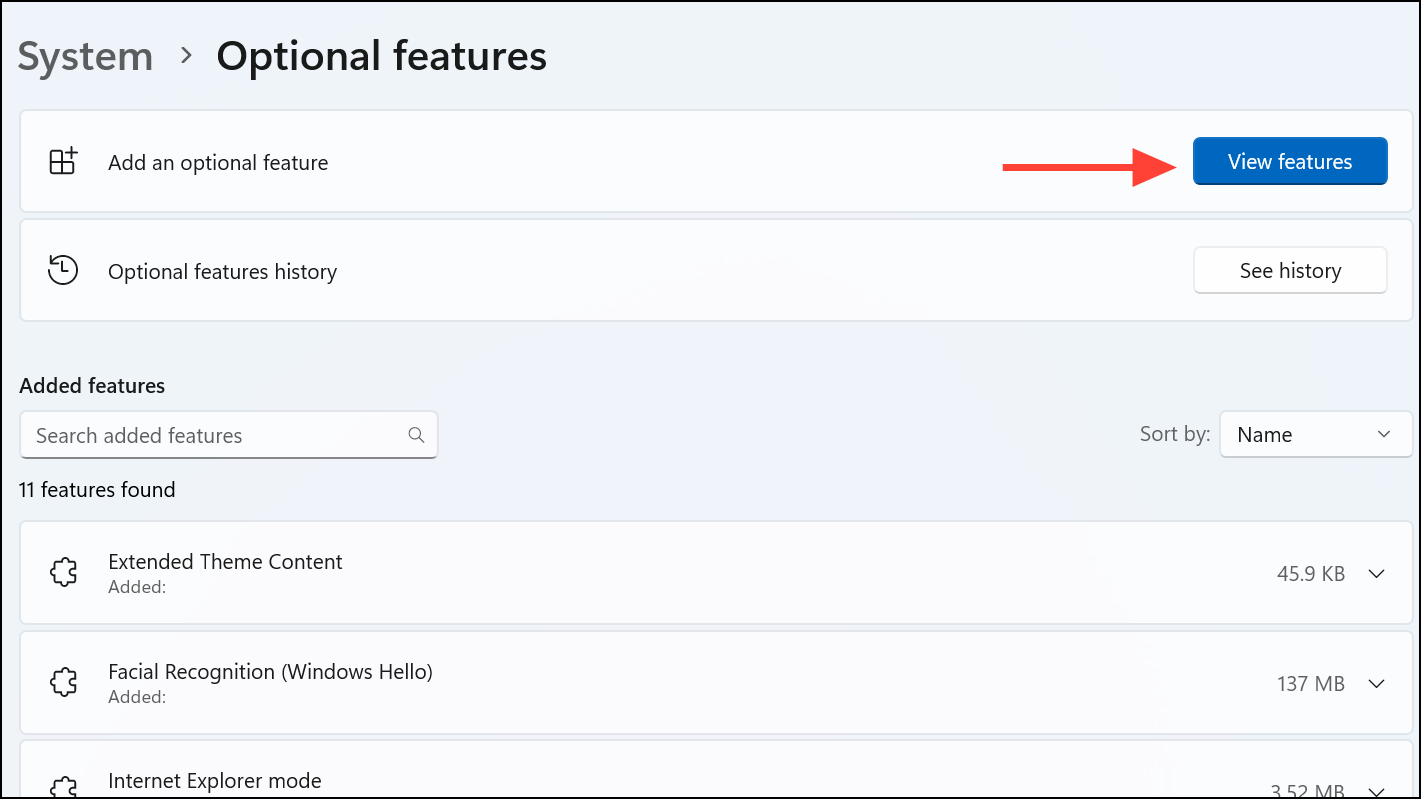
Step 3: Click View features or Add an optional feature at the top of the Optional features page. This opens a searchable list of available features.
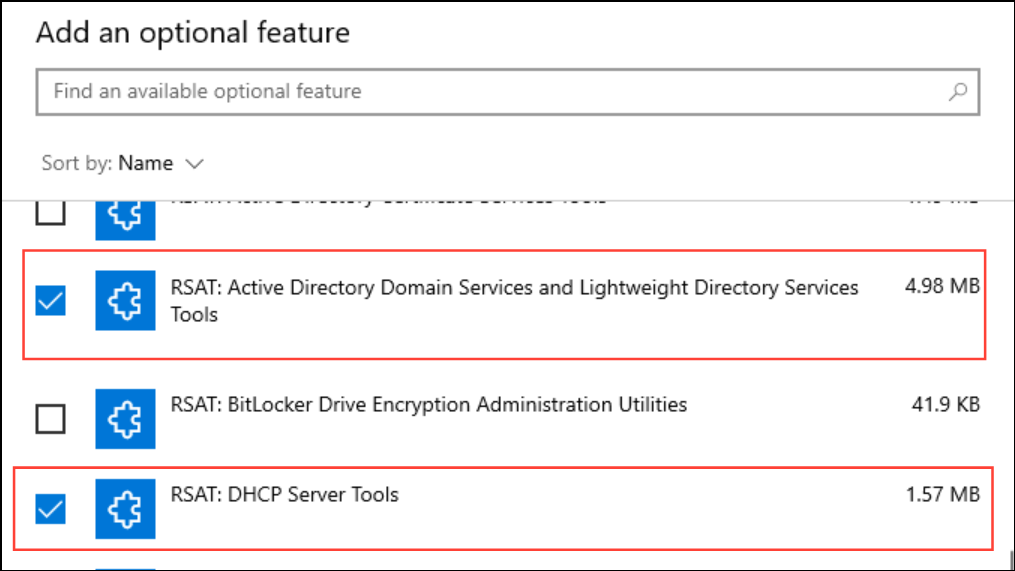
Step 4: In the search bar, type RSAT. A range of RSAT tools will appear, such as “RSAT: Active Directory Domain Services and Lightweight Directory Services Tools,” “RSAT: DNS Server Tools,” and others.
Step 5: Check the boxes for the RSAT components you require. For example, select “RSAT: Active Directory Domain Services and Lightweight Directory Services Tools” to install Active Directory Users and Computers.
Step 6: Click Next, review your selections, and then click Install. The system will download and install the selected features. The installation status can be monitored on the Optional features page under “Recent actions.”
Step 7: Once installation is complete, access the RSAT tools by searching for the tool name (e.g., “Active Directory Users and Computers”) in the Start menu or by opening Windows Tools from the Start menu.
Installing RSAT Using PowerShell
Power users or those deploying RSAT across multiple systems may prefer PowerShell for automation and precision. This method is also helpful when the graphical interface is unavailable or unresponsive.
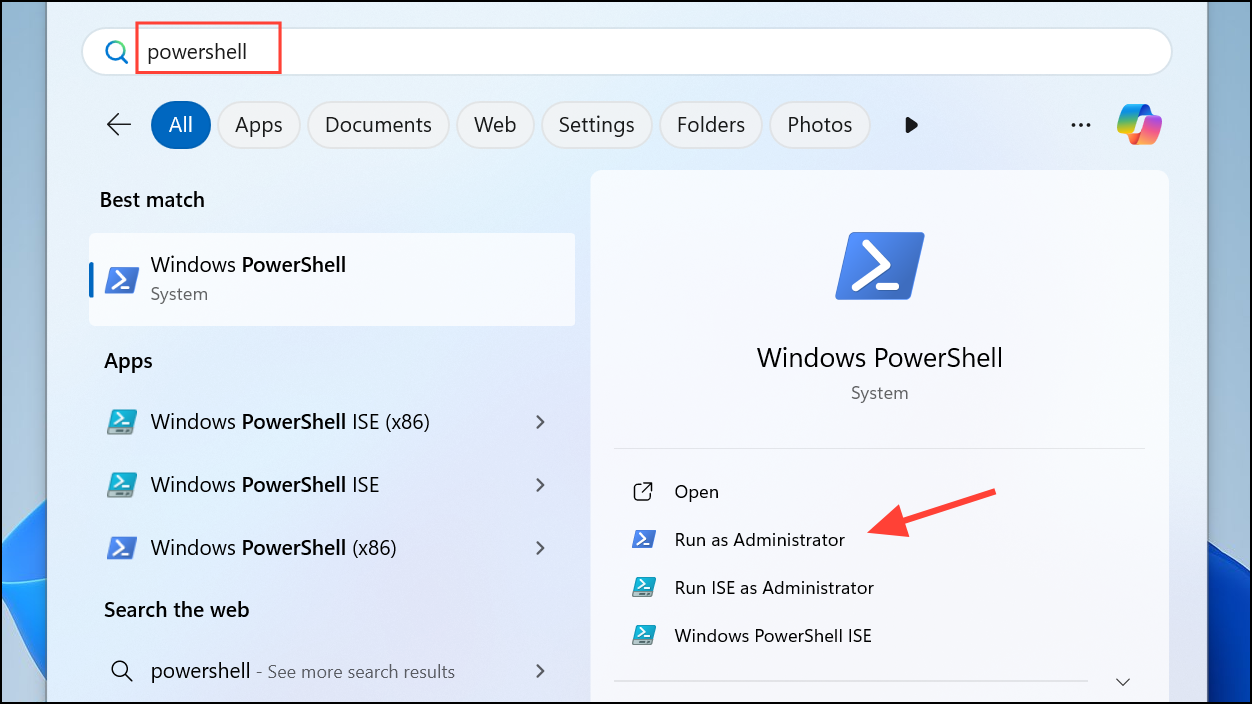
Step 1: Open PowerShell as an administrator. Search for “PowerShell” in the Start menu, right-click, and select Run as administrator.
Step 2: To list all RSAT features and their installation status, run:
Get-WindowsCapability -Name RSAT* -Online | Select-Object -Property DisplayName, State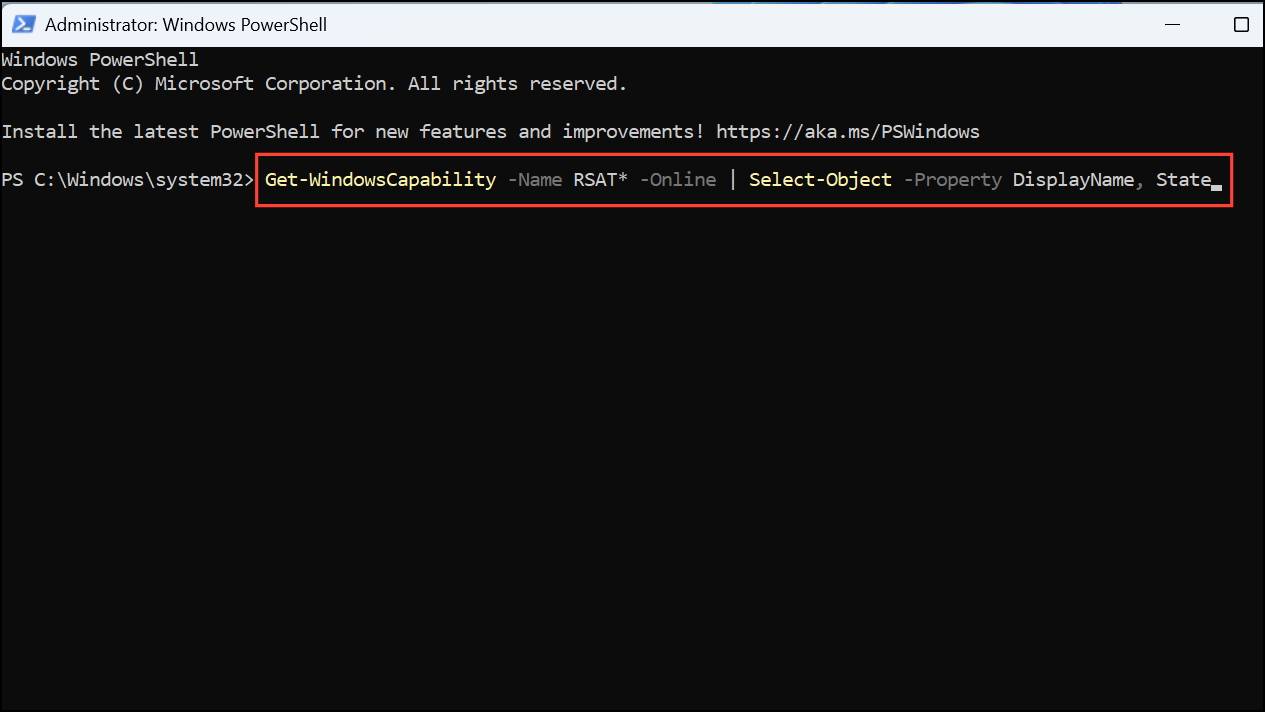
This command displays which RSAT tools are available and whether they are already installed.
Step 3: To install a specific RSAT tool, use:
Add-WindowsCapability -Online -Name "Rsat.ActiveDirectory.DS-LDS.Tools~~~~0.0.1.0"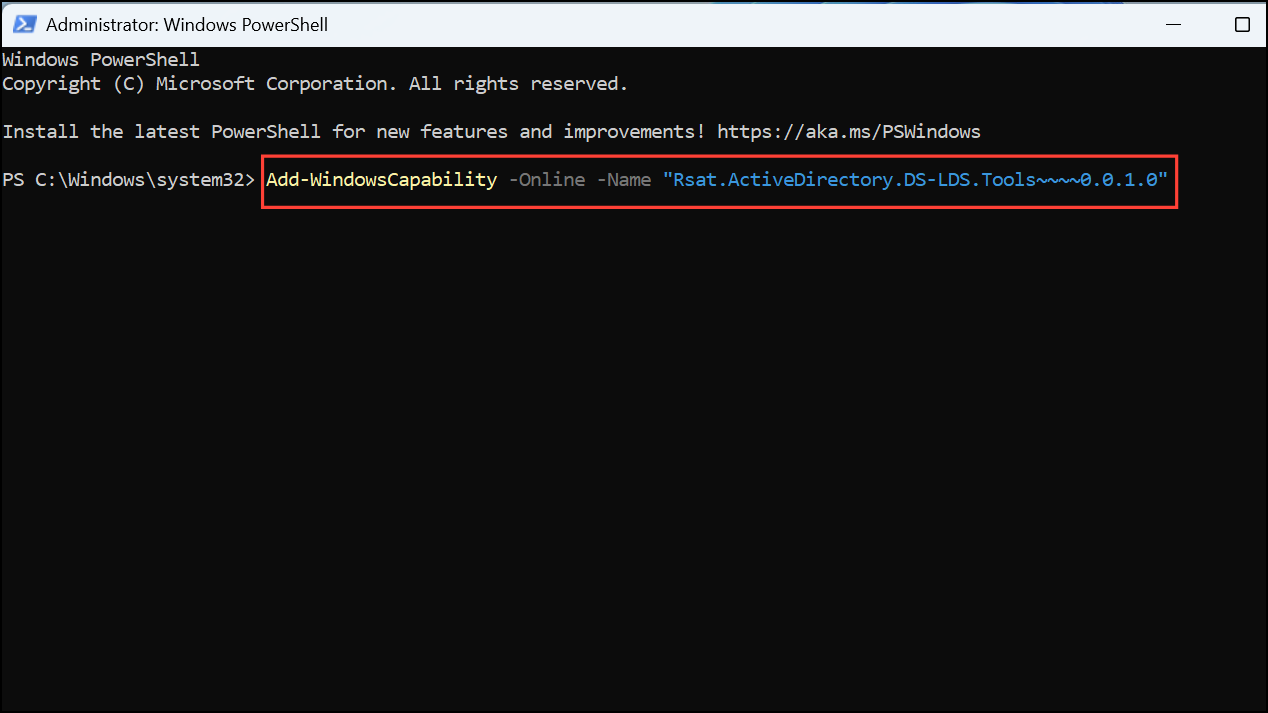
Replace the capability name with the corresponding RSAT tool you need. For a full list of capability names.
Step 4: To install all RSAT tools in one command, run:
Get-WindowsCapability -Name RSAT* -Online | Add-WindowsCapability -Online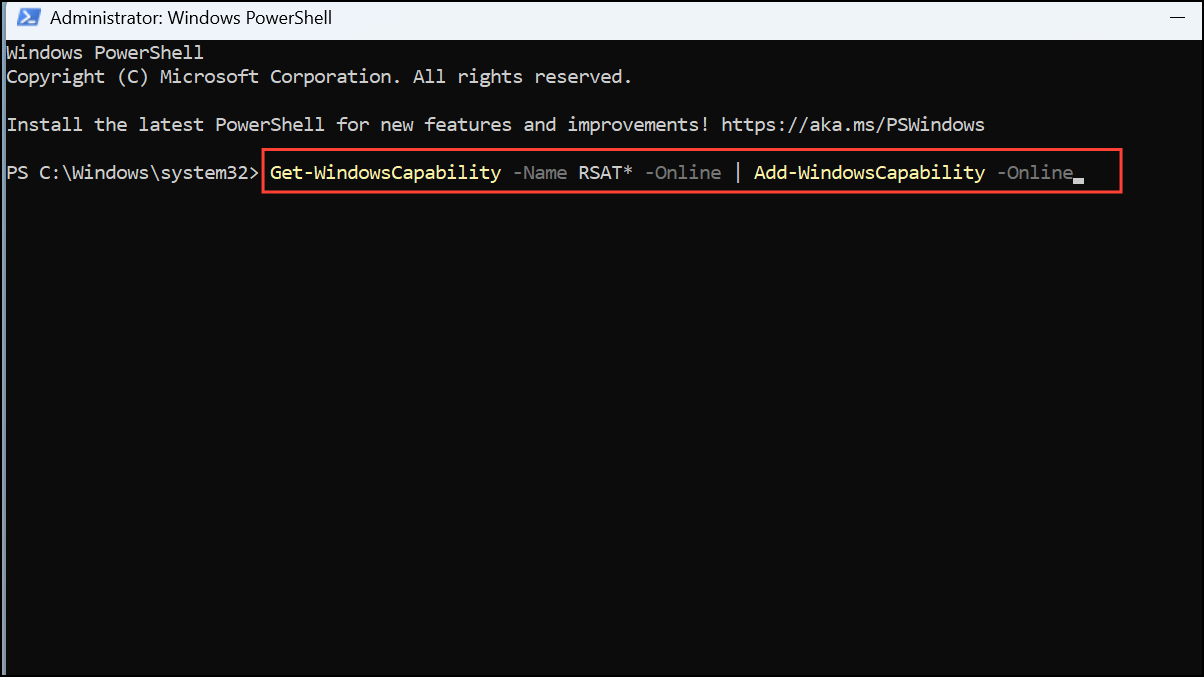
This command queues every available RSAT component for installation. Progress can be monitored in the Optional features section or by checking the output in PowerShell.
Alternative: Installing RSAT Offline Using Features on Demand (FoD) Media
Organizations using Windows Server Update Services (WSUS), disconnected environments, or those unable to access Microsoft’s update servers may encounter errors such as “Couldn’t install” or 0x800f0950. In these cases, RSAT installation requires the Windows 11 Features on Demand ISO, available through the Volume Licensing Service Center (VLSC) or Microsoft’s language pack and features download page.
Step 1: Download the appropriate Features on Demand ISO for your Windows 11 version.
Step 2: Mount the ISO on your system (right-click and select Mount).
Step 3: Open PowerShell as an administrator.
Step 4: Run the following command, replacing D: with the drive letter of your mounted ISO:
Dism.exe /online /add-capability /source:D: /capabilityname:Rsat.ActiveDirectory.DS-LDS.Tools~~~~0.0.1.0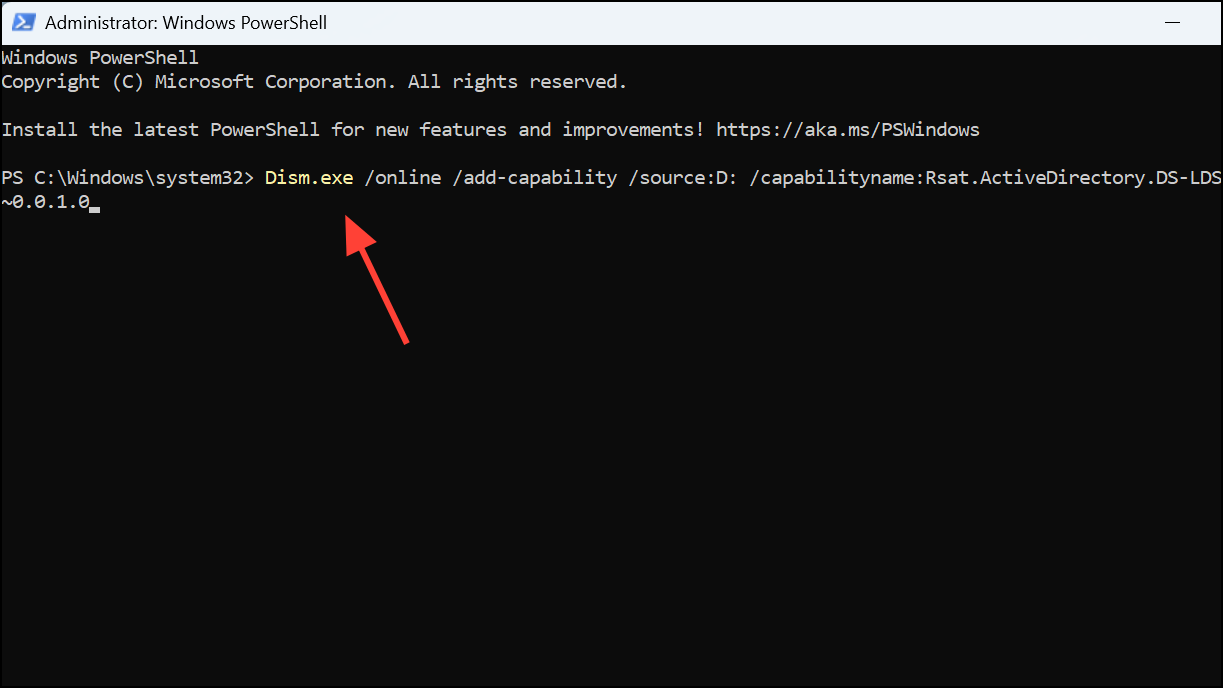
This approach installs the specified RSAT tool directly from the ISO, bypassing WSUS or internet-based update restrictions. If you need to install multiple RSAT tools, repeat the command with the appropriate capability names or script the process for all RSAT components.
Troubleshooting RSAT Installation Issues
Several factors can prevent RSAT from installing successfully on Windows 11:
- Edition Restrictions: RSAT is not supported on Windows 11 Home. Only Professional, Enterprise, and Education editions are eligible.
- Missing “Optional Features” Menu: If “Optional features” does not appear, ensure you are logged in as a local administrator. On some builds, searching for “Optional Features” in the Settings search bar will reveal the correct menu.
- WSUS or Group Policy Blocking: Environments managed by WSUS or with restrictive Group Policy settings may block optional features from installing. Temporarily setting the
UseWUServerregistry key to0and restarting the Windows Update service can allow installation, but this change may be reverted by Group Policy. For persistent solutions, install RSAT using FoD media as described above. - Domain Membership: Occasionally, removing a system from the domain, installing RSAT, and then rejoining the domain resolves stubborn installation errors.
- SCCM/MECM Conflicts: Devices managed by Microsoft Endpoint Configuration Manager (MECM/SCCM) may experience failures. Removing the agent, installing RSAT, and then reinstalling the agent can resolve the issue.
Adding RSAT to Windows 11 improves administrative efficiency by allowing direct management of server roles from your workstation. If you encounter installation barriers, using PowerShell or offline FoD media provides reliable alternatives.