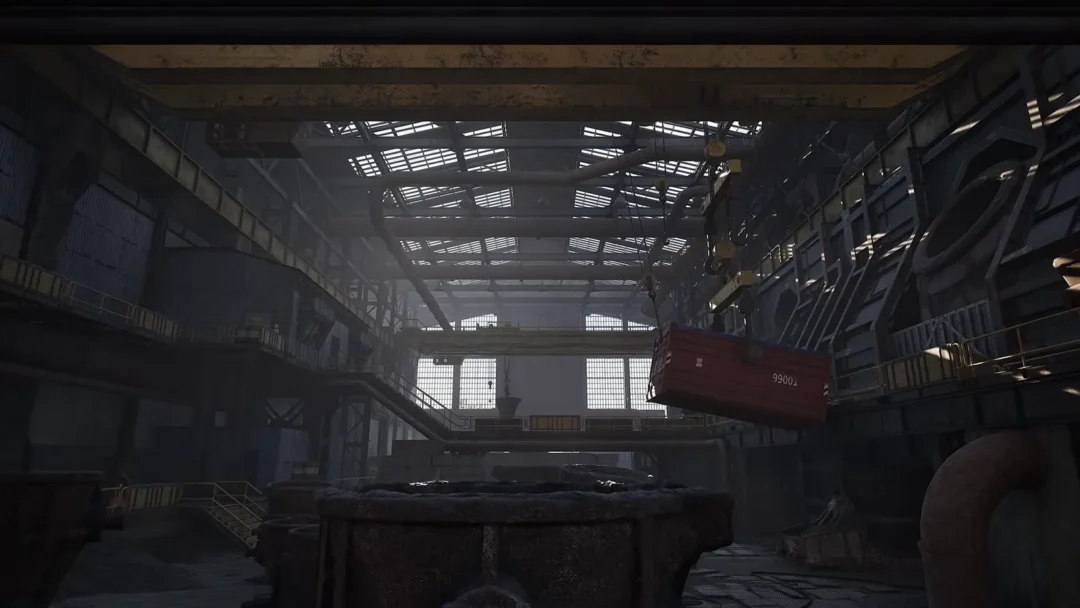
Mirrors and Stones is a puzzle region in Islands of Insight tied to the Order of the Sinking Star questline, sitting past the Crossroads, Skipping Stones, and The Mirror Isles. The area is built around rotating mirrors, rolling boulders, and water currents, and finishing every chamber lights the central star pillars and switches on the region beacon.
Quick answer: Clear all 37 mirror, boulder, and water chambers to light the star pillars and activate the area beacon. Opening the gold room unlocks the Gold M&S achievement.
How to reach Mirrors and Stones
Open the world map at the Crossroads and set a path through Skipping Stones toward The Mirror Isles. Mirrors and Stones sits at the end of that route. You arrive at a gold platform hub, and the initial puzzle portal is accessible from there.
From that hub, each trial is a self-contained chamber. The star markers show up as white glowing points, and yellow ring goal plates mark where a beam or boulder needs to land.
The three mechanics every chamber uses
All 37 chambers combine the same handful of tools. Learn these once and the rest becomes placement and angles.
- Standing mirrors turn a laser beam at 90 degrees. Interact with a mirror to rotate it until the beam points where you need it.
- Mirrors can be pushed across grid tiles, and some can be placed on floating lily pads that drift along the water current to reach distant targets.
- Spherical boulders roll along grid tiles. Drop them into water streams to block or change the flow, or push them onto a golden floor switch to activate a pressure plate.
- Some chambers split the realm into two mirrored sides, and you align beams across the dividing boundary so both halves connect.
When a beam looks blocked, check for a boulder sitting in its path. Rolling that stone out of the sightline is often the whole solution.
The opening trials and what they set up
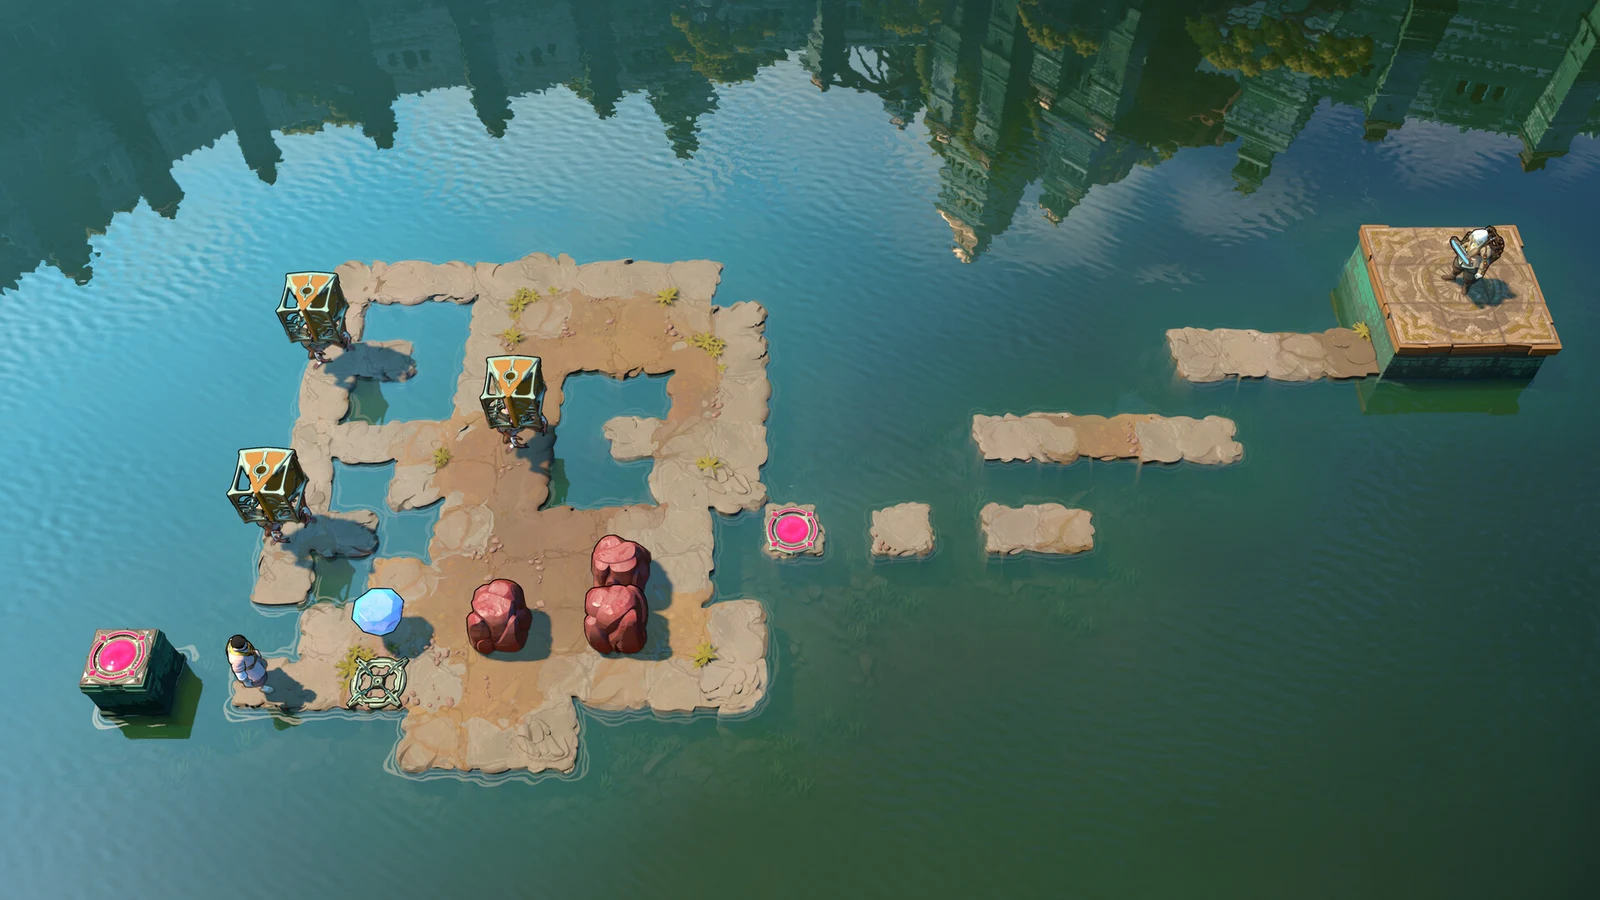
The first chamber, Split Realm Laser Deflection, drops you into two mirrored realms at once. Position the mirror pedestals on each side and guide the beams onto the lily pad targets so both halves line up. Clearing it and opening the gold room is also what triggers the achievement, so this early room matters more than its size suggests.
Chamber 2, Isolated Stones, shifts you to boulder work. Move the mirrors into place, then roll the boulder across the grid until it settles on the golden floor switch.
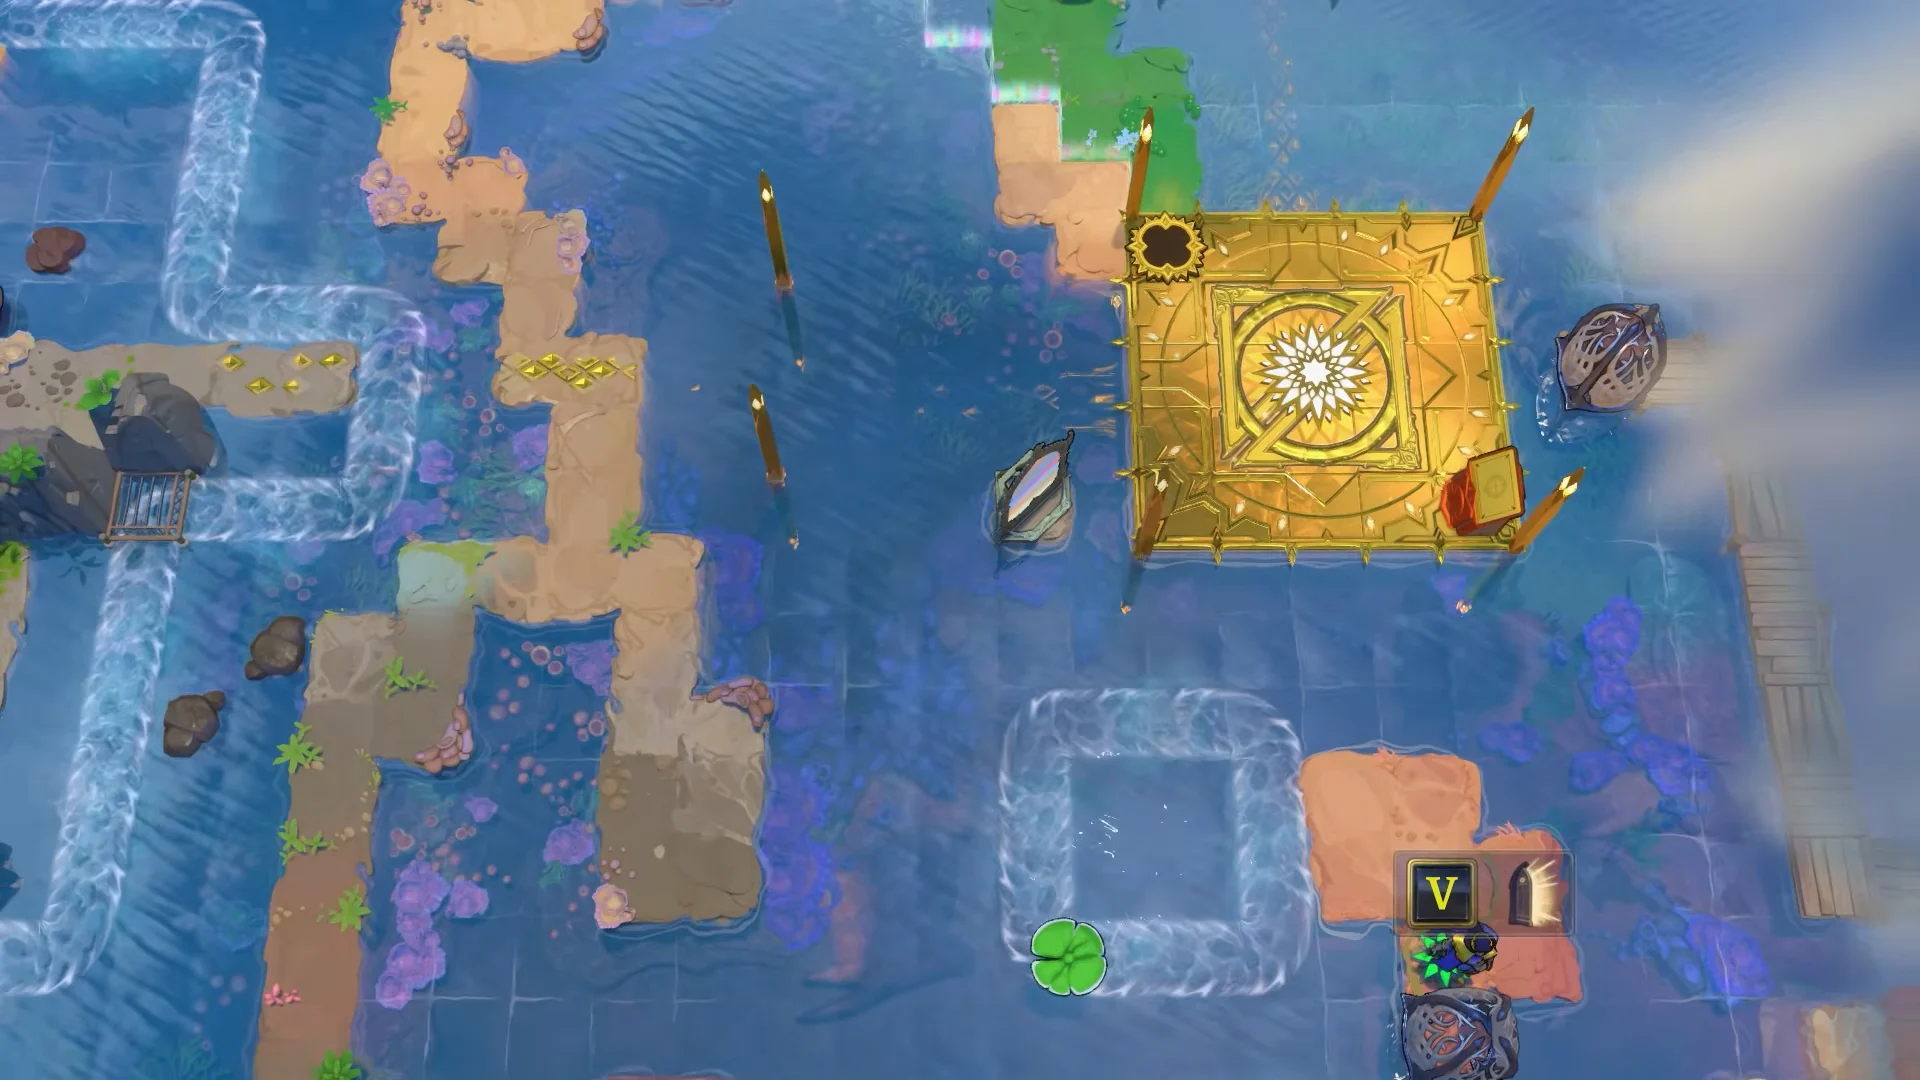
Chamber 4, the Mind Stilling Trial, lines mirrors up along narrow sand strips. Clear the blocked beam paths so light runs straight through the strip to the far target.
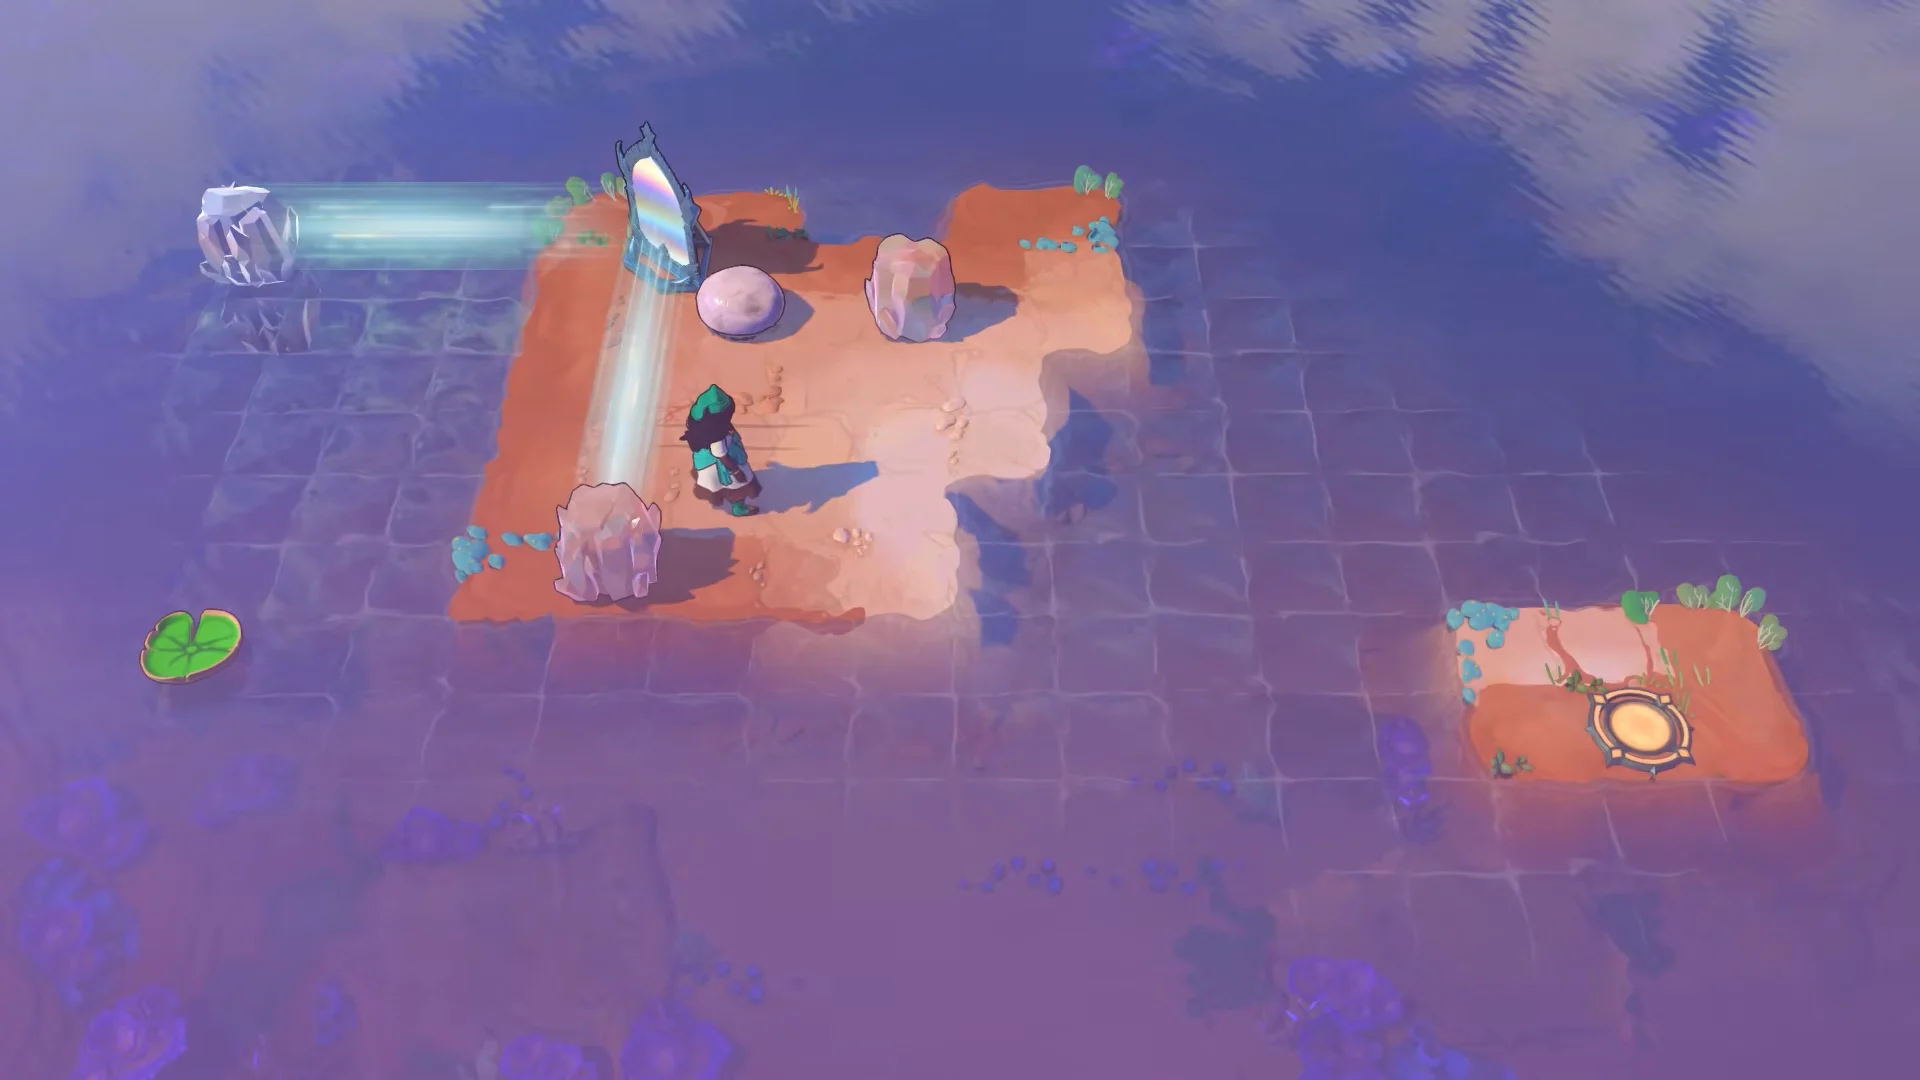
Chamber 5, Rock & Mirror Slide, has you roll spherical stones across platforms so the reflection angles line up with the mirror beside them.
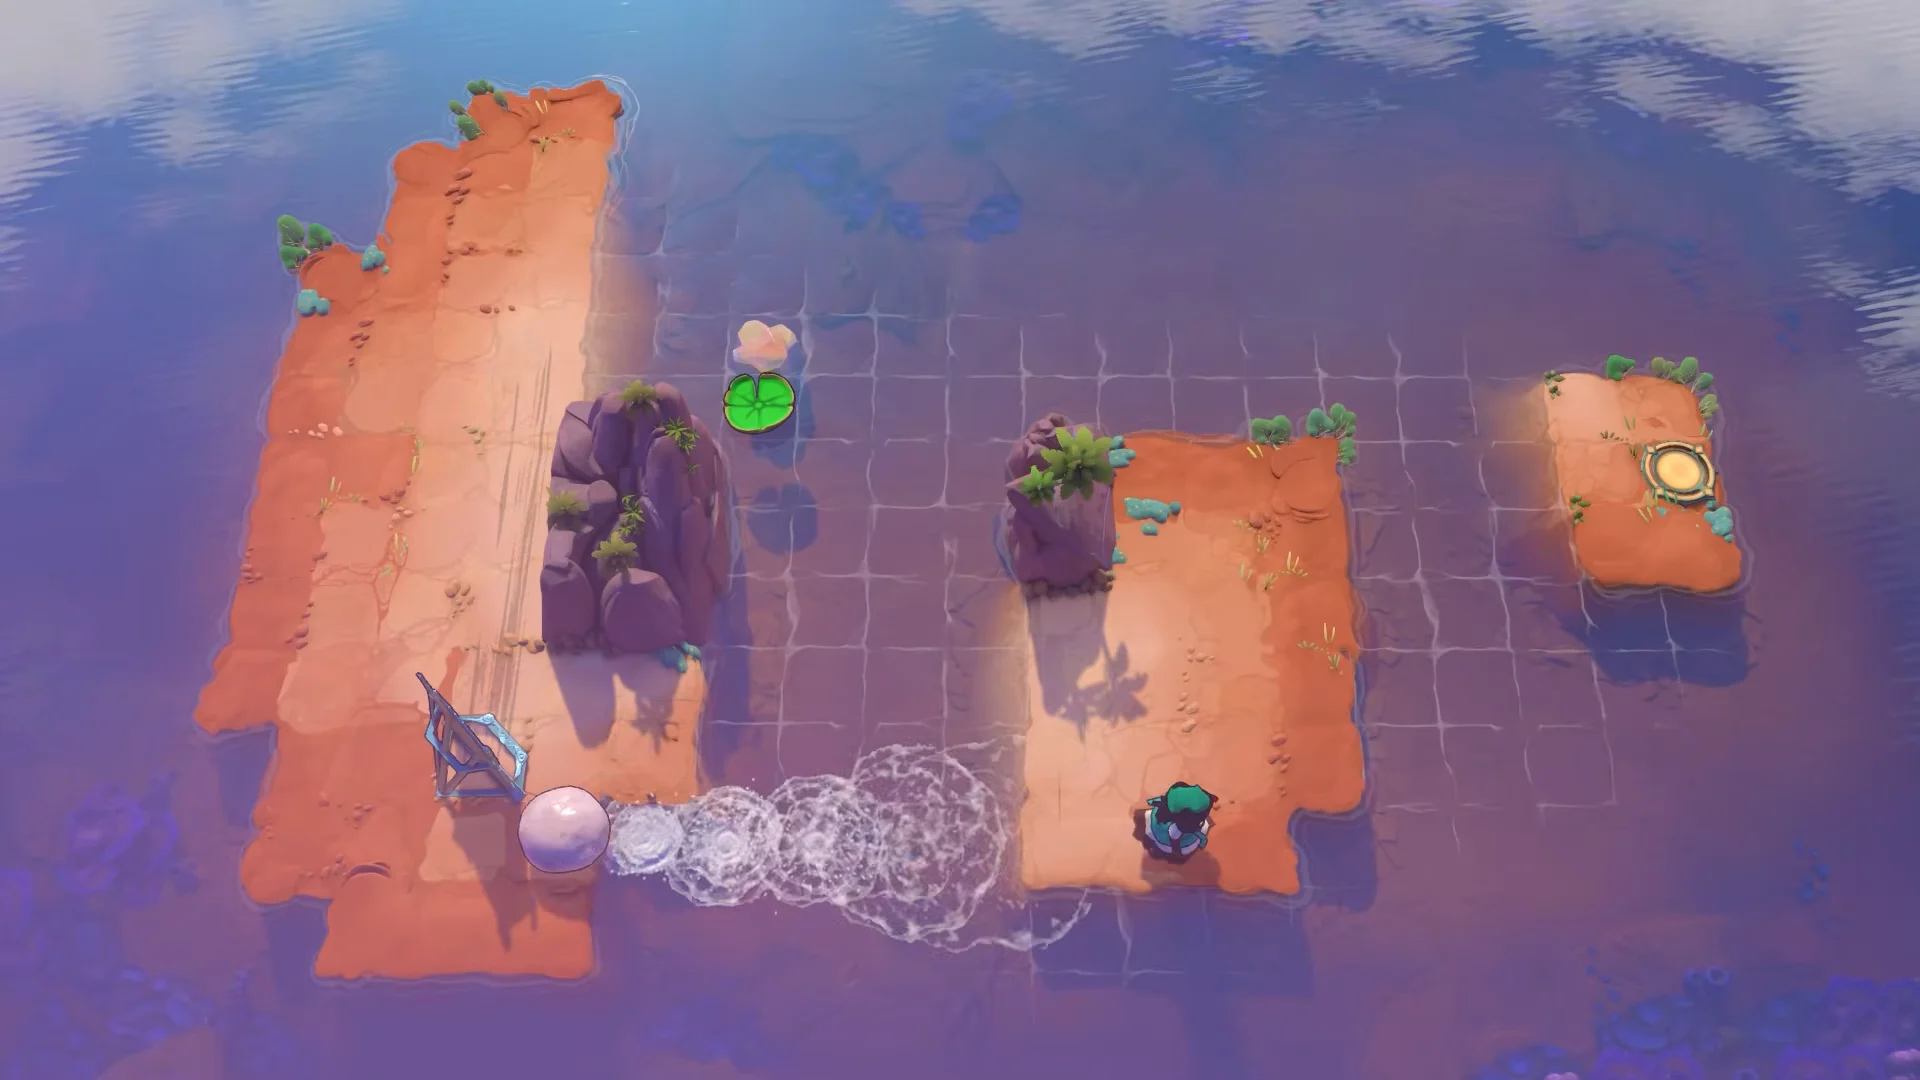
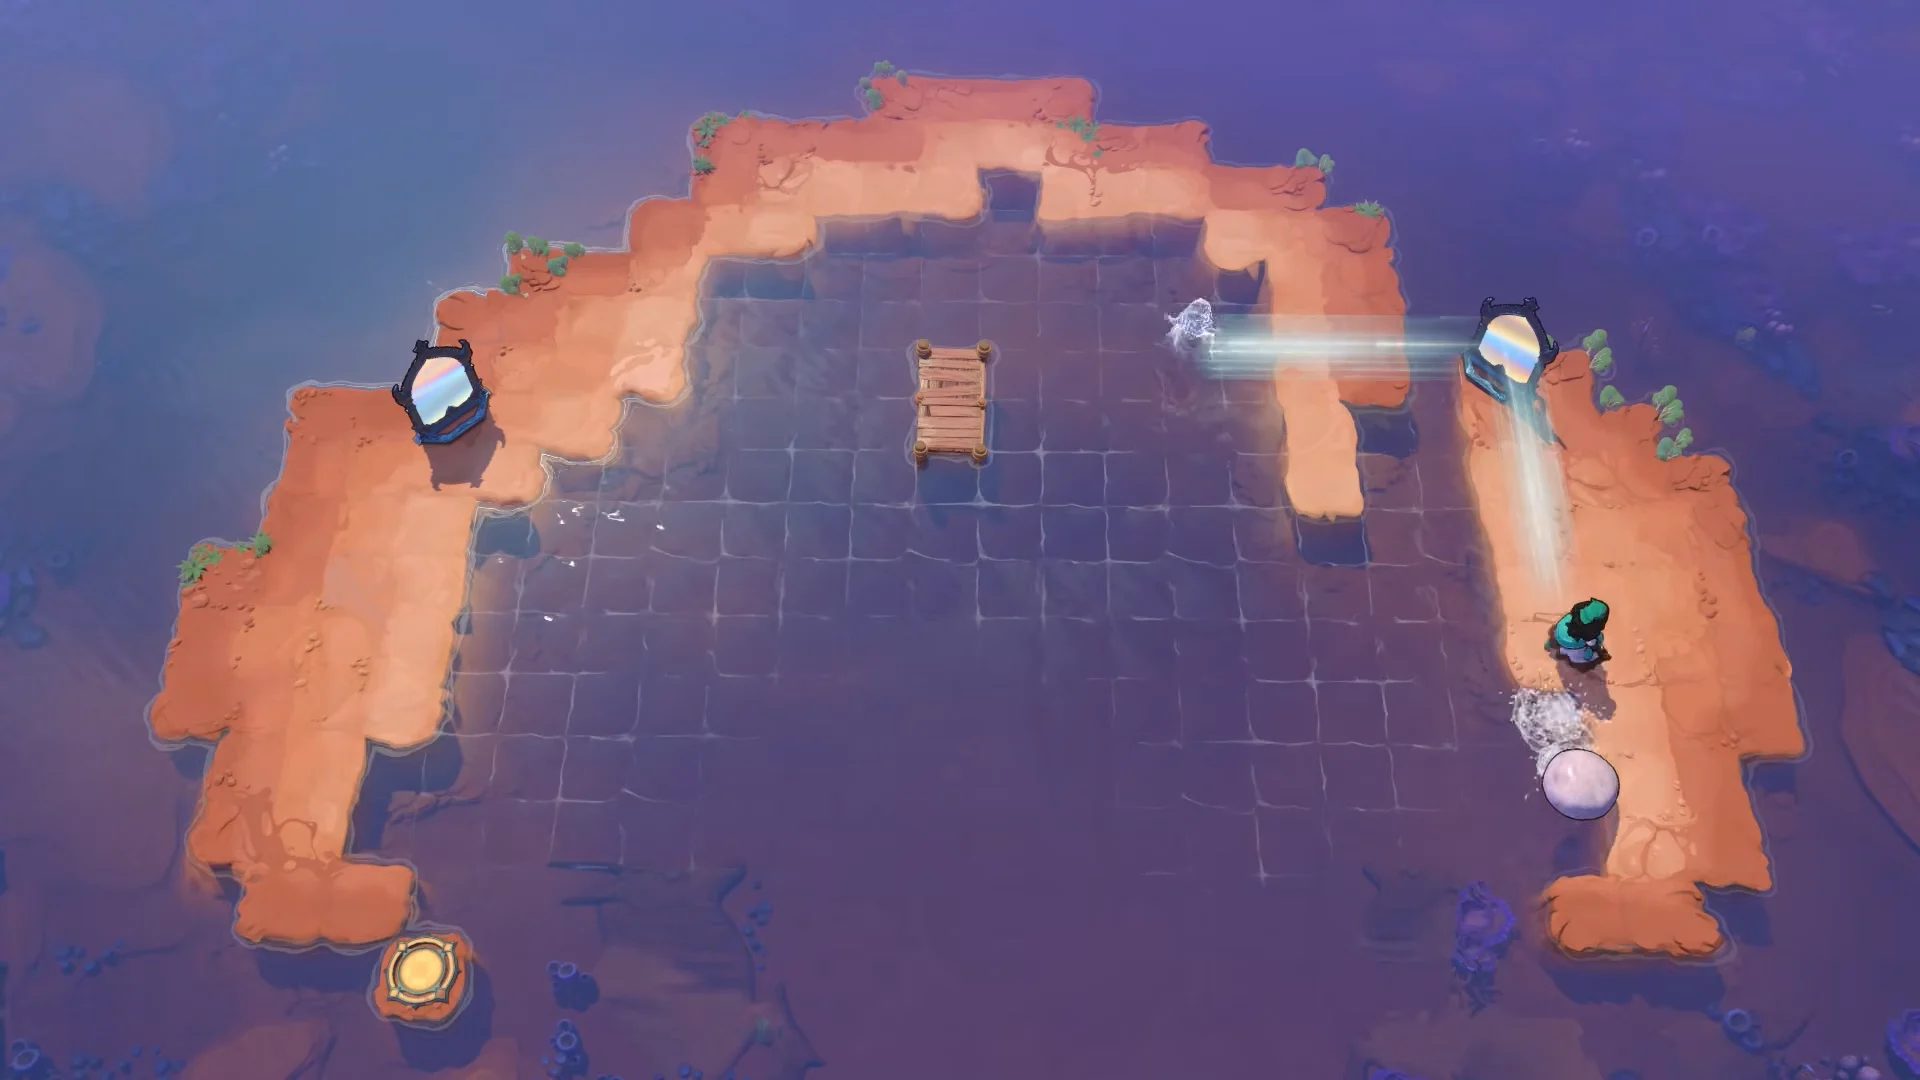
Chamber 6, the Crescent Basin Trial, is the first big water-crossing puzzle. Align two diagonal mirrors so their beams meet across the sunken basin.
All 37 Mirrors and Stones chambers
Each chamber reuses the mirror, boulder, and water rules above. Use this as a checklist as you work outward from the hub.
| # | Trial | Main action |
|---|---|---|
| 1 | Split Realm Laser Deflection | Beam both mirrored realms onto lily pad targets |
| 2 | Isolated Stones | Roll a boulder onto the golden floor switch |
| 3 | Dual Mirror Bounce | Set corner mirrors to hit switches across islands |
| 4 | Mind Stilling Trial | Line mirrors along sand strips to clear the path |
| 5 | Rock & Mirror Slide | Roll stones to form reflection angles |
| 6 | Crescent Basin Trial | Meet two diagonal beams over the basin |
| 7 | Pier & Mirror Trap | Redirect long beams across wooden docks |
| 8 | Angular Channeling | Bounce lasers through sandy trenches |
| 9 | Waterway Alignment | Slide mirrors along channels to a distant target |
| 10 | Long Distance Crossing | Bounce beams across wide water between islands |
| 11 | Floating Lily Reflection | Use lily pads and angled mirrors across water |
| 12 | Jetty Maze | Steer beams through small wooden jetties |
| 13 | Island Stepping Trial | Route beams across segmented islets |
| 14 | Dual Sided Deflection | Balance redirection between opposite shores |
| 15 | Central Lighthouse Island | Deflect beams near the sunken lighthouse |
| 16 | Ring of Stones | Clear boulders so the laser passes freely |
| 17 | Water Gate Reflection | Solve the reflection before the water gate |
| 18 | Wide Canal Traverse | Move stones and mirrors over the canal |
| 19 | Harbor Basin Trial | Align mirrors on docks and sandy banks |
| 20 | Cliffside Reflections | Guide beams along cliff edges to orbs |
| 21 | Channel Laser Routing | Interlock mirror paths across channels |
| 22 | Desert Oasis Trial | Place mirrors and roll boulders on sand mounds |
| 23 | Sunken Ruins Beam | Route beams around ruined walls and locks |
| 24 | Symmetrical Reflection | Strike two targets with two parallel mirrors |
| 25 | Solitary Tower Trial | Align mirrors beside the watchtower |
| 26 | Enclosed Canal Grid | Work stones and mirrors inside a canal grid |
| 27 | Fortified Courtyard | Guide beams through battlements and gates |
| 28 | Clustered Boulders | Roll boulders out of the mirror sightlines |
| 29 | Narrow Causeway Trial | Reflect light down catwalks and lily pads |
| 30 | River Sluice Puzzle | Move mirrors across sluices and banks |
| 31 | Coastal Terrace Reflection | Reconfigure mirrors on stepped cliffs |
| 32 | Long Canal River Crossing | Ride a mirror on a lily across fast current |
| 33 | Pierhead Switch | Hit a target ringed by wooden pilings |
| 34 | Triple Boulder Sluice | Push three boulders into the water streams |
| 35 | High Pier Alignment | Align reflections across raised platforms |
| 36 | Central Altar Chamber | Solve the boulder and multi-mirror dais |
| 37 | Final Sinking Star Trial | Route beams and blocks across a water maze |
Mid and late chambers to watch for
Chamber 17, Water Gate Reflection, places you on a floating platform in front of an ornamental gate. Solve the reflection facing the gate so the beam lands cleanly across the reflective pool.
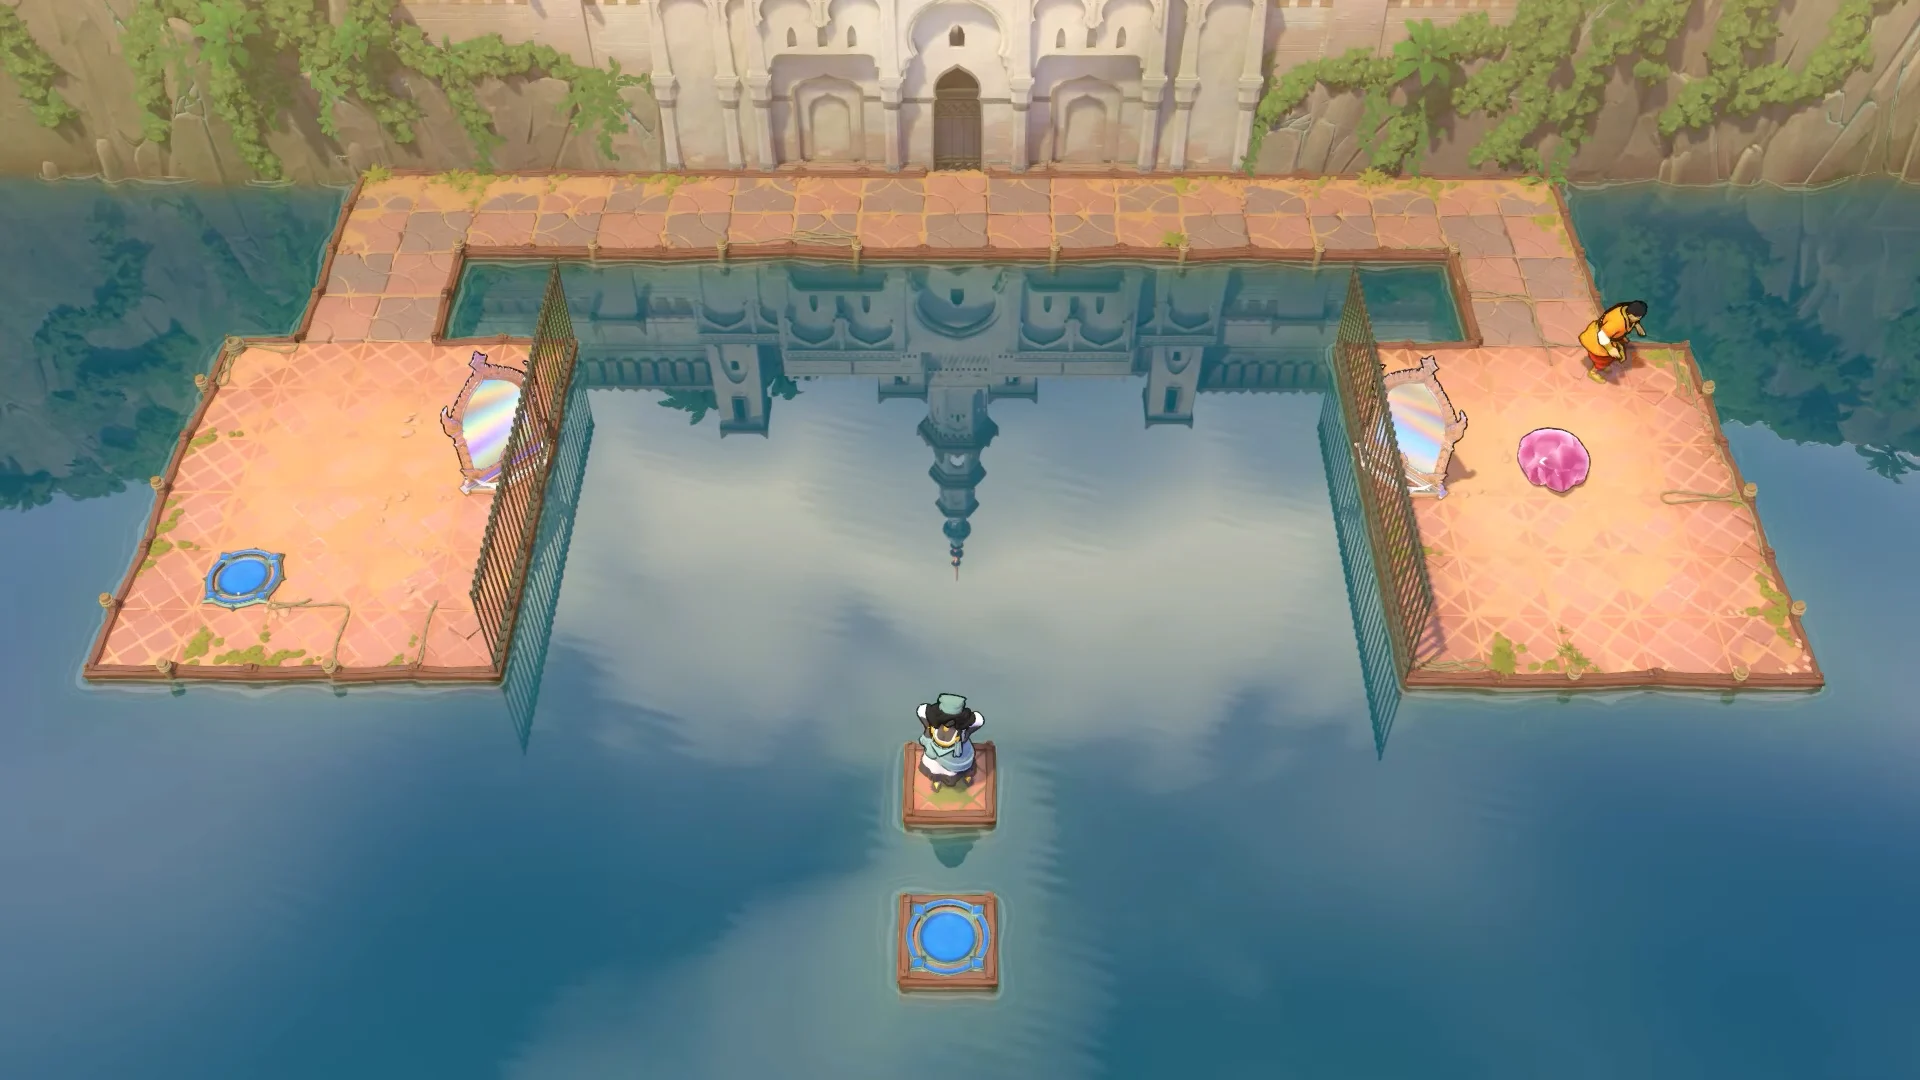
Chamber 24, Symmetrical Reflection, needs both sides working at once. Coordinate two parallel mirrors so their beams strike both stone targets at the same time.
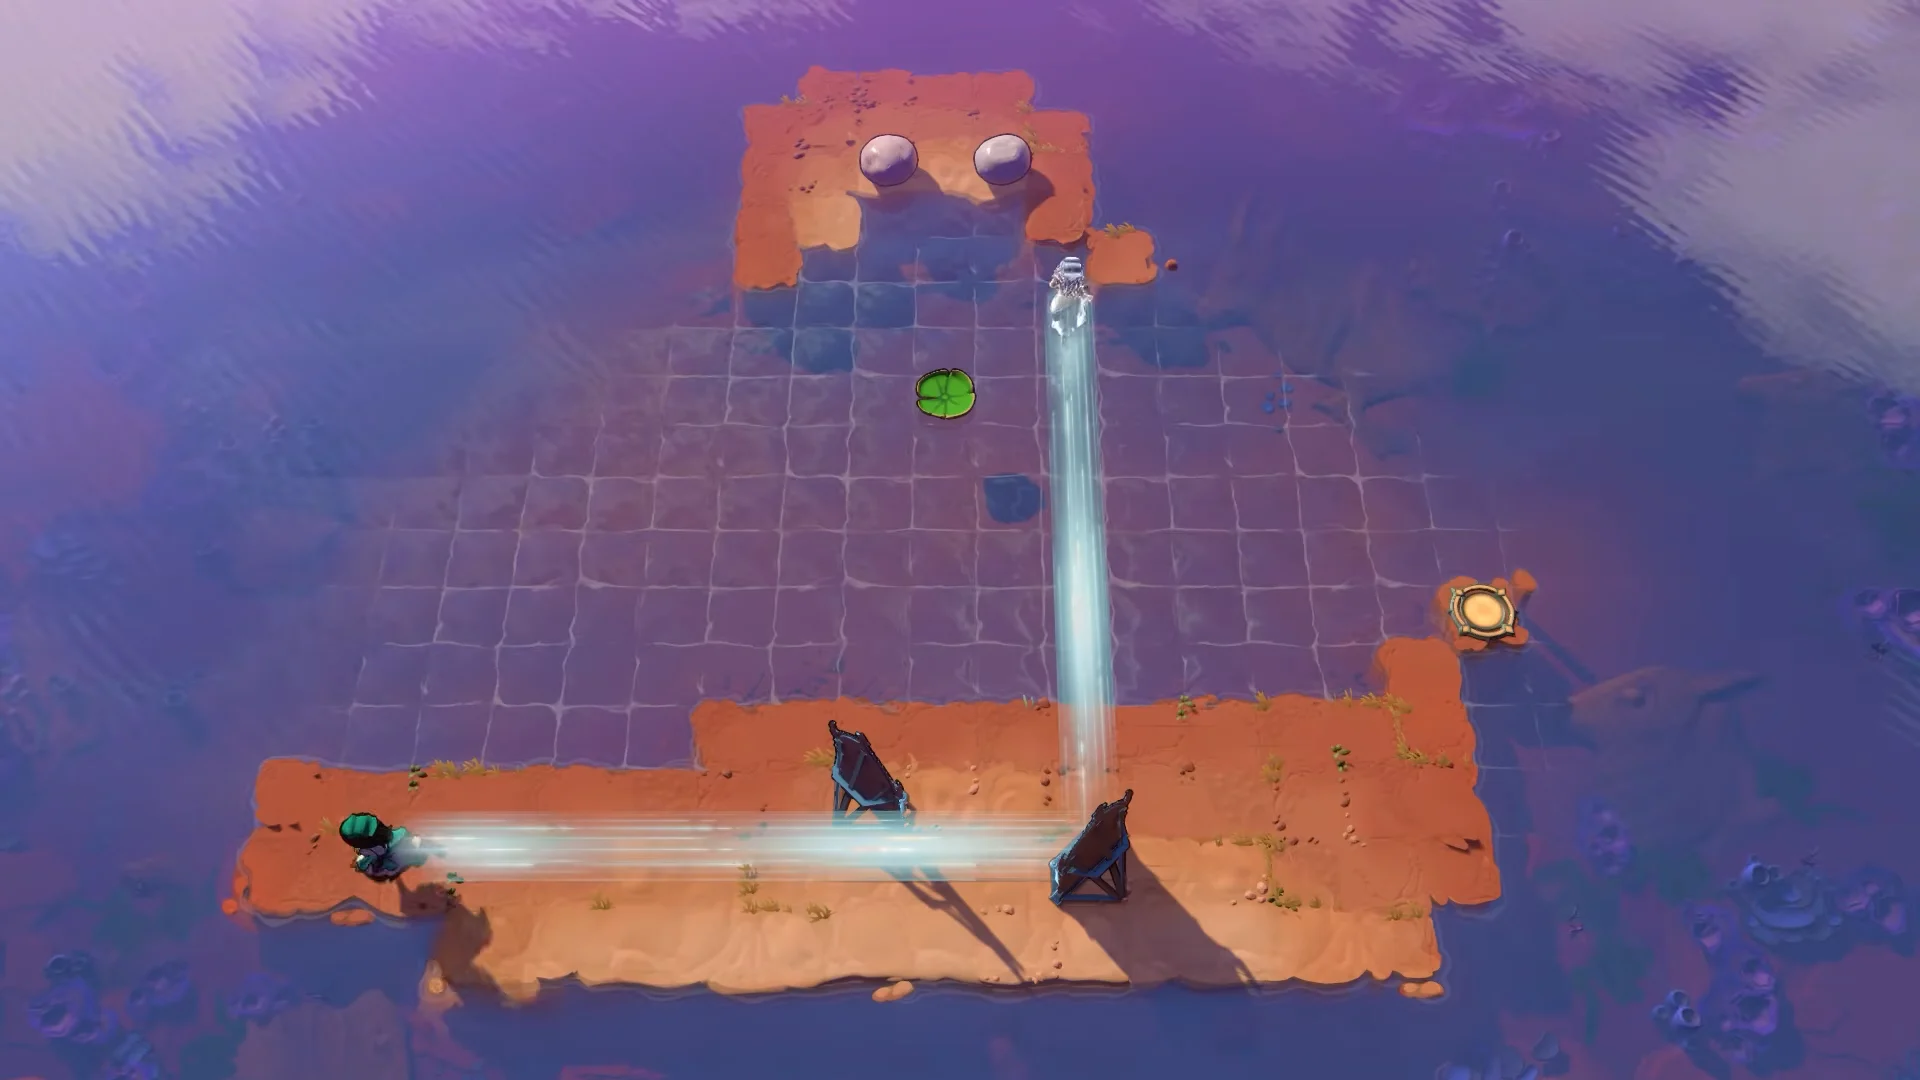
The later rooms span greater distances rather than raising the difficulty. In Chamber 32, ride a mirror on a lily pad through a swift current; Chamber 37’s Final Sinking Star Trial sends you directing beams and stone blocks through an extensive waterway maze, drawing on lessons from the earlier chambers.
Gold M&S achievement
Opening the gold room in Mirrors and Stones unlocks the Steam achievement Gold M&S, described in-game as “Open the M&S gold room.” The pop-up reads “Achievement unlocked / Gold M&S” the moment the room opens, so you know it registered without checking your profile.
How to confirm the area is complete
Once every chamber has been cleared, the area’s central star pillars glow and its main beacon activates, completing this part of the Order of the Sinking Star. When the last star pillar is lit, watch the beacon rise fully, then return to the Crossroads from the hub.
If a pillar stays dark, a chamber is still unsolved. Compare your progress against the 37-row list above, then revisit the one you skipped and finish its beam, boulder, or switch before heading back to the hub.