

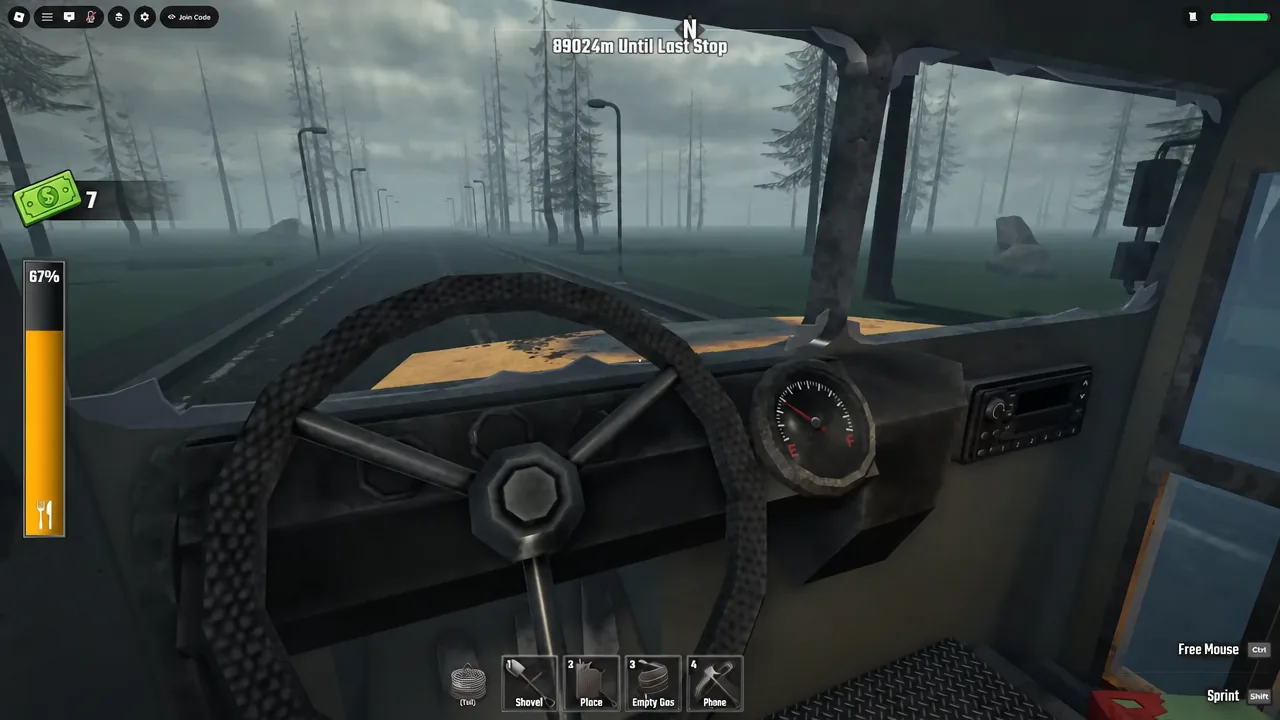
Last Stop [Beta] by The Hidden Route is a bus that has to keep moving. You bolt on wheels, feed a burner, raid abandoned houses along a foggy highway, and try to turn junk into cash fast enough to afford weapons before the road turns mean. Most failed runs are not combat failures. They are fuel failures and inventory failures.
Quick answer: Reserve every Gas Can for the burner and drop fuel straight into it instead of holding E, sell anything that is not fuel, a weapon, ammo, or a quest item, and kill zombies through chain-link fences or from the moving bus so they cannot hit back.
How a Last Stop run works
The opening cutscene drops your bus in a tunnel with its wheels missing. Attach all four, find the red fuel can on the road, feed the furnace, and you are driving. From there the loop repeats until the distance counter at the top of the screen runs down to zero: drive, stop at a marked building, clear it, loot it, refuel, and decide what is worth carrying to the next terminal.
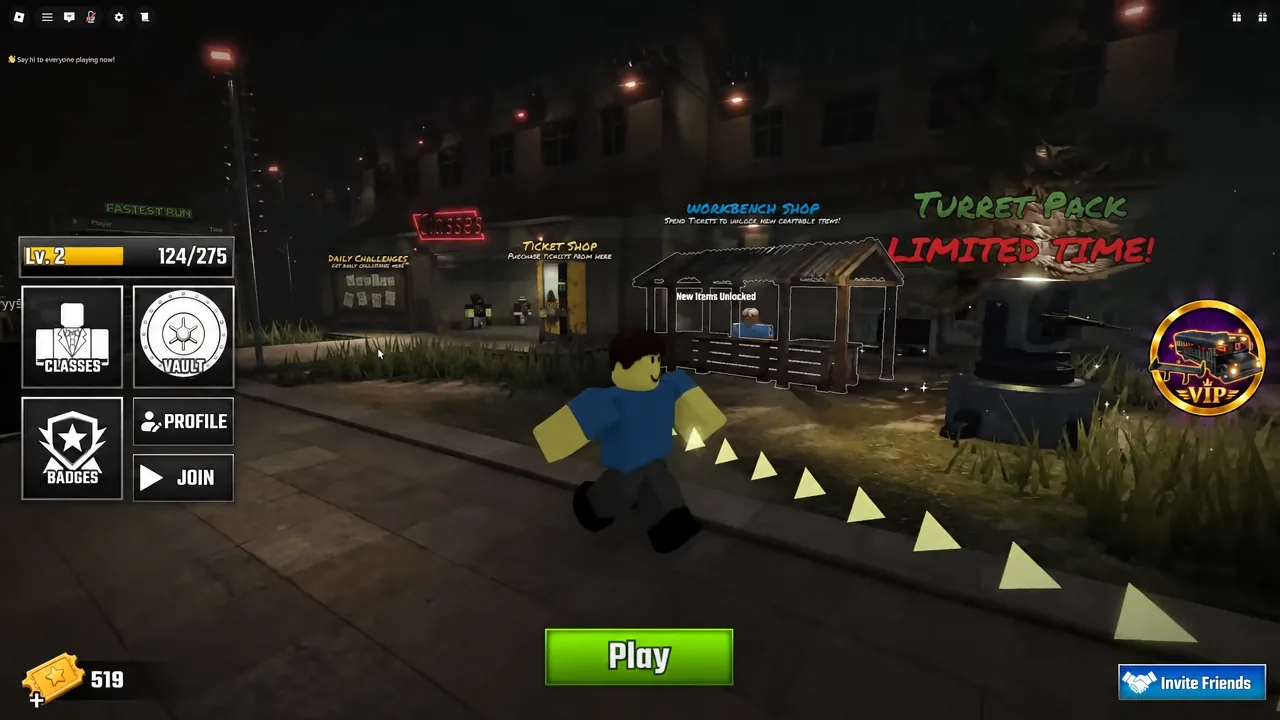
Stops are announced with a banner, and each one tells you what it wants. “Loot Building” means a house to strip. “Next Stop: Terminal” means a safe zone with a shop, a vault and NPCs. Checkpoints are mandatory fights where you have to clear every enemy before the run continues.
PC controls
| Input | Action |
|---|---|
| Click | Grab action / shoot |
| Z | Place, build, attach |
| E | Equip or use item |
| Q | Drop item |
| R | Reload gun |
| Tab | Inventory |
| Y | Inspect |
Y is the underused one. Inspecting an unfamiliar pickup tells you what it is before you commit space to it or throw it on a sell belt by mistake.
Fuel the bus without wasting time
The burner sits on the bus and eats whatever you give it. Gas Cans are the efficient option and should never be sold. Coal gives back very little for the space it occupies, which is why buying a stack of it at a terminal is a fallback rather than a plan.
The speed trick is simple. Instead of standing at the burner and holding E to burn an item, drop the fuel directly into it. The bus takes it instantly and you are back to fighting or looting.
Dead zombies count as fuel too. Pick up a body after a fight and feed it to the furnace, or haul it to a terminal and put it on the sell belt for cash. Bandit bodies work the same way.
The dashboard flags “Fuel Here” and throws a banner when the bus drops to 10 percent fuel. If you are seeing that warning regularly, you are selling fuel you should be keeping.
What to keep and what to sell
Inventory space is the real currency early on. Almost every house contains food, so there is no reason to walk around with five snacks. Grab the expensive decorative items instead, because those are pure profit at the sell belt.
| Item | What to do with it |
|---|---|
| Gas Can | Reserve for the burner, never sell |
| Coal | Poor fuel value; buy only as a backup |
| Iron Sword | Equip immediately and retire the shovel |
| Revolver and Medium Ammo | Hold for the final encounter |
| Silver Bar ($170), Queen’s Necklace ($300), Carved Bust | Sell at the next terminal |
| Food and Bandages | Carry one or two; houses restock you constantly |
| Scrap, Wood, Duct Tape, Springs | Keep only what your next craft needs |
| Cure potion | Save it for the ending |
Once you craft a Wooden Chest at the workbench and place it on the bus deck, storage stops being a problem. Everything you are saving for a craft or a terminal run goes in there rather than in your hands.
Fighting zombies without taking damage
Melee hitboxes are generous, and the map gives you free geometry to abuse. Chain-link fences are the big one. Stand on the safe side and swing through the mesh, and zombies and Bloaters will take hits without landing any of their own.
Zombies that grab onto the bus while it is moving can be hit from the deck. You do not have to stop, and you do not have to let them climb inside. Hold your attack rather than tapping it, because the swing reaches enemies slightly before they are fully on top of you.
The other habit worth building is not over-clearing. Health regenerates on its own, so backing off a few enemies and letting it tick up is usually better than trading hits to finish a fight two seconds sooner.
Terminal stops, the vault, and NPC deals
Terminals are the only safe stops on the road. Inside, a conveyor belt buys whatever you drop on it, and the cash comes straight back to you in bags. Sell the valuables, the spare shovels, the leftover candles and the zombie bodies, then spend on the racks.
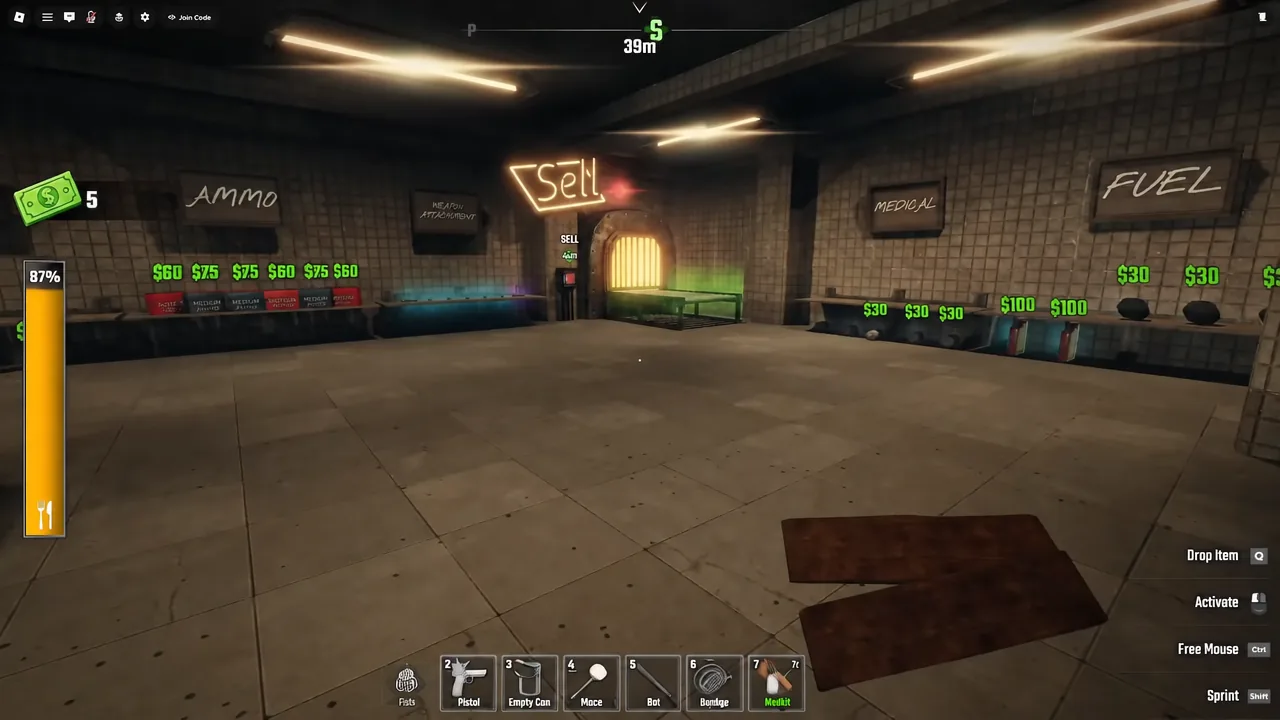
Typical shop prices are worth memorising. An Iron Sword runs $125, a Cloth Chestplate is $90, Cloth Leggings are $55, and Coal is $30 a piece with Large Coal Blocks at $270. Ammunition and armour are the two purchases that pay off most, in that order.
The Vault is locked behind progression. Interacting with the door before you qualify returns “You must be level 3 to use the Vault.” Until then, anything you want to keep between stops lives in the chest on your bus.
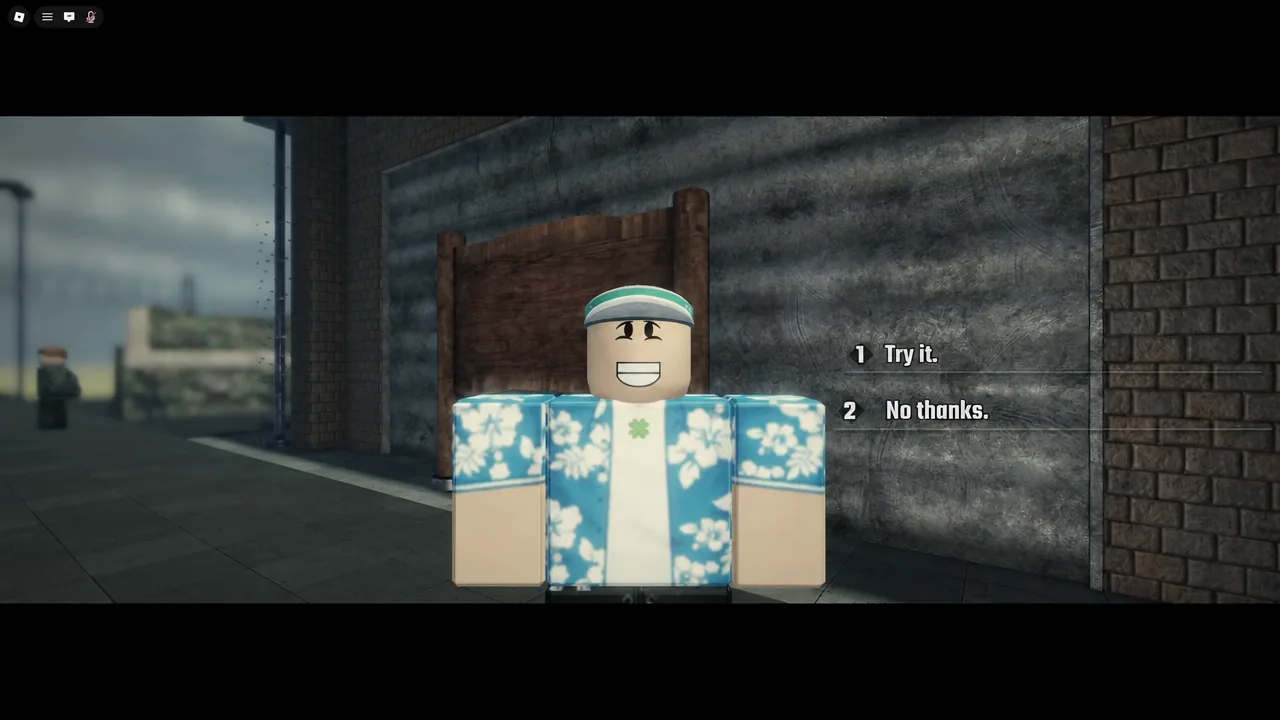
Terminals also hold the NPCs. Oscar Reed runs a “Cash Duplicator” and will take a 100 Cash wager for a chance to double it. Noodle asks for money or items, including empty cans, for a plan of his own. A Scrap Trader swaps scrap for wood, and a Trader Guardian deals guns in exchange for salvage, scrap, fuel and gold. A challenges board nearby posts tasks such as “Man Hunter” and “Bone Collector.”
High-value stops worth clearing
Not every building deserves your time. These are the ones that reliably pay for the detour.
Bandit camps. Marked “Loot Here” on the roadside. Clearing the bandits opens up supply crates, and an Iron Sword frequently turns up here, which saves you the $125 at the shop.
The Barn. The doors need a Barn Key, and it sits in a shed nearby rather than on an enemy. Clear the interior and the payoff includes a Silver Bar worth $170.
Checkpoints. These run in waves, usually bandits on watchtowers followed by a rush at the bus. Clearing every enemy is what drops the Cage Key, which unlocks the wooden cage holding a captured child. The run will not let you drive off with enemies still standing.
Scrapyards and gas stations. Lower drama, steady materials. Junk piles hand over Duct Tape and Scrap, which is what the workbench wants for Wooden Walls, grills and chests.
Fallen trees also block the road at random. Kill the ambush that comes with them, then use the interaction prompt on the log to clear it.
Tickets, classes, and workbench unlocks
Tickets are the lobby currency, and they buy two different things. The first is character classes, including Necromancer, Policeman and Juggernaut, each with its own starting gear. The second is permanent workbench recipes.
The Generator Card and the Sack are the early recipe unlocks worth grabbing. Once a recipe is unlocked in the lobby, it stays available on the bus workbench for every run after that, so the only remaining obstacle is having the materials on hand.
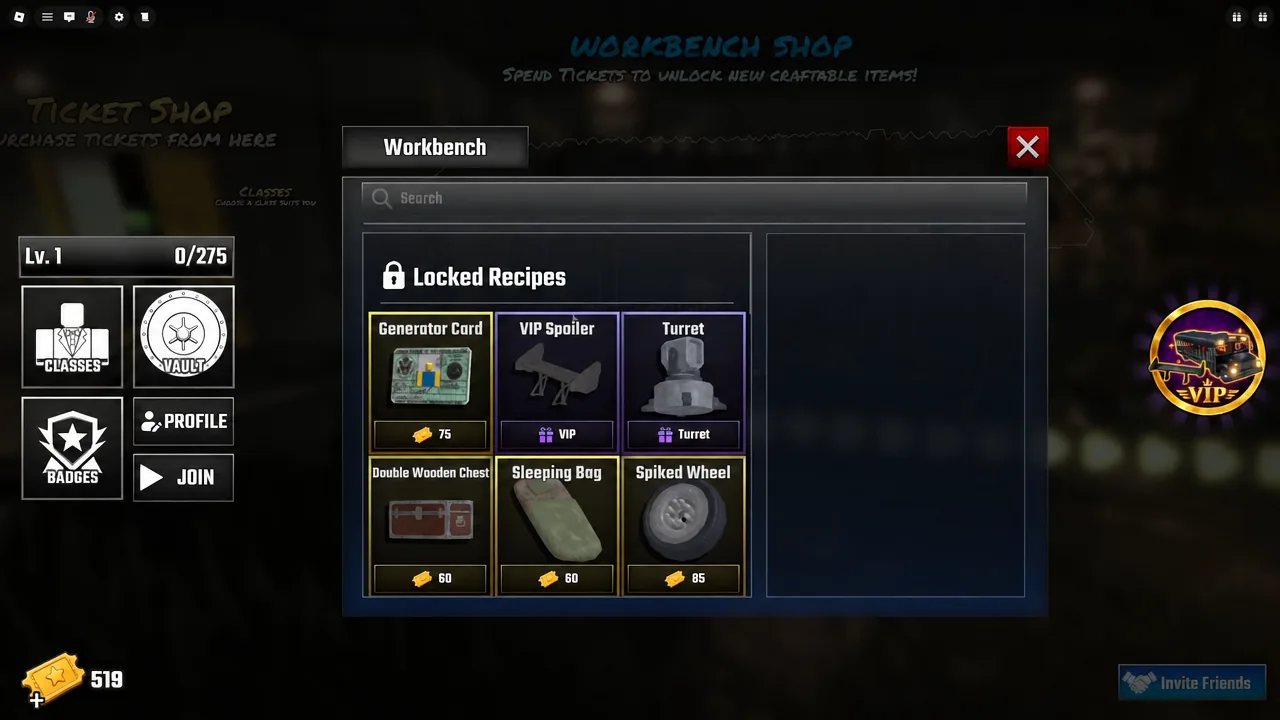
Bus parts sit on the same list. Wooden Walls, Half-Walls, Doors, Windows and a Log Grill are crafted from materials you find, while Spiked Wheels, Golden Wheels, Metal Walls and the Snow Plough, Saw and Flame Grills are lobby unlocks first.
Reaching the Last Stop and the two Fred endings
The distance counter at the top of the screen tracks how far the Last Stop still is. Reach it and the run ends one of two ways, both of which are tracked as badge objectives. You can defeat Fred outright, or you can carry the Cure potion to him and finish the encounter without killing him.
The cure route only works if nobody on the bus lands the killing blow, so decide as a group before the fight starts. A gun is the safer tool for the defeat route, which is the practical reason to hold onto a revolver and its Medium Ammo rather than converting it into cash at a terminal.
Longer-term progress is measured in badges rather than a single winning run. Travel milestones start at 100 Km and climb to 4,000 Km, workbench crafts are counted at 25, 150 and 500, zombie kills at 100, 500 and 2,000, and there are team objectives for 80 Km in a four-player group and 50 revives.
Codes
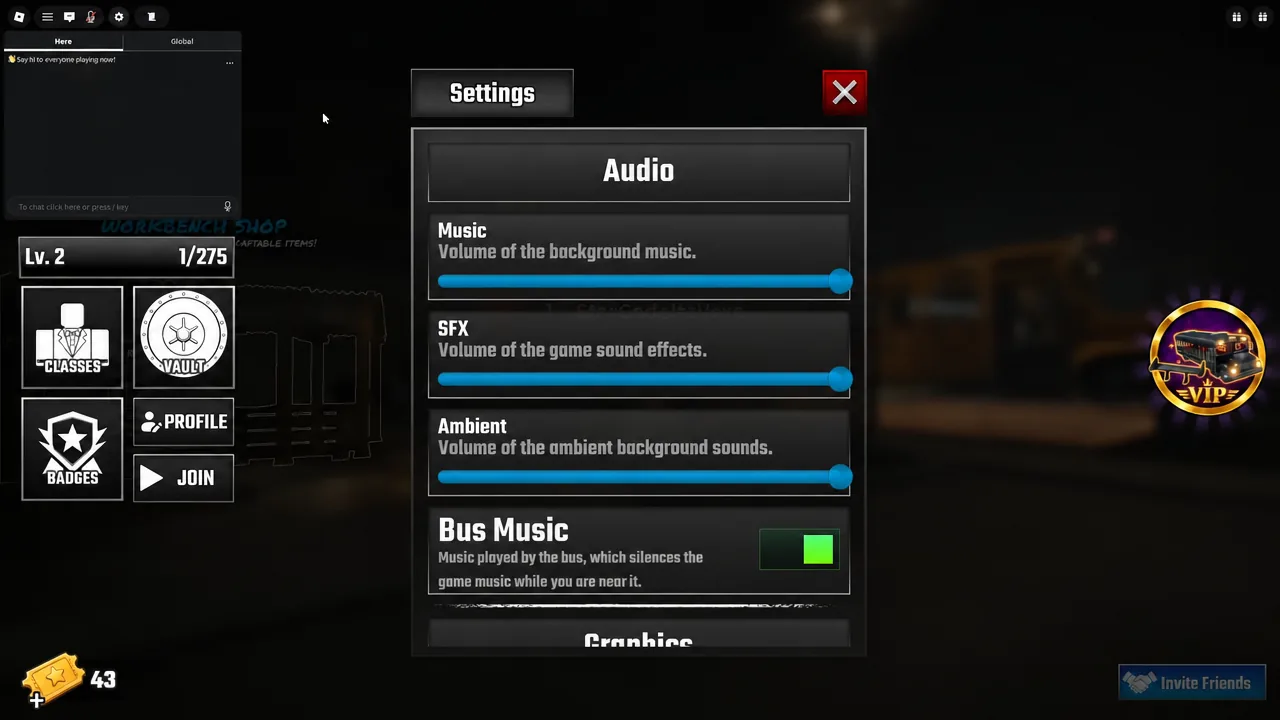
Two reward strings are circulating for Tickets: FRED for 500 Tickets and UPDATE1 for 250 Tickets. To redeem, open the game and stay in the lobby, click the Settings cog in the upper-left corner, scroll to the “Redeem Codes!” field, paste one string with no extra spaces, and confirm with the green checkmark before entering the second.
The game is still in beta and updating, so stops, prices and recipe requirements can shift between sessions. The habits hold up regardless: feed the burner before you leave a stop, inspect anything you have not seen before, and treat a full inventory of food as a run you have already half lost.





