

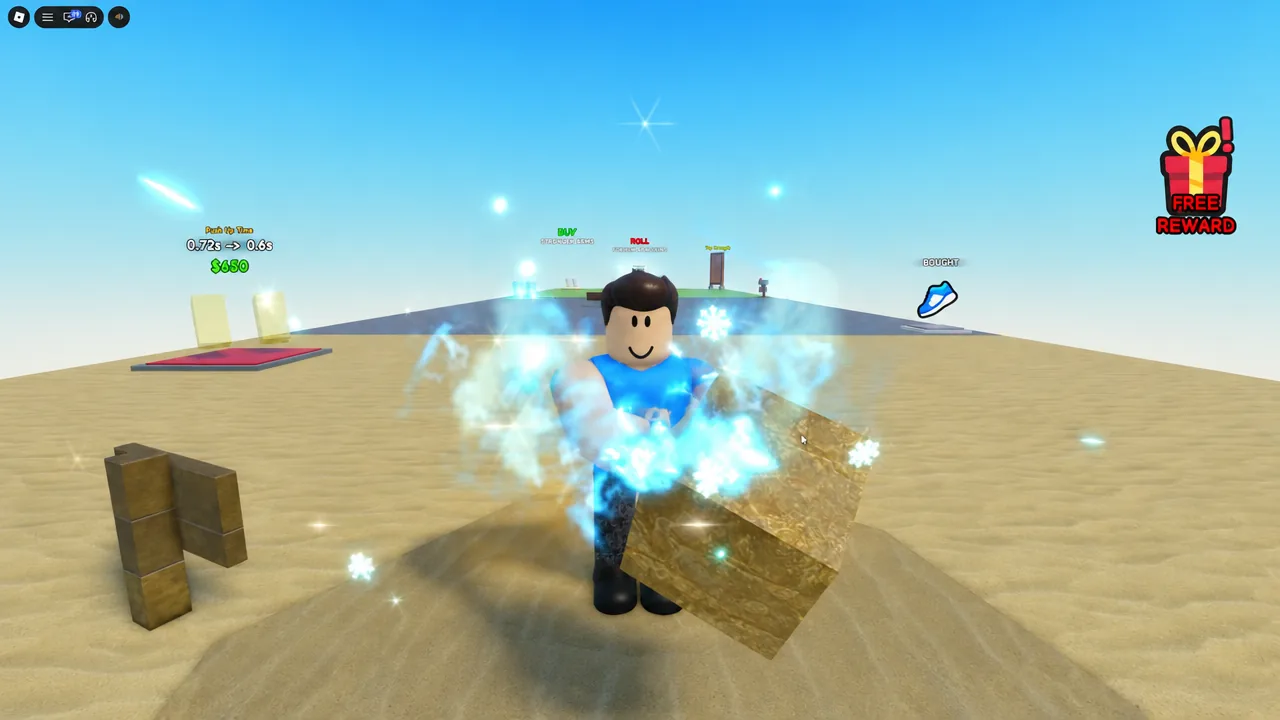
Lift a Cube is an incremental simulator built around one number: strength. Every cube on the map has a weight and a recommended strength value, and your whole run is a cycle of raising that stat until the next cube stops resisting. The trap for new players is spending cash in the wrong order and grinding cubes that pay almost nothing.
Quick answer: Press 1 to start push-ups, click every multiplier bubble that appears, then lift the heaviest cube your strength allows. Spend the cash on arm material rolls first, but keep a reserve for the permanent training speed and movement speed pads in each map section. Repeat.
The train, lift, roll loop explained
Three systems drive everything. Training raises strength. Lifting cubes converts strength into cash. Rolling the Arm Materials Chest converts cash into a strength multiplier, which makes the next round of training faster. Nothing else meaningfully changes your progress rate.
Because the multiplier applies to your gains rather than your total, a better arm material is worth far more than a few extra minutes of push-ups at your current rate. That is why cash should almost always go back into rolls and upgrades instead of sitting unspent.
| Action | Input |
|---|---|
| Move | W, A, S, D |
| Jump | Spacebar |
| Interact | E |
| Train (push-ups) | Number key 1, or the Train button on screen |
| Lift a cube | Rapid left mouse clicks during the minigame |
Training: Push-ups, multiplier bubbles, and idling
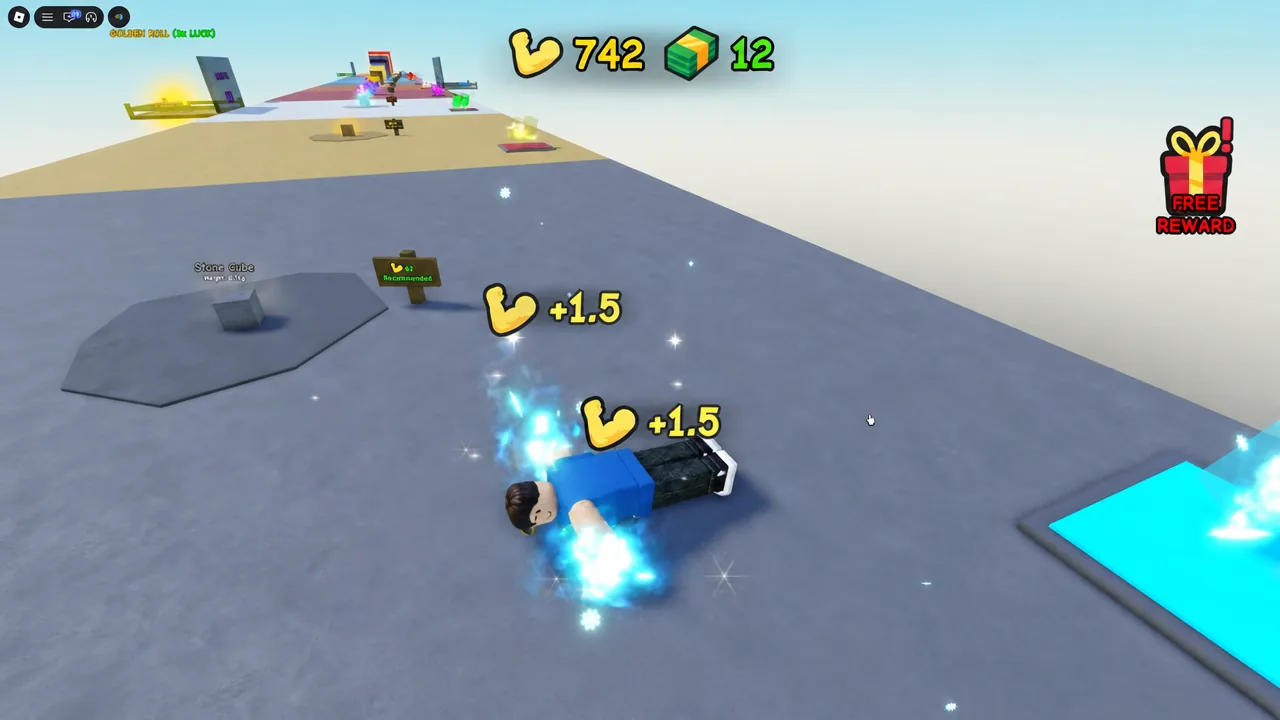
Training runs itself. Press the Train button or tap 1, and your avatar keeps doing push-ups without any further input. Each rep adds one point of strength by default, and your arm material multiplies that figure.
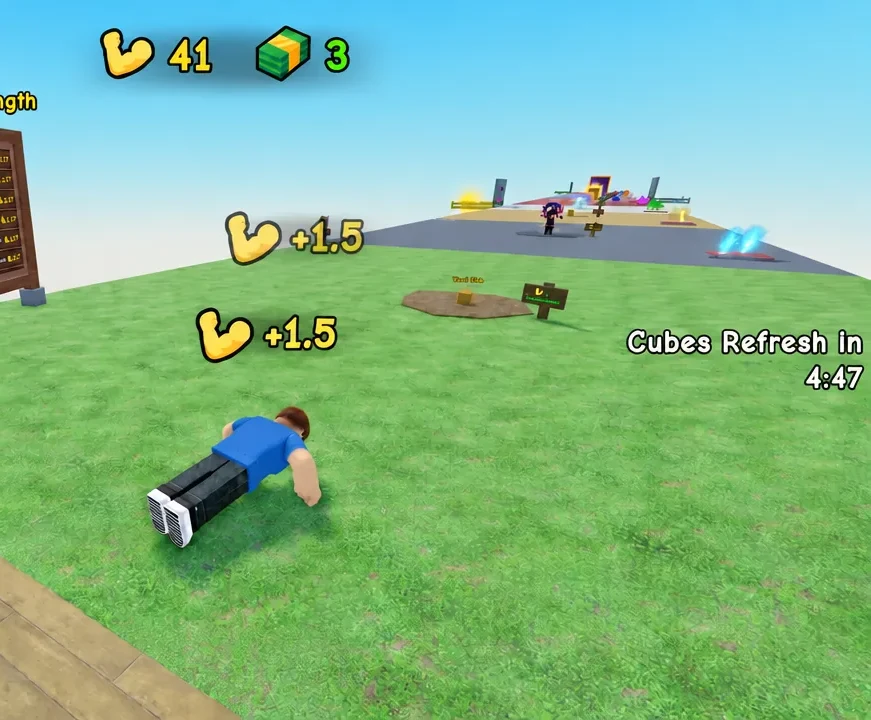
While you train, a bubble carrying a multiplier appears near you from time to time. Clicking it gives a short boost that applies to a single push-up, so grab each one as it spawns. It is small in isolation and adds up noticeably over a long session.
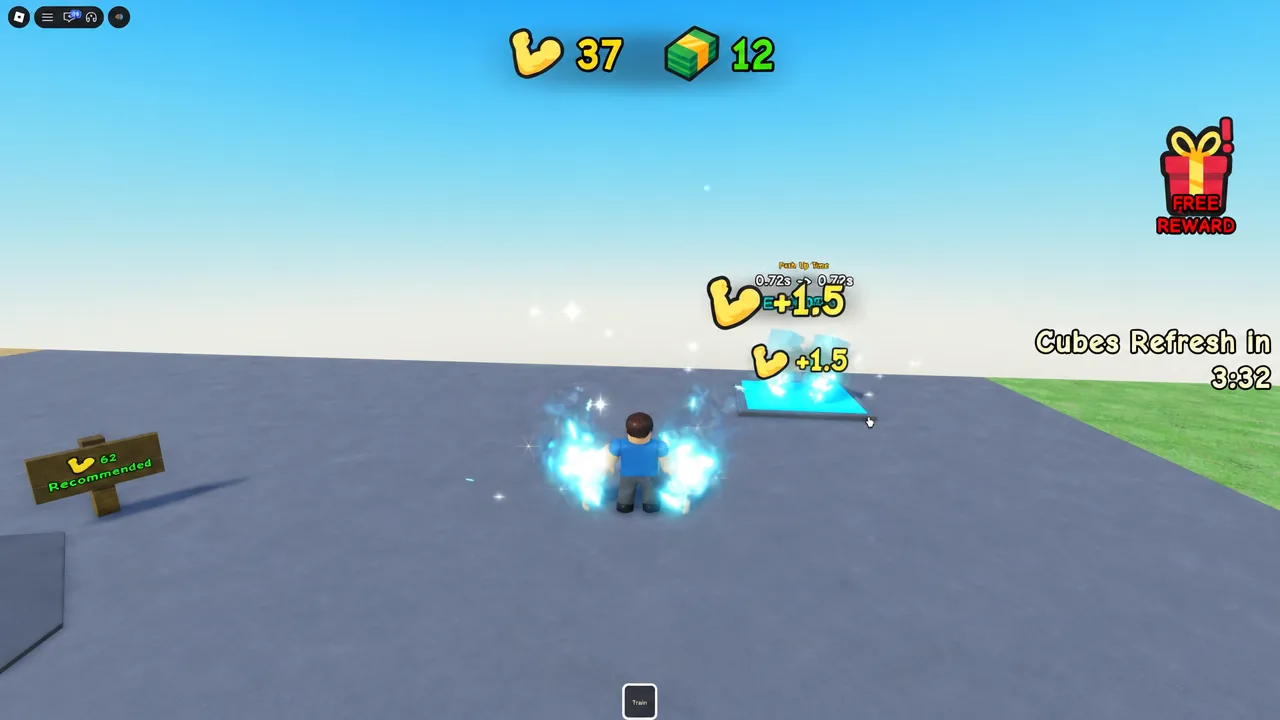
Tip: Since the process is hands-free, you can start push-ups and leave the game running for several minutes. Come back, clear a few cubes, roll for materials, and start training again.
Lifting cubes: Weight, recommended strength, and payouts
Walk up to a cube and the lift minigame starts. You push the marker along a bar by clicking the left mouse button as fast as you can. If your strength sits at or above the recommended value, the bar fills quickly. If your strength is well under it, the cube will not budge at all.
Payouts scale with weight, so light cubes are a waste of time once you have outgrown them. Always travel to the heaviest cube you can actually clear rather than farming an easy one near spawn.
| Cube | Weight |
|---|---|
| Wood Cube | 2.0kg |
| Stone Cube | 6.0kg |
| Cooper Cube | 18.0kg |
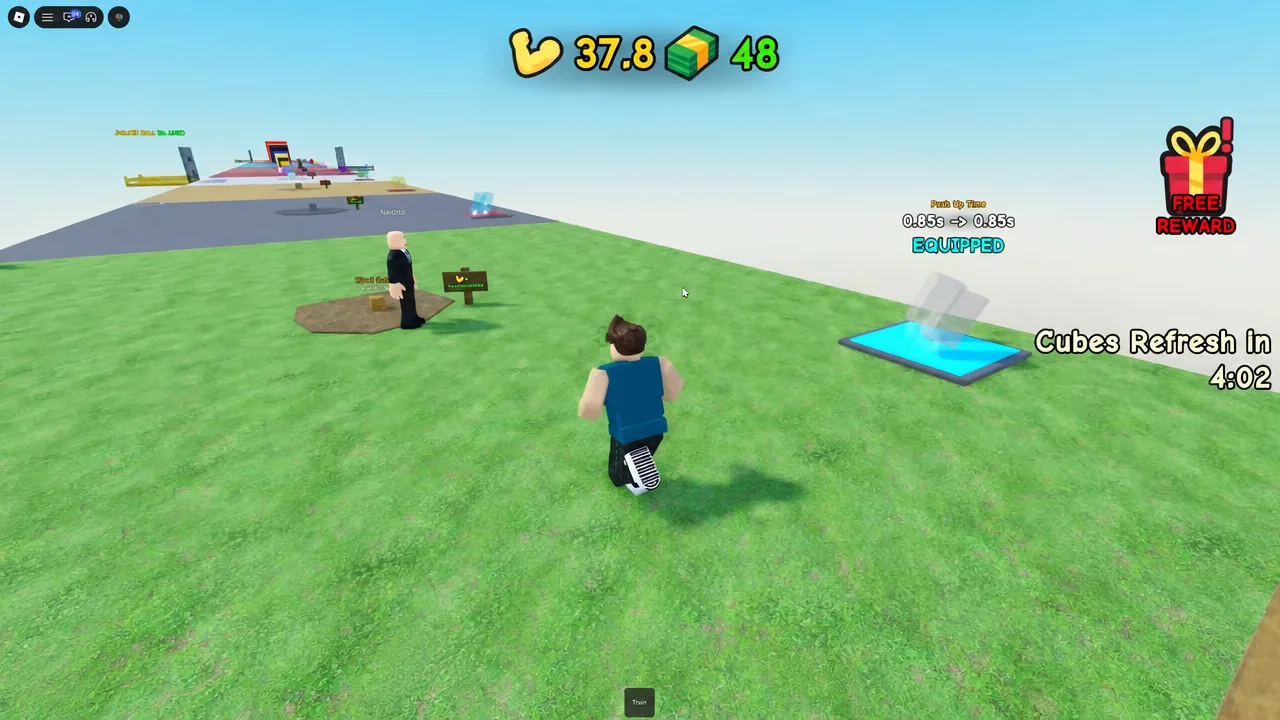
Cubes refresh on a timer, shown by the countdown above each spawn, so a cleared area becomes farmable again shortly after.
Spending cash: Arm materials before anything else
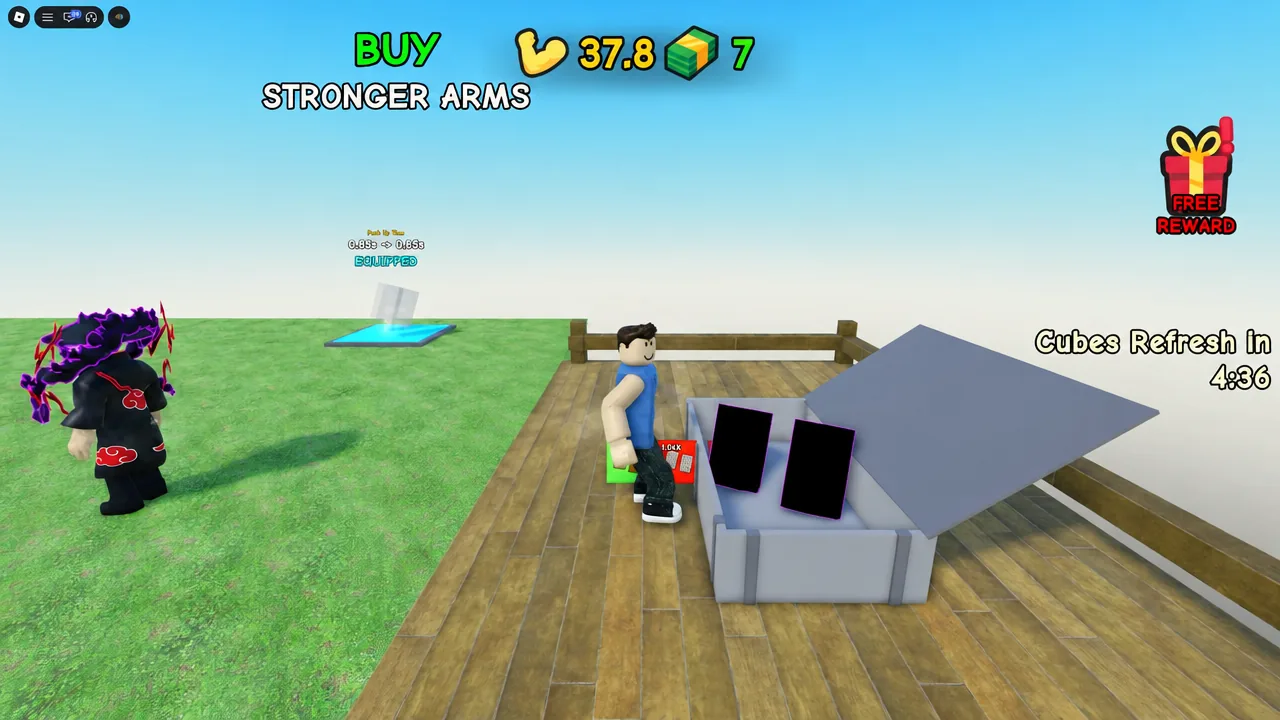
Cash from lifts goes into the Arm Materials Chest, marked by white arrows on the ground. Each roll pulls a material with a rarity and a strength multiplier attached, and the equipped material shows up as coloured bands on your avatar’s arms.
Early common materials sit around a 1.5x multiplier for a small price, while rare pulls jump to figures like 6x. Because the multiplier applies to every rep from that point on, chasing a higher-rarity material is nearly always better value than banking cash.
Permanent map upgrades are worth reserving cash for
Every section of the map holds at least one purchasable upgrade, usually targeting movement speed or training speed. These are permanent once bought, with some marked as flat 2X STRENGTH boosts. They never reset, so the earlier you buy them, the longer they compound.
Movement speed matters more than it looks. Cubes and chests are spread across a long map, and a faster walk cuts the dead time between lifting a cube and rolling for a new material.
Overtraining to skip a cube tier
There is no rebirth system here, so nothing you build ever gets wiped in exchange for a bonus. That single fact makes overtraining the strongest habit a new player can form. Strength you bank now is strength you keep.
Instead of lifting the moment you meet a recommended value, keep training past it. Once you comfortably clear the requirement for a cube two tiers ahead, you can walk straight past the intermediate cubes and start earning their larger payouts without grinding through the middle.
Gains will plateau eventually, and that is the signal to stop training and go roll for a better arm material. If a session of push-ups is barely moving you toward the next cube, cash is better spent than time.
The 1.3 billion strength finish line
The last cube on the map asks for roughly 1.3 billion strength. Reaching it takes high-tier arm materials plus nearly every permanent upgrade on the route, since the efficiency bonuses are what make the final stretch reasonable. None of it is gated behind paid content — the heaviest cube is reachable without spending Robux.
You will know an attempt has worked when the lift bar fills and the cube comes off the ground, paying out its cash value. A failed attempt is almost always the same problem, which is strength sitting below the recommended figure shown above the cube.
The rhythm that works best is simple. Train in long stretches while you do something else, come back and clear the heaviest cubes available, dump the cash into rolls, and pick up the permanent pads as you pass them. Do that consistently and the cube tiers start falling in pairs rather than one at a time.





