
Checkboxes are useful only when each one writes TRUE/FALSE to a reliable location. The quickest setup depends on your Excel version and whether you’re working with the new in‑cell checkboxes or legacy Form Controls. The sections below cover both, including bulk linking for existing checkboxes and cross‑sheet mirroring.
Excel 365 in‑cell checkboxes (Insert tab) — add many at once
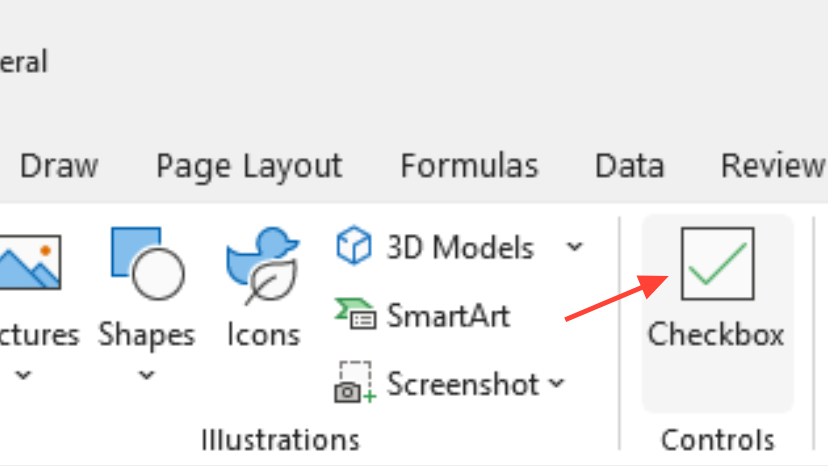
Step 1: Confirm the Checkbox command appears on the Insert tab of the ribbon. Recent Microsoft 365 builds include a Checkbox button that inserts in‑cell checkboxes; selecting a range and clicking it creates one checkbox per selected cell and toggles each cell’s value to TRUE/FALSE. See Microsoft’s guidance for adding multiple checkboxes in one action: learn.microsoft.com/en-us/answers/questions/5349904.
Step 2: Select the range where you want checkboxes (for example, B2:B400). Keep the selection contiguous for a clean fill.
Step 3: On the Insert tab, click Checkbox. Excel will place one in‑cell checkbox per selected cell. No linked cell is required—the value lives in the same cell.
Step 4: Use the TRUE/FALSE values in formulas, filters, and PivotTables. Typical patterns include COUNTIF(B2:B400,TRUE) to count checked items or referencing the cells directly in logic.
Link existing Form Control checkboxes to matching cells (bulk relink)
When to use: You already have Form Control checkboxes (Developer tab) and need each one to write to its corresponding row/column without re‑inserting them.
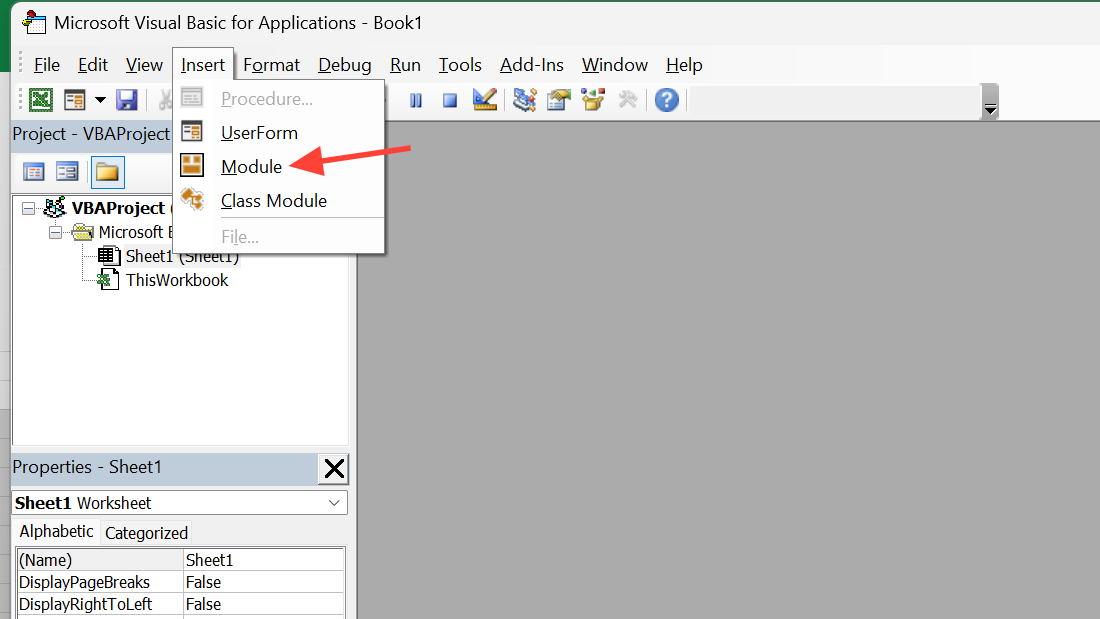
Step 1: Open the VBA editor with Alt+F11. In the Project pane, choose your workbook to ensure the macro runs on the correct sheet.
Step 2: Insert a standard module via Insert > Module. This keeps the macro reusable across sheets.
Step 3: Paste the macro below. It sets each checkbox’s LinkedCell to a cell offset from the checkbox’s top‑left cell. Adjust lCol to control which column receives TRUE/FALSE.
Sub LinkCheckBoxes_ToOffset()
    Dim chk As CheckBox
    Dim lCol As Long
    'Link each checkbox to a cell lCol columns to the right of the box's top-left cell.
    'Set to 0 to link to the same cell; 1 for next column; 2 for two columns over, etc.
    lCol = 1

    For Each chk In ActiveSheet.CheckBoxes
        chk.LinkedCell = chk.TopLeftCell.Offset(0, lCol).Address
        chk.Caption = ""  'Optional: hide caption so only the box shows.
    Next chk
End Sub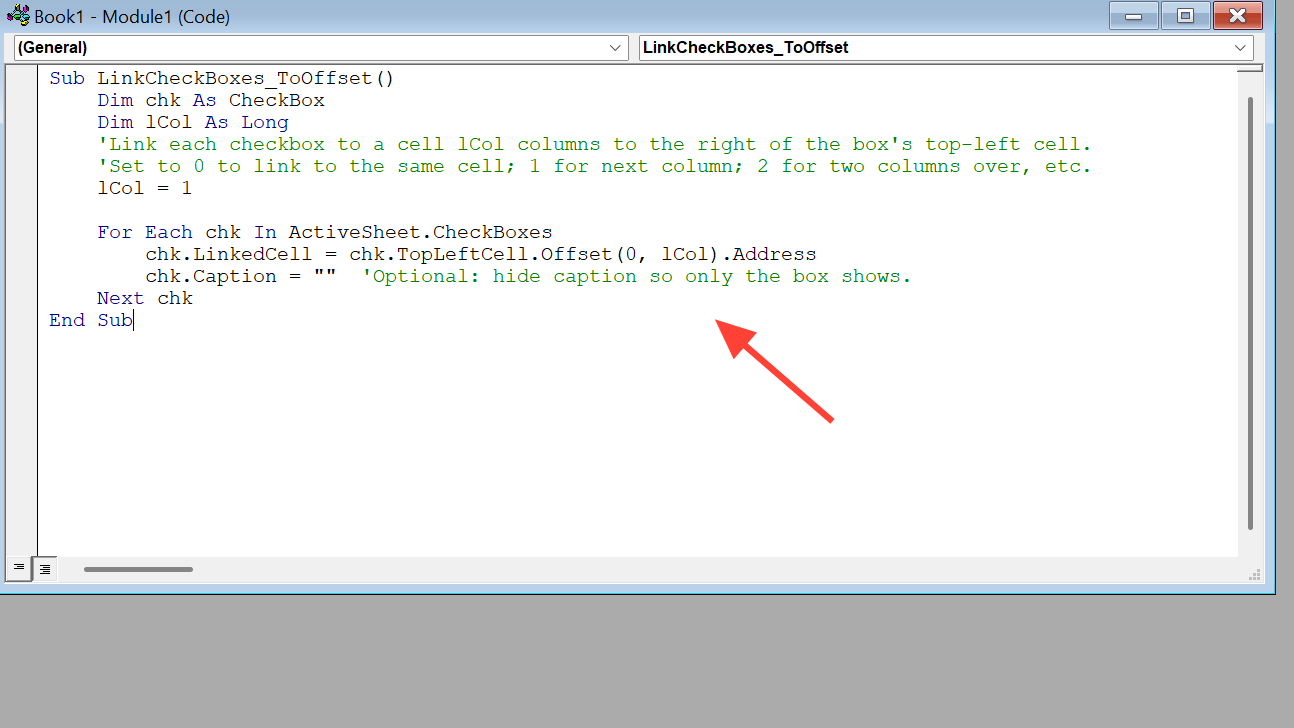
Step 4: Run the macro with Alt+F8, select LinkCheckBoxes_ToOffset, then click Run. Toggle a few boxes to confirm each writes to the correct cell.
Cross‑sheet linking for existing checkboxes
Step 1: Use this variant when the TRUE/FALSE should live on another sheet (for example, link a checkbox over A5 to Sheet2!C5). It keeps the pairing by row.
Sub LinkCheckBoxes_ToOtherSheet()
    Dim chk As CheckBox
    Dim linkSheet As Worksheet
    Dim rowOffset As Long, colOffset As Long

    'Set the target sheet for the TRUE/FALSE values:
    Set linkSheet = ThisWorkbook.Worksheets("Sheet2")

    'Adjust offsets relative to each checkbox's TopLeftCell:
    'Example: same row, 2 columns to the right on the target sheet.
    rowOffset = 0
    colOffset = 2

    For Each chk In ActiveSheet.CheckBoxes
        chk.LinkedCell = linkSheet.Cells( _
            chk.TopLeftCell.Row + rowOffset, _
            chk.TopLeftCell.Column + colOffset).Address(External:=True)
    Next chk
End Sub
Step 2: Run the macro and test a few boxes. Each should update its paired cell on the target sheet to TRUE/FALSE.
Add and link new Form Control checkboxes in bulk (create + link)
When to use: You need to insert many Form Control checkboxes and link each one to a specific column or to the same cell it sits in.
Create in one column and link to another column (by row)
Step 1: Open the VBA editor with Alt+F11 and insert a module.
Step 2: Paste the macro. Adjust the source/target columns and the row range to match your sheet.
Sub AddCheckboxes_LinkByRow()
    Dim i As Long

    'Place checkboxes in column A and link to column C on the same row.
    'Change the loop to cover your actual row range.
    For i = 2 To 300
        With ActiveSheet.CheckBoxes.Add( _
                Cells(i, "A").Left, _
                Cells(i, "A").Top, _
                72, 17.25)
            .Caption = ""
            .Value = xlOff
            .LinkedCell = "C" & i
            .Display3DShading = False
        End With
    Next i
End Sub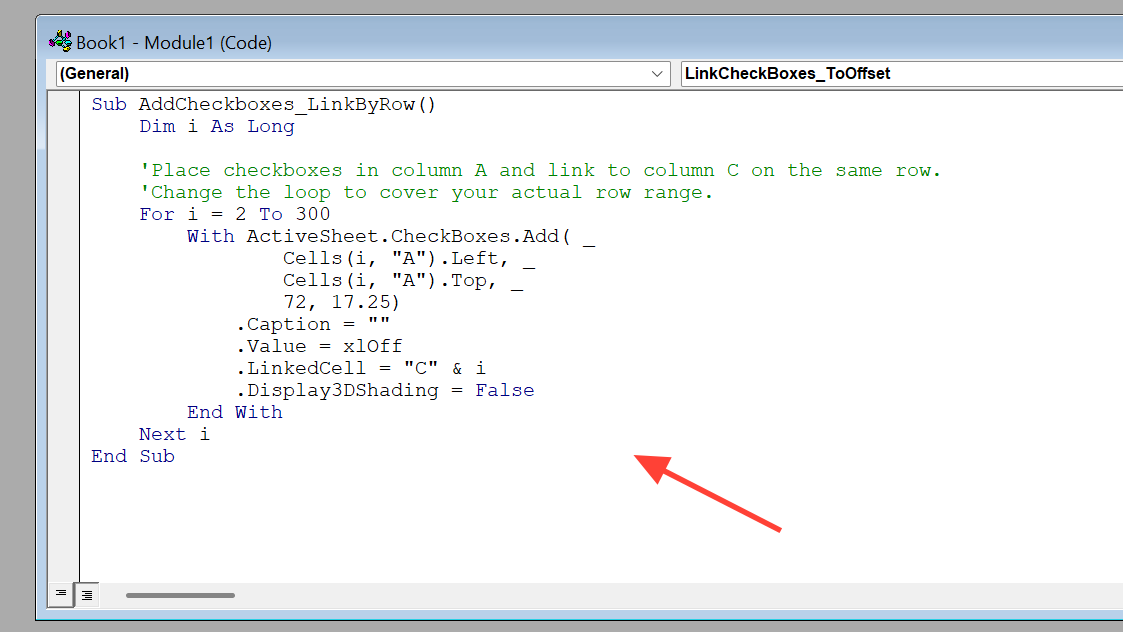
Step 3: Run the macro and verify that each box writes to the correct row in the target column.
Create one checkbox per cell and link to the same cell (aligned to grid)
Step 1: Use this when you want the checkbox sized to the cell and its TRUE/FALSE stored in that same cell. The macro below clears existing checkboxes on the sheet to avoid stacking duplicates.
Sub AddCheckboxes_OnePerCell_SameCellLink()
    Dim Rng As Range, WorkRng As Range, ws As Worksheet

    Application.ScreenUpdating = False

    'Delete any existing checkboxes to prevent overlap.
    ActiveSheet.CheckBoxes.Delete

    'Adjust the range to the cells where you want checkboxes.
    Set WorkRng = Range("B2:B100")
    Set ws = ActiveSheet

    For Each Rng In WorkRng
        'Optional gate: only add a checkbox if a neighbor cell has content.
        'If Cells(Rng.Row, "A").Value <> "" Then
            With ws.CheckBoxes.Add(Rng.Left, Rng.Top, Rng.Width, Rng.Height)
                .LinkedCell = Rng.Address
                .Characters.Text = ""
                .Name = Rng.Address
            End With
        'End If
    Next

    Application.ScreenUpdating = True
End Sub
Step 2: Run the macro. Each cell in the chosen range now has a checkbox aligned to the grid and linked to that cell. If you prefer to hide the TRUE/FALSE text, set the cell’s font color to match the background.
Mirror one checkbox across multiple places (shared link)
Step 1: To make two or more Form Control checkboxes reflect the same state, assign the same LinkedCell to all of them (for example, set each to Master!B2). Checking any one updates that single linked cell, which updates them all.
Step 2: To propagate the state to other cells, use a direct reference formula such as =Master!B2 where you need the same TRUE/FALSE. This works across sheets and keeps everything consistent.
Use the linked TRUE/FALSE in formulas and filters
Step 1: Count checked items with COUNTIF. Example: =COUNTIF(C2:C300,TRUE) counts how many boxes are checked in a linked column.
Step 2: Filter by checked rows using AutoFilter on the TRUE value. This isolates completed or selected items quickly for reporting.
Step 3: For weighted sums, multiply by TRUE/FALSE. Example: =SUMPRODUCT((C2:C300=TRUE)*E2:E300) totals only the amounts on checked rows.
Pick the approach that matches your sheet: in‑cell checkboxes for modern Microsoft 365, or the macros here for fast bulk work with Form Controls. Either way, you’ll move from manual linking to a setup that’s consistent and easy to maintain.