Building a functional calendar in Microsoft Excel streamlines scheduling, supports project planning, and gives you full control over layout and data. Whether you need a basic monthly overview, a yearly planner, or a dynamic calendar that updates automatically, Excel offers multiple ways to achieve your goal—ranging from using templates to crafting a calendar from scratch. Here’s how to create a calendar in Excel, with detailed instructions for each approach.
Using Excel Calendar Templates
File > New to access available templates. In the search bar, type calendar and press the magnifying glass icon to view calendar templates.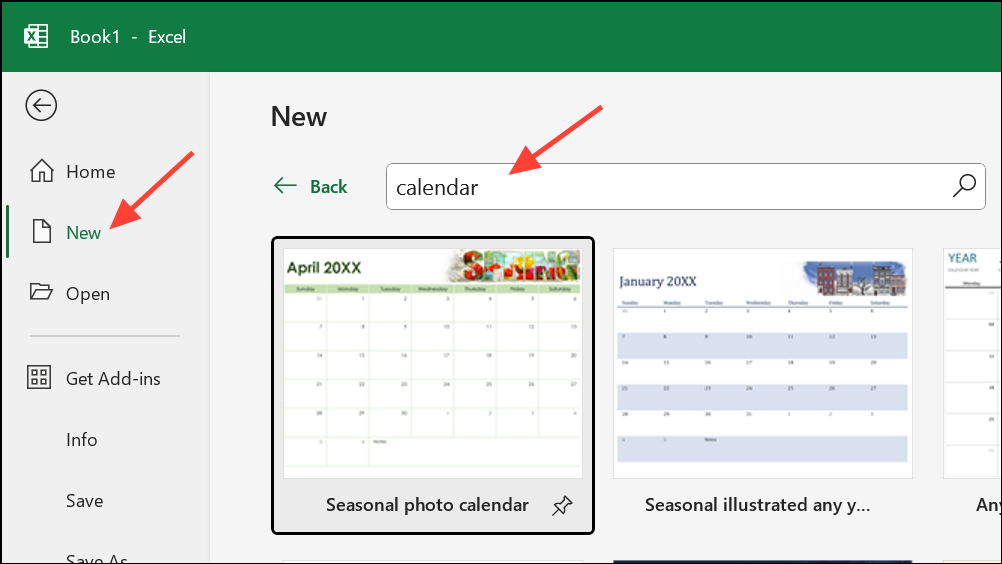
Create to generate a new workbook based on that template.
Page Layout tab, use Themes to adjust fonts, colors, and styles across the entire workbook. To rename your calendar file, go to File > Save As and choose a descriptive name.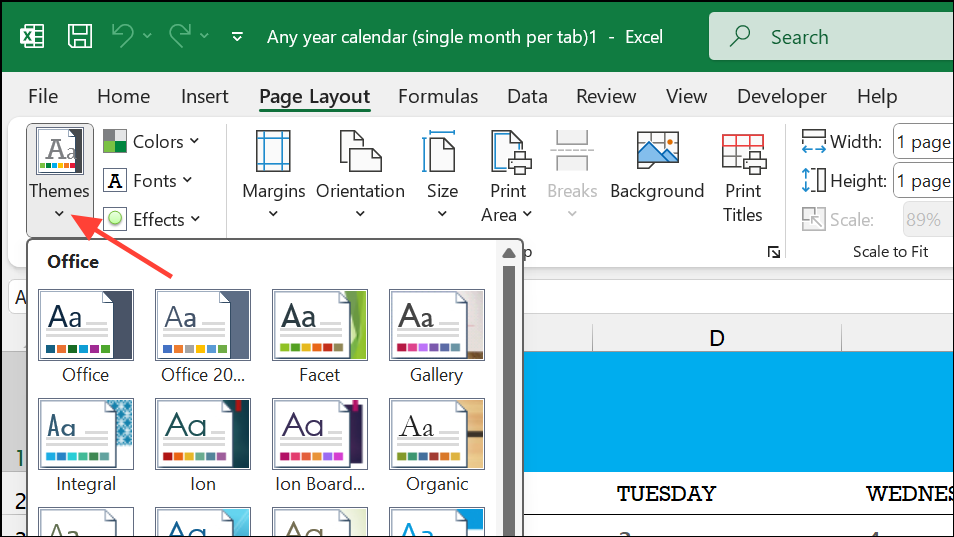
Ctrl+P and select whether to print the current sheet or the entire workbook. To share online, use the Share button in Excel for the web to generate a shareable link.Manually Creating a Calendar from Scratch
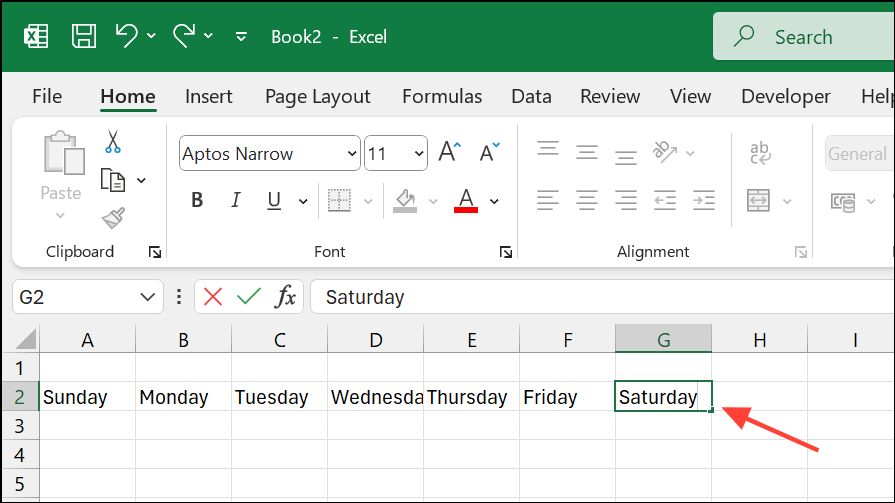
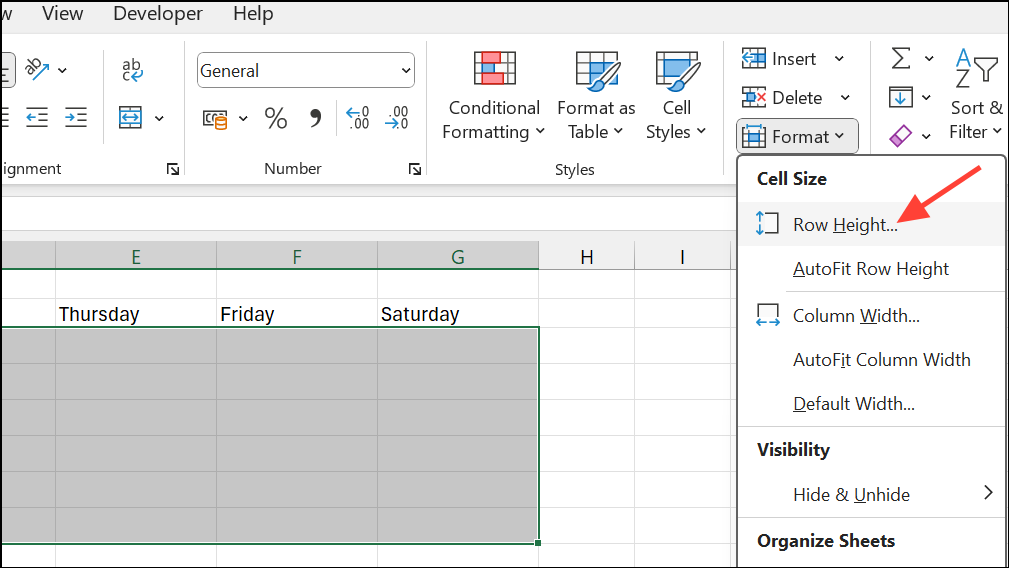
Format Cells > Alignment, and set horizontal alignment to Right (Indent) and vertical alignment to Top.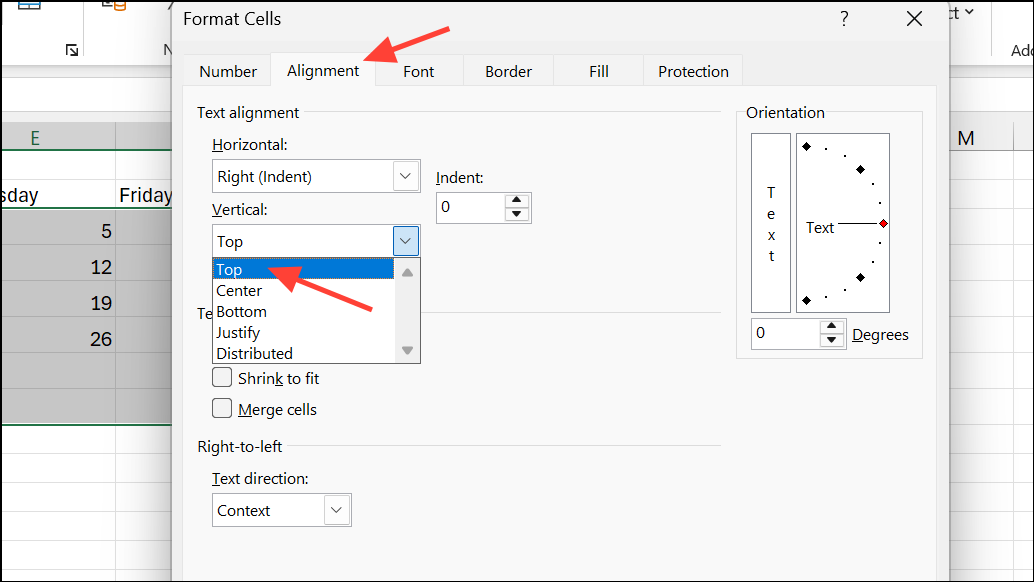
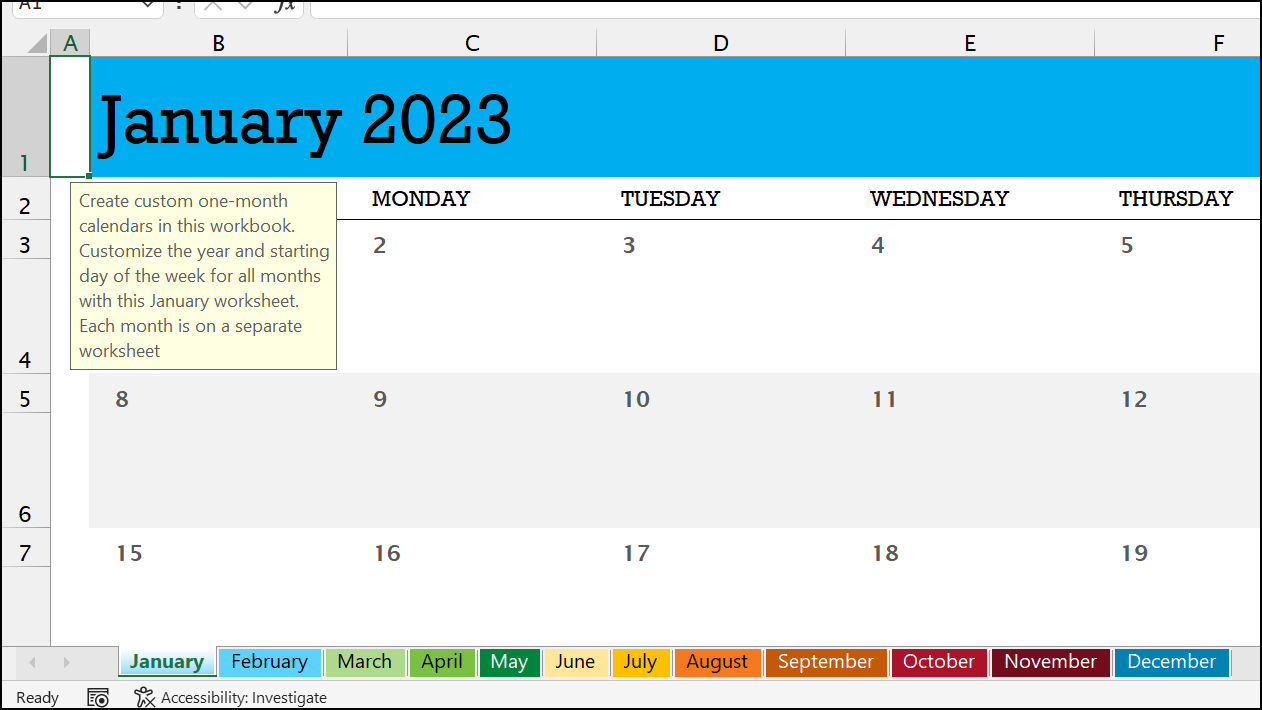
Move or Copy, and check Create a copy. Rename the new sheet, update the dates, and change the header to the next month.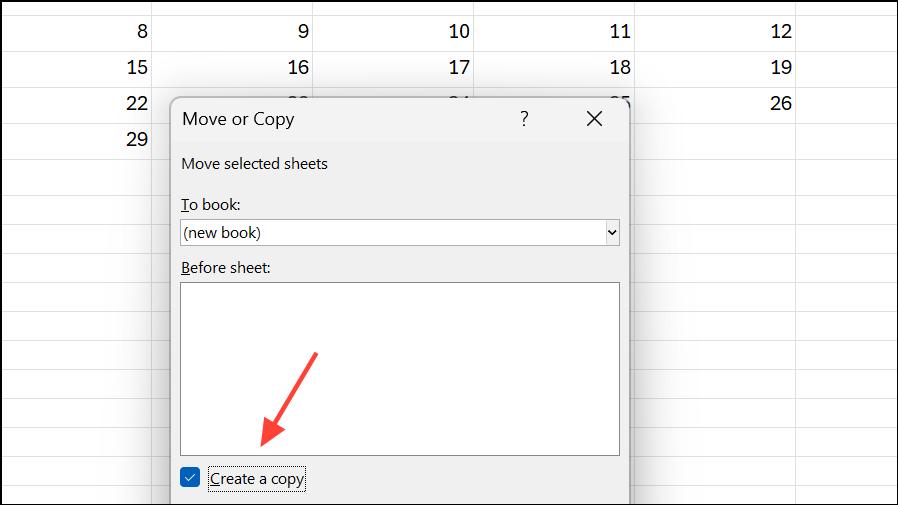
This manual method gives you complete control over formatting and layout, allowing for custom designs and advanced features like formulas to automate date calculations or highlight specific days.
Linking Events or Data to Calendar Dates
For more dynamic calendars—such as those that display events from a separate table—Excel formulas like VLOOKUP, INDEX and MATCH can pull event details into the appropriate date cell. Place your event data in a dedicated table with columns for dates and event descriptions. Then, use a formula in each calendar cell to display the event if the date matches an entry in your events table.
For example, a formula like:
=IFERROR(VLOOKUP(this_date, event_table, 2, FALSE), "")will show the event description on the corresponding calendar date. This approach supports automatic updates as you add, remove, or modify events in your table.
Tips and Cautions for Excel Calendars
- Templates are the fastest way to get a functional calendar with built-in formulas and formatting.
- Manual calendars offer maximum flexibility for custom layouts, conditional formatting, and integration with other data.
- Be careful not to overwrite formula cells in templates—doing so breaks automatic updates.
- To automate highlighting of weekends or holidays, use conditional formatting rules based on the
WEEKDAYfunction. - Excel calendars do not support drag-and-drop, task assignment, or built-in reminders. For these features, consider dedicated scheduling apps.
- Always save a backup copy before making major changes, especially to templates with complex formulas.
Creating a calendar in Microsoft Excel gives you a powerful tool for planning and organization, whether you use a ready-made template or design your own from scratch. With these methods, you can tailor your calendar to your exact needs and update it as your schedule evolves.