Call of Duty: Modern Warfare 4 has no collectibles in most of its campaign missions. All of them sit in three missions: Following Orders (Mission 3), Stranded (Mission 10) and Escape (Mission 13). There are 64 notes in total, made up of 4 in Following Orders, 58 in Stranded and 2 in Escape. Stranded also has 26 Yellow Supply Caches, and Following Orders has four pieces of contraband. You don’t need any of them to finish the story. Each set unlocks an achievement or trophy, and you can replay any mission later to collect what you missed.
Quick answer: Read 50 notes in Stranded for Noteworthy. Open all 26 Yellow Supply Caches for Time to Crate. Read the four Following Orders notes for No Stone Unturned. Open the Escape safe with 8410 for Never Forgotten.
Modern Warfare 4 collectible achievements and requirements
| Achievement | Mission | Requirement |
|---|---|---|
| No Stone Unturned | 3, Following Orders | 4 contraband and 4 notes |
| Noteworthy | 10, Stranded | Read 50 notes in Stranded |
| Time to Crate | 10, Stranded | Open all 26 Yellow Supply Caches |
| Scavenger | 10, Stranded | Upgrade all base camp gear (195 Supplies) |
| Never Forgotten | 13, Escape | Collect Gaz’s Dogtags |
Stranded holds 58 notes, so you can reach the 50 needed for Noteworthy without leaving that mission. Scavenger is not a collectible achievement on its own. It depends on the Supplies you pick up while hunting notes and caches, so it makes sense to finish it in the same run.
Following Orders: Contraband and notes for No Stone Unturned
In Mission 3, you control a North Korean soldier searching homes for a defector. Find eight items in the first and third houses. In the first house, regular cabinets contain three of the four contraband items:
- MP3 player: the bathroom’s wall-mounted medicine cabinet.
- Western novel: Behind the bedroom’s sliding doors, look on the high shelf beside the TV.
- Extra rations: Look in the kitchen’s high white cupboard.
The fourth contraband item and all four notes take a short chain of actions.
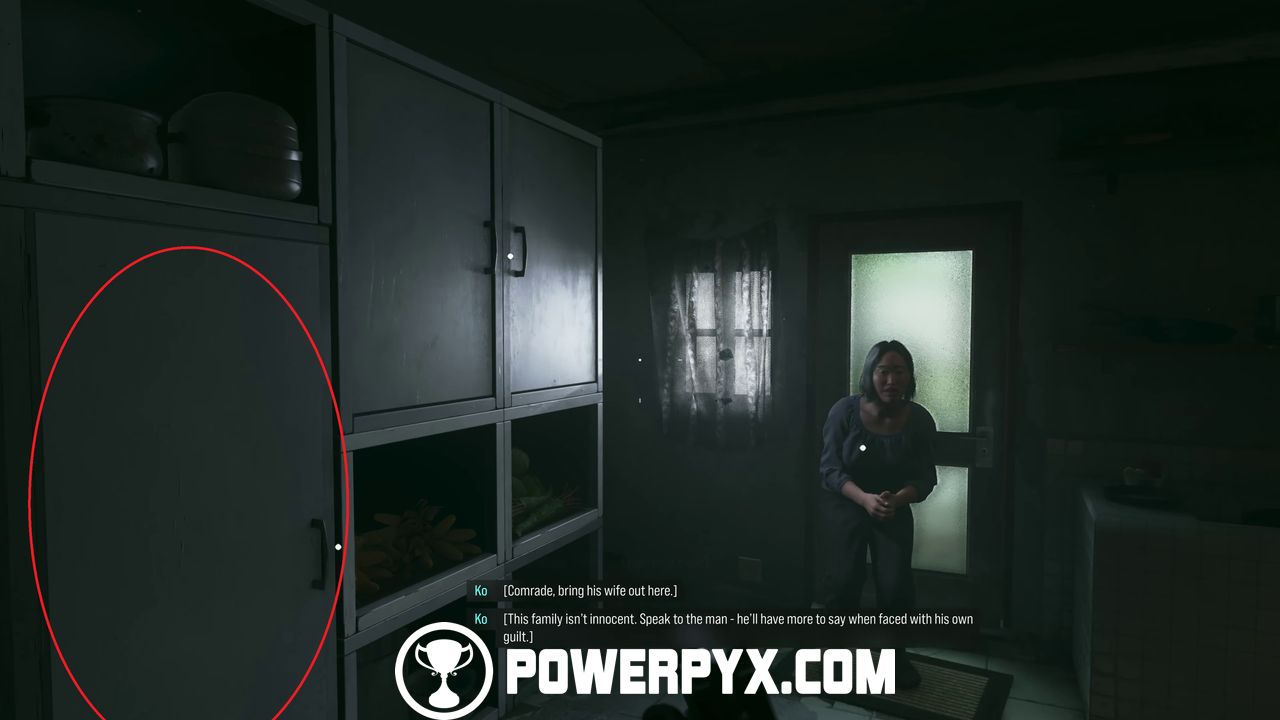
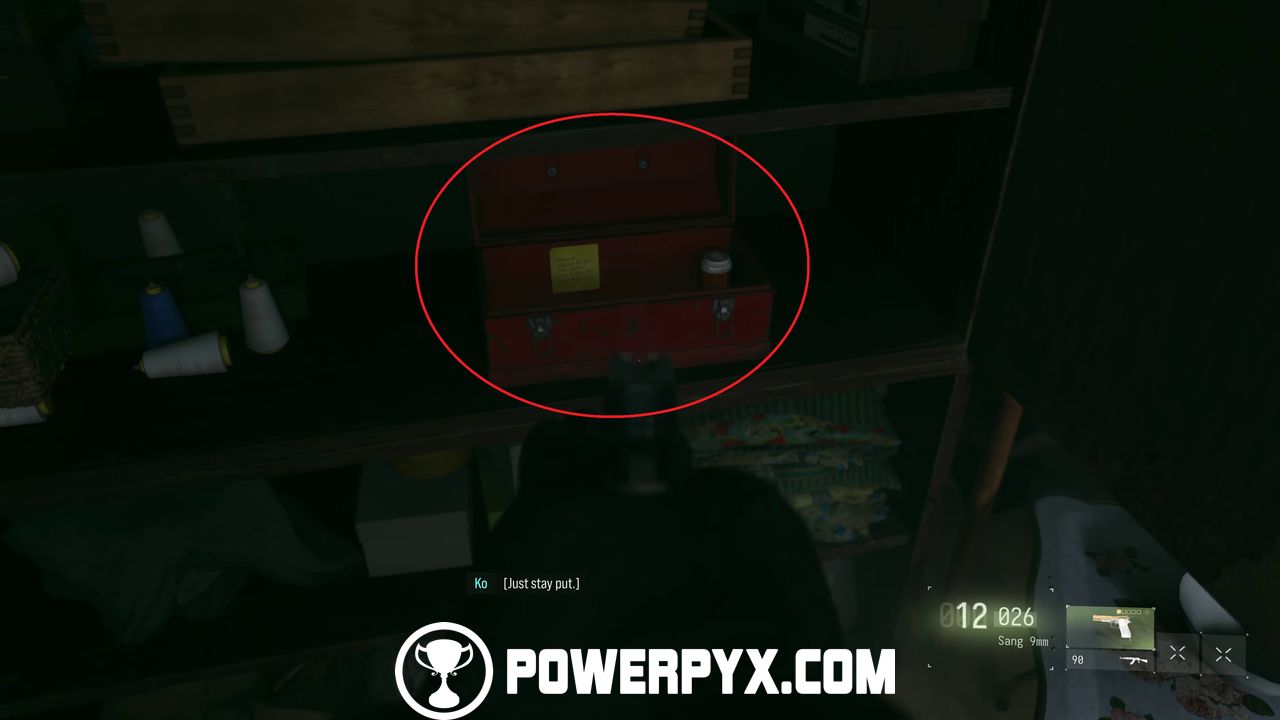
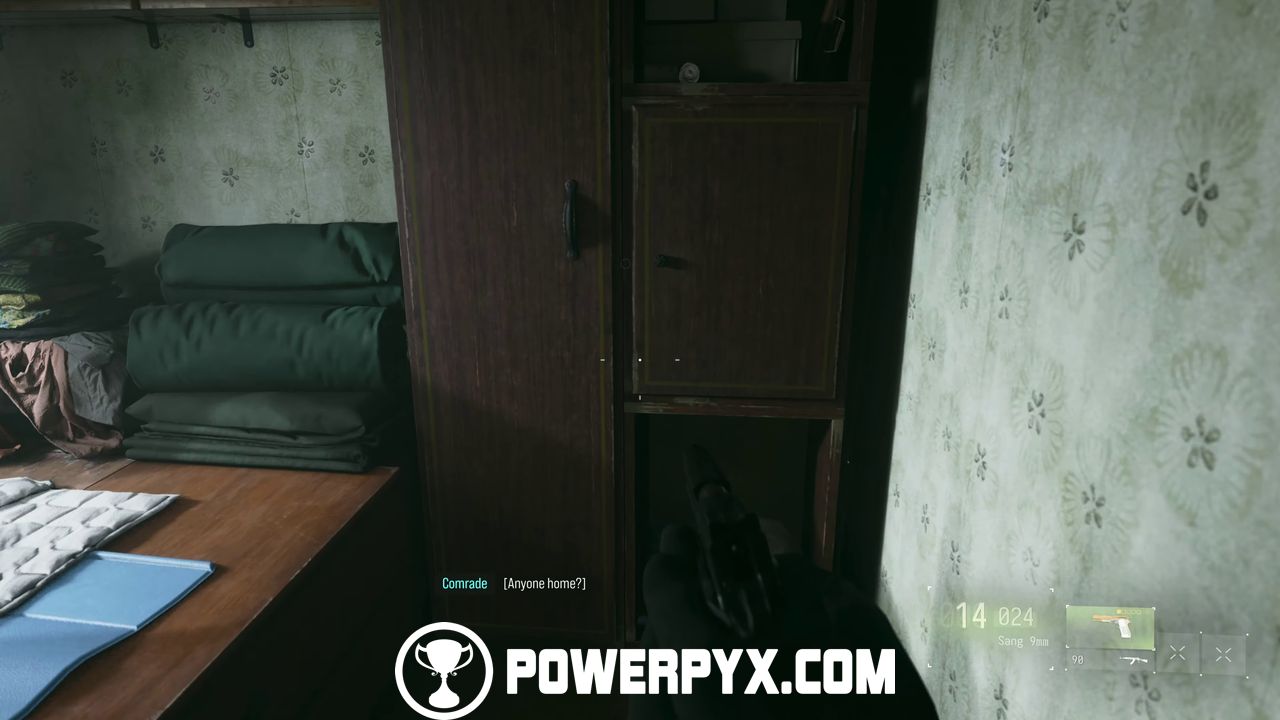
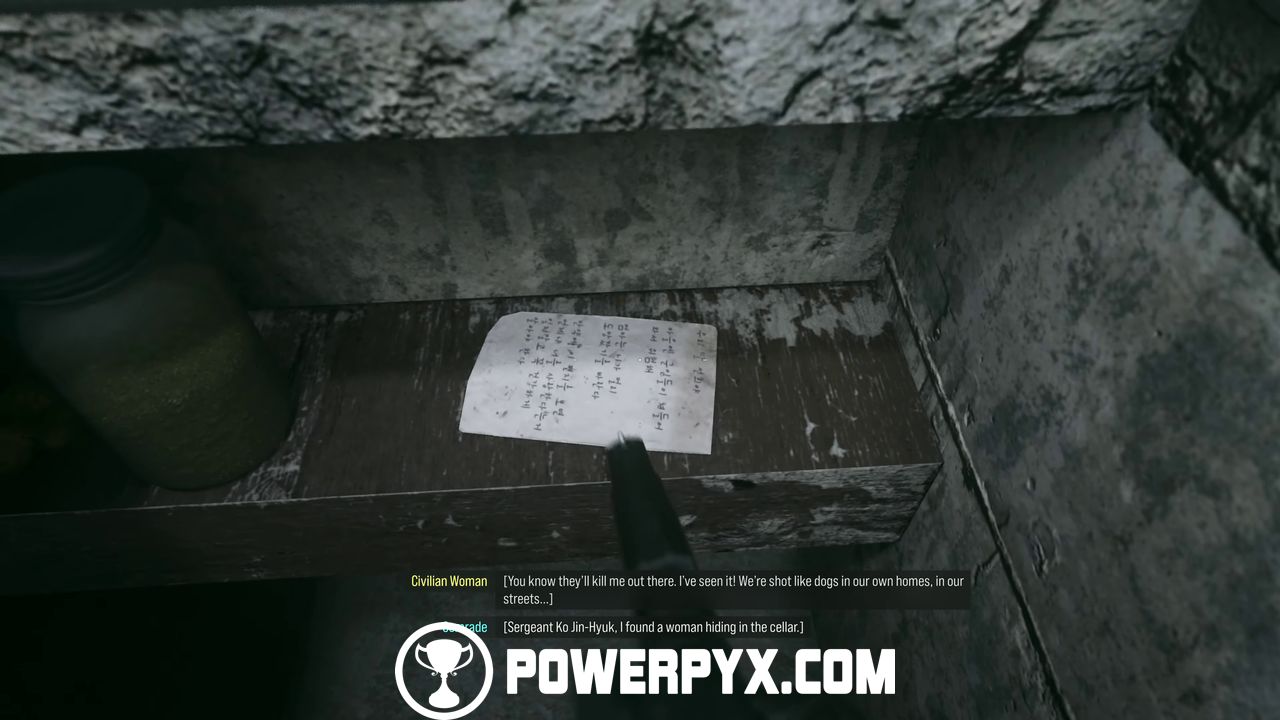
If you let the woman stay hidden, you lose access to the cellar and the fourth note. If that happens, replay the mission.
Stranded setup: Free roam, fast travel and note tracking
Stranded is an open map where you play as Pvt. Park Hyun-Suk. When you leave base camp with Kal, choose “I’ll find my own path and look for gear and supplies.” That opens up the map so you can explore it on your own. Pick up every Supply you see along the way, because the base camp upgrades for Scavenger cost 195 Supplies.
- You can fast travel to base camp, the three main objective sites and any outpost you have cleared.
- Press D-pad Down to open the backpack. It shows your Stranded note count as X/58.
- The note numbers below follow one route, so your on-screen count may differ if you collect things in another order.
- Two notes, Supply Crates Weapon Inventory and Supply Crates Equipment Inventory, are given to you when you open your 3rd and 5th caches.
Stranded keypad codes
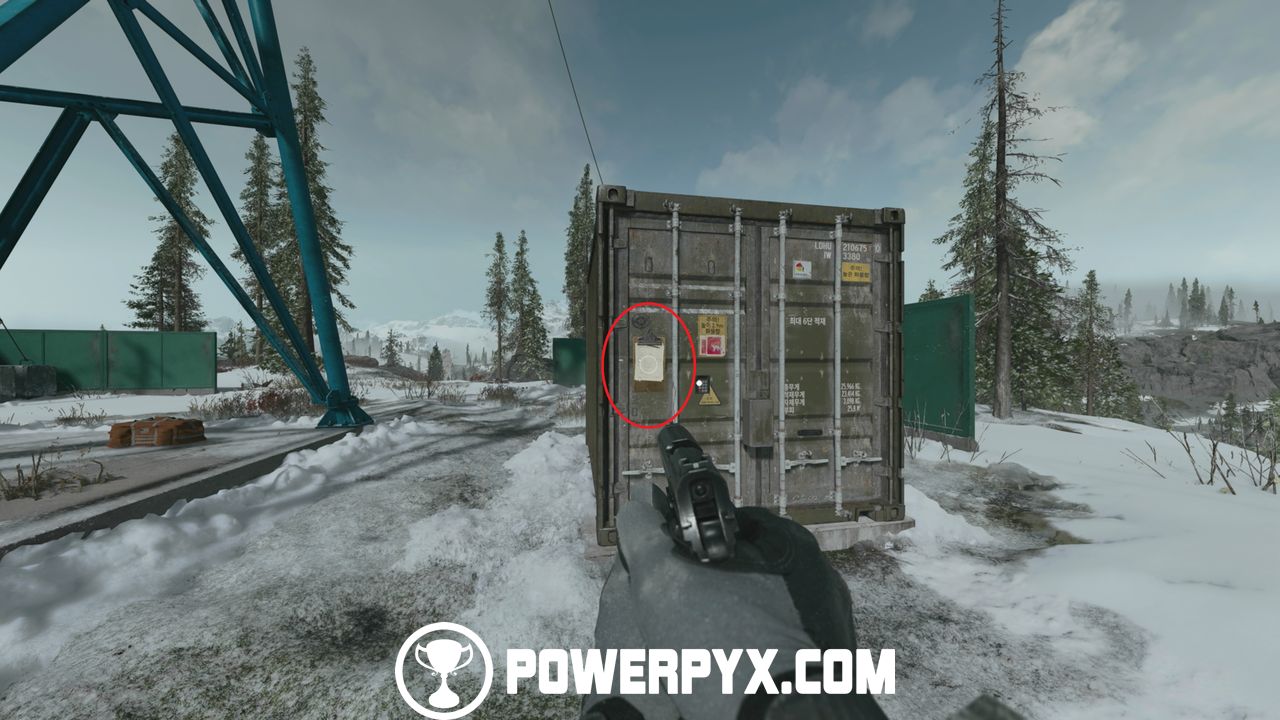
Eight containers and bunkers in Stranded are locked behind keypads. Each one has a clipboard nearby listing “unintentionally used codes,” and the real code continues their pattern. The codes are the same in every playthrough, so you can enter them without solving anything.
| Keypad location | Code | Pattern |
|---|---|---|
| Base Camp container | 0024 | Adds 6 each step |
| Island Hidden Bunker | 0008 | River checkpoints 1+2+5 |
| South East Village container | 0078 | Adds 22 each step |
| South of Jamming Station container | 8609 | +1, −1, last two +2 |
| Cliff near Base Camp container | 0600 | −3, +1, last two 00 |
| Big Sign container | 1234 | Adds 1, 12, 123 |
| Farm Field Hidden Bunker | 0330 | Logistics Stations 100+200+10+20 |
| Small Island container | 6789 | Completes the listed sequence |
One of the SAM site notes gives three of these codes directly: farm house 0330, river island 6789 and west island 0008.
Stranded notes and Yellow Supply Cache locations
The route below makes one loop out from base camp and covers all 53 notes and 26 caches you can pick up in the world. The last five notes come from workbench repairs, which are covered after the route.
Radio tower, smuggler sheds and sewers
| Collectible | Location | Detail |
|---|---|---|
| Note 1 | Container by the radio tower | Code 0024; supplies inside |
| Note 2 | Radio tower middle platform | Ladder, ledges, pipes |
| Note 3, Cache 1 | Radio tower summit | Cache holds WZ.55 Striga Rampage |
| Note 4 | Smuggler house workbench | Blue-and-white house, southeast |
| Note 5 | Shed with orange door | Next to the smuggler house |
| Note 6 | Water treatment building | East, question-mark marker |
| Note 7 | Sewer floor | Down the floor grate ladder |
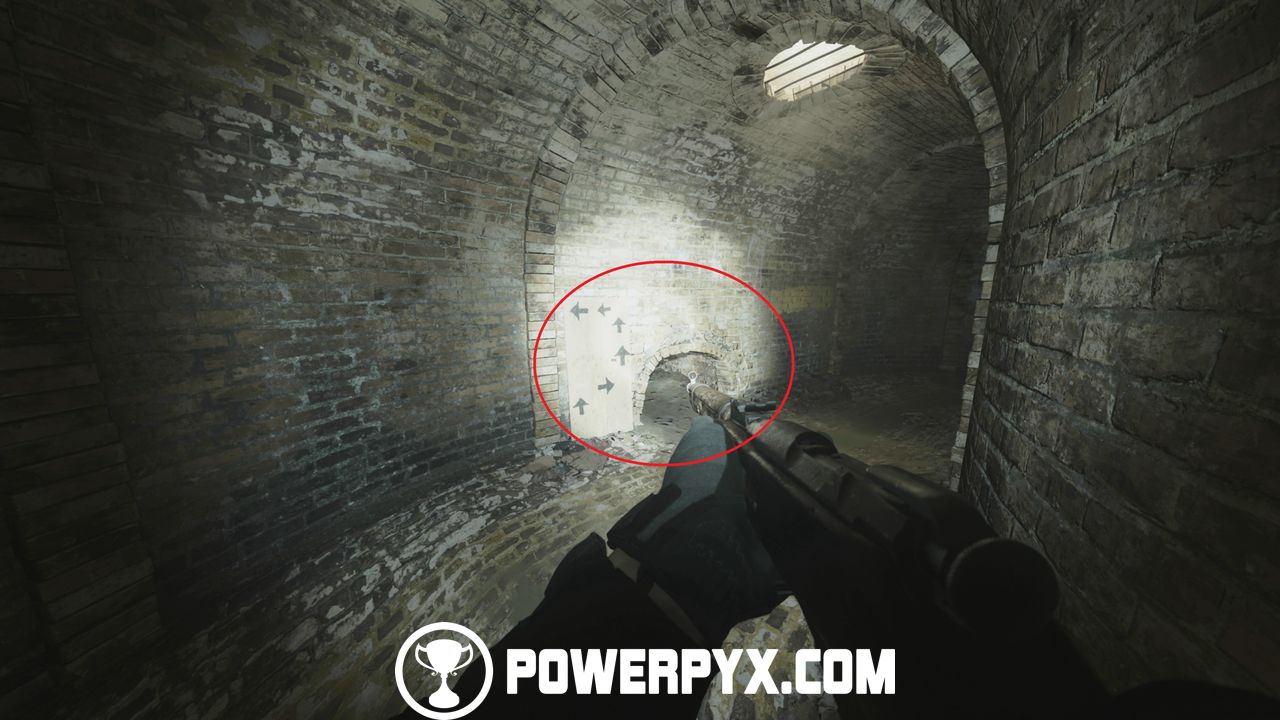
| Note 8, Cache 2 | End of the sewer tunnels | Follow the arrow board |
The tunnels mentioned in Note 7 form a maze of crawlspaces. At the entrance, an arrow board gives the route: right, left, straight, left, straight, left. Read the arrow shapes as route instructions, rather than compass bearings. Climb a ladder along the way; Note 8 is positioned just before the drop to Cache 2.
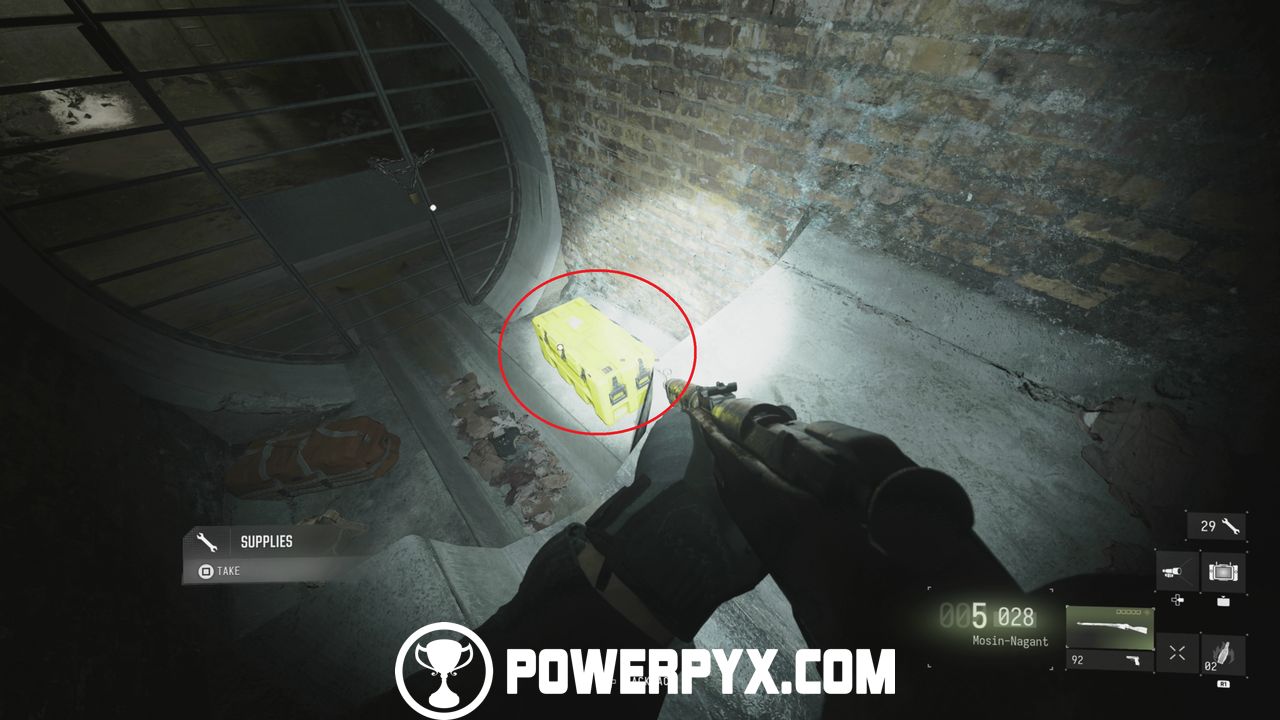
River checkpoints and the southern monument
| Collectible | Location | Detail |
|---|---|---|
| Cache 3, Note 9 | Infantry Checkpoint #1 guardhouse | Southwest of water treatment |
| Notes 10–11, Cache 4 | Island Hidden Bunker | West across river; code 0008 |
| Cache 5, Note 12 | Logistics Station #200 | Green garage, south |
| Note 13 | Top of the southern monument | Climb the red grips |
| Note 14 | Worktable under the bridge | Parachute northeast |
| Cache 6 | Artillery Battery #7 guardhouse | Clear the battery first |
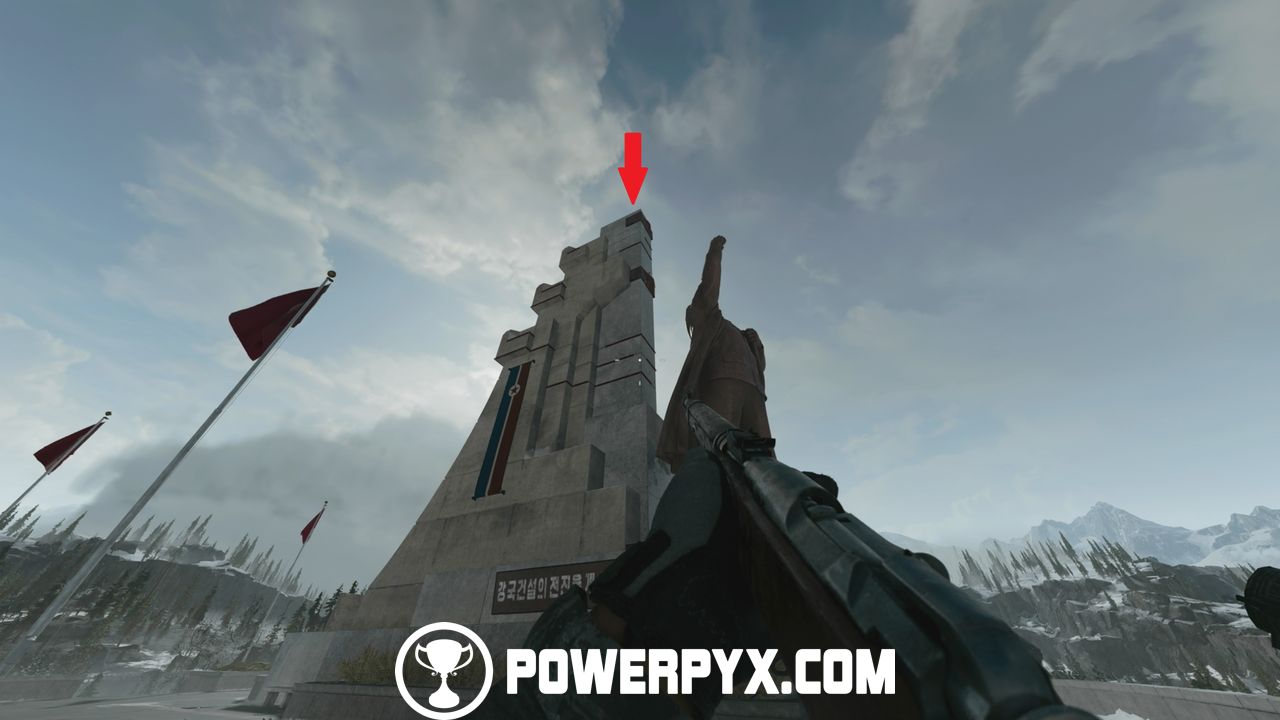
Southeast village, train line and main bunker
| Collectible | Location | Detail |
|---|---|---|
| Note 15 | White building, blue door | Southeast of the battery |
| Note 16 | Schoolhouse teacher’s desk | First door on the left |
| Note 17, Cache 7 | Container outside the village | Code 0078 |
| Cache 8 | Water tower gantry | Across the bridge |
| Cache 9 | Moving train boxcar | Board it as it passes |
| Cache 10 | Main bunker entrance | Clear the entrance |
| Note 18 | Pump control room desk | First door Kal opens |
| Note 19 | Ledge over a cage | Push the yellow cart, climb |
| Note 20 | Corner desk | Left past the submarine |
| Note 21 | Supply room | Swim the flooded tunnel |
| Notes 22–23 | Two parked red boxcars | Northeast of the bunker |
Cache 9 is on the train that passes the water tower. If it has already gone by when you reach the tracks, wait for it to come around again and jump on. Inside the bunker, Note 19 is through the metal door that opens after you restore power. On your first visit, the door on the way to Note 21 only opens after you pick up three explosives for the story.
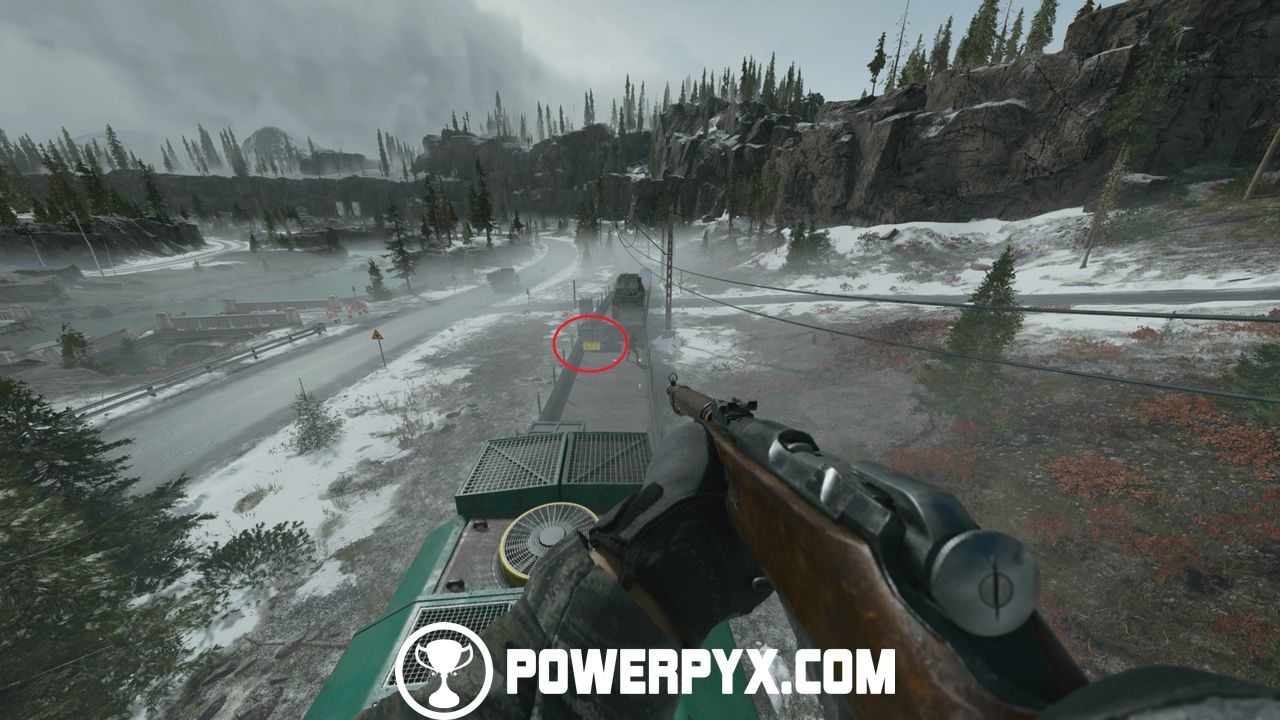
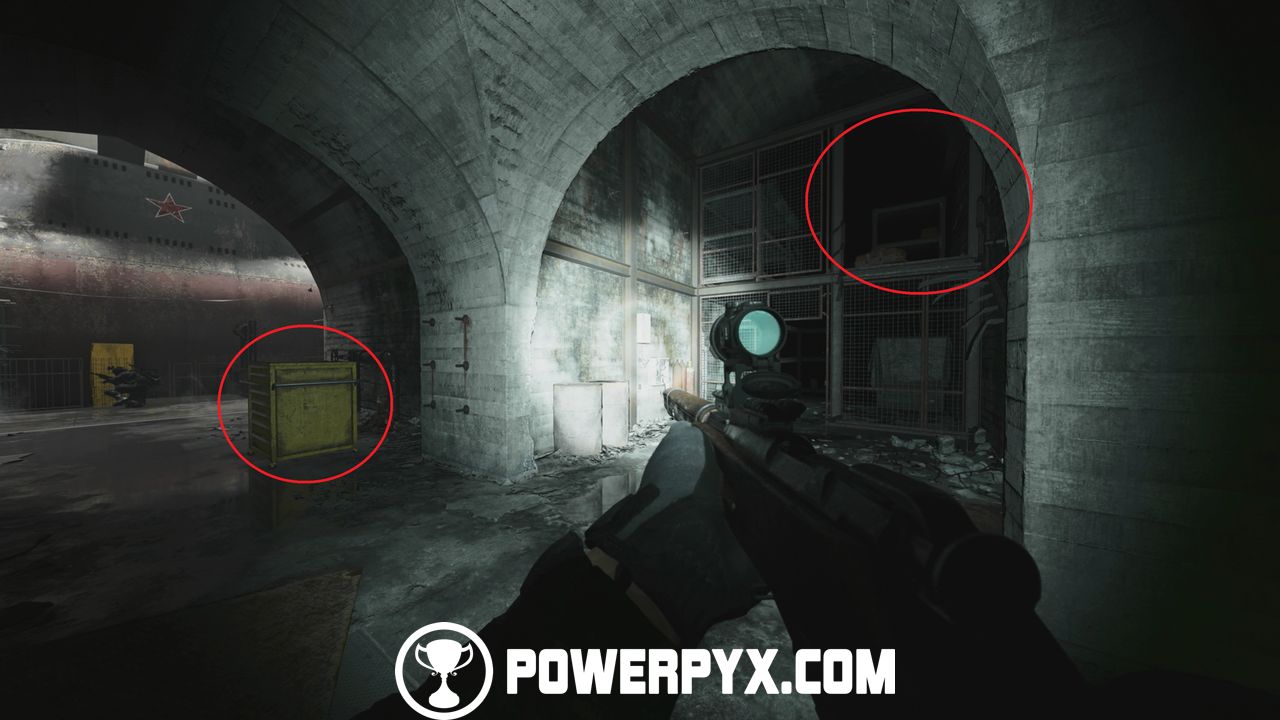
Northern road and the Jamming Station
| Collectible | Location | Detail |
|---|---|---|
| Cache 11 | Logistics Station #10 | Green guardhouse |
| Cache 12 | Infantry Checkpoint #2 | Breach the guard building |
| Cache 13 | Station #3 guardhouse | Below the Jamming Station |
| Note 24 | Snowy cliff path | Rock by a dead soldier |
| Note 25 | Blue quarters building | Break room counter |
| Note 26 | Helipad | On a green barrel |
| Note 27 | Main operations building | Hallway bench |
| Note 28 | Control room | Console desk |
| Note 29 | Upper hallway | Floor near an open window |
| Cache 14 | External tower | Up the first ladder |
| Cache 15, Note 30 | Logistics Station #20 | West; note on office desk |
| Note 31, Cache 16 | Container south of the station | Code 8609 |
| Note 32 | Container by the water silo | Next to the 8609 container |
| Note 33 | Northeast statue | Search the body at the pedestal |
Base camp outskirts, highway sign and lake
| Collectible | Location | Detail |
|---|---|---|
| Note 34 | Farmhouse by black smoke | Southwest; bedroom desk |
| Note 35, Cache 17 | Bombed house | Drop in through the roof |
| Note 36, Cache 18 | Cliff container north of base | Code 0600 |
| Note 37 | Stone shed | Northwest of base camp |
| Note 38 | Riverside shack | Swim past the submarine |
| Notes 39–40, Cache 19 | Container under the highway sign | Code 1234 |
| Note 41 | Top of the sign | Climb the right-side pipes |
| Cache 20 | Artillery Battery #6 | Blow up the barrier crates |
| Notes 42–43 | Farm Field Hidden Bunker | Code 0330 |
| Note 44, Cache 21 | River island container | Code 6789 |
| Notes 45–46 | Logistics Station #100 | Elevator, then guardhouse |
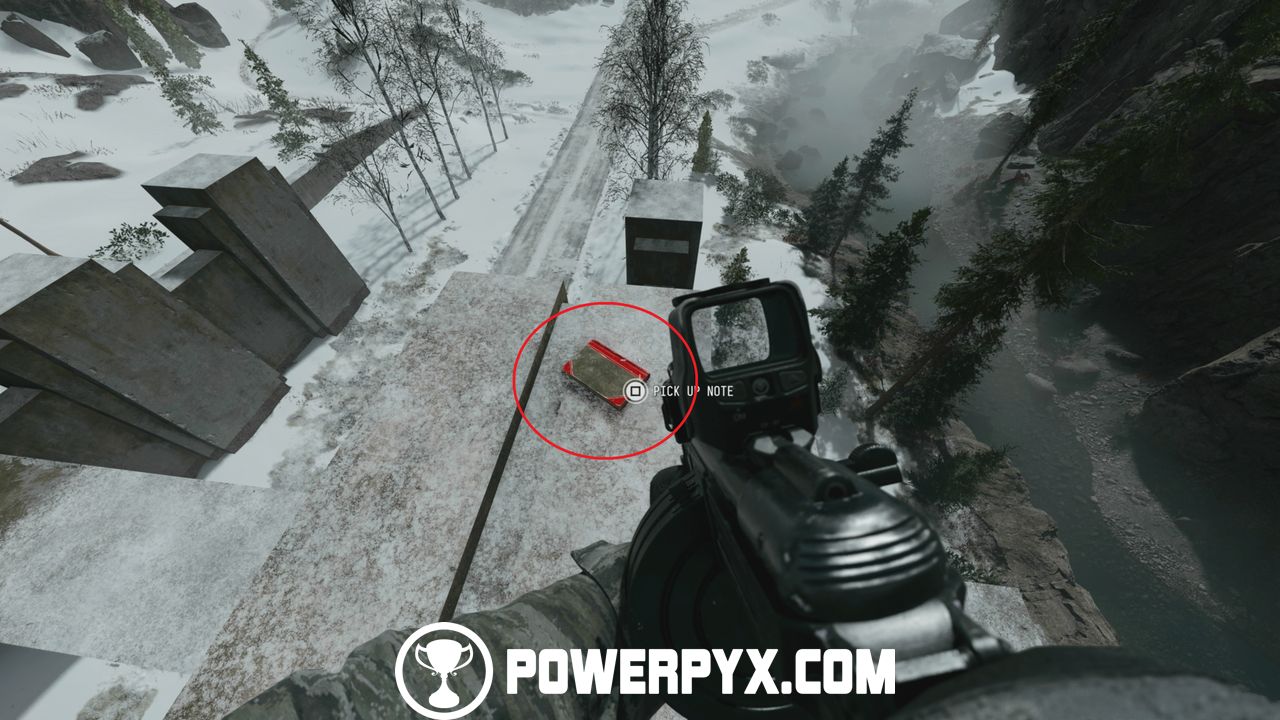
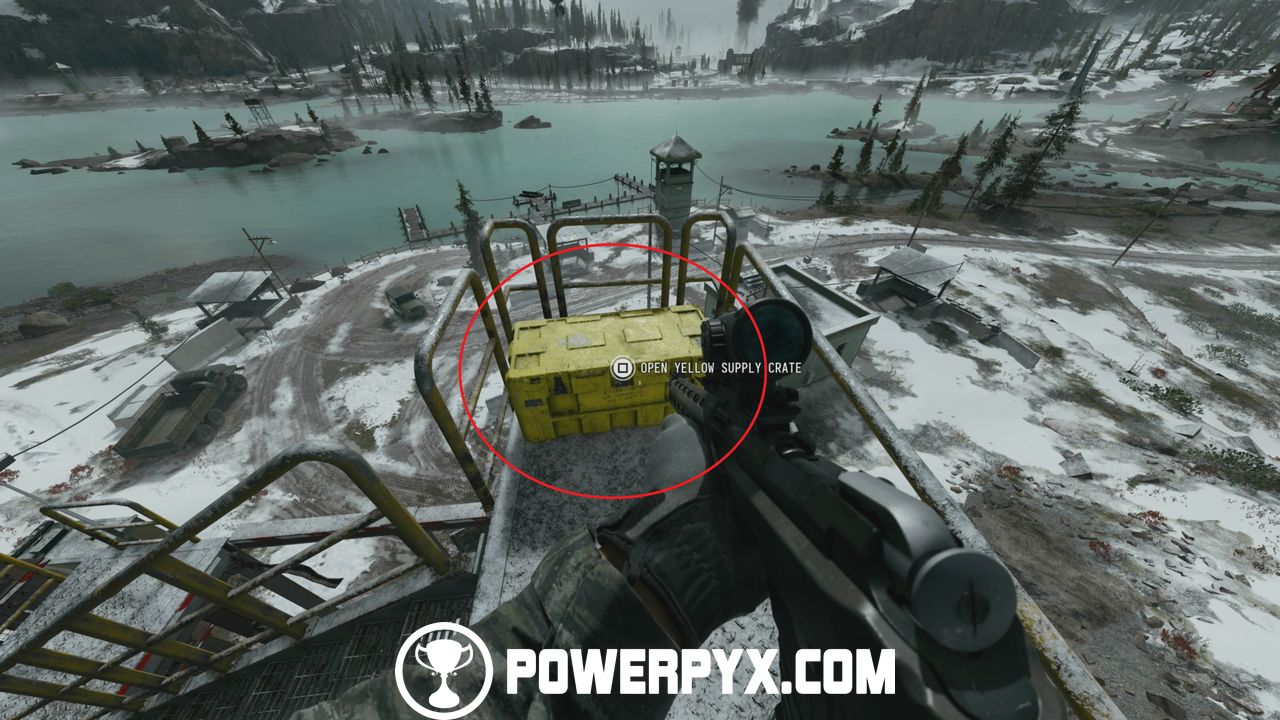
| Cache 22 | Top of the elevator scaffolding | Climb the red-and-white bars |
At Artillery Battery #6, the container holding Cache 20 is blocked by wooden crates. Turn left as you enter and destroy them with a grenade or a drone. Cache 22 means climbing the scaffolding stairs, jumping onto the broken elevator, climbing higher, then jumping back to the scaffolding and going up to the top.
Northwest outposts and the SAM site
| Collectible | Location | Detail |
|---|---|---|
| Notes 47–48 | Abandoned hillside house | Desk, then corridor table |
| Cache 23 | Patrolling truck flatbed | Near Checkpoint 3 |
| Cache 24 | Checkpoint #5 guardhouse | Opposite the watchtower |
| Note 49 | Farmhouse floor | East on the northern road |
| Note 50, Cache 25 | Booby-trapped roadside store | Clear the tripwires first |
| Notes 51–52 | SAM site | Admin building; barrier by monument |
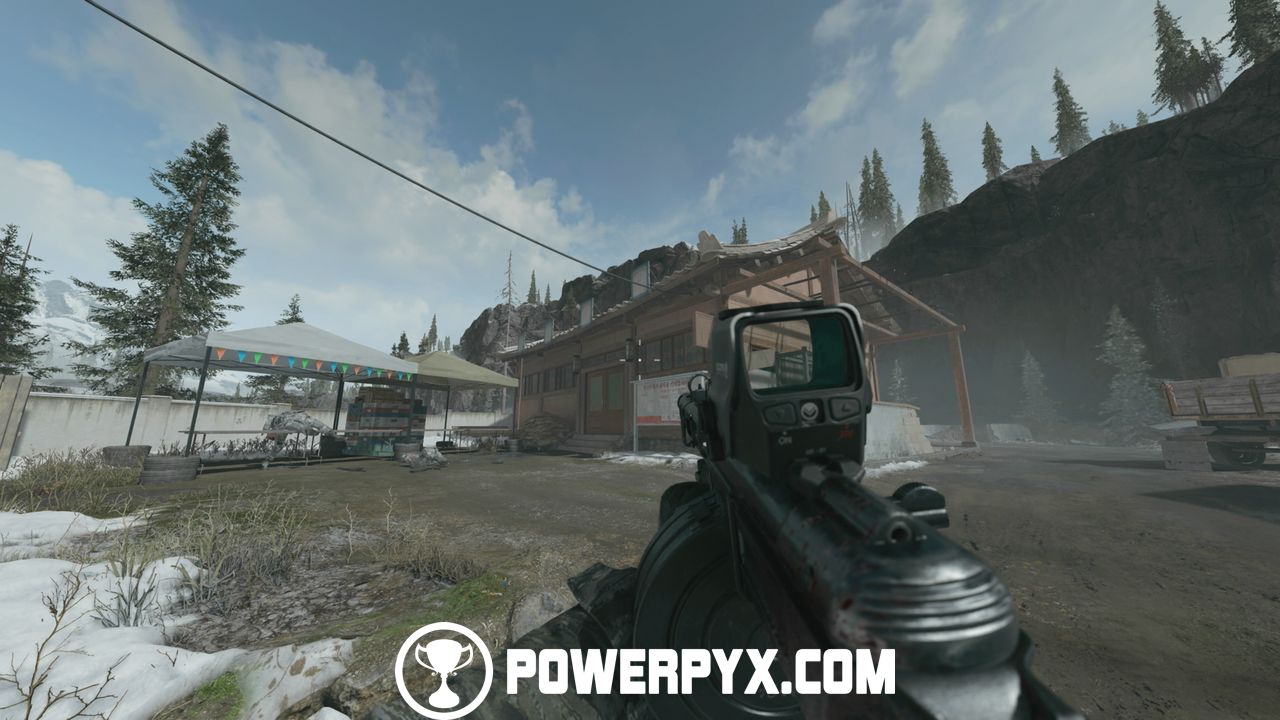
| Cache 26, Note 53 | SAM site, beside the statue | Note sits above the cache |
Cache 23 is on the back of a moving truck that spawns at the outpost. Kill every enemy there, then open the cache. If the truck doesn’t appear, fast travel somewhere else and come back. The roadside store is full of tripmines. Set them off with grenades or a bomb drone before you go in, or carefully step around them.
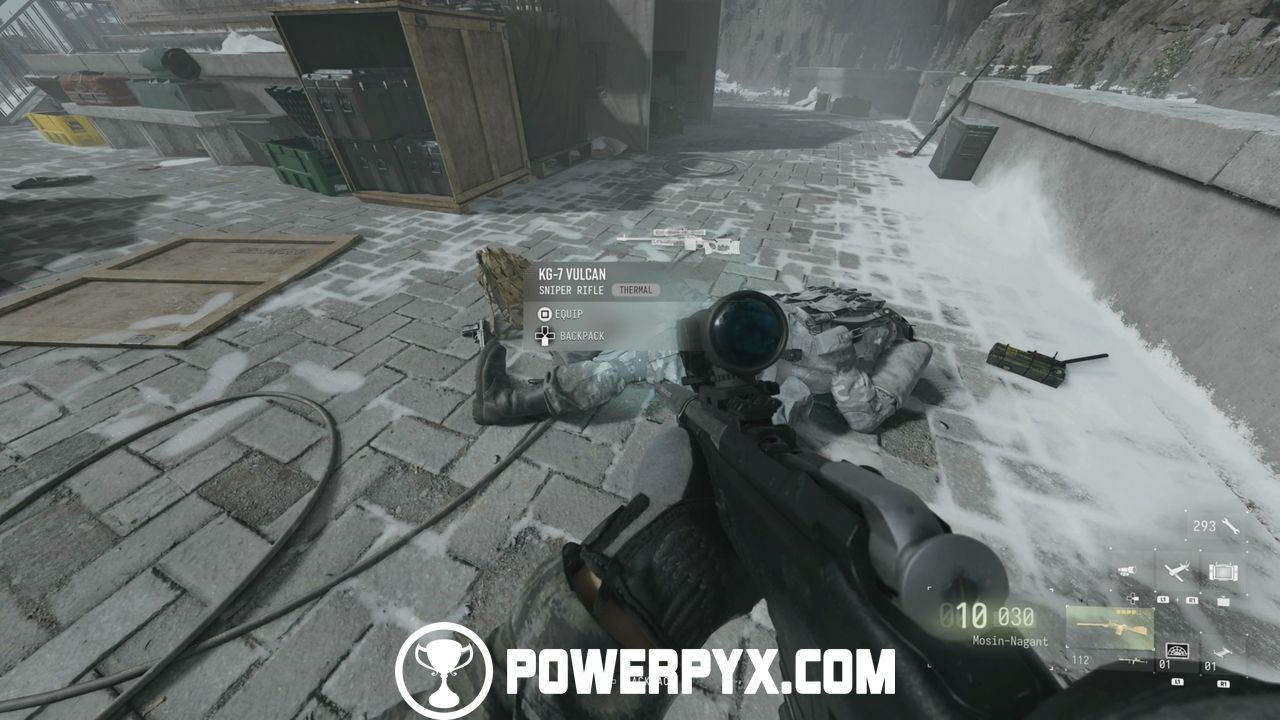
Pick up the Vulkan Sniper next to the final cache at the SAM site. You need it for Scavenger.
Notes 54–58: Base camp workbench repairs
The final five Stranded notes must be earned at base camp rather than found out in the world. Fast-travel there and repair or upgrade the following items at the workbench. Each item provides one note:
- Grenade Launcher
- Tactical Gloves
- Tactical Boots
- Snow Ghillie Suit
- Silenced Thermal Sniper
Upgrading everything costs 195 Supplies, which also unlocks Scavenger. If you grabbed the Supplies along the route above, you should have enough by the time you reach the workbench.
Escape: Gaz’s Dogtags and the 8410 safe code
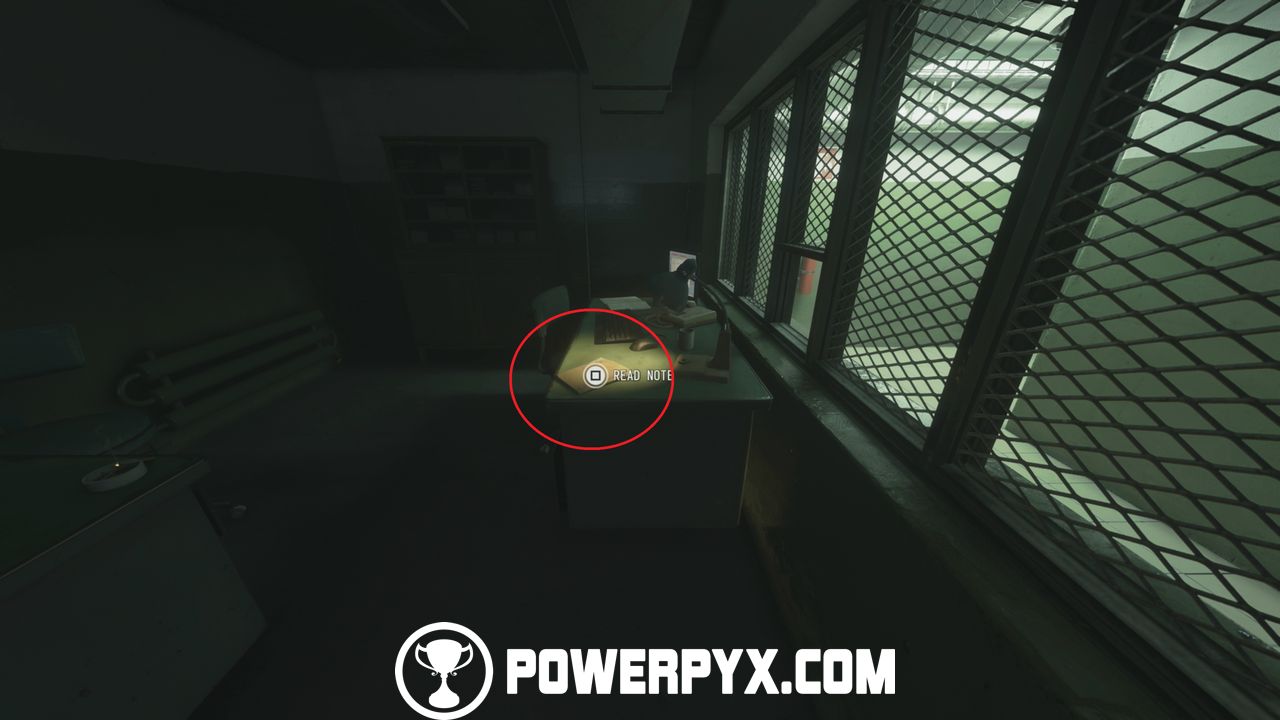
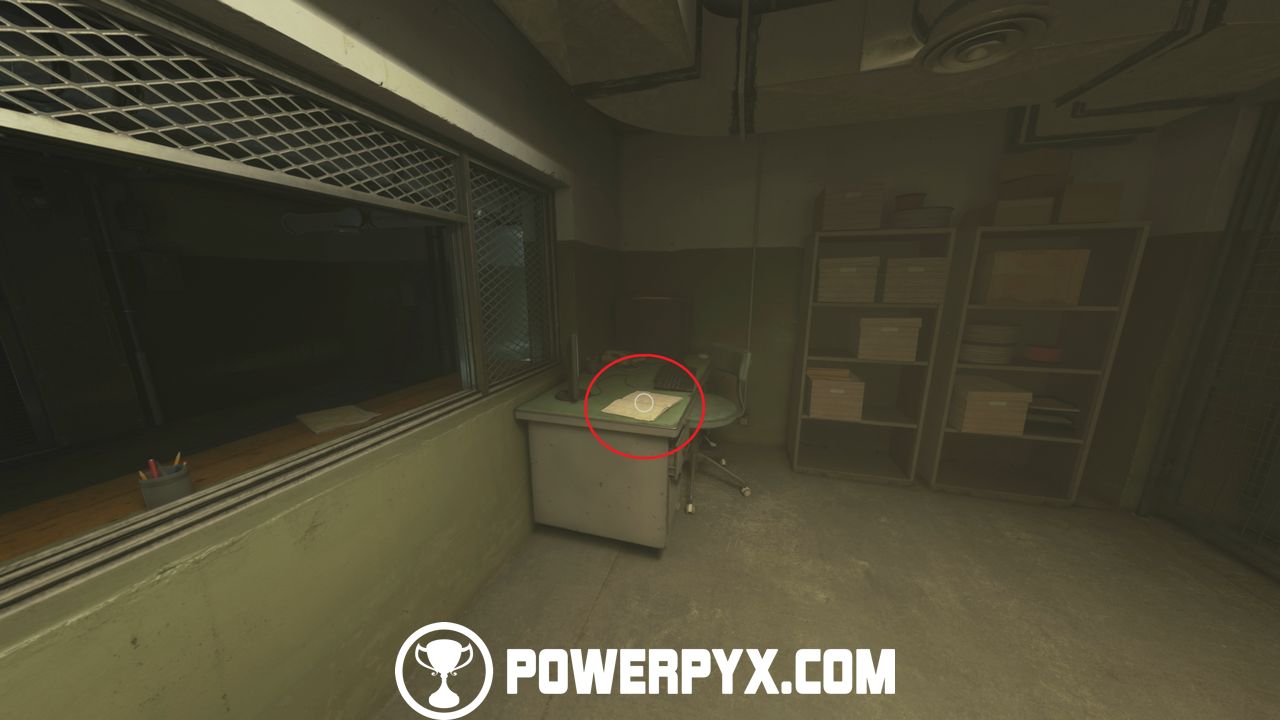
Escape, the prison-breakout mission, is campaign chapter 13. It contains two notes and one safe, and Never Forgotten can be unlocked on any difficulty.
How to confirm each collectible achievement unlocked
Each achievement unlocks the moment you meet its condition, so you don’t need to finish the mission first.
| Achievement | Unlocks when |
|---|---|
| No Stone Unturned | You read Note From Mom in the cellar |
| Noteworthy | You read your 50th Stranded note |
| Time to Crate | The 26th Yellow Supply Cache opens |
| Scavenger | The last base camp upgrade is done |
| Never Forgotten | Gaz’s Dogtags enter your collection |
If you follow the route above, Noteworthy unlocks at Logistics Station #100 after you read the elevator and guardhouse notes, and Time to Crate unlocks at the SAM site. If an achievement hasn’t unlocked, you’re still missing at least one item in that mission. Replay it and go straight to the gaps. In Stranded, check the X/58 counter in your backpack to see how many notes you still need.