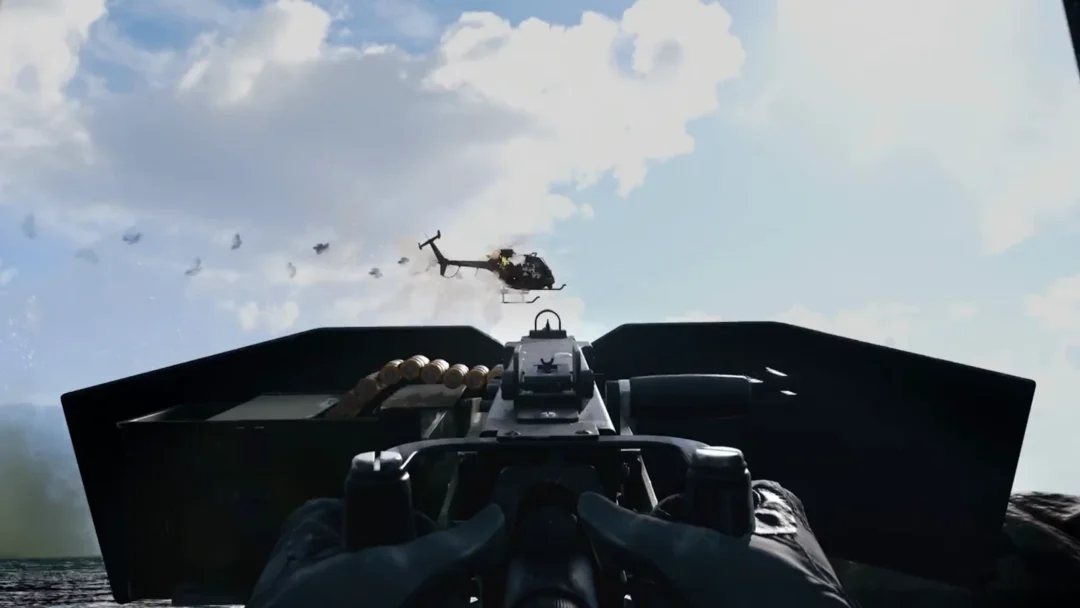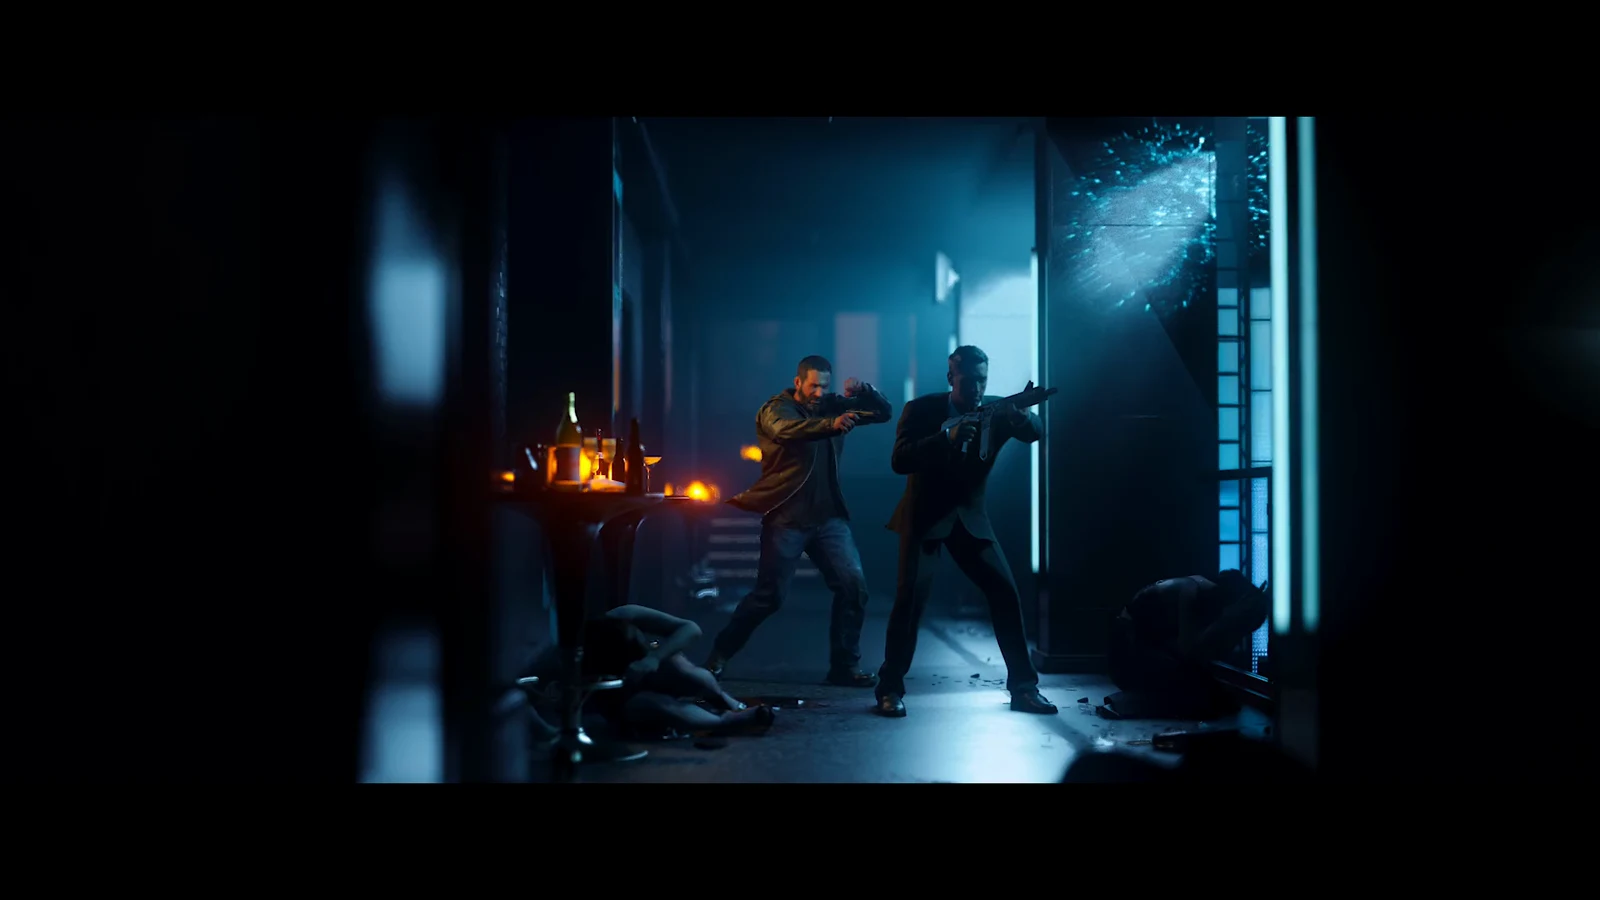
Escape is the mission where Captain John Price stops being the one who does the capturing. Modern Warfare 4 opens the level with Price handcuffed and marched into a North Korean holding facility run for the Archer. From there it moves from quiet, crouch-and-wait stealth into a loud two-man fight with Ghost, and it ends on a reveal that changes how the rest of the campaign reads.
Quick answer: The safe code in Escape is 8410. Entering it at the office wall keypad gives you Gaz’s Dogtags and unlocks the “Never forgotten” achievement.
Escape in the Modern Warfare 4 campaign
Escape is mission 13 of Modern Warfare 4’s 16-mission campaign. Its premise is simple. Price is a prisoner of the Archer, and he has to break out. The title card labels it “Current Day,” and you play only as Price in first person. His bandaged wrists and bloodied knuckles stay in view the whole time, a quiet reminder of what happened before the level starts.
The game entered early access on October 16th, 2026, and its full release is set for October 23rd, 2026. The campaign is single-player only, so Ghost is an AI partner here, not a co-op slot.
It opens with a short cutscene. North Korean soldiers lead a handcuffed Price down a corridor to a door marked “독방 42” (cell 42), and one of them orders him thrown in.
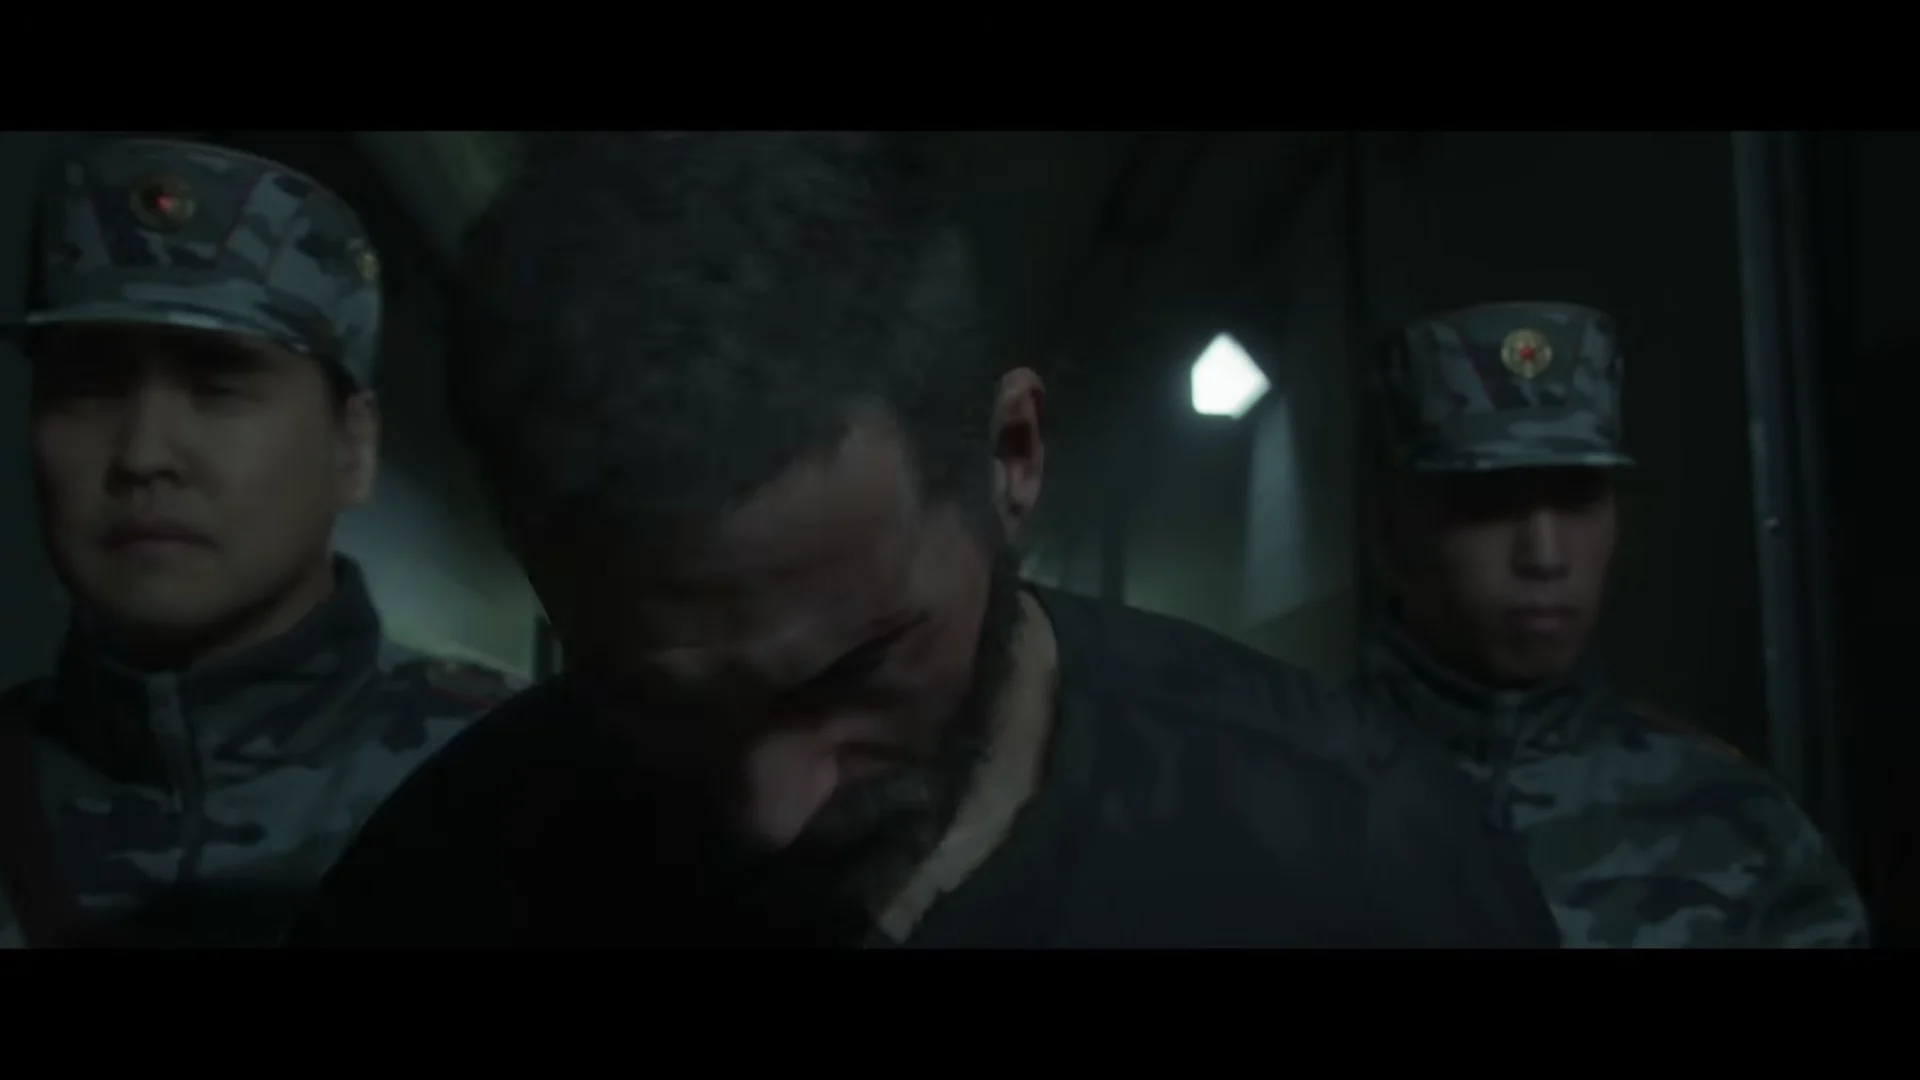
He never makes it inside. Price turns on his escorts at the cell door, snaps their necks, and drops the guards who come running down the hall. That fight is the first checkpoint, and the mission title appears right after it.
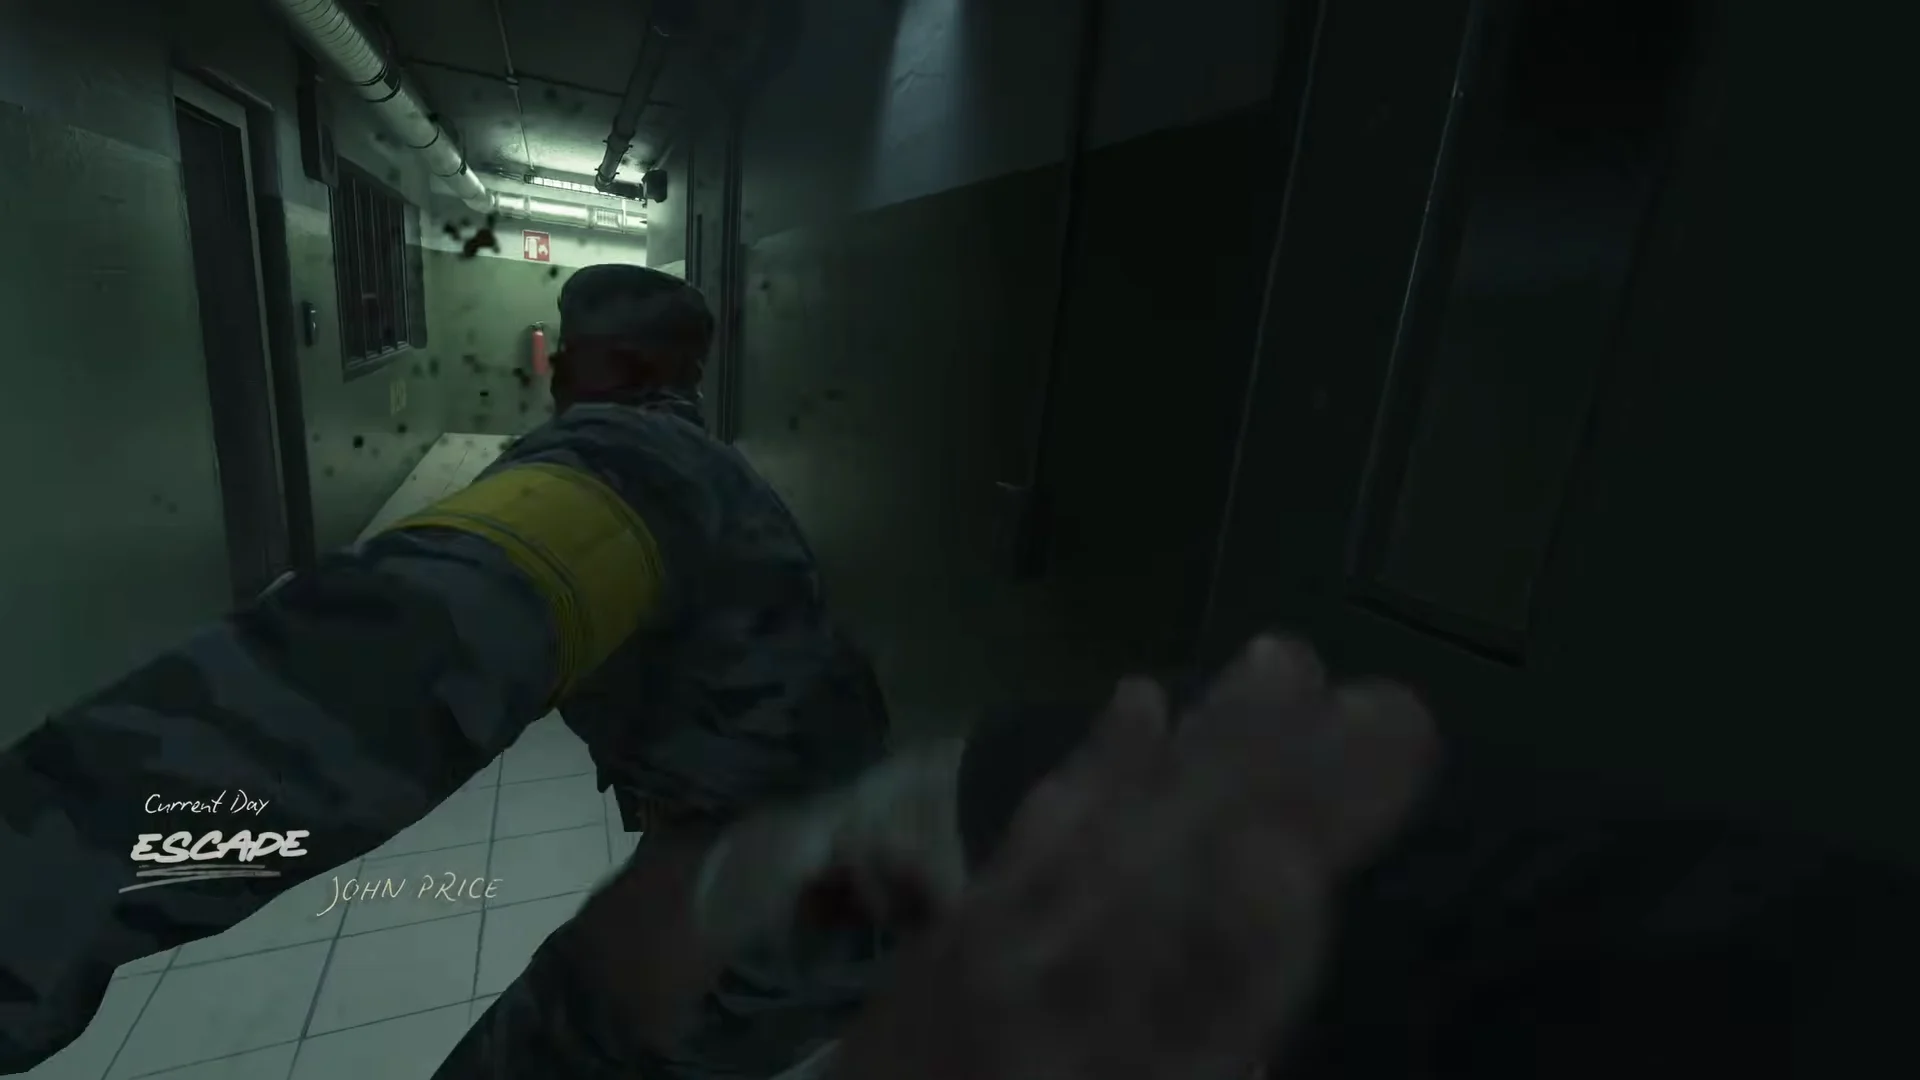
Stealth rules in the Escape cellblock
For roughly the first six minutes, Escape is a stealth level. Price has no gun. His objective reads “Find a way out without being detected,” and it comes up just after he watches guards execute a civilian prisoner around a corner. That scene sets the stakes for getting caught without the game spelling them out.
The level teaches its stealth tools through on-screen prompts as you go.
[C] CROUCH TO HIDEis the basic way to stay out of sight.MOUNT [F] TO STAY HIDDEN WHILE PEEKING CORNERSlets Price lean around walls without stepping out.[F] TAKEDOWNhandles silent kills, like the guard at the table in the generator room.- Low storage vents and shelving offer crawl routes past active patrols.
- Some spots block crouching and show “YOU CAN’T CROUCH HERE.”
Mount points sit at most corners. They do much of the work in the darker tiled hallways, where patrols pass close enough that walking into the open is a gamble.
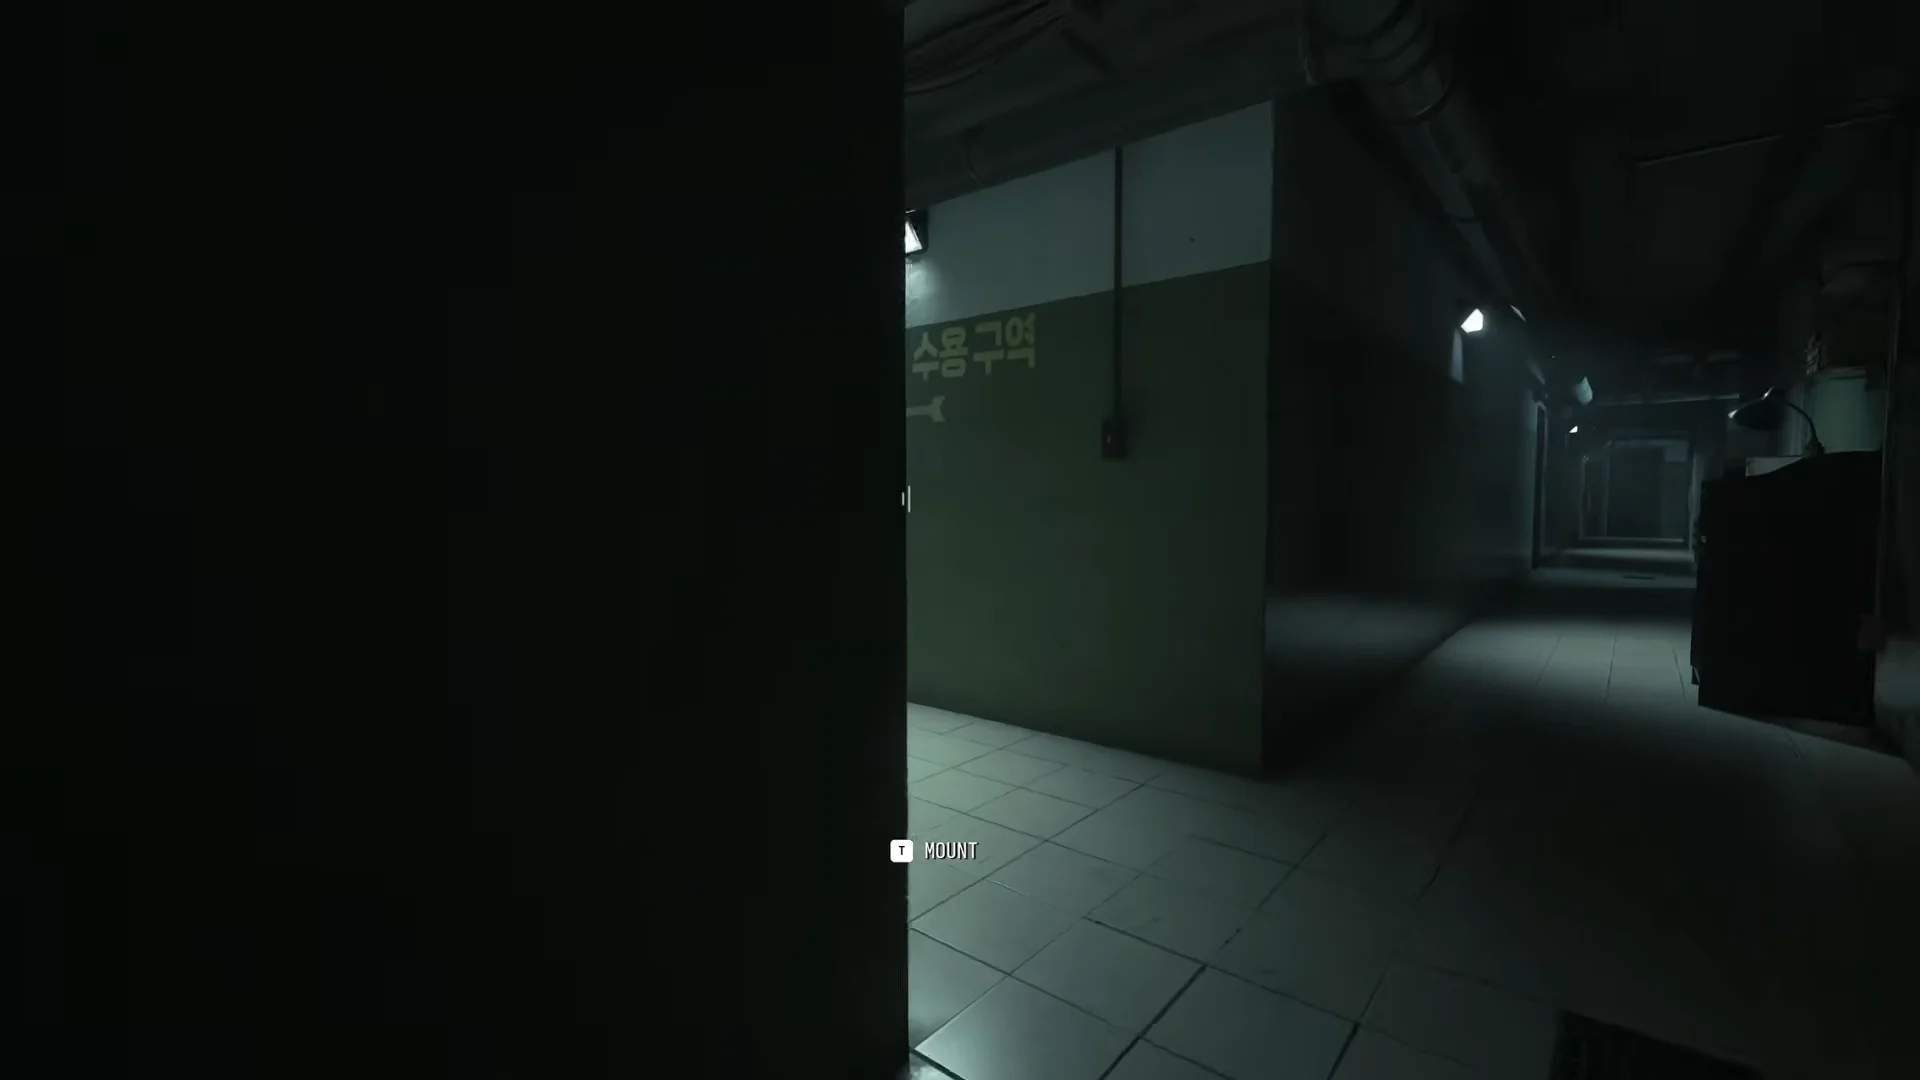
The middle of the stealth section is mostly about timing. Guards talk about prisoner status as they walk, and they reposition along fixed routes. Price can wait them out from doorways and pillars, then slip past an illuminated guard booth into the administrative rooms.
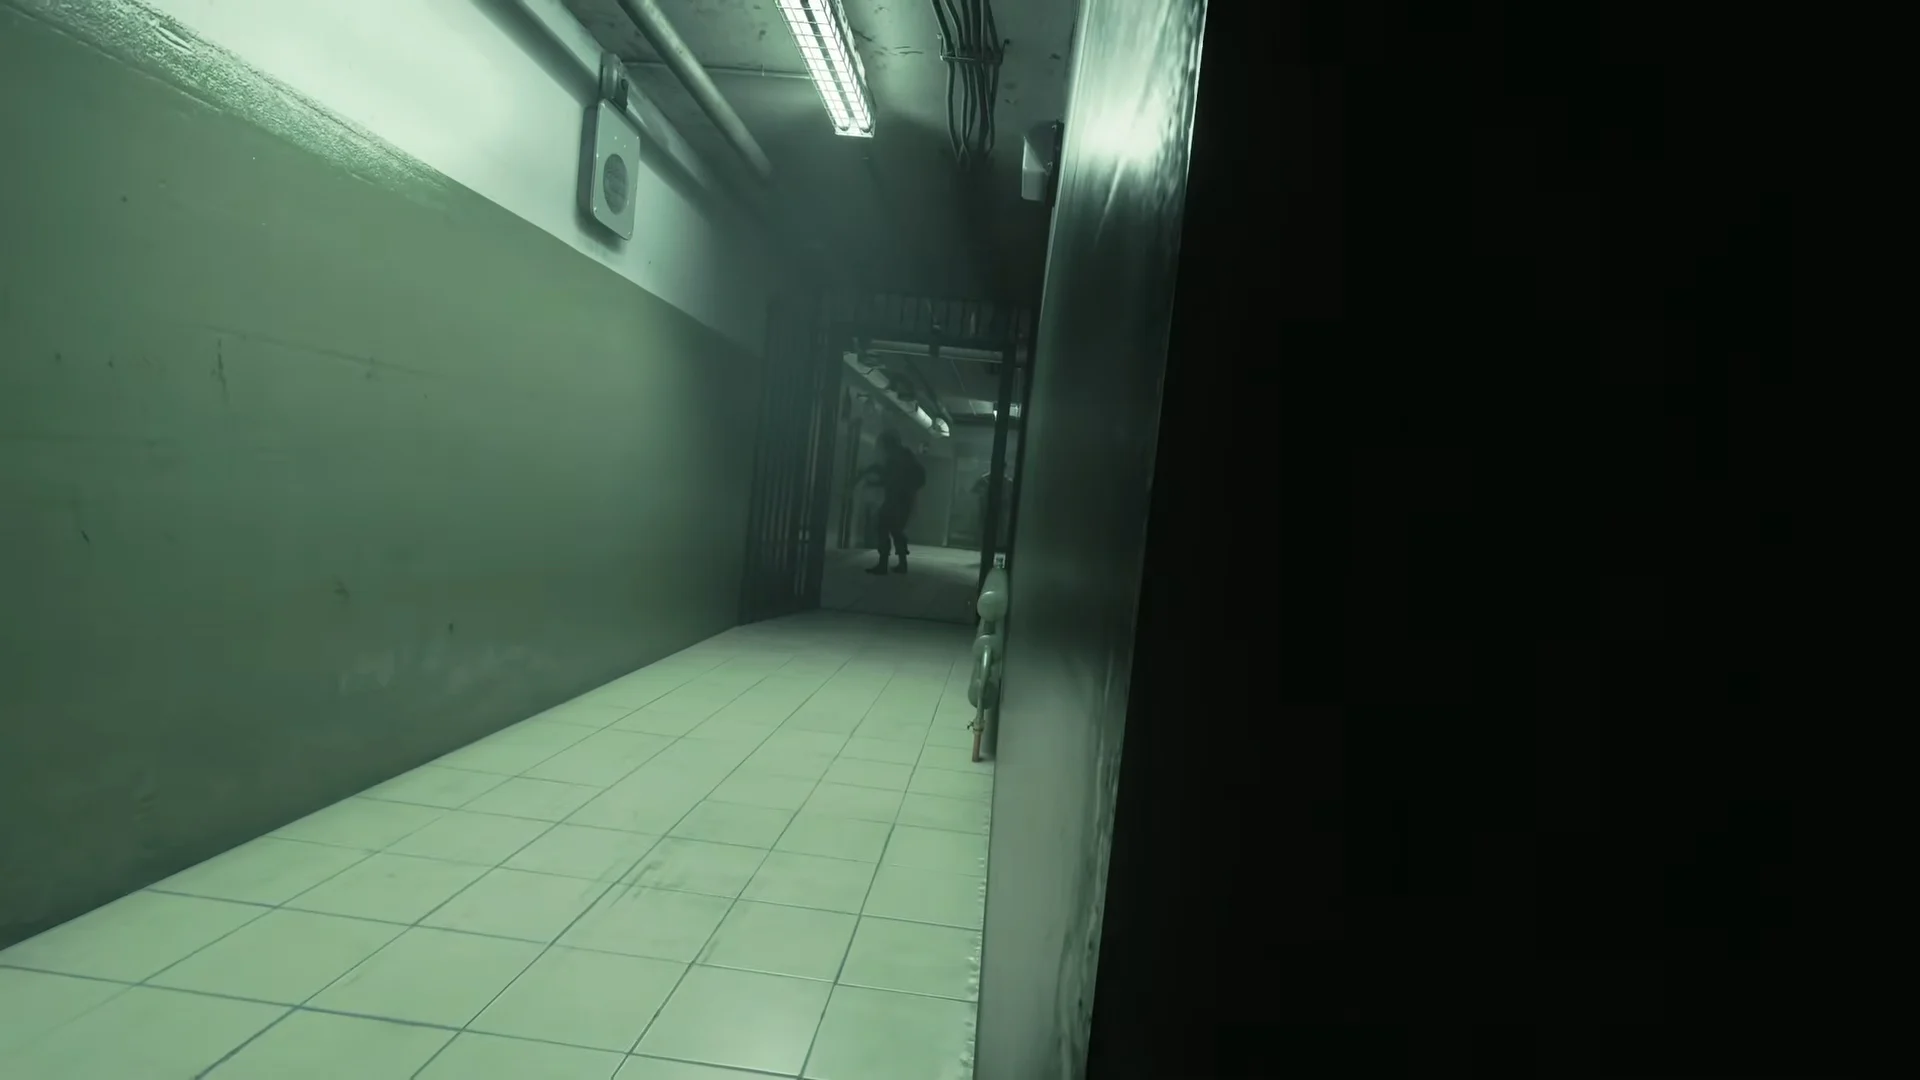
The lower corridors use the same pattern with less light. Price crouches behind pillars while guards move along their routes, then moves when the path is clear.
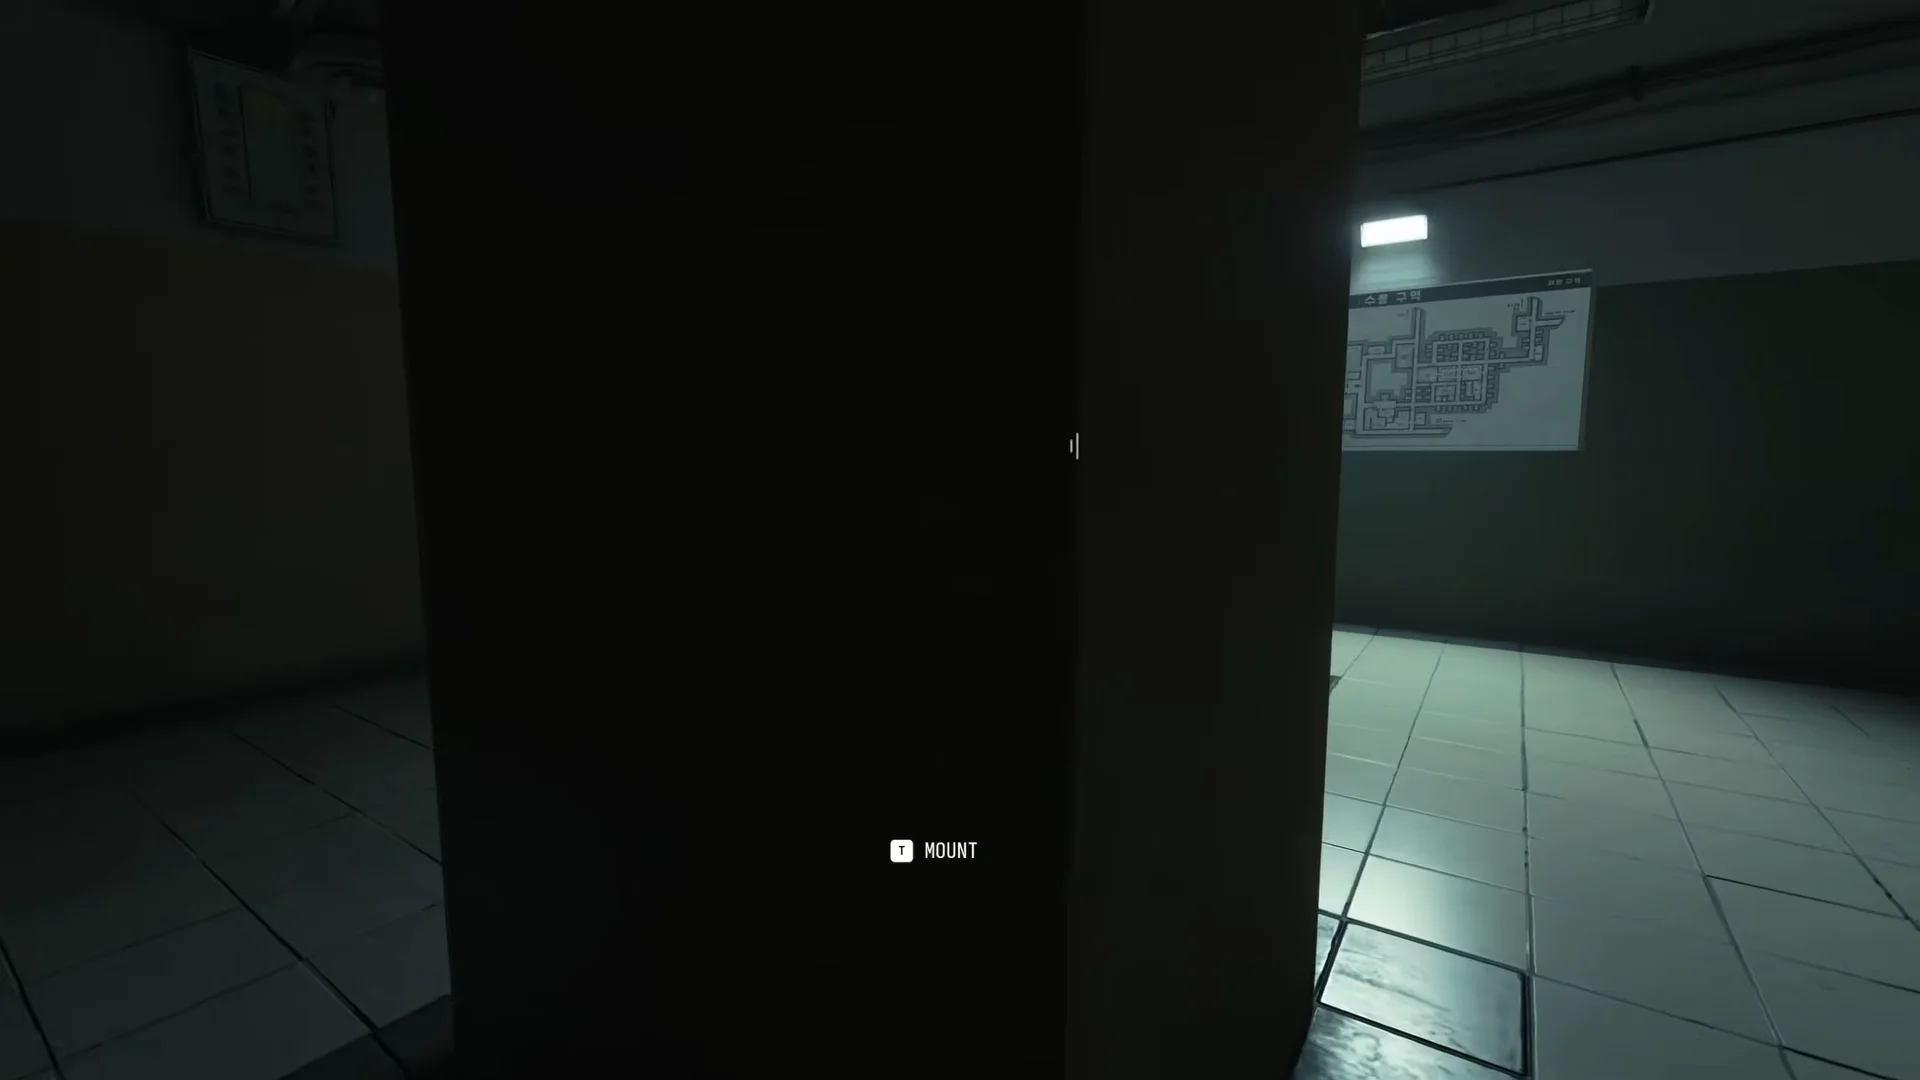
Stealth does break once, and the game plans for it. In a red-lit furnace room Price gets spotted, and the level shifts into a run of melee takedowns on three guards. Soon after, he overhears Konni guards interrogating Ghost, bursts in, kills them, and frees him. That ends the stealth half.
Escape notes, safe code 8410, and Gaz’s Dogtags
Escape has two notes, and together they work as a small puzzle. The first explains that confiscated prisoner belongings go into a holding safe. The second gives you the combination.
| Note | Counter | Found in | What it says |
|---|---|---|---|
| Confiscation Protocol: Reminder | 1/2 | First office, on a desk | Seized items go to a holding safe |
| Updated Code | 2/2 | Admin room past the guard booth | The new safe code is 8410 |
The first note also says the new code can be checked at the security office, which is where the second note turns up. Once you have read it, a [F] REREAD NOTE prompt lets you pull it up again.
The safe itself comes much later, during the armed half of the mission. After the barracks fight, a wall keypad in an office accepts 8410. Inside are “GAZ’S DOGTAGS.” The pickup triggers an “ACHIEVEMENT UNLOCKED / Never forgotten” banner on screen, which is the clear sign it worked. It fits the story too, since Price and Ghost talk about Gaz right after the rescue.
Escape weapons and equipment
Price leaves stealth with only a handgun. The level then hands him new gear in a steady sequence, each one fitting the next room.
| Item | Type | Where it appears |
|---|---|---|
| Handgun | Pistol | After Ghost is freed |
| Kastov 762 | Assault rifle | Red-lit hallway breakout |
| PPSh-41 | SMG | Laundry room |
| Flashbangs | Tactical | Laundry area and armory |
| Semtex | Lethal | Armory |
| Type 73 | LMG | Armory |
Flashbangs also show up under a second pickup label, “FLASH GRENADE.” The armory stop just before the garage is the last resupply, and it is the heaviest kit Price gets in the mission.
Price and Ghost fight to the garage
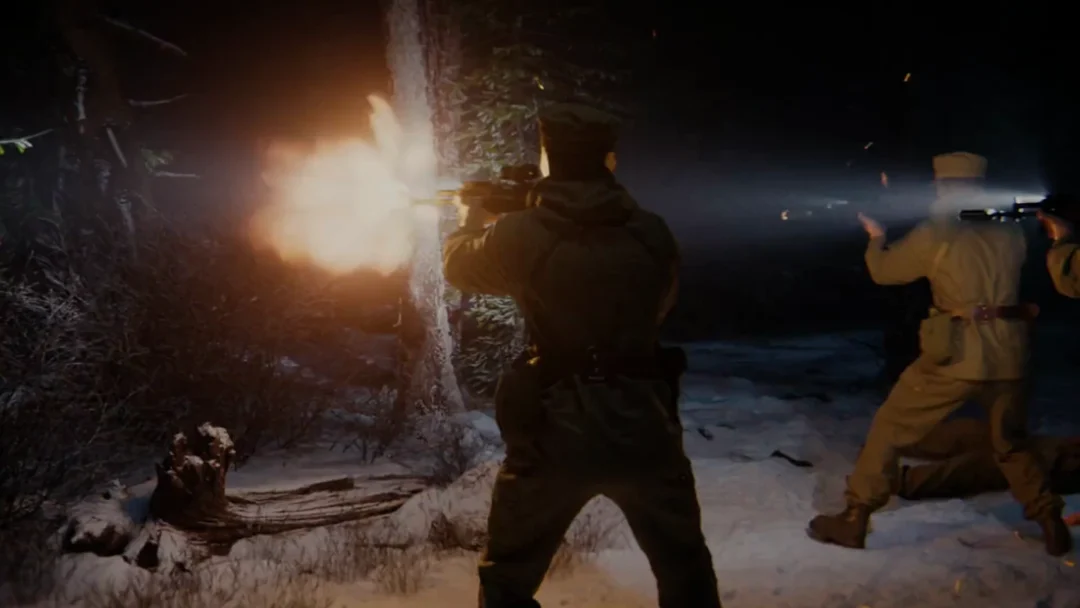
Once Ghost is free, Escape plays like a classic Modern Warfare corridor shooter. Price and Ghost push down a red-lit hallway, through stairwells, across a tiled laundry and utility room, and into multi-level bunk barracks packed with North Korean soldiers. Checkpoints come quickly through this stretch, and doors marked [E] BASH mark many of the breach points.
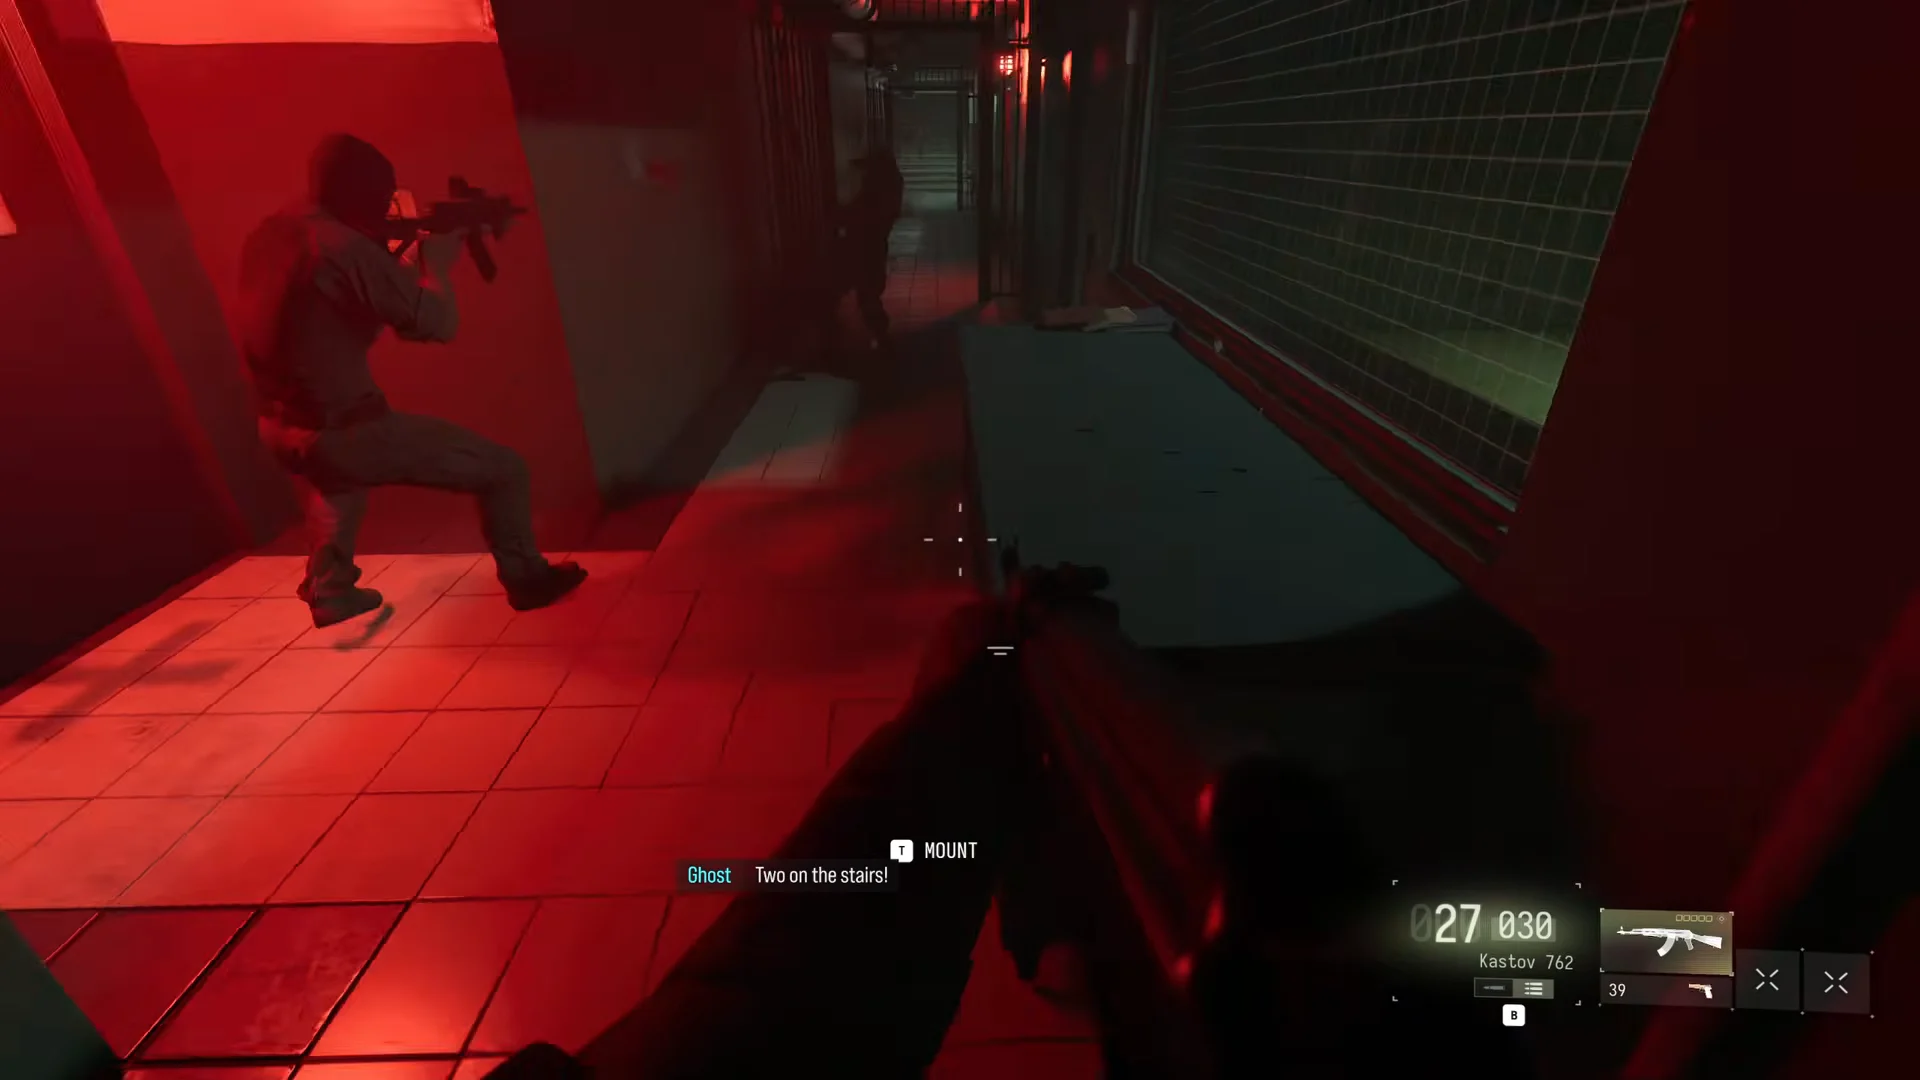
The vehicle bay is the last big fight. Ghost and Price breach it against infantry and vehicles, and the objective changes to “Reach the garage’s control panel.” That means climbing catwalk stairs to a second-floor control booth and fighting through a crowded corridor under heavy fire. A “YOU ARE HURT, GET TO COVER!” warning tends to show up around here. The mission’s last action is pressing the red button on the console, which opens the main blast doors.
Escape ending: Archer and Makarov (spoilers)
The escape is only partly successful: Ghost takes a military truck through the bay doors as they open, reaching the tunnel. Price remains in the control room, where Konni guards storm in and knock him to the floor.
Then the Archer walks in. Standing over a battered Price, he reveals that Vladimir Makarov was his son, then beats Price unconscious. Escape ends with Ghost free, Price back in captivity, and the Archer’s grudge suddenly very personal, which is the thread the campaign’s last missions pick up.