MOLE leans on a handful of environmental puzzles that gate your progress, and most of them come down to a code or a correct arrangement rather than a reaction test. The trick is knowing which numbers to enter and where the clues are hidden, so you can move past each blocker without backtracking. The breakdown below covers each puzzle and the exact solution.
Quick answer: Set the fusebox switches 1, 3, 6, and 7 down (with two fuses placed), enter 3-1-7 at the hospital, and use 8-3-5-7 on the gun case combination lock.
Fusebox puzzle solution (switches 1, 3, 6, 7)
The fusebox restores power once the right breakers are flipped and the correct fuses are seated. Flick switches 1, 3, 6, and 7 to the down position and leave the rest up. With those four down, two fuses need to be selected and slotted to complete the circuit.
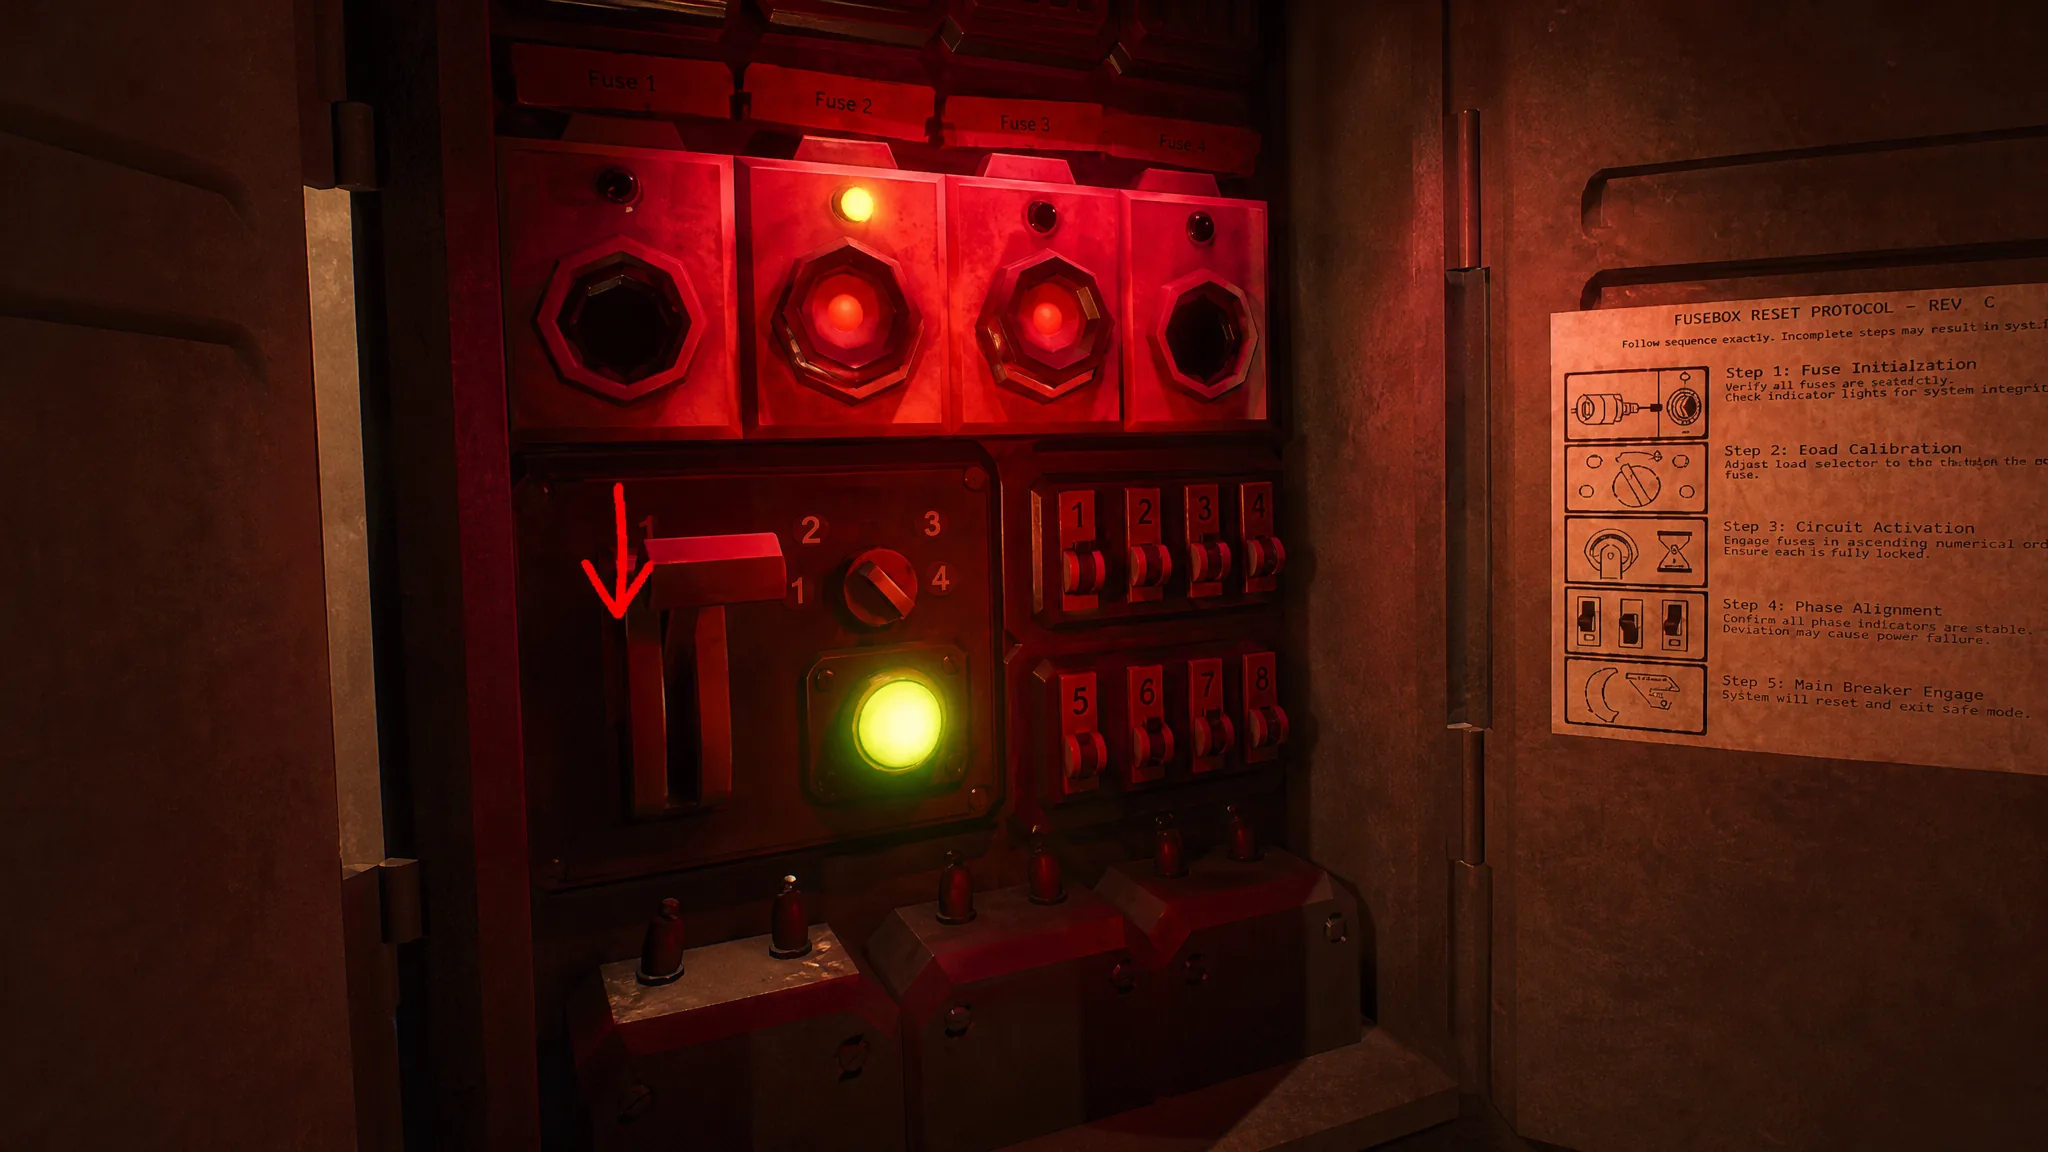
You know it worked when the power comes back on, and the panel stops flagging an open circuit. If nothing happens, double-check that only switches 1, 3, 6, and 7 are down and that both fuses are fully seated.
Phone booth passport clue
Inside the phone booth, the puzzle revolves around reading a passport and matching it against three items you carry. The clues you need are the photo of Petro’s sixth birthday, the VOSTOK invoice, and the hospital parking ticket. Cross-referencing the dates and details on these against the passport gives you the number you are looking for.
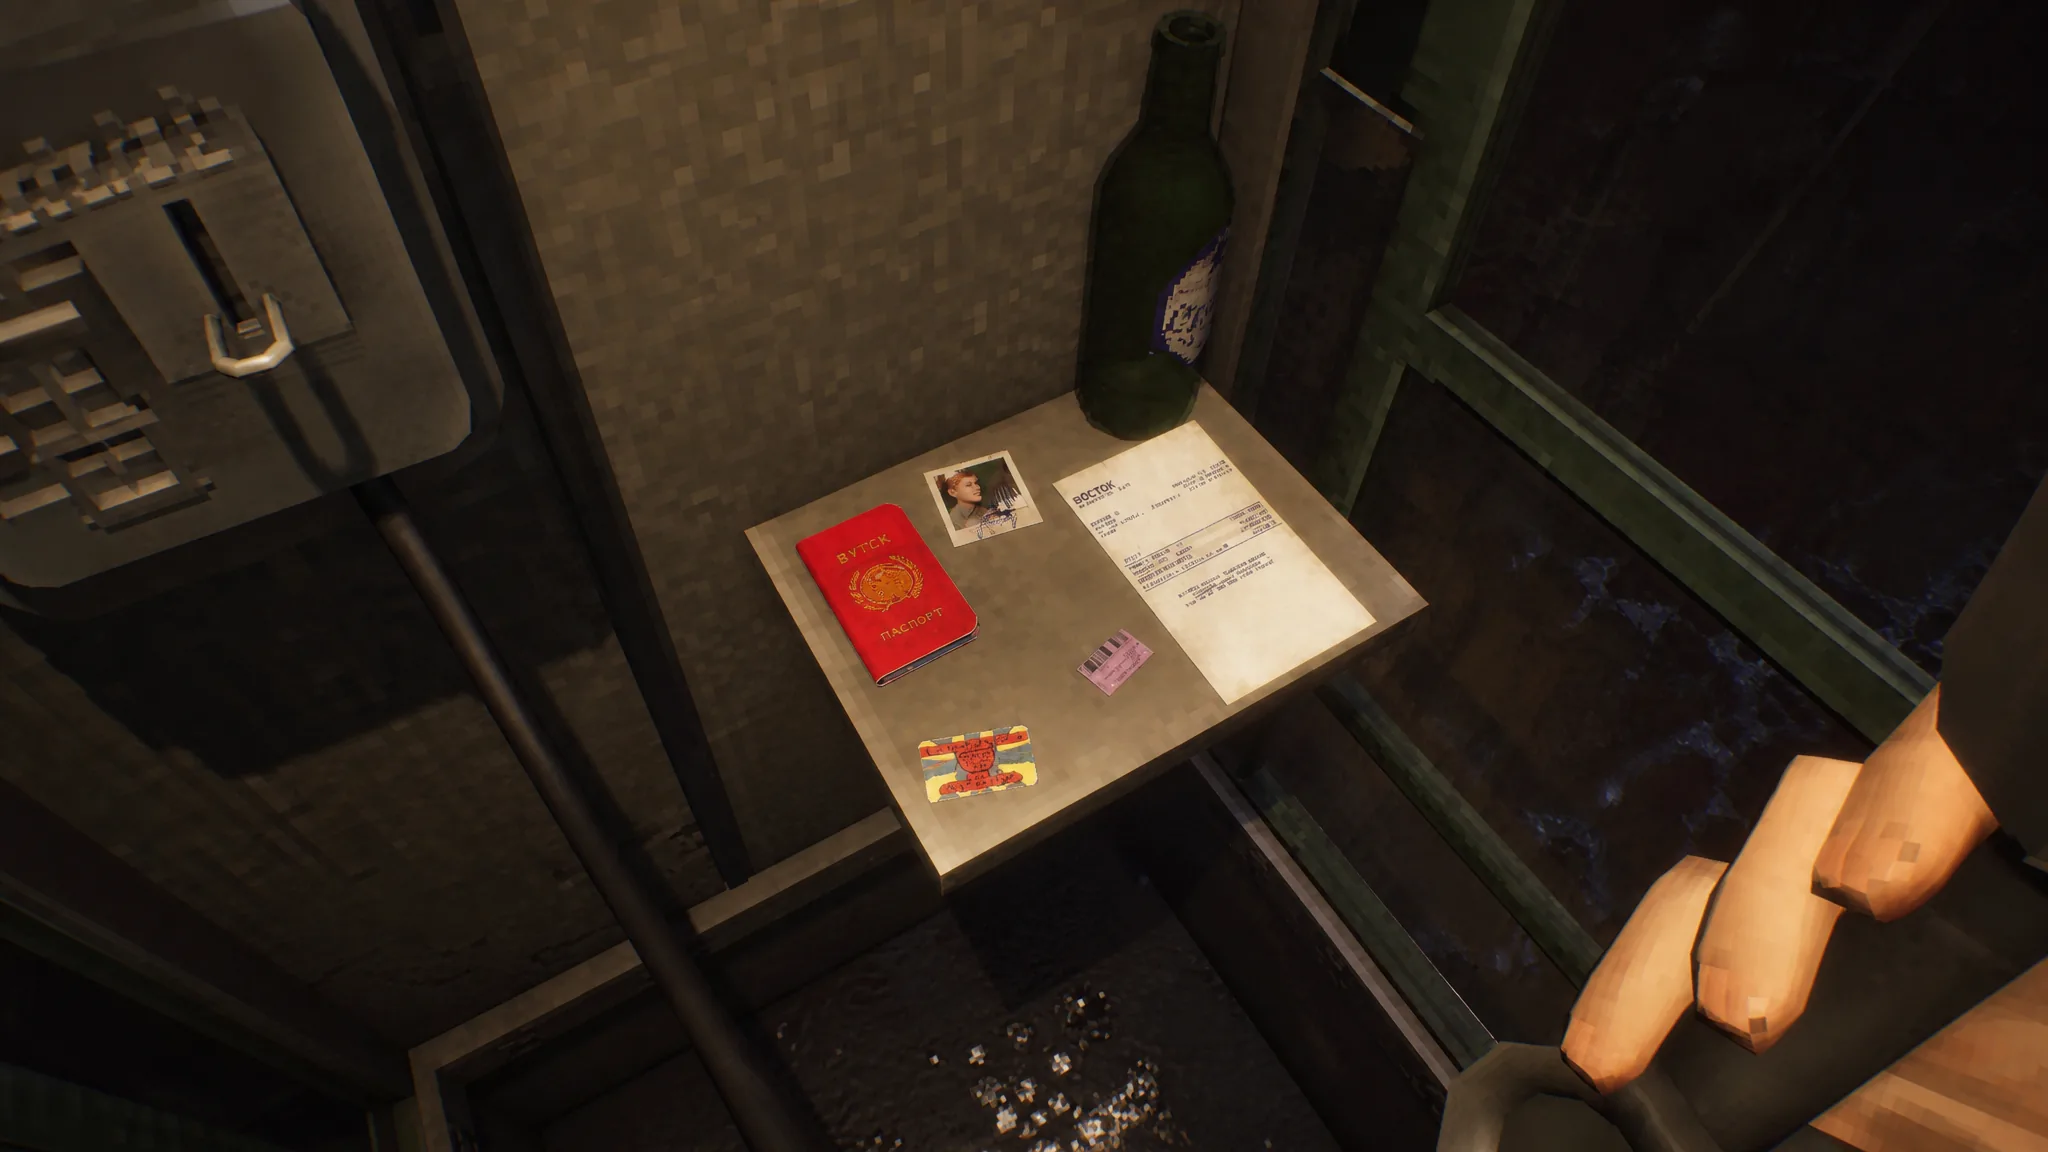
Open each item in your phone or inventory before you interact with the booth so the relevant figures are fresh. The booth confirms the entry once the values line up.
Hospital code (3-1-7)
At the hospital, the code is displayed in plain sight on the monitors behind the receptionist desk. The screens read 3, 1, 7, and that sequence is what you enter to proceed.
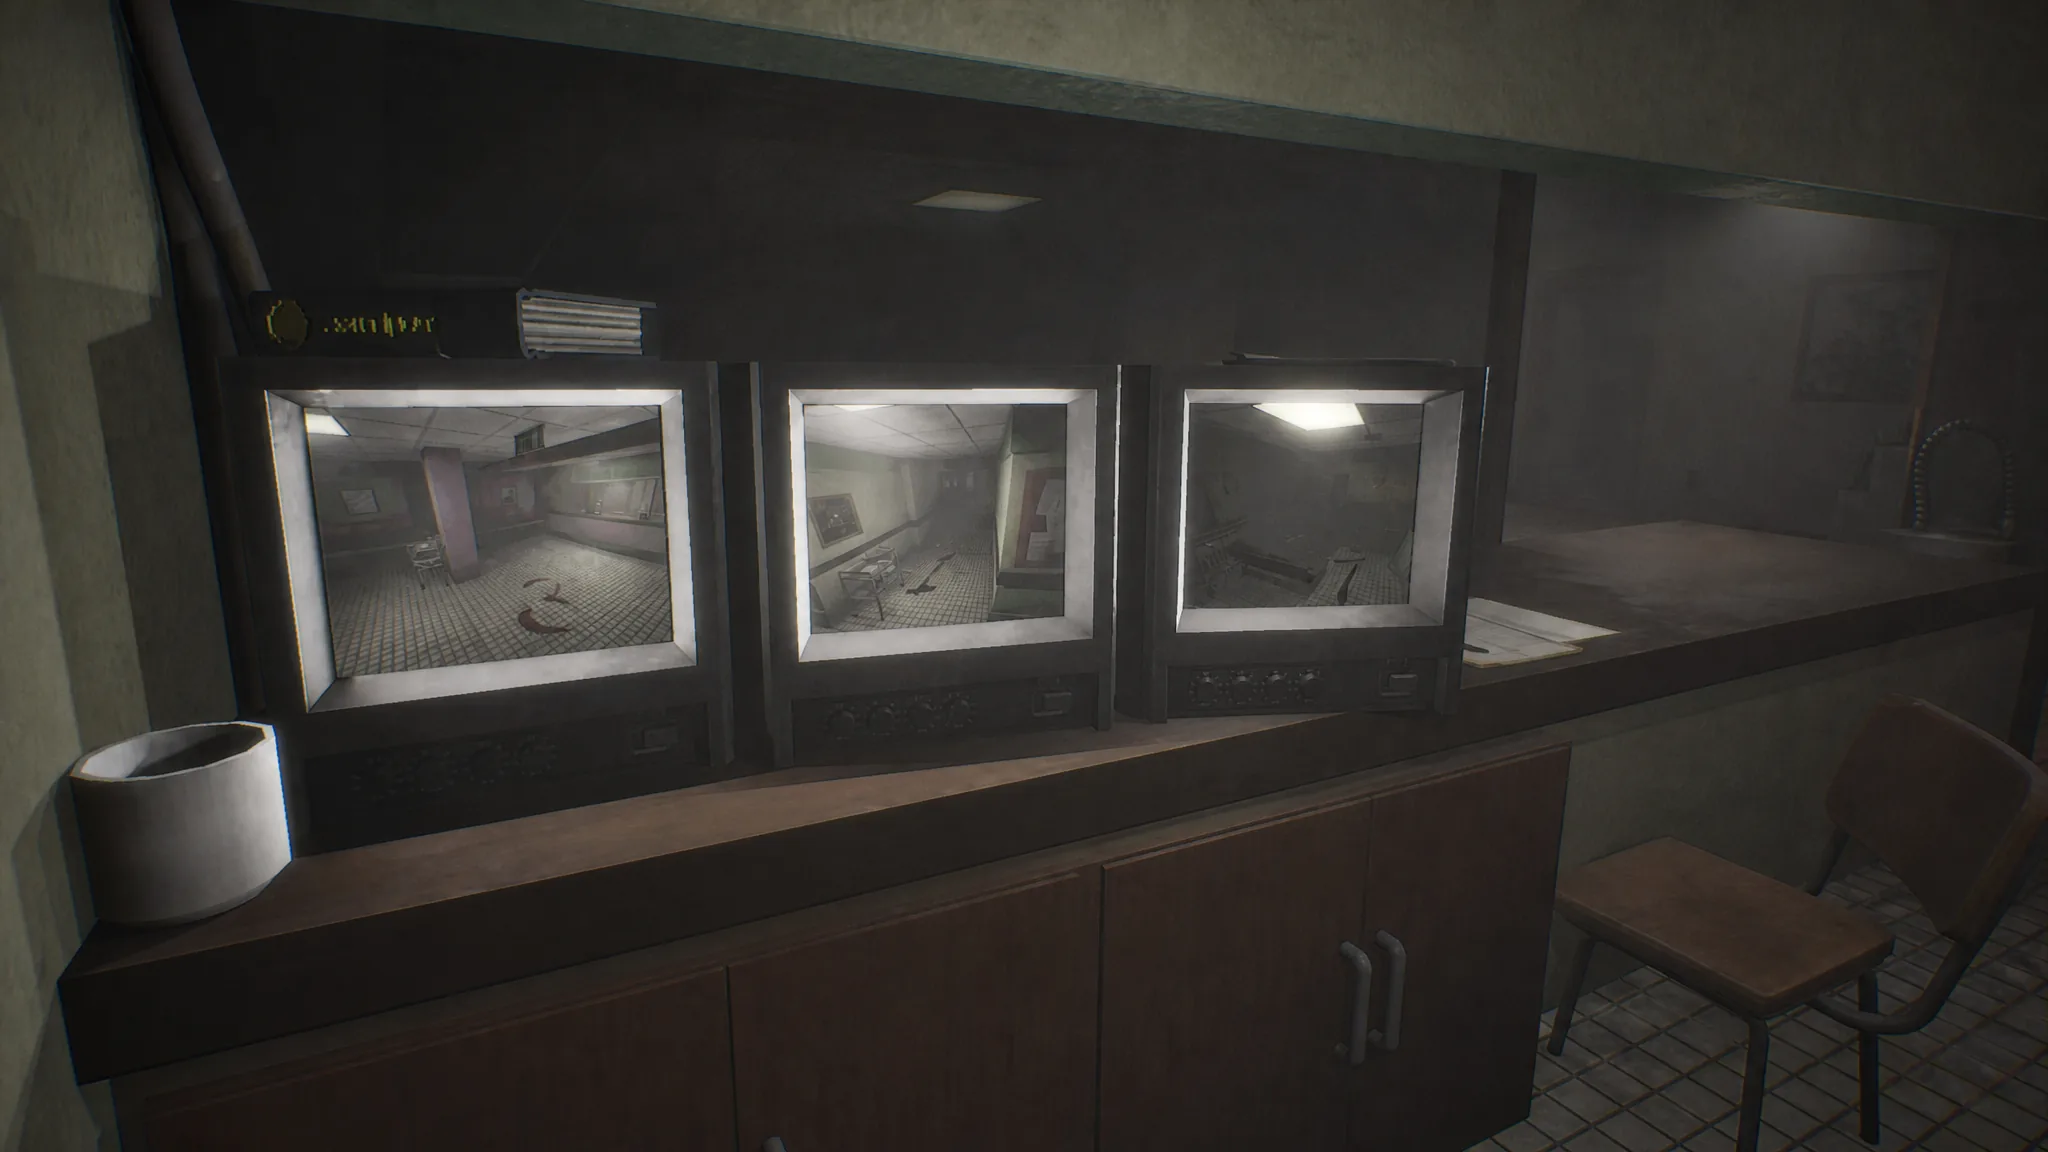
Enter 3-1-7 in order. If it rejects the input, confirm you are reading the monitors left to right at the desk rather than another screen elsewhere in the room.
Gun case combination lock (8-3-5-7)
The gun case is secured with a four-digit combination lock. Set the dials to 8, 3, 5, 7 to open it and retrieve the contents inside.
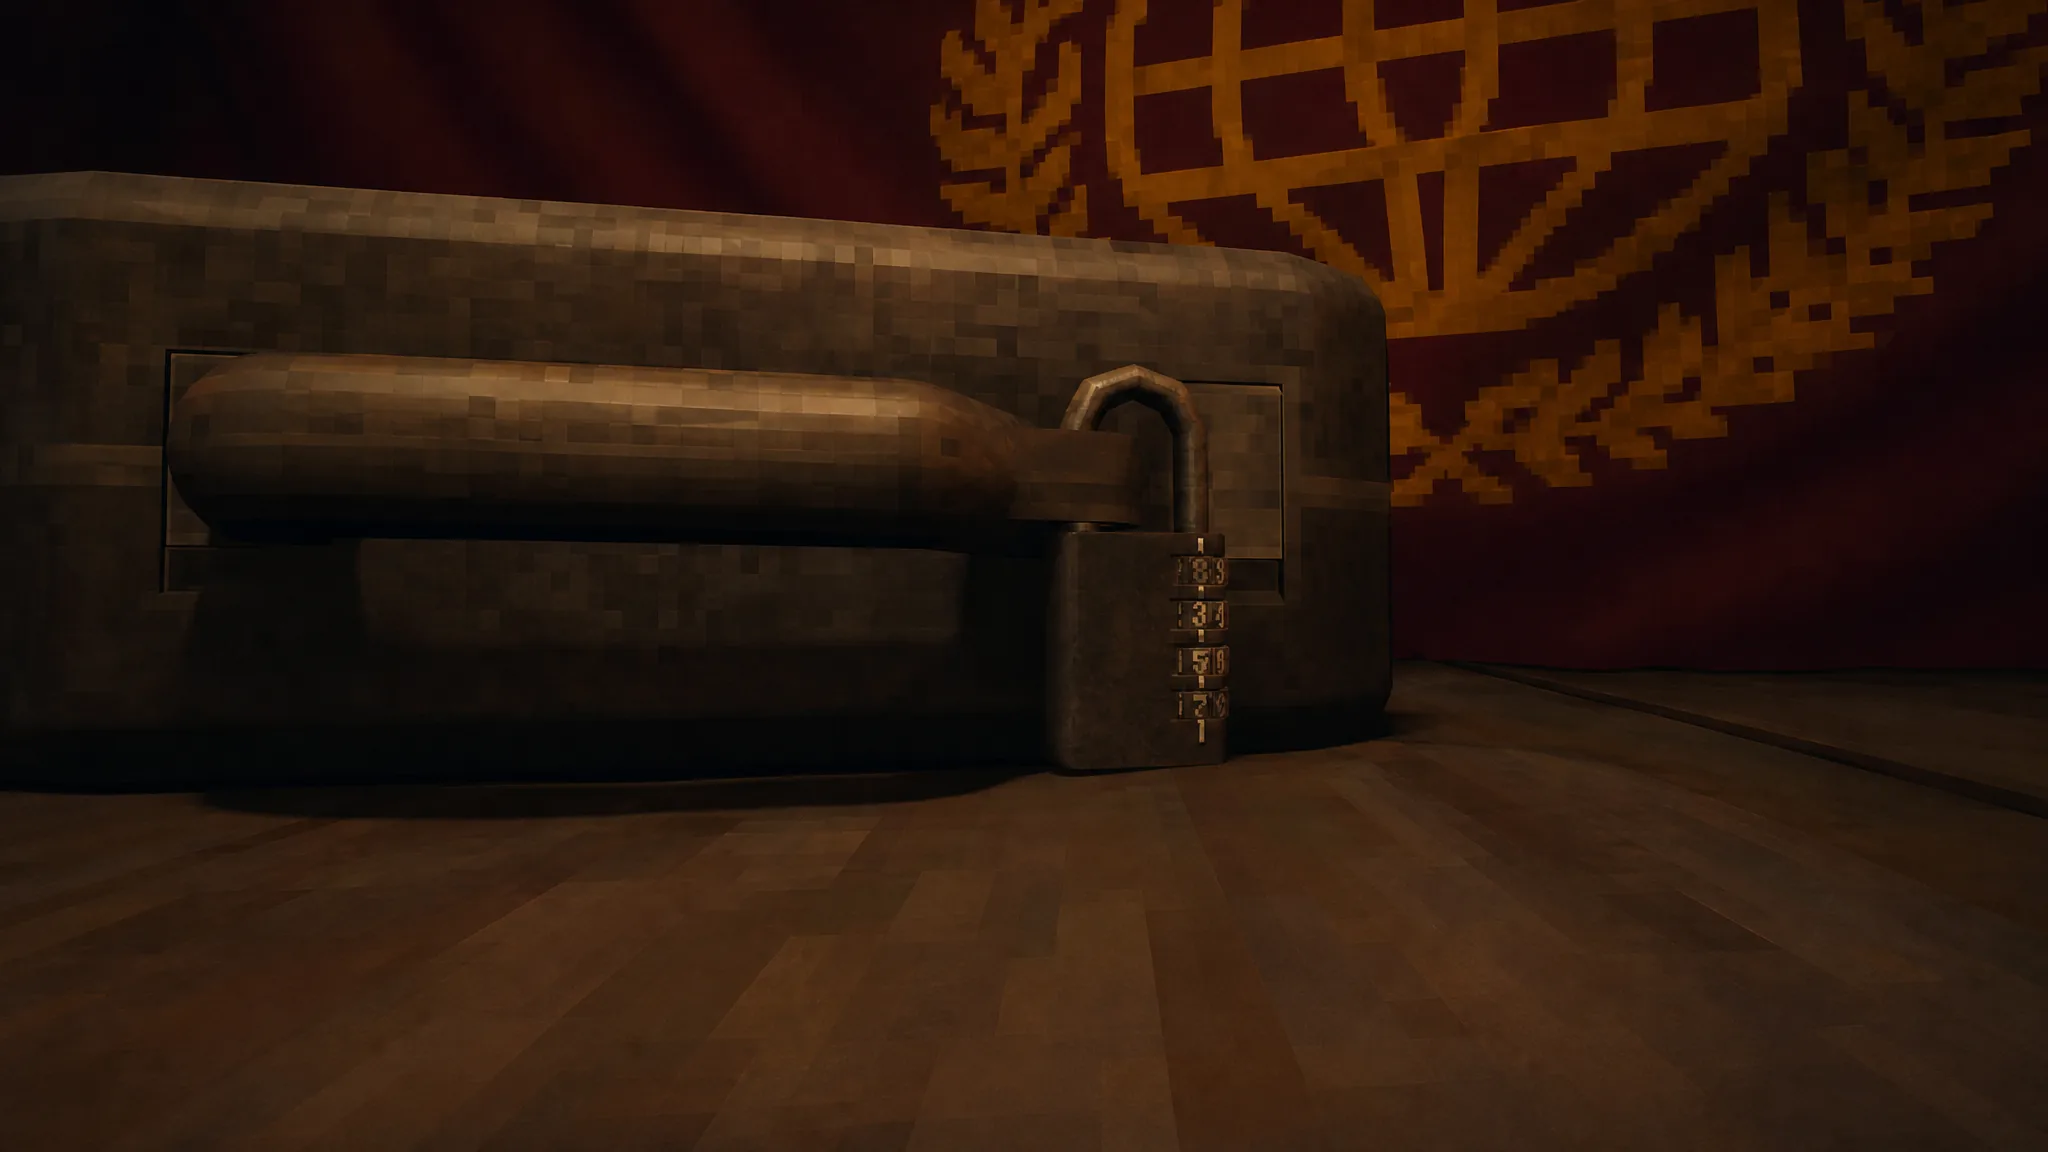
Roll each wheel to read 8 3 5 7 from left to right, then pull the latch. The case pops open once all four digits are correct.
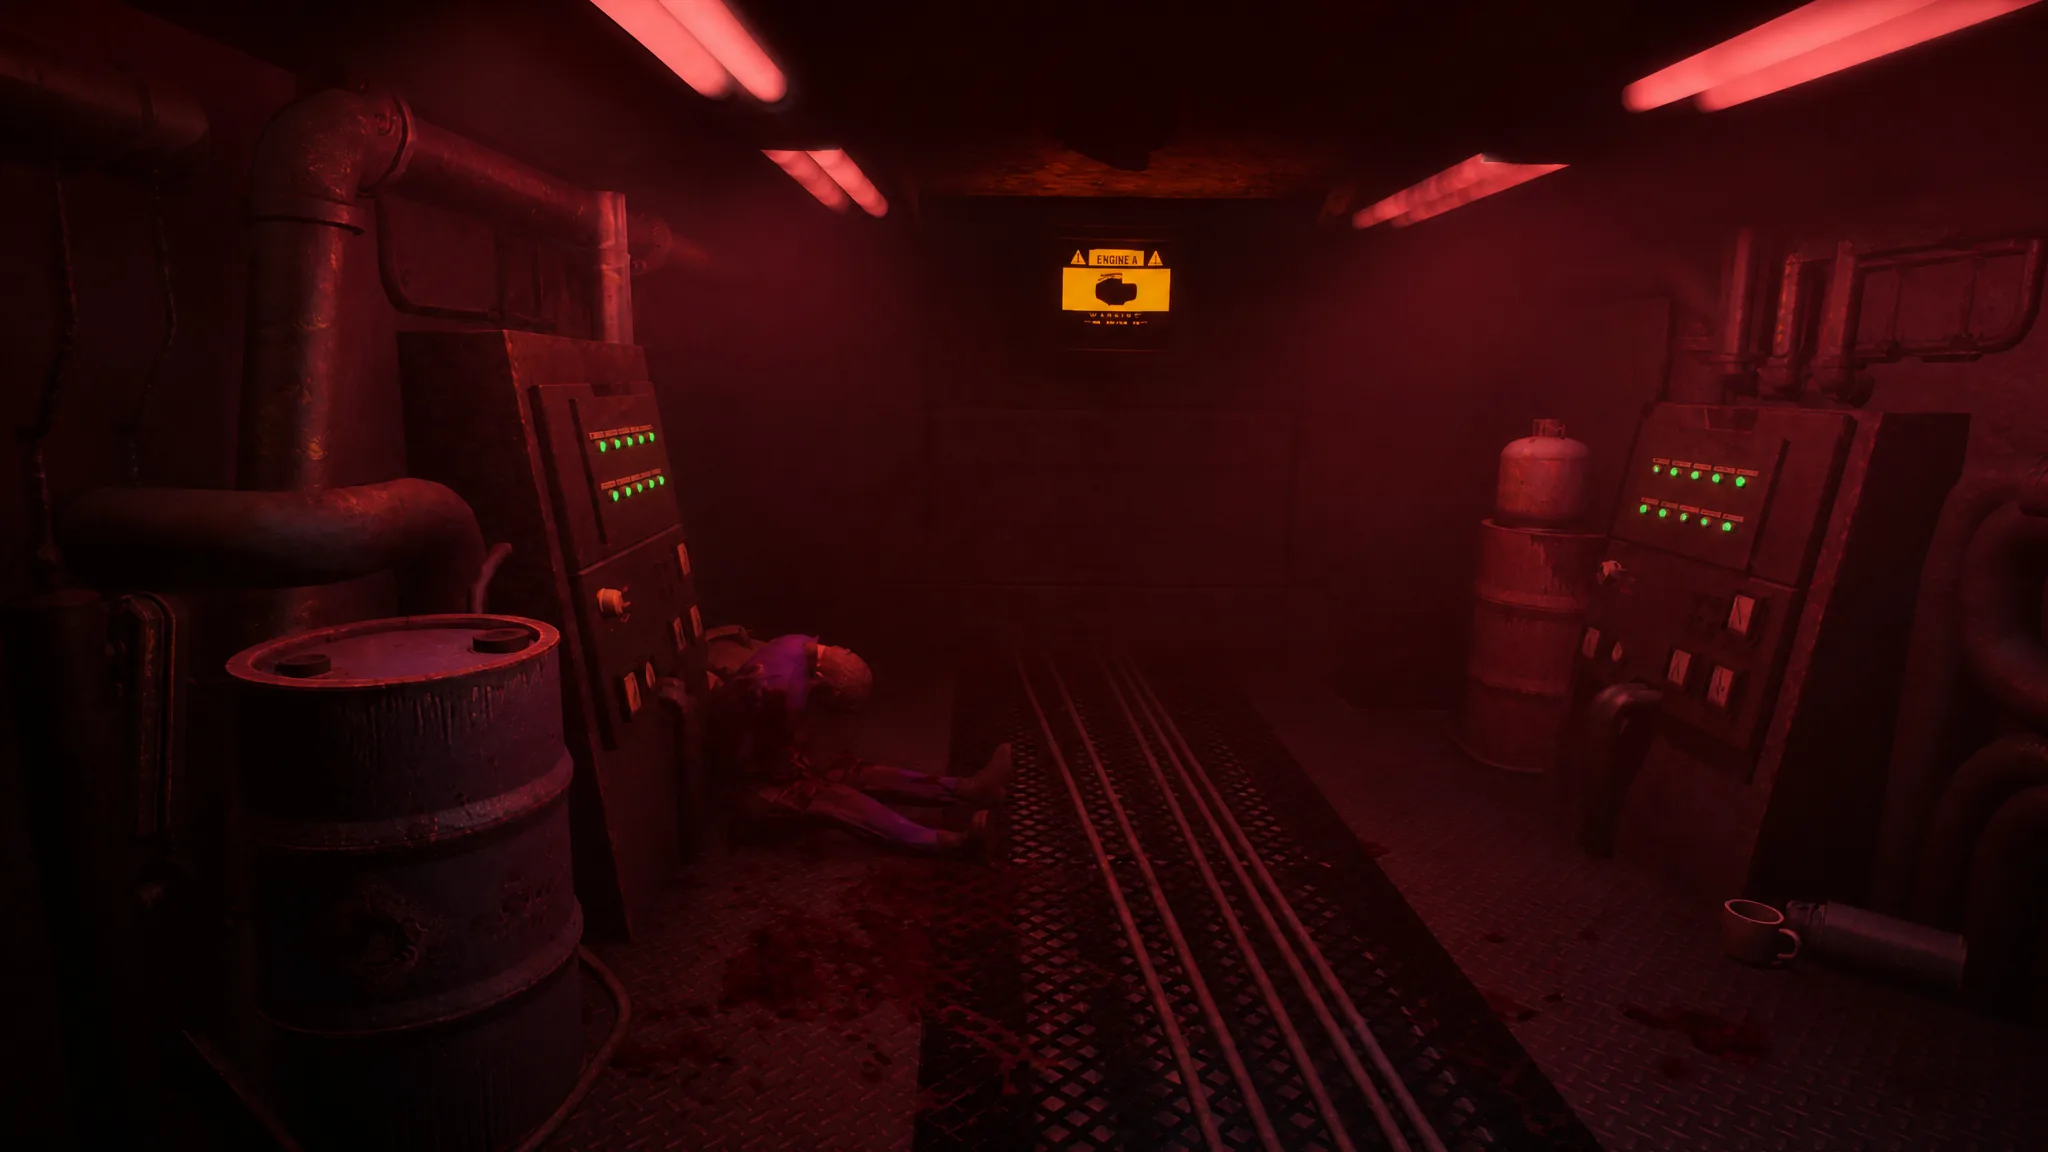
Engine room body
The engine room holds a body slumped against the side of the room. Search it and the surrounding area, since the items and notes here feed into the locks elsewhere rather than being a standalone code.
Torpedo loading puzzle
The torpedo puzzle asks you to load the weapon into an open slot before you can fire on the explosive target on the right. Until the torpedo is fully seated, the panel shows the message “FIRE NOT READY.”
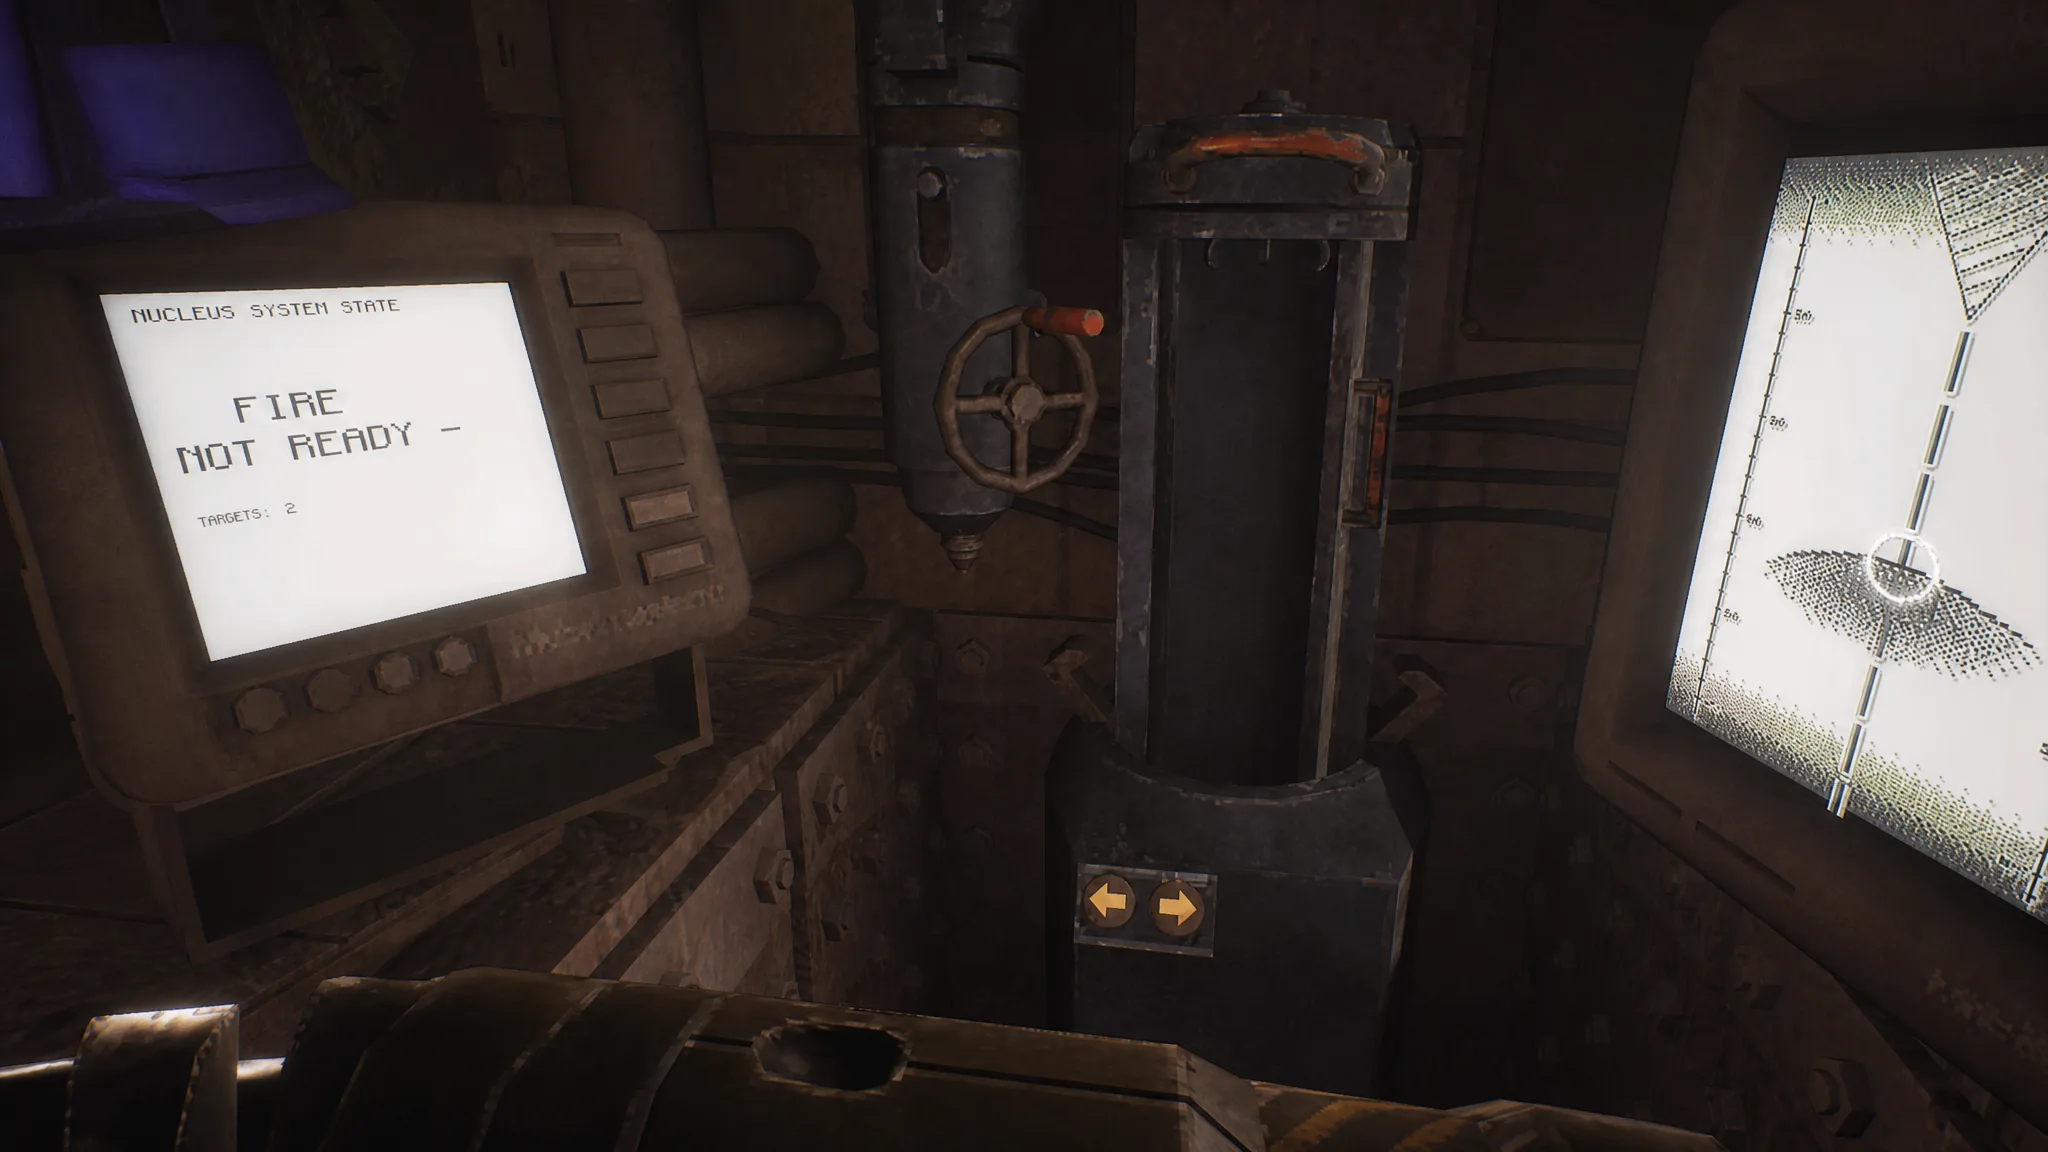
Place the torpedo into the open slot first. The “FIRE NOT READY” warning clears once it is loaded, and you can then fire at the target.
Religious mosaic puzzle (White Rabbit order)
The mosaic puzzle uses a set of religious mosaics that, when placed in the right sequence, tell the story of the White Rabbit, referred to as the “angel.” Lining the panels up in the correct narrative order is what opens the door.
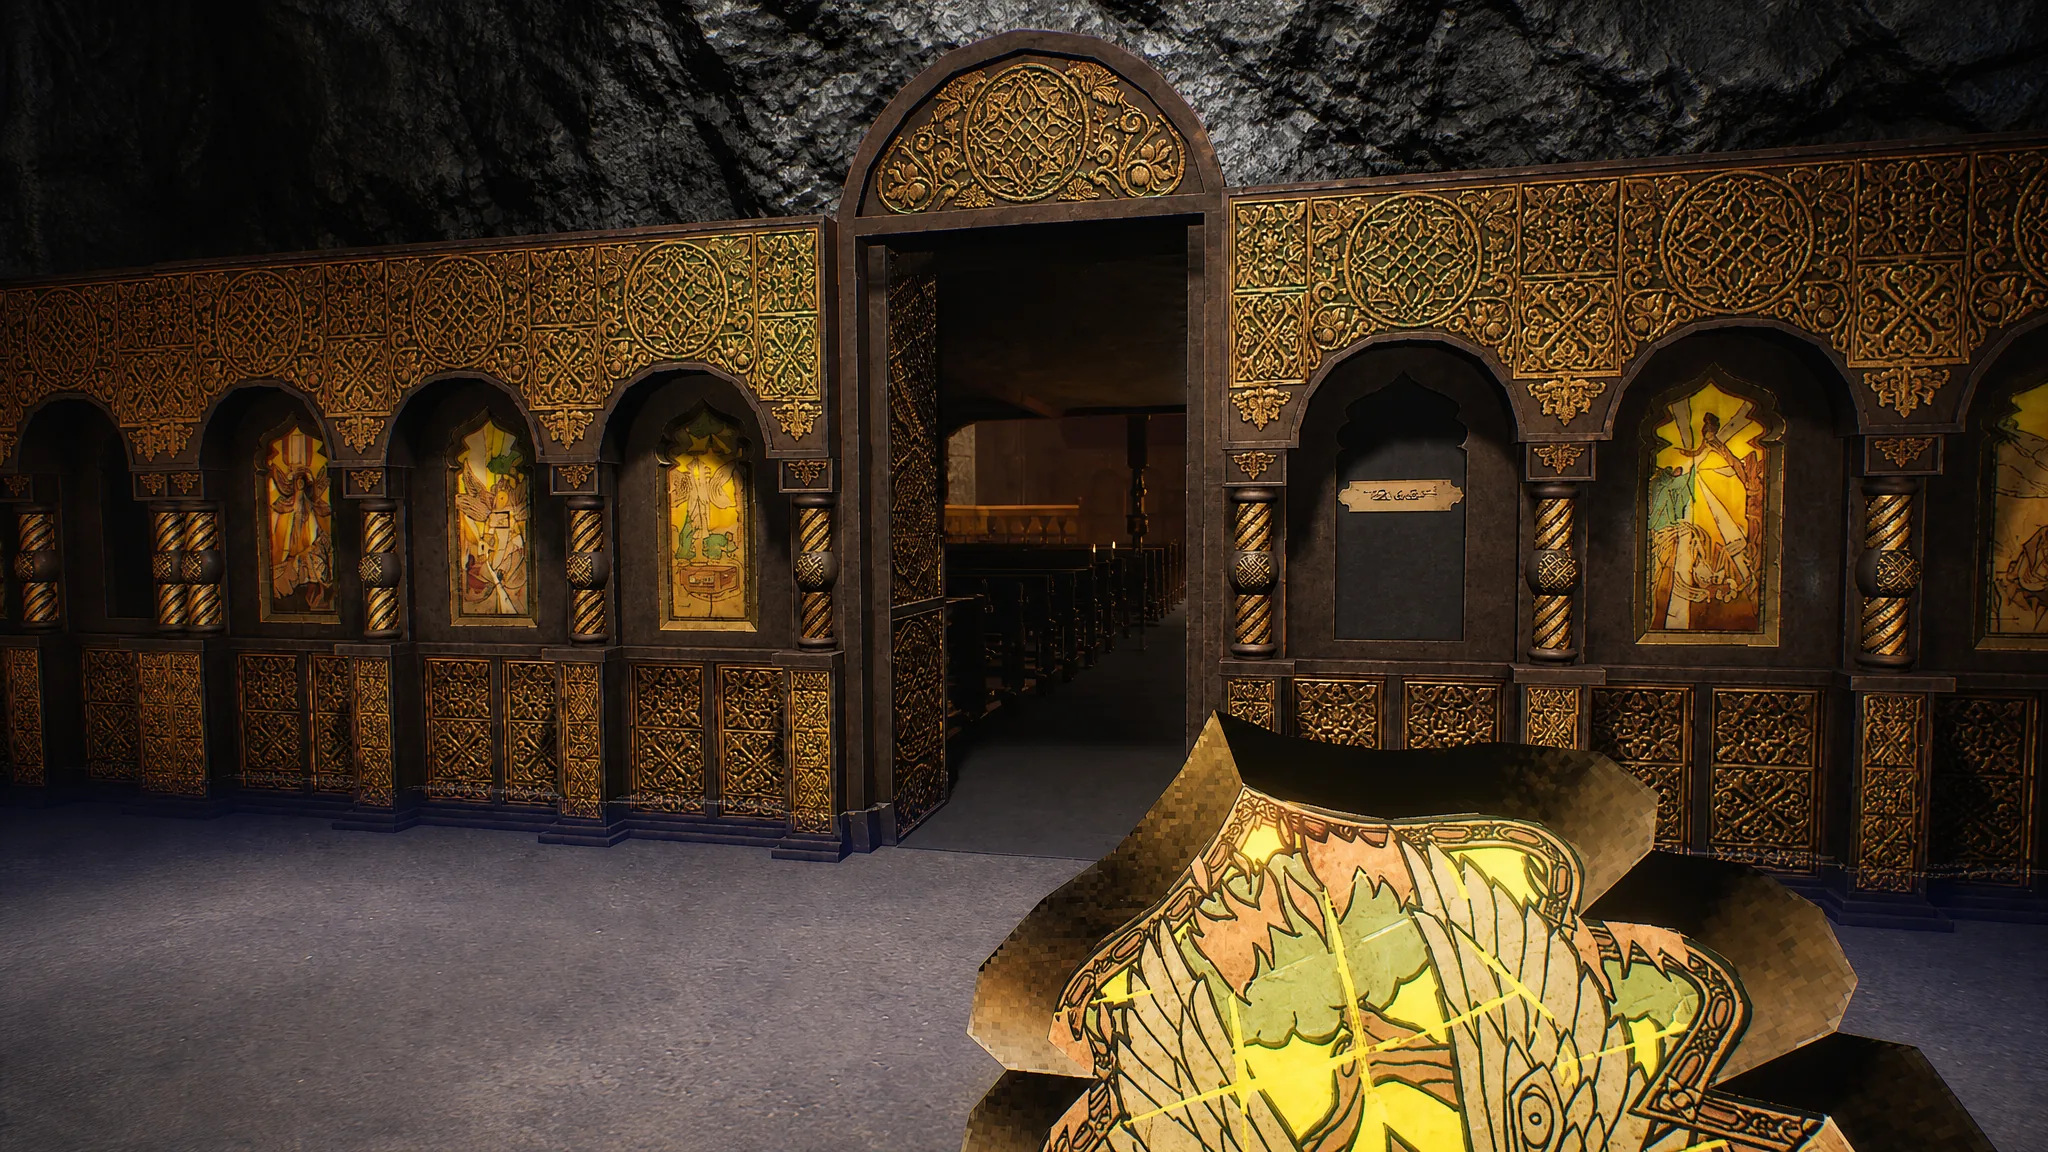
Work from the story itself, arranging the tiles so the sequence follows the White Rabbit’s tale from start to finish. The two halves below show how the finished mosaic should read across the wall.
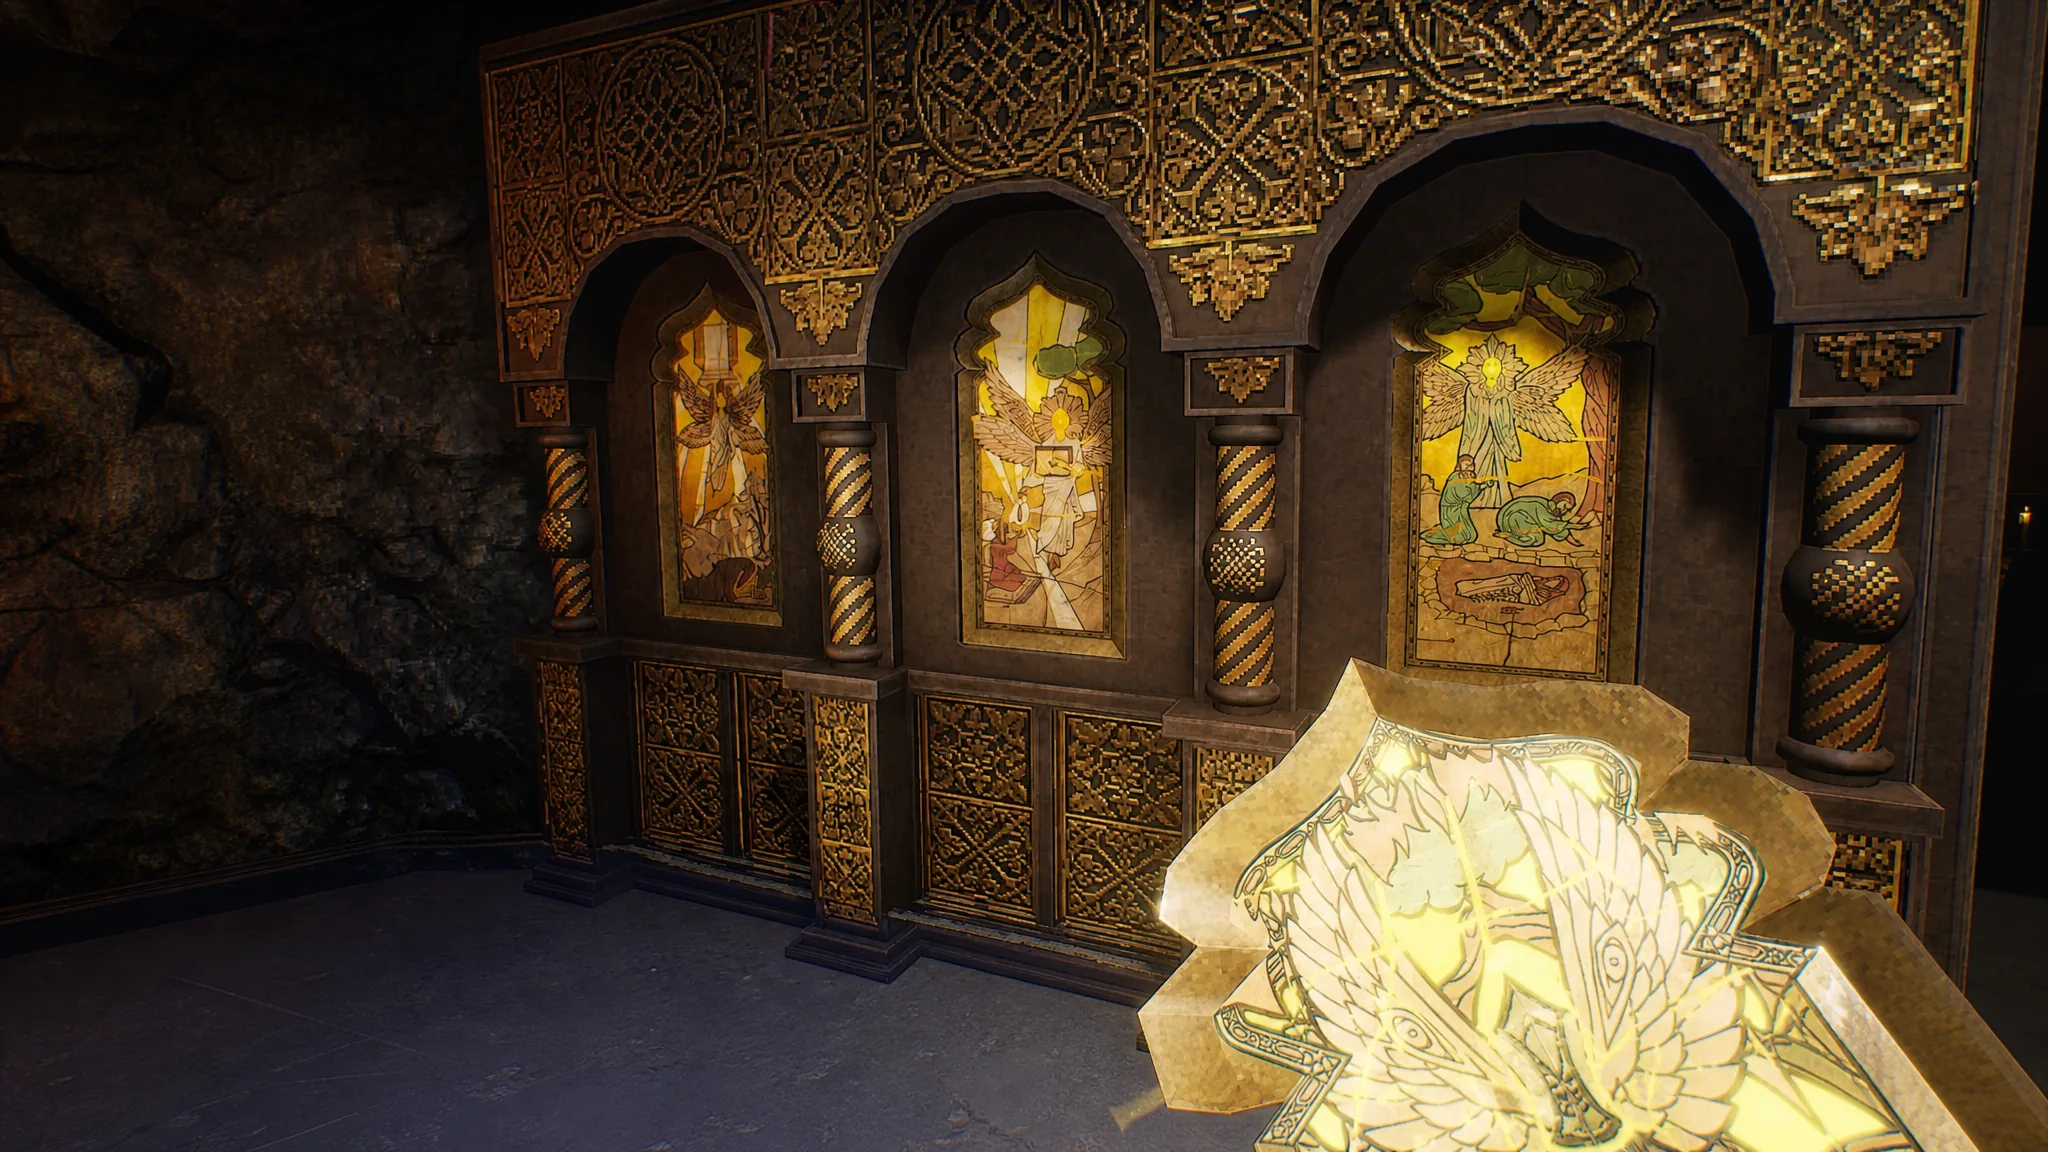
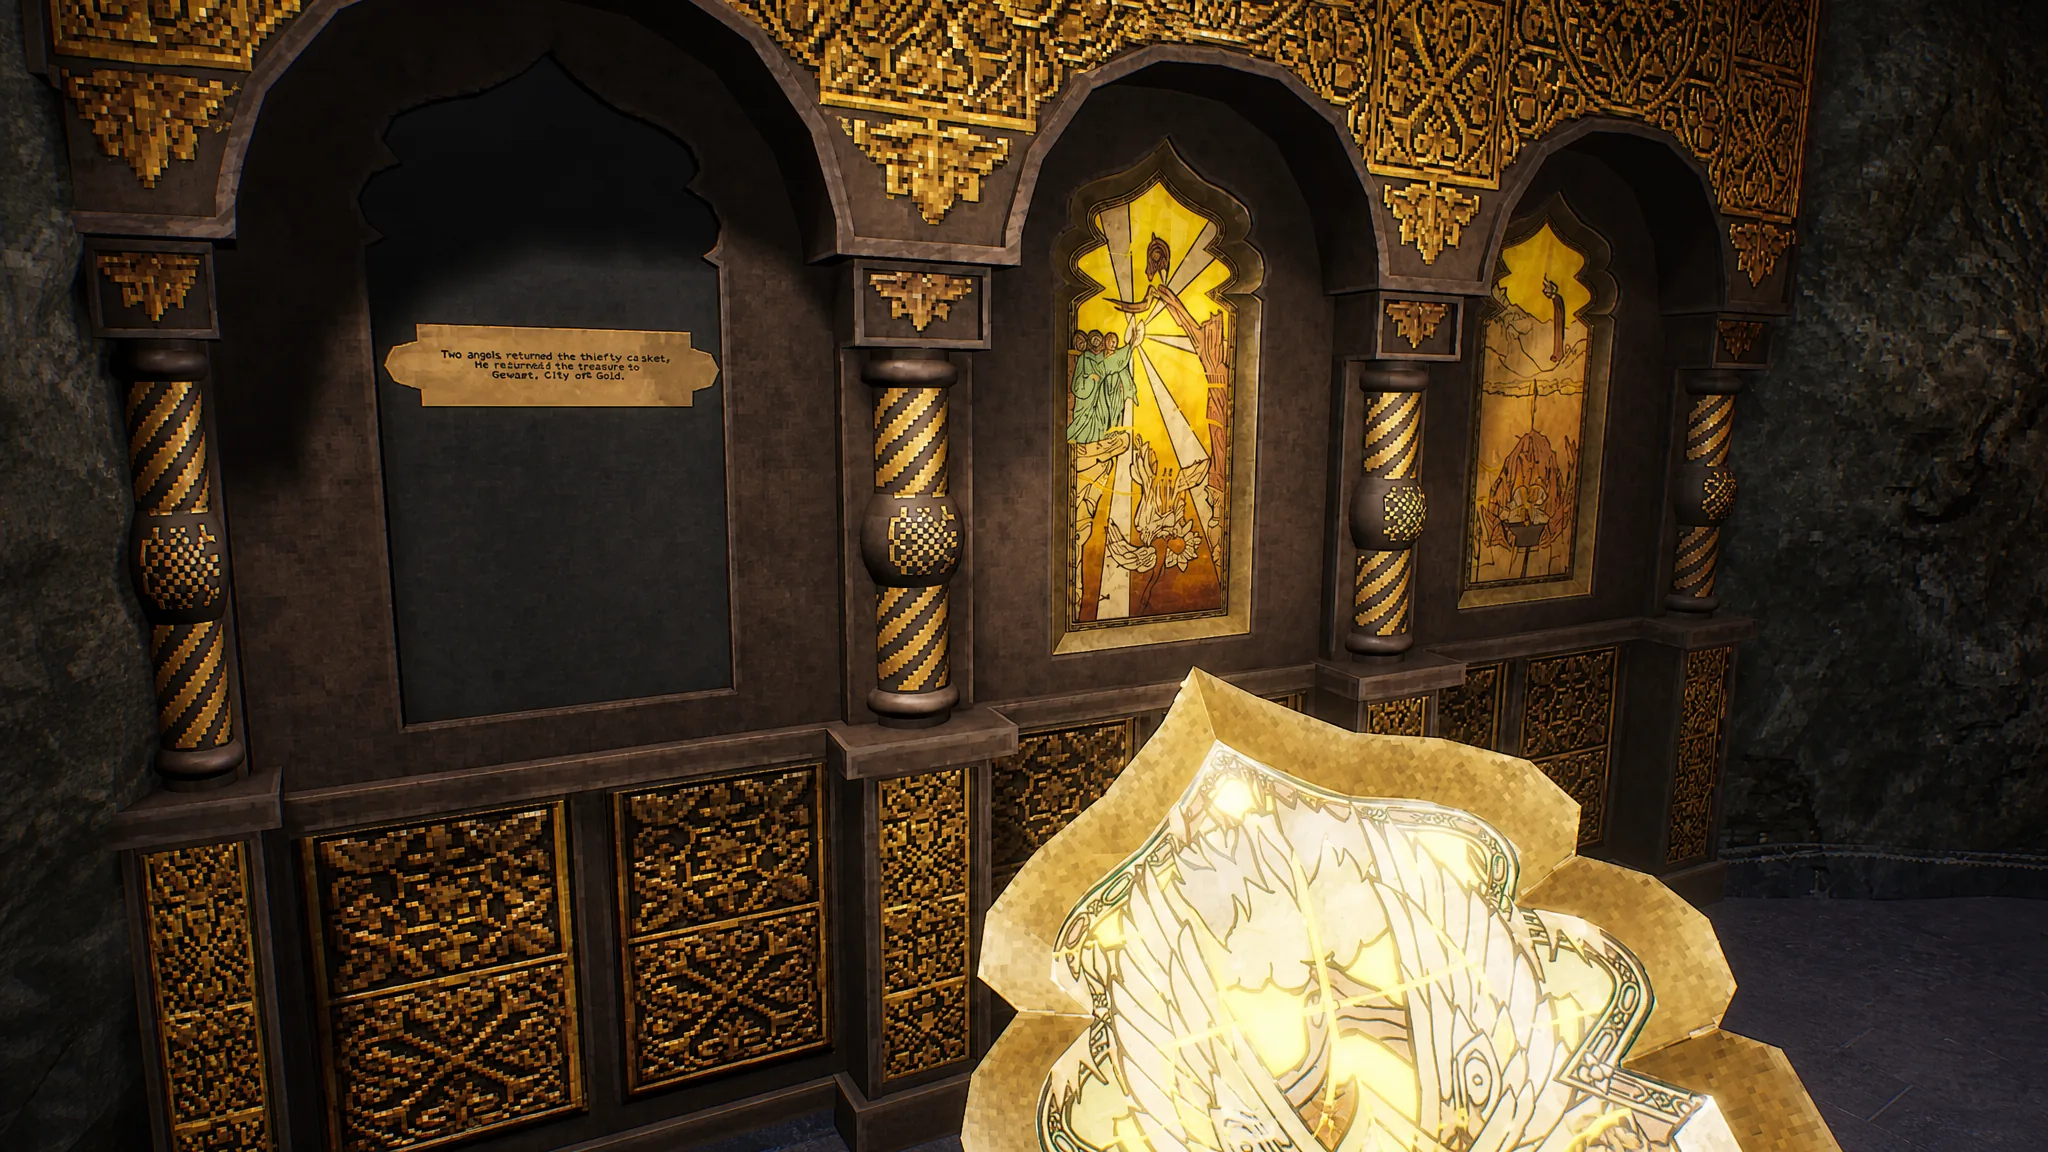
Once the tiles match the completed layout shown across both panels, the door unlocks. If it stays shut, recheck the order against the story rather than swapping tiles at random.
Every MOLE code in one place
| Puzzle | Solution |
|---|---|
| Fusebox | Switches 1, 3, 6, 7 down, two fuses placed |
| Hospital | 3-1-7 |
| Gun case lock | 8-3-5-7 |
| Torpedo | Load torpedo into open slot, then fire |
| Mosaic door | Arrange tiles in White Rabbit story order |
Keep these codes handy as you move through MOLE, since several of them depend on items you pick up earlier, like the passport clues from the phone booth and the documents tucked around the engine room. Solve them in the order you encounter the locks and you won’t need to retrace your steps.