Gaming Guide

Mortal Shell 2: Gloomshade Grove Beacon Location and Route

The full path from Widow's Overlook through Blackridge Cliffs and Sanguine Caverns to reach and cleanse the cliffside beacon.

The full path from Widow’s Overlook through Blackridge Cliffs and Sanguine Caverns to reach and cleanse the cliffside beacon.

The Gloomshade Grove beacon sits on a cliffside overlooking the water in the northern reaches of Fainweald, past the Blackridge Pass. Reaching it means fighting through a spider-infested cliff trail, a cavern system, and a corrupted swamp guarded by a towering tree creature. It is the ninth beacon in the Mether’s Breath fast-travel list, and cleansing it awards Ova toward full completion.

Quick answer: From the Widow’s Overlook beacon, run north through Blackridge Pass and Blackridge Cliffs, drop into the Sanguine Caverns, and rest at Stonebled Gate. Cross the bridge into Gloomshade Grove, hold F to cleanse the corruption blocking the path, run past the giant tree monster, and press E to revitalize the beacon on the cliffside.


Where the Gloomshade Grove beacon is

Gloomshade Grove is a swampy clearing in the north of Fainweald, connected by clearable corruption paths to the Citadel Gate and the Sanguine Caverns. The beacon itself rests on a cliff edge above the water, on the far side of the grove past a giant tree monster. The fastest approach is a straight run north from Widow’s Overlook, using Stonebled Gate as your last rest point before the grove.

DetailInfo
RegionFainweald (northern area, past Blackridge Pass)
Beacon order#9 in the Mether’s Breath list
Start pointWidow’s Overlook beacon
Last rest before groveStonebled Gate beacon
Boss nearbyBloodcursed Lithopod (drops the Citadel Gate Lever)

Route from Widow’s Overlook to Gloomshade Grove
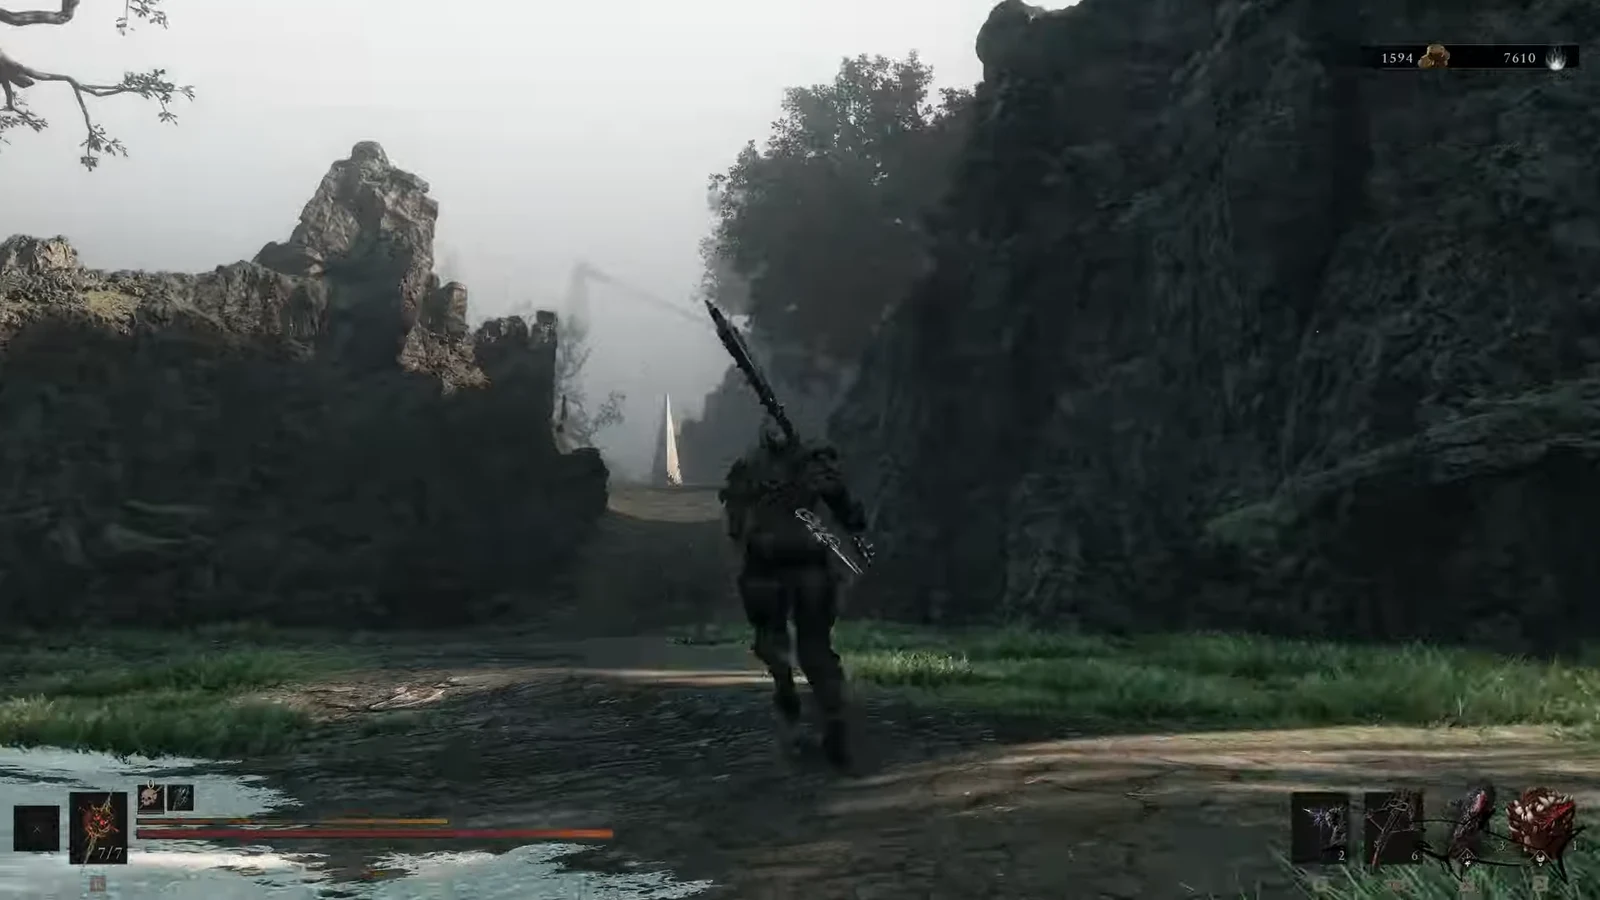
Start at the Widow’s Overlook beacon and head north toward Blackridge Pass. Keep moving along the rocky forest trail rather than stopping to clear every enemy.
Armored character running along a rocky forest path toward a distant glowing beacon
The run north out of Widow’s Overlook, heading for a distant glowing obelisk toward Blackridge Pass. Image credit: Cold Symmetry
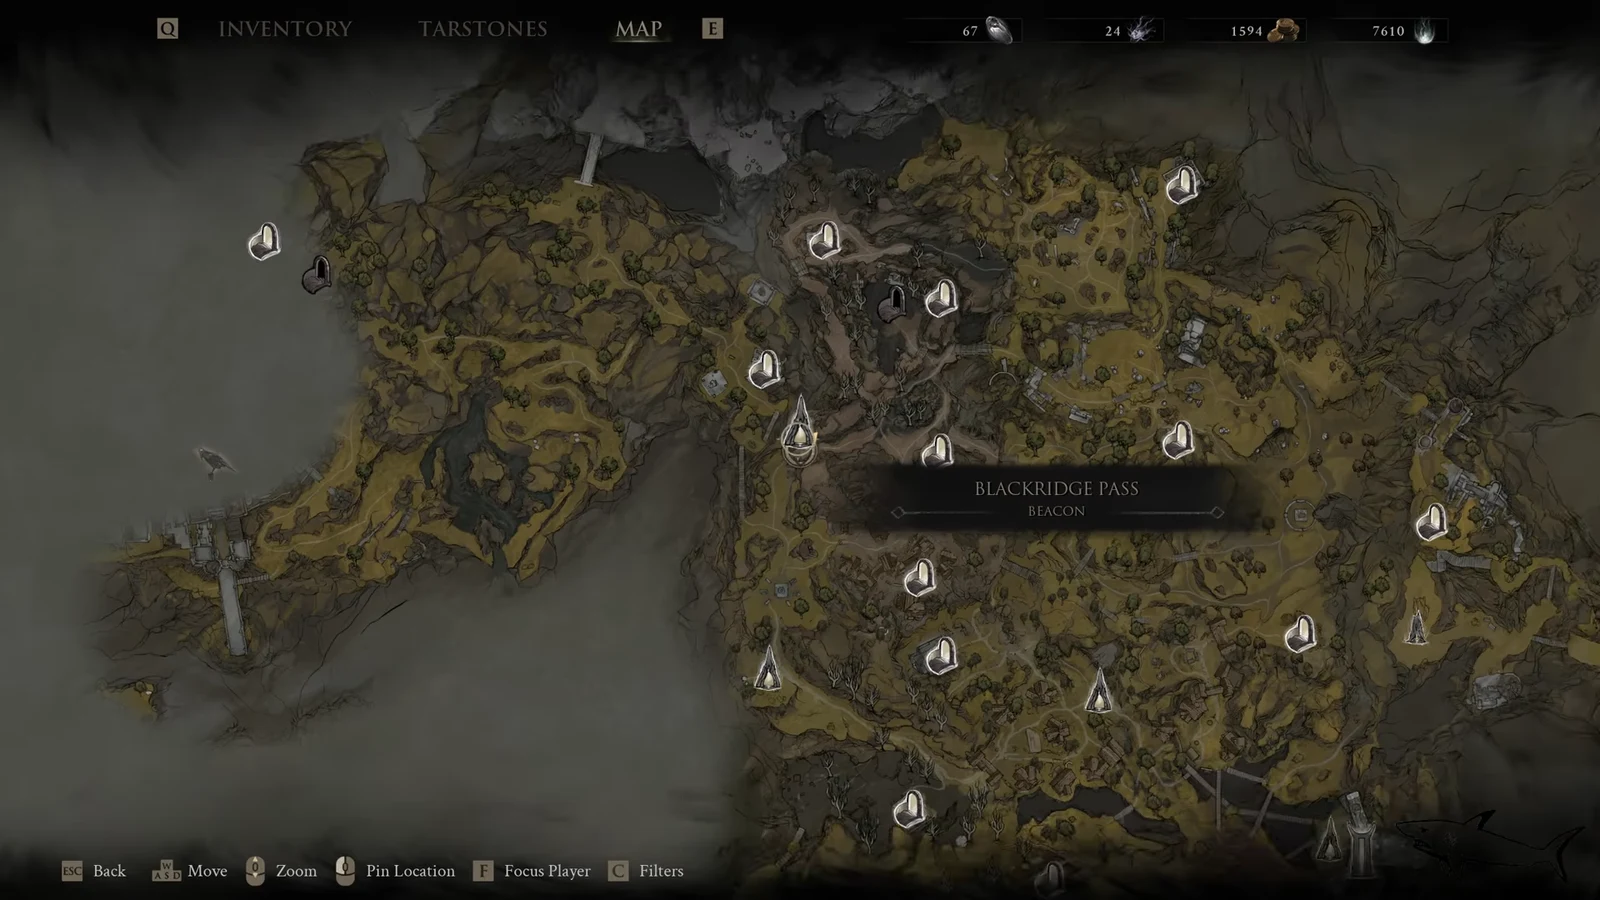
At Blackridge Pass, open the map to confirm your position before pushing on. The Blackridge Pass marker sits north of Widow’s Overlook and points you toward the cliffs.
Map screen highlighting the Blackridge Pass beacon among nearby markers
The map screen with the Blackridge Pass beacon highlighted, used to line up the next leg of the route. Image credit: Cold Symmetry
Run through Blackridge Cliffs. A spider enemy blocks the path here, so either kill it or dodge past and keep heading toward the Sanguine Caverns entrance.
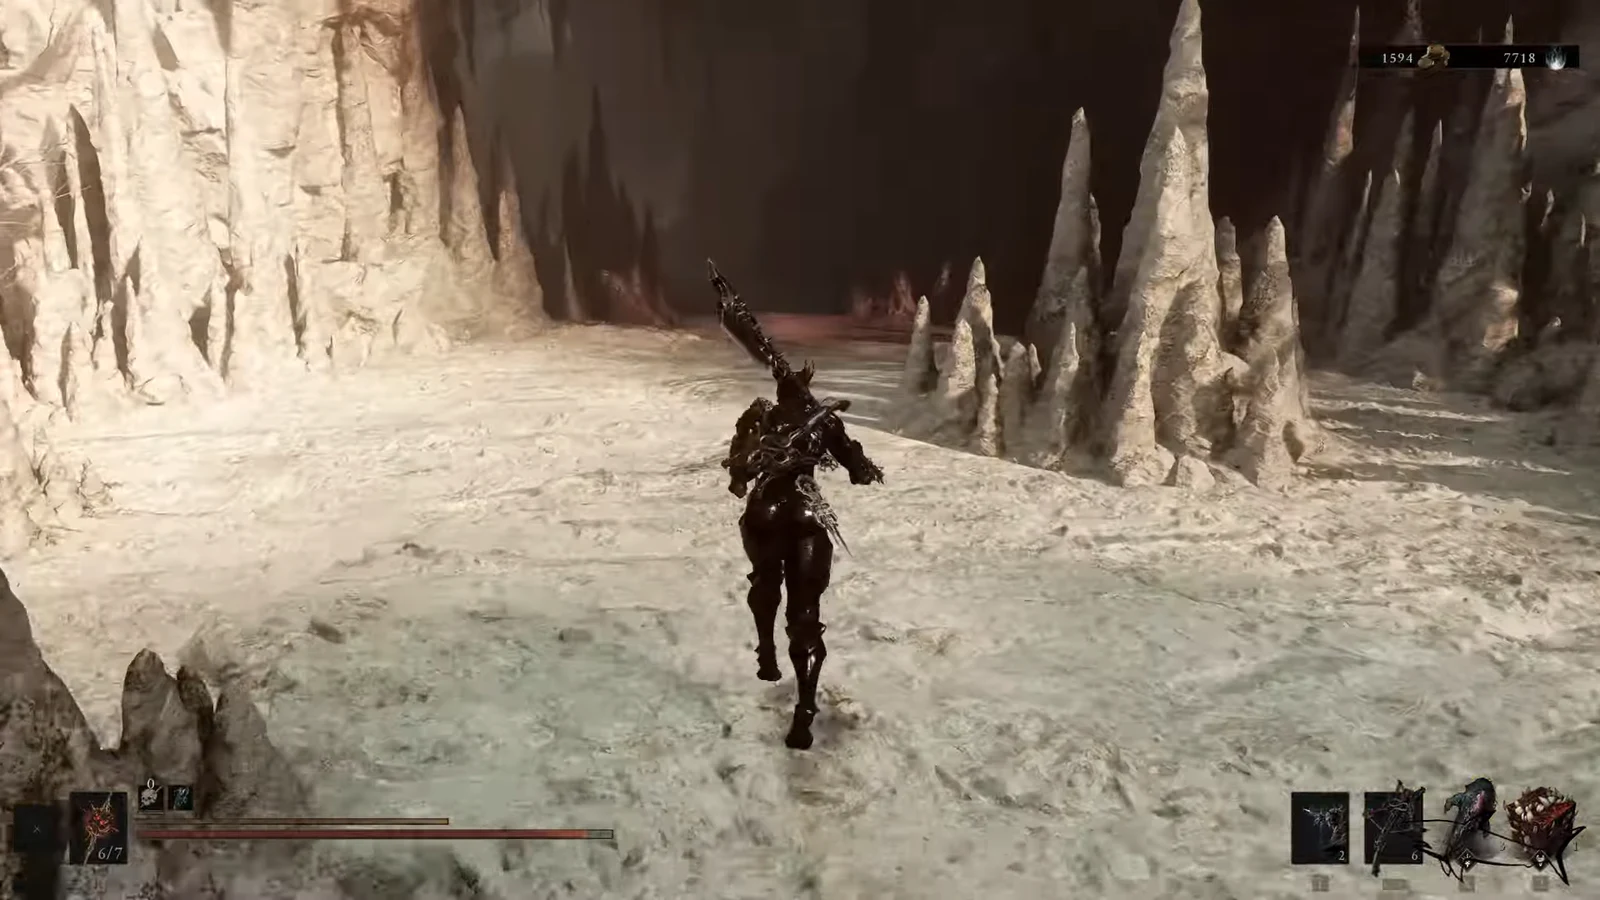
Enter the Sanguine Caverns and push through the interior. There are several enemies inside, but you can sprint past most of them and follow the main path forward.
Player character running through a jagged ice cavern with a large weapon equipped
Cutting through the jagged interior of the Sanguine Caverns on the way to Stonebled Gate. Image credit: Cold Symmetry
Reach the Stonebled Gate beacon and rest here. This is your safest checkpoint before the grove, so use it to recover Health and Resolve.
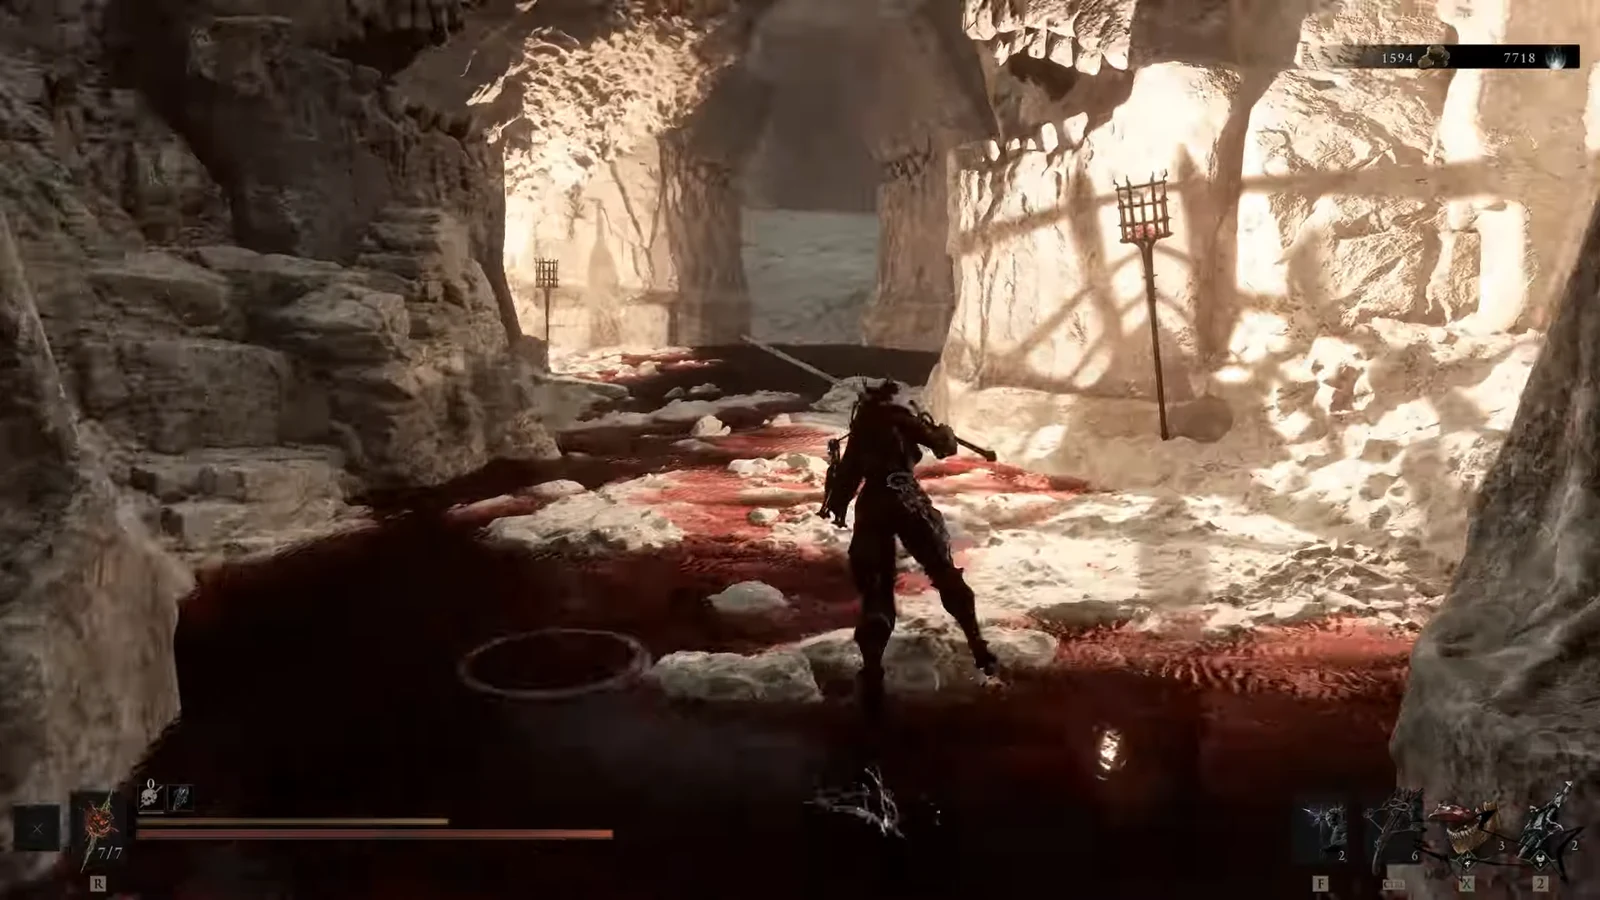
From Stonebled Gate, continue through the caves and cross the bridge that leads out toward Gloomshade Grove.
Character advancing through a blood-filled cavern toward a torch-lit passage with HUD visible
Pushing through the blood-filled cavern toward the torch-lit passage that connects to the bridge. Image credit: Cold Symmetry
Enter Gloomshade Grove and deal with the swamp. You will run into swamp grunts and spellcasters here, so clear enough space to move safely through the clearing.
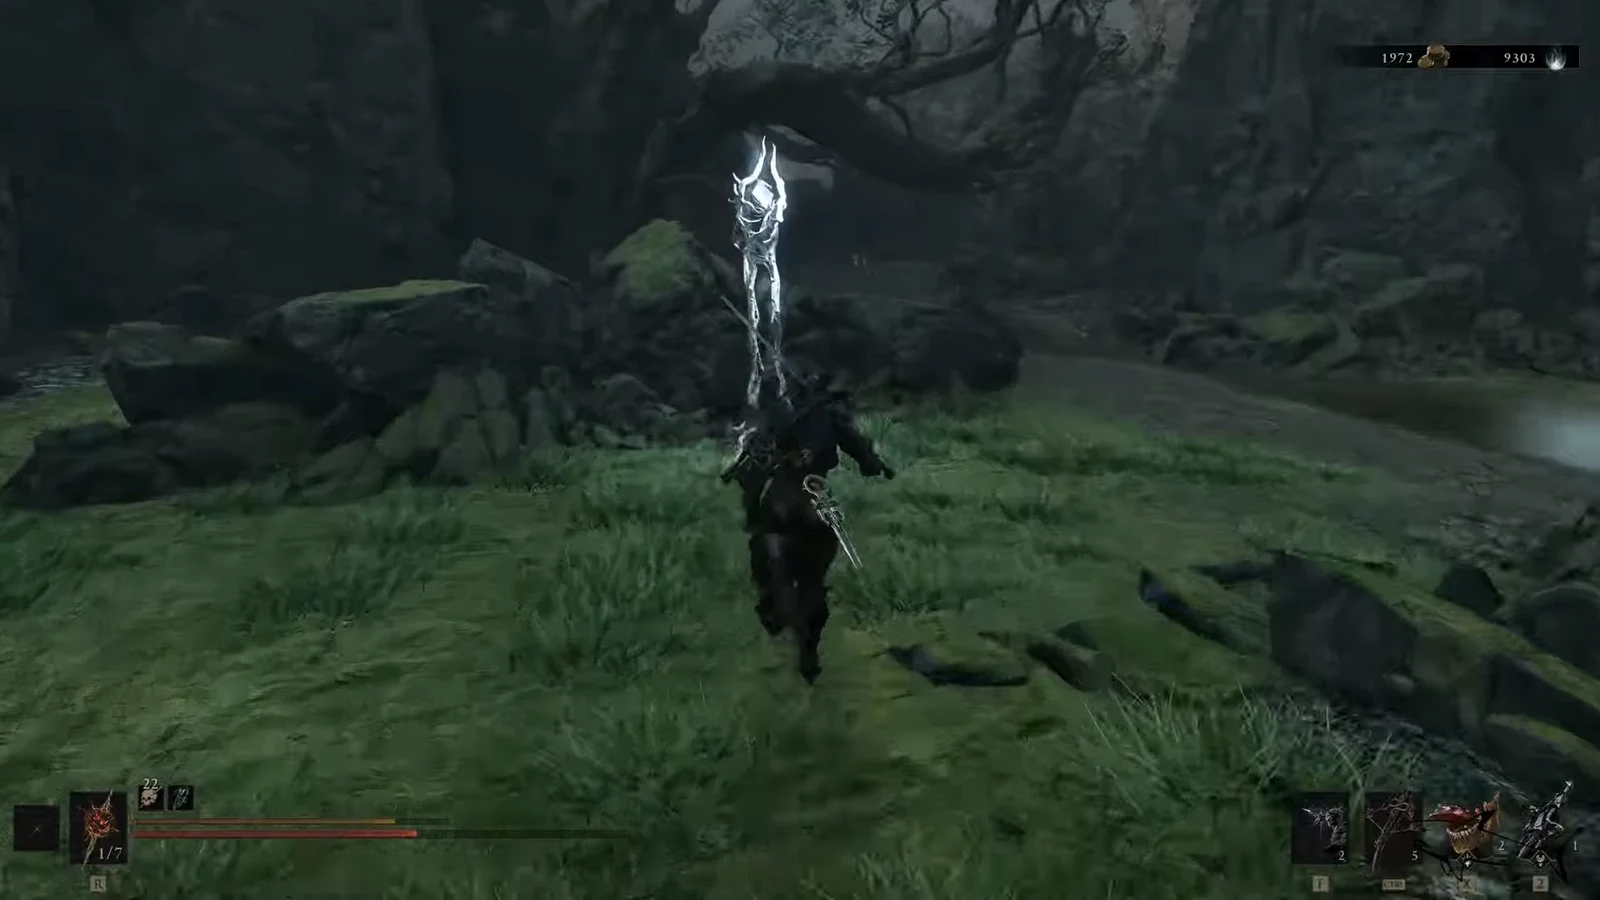
Collect the items from the glowing pillars scattered around the swamp while you fight. The clearing also holds a Ventrium and a Common Moonshine near the small enemy camp.
Player character running toward a glowing white shrine-like object in a forest clearing
Approaching one of the glowing pillars in the Gloomshade Grove clearing. Image credit: Cold Symmetry
Find the corruption blocking the way and hold F to cleanse it. This clears the path forward toward the beacon on the far cliffside.
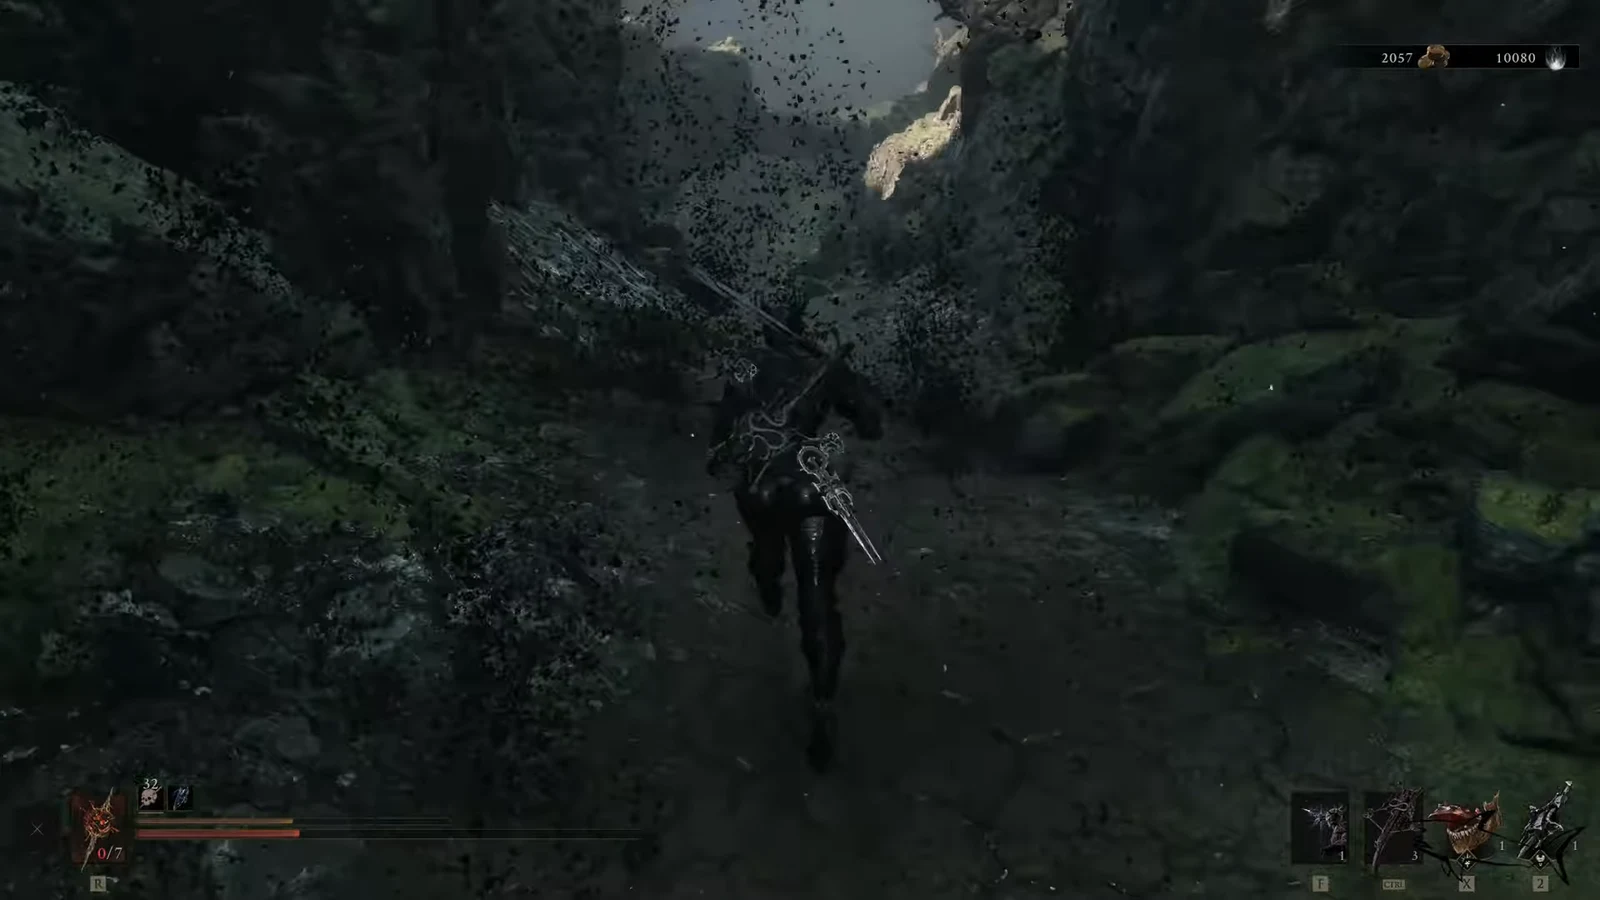
Run past the giant tree monster in the ravine on the final stretch. You do not need to kill it, so sprint through and keep the beacon ahead as your target.
Character running forward through a dark rocky ravine with the HUD visible
The final run through the dark ravine past the giant tree monster toward the cliffside beacon. Image credit: Cold Symmetry

Activate and confirm the beacon

When you reach the beacon on the cliff edge, press E to revitalize it. Once cleansed, it unlocks as a fast-travel point in the Mether’s Breath menu and lets you rest to restore Health and Resolve. You will know it worked when the beacon lights up and appears as a selectable destination, and you claim the Ova stored inside it.

Note: The revitalize prompt only appears once you are standing at the beacon itself. If it does not show, you are likely still short of the cliffside and need to clear the corruption path first before the route opens up.


What opens up after cleansing

With the beacon active, Gloomshade Grove becomes a hub for reaching nearby areas. Crossing the bridge near the carts links back to the Sanguine Caverns, and a cleansed corruption on the northwest side leads to a cave of tents and eventually the walls of the Citadel Gate, complete with a shack and a well. The well drops you into the Holding Cells dungeon.

The Bloodcursed Lithopod boss waits in the outskirts of the grove, southeast of the beacon. Defeating it grants the Citadel Gate Lever, which you slot in at the Citadel of Penance to open the gate. The area also holds a Laterite from an effigy in the second western clearing and coin pouches worth 250 Coins each, so it is worth sweeping the grove once the beacon secures your checkpoint.