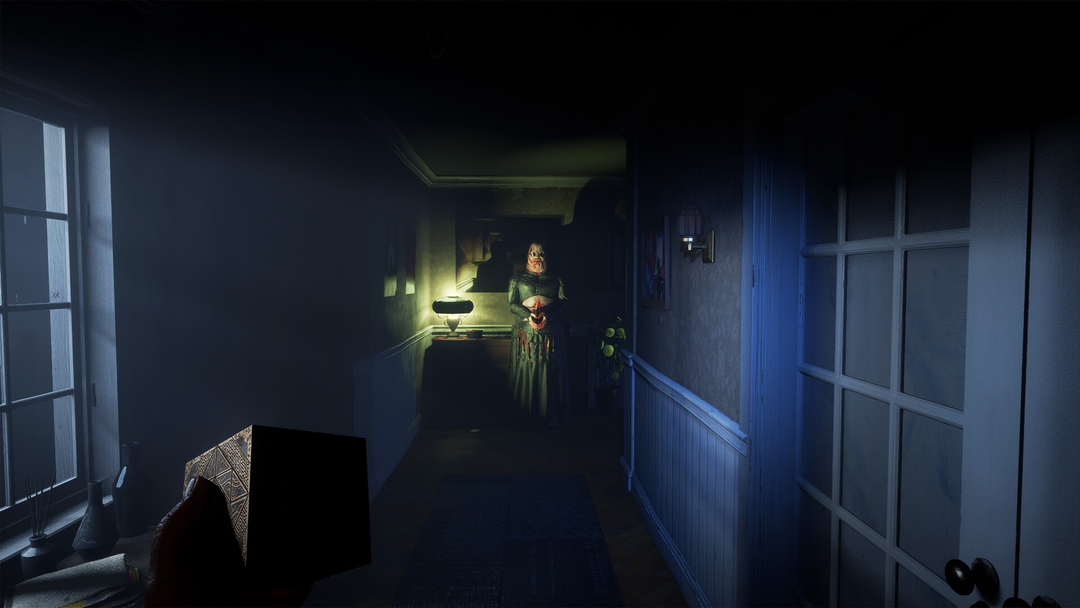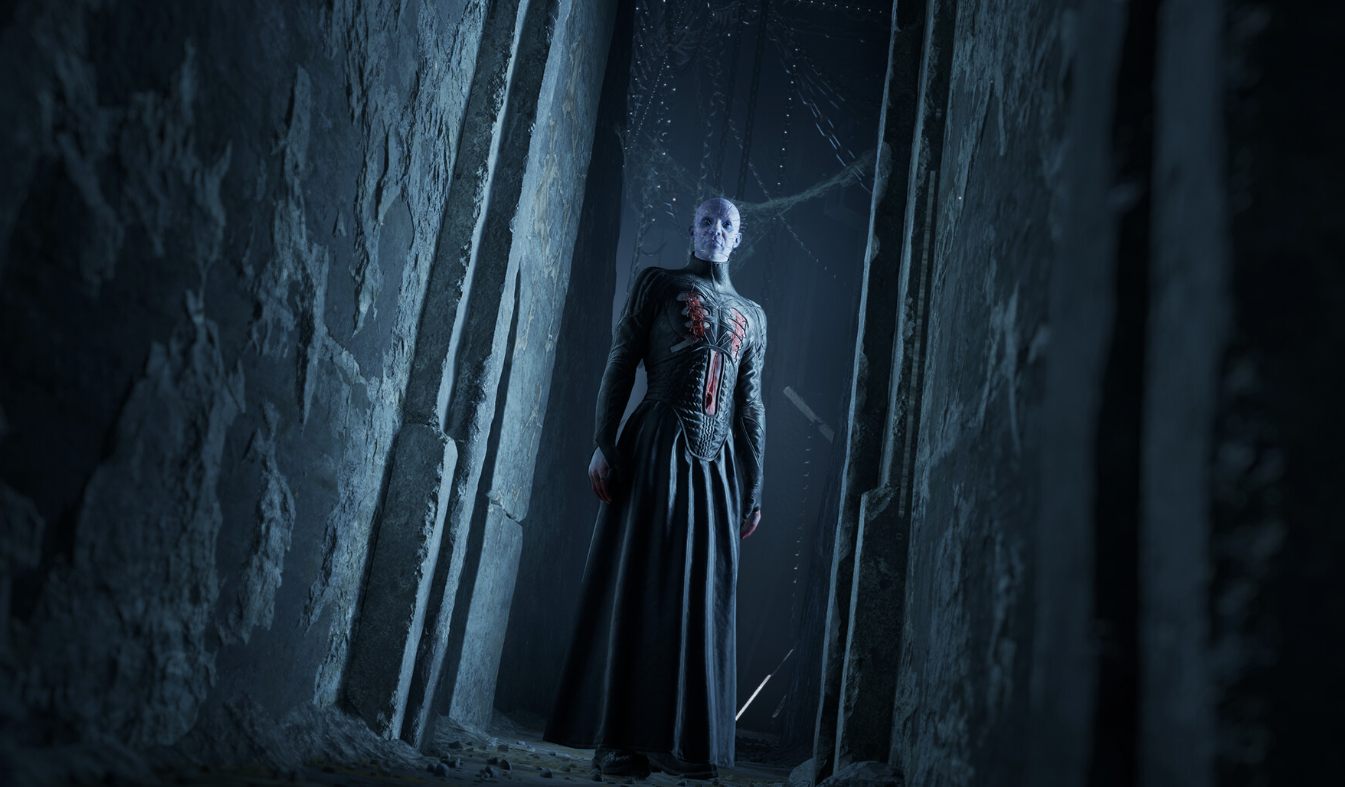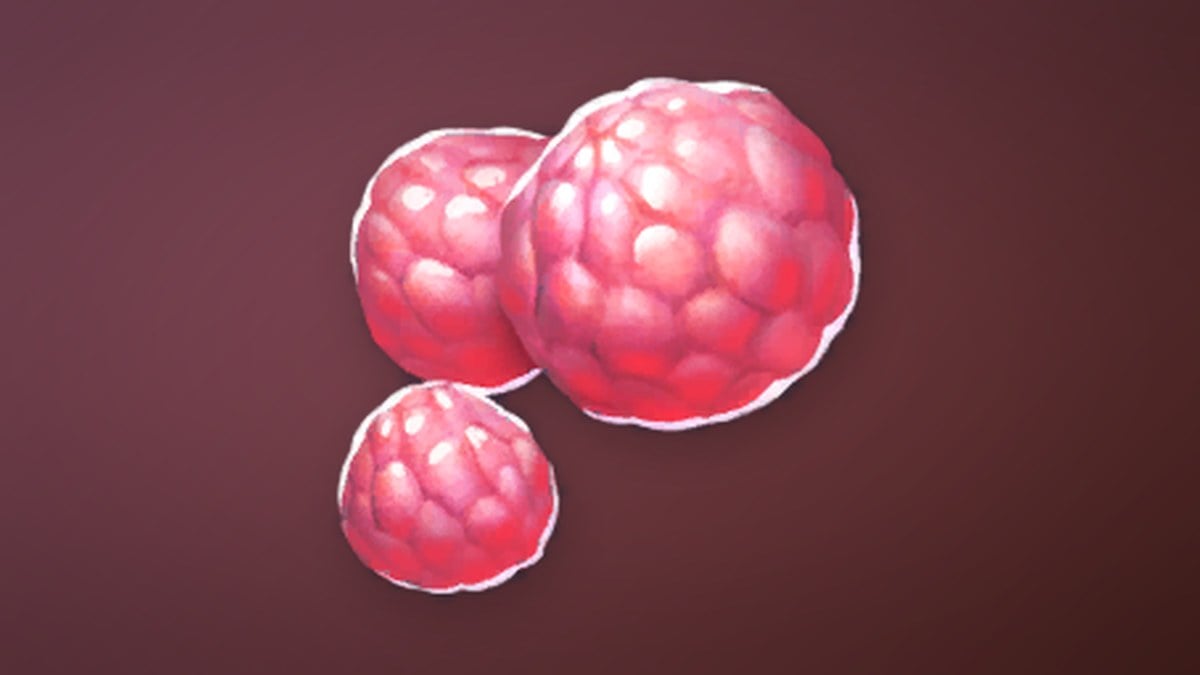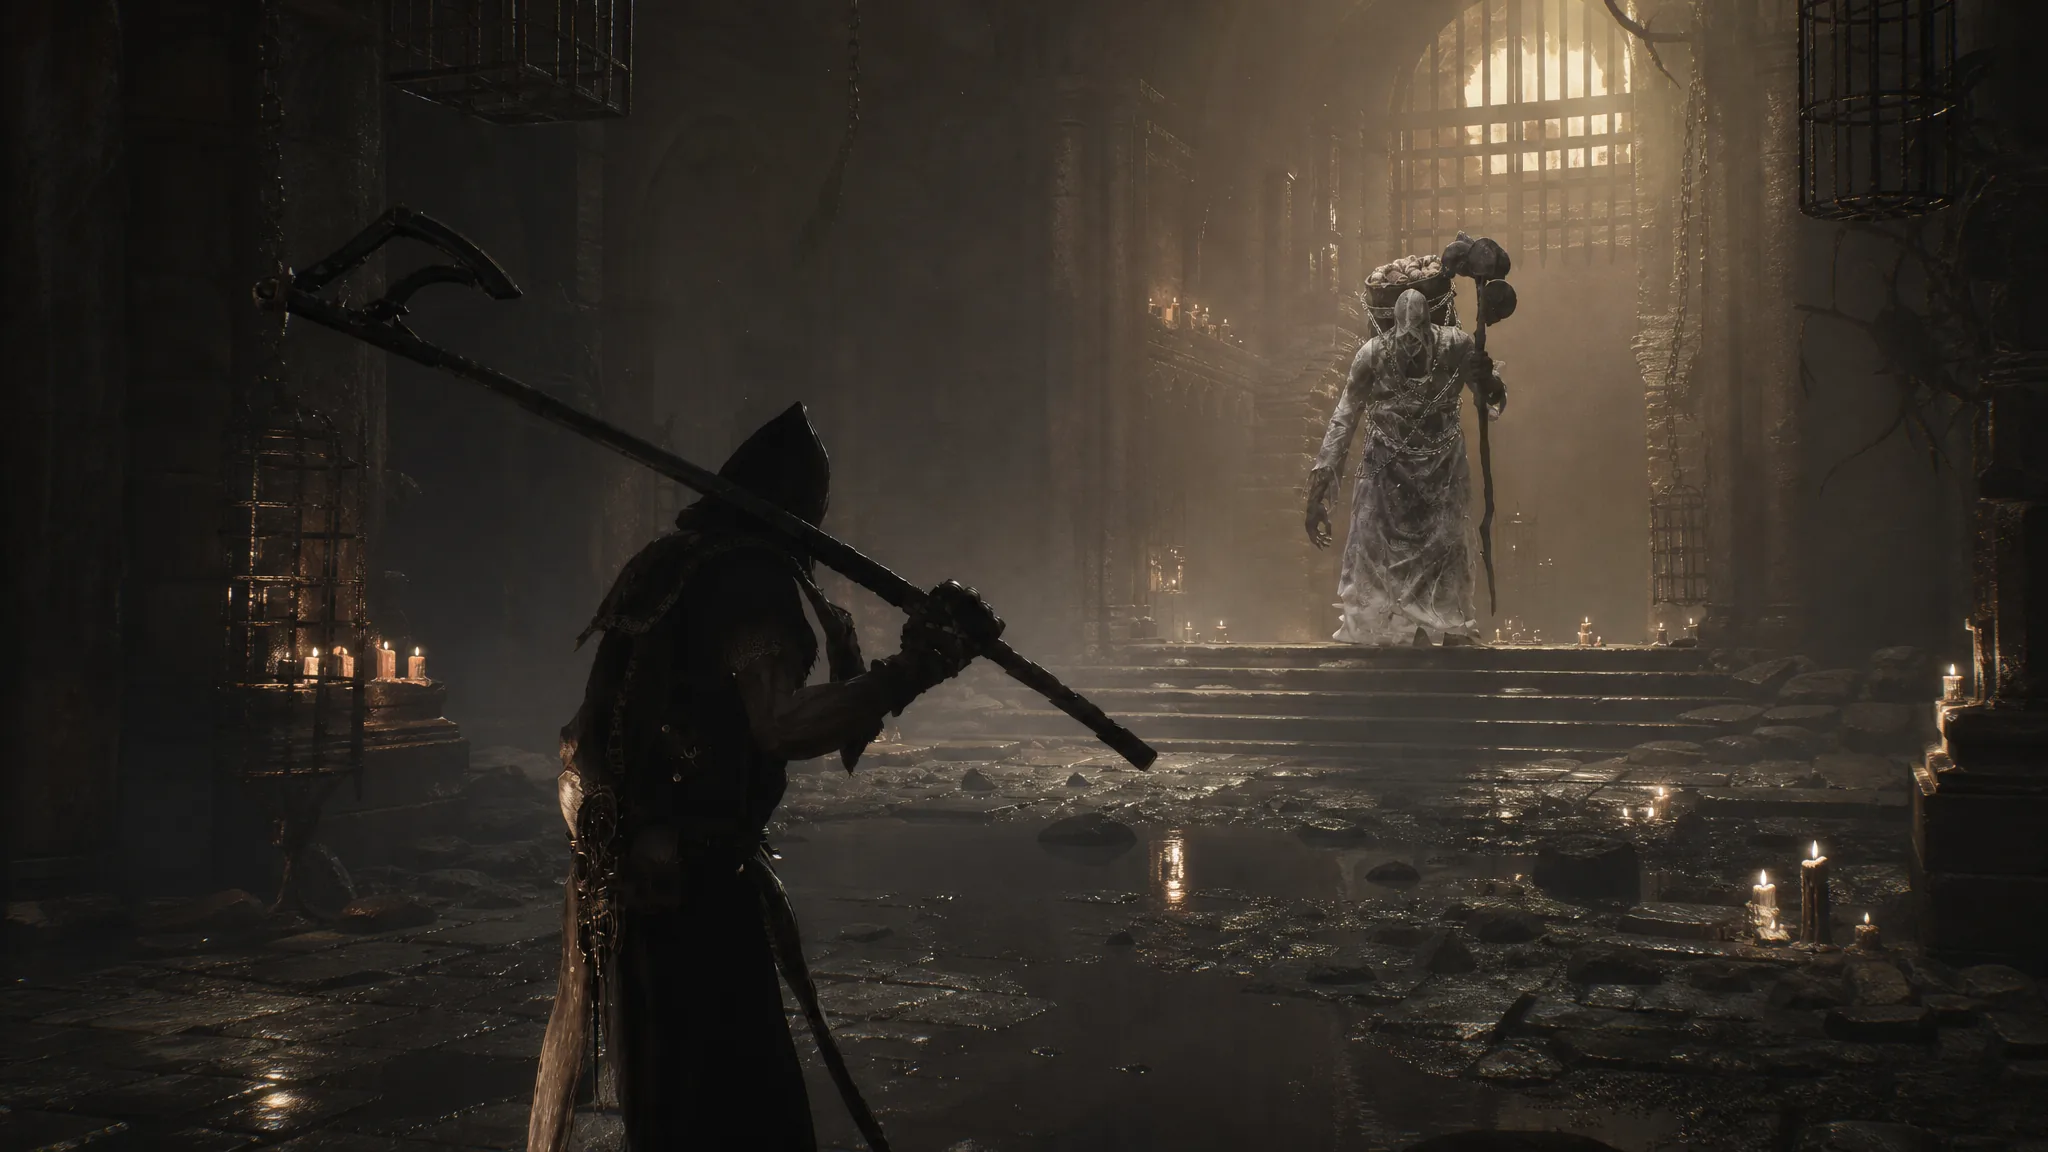
The Holding Cells is a dungeon in Blackridge Hamlet, tucked under a well and packed with illusory walls, arrow traps, and enemy groups that punish sloppy sprinting. Everything inside funnels toward one locked door at the bottom of the pit, and one very sharp boss fight behind it.
Quick answer: Drop into the well at Blackridge Hamlet, work down to the bottom of the pit, take the Feeding Room key from the shack on the far side of the arena floor, unlock the large door, and kill the Rabid Grisha Pack to earn the Inflamed Clawstone.
Both Holding Cells entrances in Mortal Shell 2
Two wells lead into the same dungeon. Neither locks you out of anything, so the choice is about how far you want to walk and what you want to pick up first.
| Entrance | How to reach it | What you meet first |
|---|---|---|
| Blackridge Hamlet well | From the Blackridge Pass Beacon, follow the path southwest through the village and clear the enemies around the well before interacting with it | A short stair, three weak enemies, then a linear corridor |
| Gloomshade Grove well | A secluded spot near the Martyr’s Prison entrance, close to the Gloomshade Grove Beacon | A heavy knight plus basic soldiers, and a Revered Gland just past an illusory wall |
Blackridge is the faster option because its Beacon sits closer to the well. The Gloomshade side looks like a dead end when you land, but it has two exits. Either walk off the ledge and use a plunging attack to cancel fall damage, or hit the illusory wall on your left at the end of the corridor.
Upper level route: illusory walls, the gate switch, and the arrow trap
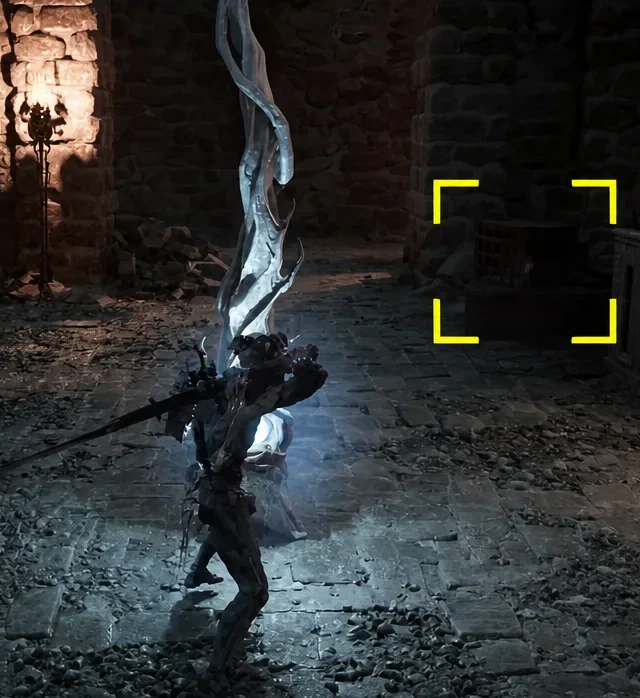
Note: from the Blackridge side, there is a second stretch of illusory walls to the left of the hallway past the room with the iron maidens. Breaking through leads to a Ventrium totem, and a second totem sits outside, reachable by dropping from a nearby ledge.
Getting to the bottom of the pit and the Feeding Room key
The lower floor is the real objective. You can reach it with the elevators on the wooden walkways or by dropping and using a plunging attack, but the elevator route lets you collect one more resource on the way down.
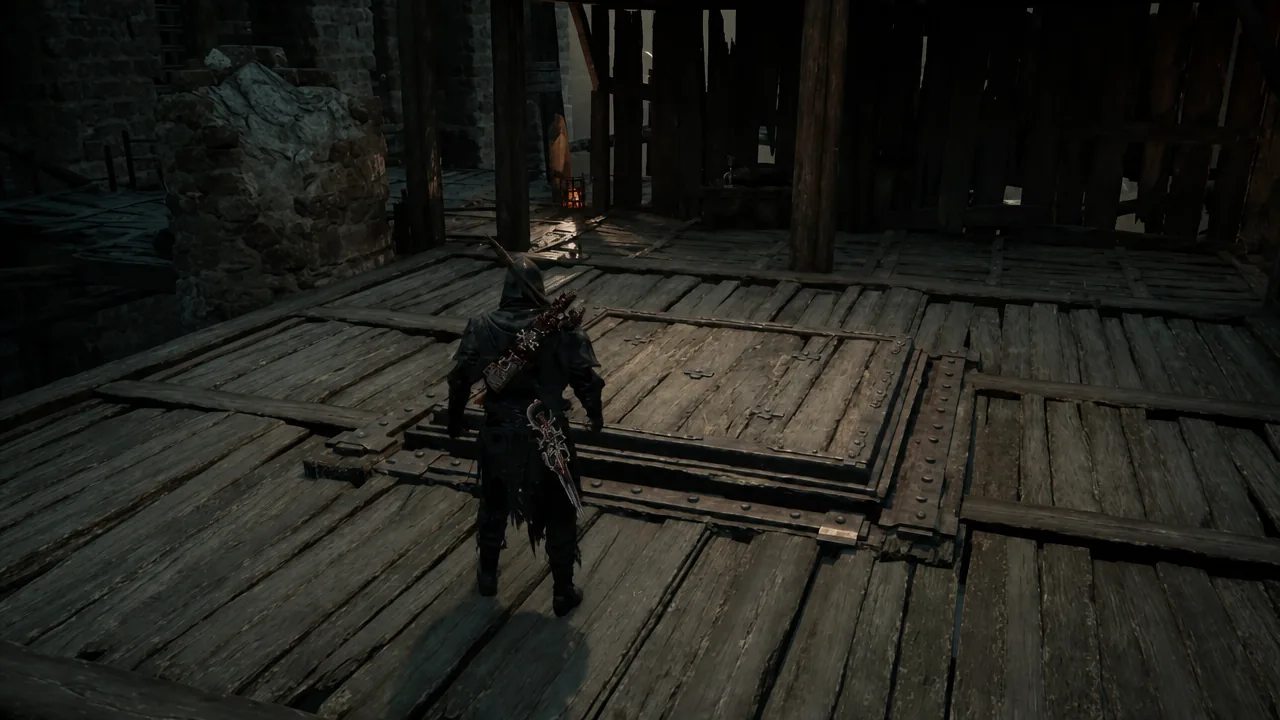
Entering the arena starts the fight immediately, with no run-back or pause. If your health flasks are low or you are underleveled, grab the Glimpse, back off, and return later.
How to beat the Rabid Grisha Pack
Two Grisha share the arena. Their movesets are simple, and the entire difficulty comes from being flanked. Turning the fight into a 1v1 is the whole strategy.
The cleanest opener is the pair of overhead cylinders hanging above the arena. Hold your shots until a Grisha is standing directly beneath one, then fire. The falling cylinder deals heavy damage and knocks that Grisha down, buying you a long stretch to punish the other one alone.
Lightning works the same way. Stunning and launching one Grisha isolates it, and depending on your build you can strip roughly 20 to 40 percent of the other one’s health before the pack reforms. Repeat the isolation until the first Grisha dies, then finish the survivor in a straight duel.
| Attack or option | What to do |
|---|---|
| Regular claw swipe | Parry it. The riposte animation makes you invincible, so the second Grisha cannot punish you mid-counter |
| Red-glowing lunge grab | Dodge it. Harden does not stop this one |
| Overhead cylinders | Shoot only when a Grisha is directly below one, for massive damage plus a knockdown |
| Tiel | Perfect dodges build the enemy Break meter, which suits a long attrition fight |
| Proxima | Upgraded Seizure applies Stasis and Lightning to both Grisha, slowing them and adding damage over time |
Your Shell and weapon choice matters less than patience here. Breaking a Grisha for a riposte is reliable on any setup, and staying calm while you read their limited moveset beats trying to out-damage both at once.
Holding Cells rewards and how to confirm the dungeon is done
Killing the pack drops 2x Grisha Remnants and the Inflamed Clawstone, a Tarstone for the Veteran’s Battle Axe that adds fire damage to the weapon. Seeing the Clawstone land in your inventory is the confirmation that the dungeon is cleared.
If you are sweeping the place for everything, the full haul across both floors covers Ventrium, Laterite, several Gloom nodes, a Revered Gland, and the Glimpse above the boss lift. The rope near the statues remains as a shortcut out toward the Citadel of Penance once you are finished, which is the quickest way to leave without backtracking through the traps.