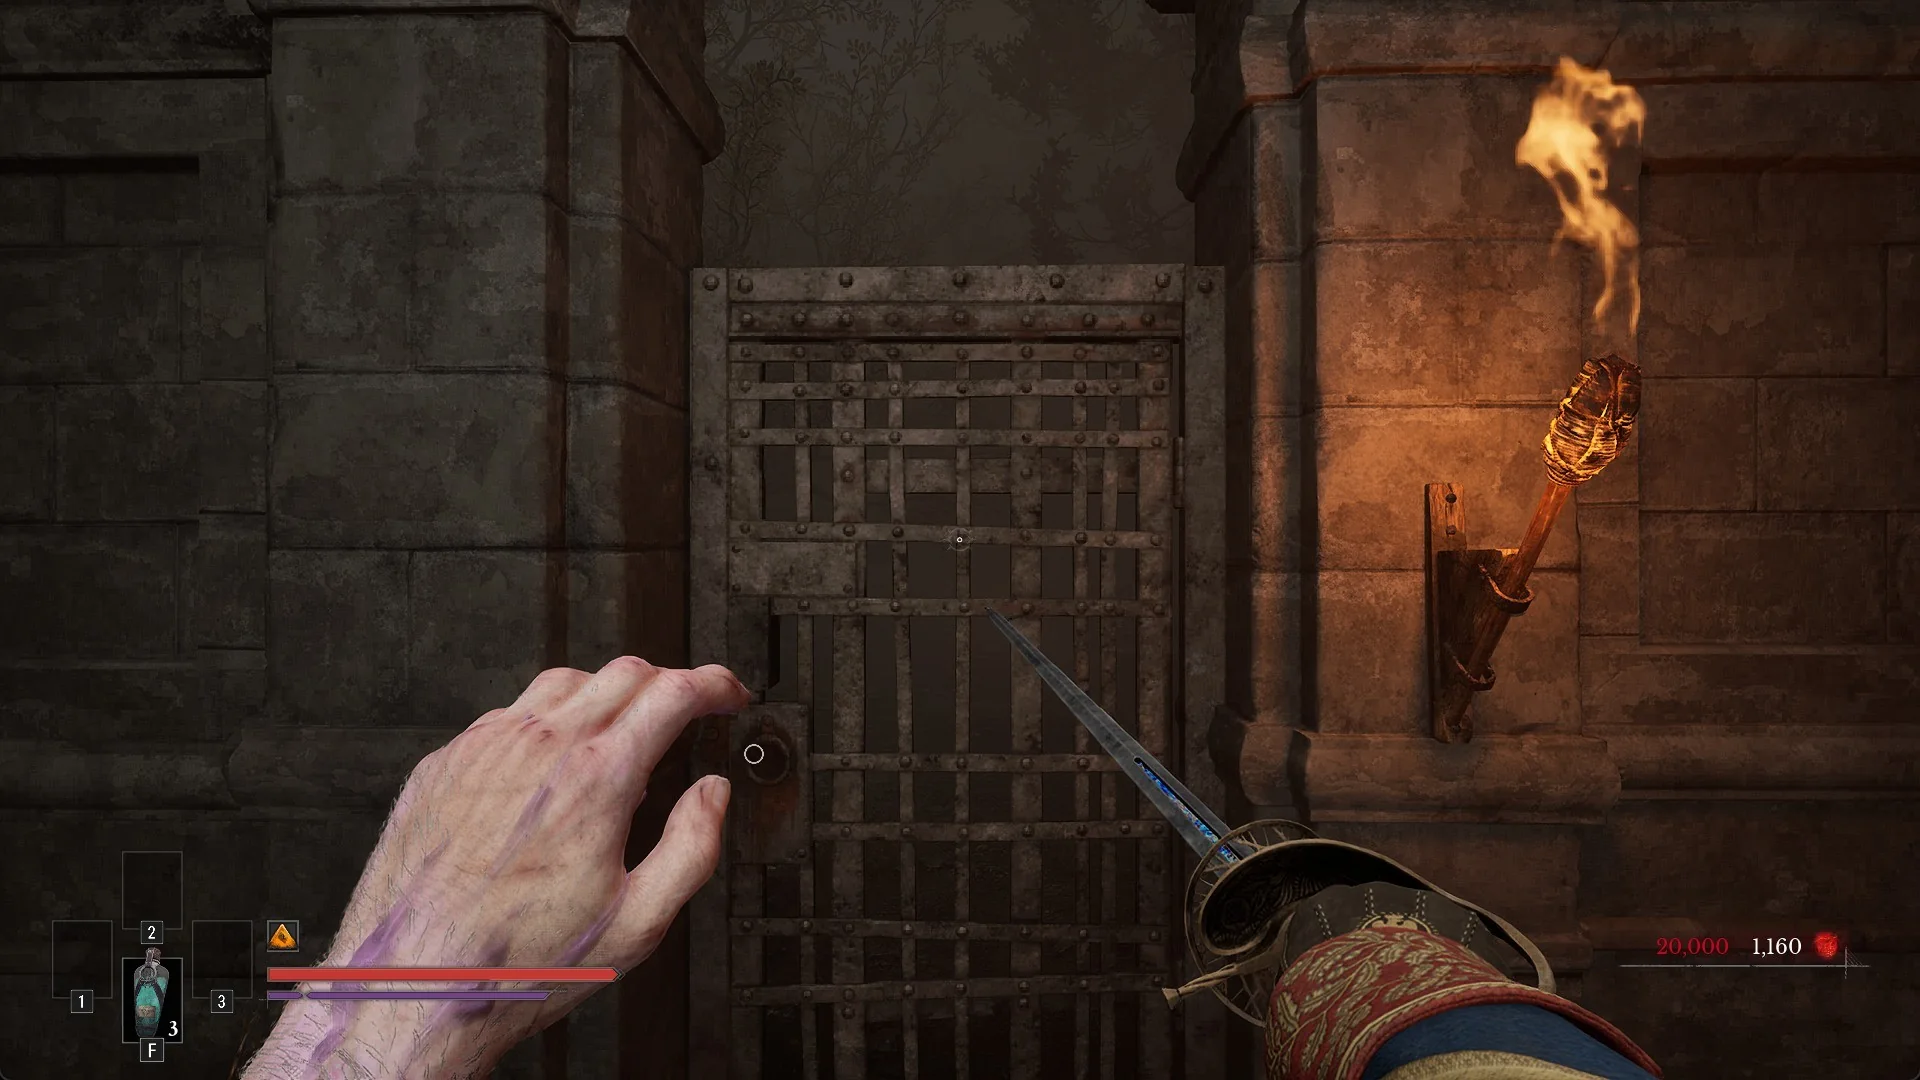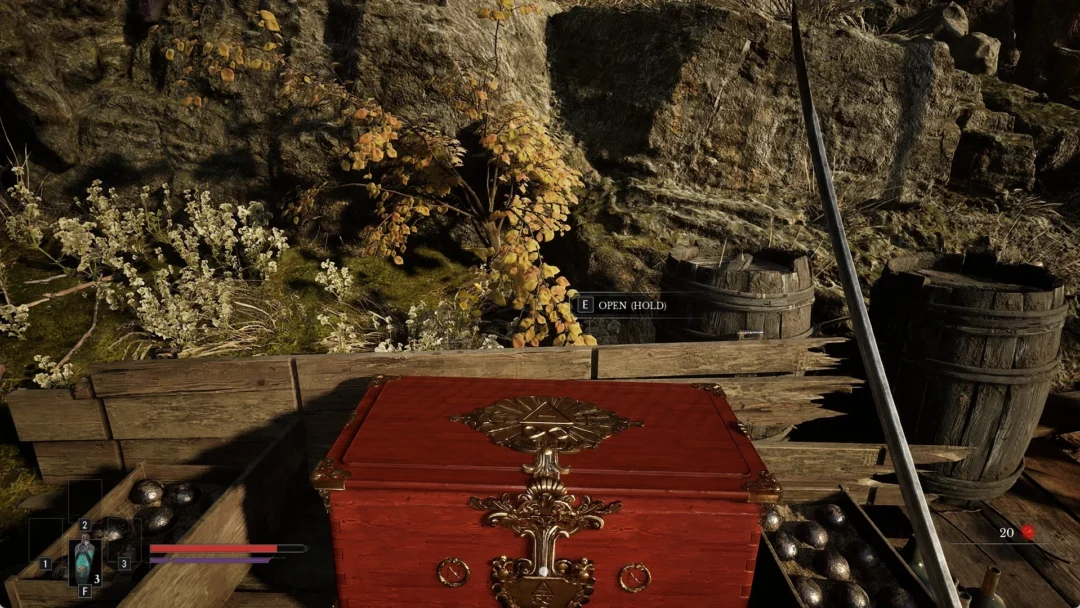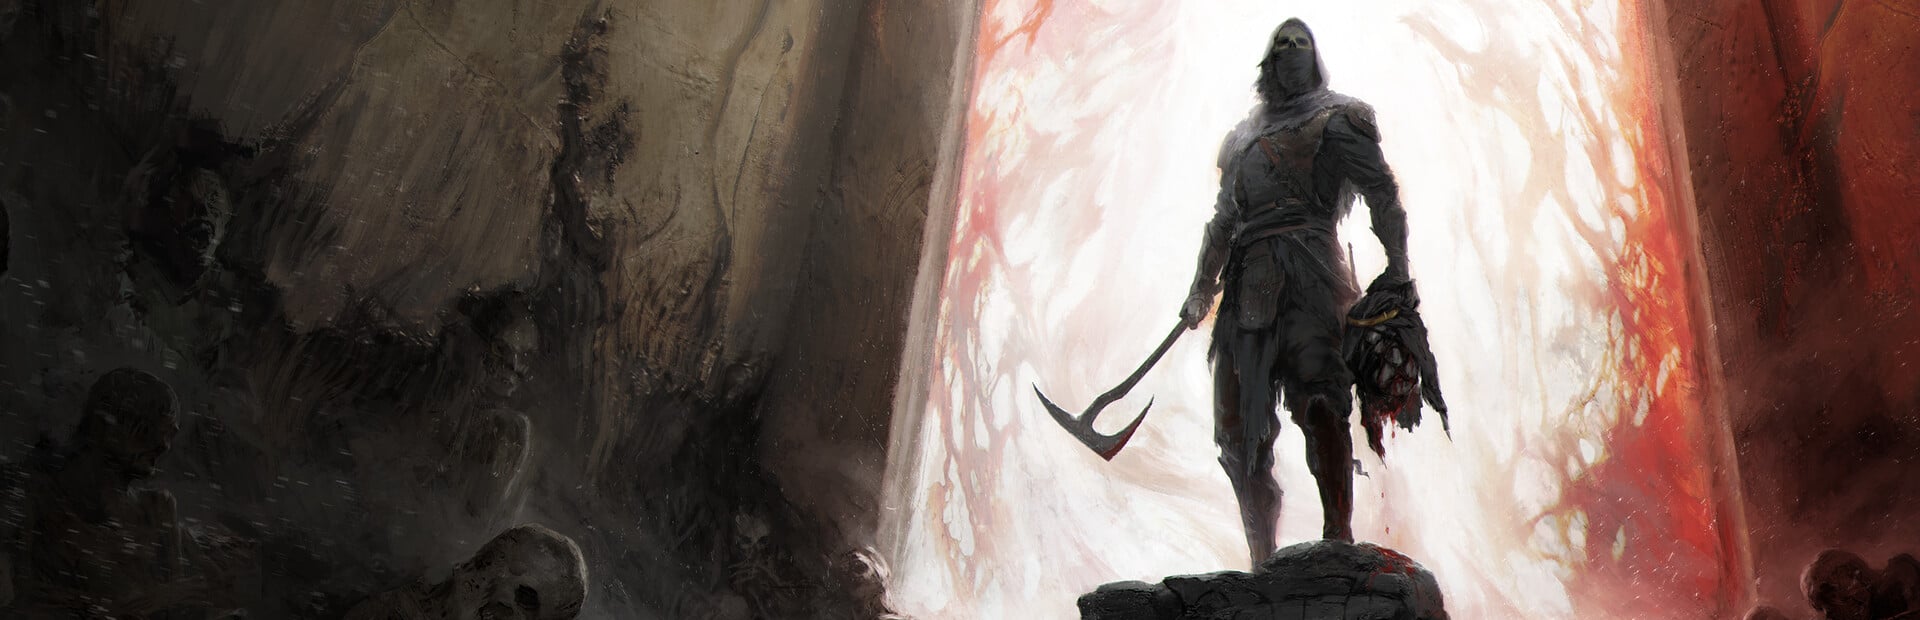
Of the three tendril guardians barring the way to Zmey the Unbidden, Malborn Offspring is the most punishing encounter in Mortal Shell 2’s final dungeon, the Unfound Path. Its health is not divided into phases: it has two separate full bars, and both must be depleted. You also have no spectral shell summon to absorb blows, leaving you to take every hit and own every mistake.
Quick answer: Reach Malborn Offspring from the Faithful’s Shelter Beacon, dodge its red-circle unblockables, feed and break its Stagger gauge with safe hits, then dump your heaviest damage during each stun across both health bars.
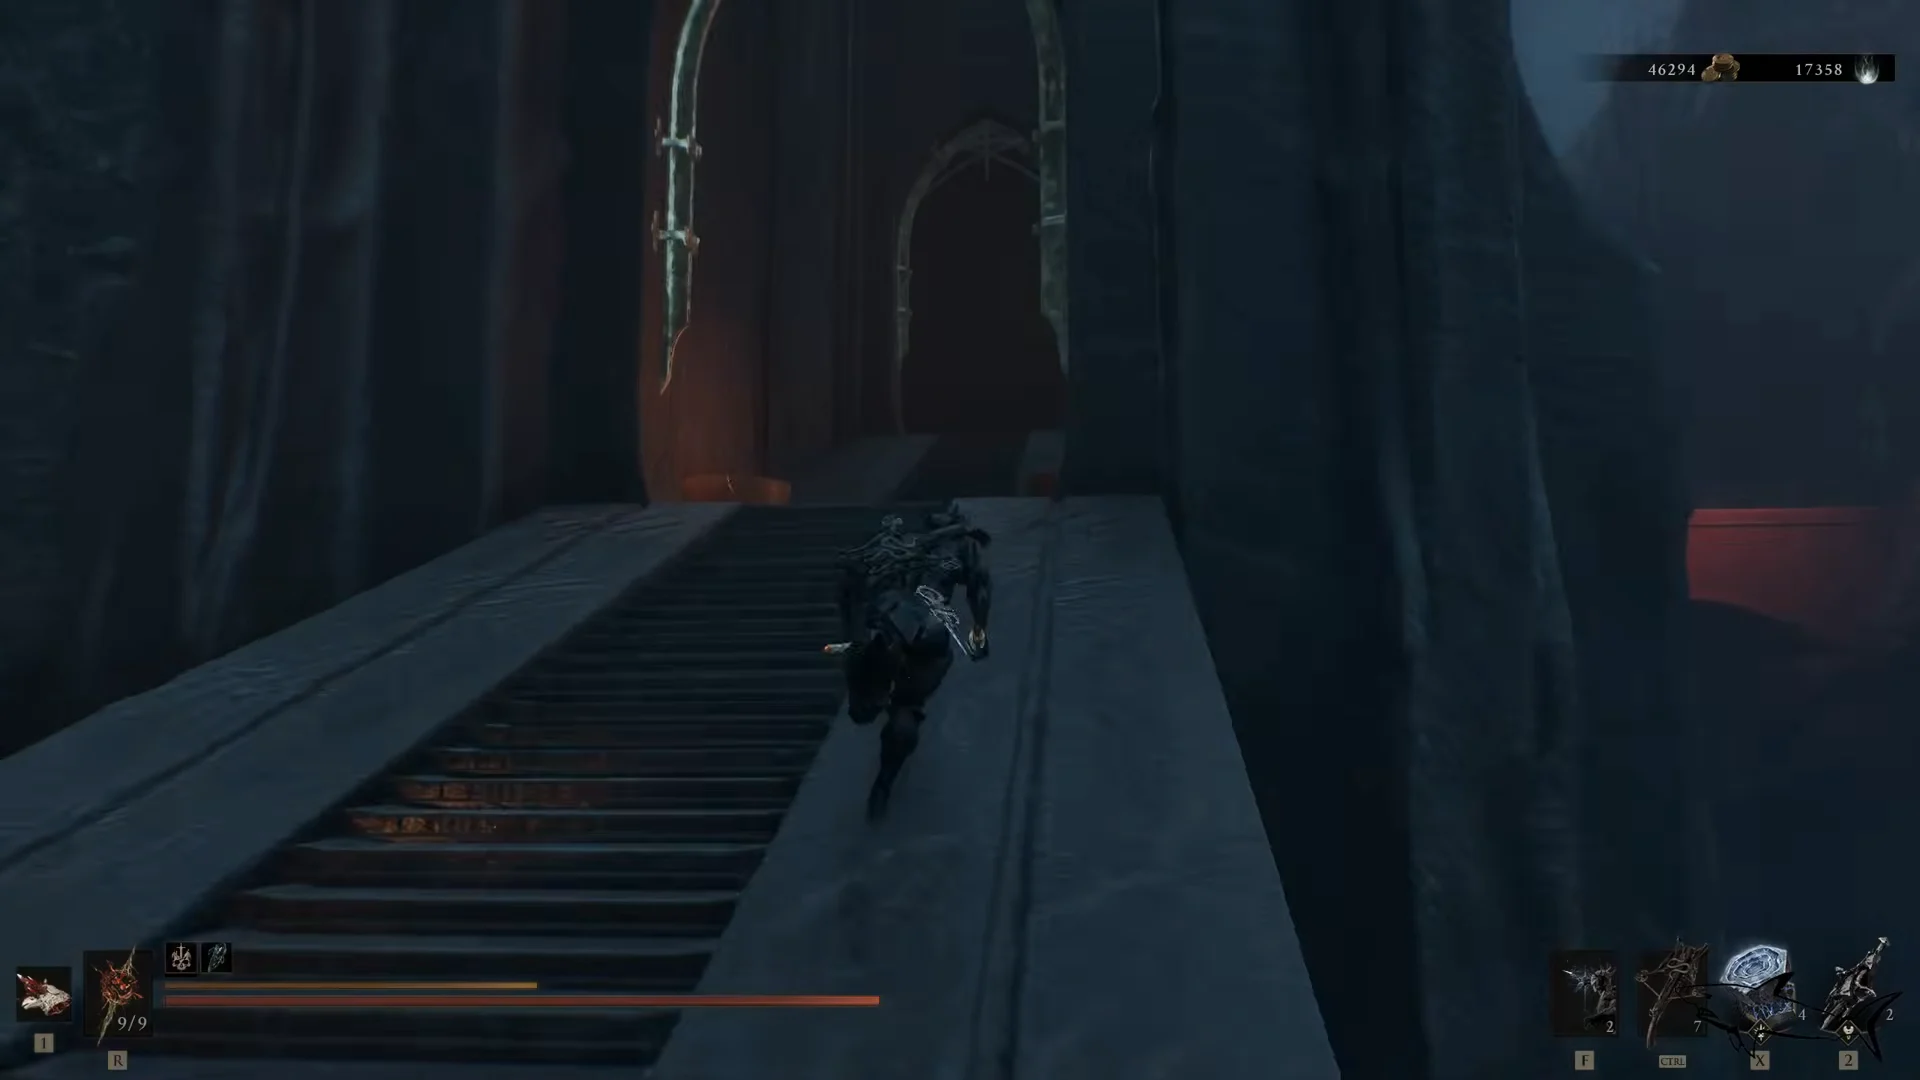
How to reach Malborn Offspring in the Unfound Path
The Unfound Path only opens after you have gathered enough Ova from the six Corrupted Gate dungeons spread across Fainweald and Mammon. Each Corrupted Gate boss you clear spawns a beacon holding Ova, and you need the full set to unlock the final dungeon. Malborn Offspring is one of three guardians here, sitting alongside Orrem at the Bridge of Procession and The Monolith in the Obsidian Vault.
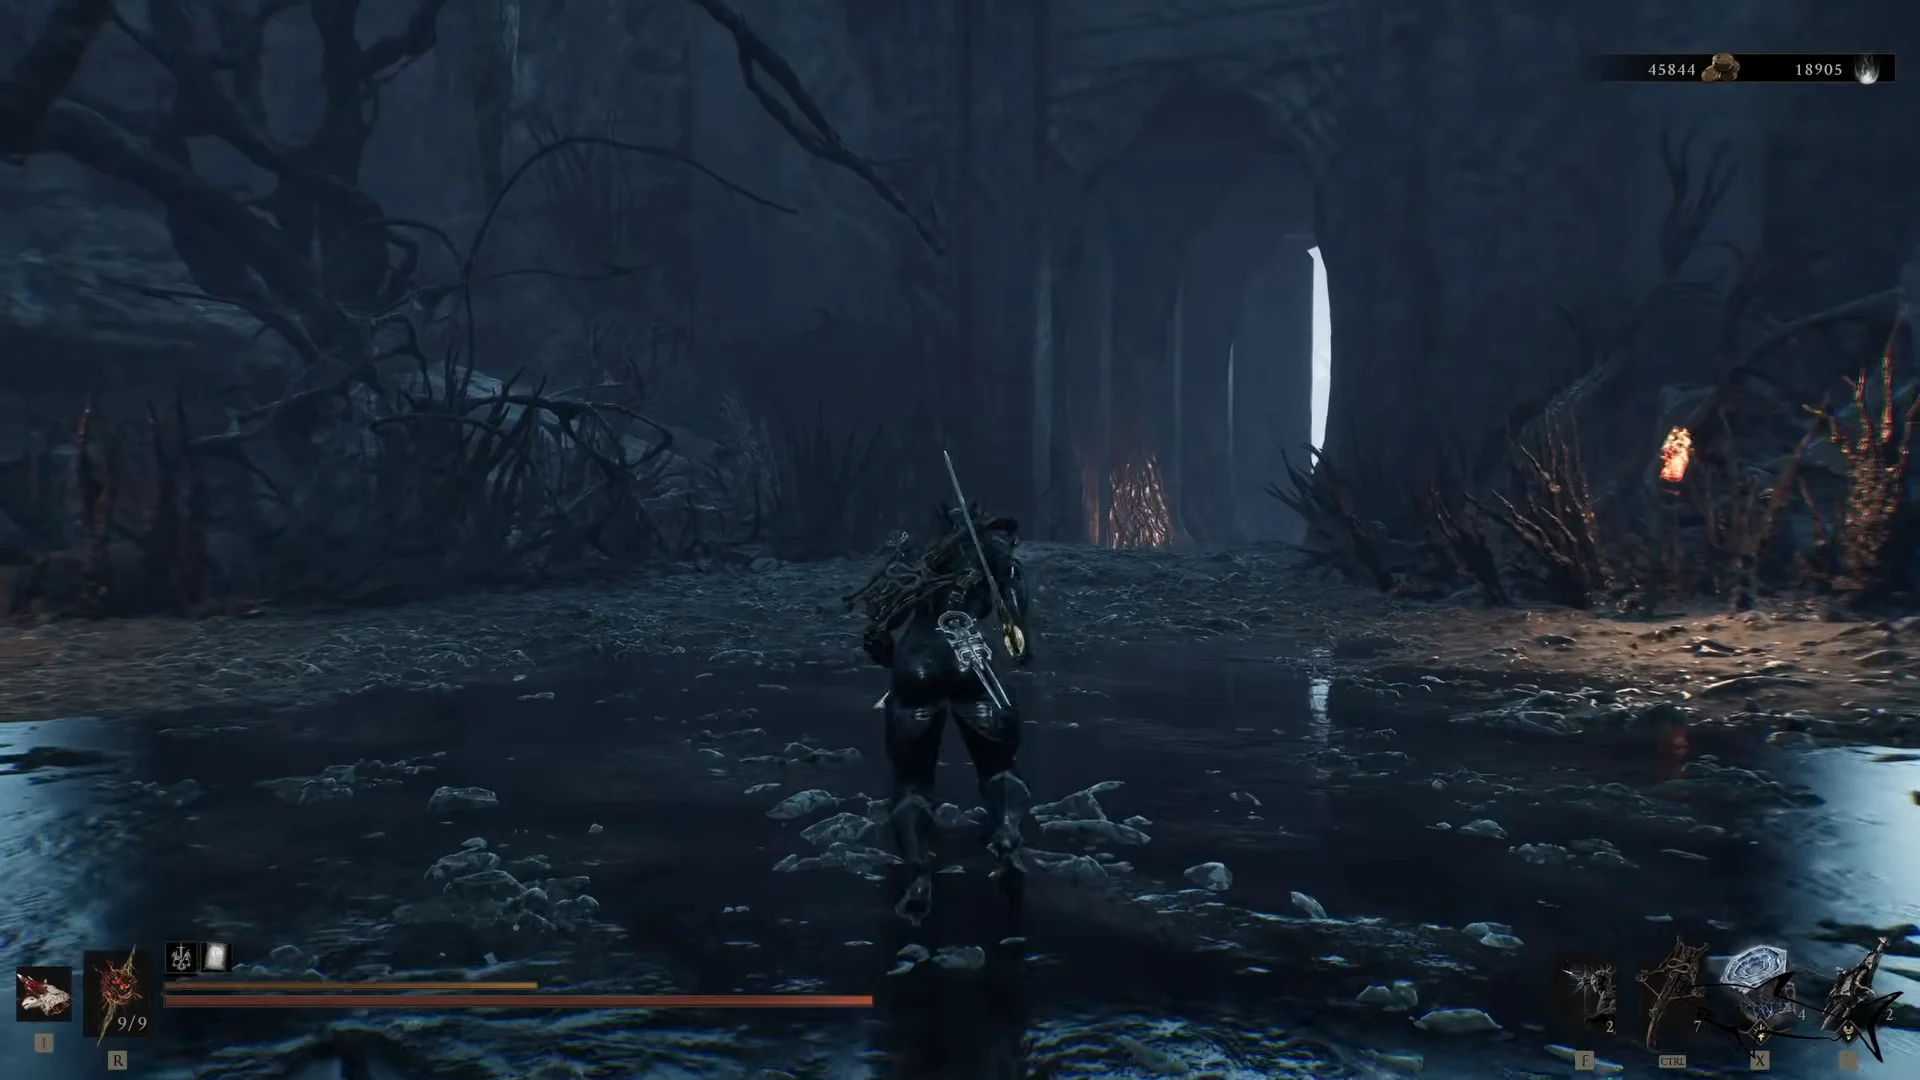
Build and gear to bring
This is a late-game endurance test, so go in with your Gloom spent and your Shell fully upgraded. Because the fight runs roughly twice as long as any other major boss, damage-over-time weapon elements and steady Break pressure pay off more than raw single hits.
- Untarnished Seal or Vatra’s Seal to inflict Break damage every time you parry.
- Shrike Stone on your weapon for a plunge attack with mid-air invulnerability and heavy Break stagger, plus the Rupturing Stone on your sidearm for extra Break.
- A weapon element (fire or another damage-over-time effect) applied before you enter.
- The Galvanic Shard ready to slot for the second phase.
- Weltcap for healing, saved carefully for phase two.
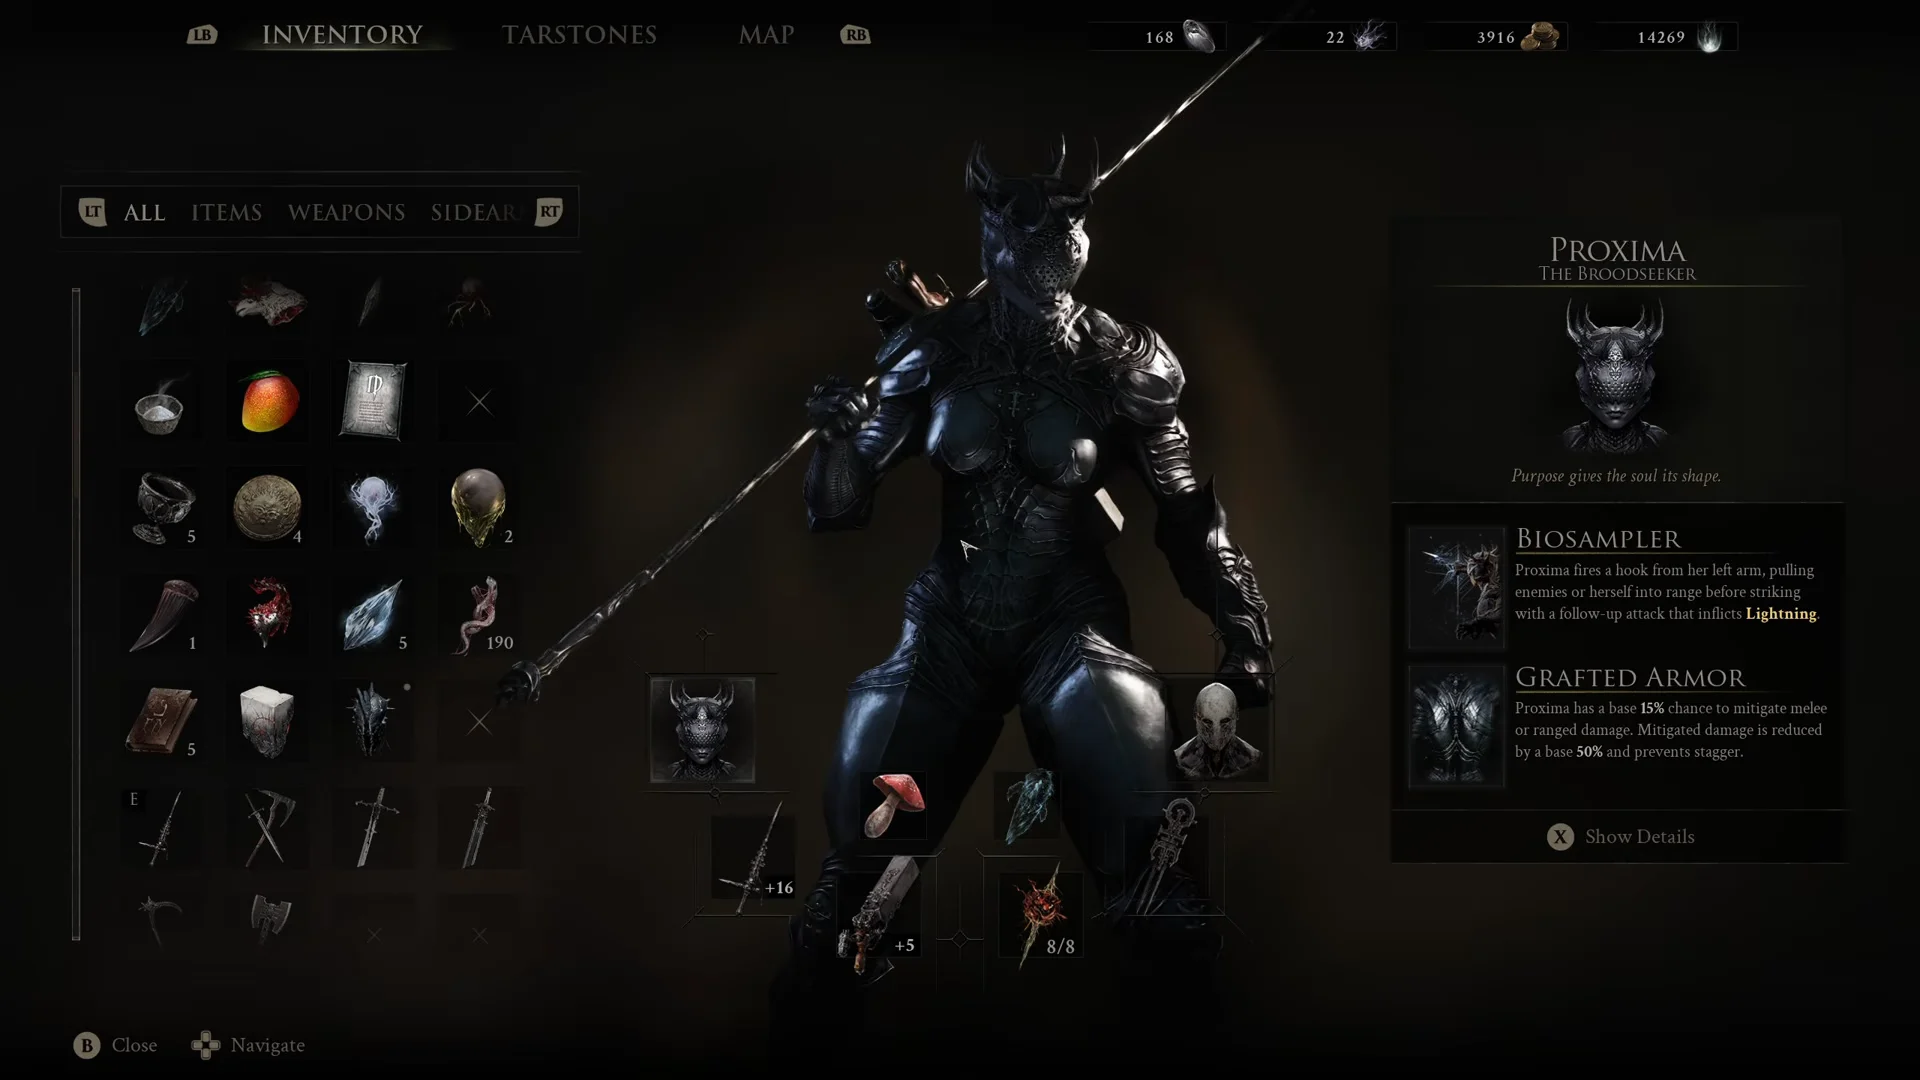
Three Shells are particularly effective. Proxima is a strong choice if her Ampereon ability reaches Level 2; this grants immunity to Lightning damage and shuts down the whole second phase. Sester Genessa, equipped with fully upgraded Faithful Doubles, may be the best option: her summoned copies draw the boss’s focus and give you chances to build Stagger. Tiel is also viable, as Shadow Dodge lets you get behind the boss and punish its lengthy combos.
Using the Grisha Remnant Summon in this battle is known to cause a bug. Keep it off your loadout for this arena until a fix has been confirmed.
Phase 1: Break the Stagger gauge, ignore the red circles
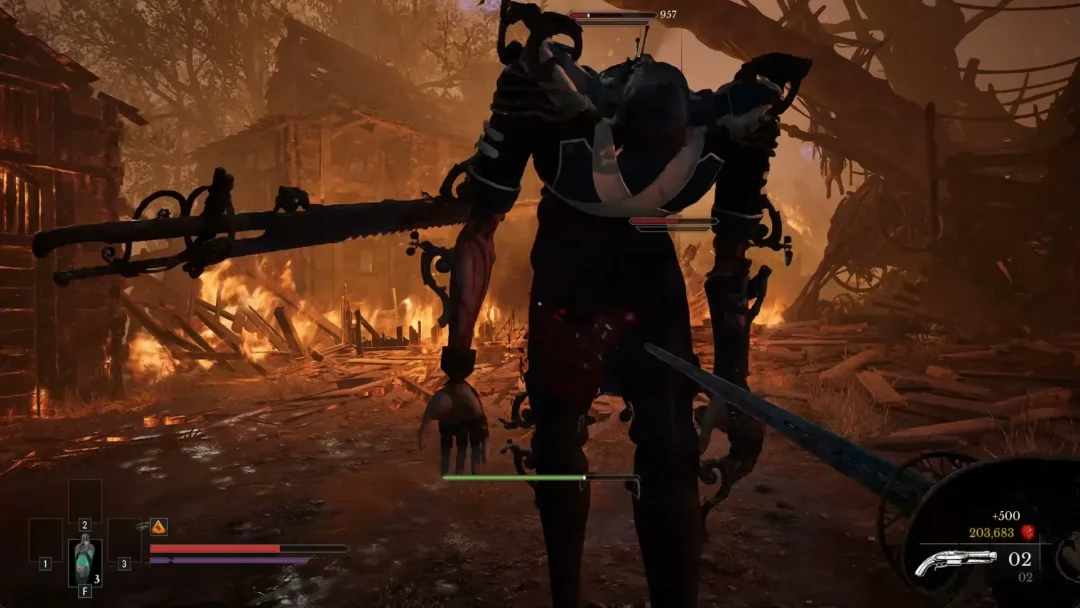
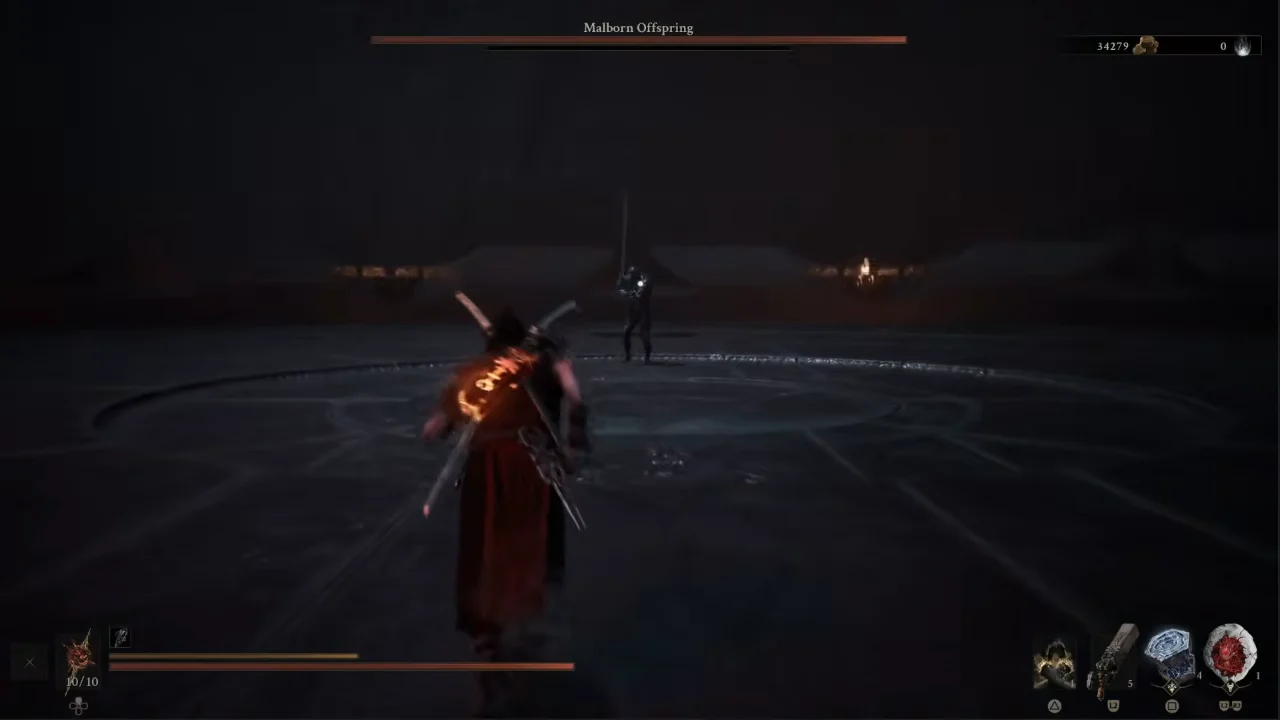
In phase one, Malborn Offspring moves at a slow pace but deals tremendous damage. Its standard move is a Cleaving Combo with five or six attacks in succession, and the timing changes throughout. Some strikes come right after one another, while others pause briefly before hitting. Because the tempo shifts, respond to each swing instead of trying to follow a beat.
About every third swing in many chains is an unblockable red-circle attack. Evade these rather than attempting a parry, then use the gaps between slower blows to attack. Roll backward to get beyond broad horizontal sweeps; against thrusts, dodge sideways and close in while the boss recovers.
You can parry if you have learned the timing of a particular move. The Riposte system also offers better rewards now: its damage scales with enemy health, and its animation grants full invulnerability frames. If a parry lets you Riposte, use a light attack to activate it, not a heavy one. Going in blind against these chains can leave you taking two or three hits, so observe an entire sequence before committing.
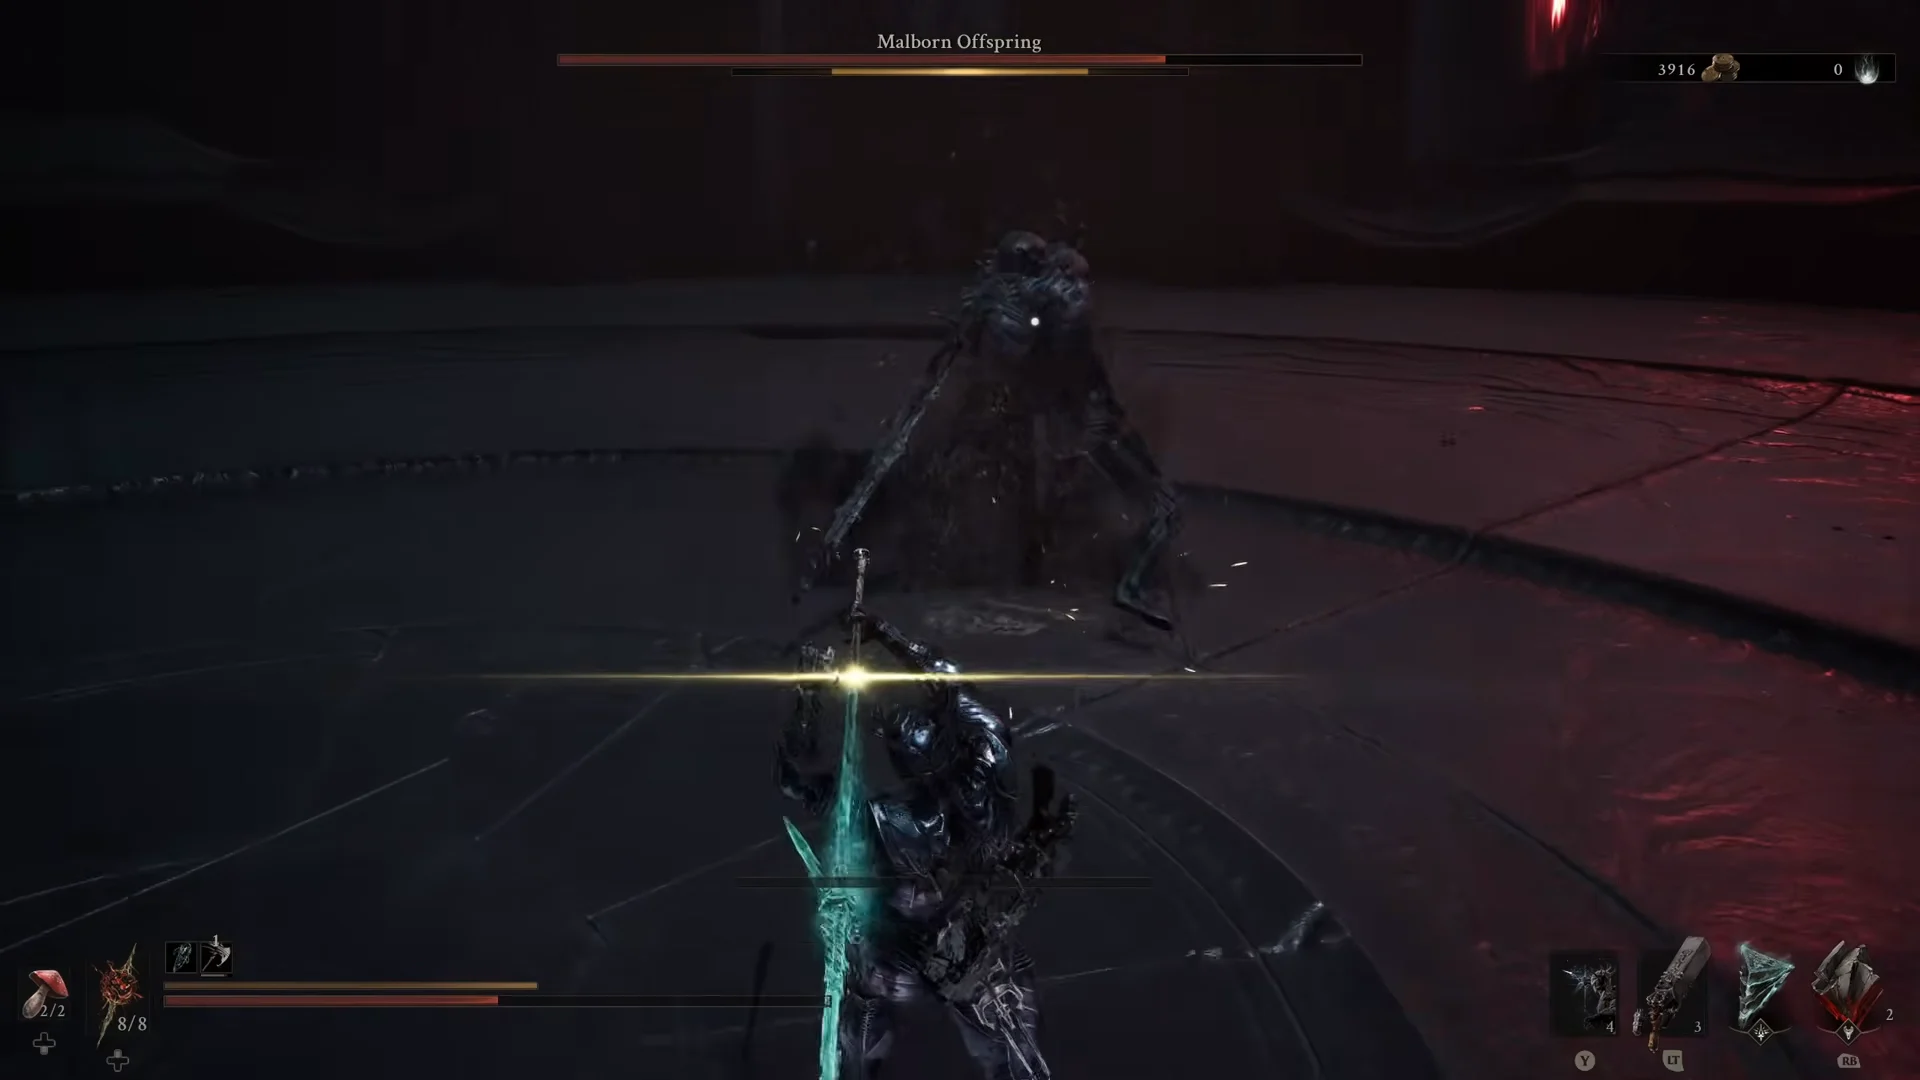
Your real priority is the Stagger gauge. Clean hits after dodges and parries on ground attacks both feed it. Once it fully breaks, Malborn Offspring is vulnerable for a short window. Commit your heaviest damage there, land a Riposte if you can, then back off before it recovers. Watch for grab attacks throughout, which can instantly kill lighter Shells.
The knockdown: keep swinging and slot the Galvanic Shard
Emptying the first health bar only starts the next part of the battle. Malborn Offspring falls, then takes time to rise in its second form; use that recovery period to deal damage. Move in and attack immediately rather than waiting or healing on reflex, so the second bar is already partly depleted when phase two begins.
As soon as it begins to stand, open your item menu and put the Galvanic Shard in your passive slot. Lightning is added to all attacks in phase two, and the Shard reduces the damage to a survivable level. Be aware that the burst of Lightning during its revival can hit you if you are right beside the body; get your strikes in, then step back while it flashes to life.
Phase 2: Lightning weapon and ranged bolts
Its sword crackles with lightning in phase two, adding an electrical effect to every swing. Malborn Offspring attacks more quickly and forcefully, with greater aggression, and launches electric projectiles from a distance to punish you for staying passive. Vertical lightning bolts also strike the arena; sprint out of the indicated impact areas. Unblockable red-circle attacks remain part of its moveset.
Stick to the same approach: evade unblockable attacks and ranged shocks, build the Stagger gauge, then deal heavy damage whenever the boss breaks. The faster pace leaves fewer safe attacks in each opening, so don’t force an extra swing when the chance isn’t there. Genessa’s Faithful Doubles are especially useful if you brought her, drawing aggro and knocking the electrified boss down for long damage opportunities.
Rewards and how to progress past the tendril
The kill rewards you with the Offspring Trophy and a large amount of Gloom, and grants the “Giga Chad” achievement. If you would rather sell the trophy, the Marrow Keep merchant will buy it for 5,000 coins.
| Detail | Value |
|---|---|
| Dungeon | Unfound Path (final dungeon) |
| Nearest beacon | Faithful’s Shelter |
| Structure | Two full health bars, slow revive between them |
| Spirit summon | None available |
| Main threat | Red-circle unblockables, phase-two lightning, grabs |
| Recommended Shells | Proxima, Genessa, or Tiel |
| Reward | Offspring Trophy (5,000 coins) and Gloom |
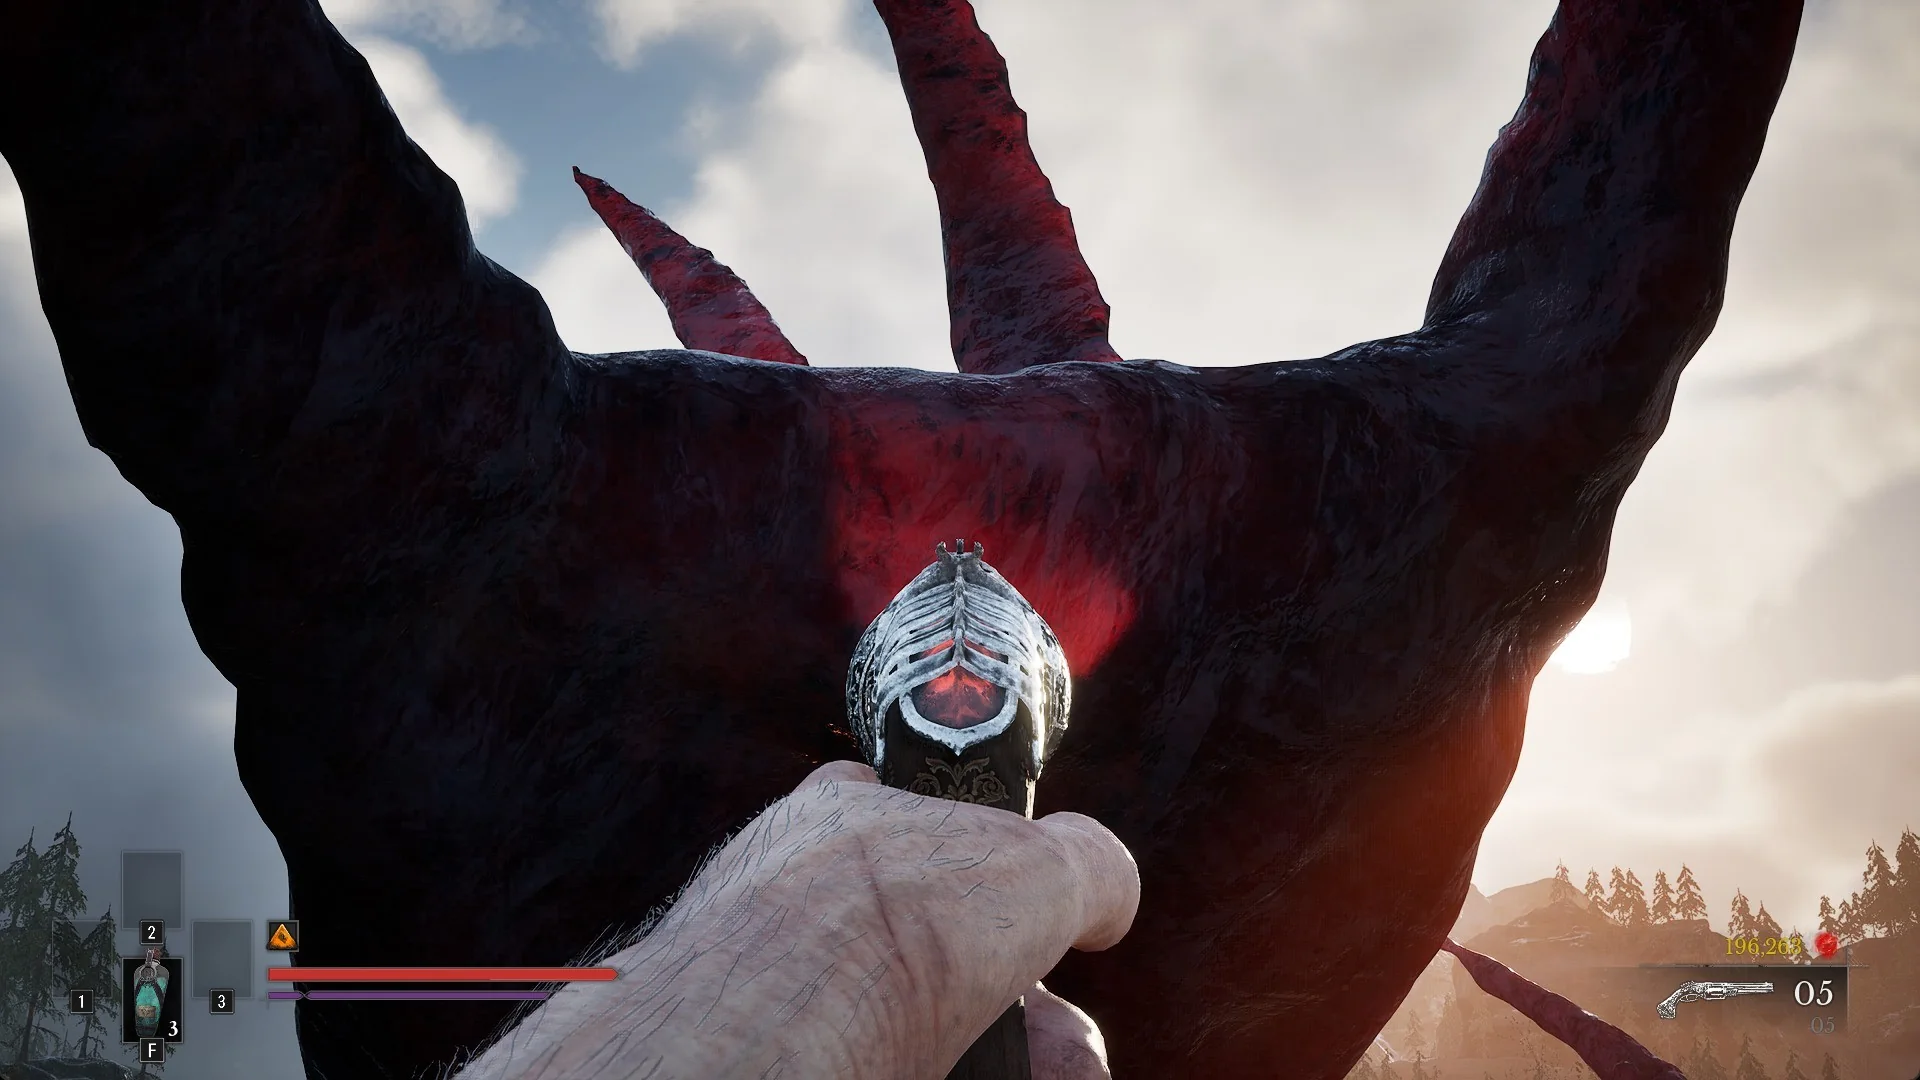
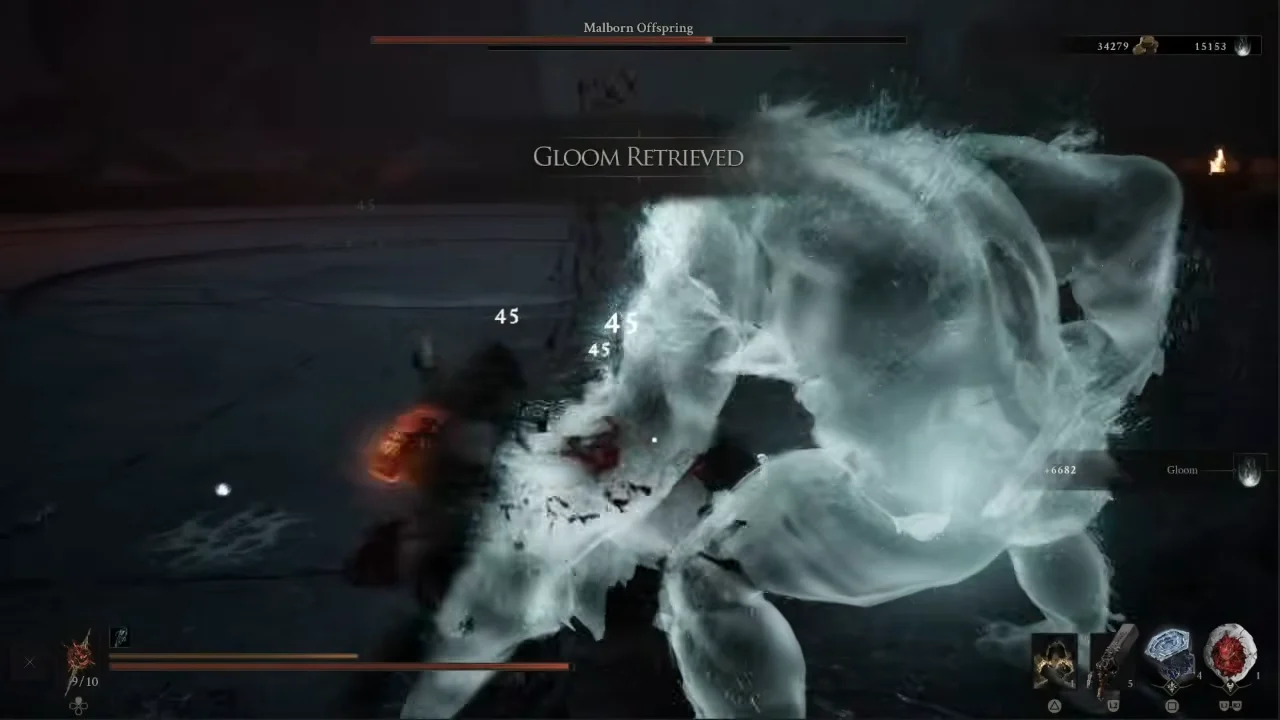
The arena still has something to do after the boss falls. Head to its rear and interact with the huge fleshy ribcage to extract a gland. A brief cutscene plays, followed by the “Gloom Retrieved” prompt; you then respawn at the Chamber of the Forsaken Beacon. Taking the gland is required to progress beyond this tendril, so the “Giga Chad” achievement and “Gloom Retrieved” confirmation indicate that you have finished the encounter.
Fighting Malborn Offspring in Night Mode
With Night Mode on, expect a significantly tougher fight. Enemy health and damage increase by roughly two times, while Gloom rewards rise by about 20 percent; the boss withstands many more punishes and can kill you in fewer hits. Before trying it this way, upgrade your weapon, sidearm, and Tarstones.
Night Mode is toggled through the Gloombound Flame, found on a stele in the Great Arbiter of Flesh arena southeast of the Widow’s Overlook beacon. Carry it to the extinguished lantern at the top of Marrow Keep, light it, and speak to Thestus to “Call forth the Night.” You can return to daytime at any point by talking to Thestus again and choosing “Seek Daylight.”
Discipline is what carries you through, whether you fight in normal mode or Night Mode. Don’t attempt to parry red-circle attacks; keep building Stagger, use the revival opening, and approach the lightning portion as the same battle played at a faster pace.