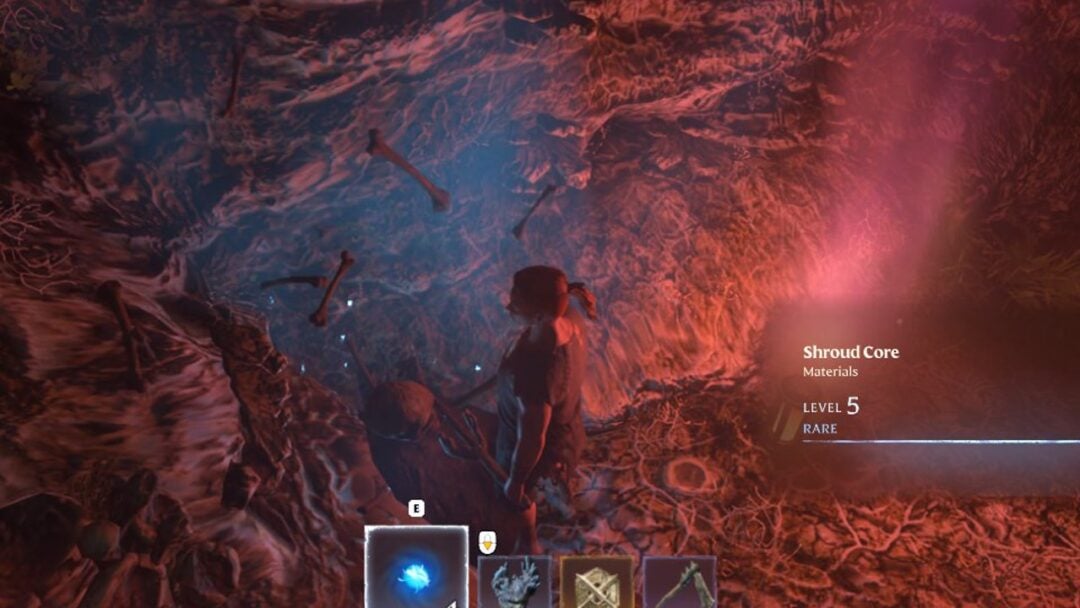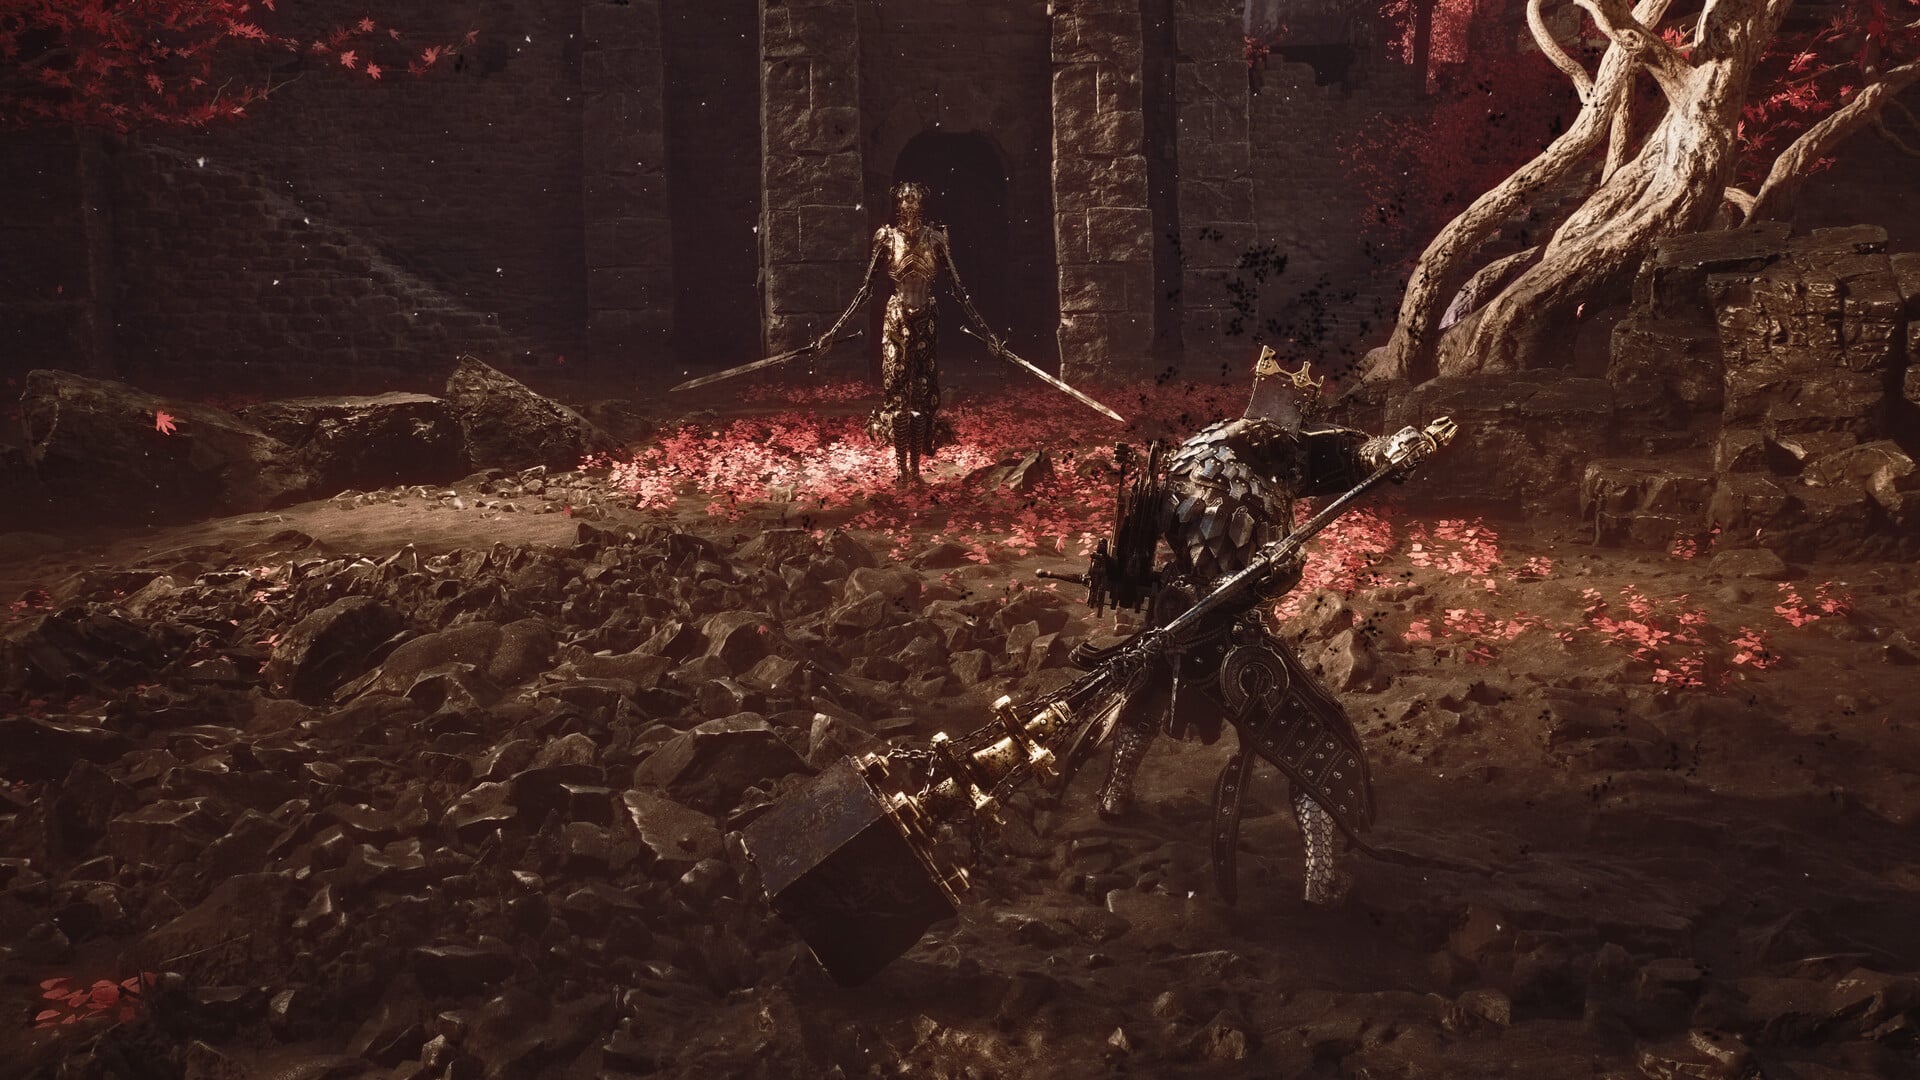
Zmey, the Unbidden is the last required fight in Mortal Shell 2, a giant dragon clinging beneath Marrow Keep that trades stasis damage for relentless fire once the second phase begins. Reaching it takes real preparation, and the fight rewards patience over greed. Nail the route, bring the right defensive tools, and read the tells, and the encounter becomes far more manageable than a first attempt suggests.
Quick answer: Reach 168 Ova to unlock the Unfound Path beneath Marrow Keep’s Gloom Siphon room. Defeat its three guardian bosses, ride the updraft beyond the Hidden Nave beacon, and face Zmey at close range: dodge its flames sideways and attack when each move finishes.
What you need before the Unfound Path opens
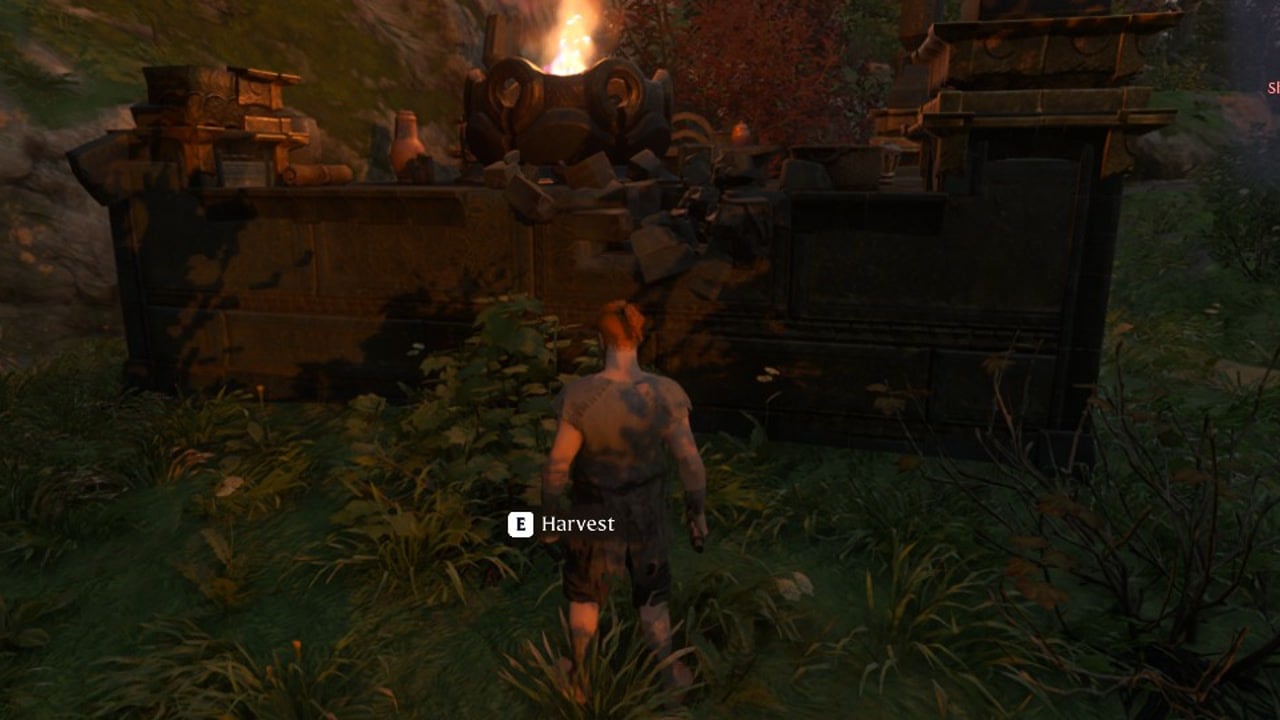
Marrow Keep’s Gloom Siphon room remains closed until you have 168 Ova. You cannot unlock it early or enter by another route, making this total the requirement for reaching the ending. To gather Ova quickly, cleanse all six Corrupted Gates in Fainweald and Mammon. Each major boss you defeat leaves a beacon containing 26 Ova, and beacons scattered around the overworld add to your total too.
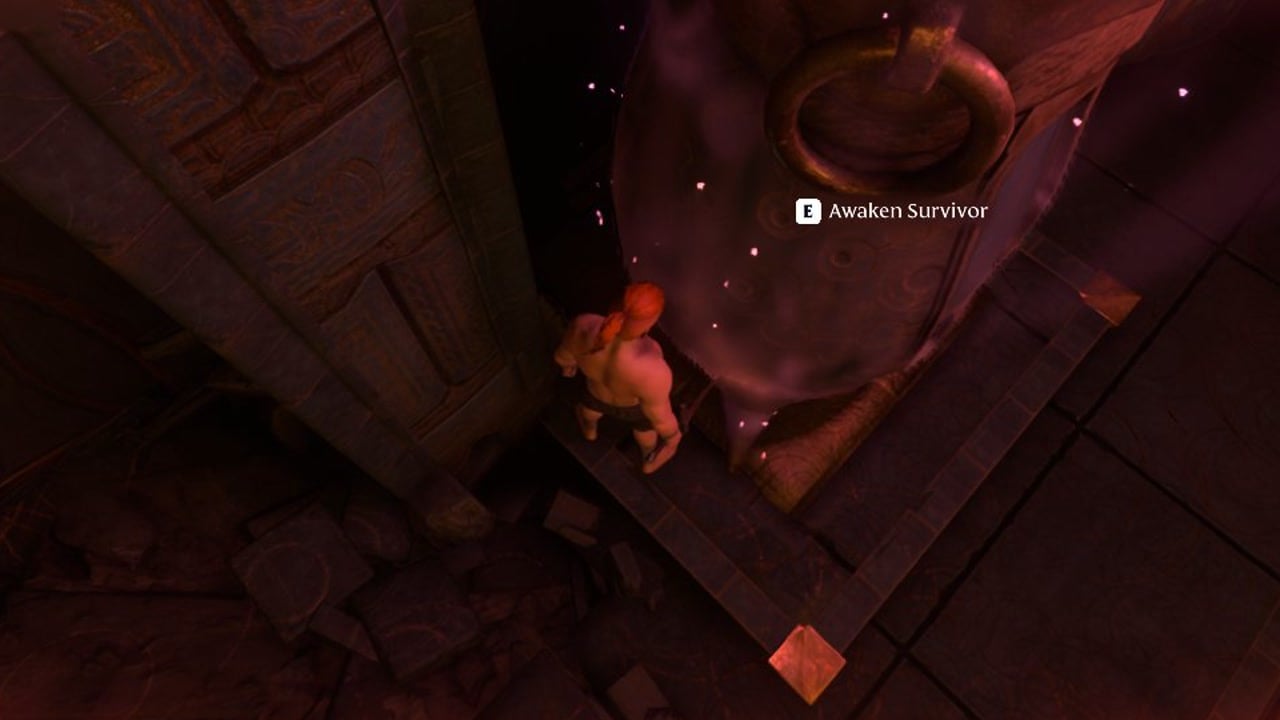
After reaching the required total, enter the Gloom Siphon room and talk with the NPC inside. The floor opens during the conversation, revealing a route down to the underground region.
Finalize your loadout before entering the arena; don’t use this fight to experiment with a build you haven’t learned. Choose a weapon with recovery frames you recognize, and use your saved upgrade materials on that setup.
- Seedbearer’s Scripture removes Cosmic Disease and knocks Zmey prone, giving you an extended chance to deal damage.
- Parrying melee attacks with the Untarnished Seal and Infinite Seal builds Break Damage, letting you trigger a Riposte.
- With the Slayer Seal equipped, sidearms can inflict Break Damage; however, achievements are disabled.
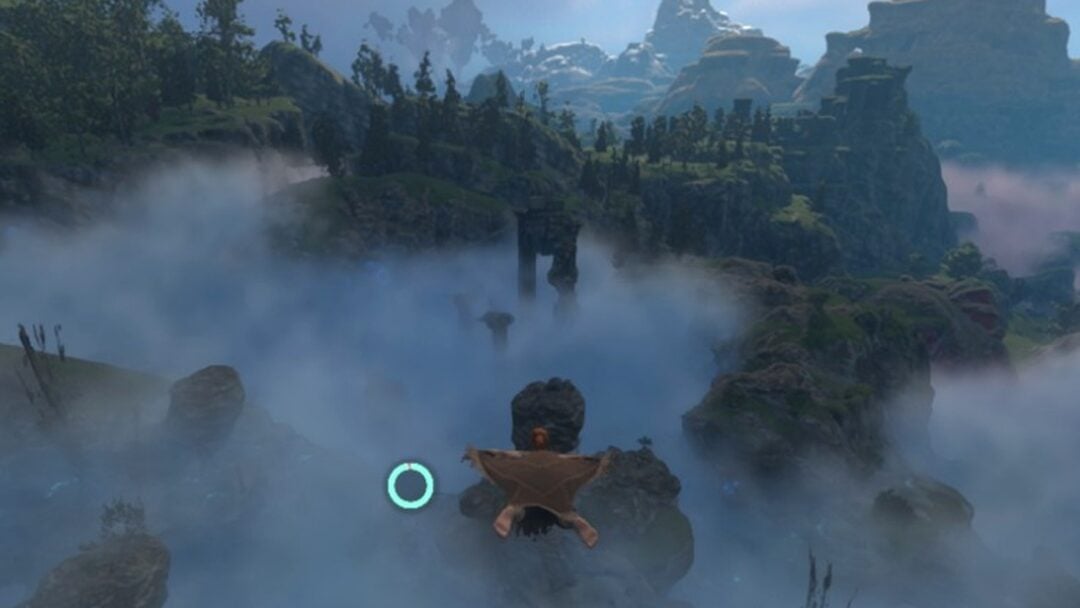
- You can summon either Genessa or Tiel immediately before the updraft, and each summon costs a Glimpse.
- Spend or bank any Gloom you don’t want to lose in the event of a failed run.
Remove Grisha Remnant from your equipment before entering. It can cause weapons, armor, or regular attacks to disappear during the fight; this bug is unrelated to Cosmic Disease.
Route through the Unfound Path to Zmey
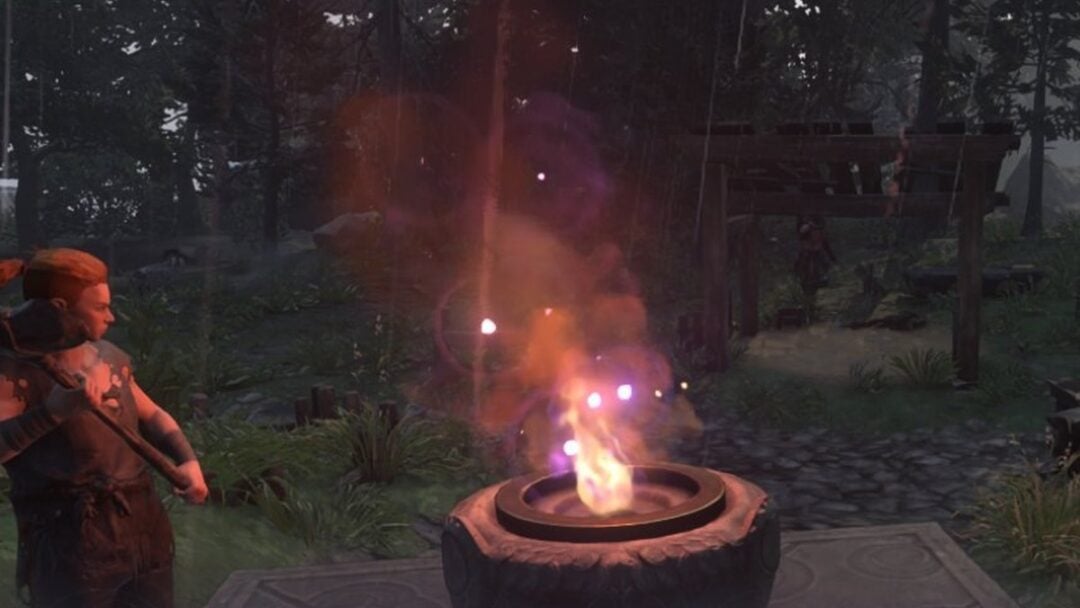
The Unfound Path branches out from a central hub. At its heart is the Chamber of the Forsaken beacon, with three routes leading away; each finishes at a guardian boss and a bone structure shaped like a ribcage. Use a structure to cut a tendril and warp back to the hub, avoiding a second trip down that branch.
Zmey’s attacks and safe responses
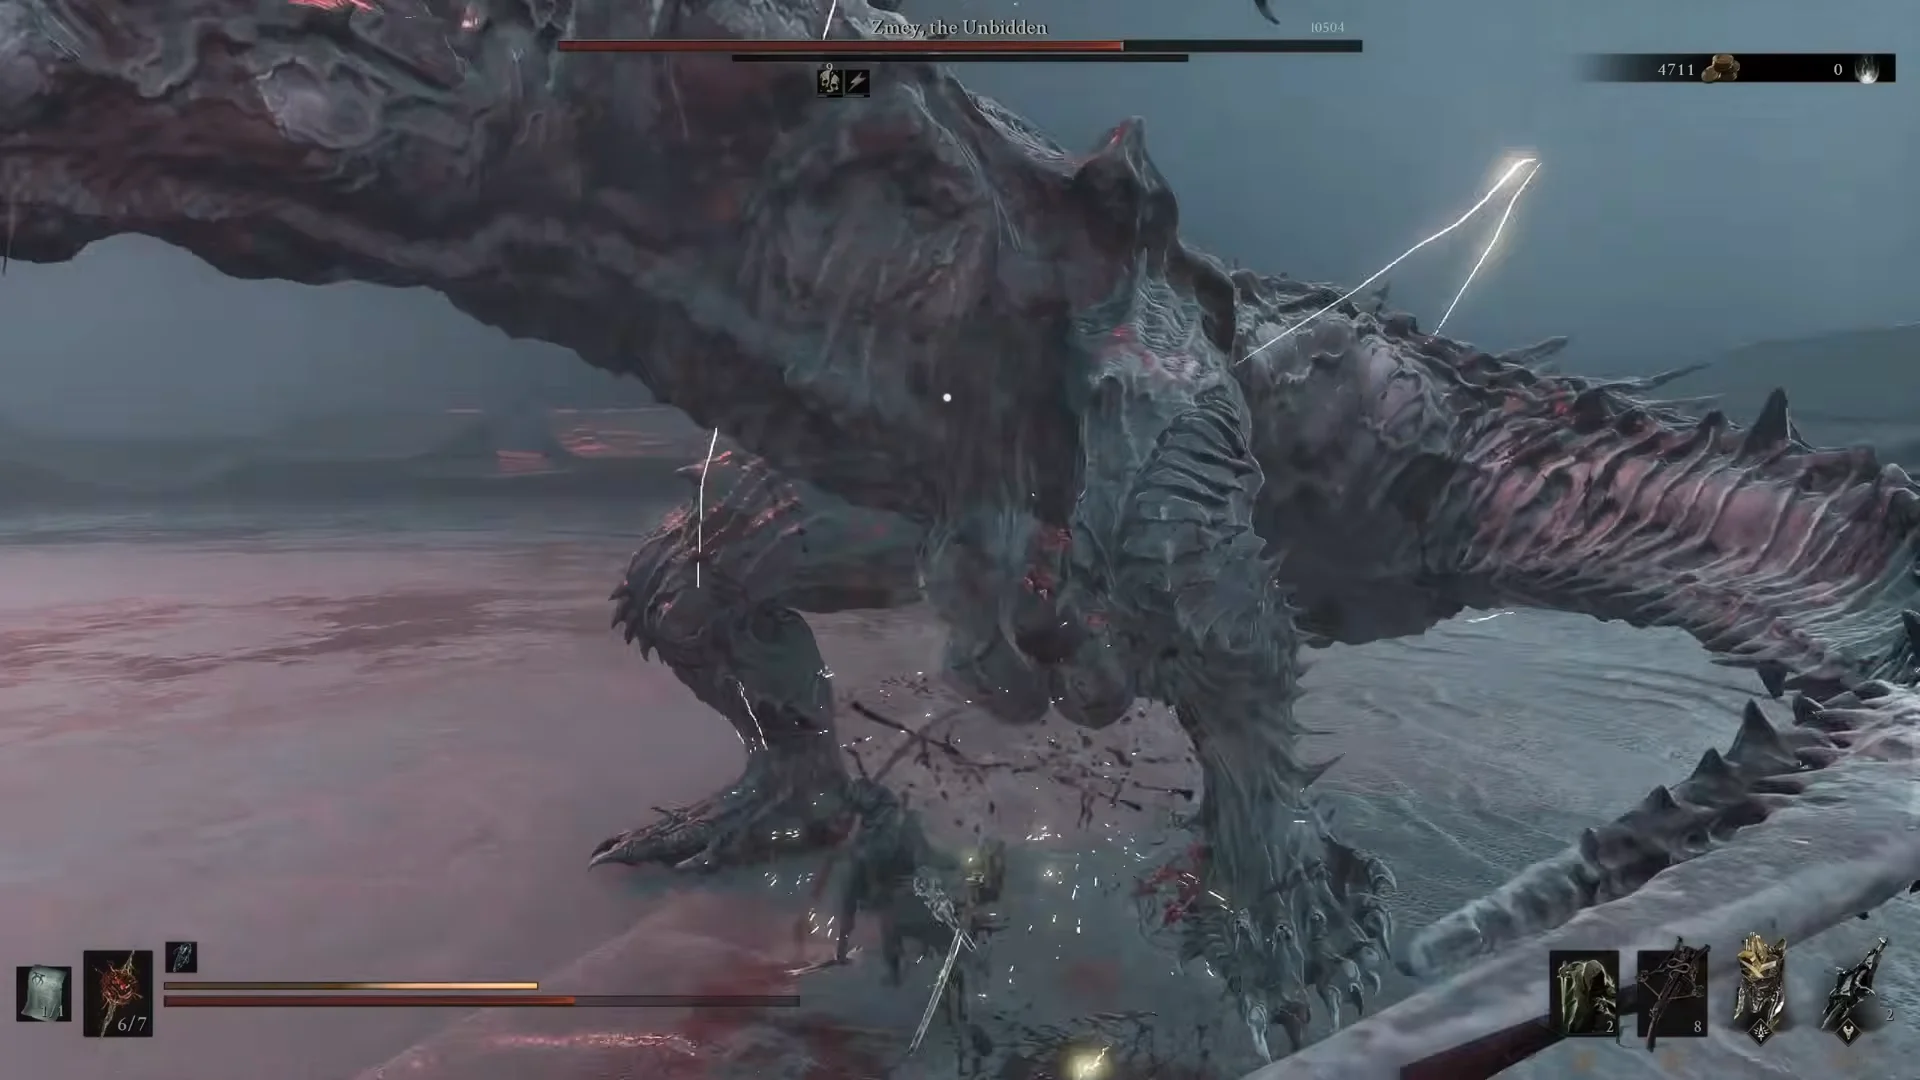
Fighting Zmey at close quarters is less dangerous than keeping your distance. Stay beneath or beside it to avoid many of its broad melee attacks, but watch out for its more lethal long-range moves. Attacking from the side reduces most frontal pressure, though its tail and sword can still sweep around to hit the flanks.
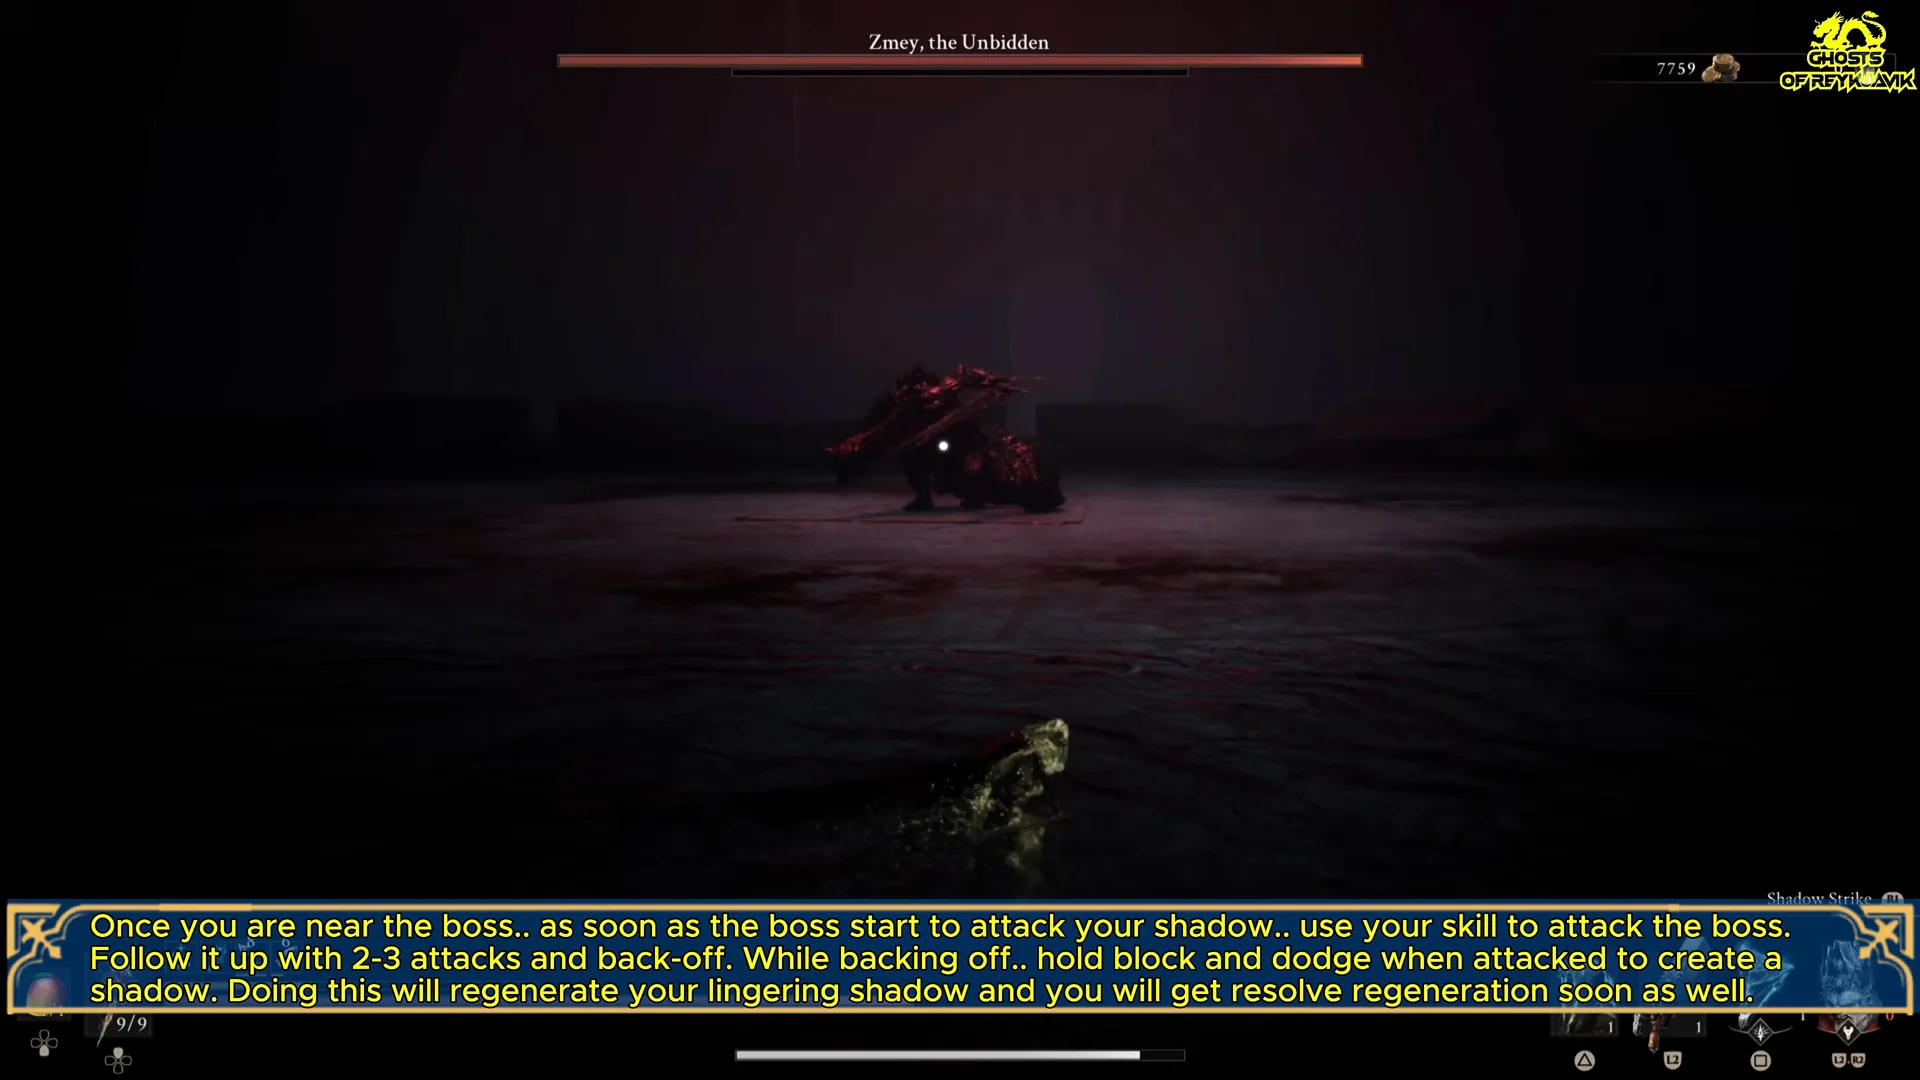
| Attack | Tell | Response |
|---|---|---|
| Blade Slam | Sword raised after a jump back | Dodge sideways across the line, never backward |
| Triple Stomp | One leg lifts at close range | Leave the legs, punish after the third impact |
| Tail Slam | Two-legged hop while you are in melee | Dash clear of the small AoE |
| Stabbing Tail Whip | Body twists back at mid distance | Exit the grab line, then close back in |
| Fire Breath | Red unblockable sigil after leaping away | Run diagonally toward Zmey, punish the recovery |
| Fire Waves | Sword slam after the first break | Sprint out of range, dodge each wave in turn |
Punish the fire breath and read the sword
When Zmey rears back and a bright glow builds at its open mouth, it is winding up a wide fire breath. Sprint to either flank to clear the cone, then move back in. The recovery on this move is a great opening for a couple of quick melee hits before its next attack.
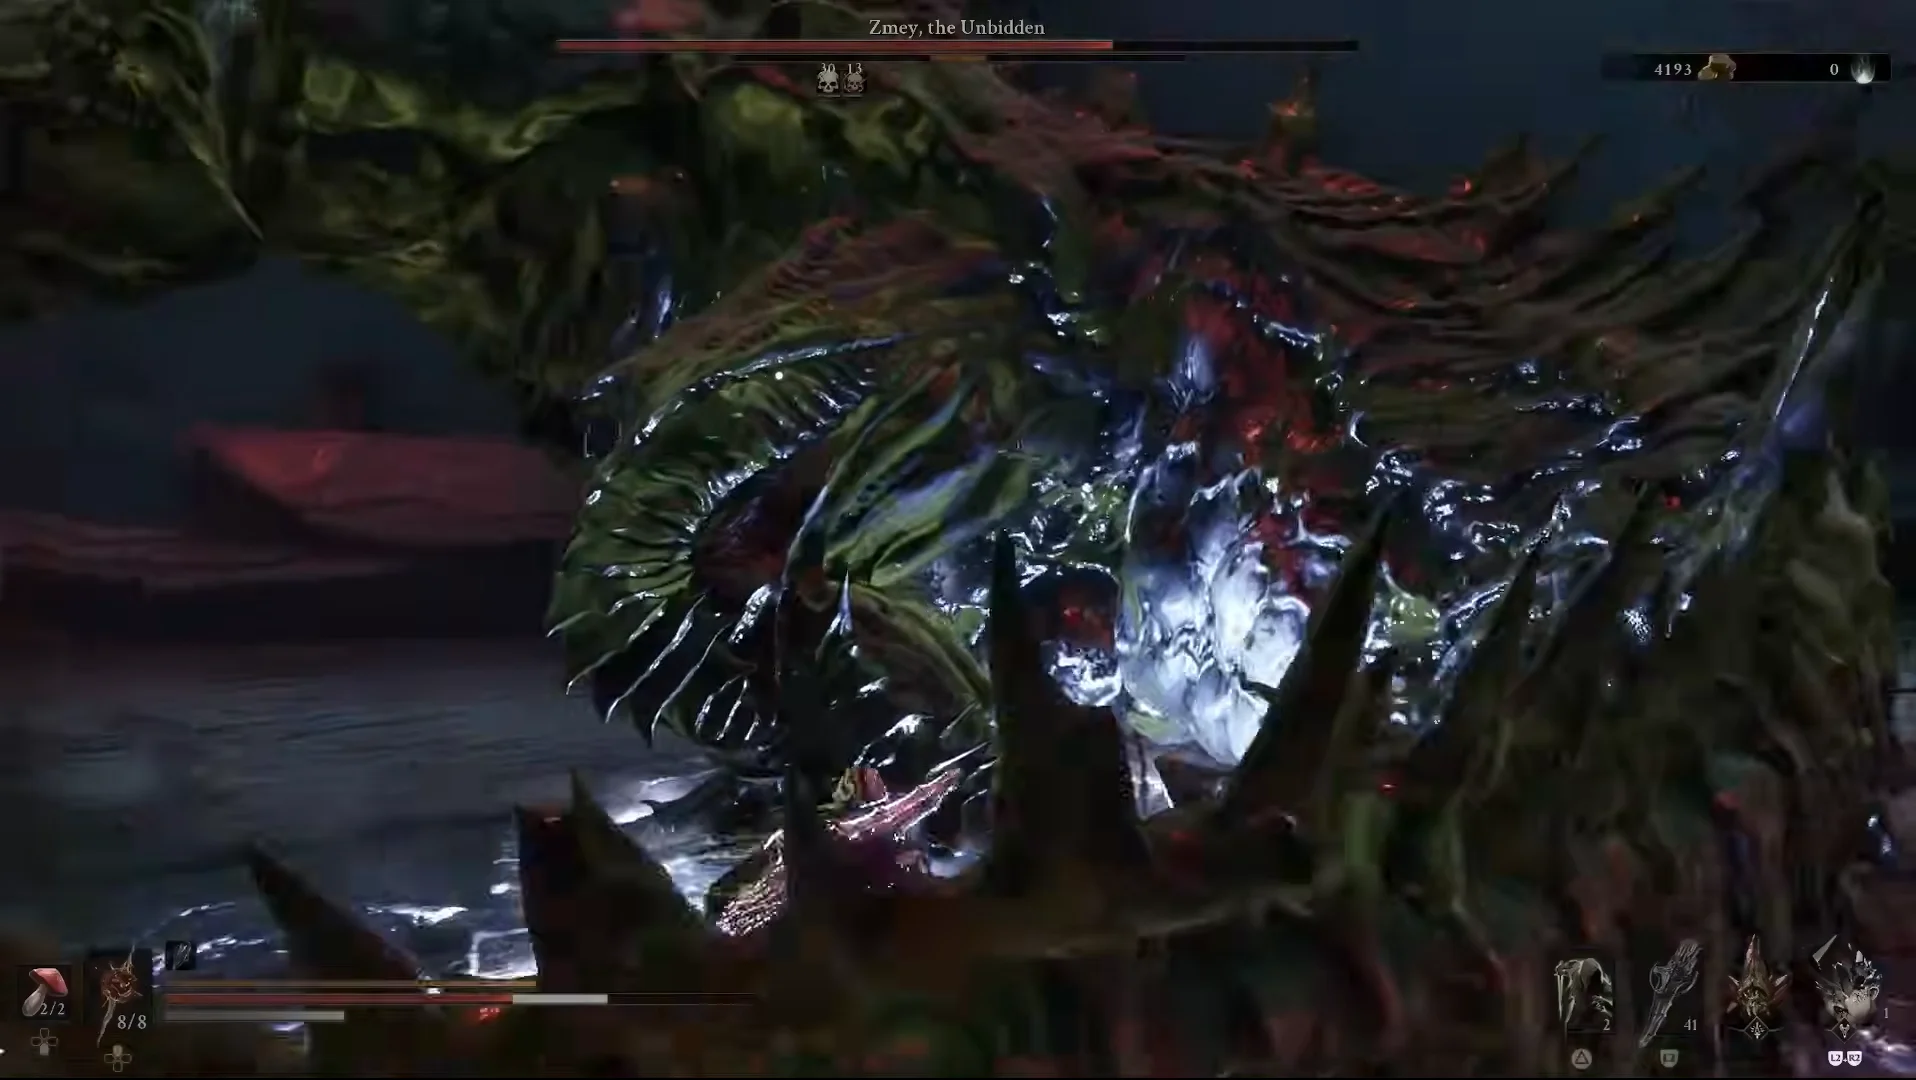
After Zmey jumps away, it answers the distance with a Blade Slam that raises the sword overhead and sends flames along a straight line. Dodge sideways across that line rather than backward along it, and only move toward the impact point once the flame path is clear. If you carry Break Damage seals, its forward sword thrust can be parried for a Riposte, which is where the biggest single hits come from since Zmey moves around so much.
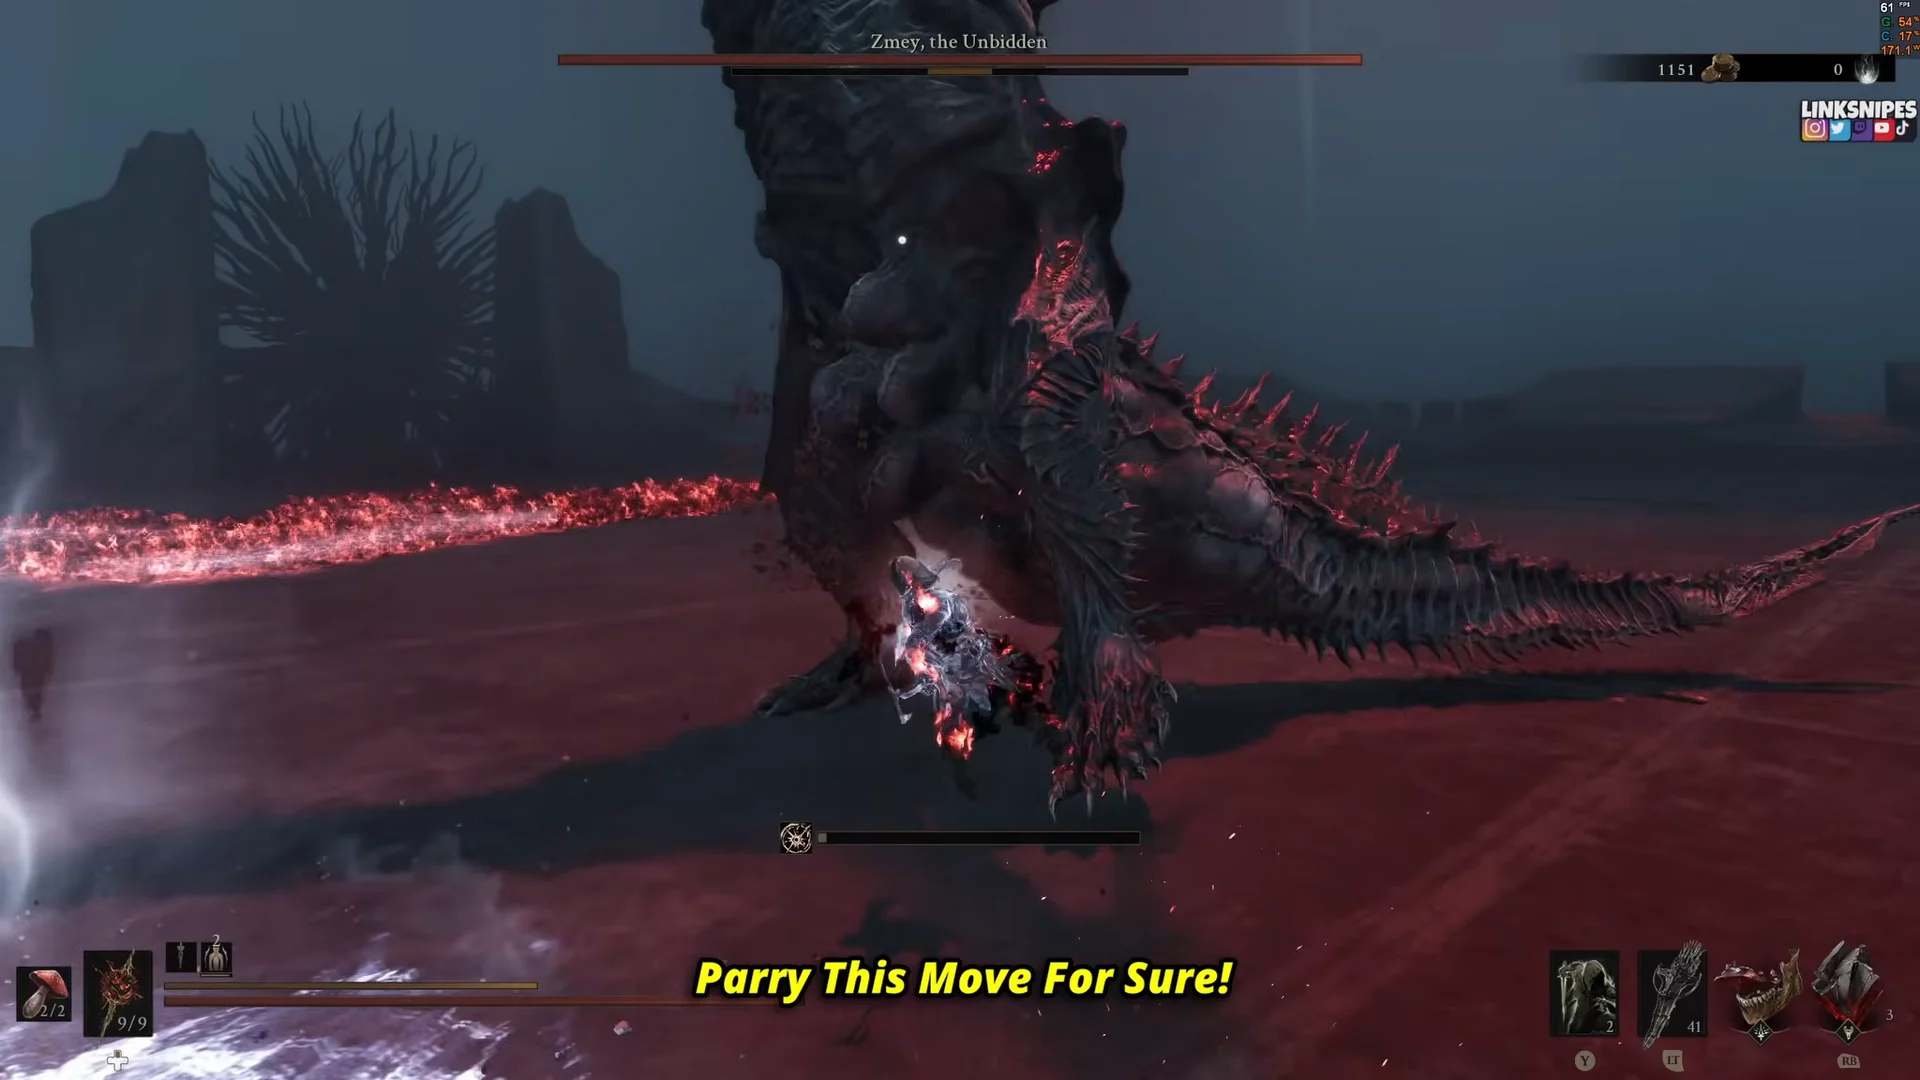
Watch the grab and the tail
A red circle marker on Zmey’s body flags an incoming high-damage grab or slam. When you see it, roll clear rather than trying to squeeze in another hit. Standing beneath the boss near its hind legs is a strong position, but the grab can reach you there, so keep the marker in view.
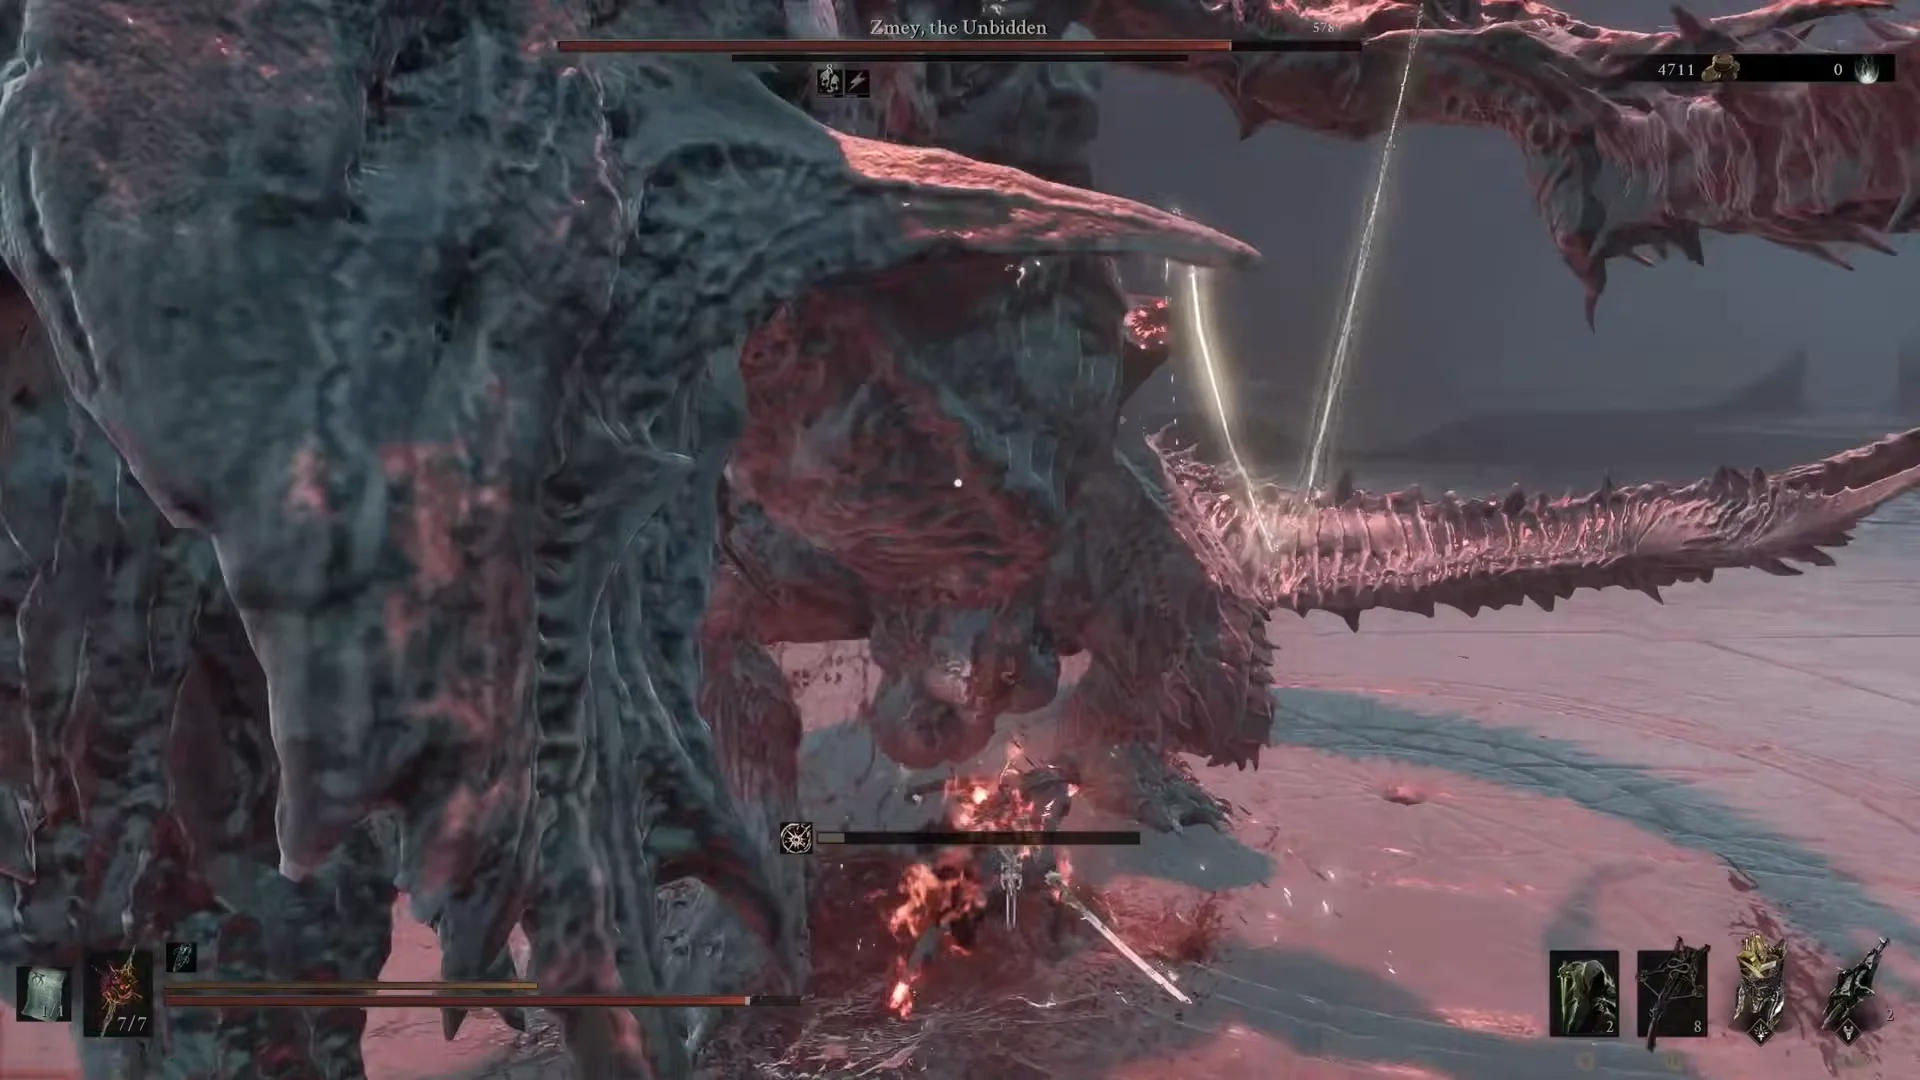
When Zmey’s body twists backward at mid range, it is setting up the stabbing tail whip. Step out of the grab line, then close back in once it ends. In melee, a two-legged hop means a tail slam is coming, so dash clear of the small area burst before returning to the belly. If you are playing Tiel, its shadow dash slips past tail sweeps and lets you reposition behind the boss for rear damage.
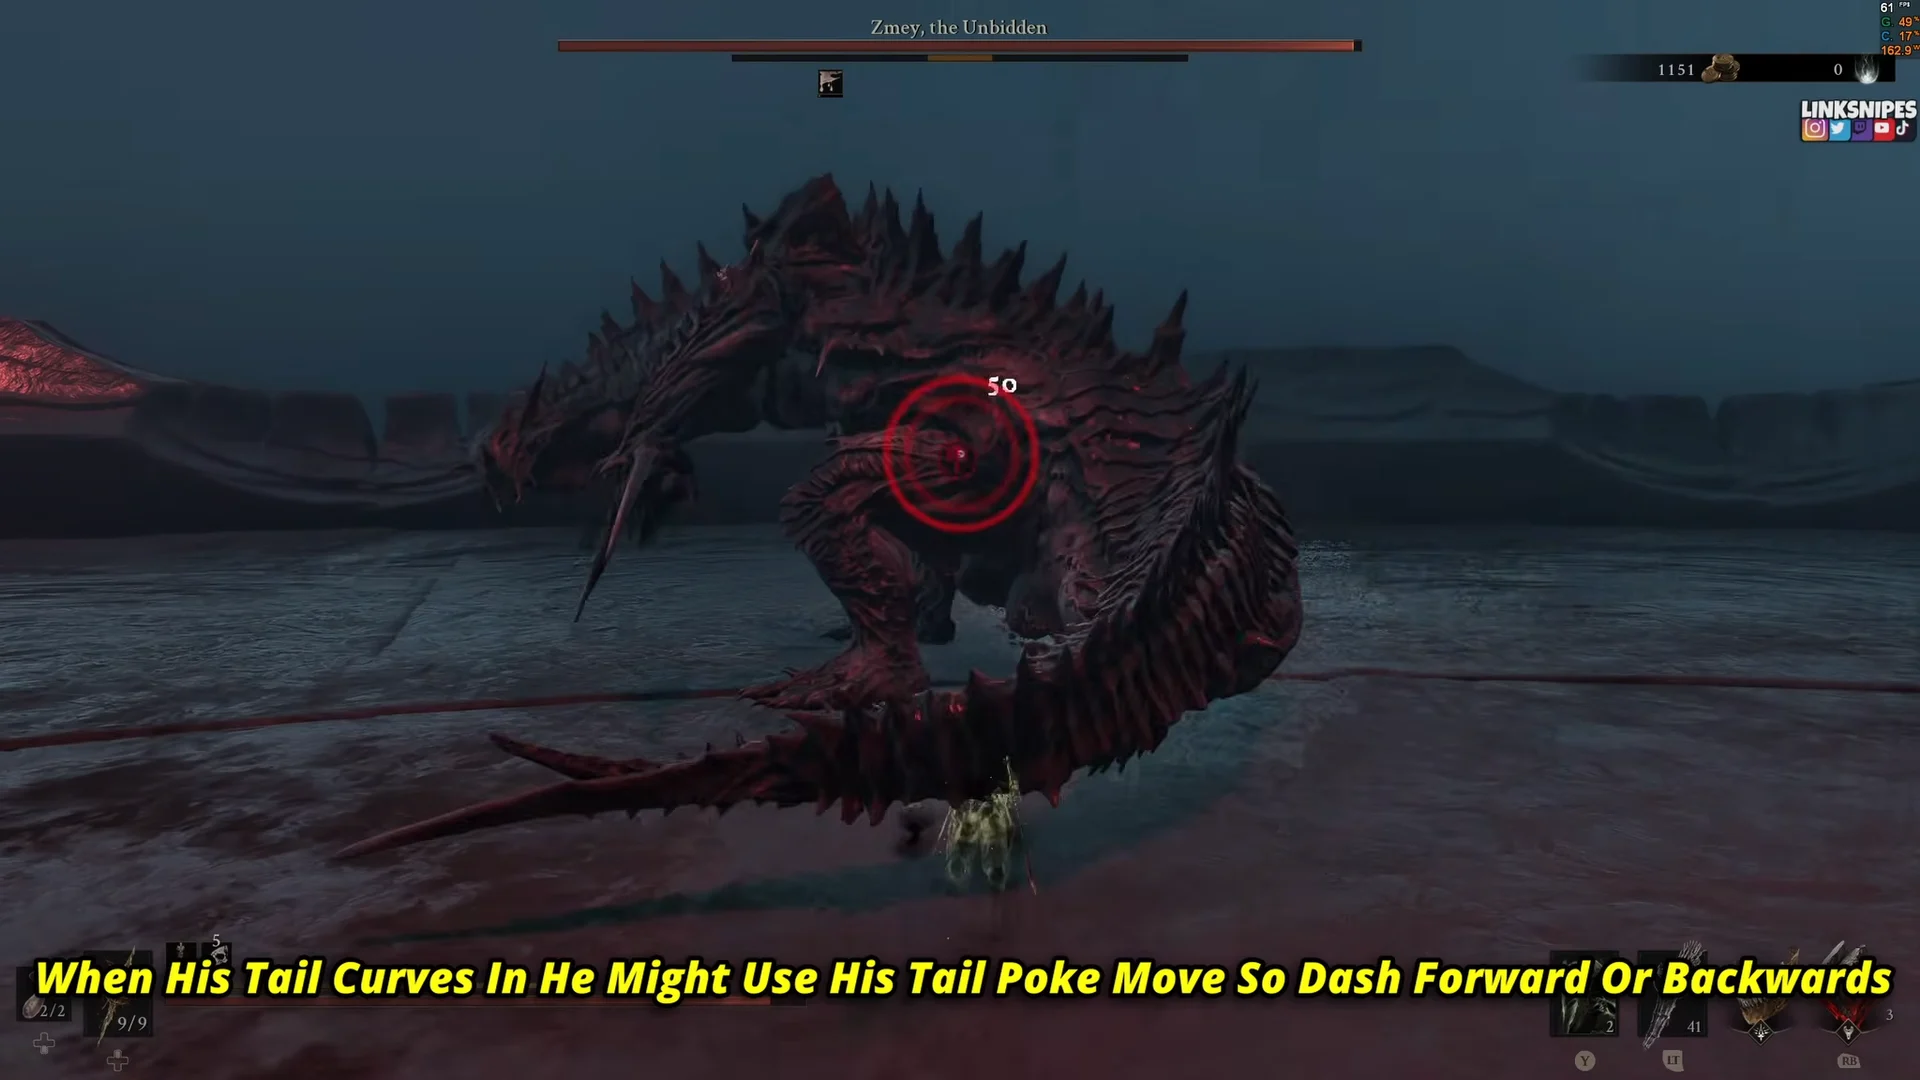
Keep your punish window brief: after an attack clearly finishes, land one or two quick hits, then back off and watch for the next tell. Taking an extra swing after a clean opening ends far more attempts than dealing slightly less damage.
Surviving the fire phase and Cosmic Disease
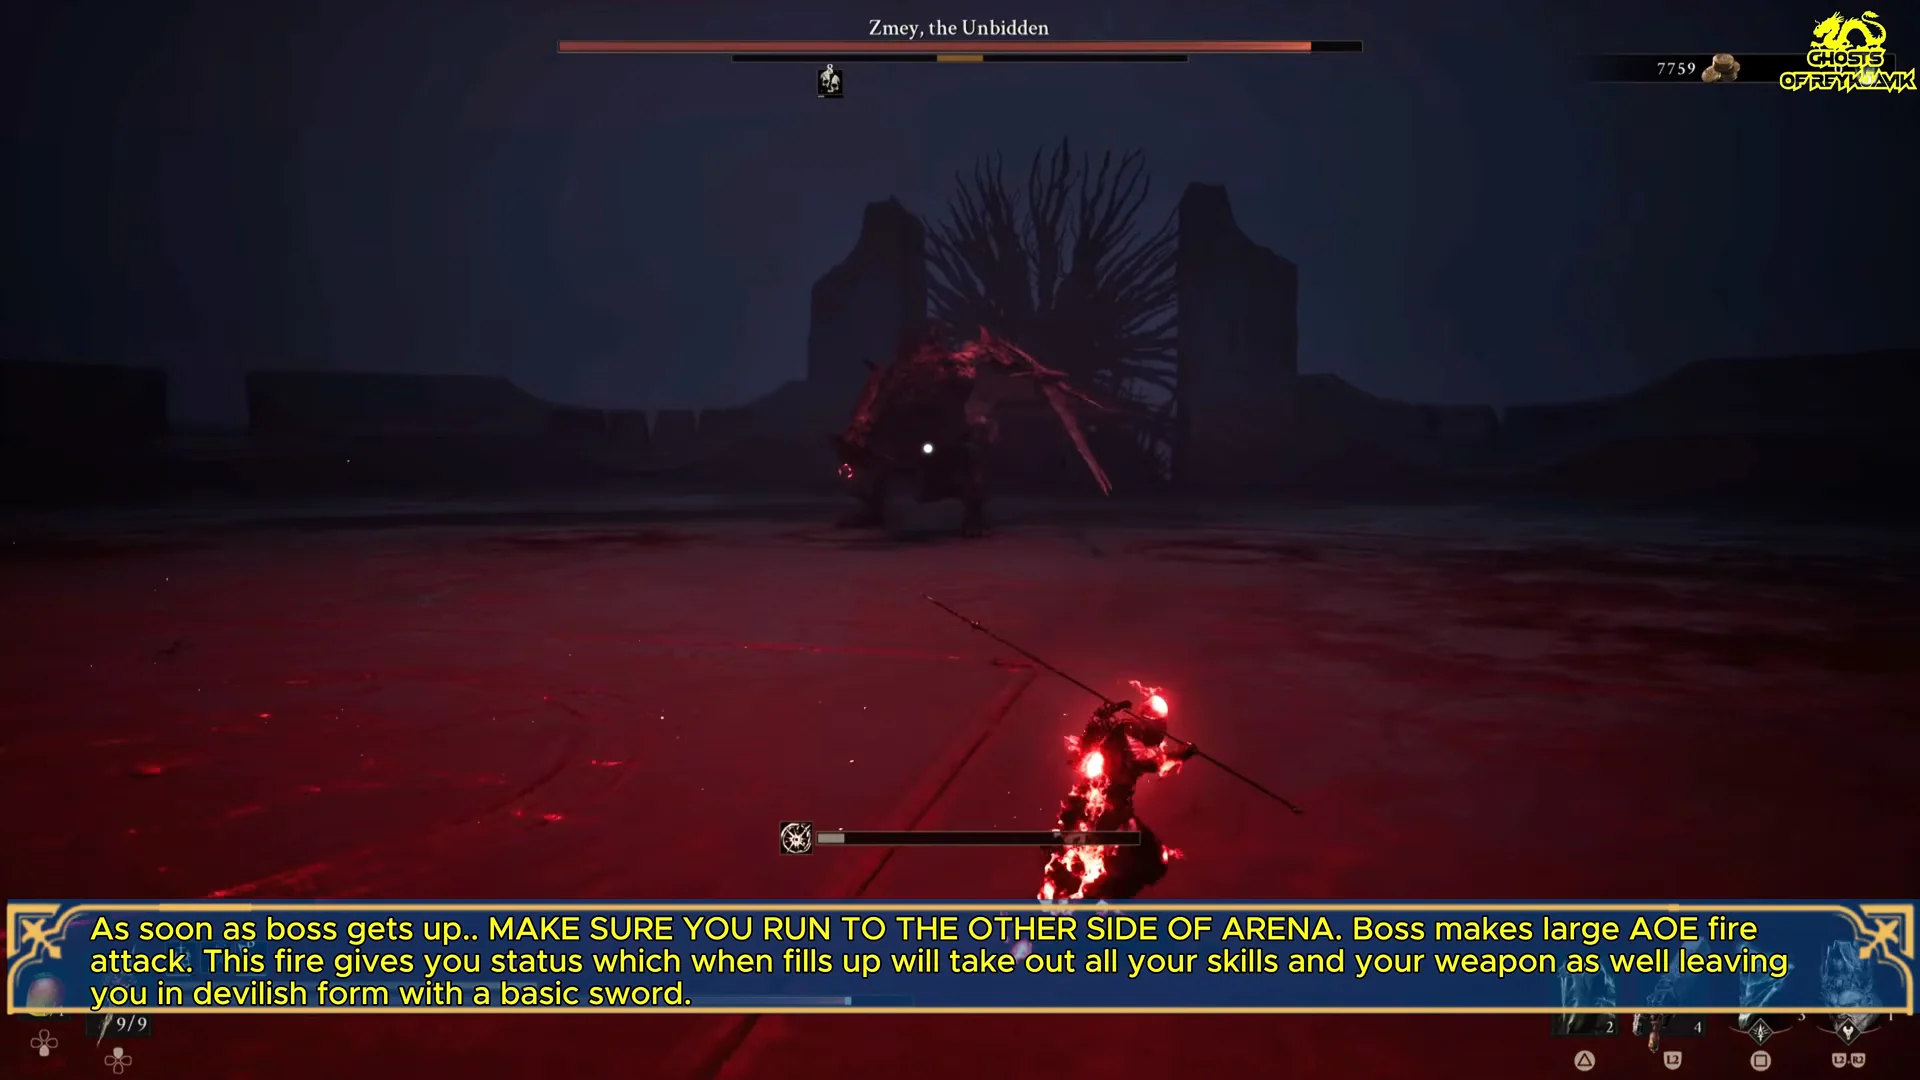
At about half health, Zmey enters a new phase: Stasis damage is replaced by Cosmic Disease, its sword catches fire, and sustained flames become the primary danger. Cosmic Disease ends many attempts by forcing you out of your shell and preventing the use of Skills and Tarstones. As soon as it afflicts you, use Seedbearer’s Scripture to cure it and knock Zmey down for a large damage opportunity.
The phase transition, and often a stagger, triggers a wide flame wave. Instead of tanking it, sprint to the opposite side of the arena to keep the status from stacking. When Zmey stays rooted and casts, treat that as a chance to attack, but leave the zone as soon as flames erupt around your feet.
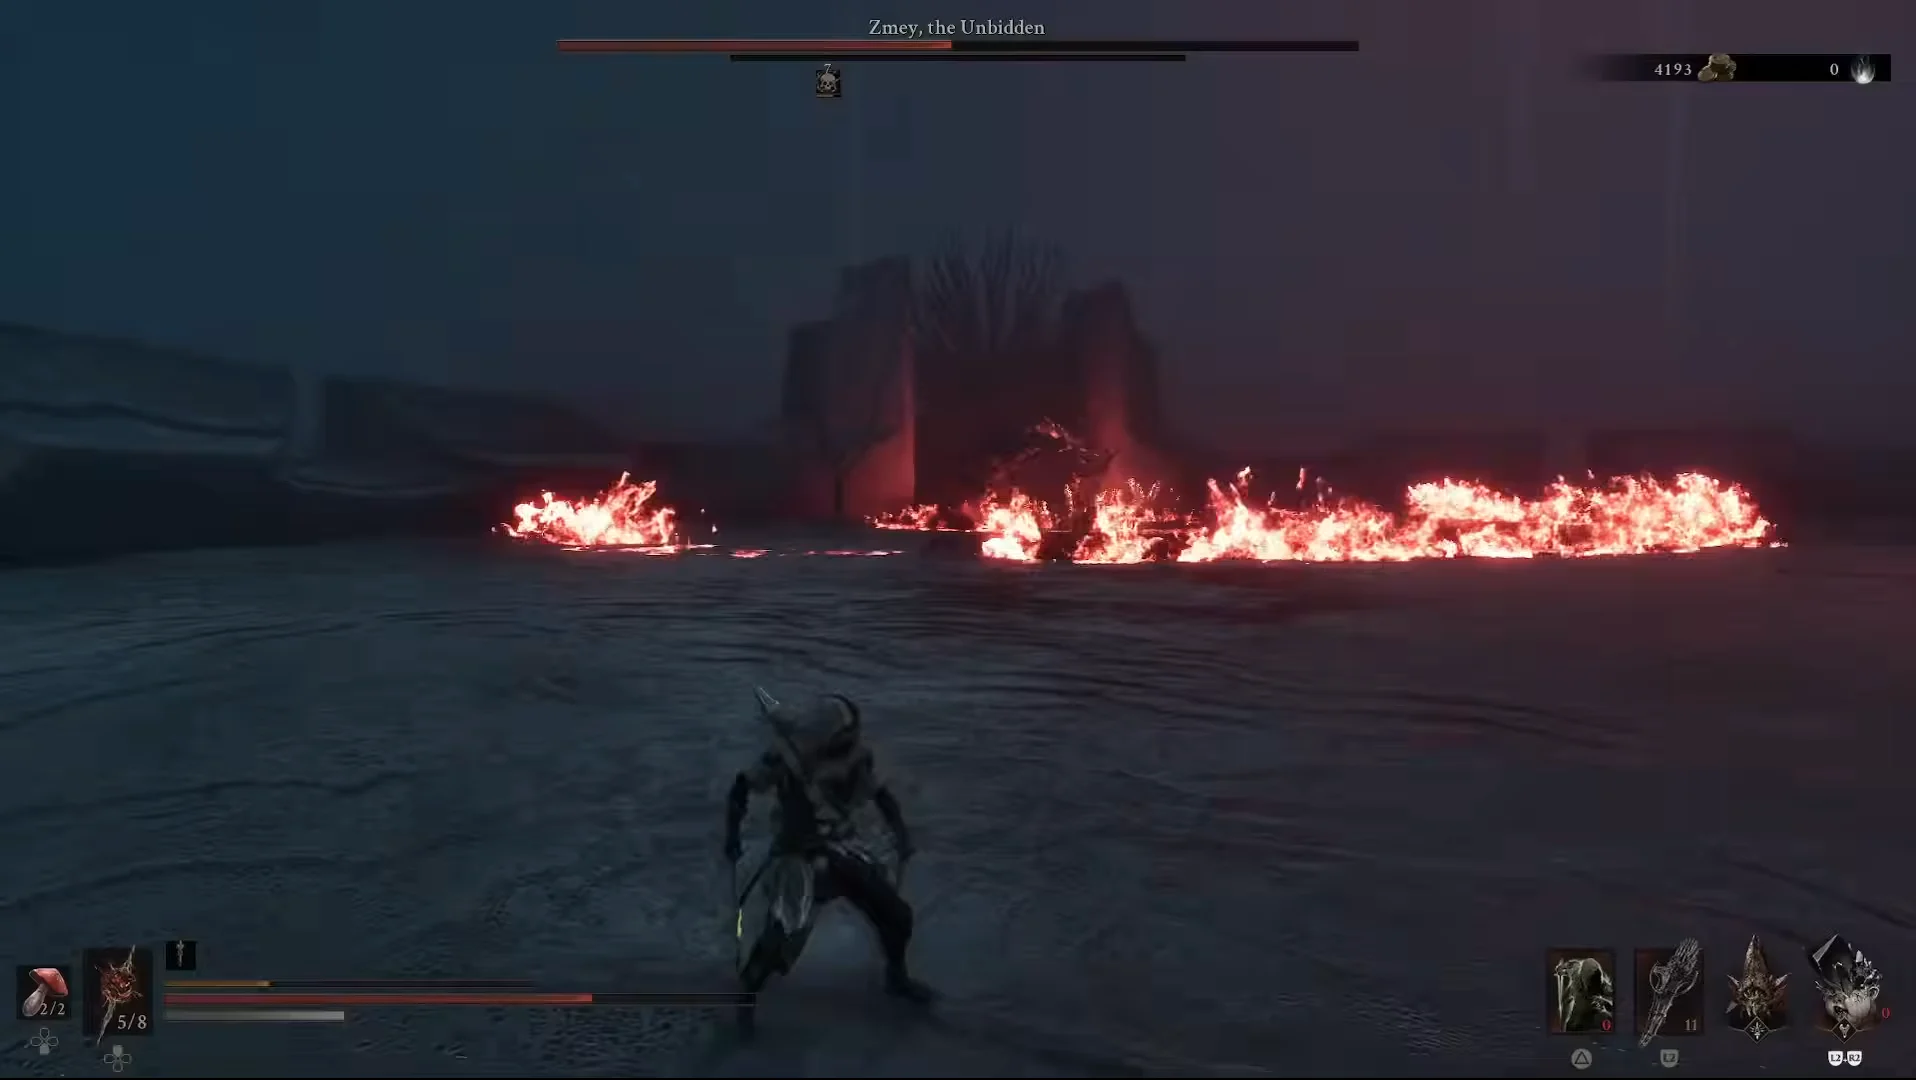
Zmey can create ground-fire rings that expand outward. Move sideways through their gaps instead of dodging forward into rings that overlap, and judge the spacing in your installed build rather than relying on a set dodge count from older footage. Later, the dragon moves to the arena gate and sends out huge waves that spread across the ground. Follow the safe paths between the waves and let the attack sequence finish before approaching again.
If the fight has abruptly become much harder, review your difficulty options. Night Mode retains the tail grab that can kill in one hit, while optional Adaptive Difficulty may increase Zmey’s damage, health, and break resistance after several wins. Disable both at the appropriate altar to make the encounter as predictable as possible.
After the kill: how to confirm it and reach New Game Plus
Zmey’s defeat is marked by a burst of crimson flame and its collapse. A humanoid figure then pulls out and crushes the parasite, and the “It’s over now?” achievement appears. Recover the Ora from Zmey’s remains afterward. The Undermother confirms that the Foul Passenger has been eliminated, and the “Mother’s End” epilogue screen presents the final objective. The game has not ended yet.
You regain free-roam control and can still visit NPCs, enter dungeons, and collect anything you left behind. The only action you cannot undo is choosing Send Ova at the Gloom Siphon in Marrow Keep. Finding more Ova improves the kin’s chances of survival; confirming this choice also begins the New Game Plus cycle. You may open the machine’s menu without risk because no confirmation prompt appears, but selecting that option commits you immediately.
Because Send Ova is the only hard lock, finish anything missable first. That includes the remaining shells, weapons, Tarstones, and dungeons you still want, plus any achievements tied to earlier areas. Once you confirm, the ending movie runs and the next cycle begins, so treat that final button as the true finish line rather than the boss kill itself.