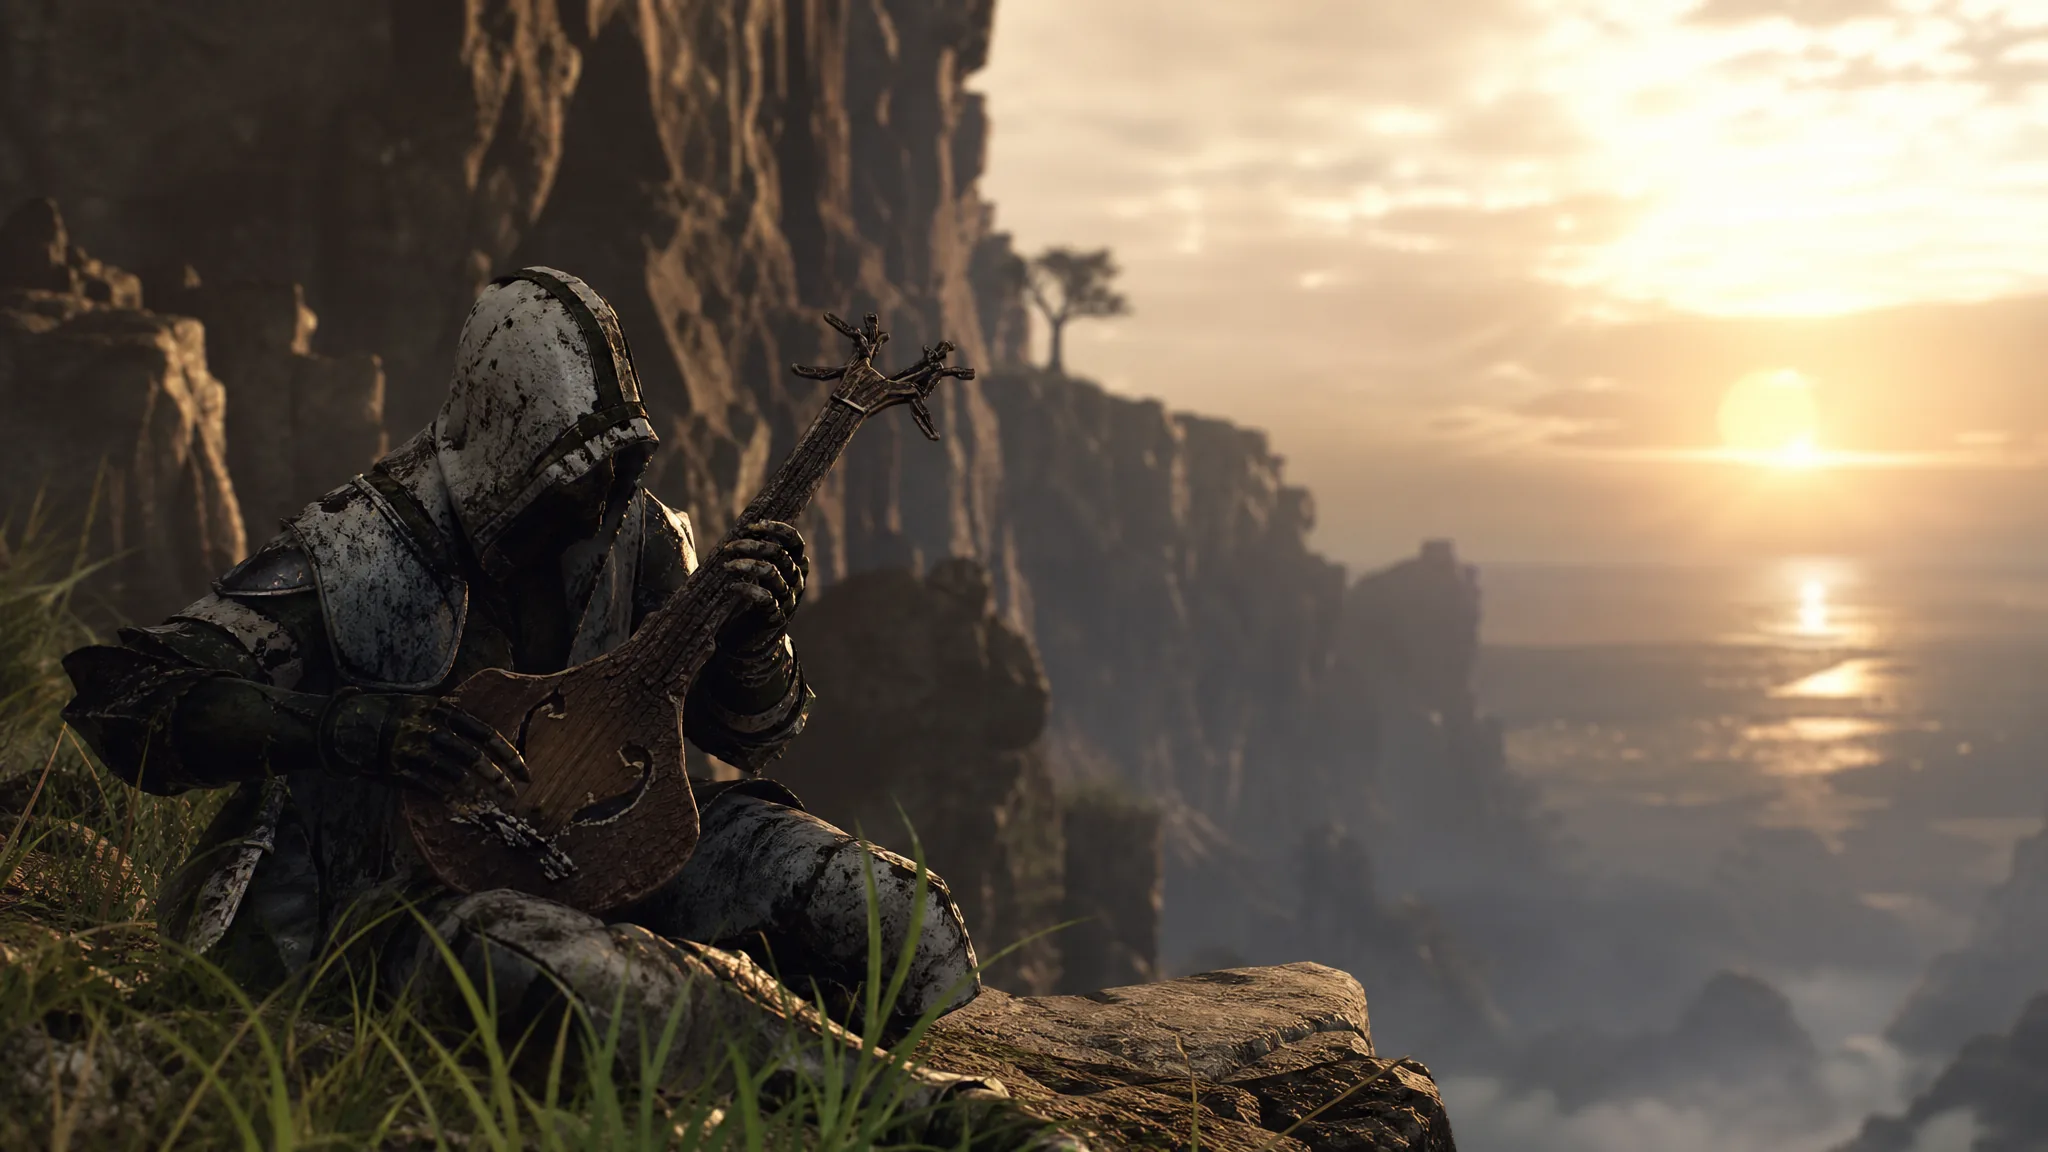
The Troubadour’s Lute is a sidearm in Mortal Shell 2 that does two jobs at once. It plays music, and it inflicts Confusion, which forces struck enemies to attack their own allies. You collect it from a fixed spot on a tavern stage, but the path there is gated behind one traversal ability you have to earn first.
Quick answer: Unlock Mother’s Breath by siphoning Ova in Marrow Keep, then fast travel to the Mushroom Village Beacon, cross the bridges to the east, cleanse the corruption wall, and enter the One-Legged Wolf Tavern. The Lute sits on the left side of the stage.
Requirements before you can reach the Lute
The Lute lives on the eastern side of Fainweald, and a wall of corruption blocks the only path in. You cannot cleanse that corruption until you have Mother’s Breath, so this ability is the real prerequisite for the sidearm.
Mother’s Breath comes from siphoning Ova in the Ovum Siphon room inside Marrow Keep. The keep already holds a few Ova when you first enter the open world, and the ability unlocks once you have siphoned enough of them, in the region of eight. Keep feeding Ova into the siphon until Mother’s Breath becomes available.
| Requirement | Detail |
|---|---|
| Mother’s Breath | Unlocked by siphoning Ova in Marrow Keep |
| Function used here | Cleanses the corruption wall blocking eastern Fainweald |
| Secondary function | Fast travel between Beacons |
| Lute location | Stage inside the One-Legged Wolf Tavern, eastern Fainweald |
Mother’s Breath also enables fast travel between Beacons, which you will lean on to reach the starting point of the route below.
Route to the One-Legged Wolf Tavern
Start from the Mushroom Village Beacon, since that is the point most players unlock first. The tavern is advertised on a parchment on the message board near the village, but it is not in the town itself. It sits to the east, past a run of bridges and the corruption wall.
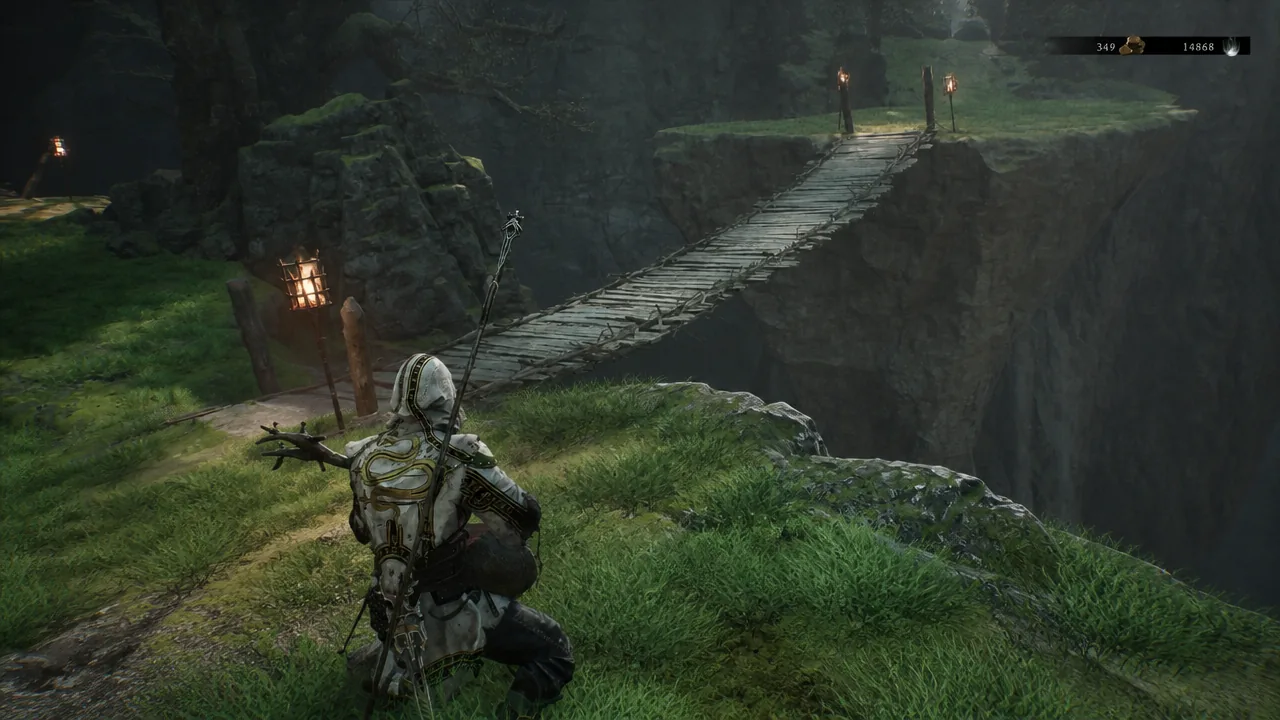
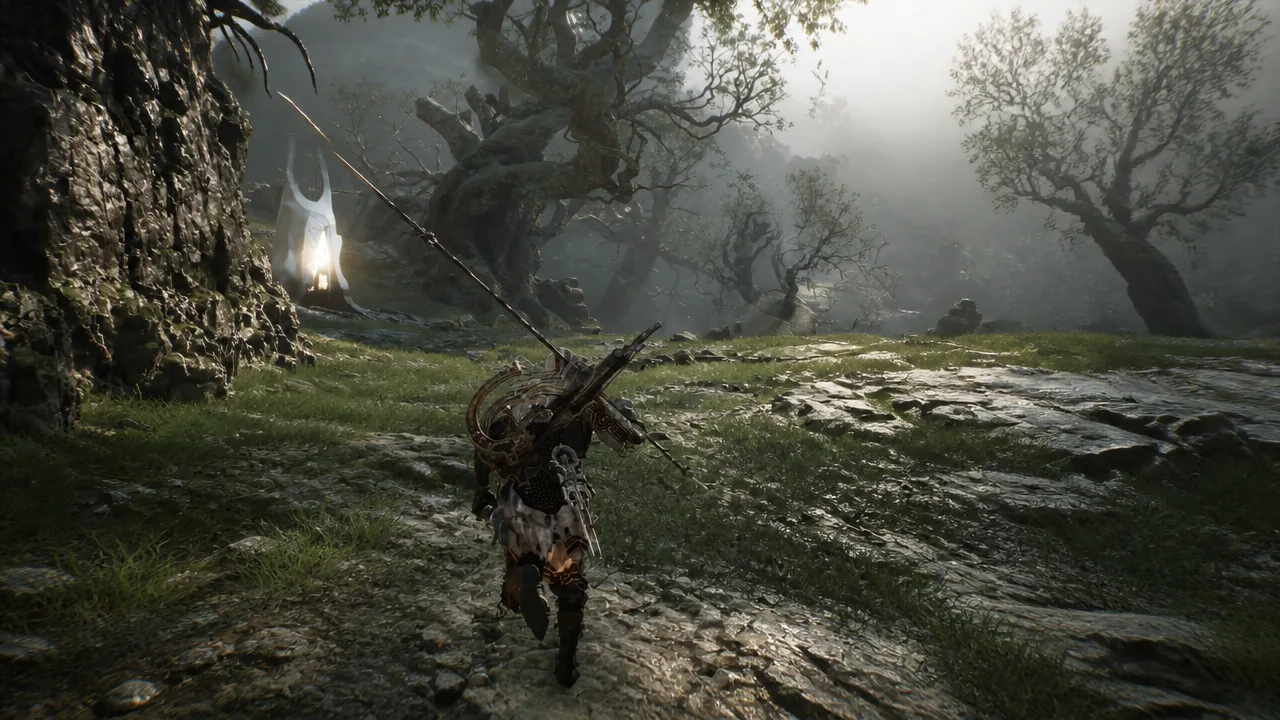
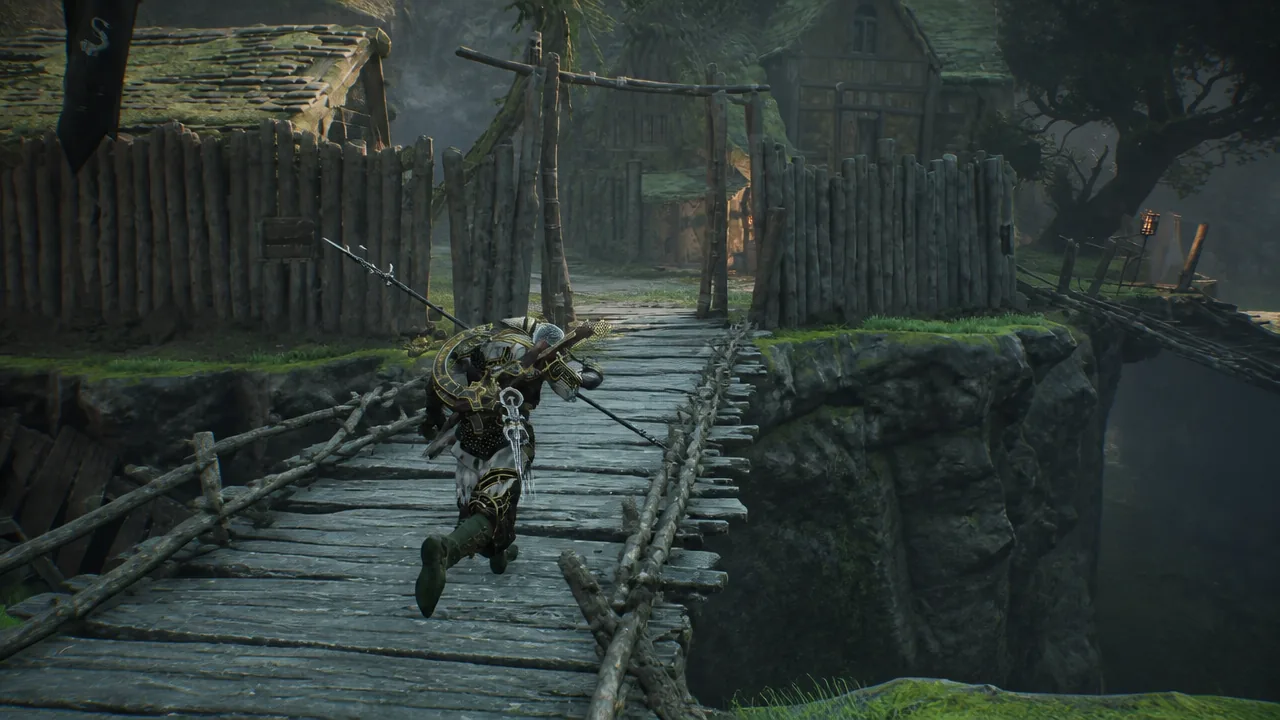
Note: The Mushroom Village Gate Beacon, near the second rope bridge, is a valid alternate starting point once you have unlocked it. From the Mushroom Village Entrance side, the tavern lies to the north.
Confirming you picked it up and other rewards nearby
The pickup registers the moment the Lute appears in your sidearm slots. Equip it and use it once to confirm it fires waves of musical energy rather than a standard projectile.
The same tavern is where you can unlock the Gragu shell, one of the eight Shells in the game. That requires bringing a specific item to Gragu, so it is worth handling on the same trip if you have the item ready.
If you played the open beta, you may recall finding the Lute inside the chest that the dancing NPCs circle in Mushroom Village. That location changed for the full release. The chest still exists and now holds a Glimpse and an Auspicious Stone, a Tarstone that raises melee Critical Chance, but the Lute is no longer there.
How the Troubadour’s Lute works in combat
The Lute functions like your other ranged sidearms and draws on Resolve as its ammo. Instead of bolts or shot, it sends out waves of sound. Landing those waves on an enemy applies Confusion, shown by an icon and a countdown above the target’s health bar.
A confused enemy turns on nearby foes for a few seconds. With several hostiles in range, that turns a group into a brawl among themselves while you recover health, reposition, or land free hits. You can stack Confusion on multiple targets as long as you have Resolve to keep strumming.
When there is no one else around for the target to attack, the Lute deals Break damage instead. Enough Break can open an enemy for a riposte without needing to harden, guard, or parry first.
| Situation | Effect |
|---|---|
| Multiple enemies in range | Confusion, causing them to fight each other |
| Single enemy, no allies nearby | Break damage, setting up a riposte |
| Against bosses | Limited utility, mainly for chipping Break |
| Non-combat use | Plays one of several music tracks |
Confusion shines during crowded fights and dungeon rooms packed with enemies, which is exactly why grabbing the Lute early pays off. It is weaker against lone bosses, though the Break pressure keeps it useful as a backup sidearm. Away from combat, you can also strum it to play music, with a handful of tracks in rotation.