Smugglers Hideout is one of the easier dungeons to walk past without noticing. It sits in the southern stretch of the world, close enough to a beacon that you can be inside it within about thirty seconds of fast travel, but the entrance is tucked below a camp and looks like little more than a hole in the rock.
Quick answer: Fast travel to the Outskirts of Mammon beacon, head right, run down the hill past the camp tents, and step into the cave mouth sealed by a swirling silver barrier.
Smugglers Hideout at a distance: type, region, and nearest beacon
The map classifies Smugglers Hideout as a Dungeon, not a Gate or a Corrupted Statue, which matters because those three icon types behave very differently. Dungeons are self-contained underground pockets you can re-enter as often as you like.
| Detail | Value |
|---|---|
| Map icon type | Dungeon |
| Region | Southern part of the world map |
| Nearest fast travel point | Outskirts of Mammon beacon |
| Direction from beacon | Right, then downhill |
| Landmark on the way | Camp of tents |
| Entrance appearance | Cave mouth covered by a swirling silver barrier |
| Repeatable | Yes, aside from one-time rewards |
Route from the Outskirts of Mammon beacon
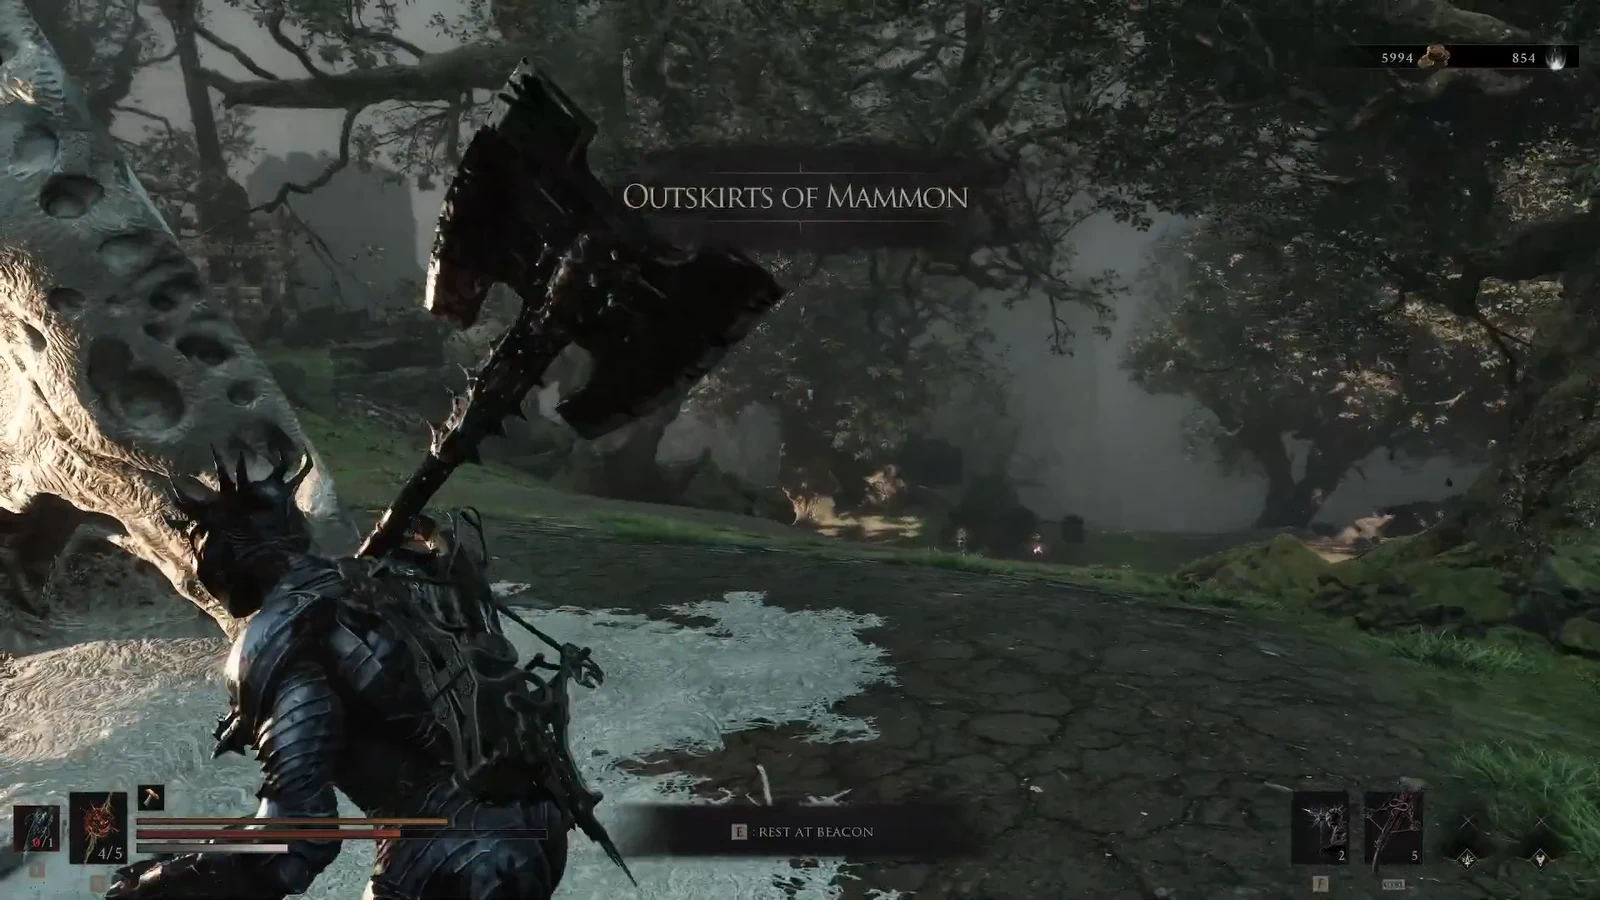
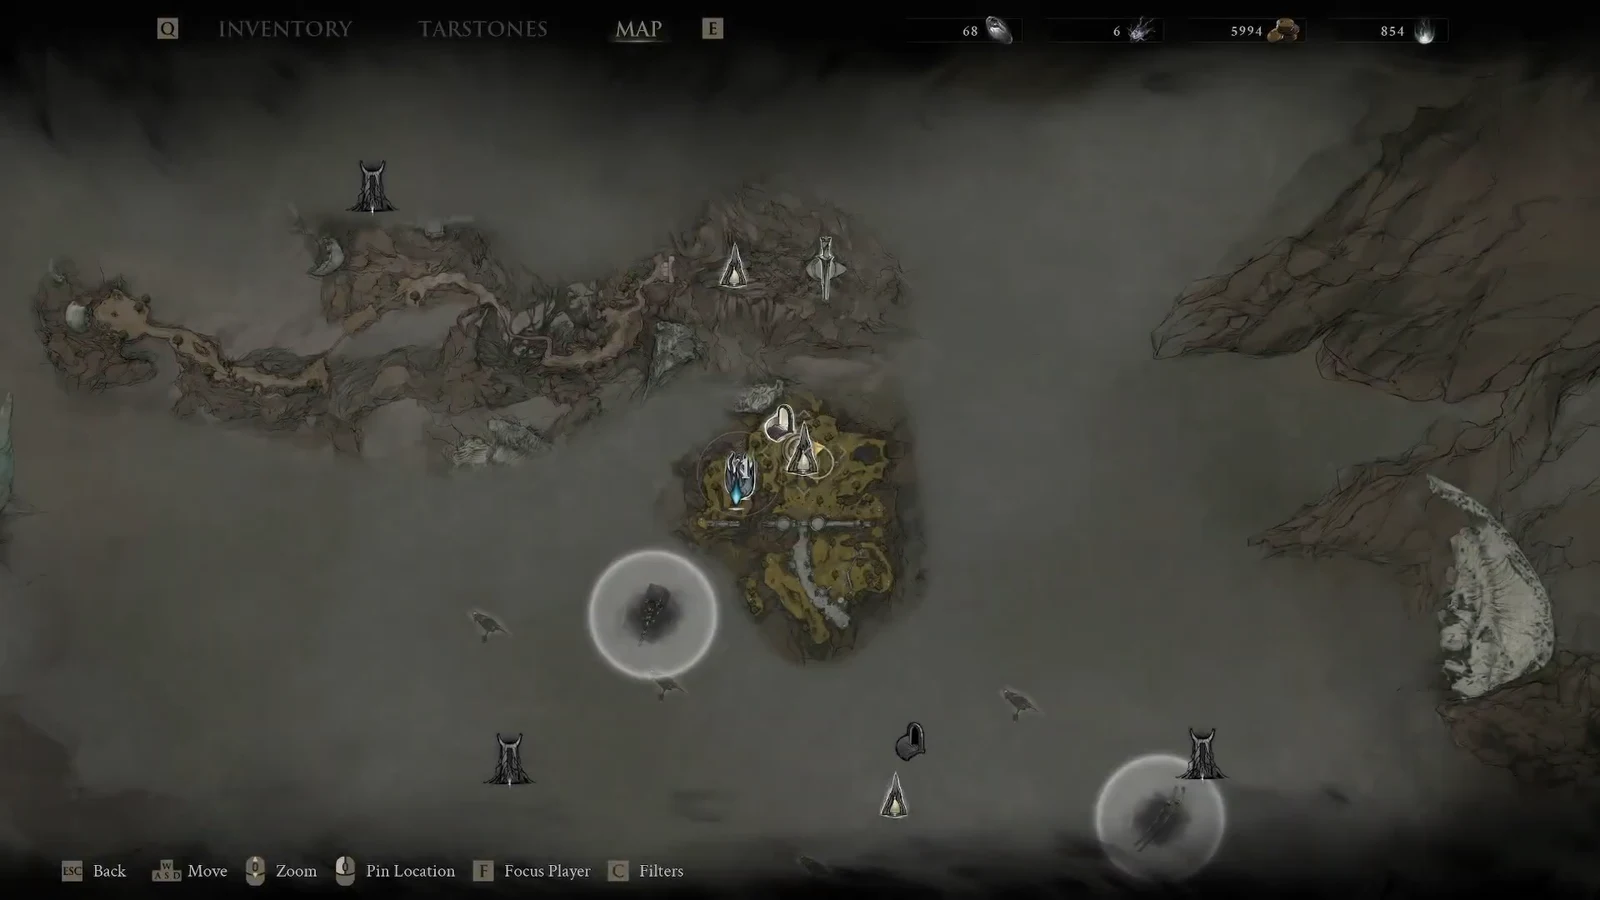
How to tell you entered the right dungeon
Passing through the swirling barrier triggers the transition into a dark cave interior, and the area name appears as Smugglers Hideout. That first pass through the barrier is also what stamps the dungeon permanently onto your world map, so the marker will be there for every return trip.
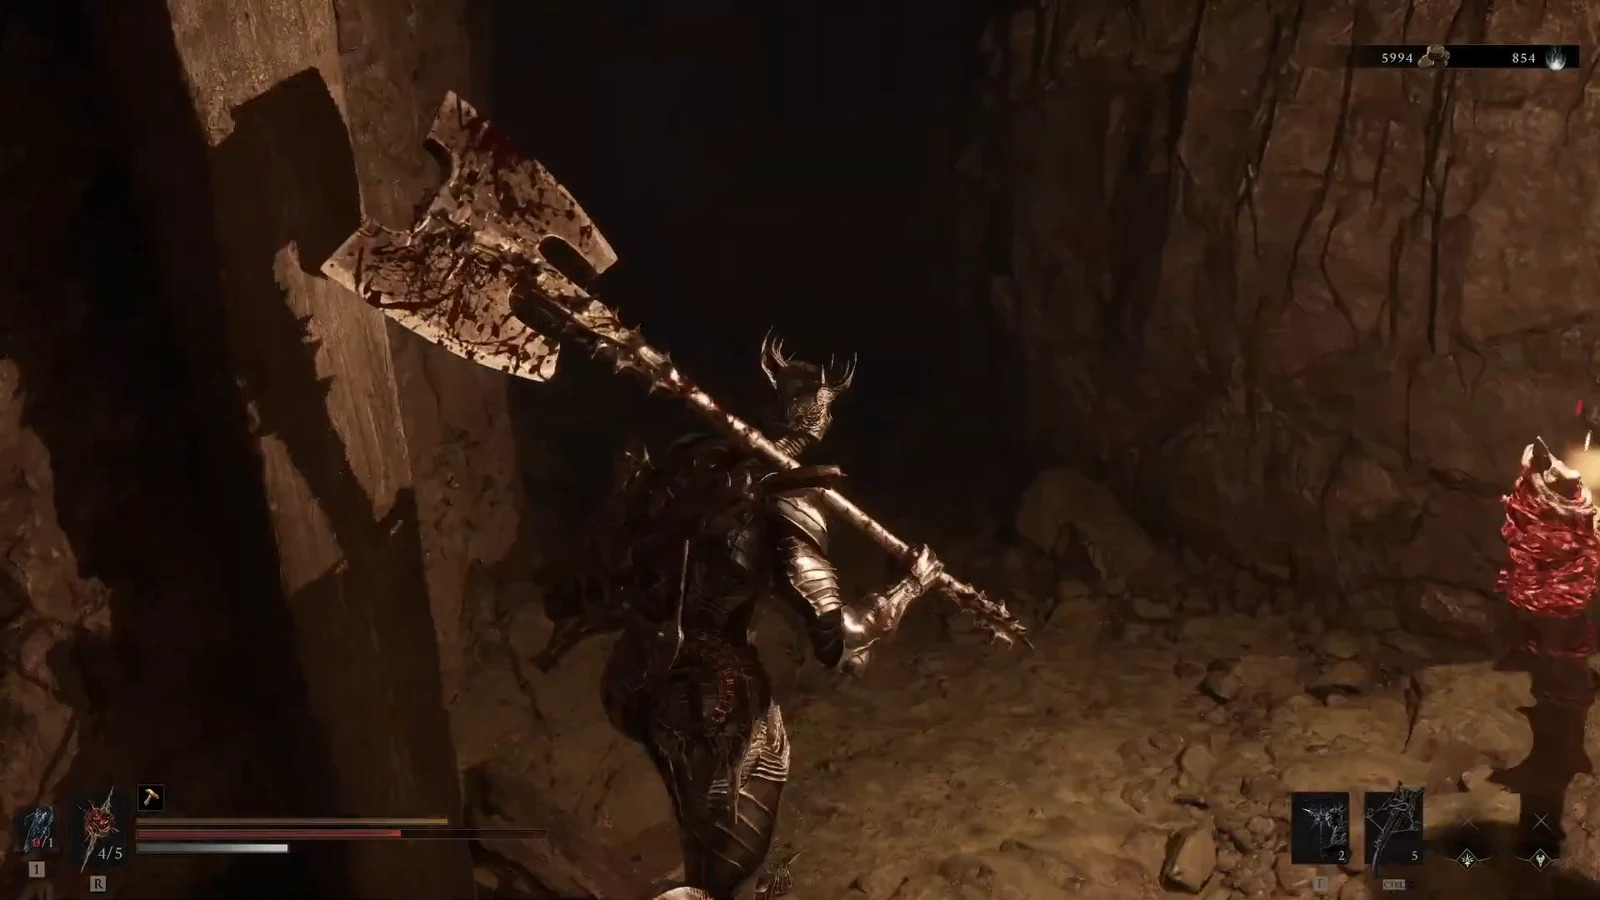
Note: the game does not tick dungeons off as finished on its own. If you want a completion record, move the cursor onto the dungeon marker on the map and change its icon manually.
Common reasons the entrance does not appear
- You went left instead of right. The camp tents only sit on one side of the beacon, so if there are no tents on your path, turn around.
- The marker is missing from your map because you have not walked through the barrier yet. Dungeon icons only populate after the first entry.
- Fog of war is still covering the southern area. Map Fragments handed out by Ruk at statues around the world are what clear it, and there are 11 in total.
What a dungeon run is worth
Dungeons in Mortal Shell II are optional side areas built around extra loot rather than story progress. Across the world they hold weapons, sidearms, Tarstones, and healing upgrades, and none of the 36 are missable, so you can clear them at any point in free-roam before committing to New Game+.
Their other use is repetition. Once you have taken the one-time reward and cleared any boss inside, the dungeon can be re-entered indefinitely, which makes short, beacon-adjacent runs like this one a practical way to farm Gloom. Since Gloom drops on death and has to be recovered from where you fell, spending it at a beacon before a risky attempt is worth the extra minute.
The short distance from the beacon is the main draw here. You can rest, level, walk into the cave, and be back at the beacon in under a minute, which is exactly the kind of loop that makes a dungeon worth revisiting rather than clearing once and forgetting.