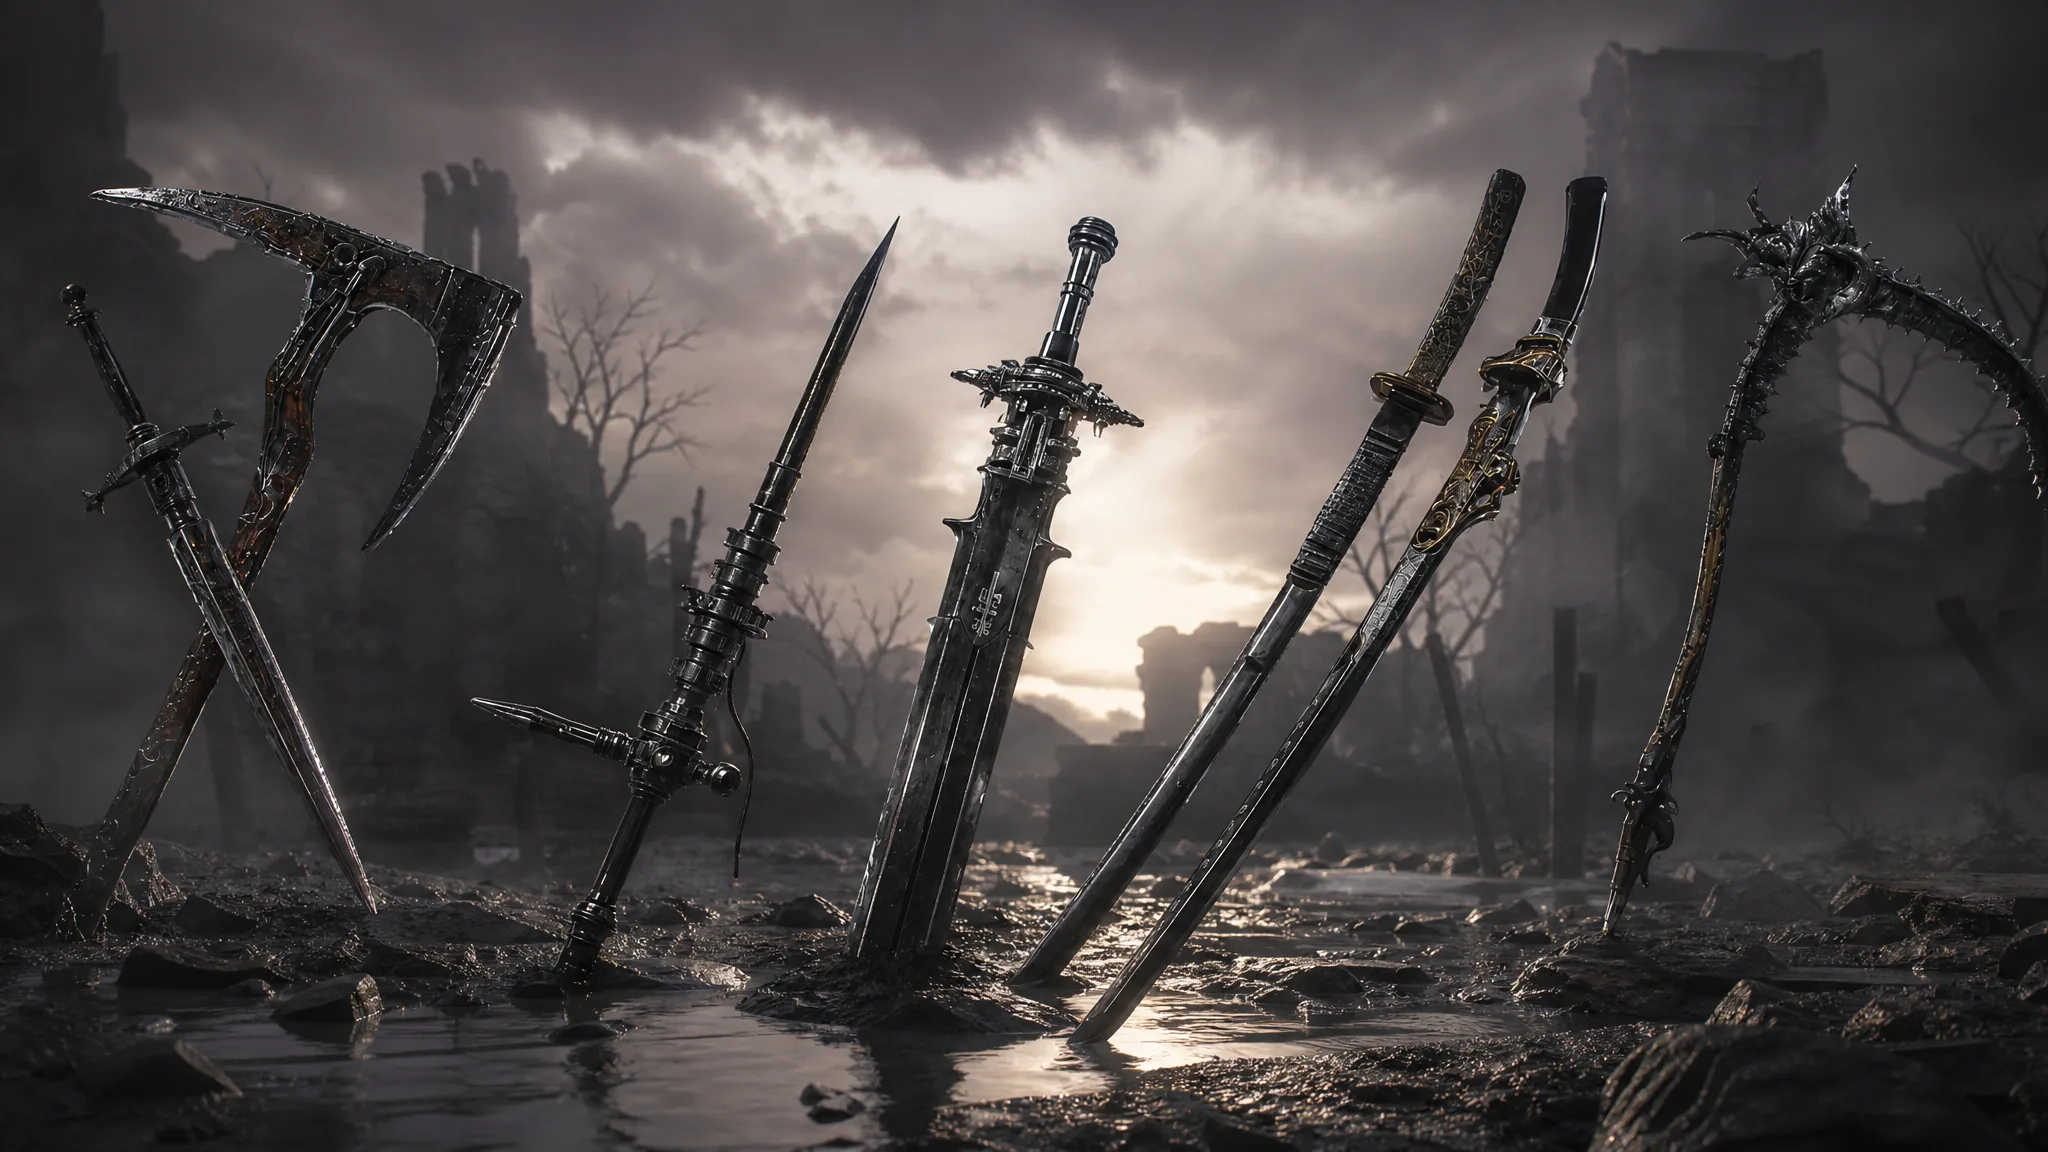
Mortal Shell 2 hands out primary weapons slowly, so each one you pick up meaningfully changes how you fight. There are eight primary weapons in total, spread across dungeons, hidden towers, and boss arenas throughout Fallgrim. Every weapon works the moment you claim it, and each can be improved later at the Tarforge in Marrow Keep.
Quick answer: One weapon (the Iconoclast) is given during the prologue. The other seven require reaching a specific dungeon, tower, or beacon and, in several cases, defeating the enemy or boss guarding it. Merrick can mark all eight locations on your map for Gold if you would rather not hunt manually.
Every weapon location at a reference
| Weapon | Where to get it |
|---|---|
| Iconoclast | Given automatically in the prologue once you obtain the Harros Shell. |
| Axe & Dagger | End of the Shrine of Trials, unlocked with the Chapel Key near Mushroom Village. |
| Veteran’s Battle Axe | End of The King’s Crypt, in northern Fainweald. |
| Great Martyr’s Blade | End of Martyr’s Prison, outside the Citadel of Penance. |
| Obsidian Hammer | Dropped by the Prophet of Profane Infinities inside the Obsidianite Mines. |
| Axatana | Inside the Forgotten Tower, south of the southeastern Corrupt Gate. |
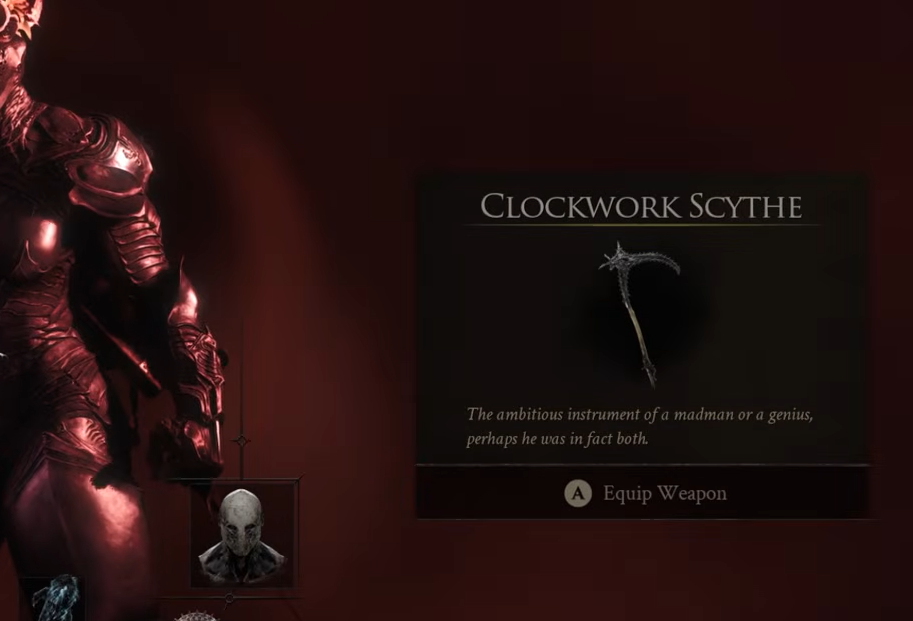
| Clockwork Scythe | Dropped by Sariel, the Endless inside the Chamber of Becoming. |
| Black Needle | Reward for cleansing the Sester’s Gate beacon and beating the Stray Sesters. |
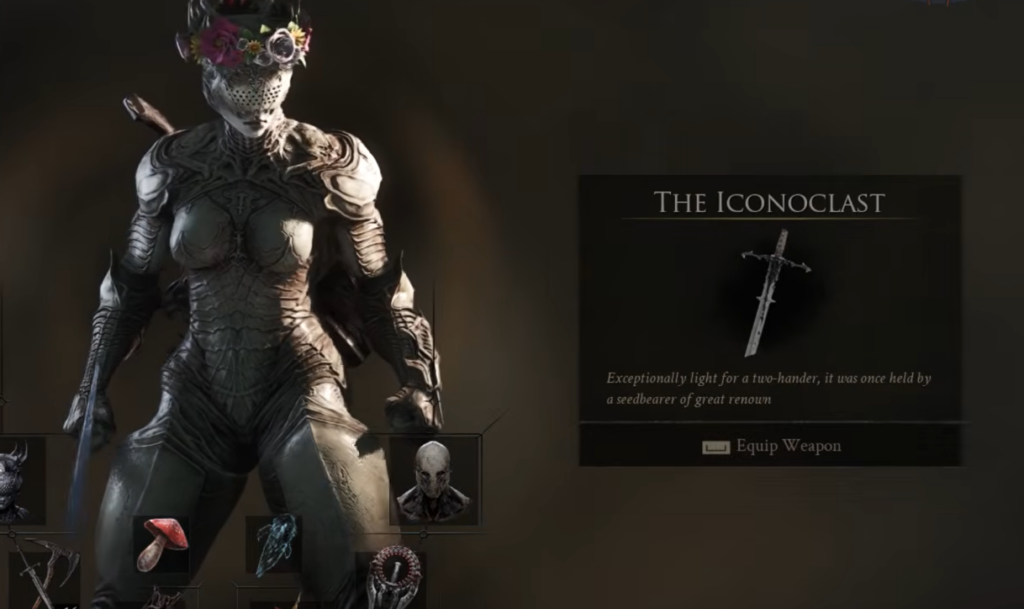
Iconoclast: your starting weapon
The Iconoclast is a light two-handed sword you cannot miss. During the prologue, you speak with the Undermether and receive your first Shell, Harros. The moment you stand back up with Harros equipped, the Iconoclast is added to your inventory. You can keep using it for the whole game or swap it out as you collect other weapons.
Axe & Dagger: Shrine of Trials (needs the Chapel Key)
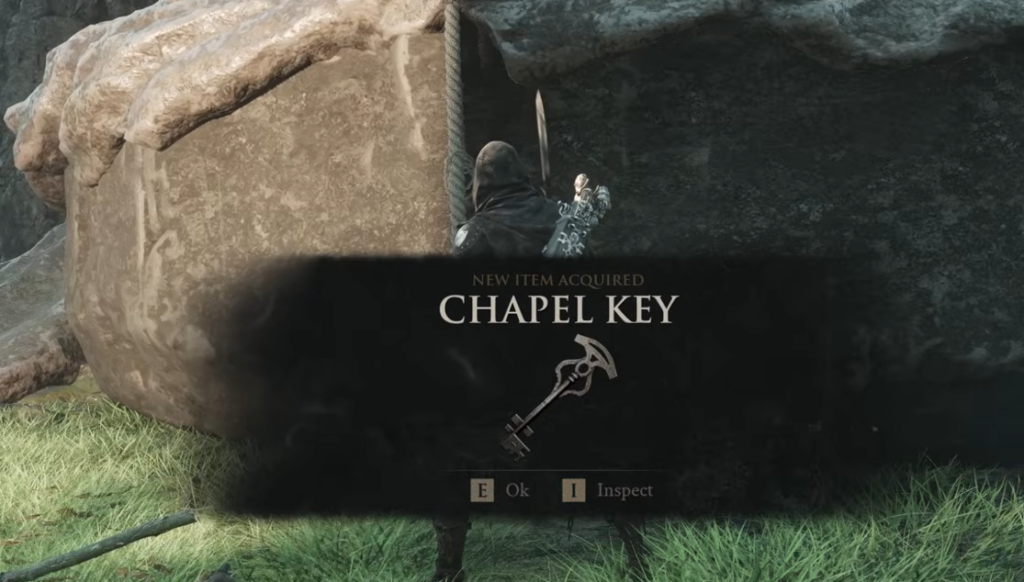
The Axe & Dagger sits at the end of the Shrine of Trials, and it is easy to walk past if you stick only to the main path and Corrupt Gates. You need the Chapel Key first.
Veteran’s Battle Axe: The King’s Crypt
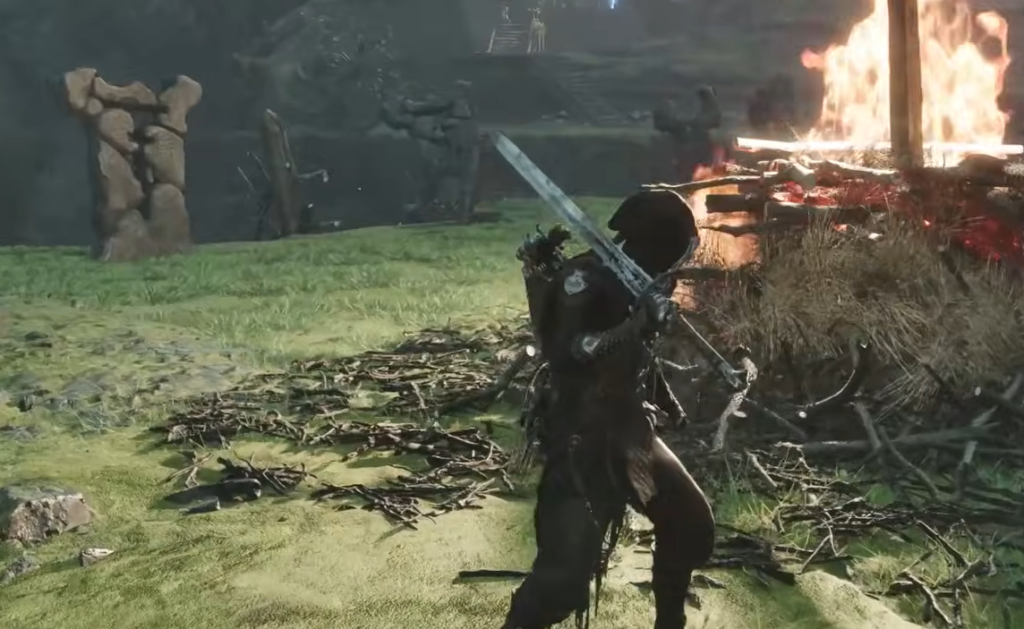
The Veteran’s Battle Axe is tucked inside The King’s Crypt, a dungeon far north of the Mushroom Village Beacon in Fainweald. Once you enter, you have to drop into a large hole before you can continue. Work through the crypt, clear the enemies along the way, and the axe is waiting at the very end of the dungeon.
Great Martyr’s Blade: Martyr’s Prison
Start at the Gloomshade Grove Beacon and travel northeast until you reach the entrance to Martyr’s Prison. Make sure you are aiming for the dungeon outside the walls of the Citadel of Penance, not the fortress itself.
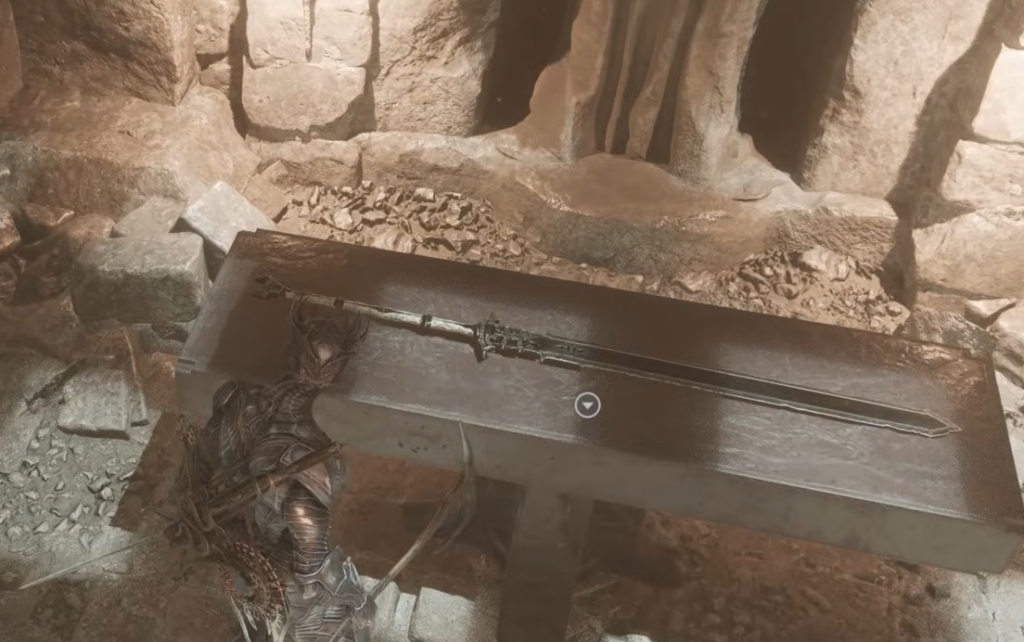
Once inside, interact with the small pouch to teleport into the main prison section. Push through the corridors to the end, where the Great Martyr’s Blade is placed.
Obsidian Hammer: Obsidianite Mines
The Obsidian Hammer is a reward for clearing the Obsidianite Mines, found southeast of the Outskirts of Mammon Beacon. Enter the dungeon and fight through to the end, where the Prophet of Profane Infinities is waiting. Defeat this boss and the hammer is yours.
Axatana: the Forgotten Tower
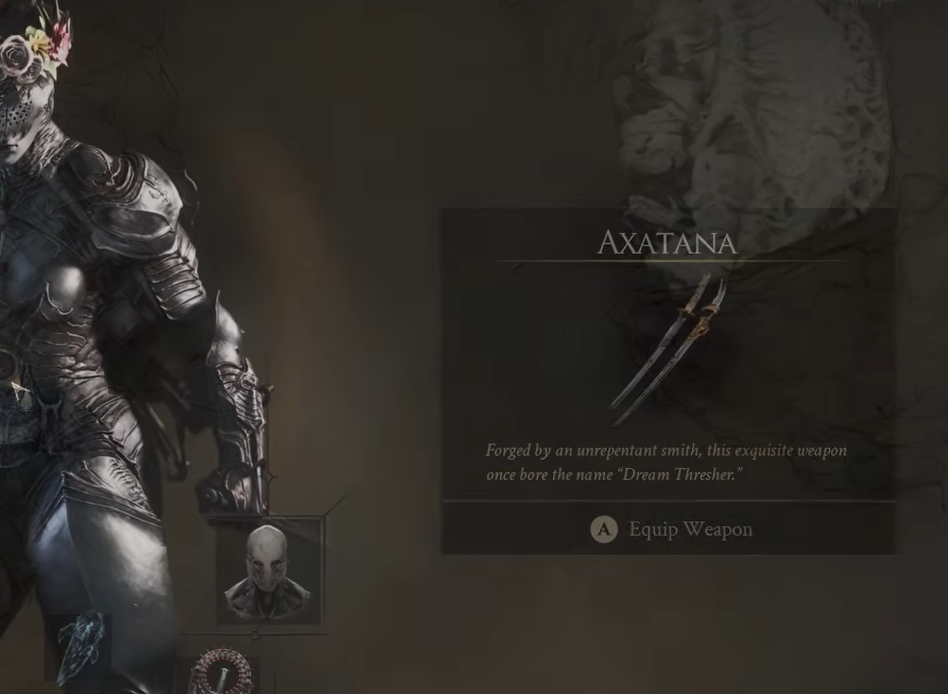
Begin at the Sester’s Gate Beacon and head southwest toward the Forgotten Tower, the same spot where you can offer the Glands during Night Mode. Continue past the tower and use the Bone Gate to reach the second tower. Activate the button before entering. Inside, an enemy wielding dual swords guards the weapon. Beat it, and you can collect the Axatana.
Black Needle: cleanse the Sester’s Gate beacon
The Black Needle sits at the southeastern Corrupt Gate. As you approach, you will find the Sester’s Gate Beacon nearby. Enter and push through to the end so you can cleanse it and claim the Ova. The final encounter pits you against the Stray Sesters. Defeat them, and the Black Needle is handed over as the reward.
Clockwork Scythe: defeat Sariel, the Endless twice
The Clockwork Scythe is inside the Chamber of Becoming, but reaching it means defeating Sariel, the Endless outside the dungeon first. If you have unlocked the Silent Steps beacon, fast travel there. Otherwise, head to the southeastern part of the map.
Upgrading weapons at the Tarforge
Every weapon can be improved at the Tarforge in Marrow Keep once you have the right materials and Gold. That means you do not have to hold out for a “better” weapon to justify the visit. Claim what you find, then invest in the ones that suit your playstyle. If you would rather skip the exploration entirely, Merrick can pin all eight weapon locations to your map in exchange for Gold, though hunting them yourself keeps that currency free for upgrades.