

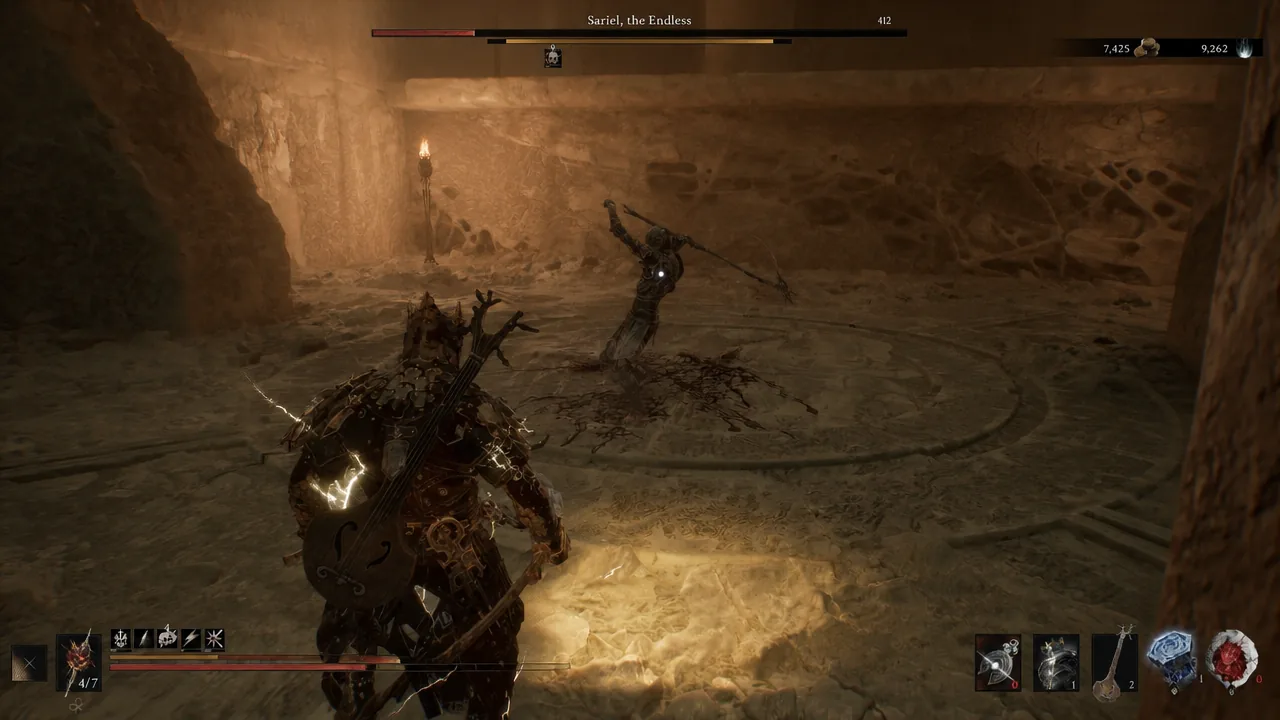
Sariel, the Endless earns his name honestly. Empty his health bar in the final room and he simply gets back on his feet, over and over, until your healing runs dry and the fight ends the wrong way. There is nothing wrong with your damage. The arena is holding him up, and until you deal with it, no amount of pressure will finish him.
Quick answer: In the final arena inside the Chamber of Becoming, destroy all four glowing stone tablets — one in each corner — and only then drop Sariel’s health to zero. Clearing him afterwards awards the Clockwork Scythe, Sariel’s Shell, and the Caged Hystrix sidearm.
Why Sariel keeps reviving, and how the four tablets work
The final arena contains four stone tablets, placed one to a corner. They are easy to miss in the middle of a fight, but each has a faint yellow glow at its base. While even one is intact, Sariel’s death is temporary — he stands up and resumes the fight at full aggression.
Each tablet takes several hits to shatter. You do not have to knock Sariel down between them, and you do not have to break them in any particular order. Circle the arena, take a tablet whenever he commits to an attack somewhere else, and treat chip damage on the boss as a bonus rather than the goal. Hitting the tablets with melee swings while dodging can be awkward, so shooting them with a sidearm is a reliable alternative — including from the raised ledge above the arena.
Once all four are gone, the fight becomes a normal boss kill. If he revives anyway, count the corners again before changing weapons or blaming your build.
The three Sariel encounters and what each one requires
| Stage | Where | What ends it |
|---|---|---|
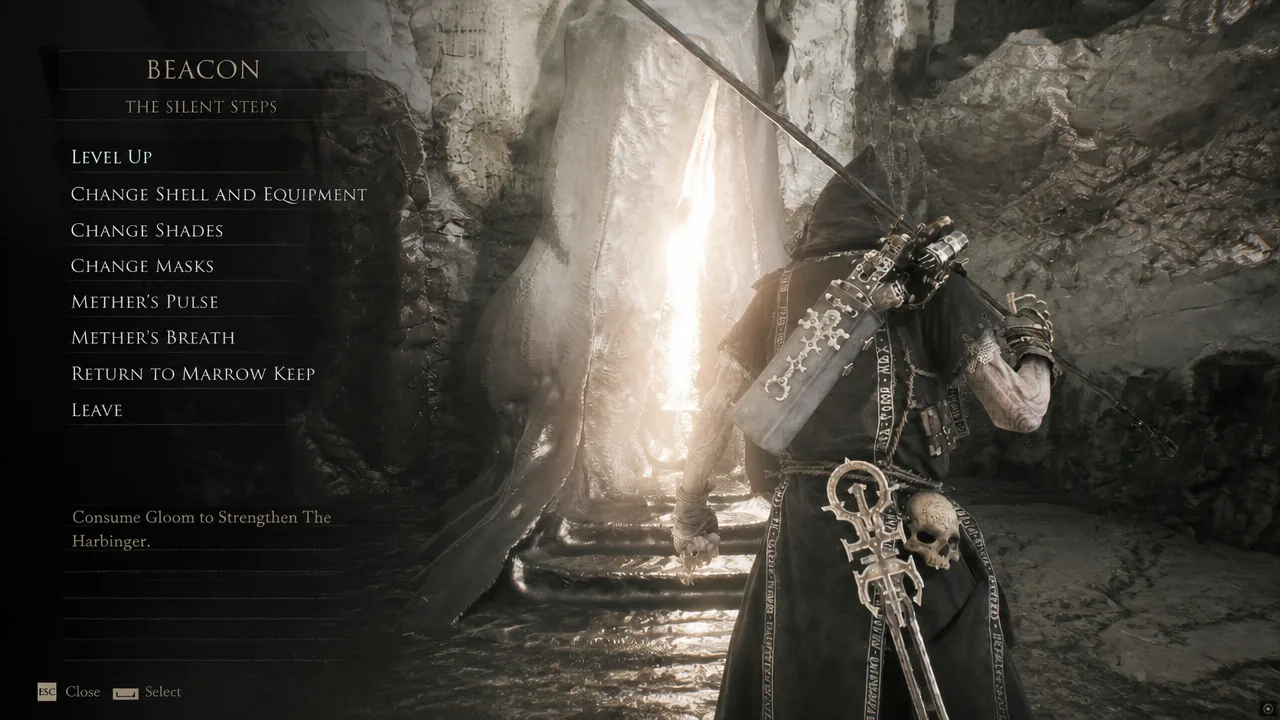
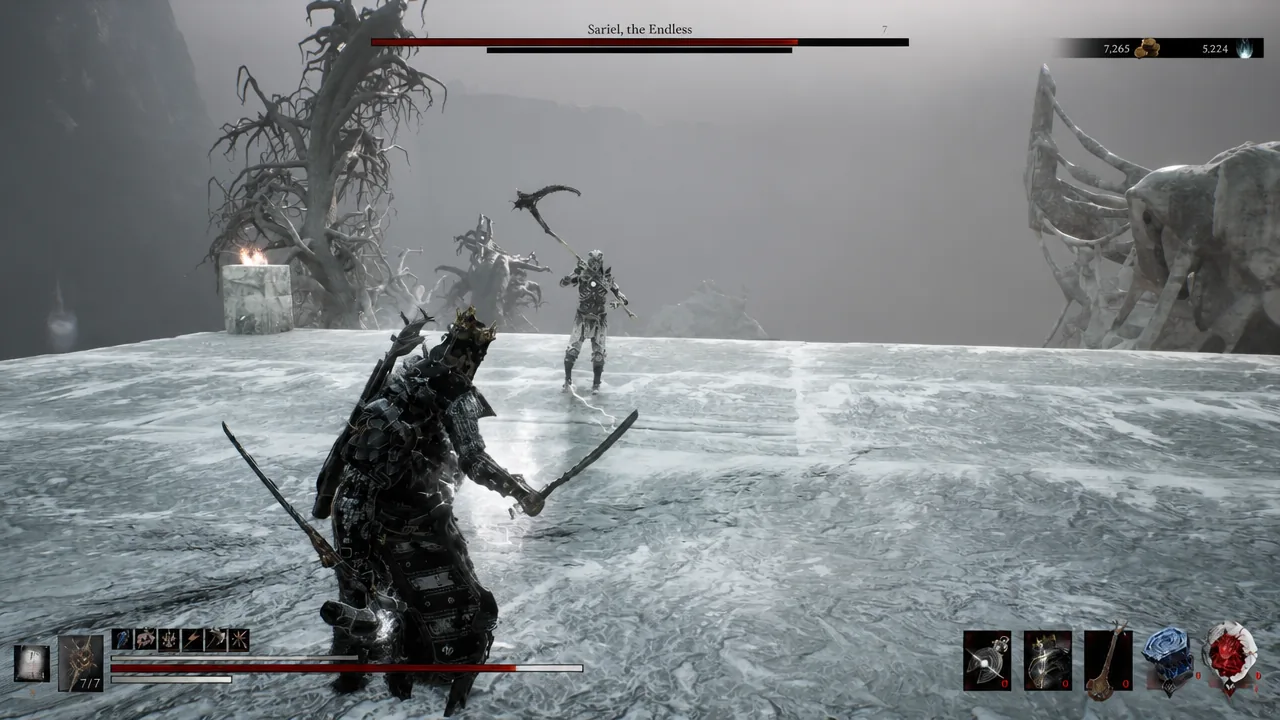
| First fight | Open ledge above the Silent Steps Beacon | Full kill. Opens a doorway behind the large statue and drops Gloom and a Glimpse. |
| Second fight | Early in the Chamber of Becoming | Roughly half health. Sariel vanishes and leaves a trail to follow. |
| Final fight | Lower arena in the Chamber of Becoming | All four stone tablets destroyed, then a full kill. |
Knowing the second stage ends at a threshold matters for your resources. There is no reason to burn a rare consumable pushing past 50 percent health — the transition triggers on its own, and the hardest part of the sequence is still ahead.
Route to Sariel and the Chamber of Becoming
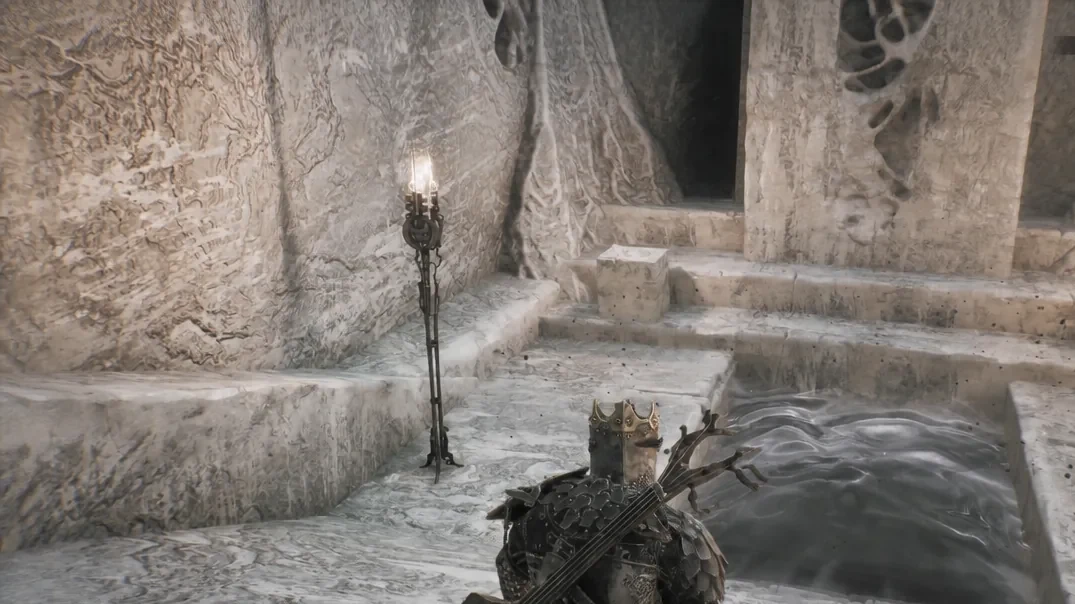
Inside the Chamber of Becoming: the half-health handoff
Sariel reappears shortly after you enter. Push him to around half health and he disappears rather than dying, leaving you to follow him deeper in. Drop down into the next area and he will be waiting.
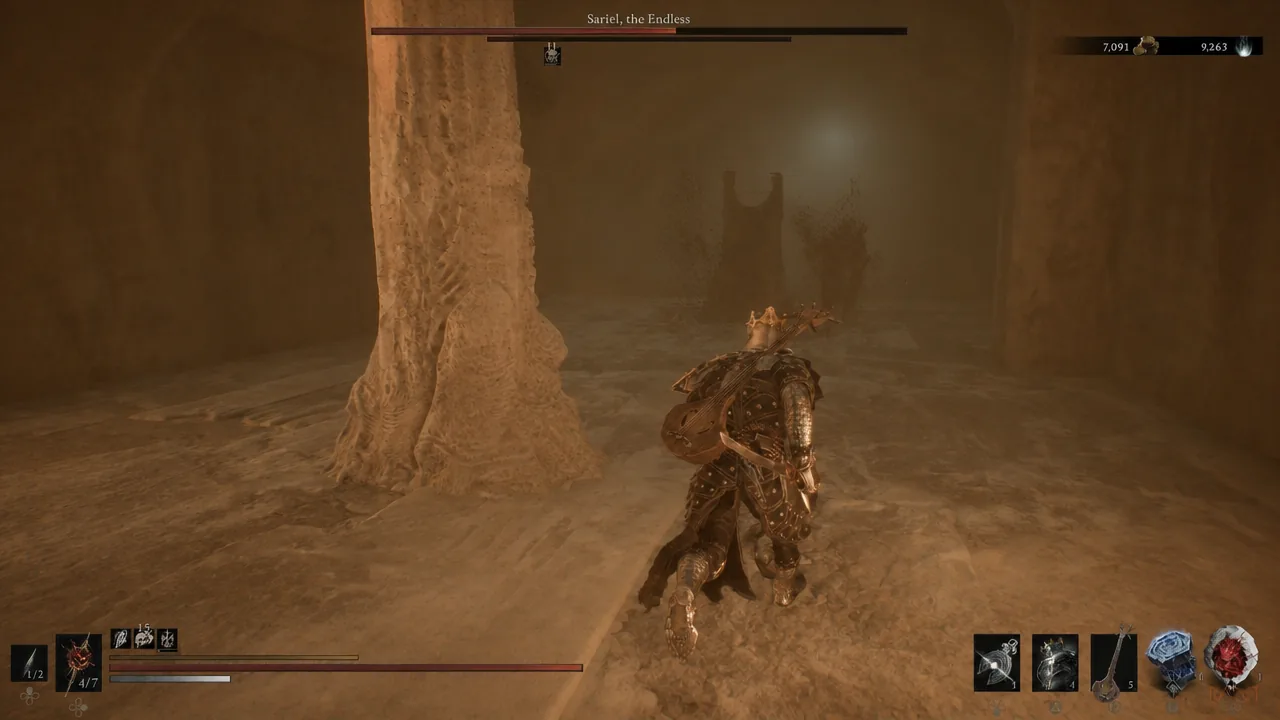
This is the room where the tablets live, and it is where most attempts fall apart. Sariel hits with lightning on his melee swings, which keeps draining health after contact, and his ranged attacks home in on you. Equipping the Galvanic Shard for lightning mitigation takes a meaningful edge off the fight, whether you run it as a passive or an active effect.
Note: his swing timings are inconsistent, so short punish windows are worth far more than long melee chains. If he starts an attack while you are repositioning toward a tablet, give up the extra hit.
Chamber of Becoming rewards: Clockwork Scythe, Sariel’s Shell, Caged Hystrix
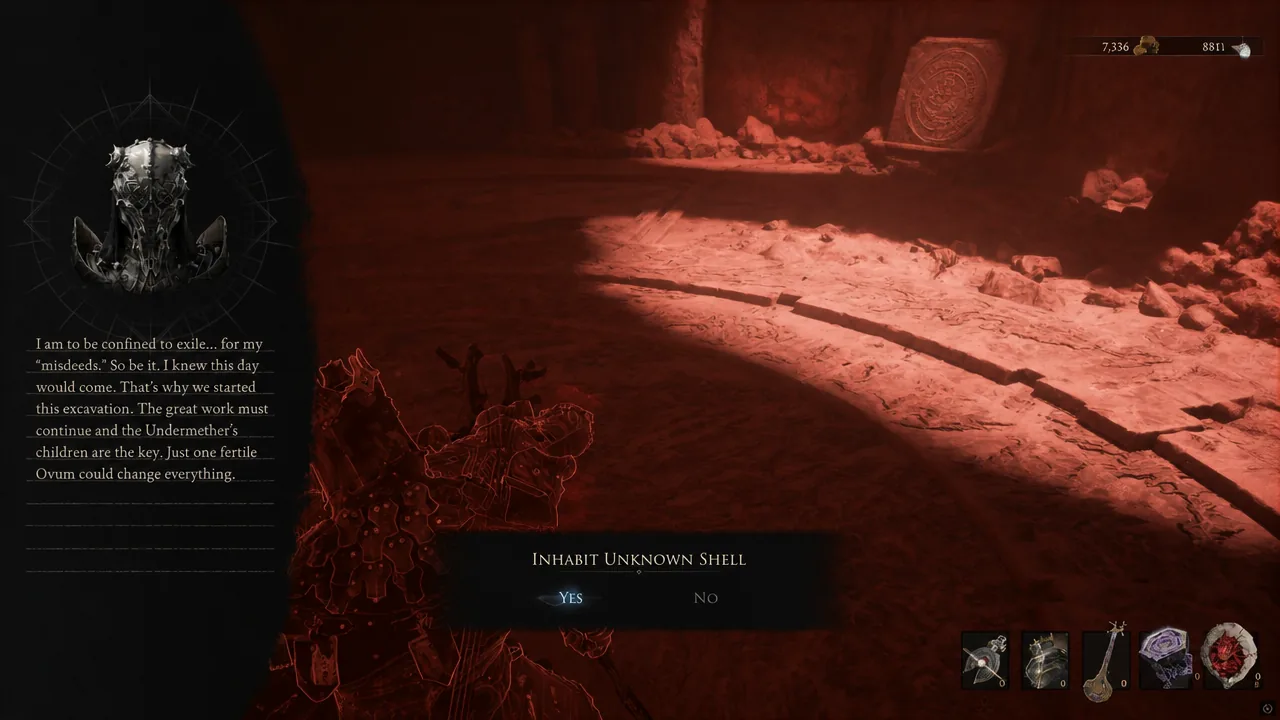
The Clockwork Scythe lands in your inventory the moment Sariel stays down — it is the weapon he wields during the fight. Right after that, your screen starts pulsing red, which is the game telling you a Shell is nearby.
Walk to the Shell and interact with it to trigger Sariel’s memory. Let the sequence finish, then accept the prompt to inhabit him. That confirmation is how you know the unlock registered, not the boss kill itself.
One reward is still sitting in the dungeon. With the Shell in hand, head up the stairs to pick up the Caged Hystrix sidearm before you leave. A “New Sidearm Acquired” notification confirms it.
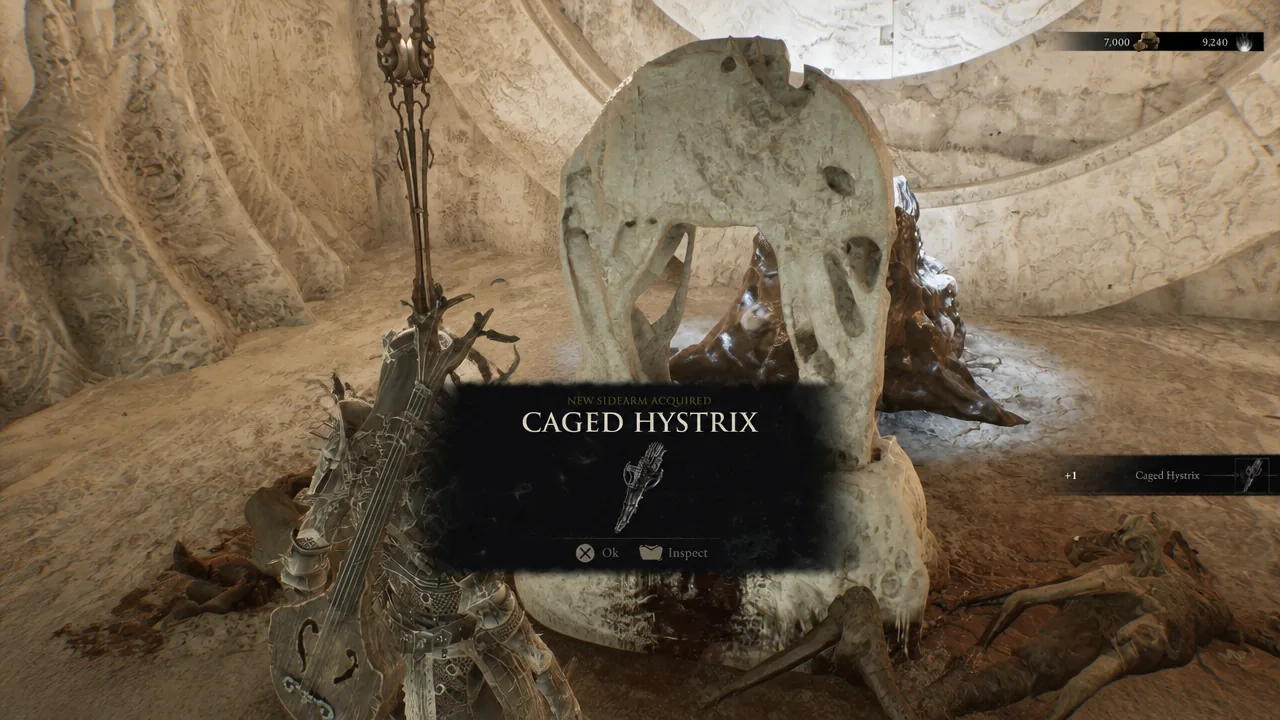
All three pieces come from the same run, which is what makes the long southern trip worth it even if you were only after one of them. Both the Clockwork Scythe and the Caged Hystrix can be pushed further at the Tarforge in Marrow Keep, provided you have the coins and smithing materials.
What Sariel’s Shell does once you have it
| Ability | Effect |
|---|---|
| Exodus of Thorns | Sariel releases parasitic thorns that seek out nearby enemies and apply Curse stacks. Every use inflicts Pain on Sariel. |
| Purge | With no Pain active, half of all incoming damage is converted into Pain instead. At maximum Pain, Sariel dodges faster. |
Everything beyond those two comes from bond levels. Spend Glimpse with the Shellkeeper in Marrow Keep to raise your bond with Sariel, which opens successively higher perk tiers — thorn damage and count, faster Pain recovery, Curse immunity, and effects that spread damage between cursed enemies.
The whole sequence is really one rule wearing three disguises. Beat him outside to open the temple, push him to half inside, then solve the room before you solve the health bar. Miss that last part and you will keep landing killing blows on a boss who has no intention of staying dead.





