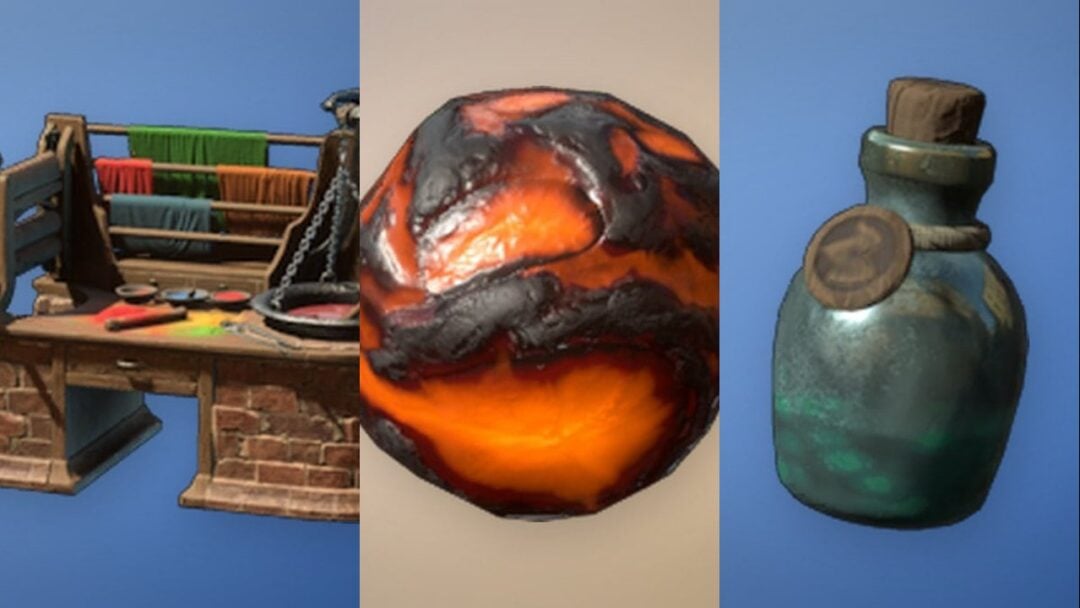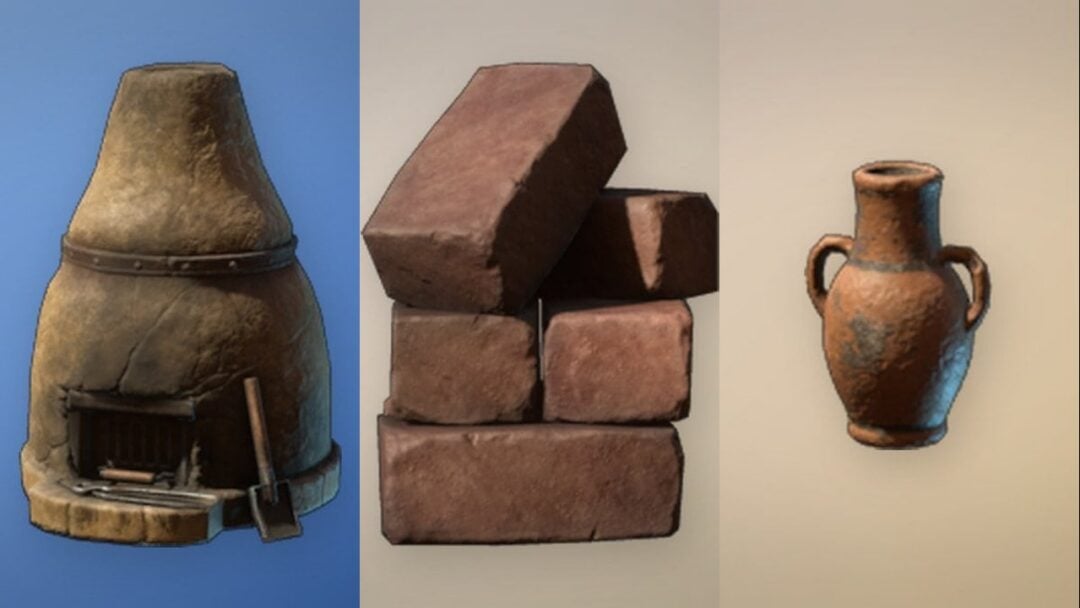
Everything past the flint-and-leather stage of Valheim runs through one squat stone furnace. The Smelter is what converts the ore you drag out of the ground into ingots, and without it, copper deposits and muddy scrap piles are just heavy rocks in your inventory.
Quick answer: Pick up a single Surtling core to unlock the recipe, then build the Smelter for 20 Stone and 5 Surtling cores on bare terrain near a Workbench. Drop ore into the left hatch, coal into the right hatch, and ingots fall out of the chute at the front.
Smelter recipe and unlock requirement
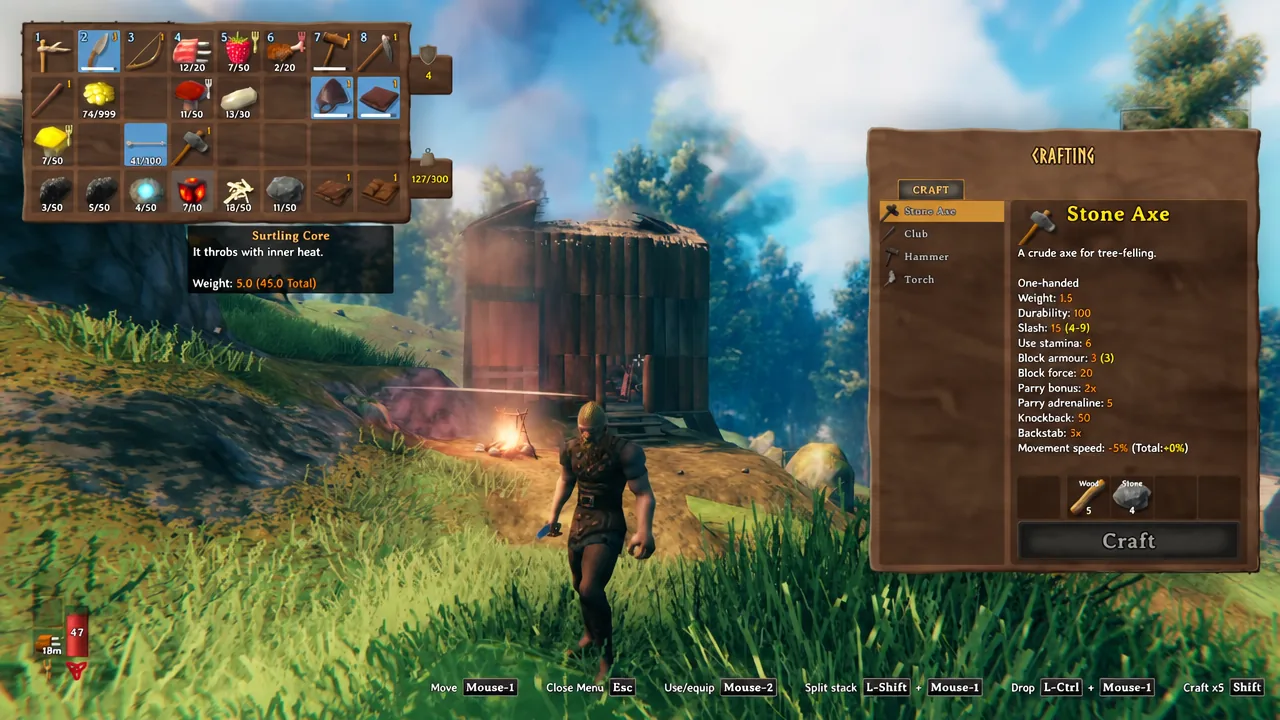
The recipe does not appear in your hammer menu until you hold your first Surtling core. Cores are the glowing red-black cubes described in-game as throbbing with inner heat, and one is enough to unlock both the Smelter and the Charcoal kiln. Building it needs five of them.
| Requirement | Detail |
|---|---|
| Materials | Stone x20, Surtling core x5 |
| Unlock trigger | Picking up one Surtling core |
| Station needed | Workbench in range |
| Footprint | Roughly 3 x 4.25 x 2.6 metres |
| Durability | 2,000 |
Stone is the easy half. It sits loose on the ground in every biome, comes off large rock formations with a pickaxe, and drops from Greydwarfs.
Where to farm Surtling cores
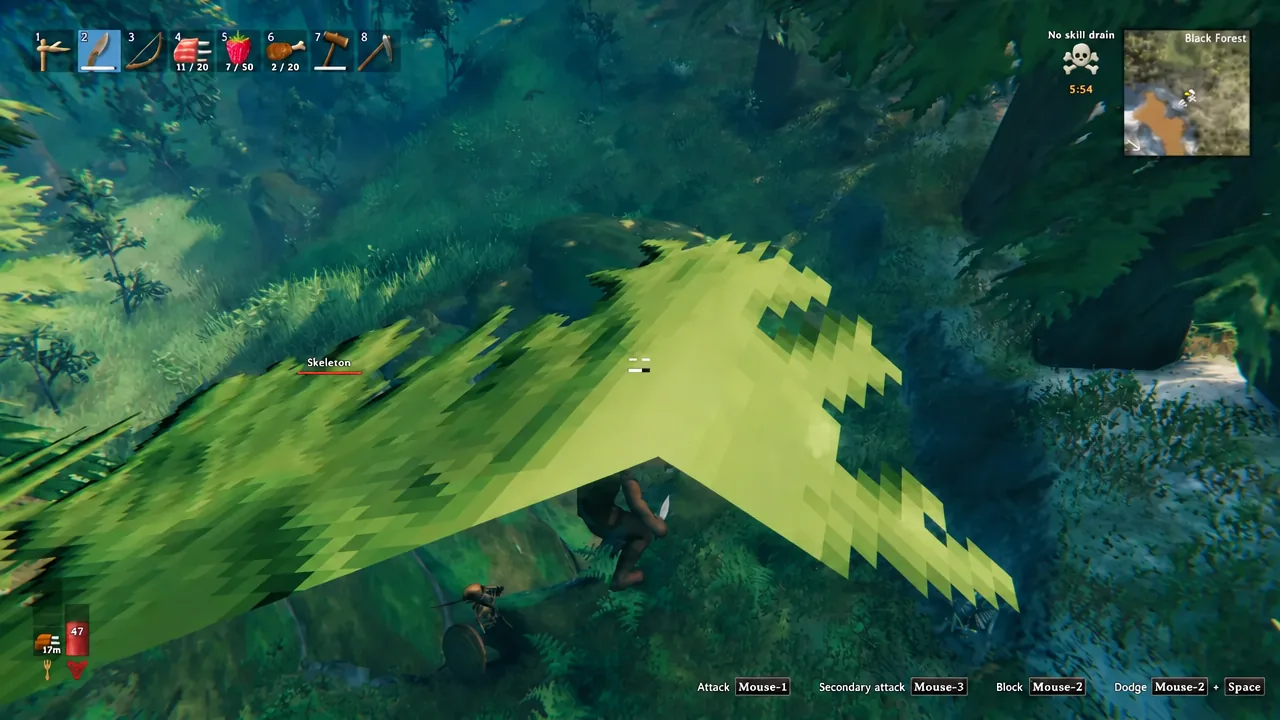
Burial Chambers in the Black Forest are the reliable early source. These are the small cave systems patrolled by Skeletons, and cores are scattered inside chests and along the corridors, easy to spot because they glow. Expect to clear more than one chamber, because you will want ten cores in total once you factor in a Charcoal kiln.
Later on, Surtlings themselves drop cores. They spawn around fire geysers in the Swamp, which effectively turns core supply into an unlimited resource once you can safely farm them.
Tip: If you only have five cores and need both structures, build the Charcoal kiln first, bank a stockpile of coal, then break the kiln with a hammer to recover the materials and build the Smelter with them.
Building and placing the Smelter
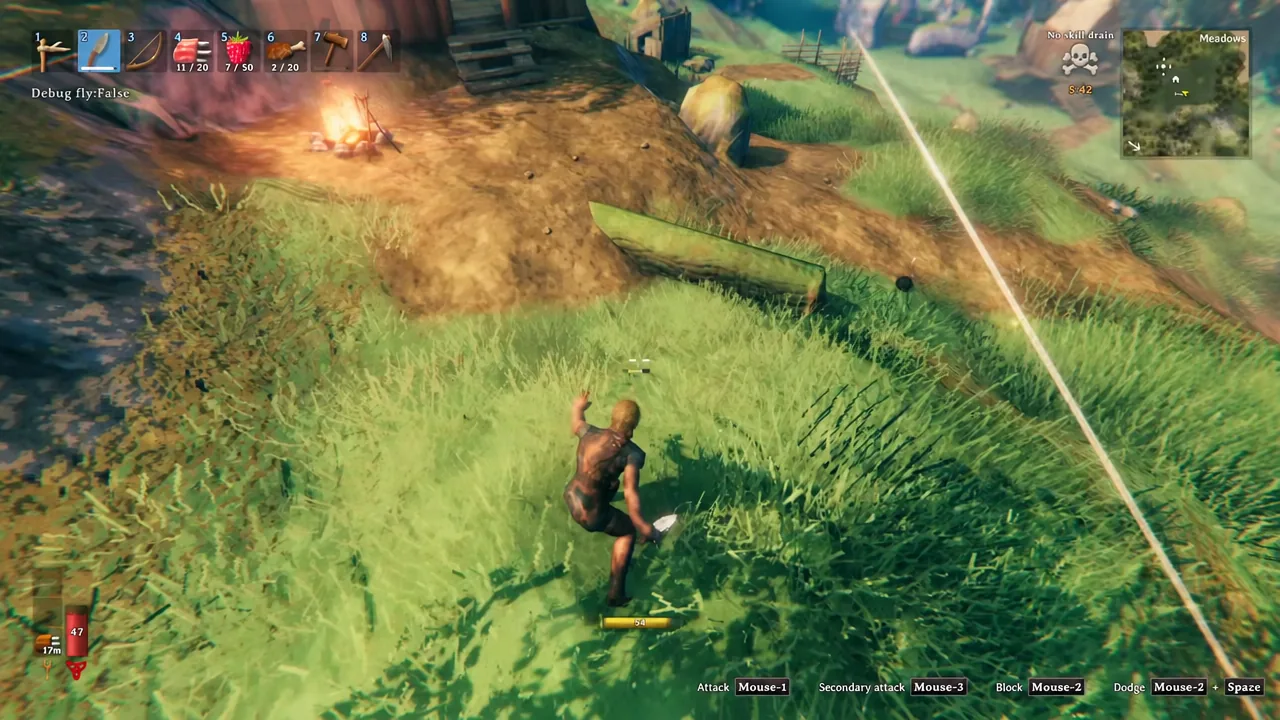
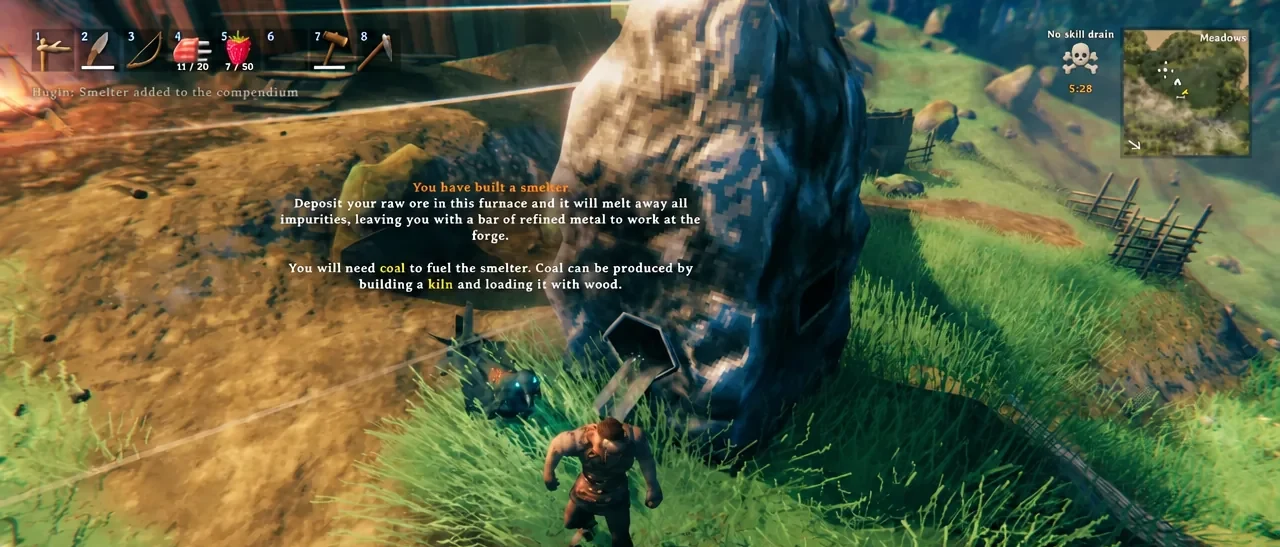
Two things worth planning around. The Smelter emits the Fire effect for about 4.5 metres in every direction while it is running, so keep flammable clutter and yourself at a distance. It also pumps out smoke, which needs somewhere to go.
How to load ore and coal
Face the side with the angled chute sticking out. That is the front. Ore goes into the round hatch on the left, coal goes into the rectangular hatch on the right, and finished ingots pop out of the chute in front of you.
Hold the interact key rather than tapping it. Holding deposits the whole stack quickly instead of feeding items in one at a time. You will see “Added Copper Ore” and “Added Coal” messages as each item goes in.
| Behaviour | Value |
|---|---|
| Ore capacity | 10 pieces |
| Coal capacity | 20 pieces |
| Time per ingot | 30 seconds |
| Fuel burn rate | 1 coal every 15 seconds |
| Fuel per ingot | Roughly 2 coal |
A full load is therefore 10 ore and 20 coal, which takes about five minutes of real time to clear. Sleeping in a bed fast-forwards that timer, so filling the Smelter right before you turn in is the standard way to skip the wait.
What the Smelter can process
Every accepted material smelts at the same speed and costs the same fuel, regardless of how valuable the metal is.
| Raw material | Output | Where you get it |
|---|---|---|
| Copper Ore | Copper | Copper deposits in the Black Forest |
| Tin Ore | Tin | Tin deposits near water in the Black Forest |
| Scrap Iron | Iron | Muddy scrap piles in Sunken Crypts in the Swamp |
| Silver Ore | Silver | Mountain deposits, found with a Wishbone |
It also takes Iron Ore, Copper Scrap and Scrap Bronze. Silver requires an iron pickaxe to mine in the first place, so the Mountains are a later stop. Black Metal Scrap and Flametal Ore are the exceptions here, and need a Blast Furnace instead.
Note: Several ingots weigh more than the ore they came from, so it is often faster to smelt only what you plan to use on site and haul the rest raw.
Keeping it fed with coal
The Charcoal kiln is the practical answer. It costs the same 20 Stone and 5 Surtling cores, unlocks at the same moment, and converts wood into coal at one piece every 15 seconds. It holds 25 pieces of Wood, Fine wood or Core wood in any combination, burning through plain Wood first, and a full load yields 25 coal in a little over six minutes.
Coal also drops from Surtlings, turns up in chests, and comes from food left to burn on a cooking station, though that last method is slow enough to ignore. Park the kiln next to the Smelter with a chest between them and you can refill fuel, collect ingots, and stash metal without walking anywhere.
Why the Smelter stops working
There are only a couple of real culprits. Smoke buildup is the common one. If the Smelter is enclosed with no vent above it, the trapped smoke snuffs the flames and processing pauses until it clears. Knocking out a ceiling tile or two above the structure fixes it, and it also stops the smoke from choking your character.
The other is fuel. A full 10-ore load needs slightly more than 20 coal to finish, so the last ingot can stall out even when you topped the fuel hatch off at the start. Check the coal side before you walk away.
Because the Smelter is a prime raid target, walls or defences around your smelting yard are worth the wood. If you ever need to relocate it, hitting it with a hammer returns all 20 Stone and 5 Surtling cores.
Once ingots start piling up in front of the chute, the rest of the tech tree opens up. Two copper bars and one tin bar at a Forge gets you Bronze, and from there the tools, weapons and armour that make the Swamp survivable are finally in reach.