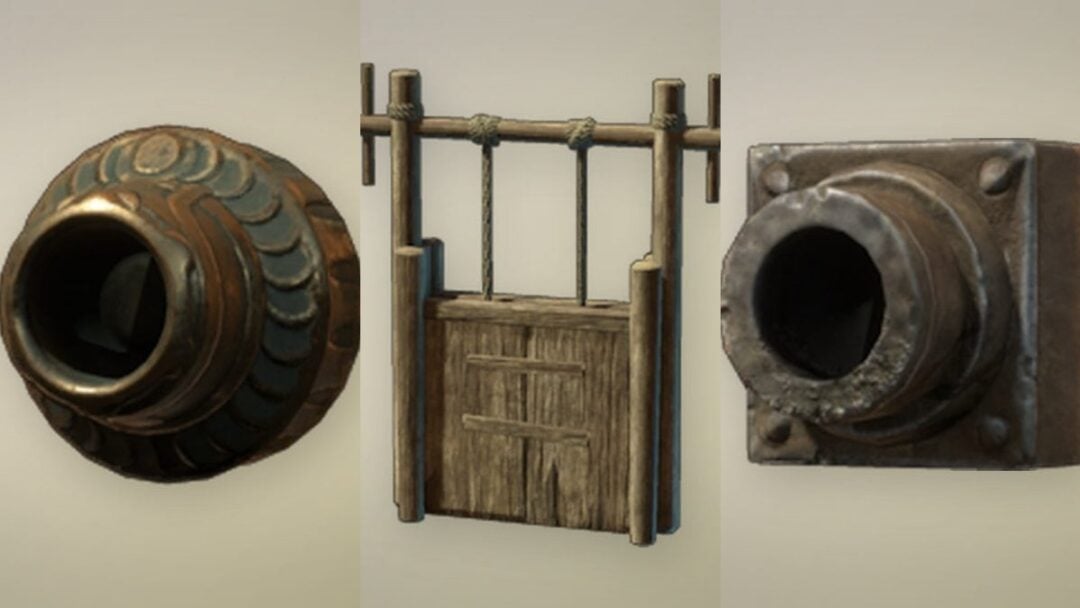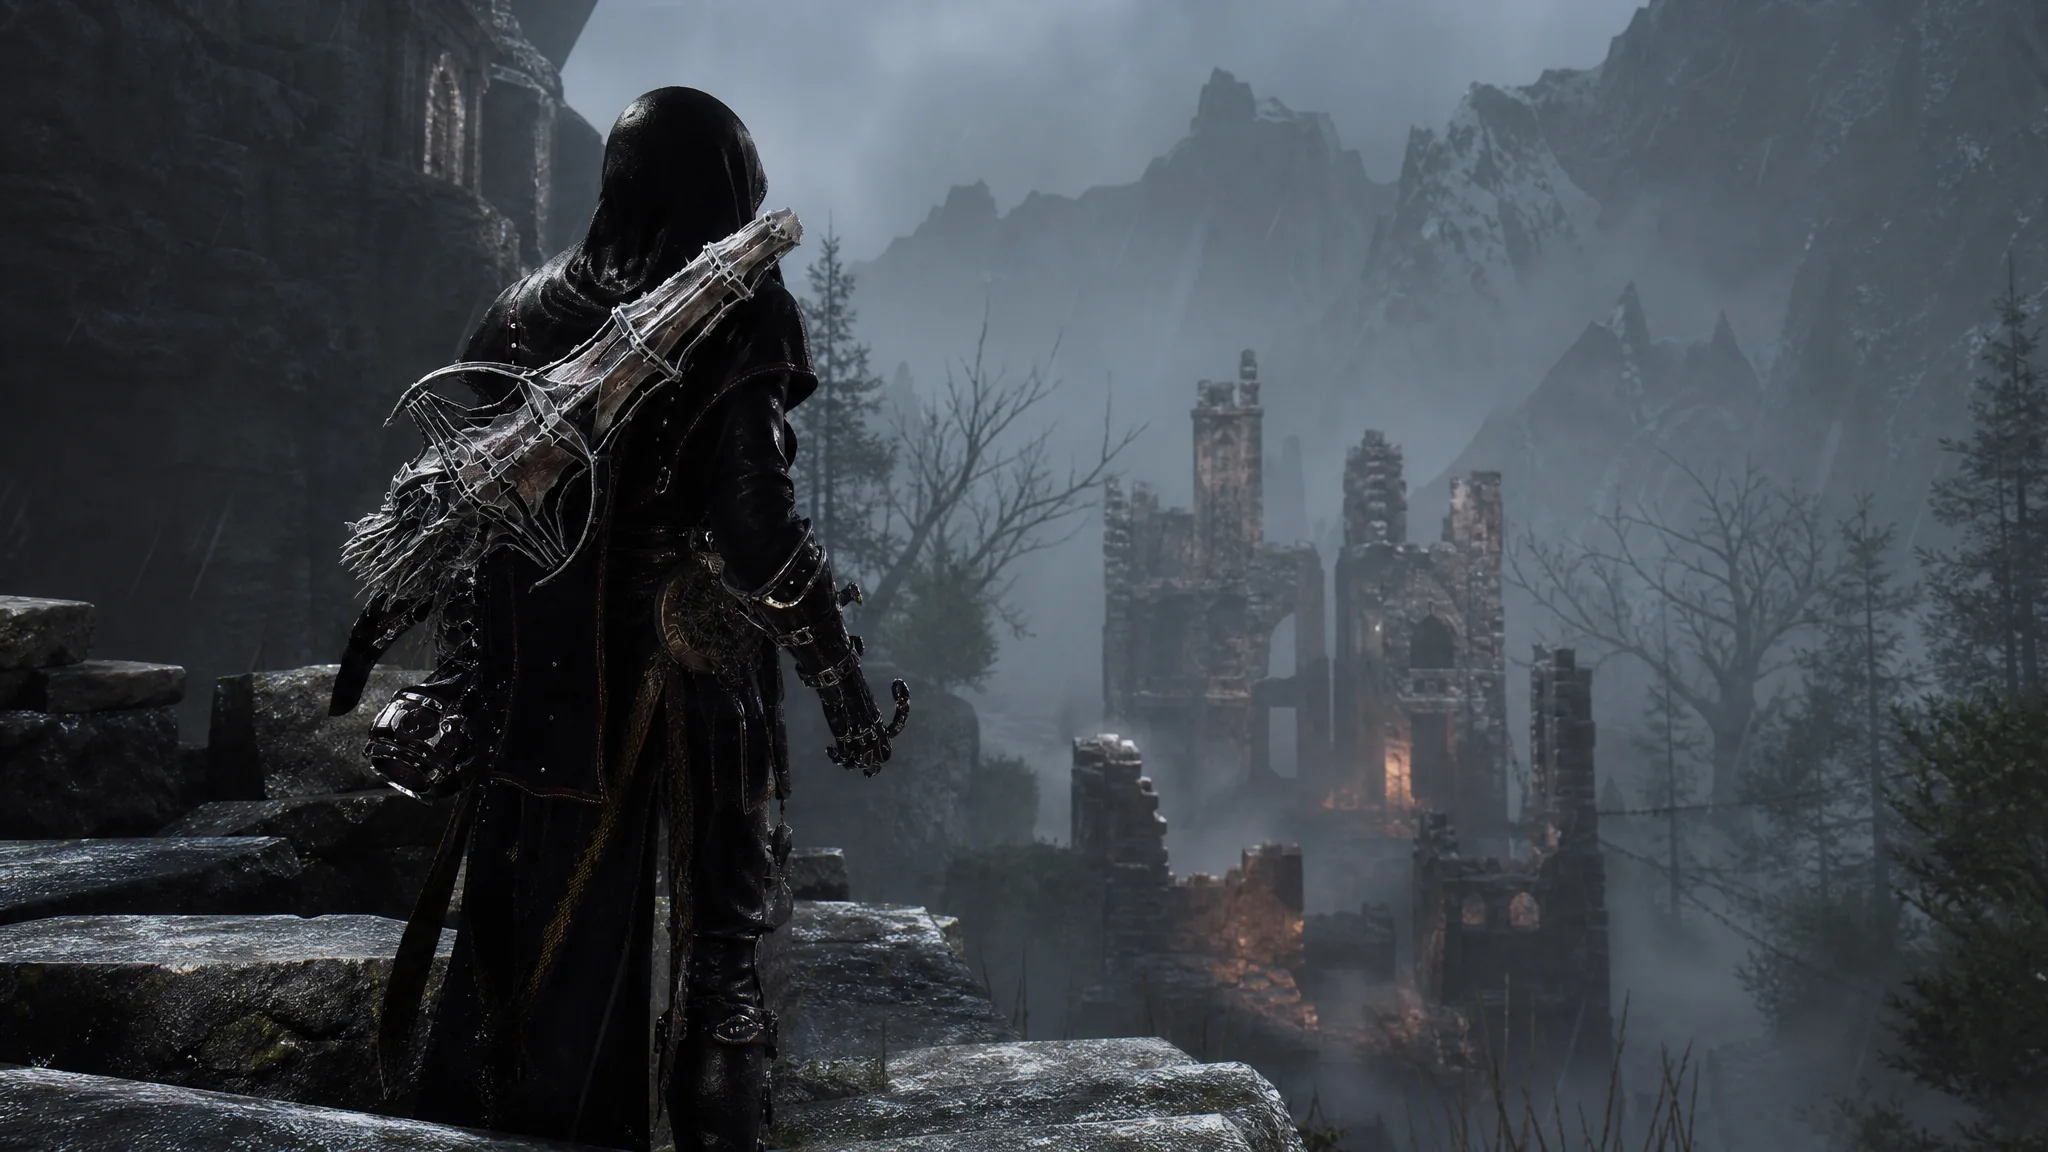
Mortal Shell 2 has eight sidearms to collect, and grabbing every one of them unlocks the “Guns. Lots of Guns.” trophy along with a separate trophy for each individual weapon. None of the eight are missable. You can mop them all up in free-roam after the final boss, before you commit to New Game+, so there is no way to permanently lock yourself out.
Quick answer: Collect Naylshotte (automatic in the prologue), Troubadour’s Lute, Forgotten Crossbow, Salvaged Trebuchaxe, Ballistazooka, Triarch Repeater, Cursed Child, and Caged Hystrix. The trophy pops the moment you pick up the eighth.
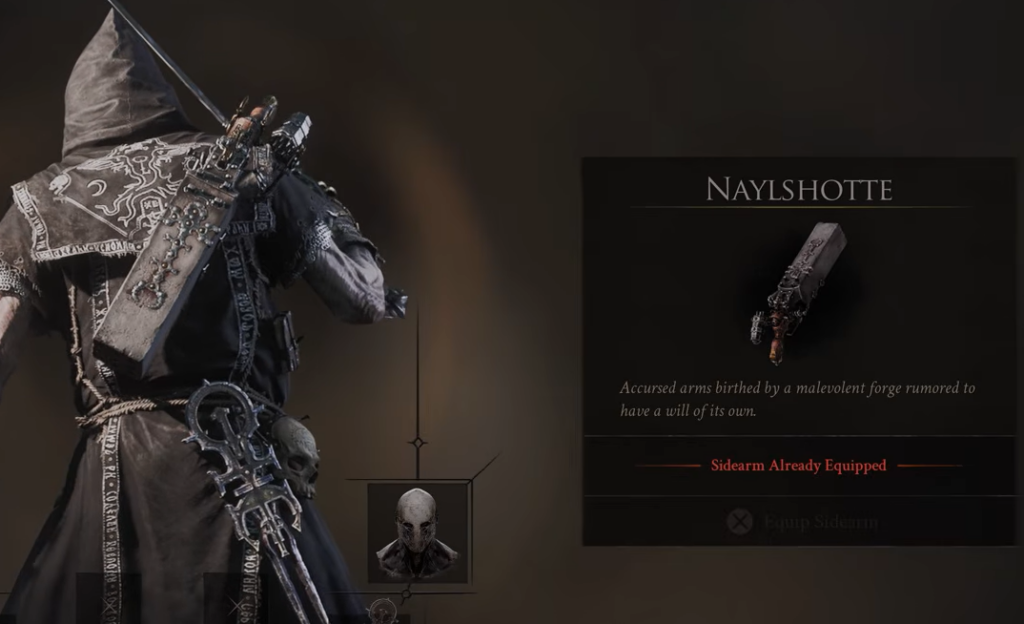
All 8 sidearm locations in Mortal Shell 2
Six sidearms are exploration pickups and two are tied to boss kills. Here is the full list with the nearest beacon and the exact method.
| Sidearm | Where | How to get it |
|---|---|---|
| Naylshotte | Prologue | Given automatically at the start |
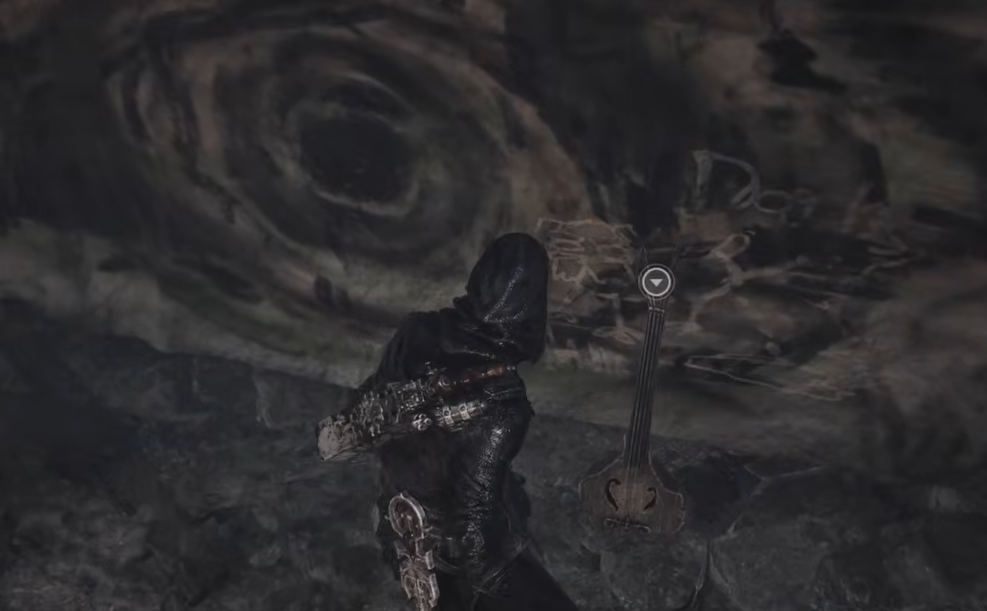
| Troubadour’s Lute | One Legged Wolf Tavern, Fainweald | On the stage inside the tavern |
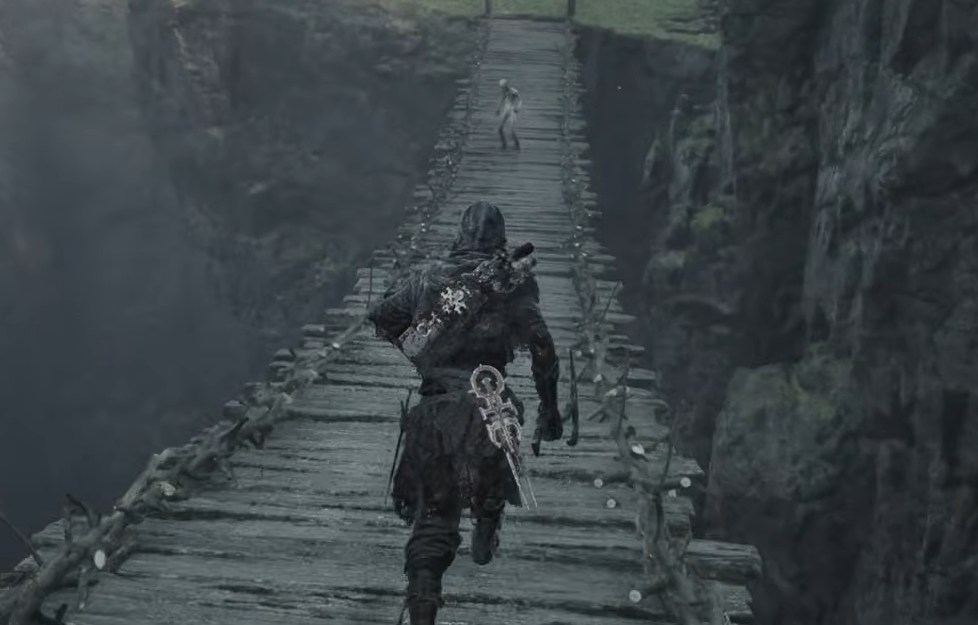
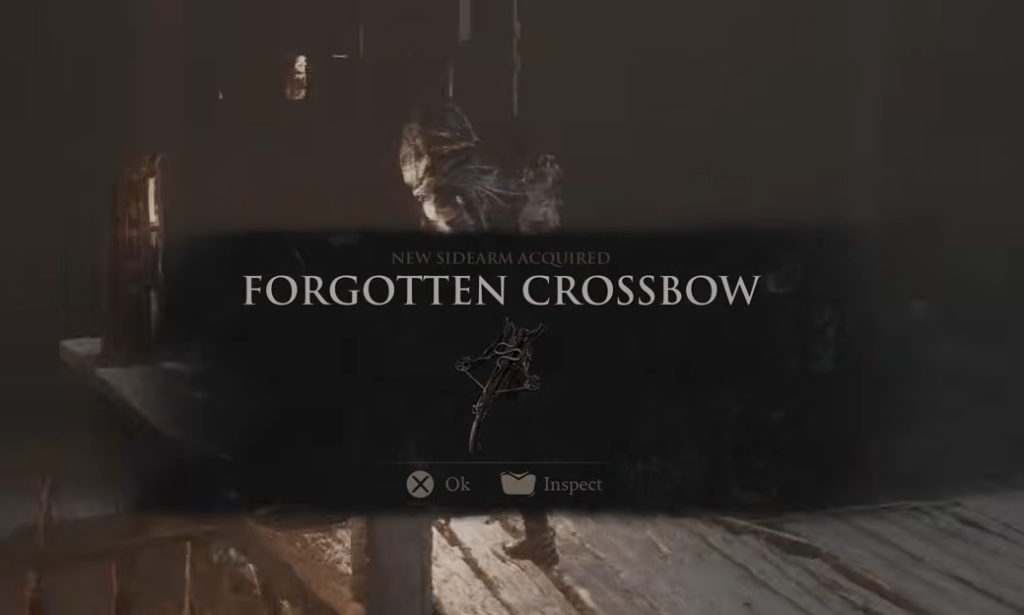
| Forgotten Crossbow | Flooded Village, northwest of Blackridge Pass | Use the Damp Key on the central building |
| Salvaged Trebuchaxe | Ravaged Hideout, south of Gloomshade Grove | Clear the dungeon after beating Bloodcursed Lithopod |
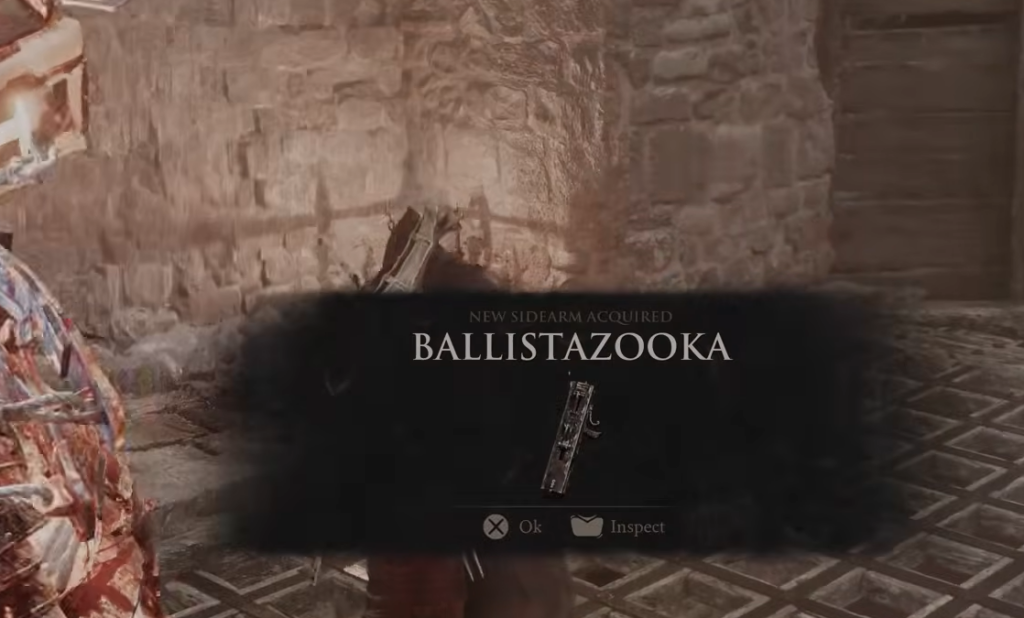
| Ballistazooka | Sentry’s Grave, from Gate of Mammon | Defeat the Subjugated Guardian miniboss |
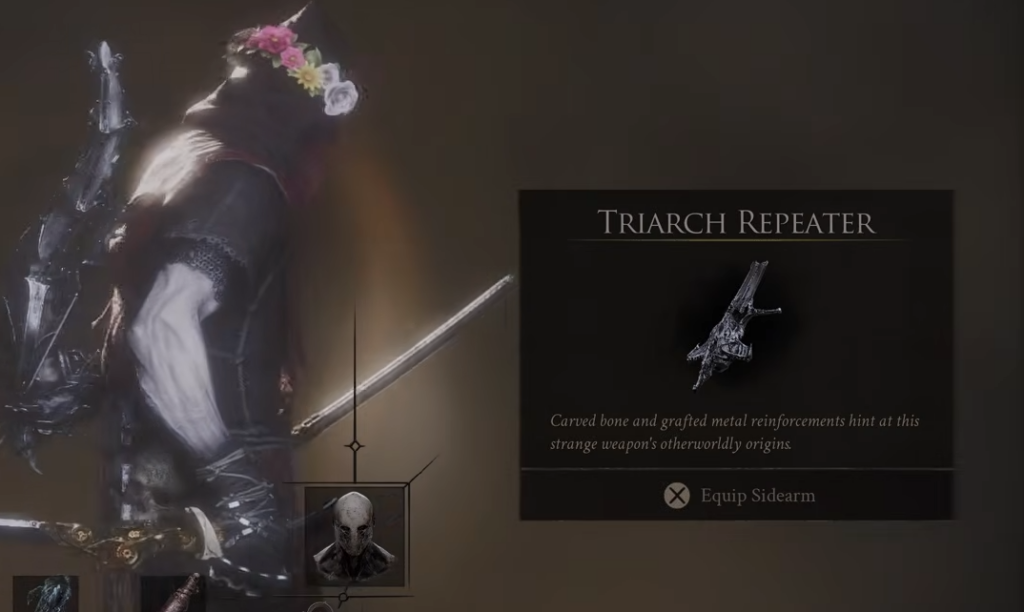
| Triarch Repeater | Blackwell Cavern, from Castigator’s Keep | On the ground in the first lit area |
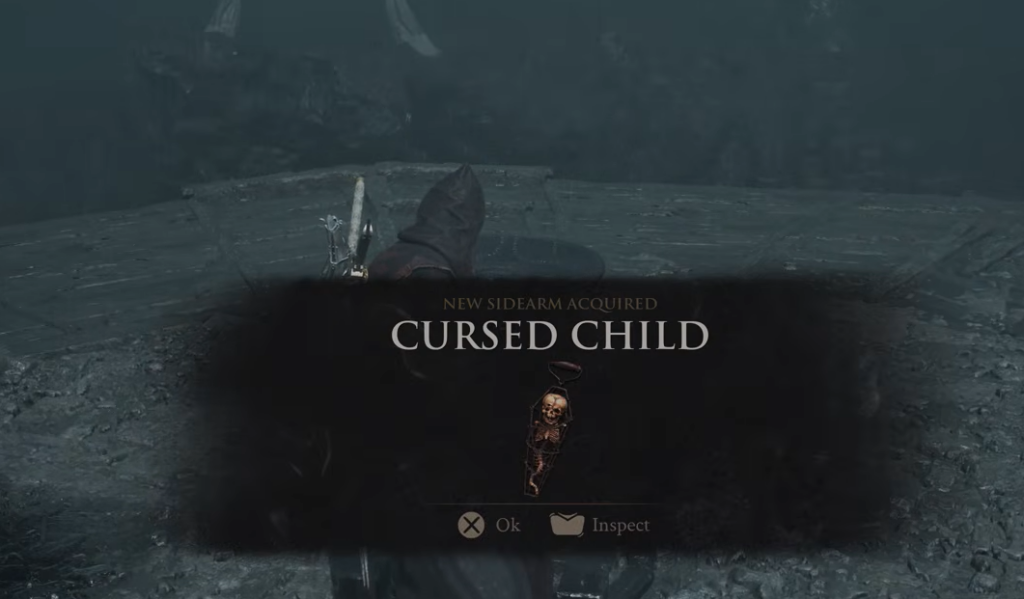
| Cursed Child | Revered Beacon, from Sester’s Gate | Attack the central pillar to stop the light |
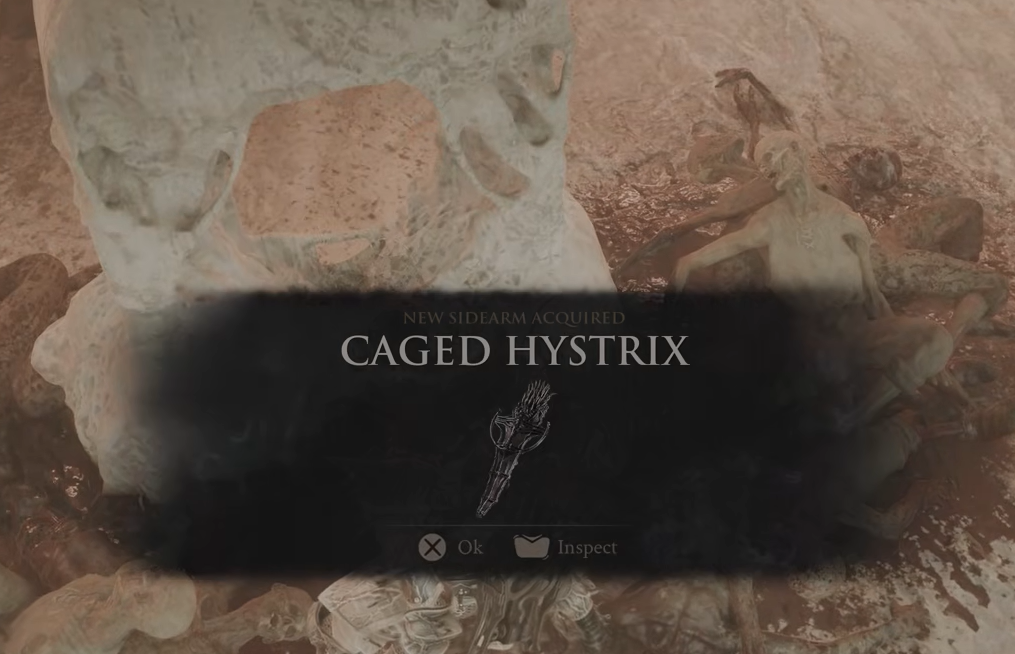
| Caged Hystrix | Chamber of Becoming, southeast of The Silent Steps | Defeat Sariel, the Endless |
The merchant Merrick in Marrow Keep sells maps that mark each sidearm’s approximate spot on the overworld. They are convenient but not required, so you can keep your coins if you follow the routes below.
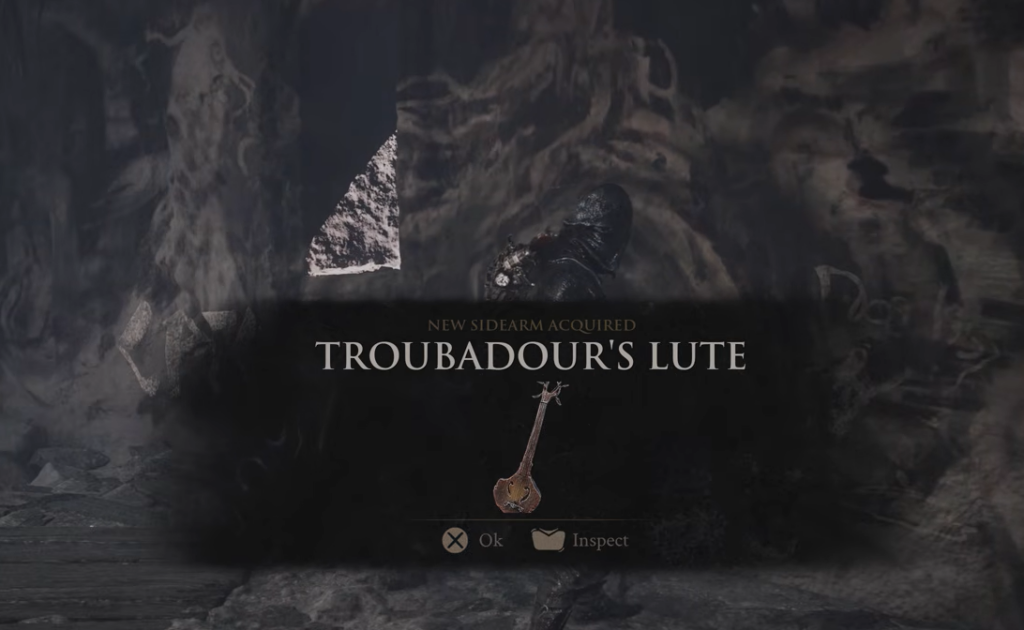
Sidearms you collect by exploring
Naylshotte
Naylshotte is the shotgun-style sidearm you receive during the prologue, at the same point where you unlock the Harros shell. There is nothing to search for. It is already in your inventory once the opening section is done.
Troubadour’s Lute
The Troubadour’s Lute sits inside the One Legged Wolf Tavern in the eastern part of Fainweald. The tavern stays behind corrupted growth until you gather enough Ova and siphon them in Marrow Keep to earn Mether’s Breath, which clears the blockage.
Forgotten Crossbow
The Forgotten Crossbow is in the Flooded Village dungeon, northwest of the Blackridge Pass beacon. Getting it means finding a key first.
Salvaged Trebuchaxe
The Salvaged Trebuchaxe, a sidearm that fires axes, is inside the Ravaged Hideout dungeon south of the Gloomshade Grove beacon, at the base of the hills outside the Citadel of Penance. The dungeon only opens after you defeat the nearby Bloodcursed Lithopod boss. Once it falls, enter the cave, follow the tunnels to the final room, and take the sidearm from the body there.
Triarch Repeater
The Triarch Repeater is in the Blackwell Cavern dungeon, reached from the Castigator’s Keep beacon.
Cursed Child
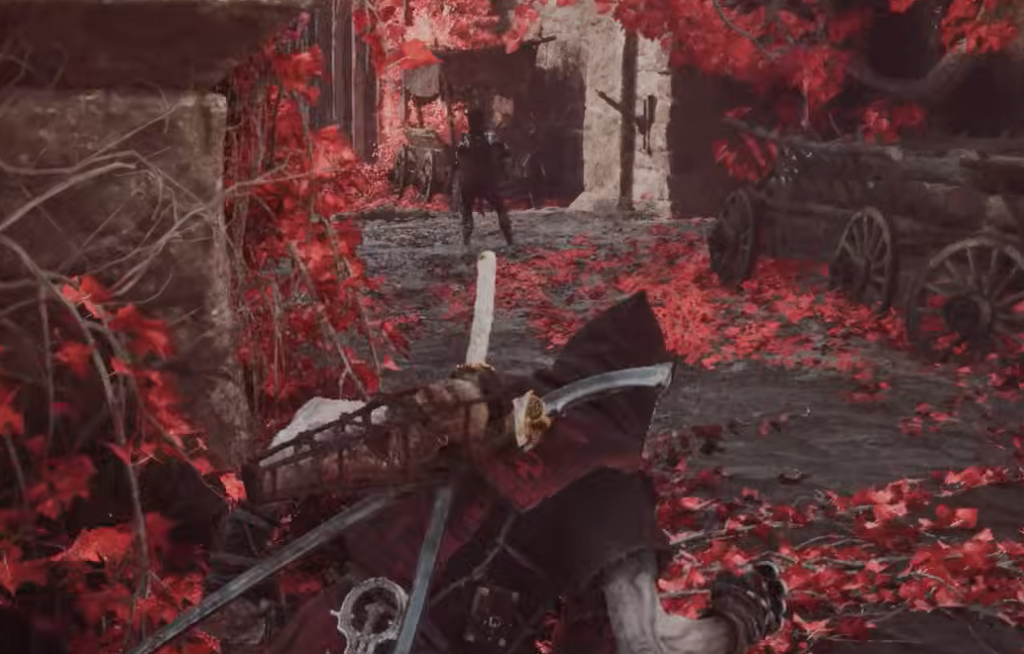
The Cursed Child comes from the Revered Beacon dungeon, reached from the Sester’s Gate beacon in the Mammon region. The dungeon is built around a tower that fires a searing light, so the main challenge is staying out of its beam.
Sidearms locked behind boss fights
Ballistazooka
The Ballistazooka is in the Sentry’s Grave dungeon, tucked inside the Lonesome Spire and reached from the Gate of Mammon beacon.
Caged Hystrix
The Caged Hystrix is the reward for finishing off Sariel, the Endless, southeast of The Silent Steps beacon. This is the same fight that unlocks the Sariel shell and the Clockwork Scythe weapon.
Confirming the trophy unlocked
Every sidearm awards its own trophy the instant you collect it, so you can track your progress as you go. Once the eighth and final sidearm is in your inventory, “Guns. Lots of Guns.” pops right away. If it has not triggered, one of the eight is still missing. Cross-check your collection against the table above, since the two boss-gated pickups, Ballistazooka and Caged Hystrix, are the ones most players skip. Because nothing here is missable, you can return in post-game free-roam and finish the set before starting New Game+.