
Windows 11 applications sometimes shift partially or entirely off the visible desktop, leaving the title bar unreachable. This can occur after disconnecting an external monitor, changing display settings, or due to software glitches, making it impossible to drag the window in the usual way. Regaining control over these windows is crucial for maintaining workflow, especially when you can't access the title bar directly. Below are reliable methods to move or recover windows without needing to click the title bar, starting with the most direct and widely compatible solutions.
Using Keyboard Shortcuts to Move an Off-Screen Window
Step 1: Select the window you want to move by clicking its icon on the taskbar. This brings the window into focus, even if you can't see it on the screen.
Step 2: Press Alt + Spacebar. This opens the window control menu, which typically appears near the window's title bar, even if it's off-screen.
Step 3: Press M on your keyboard. This activates Move mode, indicated by your cursor changing to a four-way arrow.
Step 4: Use the arrow keys to nudge the window back onto the visible desktop. Each key press shifts the window incrementally. Once the window appears, you can reposition it with your mouse as usual.
This method works for most application windows in Windows 11, except when the window is maximized. If you have PowerToys installed with the default Alt + Space hotkey assigned to PowerToys Run, you may need to disable or reassign that shortcut to use this method.
Snapping Windows Using Windows Key Shortcuts
Step 1: Click the application's icon on the taskbar to ensure it is active. Even if the window is off-screen, it will respond to keyboard commands once selected.
Step 2: Hold down Windows Key and tap either the Left Arrow or Right Arrow keys. This instantly snaps the window to the respective side of your screen, making it visible and ready for further adjustment.
This approach is especially useful when the window is completely off-screen or if you have multiple monitors. It also works for bringing windows back into view after disconnecting a secondary display.
Moving Windows with Task View and Snap Assist
Step 1: Open Task View by clicking the Task View button on the taskbar or by pressing Windows Key + Tab. Task View shows all open windows and desktops.

Step 2: Locate the off-screen window in the Task View list. Right-click its preview and select a Snap option, such as “Snap left” or “Snap right.” This forces the window to a visible part of your desktop.
Step 3: Press Esc to exit Snap Assist, then click and drag the window as needed.
This method is particularly effective if you have many windows open and want a visual overview before moving a specific one.
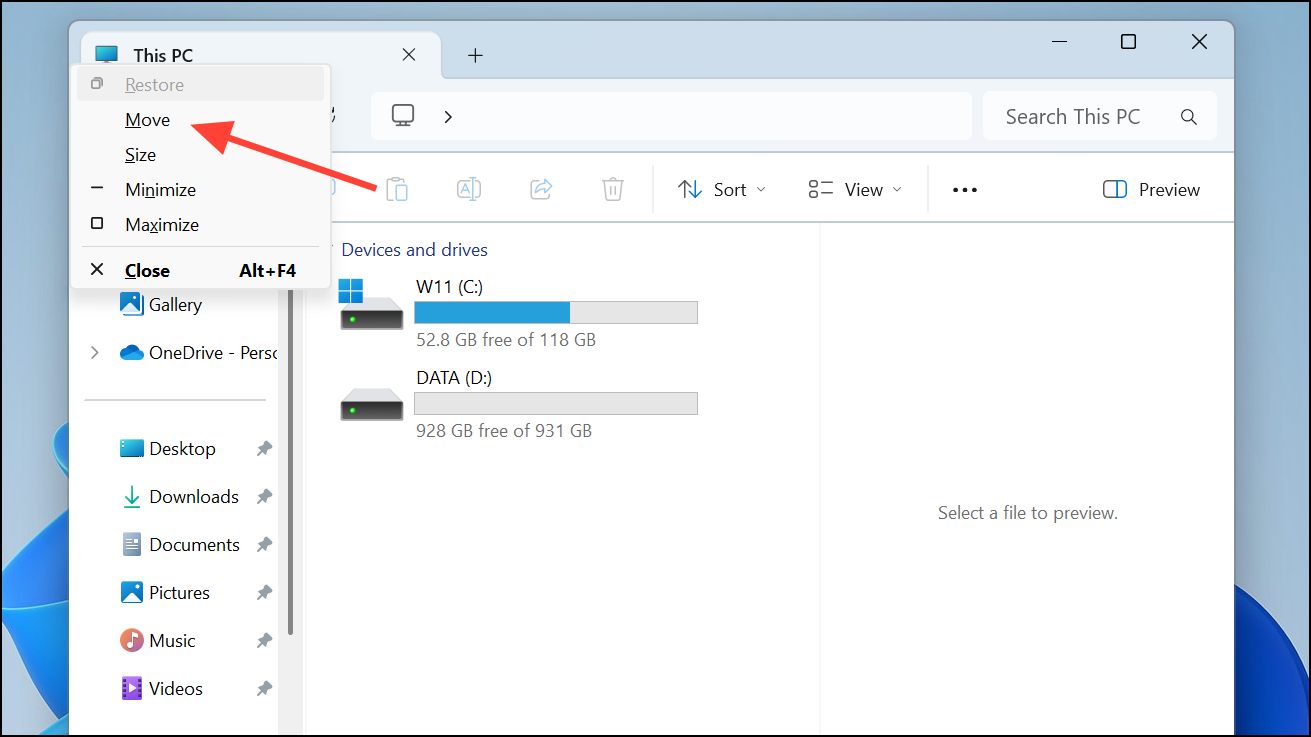
Shift + Right-Click Move for Taskbar Windows
Step 1: Hold Shift and right-click the application's icon on the taskbar. This brings up a classic context menu with additional options.
Step 2: Select “Move” from the menu. The cursor will change to a four-way arrow, indicating Move mode is active.
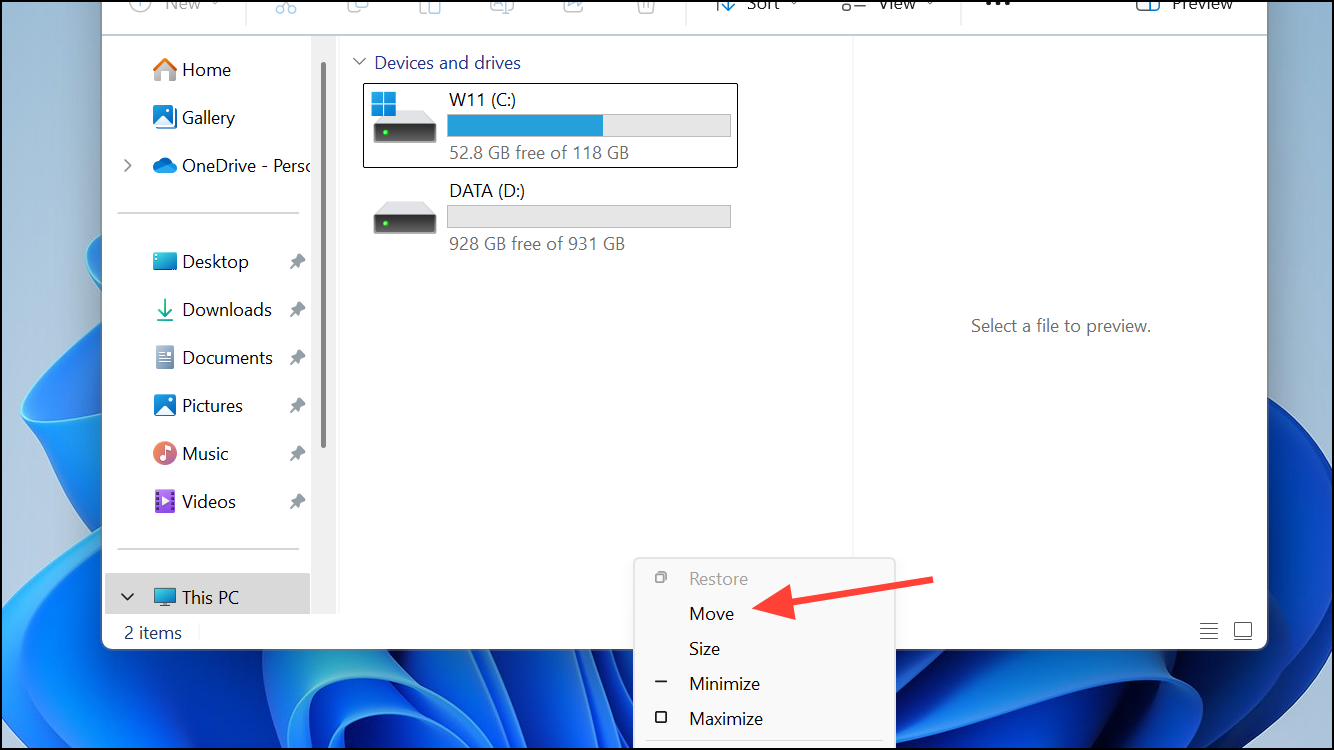
Step 3: Use the arrow keys to bring the window into view. Once visible, you can use the mouse to finalize its position.
This technique is handy for non-maximized windows and works across most traditional Windows applications.
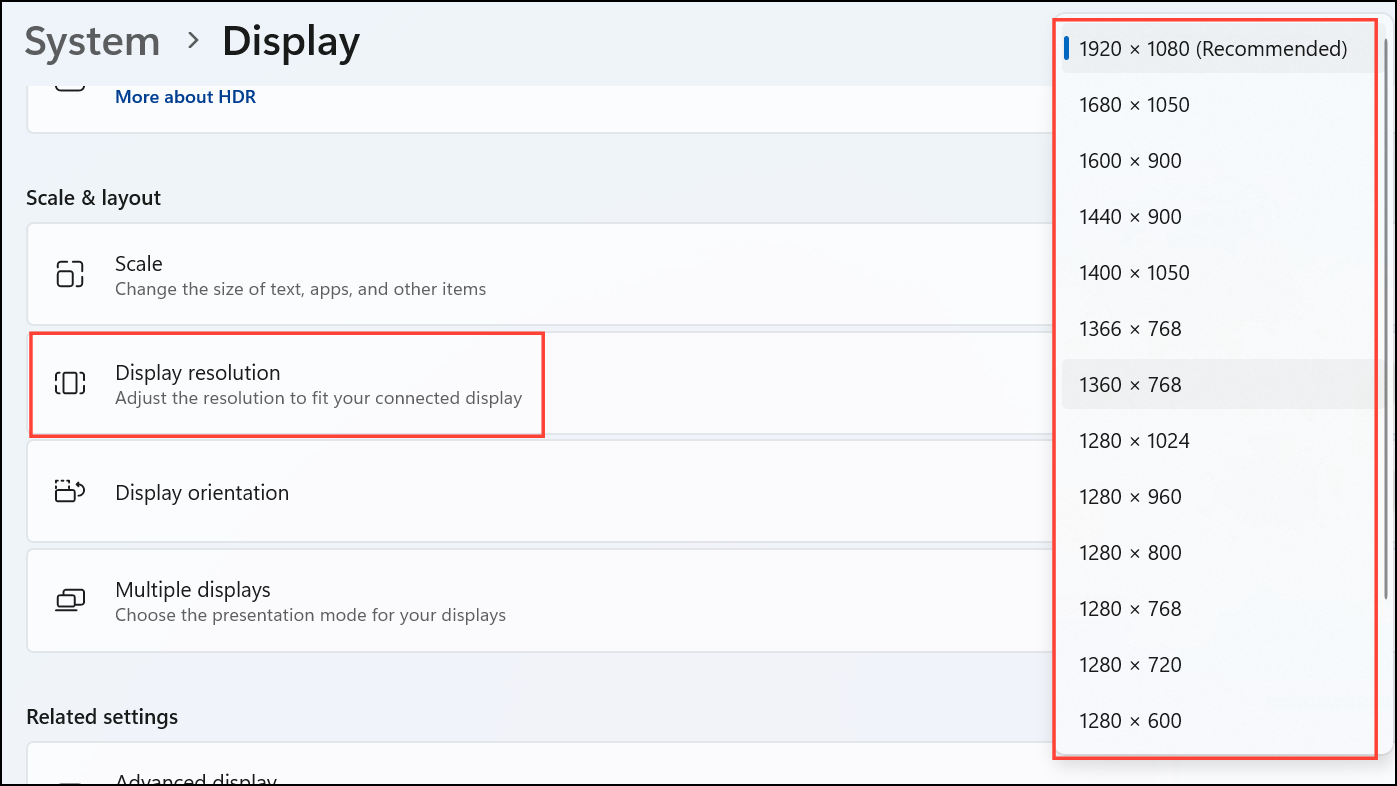
Adjusting Display Resolution to Recover Hidden Windows
Step 1: Press Windows Key + I to open Settings, then navigate to “System” and select “Display.”
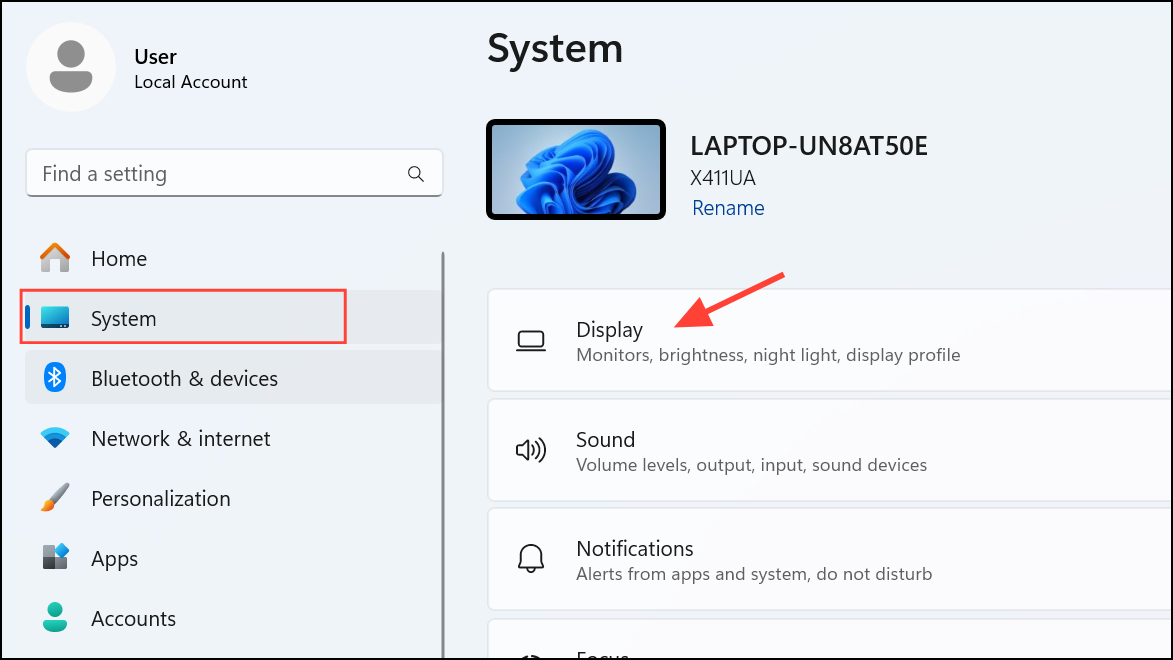
Step 2: Scroll to the “Display resolution” section and temporarily switch to a different resolution. This can force hidden windows to reposition themselves onto the visible desktop area.
Step 3: Return to your original resolution once all windows are visible and repositioned as needed.
This method is a workaround for persistent display issues, especially after hardware changes or when using remote desktop sessions.
Registry Reset for Persistent Window Position Issues
For applications that always open off-screen due to corrupted window position data, you can reset their position values in the Windows Registry. For example, to reset Notepad’s window position:
Step 1: Open the Registry Editor (regedit) and navigate to HKEY_CURRENT_USER\SOFTWARE\Microsoft\Notepad.
Step 2: Delete the DWORD values associated with window position.
Step 3: Restart the application. It will now open at the default position, typically centered on the screen.
Regaining control of off-screen or stubborn windows in Windows 11 is straightforward with these built-in shortcuts and features. Keeping these methods in mind will save time and reduce frustration when application windows slip out of reach.