In Net a Fish, your net sets two limits. It decides how many fish you can haul in one throw, and it decides the rarest fish you can land at all. Mutations sit on top of that. A Shiny or Gold version of a fish earns more per second on your showcase than the plain version does. Pushing into Divine, Abyssal and higher rarities means buying the right net, using the right bait, and putting mutated catches where they pay you.
Quick answer: Buy nets from the Nets tab of the Upgrades screen. The Halo Net (Tier 25, $40Qa) is the first that catches Divine fish. Shiny mutations multiply earnings by x1.15 and Gold by x1.25.
How nets work in Net a Fish
Every net has three stats, and they all matter when you pick your next one. Capacity is how many fish fit in a single haul. Width is the spread of the circle the net covers in the water, shown on the river as a large ring when you aim. The rarity cap is the highest tier of fish that net is allowed to bring in.
The rarity cap matters most. Capacity grows by a few dozen fish per tier, and width barely moves at all, going from 40.3 ft on the Nebula Net to 41.3 ft on the Paragon Net. The rarity cap is the stat that opens new fish to you. If a fish above your cap lands in the circle, the reel screen tells you which net you would need to keep it, so you can see exactly what you are missing.
Don’t confuse your thrown net with the Trawl Net at the Boat Dock. The Trawl Net is a boat upgrade that sits next to the Engine and Sonar upgrades. It does not replace the net tier you buy on the Upgrades screen.
Net a Fish net tiers and costs (Tier 24 to Tier 32)
Nets are bought with in-game cash. The prices climb steeply once you pass the Divine nets. Here is how the mid-to-late tiers compare.
| Net (Tier) | Capacity / width | Rarity cap | Cost |
|---|---|---|---|
| Nebula Net (24) | 420 / 40.3 ft | Cosmic | — |
| Halo Net (25) | 450 / 40.4 ft | Divine | $40Qa |
| Sanctum Net (26) | 480 / 40.5 ft | Divine | $160Qa |
| Hadal Net (27) | 520 / 40.6 ft | Abyssal | $640Qa |
| Abyssal Net (28) | 560 / 40.8 ft | Abyssal | $6.4Qi |
| Aurora Net (29) | 600 / 41 ft | Empyrean | $8Qi |
| Firmament Net (30) | 640 / 41.1 ft | Empyrean | $40Qi |
| Imperial Net (31) | 690 / 41.2 ft | Supreme | $300Qi |
| Paragon Net (32) | 740 / 41.3 ft | Supreme | $1.65Sx |
The nets come in pairs that share a rarity cap. Halo and Sanctum both stop at Divine. Hadal and Abyssal both stop at Abyssal. The same goes for the rest of the list. The first net in each pair is the one that opens a new rarity. The second only adds capacity and a sliver of width. If cash is tight, the jumps that matter are Halo (Divine), Hadal (Abyssal), Aurora (Empyrean) and Imperial (Supreme).
Rebirth-locked nets from Tier 33 up
Past the Paragon Net, cash alone isn’t enough. Each of the following nets also needs a minimum rebirth count before it can be bought.
| Net | Tier | Rebirth required |
|---|---|---|
| Solstice Net | 33 | Rebirth 16 |
| Infinity Net | 35 | Rebirth 18 |
| Umbra Net | 37 | Rebirth 20 |
| Dawnbreak Net | 39 | Rebirth 23 |
| Dreadglass Net | 41 | Rebirth 26 |
| Everloop Net | 43 | Rebirth 30 |
| Singularity Net | 45 | Rebirth 33 |
| Fathomrelic Net | 47 | Rebirth 37 |
| Firstlight Net | 49 | Rebirth 42 |
| Prismheart Net | 51 | Rebirth 47 |
| Aurora Net | 53 | Rebirth 52 |
| Riftweave Net | 55 | Rebirth 57 |
Yes, the name Aurora Net shows up twice, once at Tier 29 and again at Tier 53. Go by the tier number when you check which one you own.
How to buy a new net
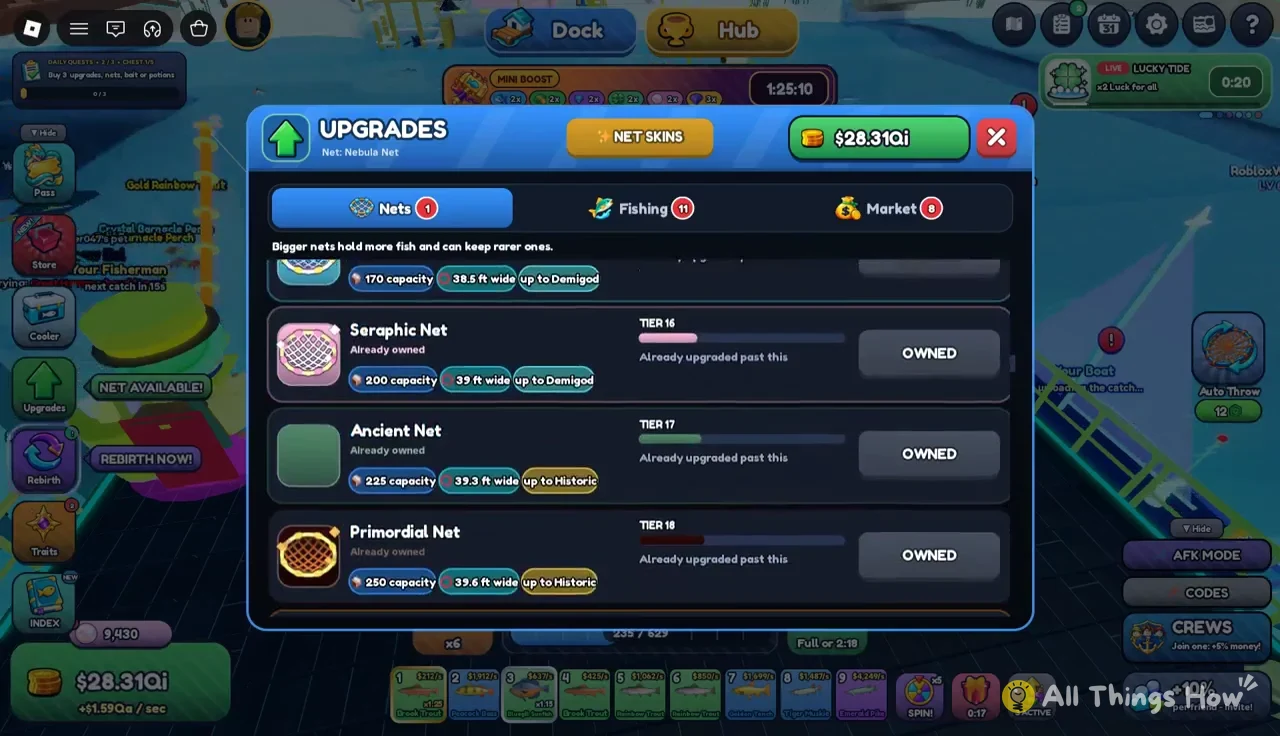
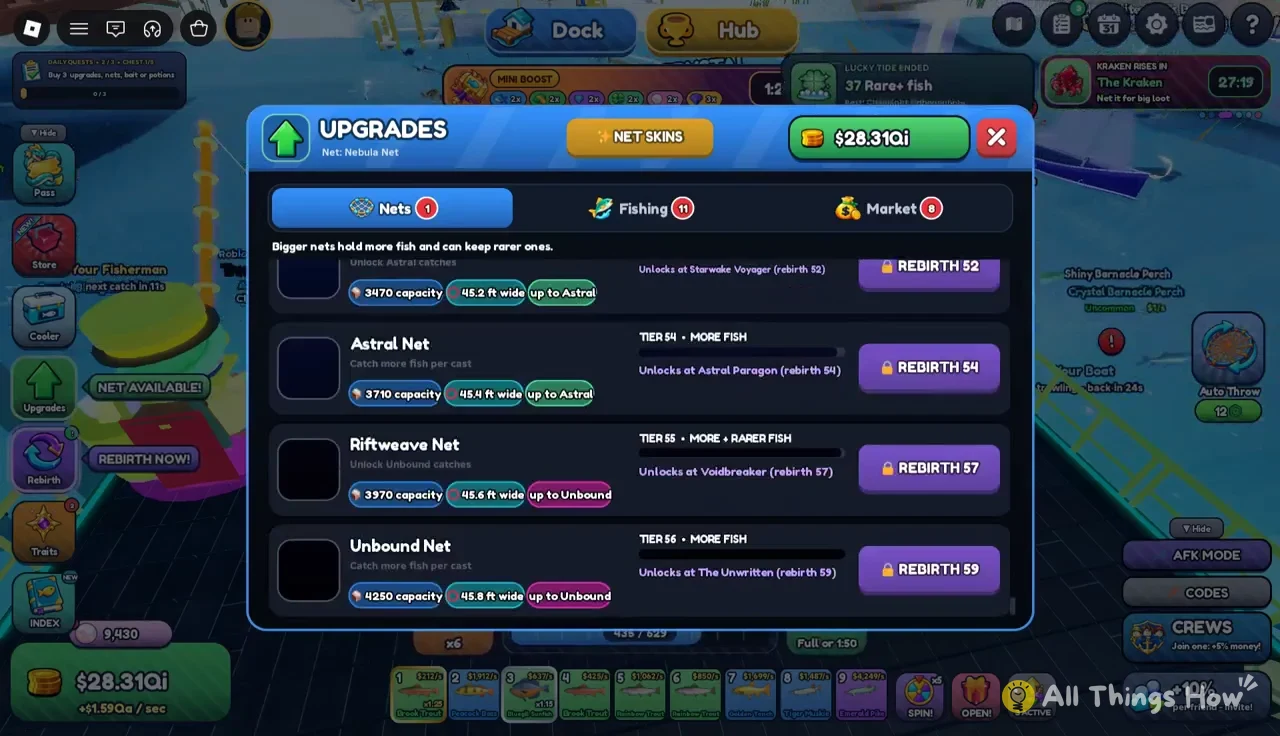
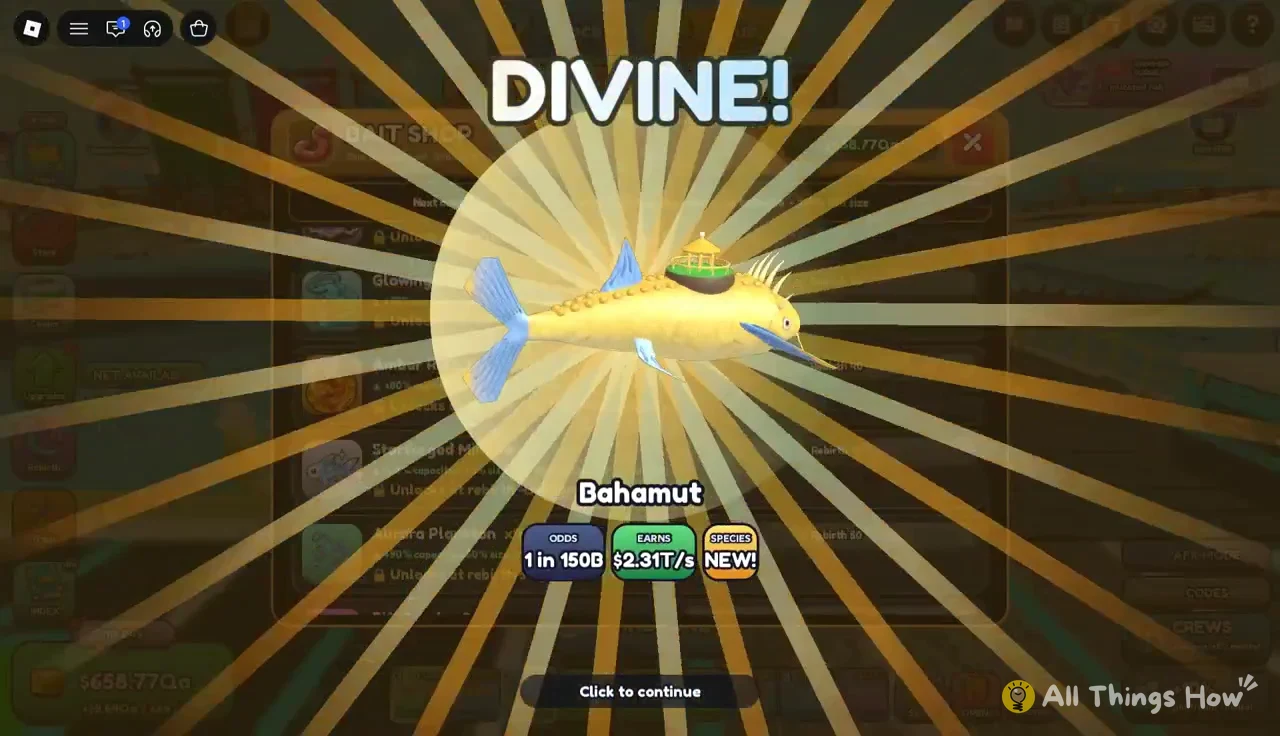
You’ll know the purchase worked when fish of the new rarity start landing without a warning. After switching from the Nebula Net to the Halo Net, Divine fish such as the Dragon Gate Koi and Bahamut can be reeled in and kept.
Throwing, filling and reeling the net
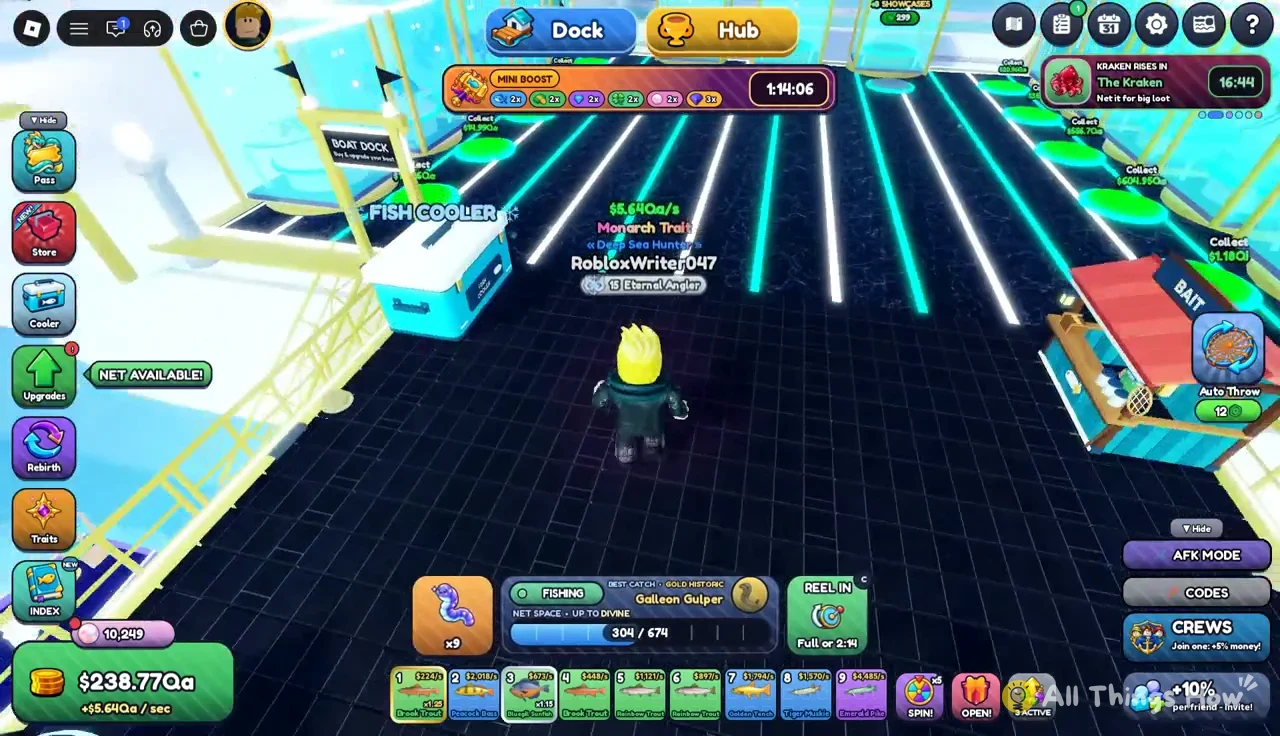
Fishing happens from the edge of your dock. Press the THROW NET button at the bottom center of the screen, and the net lands in the river inside the ring shown on the water. Anything that swims into that circle gets counted toward your haul.

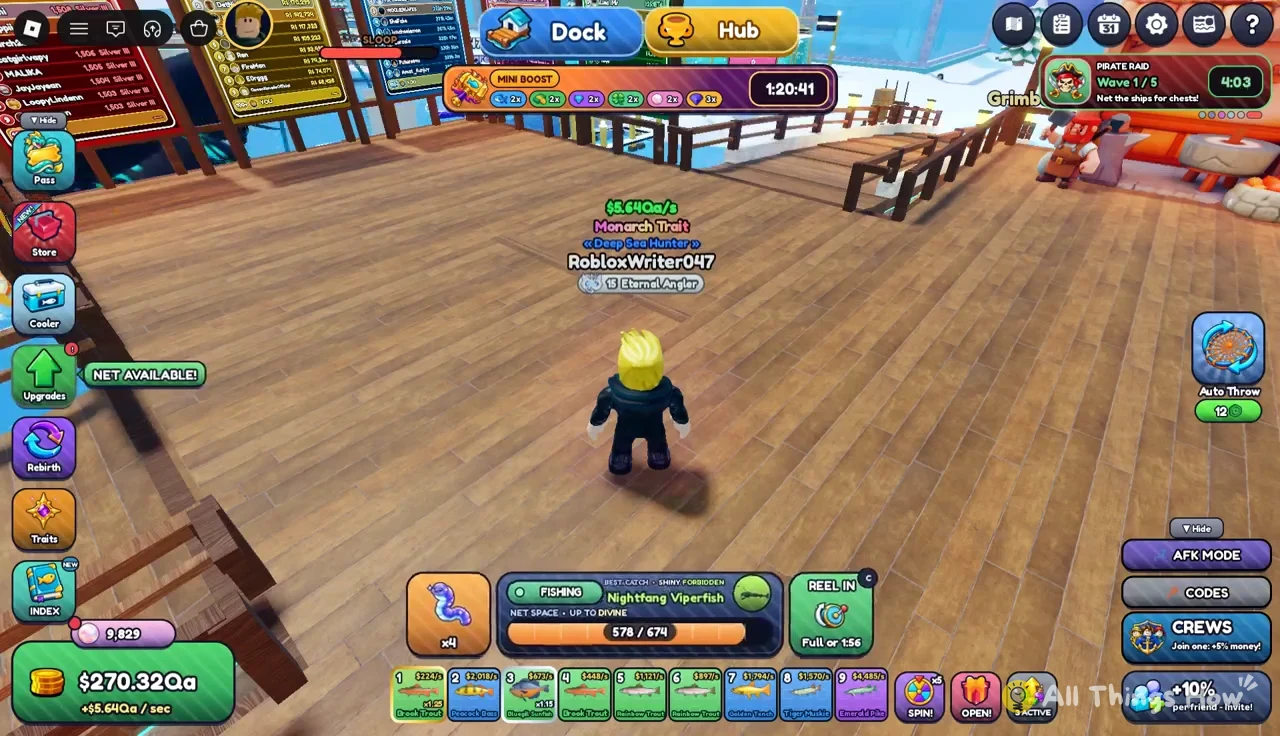
Once the net is in, a Fishing panel tracks what it has picked up, including the name of the best fish caught so far. The REEL IN button then counts down. It reads “Full or” followed by a timer, which means the net comes back either when it hits capacity or when the time runs out, whichever is first.
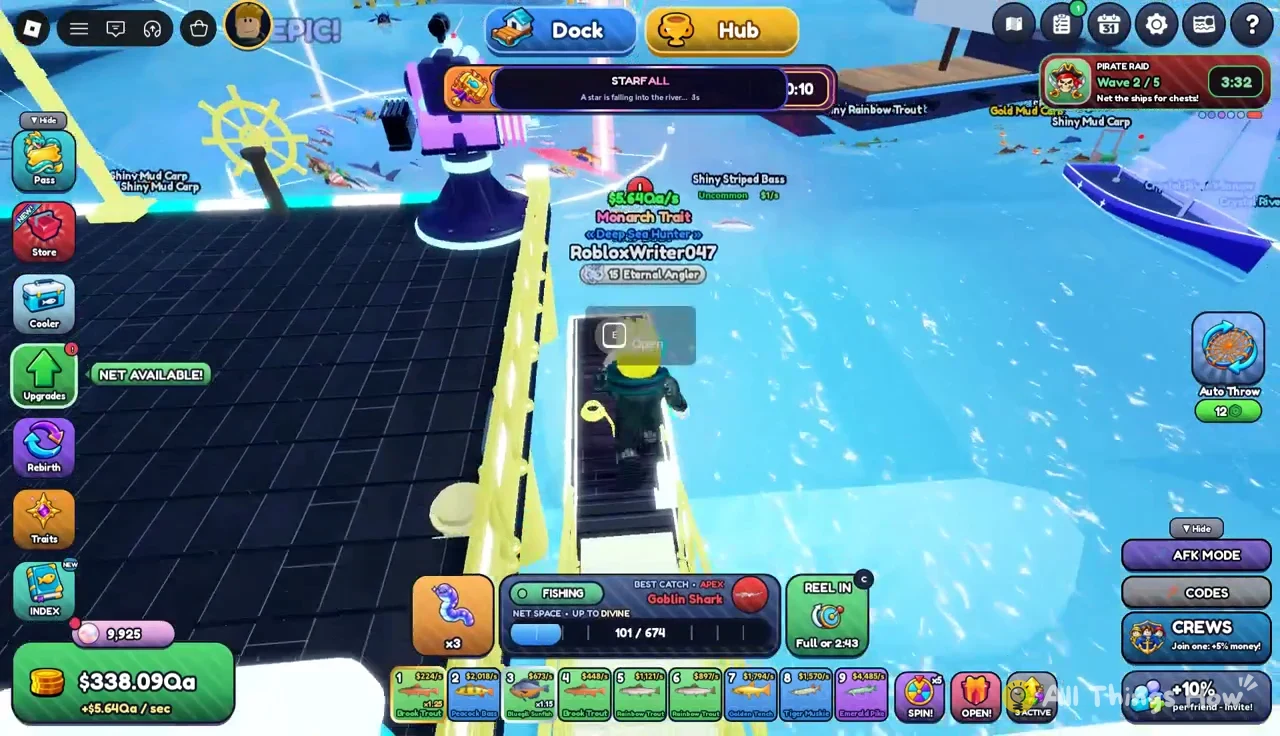

The Fishing panel names the standout fish in the current haul. That’s how you’ll spot a rare one, such as a Ghostwake Cachalot, before the net even comes back.
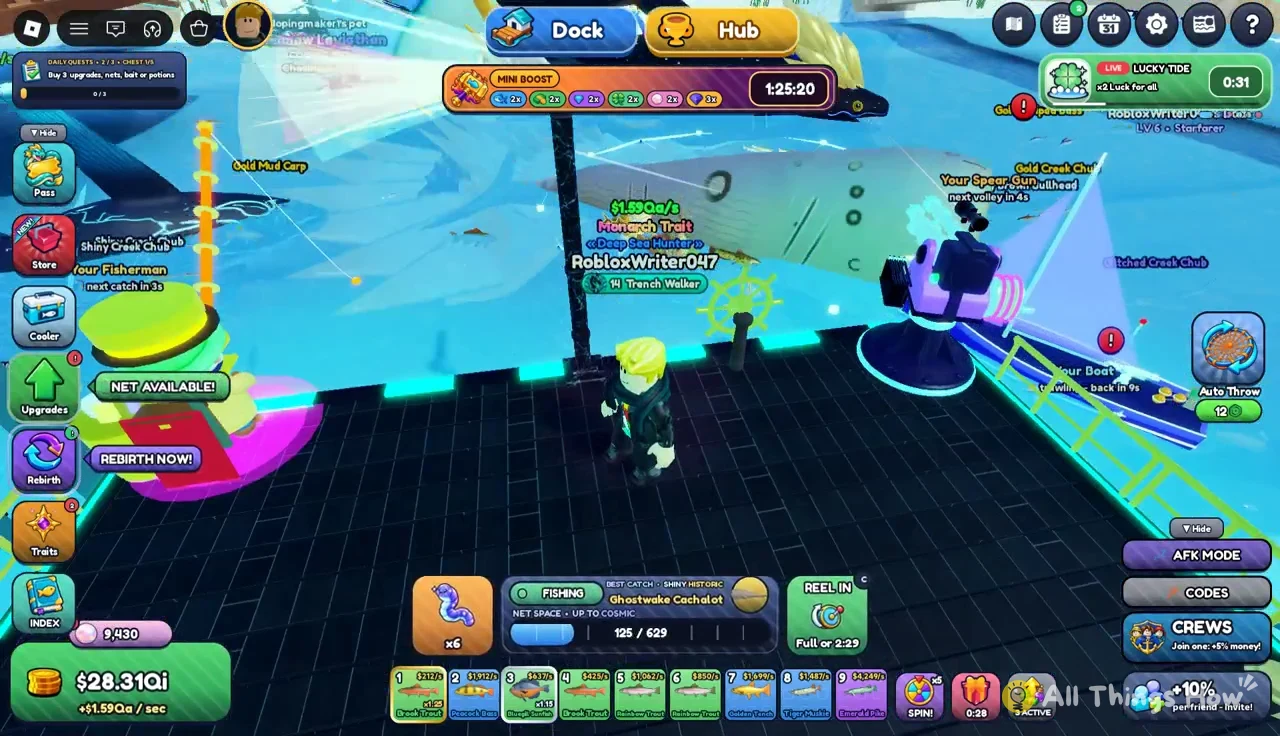
During the reel, a bar shows your haul against your capacity. If a fish in the circle is above your net’s rarity cap, the screen warns you and names the net you need. A full 674/674 haul with an Aurora Net warning means that fish is out of reach until you own that tier.

Rarities you can reach, and how rare they are
The catch card that pops up after a big catch lists the fish’s odds and its earnings per second. Together they show how quickly value climbs as your net cap goes up.
| Catch | Rarity | Odds | Earns |
|---|---|---|---|
| Shiny Ghostwake Cachalot | Historic | 1 in 8M | $37.9M/s |
| Shiny Soulglass Barreleye | Forbidden | 1 in 400M | $9.04B/s |
| Shiny Nightfang Viperfish | Forbidden | 1 in 500M | $14.53B/s |
| Shiny Pulsar Angler | Cosmic | 1 in 4B | $101.16B/s |
| Shiny Dragon Gate Koi | Divine | 1 in 30B | $496.87B/s |
| Bahamut | Divine | 1 in 150B | $2.31T/s |
Forbidden fish like the Nightfang Viperfish fall under the Nebula Net’s Cosmic cap, so they’re catchable before you reach the Divine tiers. On the Fishing panel, the meter fills as the haul builds while the Reel In countdown runs.


Divine catches are hard to miss. Landing one triggers a full-screen “THE HEAVENS HAVE OPENED” sequence with golden rays and a choir, then a DIVINE card for the fish. The Dragon Gate Koi and Bahamut both get this treatment, and both need at least the Halo Net.

Monarch fish follow different rules. The Quartermaster is a Monarch catch tied to Pirate Weeks, which is a limited-time event, so its card lists the event instead of odds. It earns $5.57B/s and gets its own “THE RIVER BOWS TO ITS MONARCH” cutscene.
Net a Fish mutations: Shiny and Gold multipliers
A mutation is a modifier stamped on an individual fish. It multiplies that fish’s earnings, and the catch card lists the mutation and its multiplier next to the base stats. You don’t apply mutations yourself. They roll when the fish is caught.
| Mutation | Earnings multiplier | Example catch |
|---|---|---|
| Shiny | x1.15 | Shiny Pulsar Angler |
| Gold | x1.25 | Gold Galleon Gulper |
Gold is the stronger of the two. It shows up on event fish too. The Gold Galleon Gulper is a Historic, limited-time Pirate Weeks catch that earns $77.64M/s with its x1.25 Gold bonus. Gold can also land on bigger creatures, such as a Gold Historic Elder Kraken pulled straight from the river.
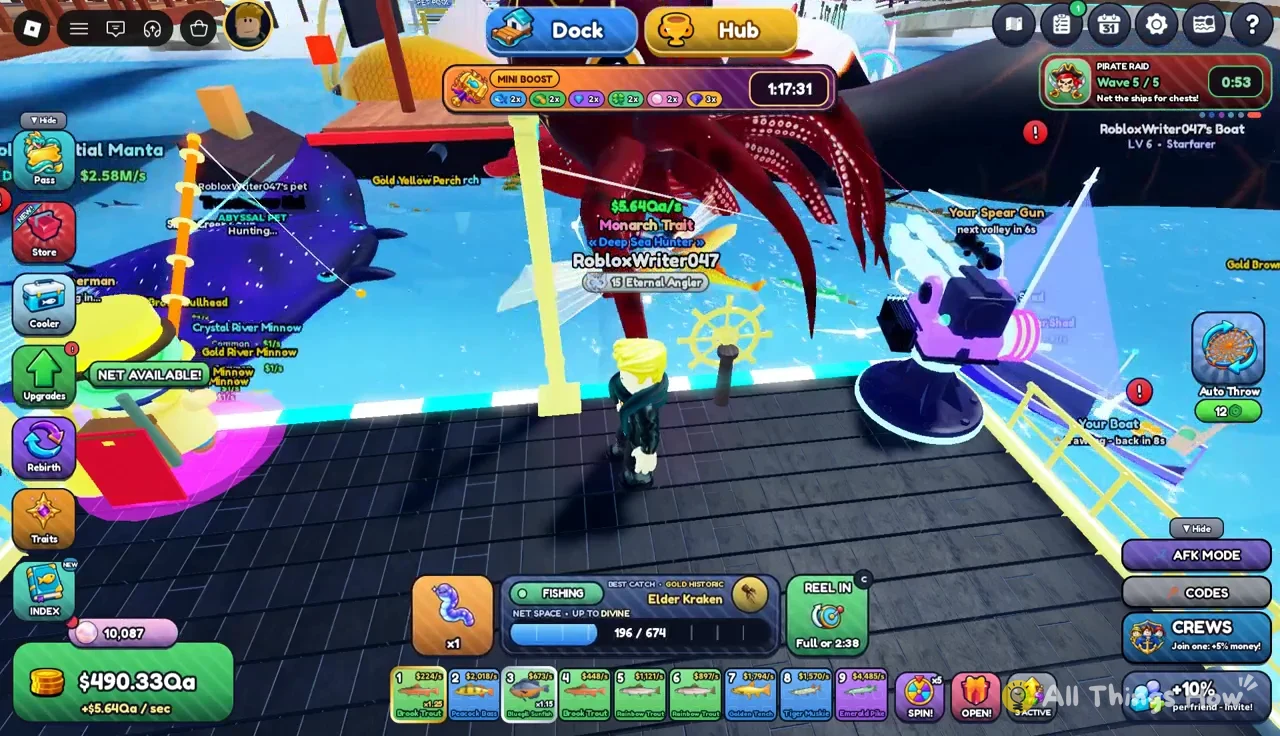

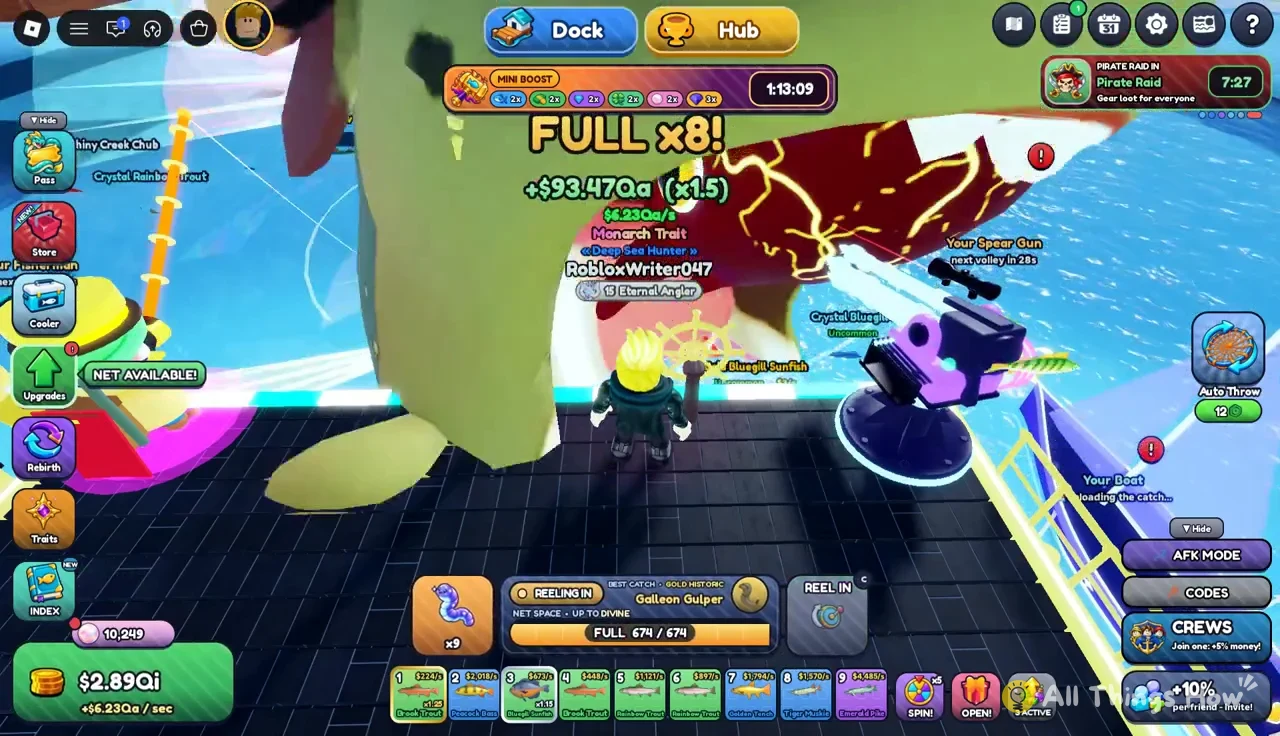
Mutations stack on top of rarity. They don’t replace it. A Shiny Forbidden fish still earns far less than an unmutated Divine one: the Bahamut makes $2.31T/s with no mutation, against $14.53B/s for a Shiny Nightfang Viperfish. Raising your net cap is the bigger lever. A mutation adds a percentage on top of whatever tier you can reach.
Traits are a separate system. The Traits menu rolls trait slots, such as Legendary, Uncommon or Monarch traits, using trait rolls. Those rolls do not add Shiny or Gold mutations to fish.
Bait and boosts that improve mutation and rarity odds
Starlight Worm and Abyss Shrimp
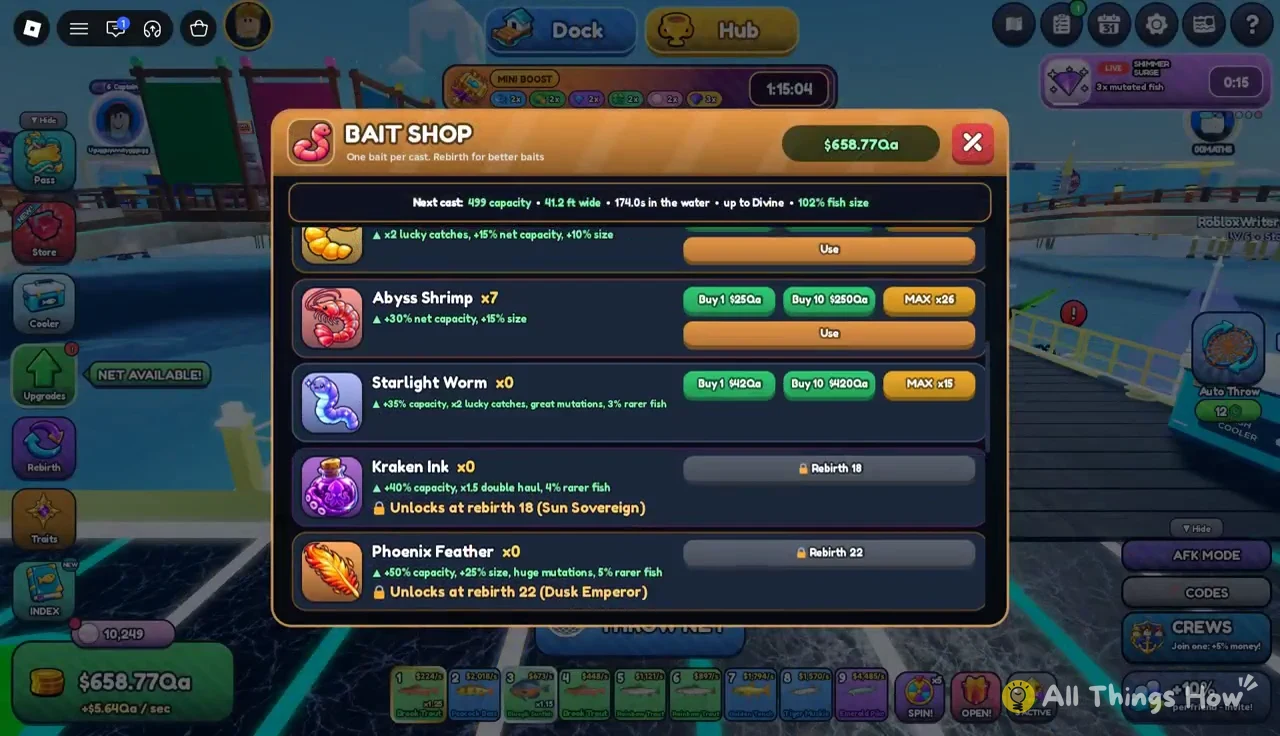
Bait comes from the Bait Shop on your dock. Each bait card shows how many you own along with Buy and Use buttons. The two late-game baits pull in different directions.
| Bait | Effect | Buy 1 | Buy 10 |
|---|---|---|---|
| Starlight Worm | +35% capacity, x2 lucky catches, great mutations, 3% rarer fish | $40Qa | $400Qa |
| Abyss Shrimp | +30% net capacity, +15% size | $24Qa | $240Qa |
If you’re hunting mutations, the Starlight Worm is the bait for you. It’s the only one that lists better mutations and rarer fish on top of its capacity boost. The Abyss Shrimp is cheaper and fills the net with more and bigger fish, but it does nothing for mutations or rarity. Starlight Worms run out quickly during long sessions, so watch the owned count on the card and restock before it hits zero.
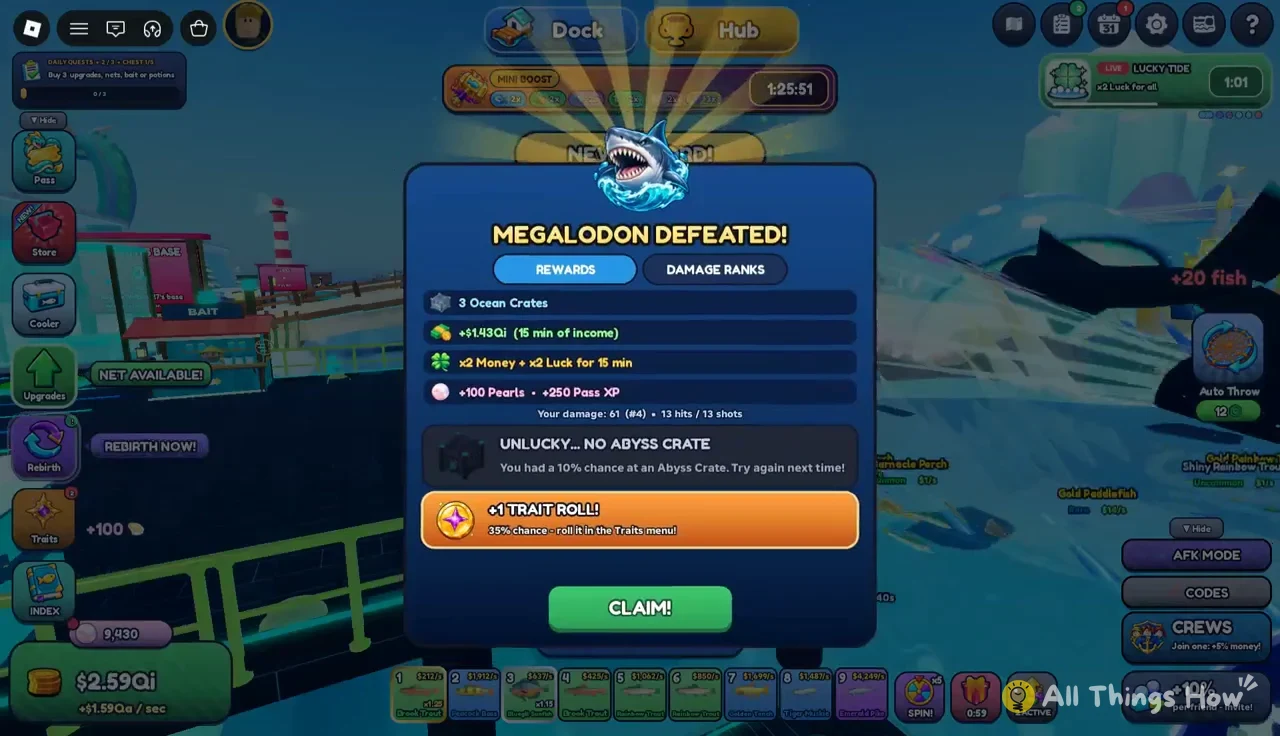
Megalodon x2 Luck reward
The Megalodon shows up in the river as a boss. You fight it from the dock’s spear gun turret. Walk up to the arena and press ENTER TURRET MODE to take control.

Aim the red crosshair at the Megalodon and fire with a click or Space, then wait for the reload between shots. Press Q or the red X to leave Turret Mode. Upgrading the Spear Gun raises your damage per shot, which speeds up the fight.

Beating the boss opens the MEGALODON DEFEATED! screen. Its rewards include 3 Ocean Crates, 15 minutes of income as a cash payout, 100 Pearls, 250 Pass XP, a 35% chance at a trait roll, and x2 Money plus x2 Luck for 15 minutes. That Luck window is a good time to throw Starlight Worms, since both boosts are running at once.
Pearl Shop charms and server boosts
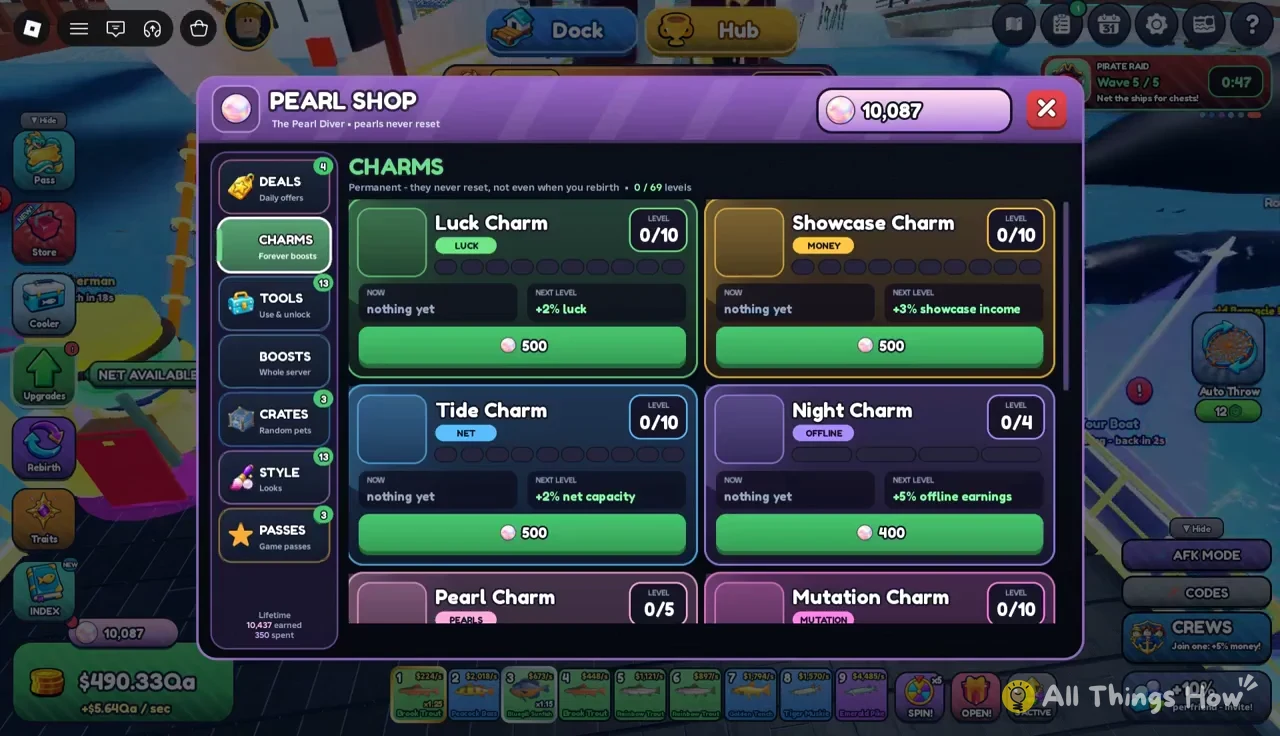
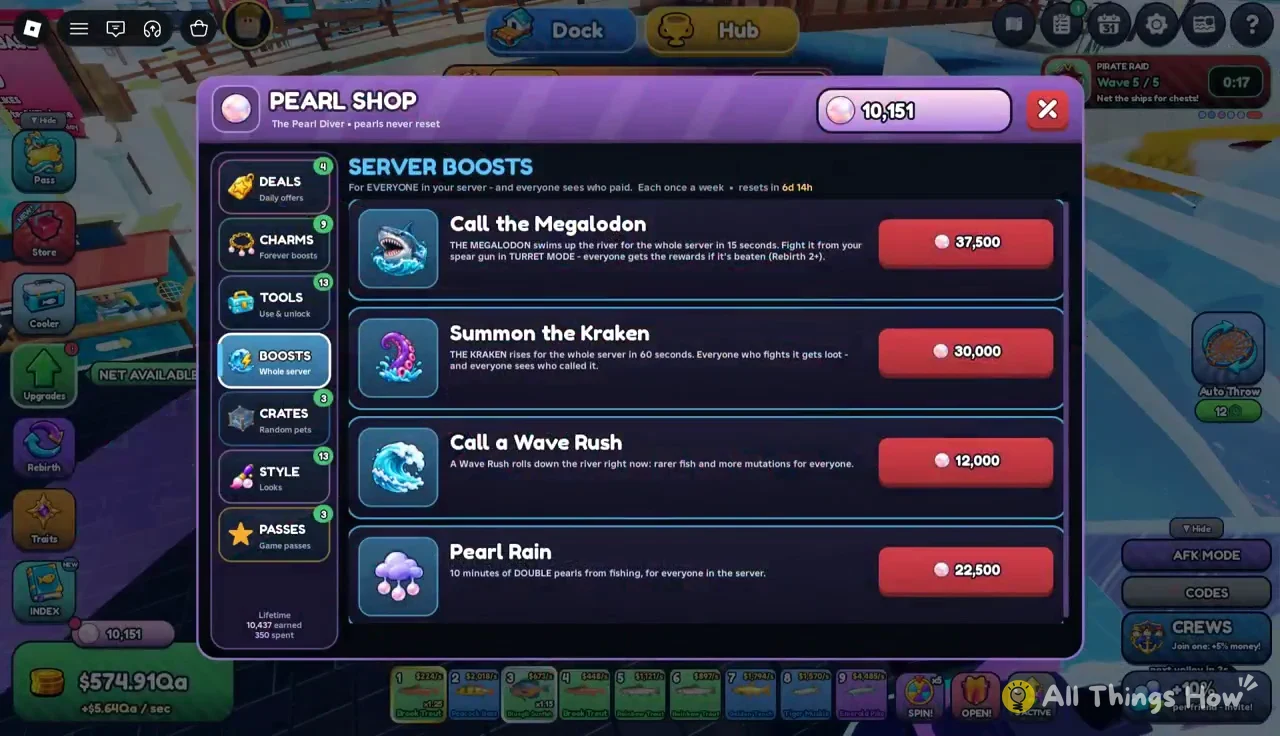
Pearls, which you earn from bosses and the Leviathan Pass, are spent in the Pearl Shop. The Charms tab sells permanent charm upgrades. The Server Boosts tab sells boosts that run for everyone in the server. Check both tabs for luck-related options before a long fishing session.
Putting mutated fish on your showcases
A mutation matters only when its fish is generating income. The showcases at your dock base pay out every second according to the earnings of the fish assigned to them, with its mutation multiplier already included. Each new catch goes into the Fish Cooler, where you can pick which fish to place on the showcase pads.
After a Divine or Gold catch, open the Fish Cooler, equip your top earners onto the showcases, and collect the cash that has built up on the pads. The Cooler also has a Pets tab where you can level up or unequip pets, including an Abyssal fish pet. Pets sit in their own slots and don’t take a showcase spot.

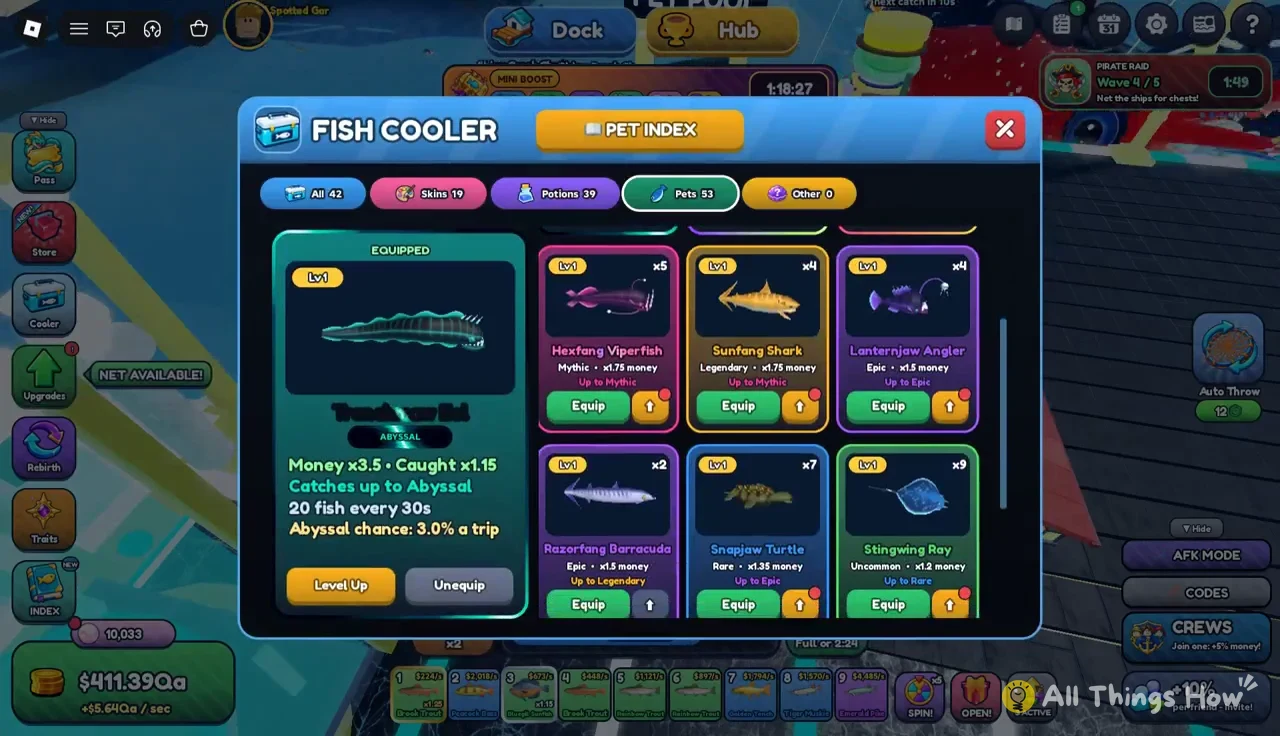
Keep fishing between Cooler visits. With the Halo Net and a Starlight Worm in use, every throw is another roll at a Shiny or Gold version of a Divine fish.
Rebirth 15 and the road to the Solstice Net
Every net from Tier 33 up needs a rebirth, so rebirthing is part of net progression. Rebirth 15 turns a Trench Walker into an Eternal Angler. Here’s what it takes and what it gives you.
- Requirement: $1.85Qi in cash and 46.2K fish caught in total
- Cost: your current money resets to $0
- Money multiplier: x4.50 rises to x4.75 permanently
- Unlocks: Eternal Deep base, Eternal Angler title, Ascendant Hall and Abyss Leviathan
- Upgrade caps: general upgrades to level 25, Fisherman and Spear Gun to level 16
Open the Rebirth menu and confirm Rebirth 15. The base plays an upgrade animation, and a “BASE UPGRADED!” notice confirms the switch to the Eternal Deep base. An unlock summary screen follows. Your title above your character changes from 14 Trench Walker to 15 Eternal Angler.

Once you’ve rebirthed, use the higher caps on your helpers. Walk up to the Spear Gun and Fisherman stations and press E to upgrade. The Spear Gun takes upgrades like Sharper Tips, Fast Reload, Barbed Tips, Range and Scope. The Fisherman takes Fishing Rod, Tackle Box, bucket capacity and reel speed levels. A stronger Spear Gun makes Megalodon fights shorter, which means more x2 Luck windows for mutation hunting.
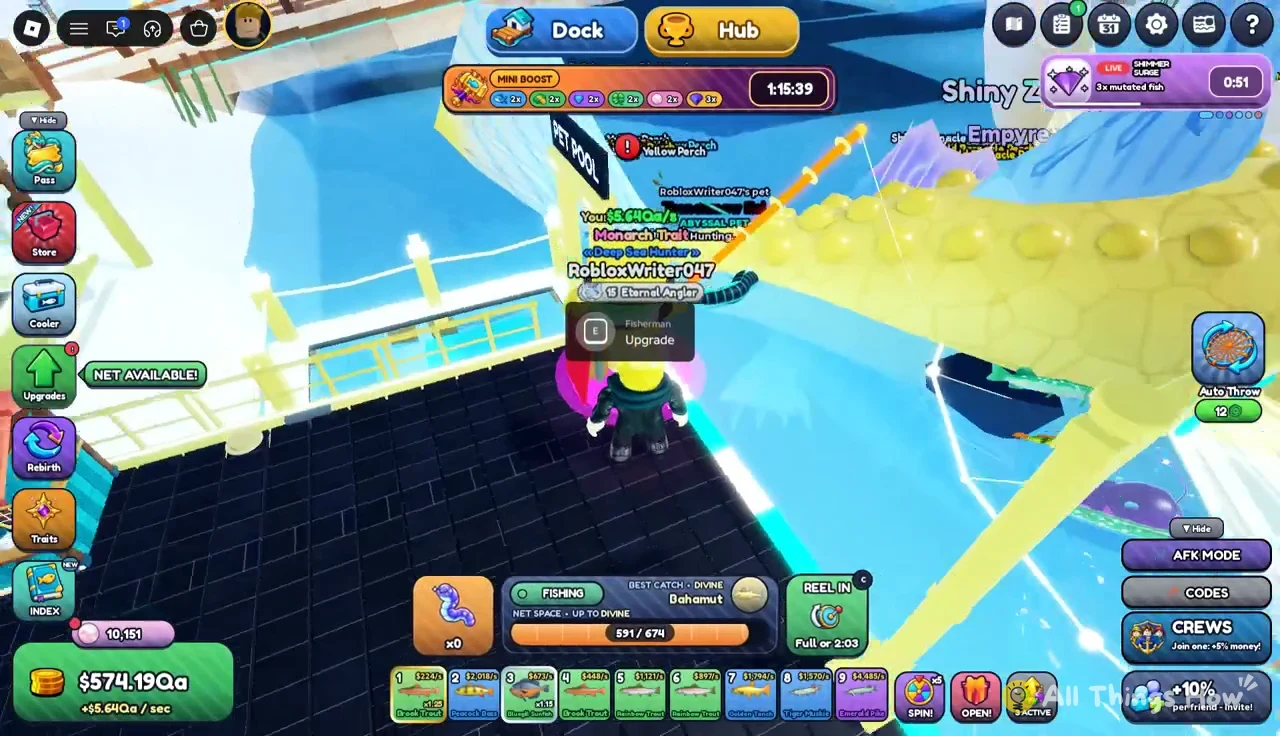
The Solstice Net at Tier 33 needs one more rebirth, Rebirth 16. Until then, the cash-only path runs from the Halo Net up to the Paragon Net at $1.65Sx. Climbing that ladder raises your rarity cap from Divine all the way to Supreme, and each new tier gives Shiny and Gold mutations something more valuable to multiply.