
Restoring individual files or reviewing the contents of an .adi disk image is a common need after creating system or disk backups with AOMEI Backupper. The .adi format is proprietary to AOMEI and is not natively supported by Windows or most third-party tools. To open or explore these files, use AOMEI Backupper’s utilities that allow mounting and browsing image contents directly from the backup file, eliminating the need to restore the entire image.
Explore .adi Files Using AOMEI Backupper Image Mounting
Step 1: Install and launch AOMEI Backupper on your computer. Ensure you are using a version that supports the Image Mount feature, such as AOMEI Backupper Professional.
Step 2: Connect the storage device that contains your .adi backup file if it is not already available on your local drives.
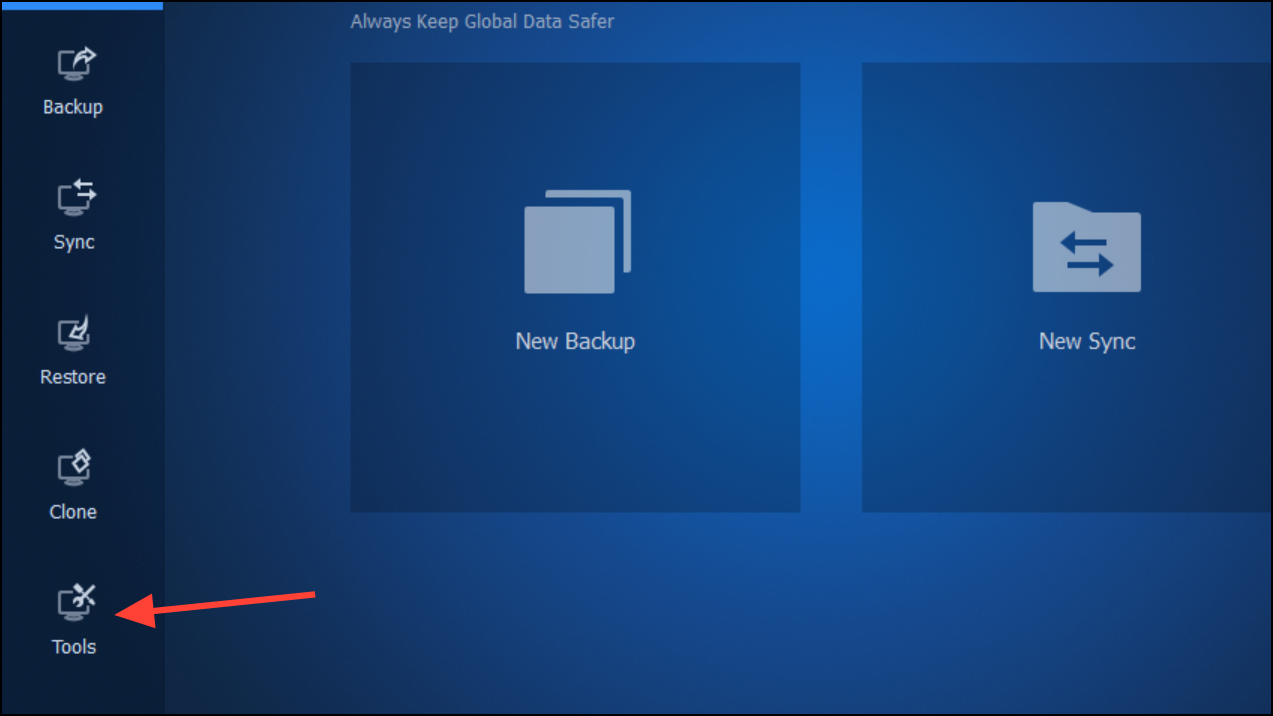
Step 3: In the AOMEI Backupper main window, select Tools in the left panel.
Step 4: Choose Explore Image or Mount Image from the list of utilities. This tool allows you to mount the .adi file as a virtual drive.
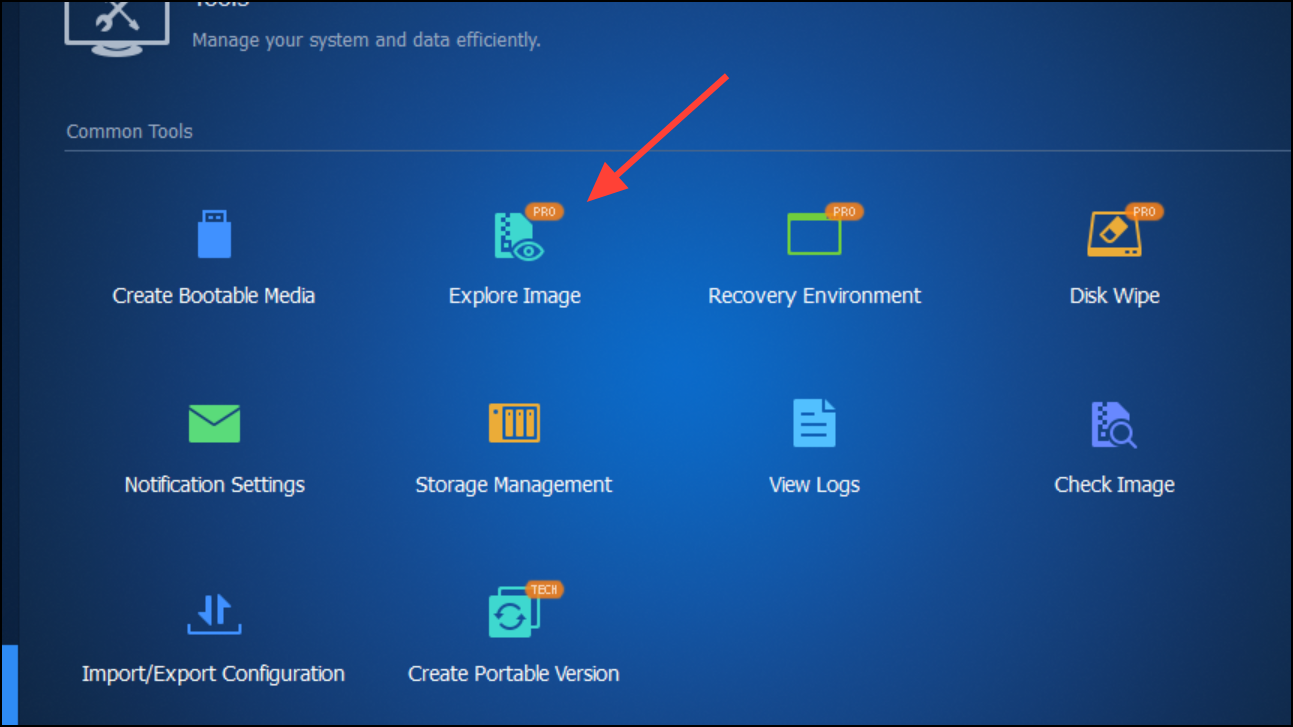
Step 4: Browse to the location of your .adi file and select it. If the image is split into multiple parts, select the first part to load the entire set.
Step 5: Choose the specific backup version or partition you wish to mount if prompted. Assign a drive letter for the virtual drive that will represent the backup image in Windows Explorer.
Step 6: After mounting, open File Explorer (Windows Explorer). A new drive letter will appear, representing the mounted backup image. You can browse, copy, or open files from this virtual drive as you would with any other drive on your system.
Step 7: Once finished, return to AOMEI Backupper, go to Tools > Unmount or Detach Image to safely remove the virtual drive from your system.
Restore Files From .adi Backup Without Mounting
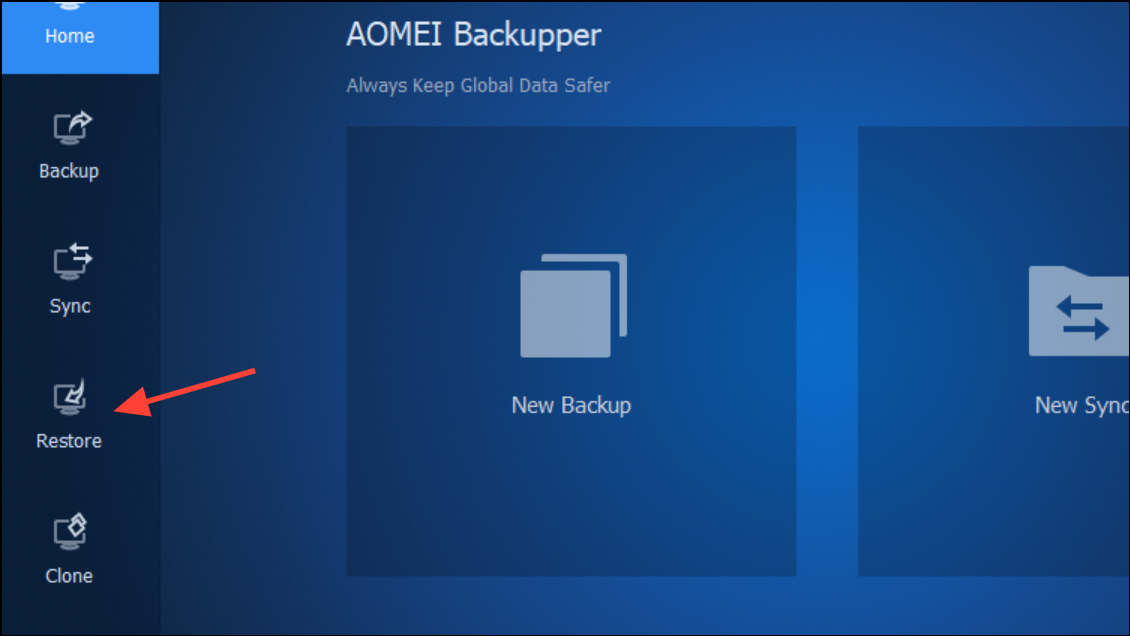
Step 1: Open AOMEI Backupper and select Restore from the left panel.
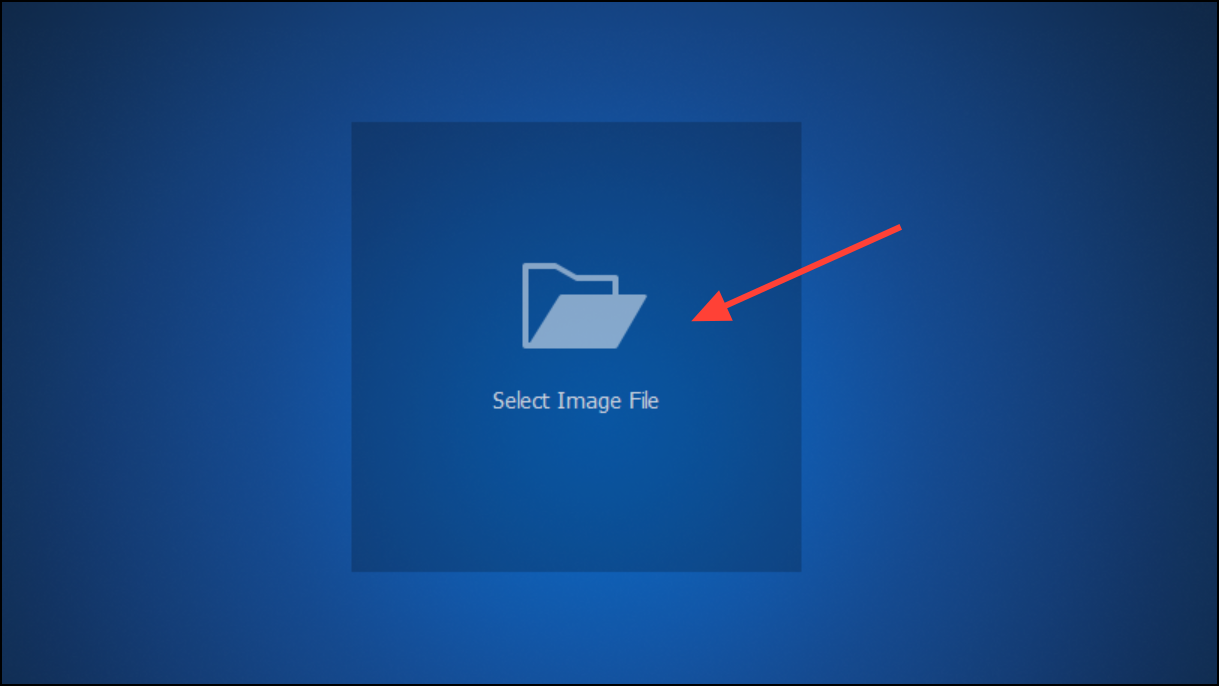
Step 2: Click Select Image File and locate your .adi backup file.
Step 3: Choose the backup version and partition or disk as needed. Instead of restoring the entire image, select Restore files or Select files/folders if the option is available.
Step 4: Mark the files or folders you wish to restore, then choose a destination folder on your local disk. This will extract only the selected data from the .adi file, leaving the rest of your system unchanged.
Step 5: Complete the restore process and verify the files in your chosen destination.
Alternative: Using AOMEI Backupper Portable or Trial Version
If you do not have AOMEI Backupper installed, you can download a trial version from the official website. The process for mounting and exploring .adi files is the same as described above. Always download software directly from the official AOMEI website to avoid security risks.
Opening and exploring .adi files is straightforward with AOMEI Backupper’s built-in tools, allowing you to quickly access or recover files from your backups without a full restore. Remember to unmount images after use to keep your system organized and avoid drive letter conflicts.