Gaming Guide

Order of the Sinking Star: Heroes and Water Walkthrough (All Puzzles)

Every route and puzzle solution for Heroes and Water, North and the western half of Heroes and Water, plus how to unlock both areas.

Every route and puzzle solution for Heroes and Water, North and the western half of Heroes and Water, plus how to unlock both areas.

Heroes and Water, North is a far-north area in Order of the Sinking Star. It takes the hero party from The Hearty Heroes of Hauling and adds water, dragon fire, and the druid’s ability to turn monsters and plants into crystals. It has six puzzles spread over three screens. Its first screen also connects to Heroes and Water, the larger crossover zone farther south above the HxM gold room. Solutions for both areas are below, because each one feeds into the other.

Quick answer: Open the HxS gold room, skip its new stone east, push the right crystal down, then clear Screen #1’s left, top-right, top-left, and bottom-left puzzles. Screen #2 requires finishing Heroes and Stones East first.


Movement shorthand, heroes, and water rules

All routes use the same notation. A bare direction such as “left” means one square. A direction with a count, like “left x4,” means that many squares. “All the way” means keep going until a wall, barrier, or the end of a path stops you. When the wizard (purple) is told to “press” a direction, he swaps places with whatever sits in that straight line.

HeroAbility
Warrior (red)Pushes objects and monsters
Thief (green)Pulls whatever is behind her
Wizard (purple)Swaps places in a straight line
Cleric (gold)Floats on water while in fire
DruidTurns monsters and plants into crystals and back
BardCarries objects inside her aura
SailorPushes stones that skip across water

Water follows the same rules on every screen in both areas:

  • A monster pushed or pulled into water is destroyed.
  • When two monsters collide after a push, both are destroyed.
  • Push a crystal into water and it sinks, turning into a floor tile that you can cross.
  • Red dragons fire a continuous beam along a row or column once the line is clear, and the beam burns briars and reeds.
  • The gold cleric walks on water only while a flame is hitting her. Step out of the fire and she sinks.

How to reach Heroes and Water, North

The entrance is behind the HxS gold room. That room opens after you complete four things:

  • Deactivate a barrier in Heroes 3: Bard, Druid.
  • Complete Heroes Together.
  • Reach the bottom of Skipping Stones.
  • Solve the gold room’s own puzzle.
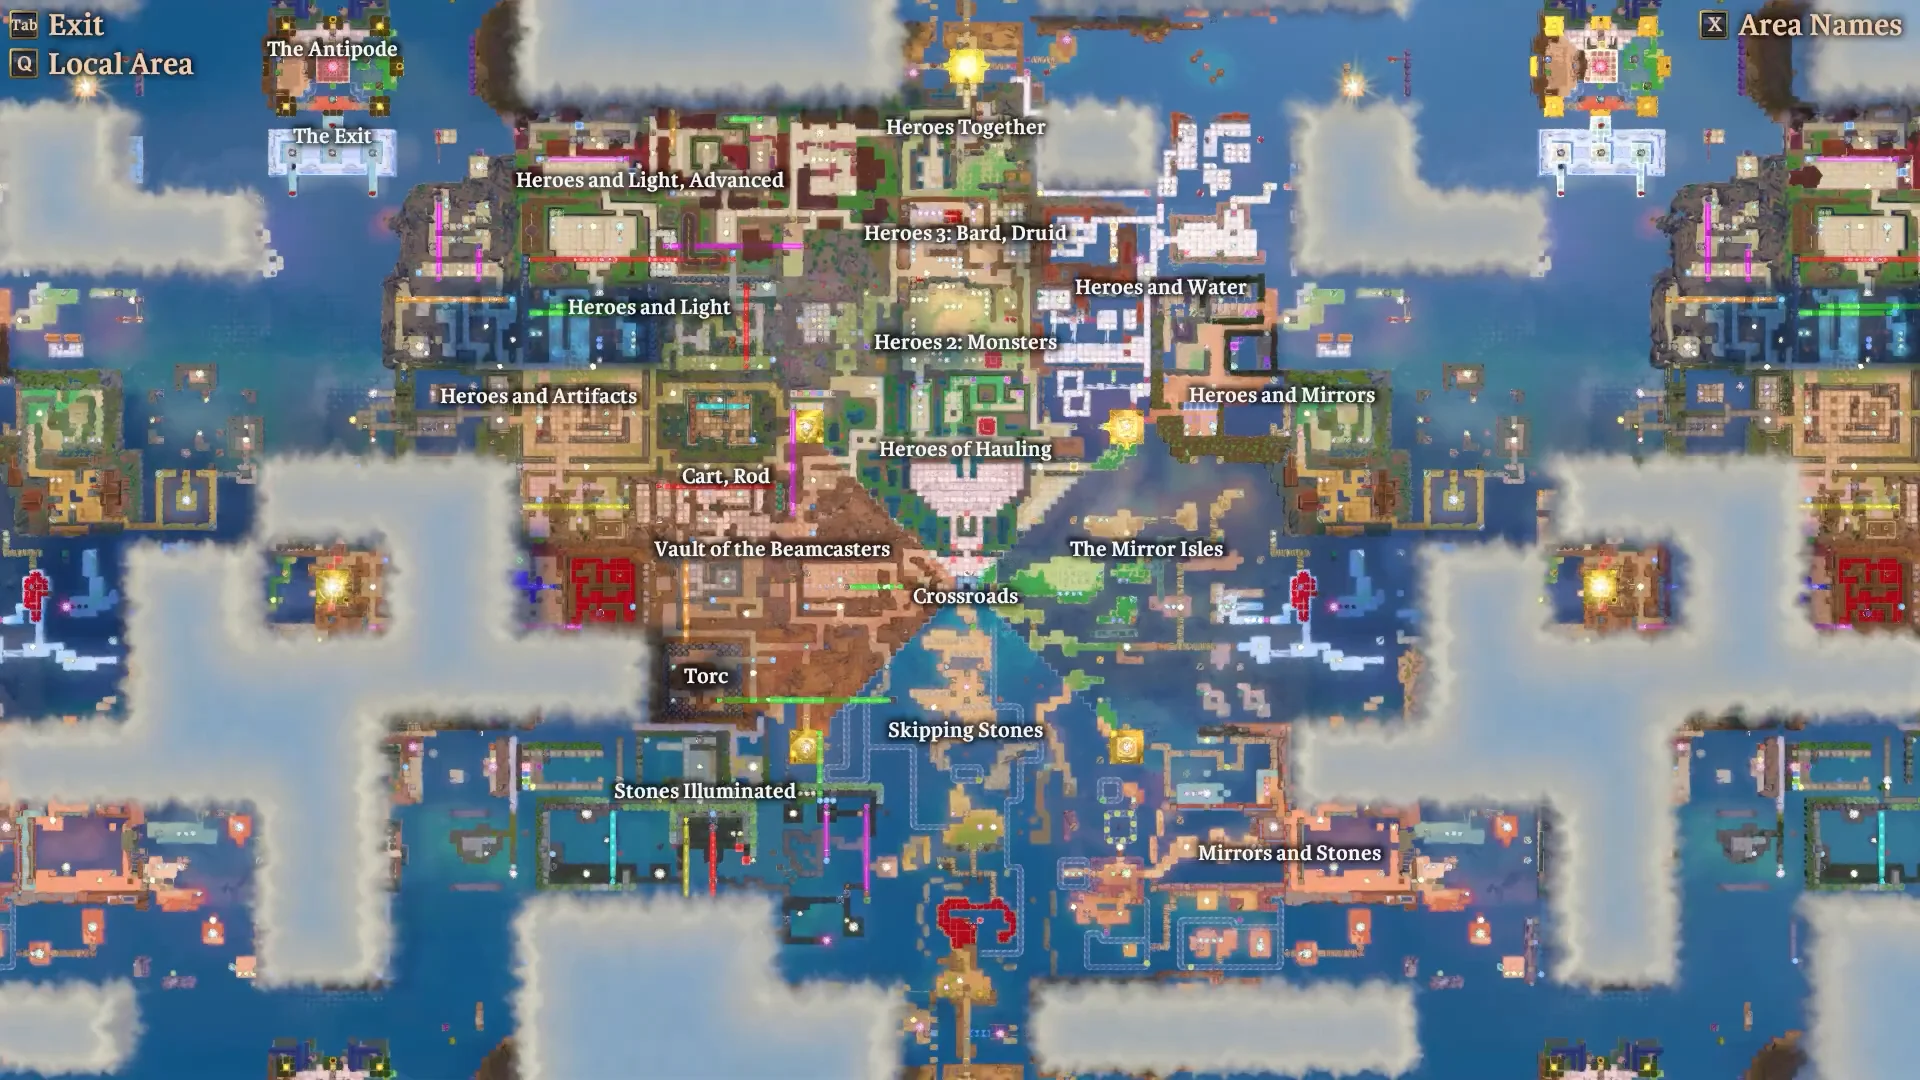
Open the local area map to plot your route north. It labels Crossroads, Heroes of Hauling, Heroes Together, and Heroes and Light, Advanced. Press Esc to close it.
Overworld Navigation00:06Overworld Navigation
The local area map, used to head north from Crossroads past Heroes of Hauling toward the skipping stone shore. Shown at 00:06 in Game Guides Channel’s video. Image: Thekla, Inc.
Walk to the skipping stone shore that links the two halves of the map. Small islands, wooden platforms, and stepping stones break up the water here.
Skipping Stone Area Access00:43Skipping Stone Area Access
The skipping stone shore, where a stone has to cross the water divide before the gold room opens. Shown at 00:43 in Game Guides Channel’s video. Image: Thekla, Inc.
Talk to Janaila on the far side. She asks you to skip a stone back across the water to her. Send the round blue stones along the water paths between the islands until one reaches her side.
Stone Skipping Interaction01:31Stone Skipping Interaction
Skipping a stone across the divide during the Janaila exchange. Shown at 01:31 in Game Guides Channel’s video. Image: Thekla, Inc.
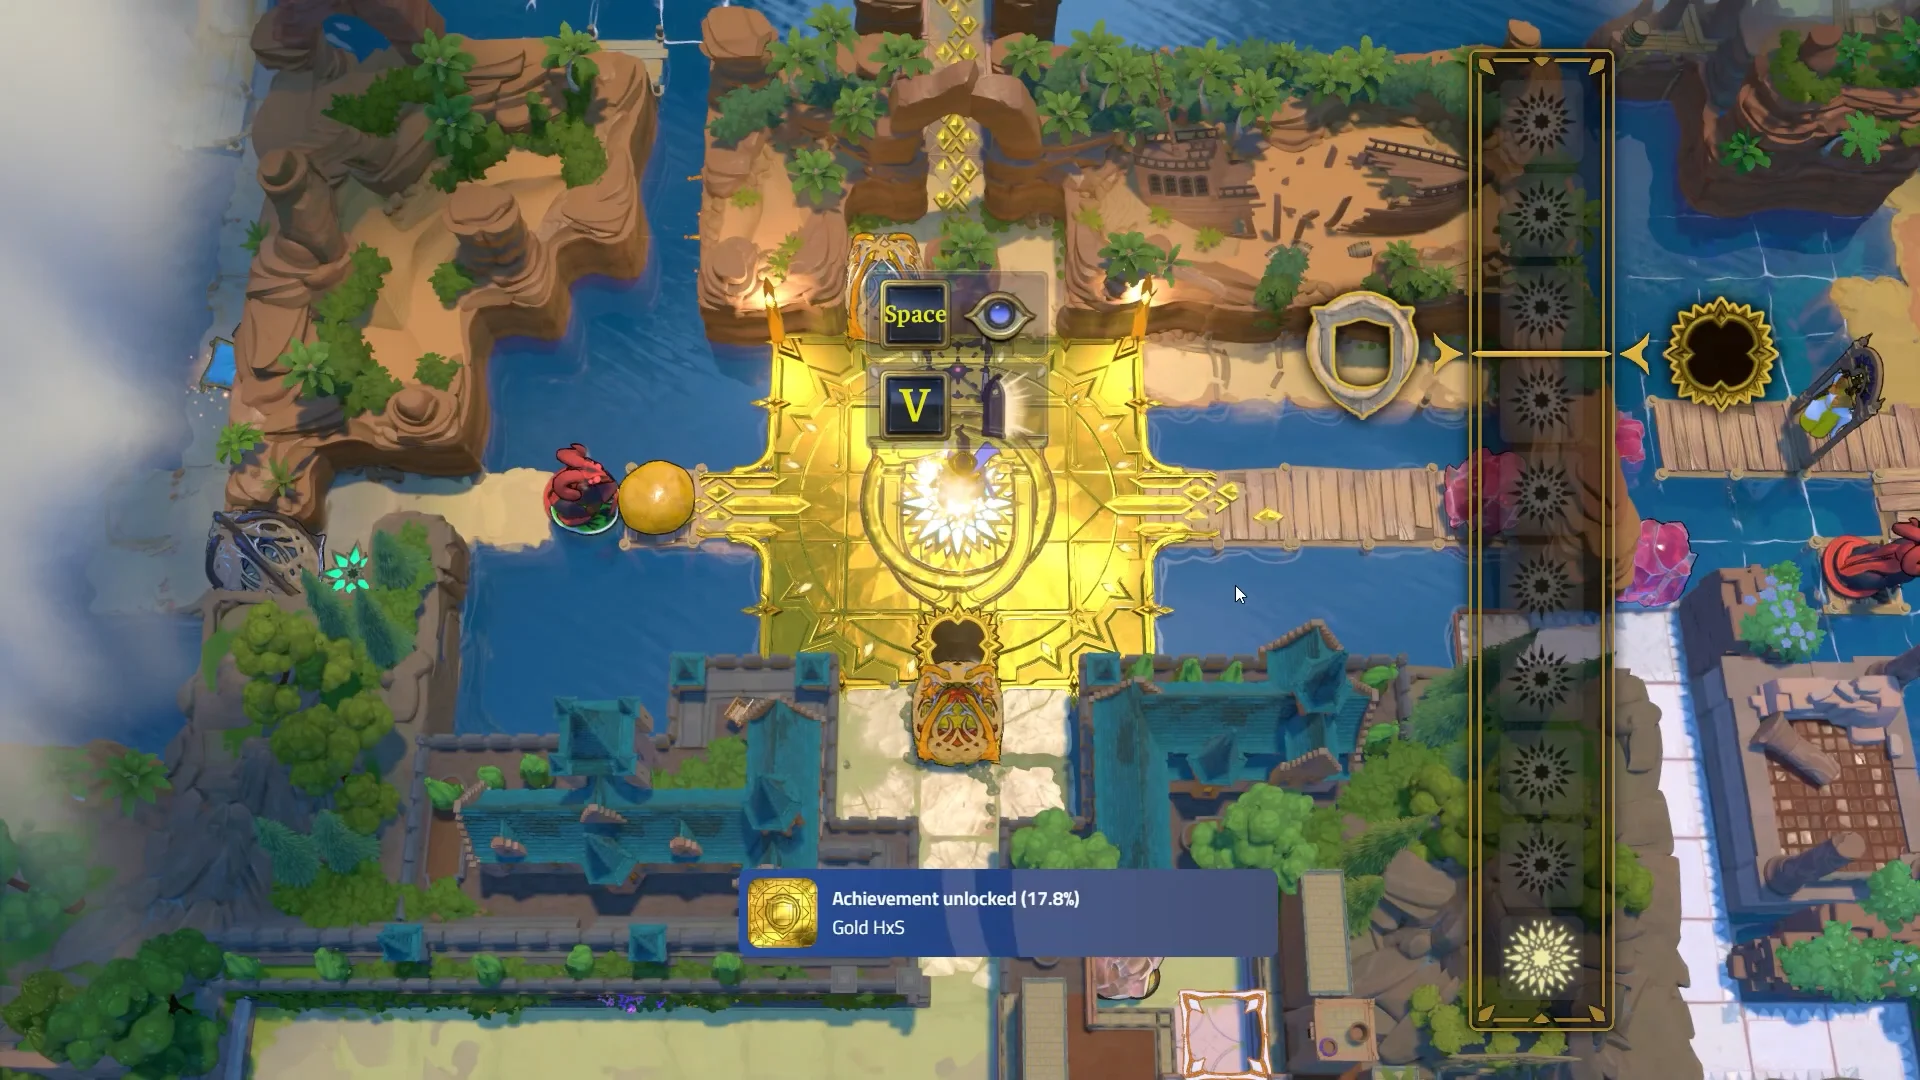
Once the stone lands, Janaila thanks you and introduces herself. Continue into the gold room, step onto the center star pad, and press Space at the crest pedestal. An achievement notification confirms the gold room is open.
Golden Star Crest Room05:03Golden Star Crest Room
The gold room's center pad and crest pedestal. The achievement pop-up marks the room as open. Shown at 05:03 in Game Guides Channel’s video. Image: Thekla, Inc.
Once the gold room is open, a skipping stone appears on that screen. Push it down x2, continue all the way right, then push it right across the water.
The square above the crystal on the screen’s right side is now reachable. Push the crystal down, then take the route beyond it north into Heroes and Water, North Screen #1.
Heroes and Water, North Arrival05:29Heroes and Water, North Arrival
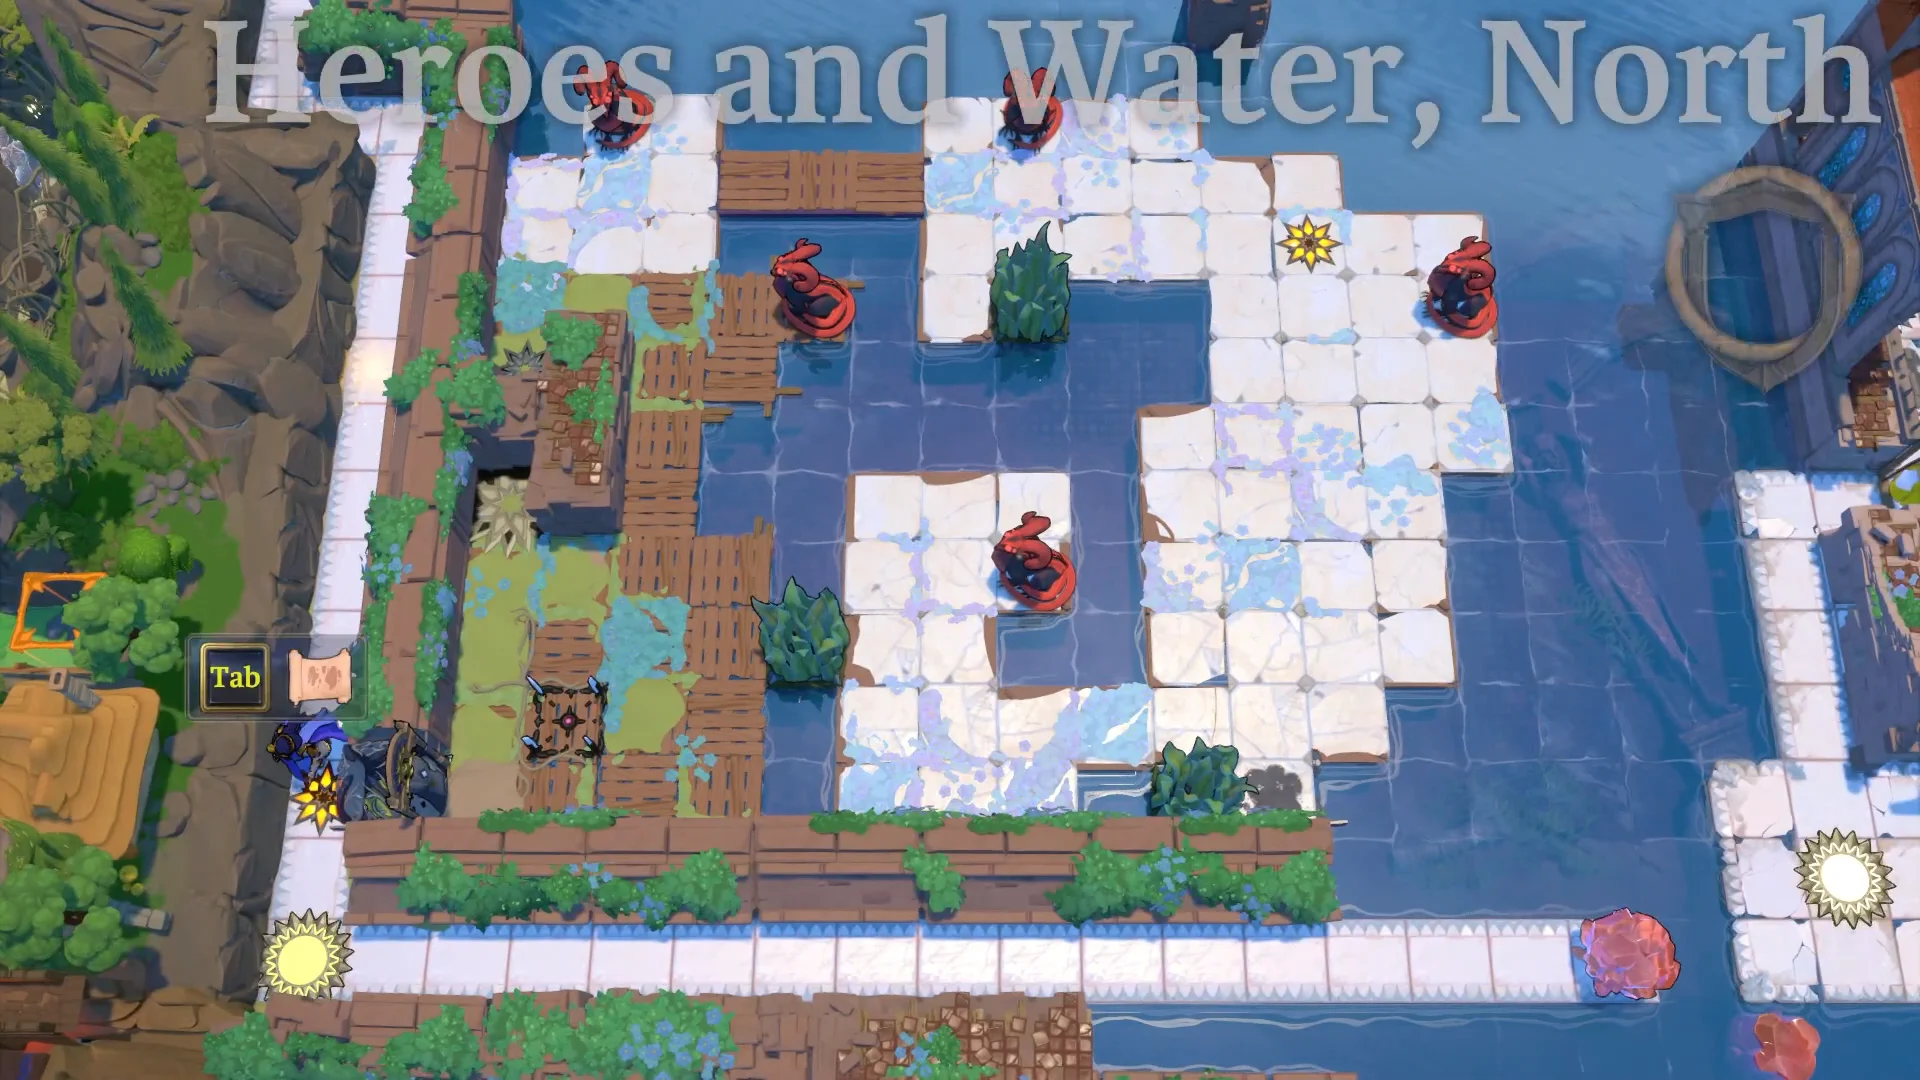
Arriving at Heroes and Water, North Screen #1 from the south. Shown at 05:29 in Game Guides Channel’s video. Image: Thekla, Inc.

Heroes and Water, North Screen #1 solutions

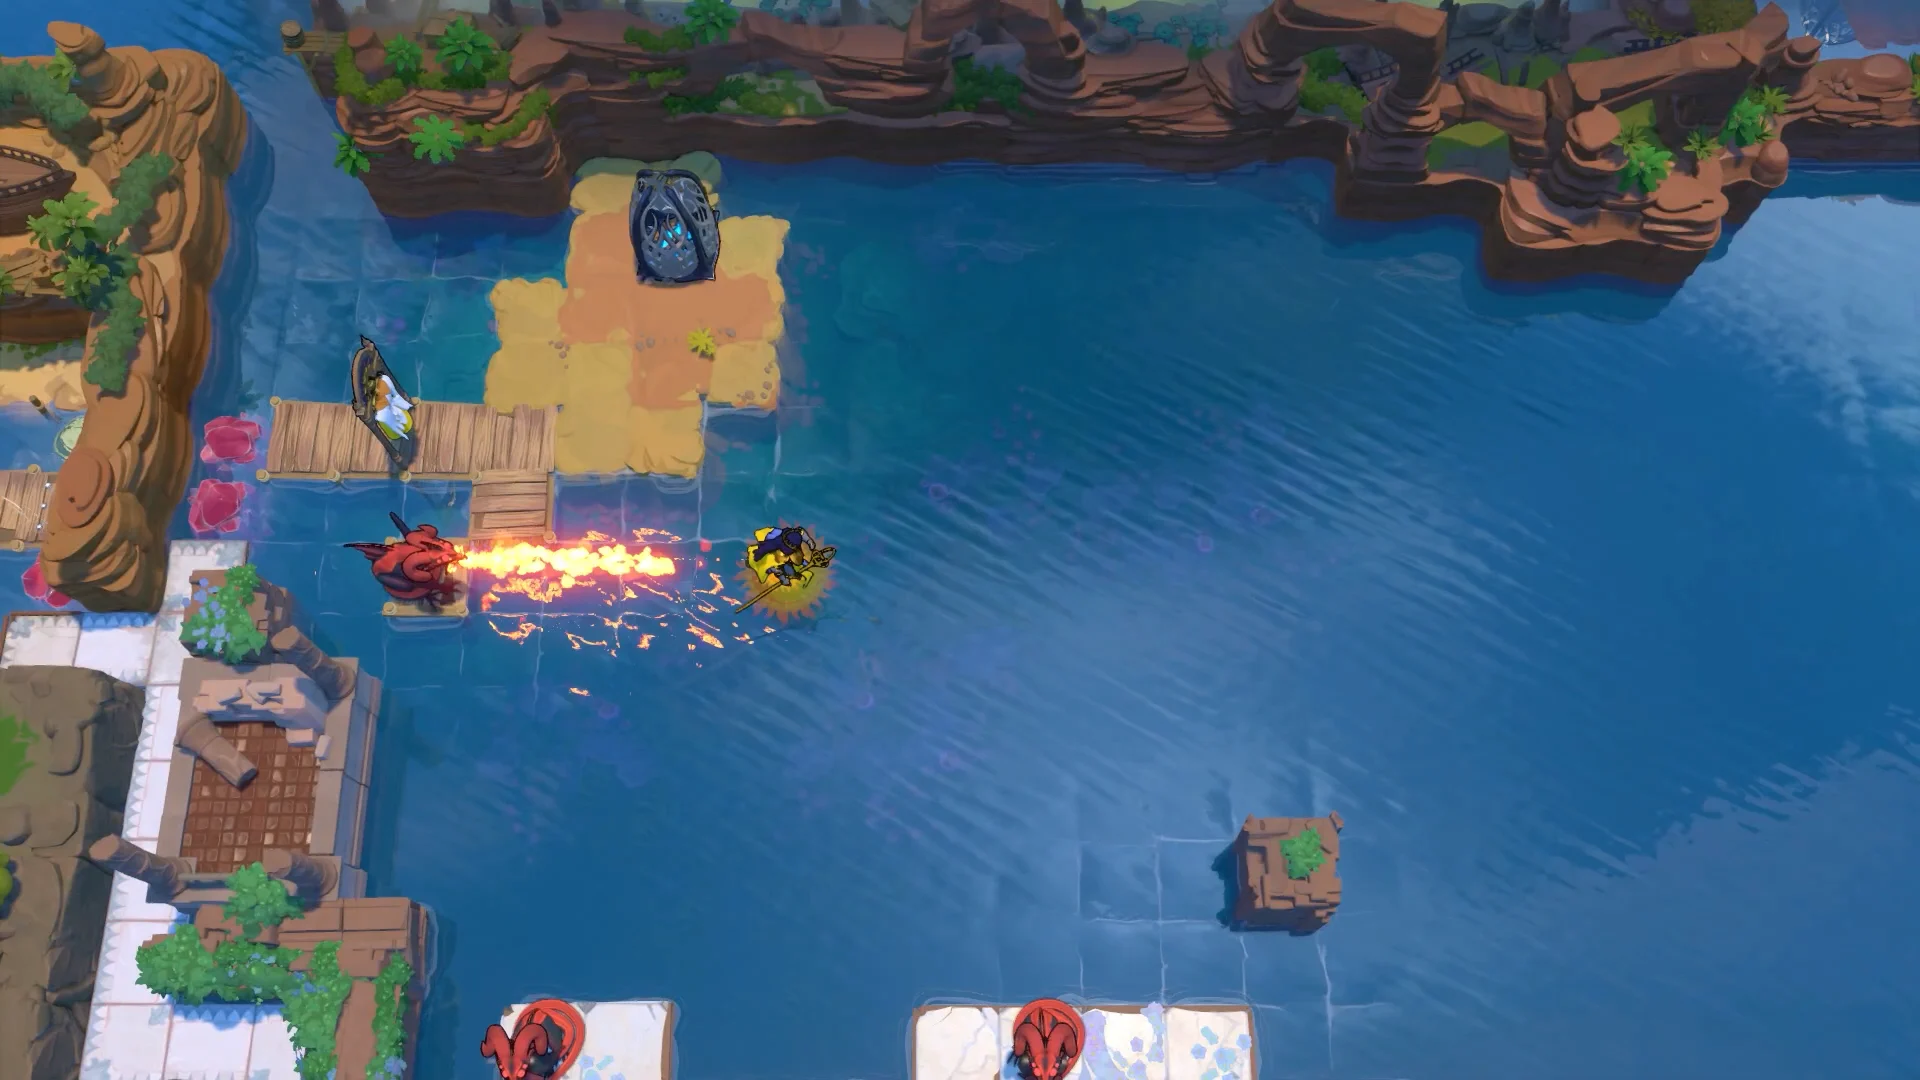
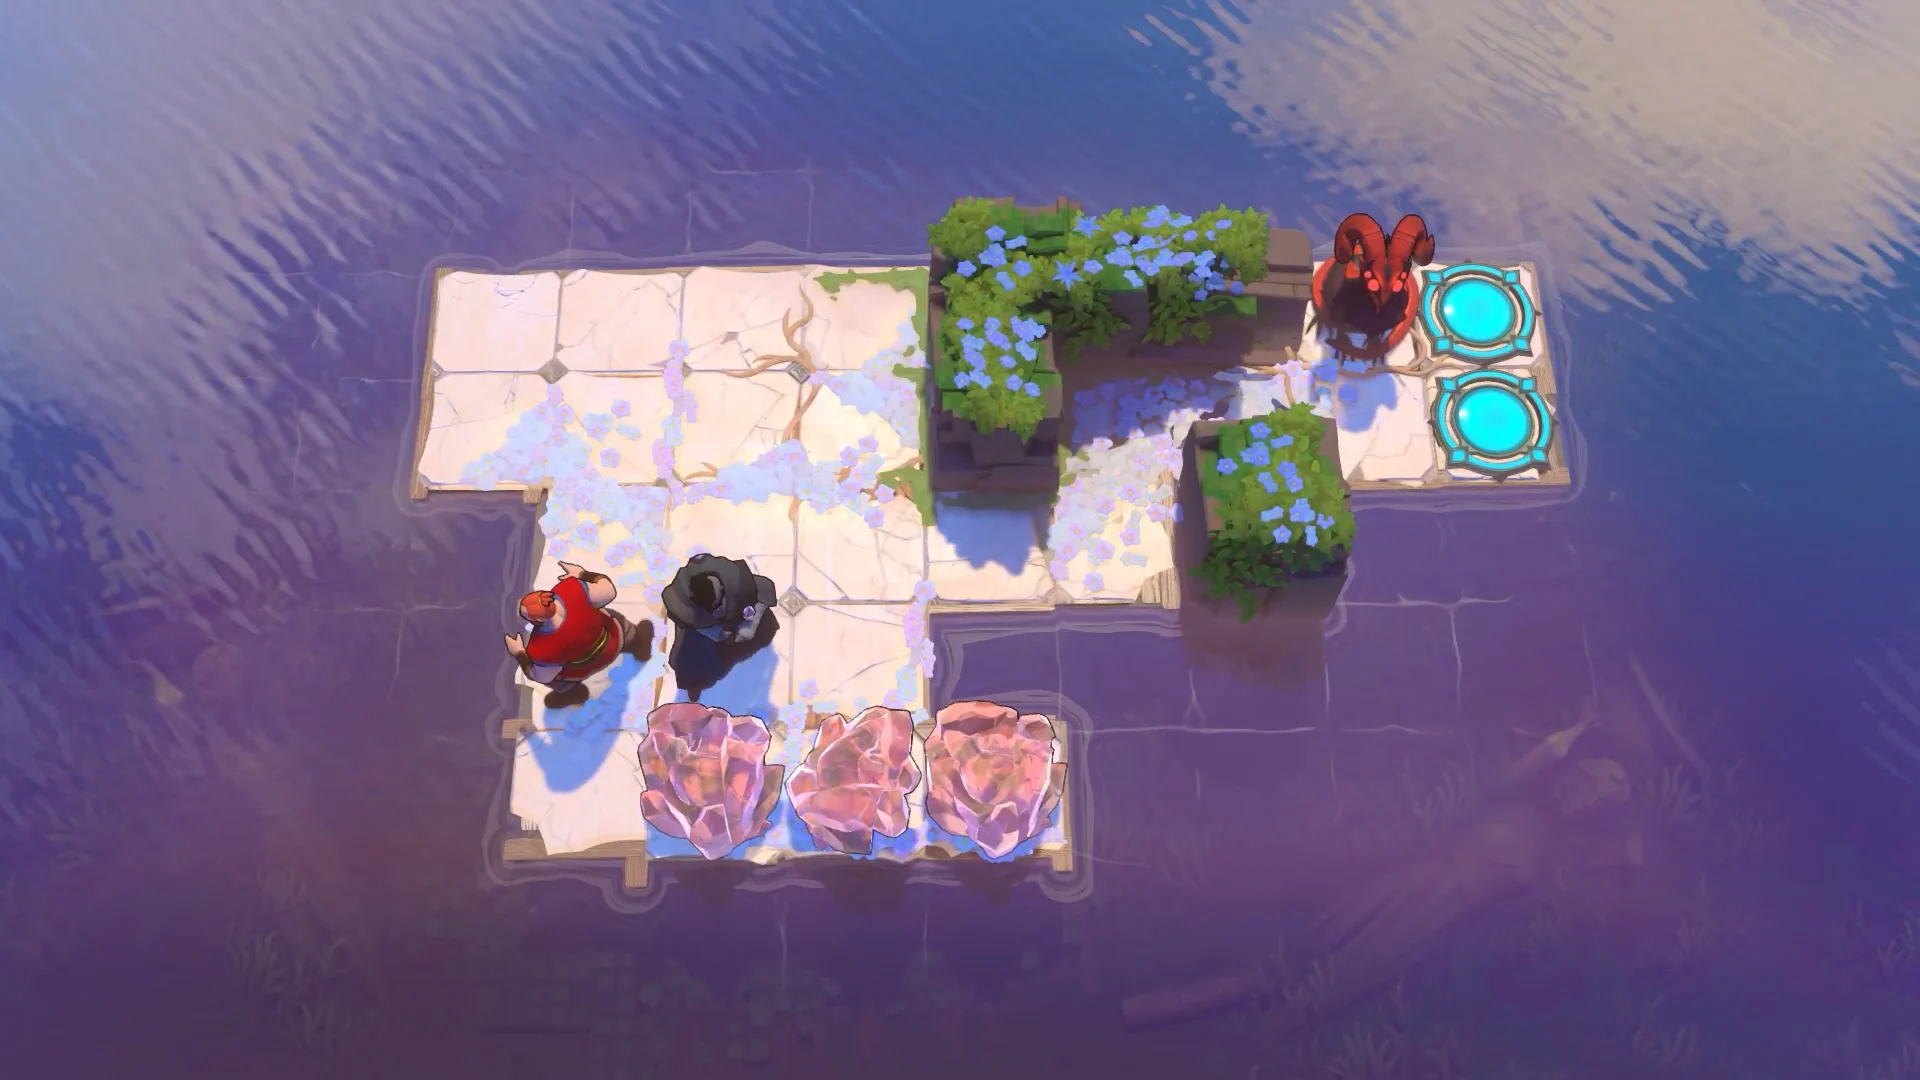
Screen #1 has four puzzles, and each one opens the next: left, top-right, top-left, then bottom-left. Red dragons guard the water channels, and their beams clear the briars that block movement once nothing stands in the way.

Activating North Channel06:22Activating North Channel
A dragon's fire lane on Screen #1. Clearing its line of sight lets the flame burn away briars. Shown at 06:22 in Game Guides Channel’s video. Image: Thekla, Inc.

Left puzzle

This one is a single route that moves and transforms you to the teleporter. Enter it in order: up x2, right x2, up x6, right x2, up x2, right x4, down, left, down x5, right x2, down x4, left, up x2, left, up, left x2, down x3, right x2, down x2, right x2, down, right x2, down. Solving it removes a barrier and opens the middle of the screen.

Route to the top-right puzzle

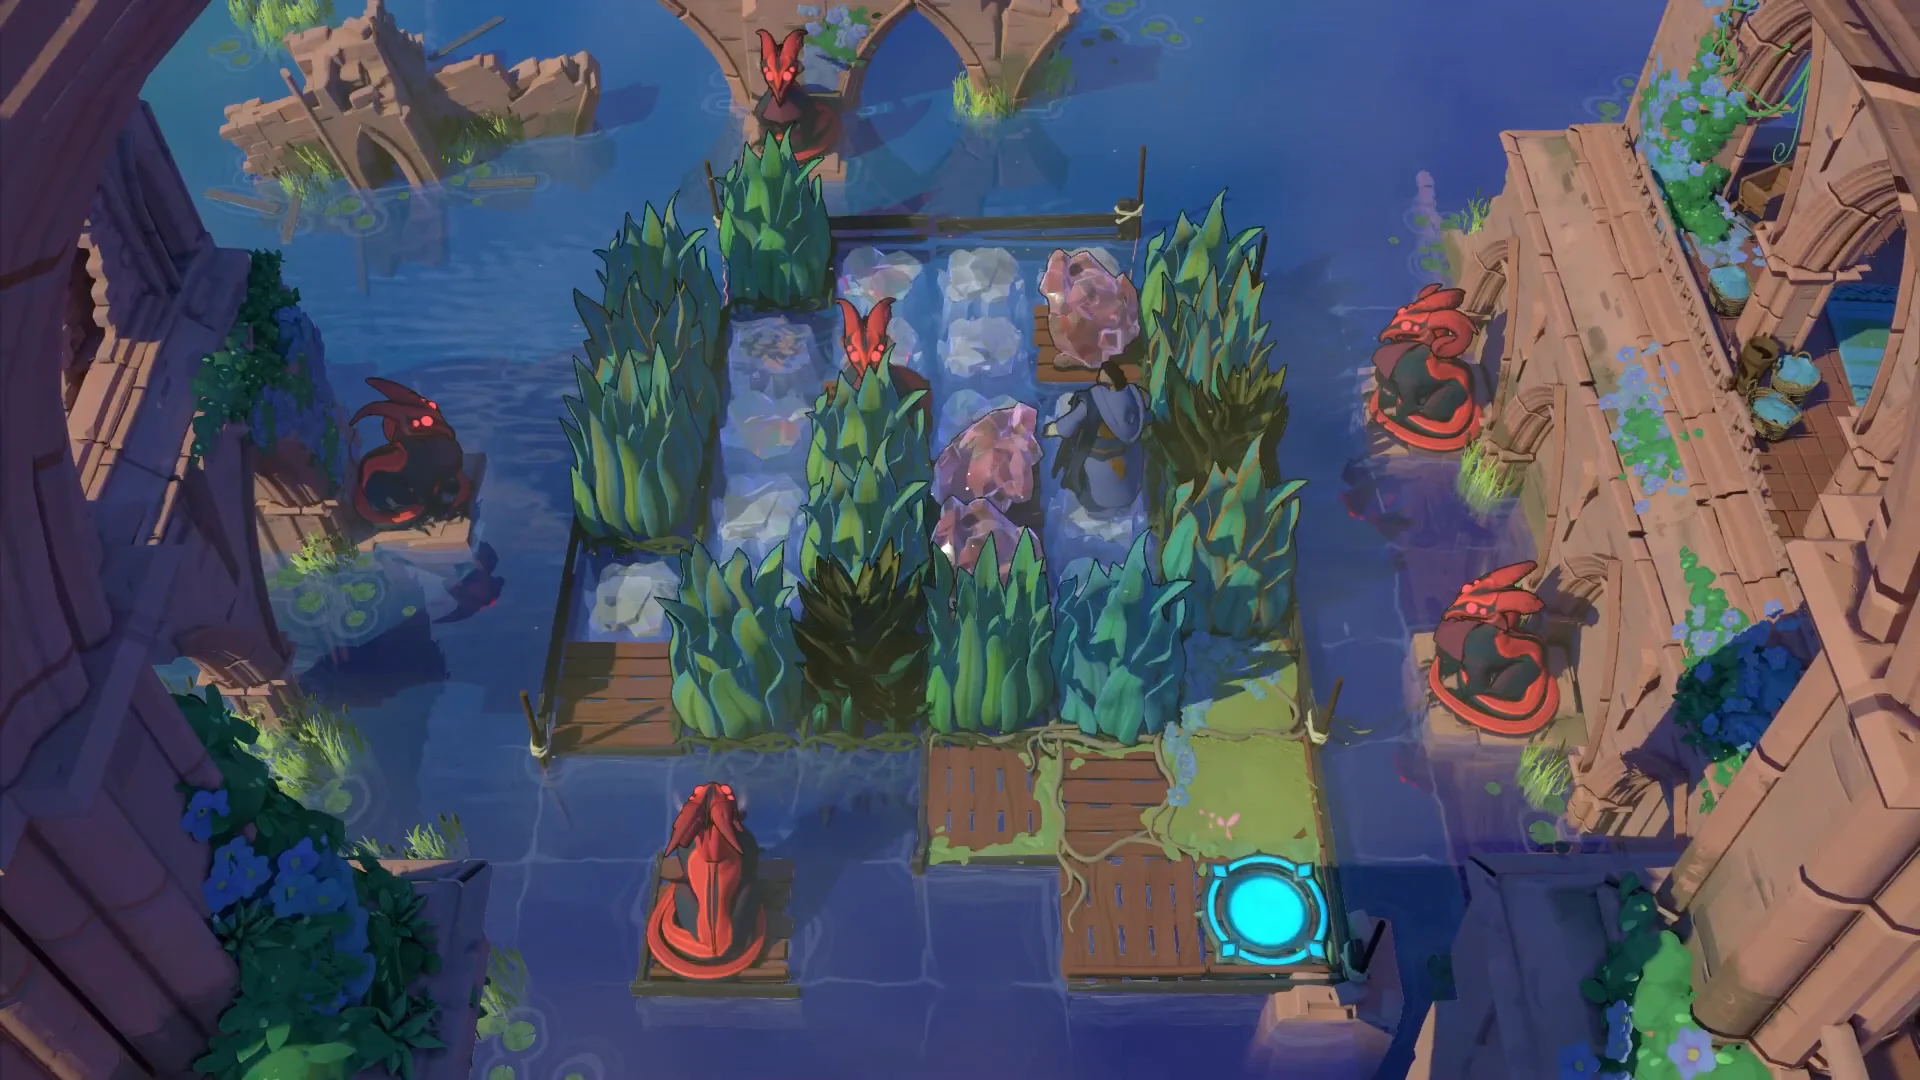
Walk through the druid outfit, then turn the plant on your right into a crystal.
Transform the plant at the bottom-right corner into a crystal too.
Stand atop that crystal, then change the monster on your right.
Get below the top-right monster and transform it. This opens the puzzle in that corner.
Puzzle Chamber 1 (Reed Marsh)07:15Puzzle Chamber 1 (Reed Marsh)
Monsters turned into crystals in the reed patch, clearing a walkable path toward the next puzzle. Shown at 07:15 in Game Guides Channel’s video. Image: Thekla, Inc.

Top-right puzzle

As the druid, transform monster #1.
Switch to the warrior and push monster #2 one square left.
With the druid, convert monsters #2 and #3.
Push the right crystal right so it sinks in the water.
Push the two-crystal column up. Then push the top crystal over the sunken one and into the water on the right.
Push the last crystal onto the second sunken crystal.
Have the druid change that crystal back into a monster, then push it right with the warrior. It destroys the top monster and opens the teleporters.
Puzzle Chamber 3 (Pushing Petrified Serpents)08:35Puzzle Chamber 3 (Pushing Petrified Serpents)
Two heroes working together: one turns monsters to crystal while the other pushes them into place. Shown at 08:35 in Game Guides Channel’s video. Image: Thekla, Inc.

Route to the top-left puzzle

Transform the monster on your left, then the plant beneath it.
Stand on the right side of that transformed monster and turn it back into a monster. Its fire kills the monster below.
Turn it back into a crystal.
Restore the crystal on the screen’s right side to monster form so it destroys the monster on the left. Then change it back into a crystal.
Transform the top-left monster to open a way inside.

Top-left puzzle

Move the wizard onto the purple button.
Transform the bottom-left plant with the druid, then take him over to the platform holding the pink button.
Bring the wizard to the platform’s top-left corner beside the crystal, then press down to trade places with it.
Move the wizard into the crystal’s row, walk all the way right, and press left to swap.
Have the druid turn the crystal into a plant, then stand him on the pink button.
Walk the wizard up to the button platform. Then have the druid change the plant back into a crystal.
Place the wizard on the platform’s middle-left square, then press down to trade places with the crystal.
Have the druid turn the crystal into a plant again, then move the wizard onto the button.
Use the druid to return the plant to crystal form. As the wizard, press left to send the crystal onto the button. This creates a route to the teleporters and activates the bottom-left puzzle.

Bottom-left puzzle

Transform the plant on the cleric’s right with the druid, then move the druid one square right.
Position the cleric diagonally up-left from the melee monster. Put the druid beside her on the right, then transform the monster.
Move the druid right, then up, and walk the cleric out of the corridor.
Position the druid above the plant located left of the changed melee monster, then transform the plant.
Move the druid right and the cleric to his right. Turn the melee monster back into a monster, and the bottom-left monster destroys it.
Move the druid left. Walk the cleric left, down, and down again, then transform the bottom-left monster.
Put the cleric on the left of the bottom-right monster. Have the druid transform the plant on her left, then move him up and left.
Walk the cleric up x2, left x2, down x2, right. Move the druid to her right and transform the bottom-right monster.
Move the druid upward as far as possible, then put the cleric on his left. Transform the plant on the right, and send the druid down.
Walk the cleric all the way right while the druid transforms the plants still remaining. Move the cleric left and the druid down, then change the final monster to drop the barriers.

Once Screen #1 is cleared, push the crystal at the screen’s bottom to open a route into Heroes and Water. Solutions for that area appear below.


Heroes and Water, North Screens #2 and #3 solutions

Screen #2 does not connect to Screen #1. The way in comes from Heroes and Stones East, another area behind the HxS gold room. Solving its final puzzle removes a barrier at the bottom of that screen. Ride the downward-facing monster’s fire down to the next screen and keep going down until a rock stops you. Then follow the fire on your left to reach Screen #2.

Screen #2 puzzle

Have the sailor push the top stone right x2, then up. Push it right across the water so it lands on the pink barrier.
Push the monster down with the sailor until it sits in the row below the barrier.
Place the cleric to the monster’s right with one empty square between them. Move the sailor into that gap.
Push the cleric right over the water with the sailor. Stop with the sailor beneath the stone, then push the stone upward across the water and into the gap.
Send the sailor down, continuing to push the cleric right. When the sailor gets to the dock, move her down x2; then take the cleric left and down.
Push the monster right into the water with the sailor. The barrier switches off.
Push the last stone into the row containing the switched-off barrier, then send it right over the water. It plugs the gap and completes the path to the teleporters.
Puzzle Chamber 4 (Northwestern Switch Grid)09:29Puzzle Chamber 4 (Northwestern Switch Grid)
A dock-and-water board, where stones and heroes are pushed across the water to fill the last gaps. Shown at 09:29 in Game Guides Channel’s video. Image: Thekla, Inc.

Screen #3 puzzle

Finishing Screen #2 makes a puzzle two screens to its right accessible.

Move the left cleric down, then right, and put the thief directly above her.
Use the thief to pull the cleric up x4. The thief ends up on the yellow button’s left.
Set the right cleric beside the left-facing monster, on its left. Walk her left over the water until she reaches the square above the button.
Step the thief right onto the button.
Have the sailor push the stone right, then up across the water.
When the stone sits to the thief’s right, pull it left onto the button.
Pull the left cleric upward to the limit with the thief, then position the thief on the upper teleporter. Move the rest of the party onto the other teleporters.

Heroes and Water puzzle order (western half)

Heroes and Water lies in the northeast, above the HxM gold room. At first, you can play only its western half; the eastern half remains locked until much more of the northern map is cleared. The screens open in a set sequence, and Screen 3 is visited twice. Screen 2 unlocks its upper half, while the lower half requires a crystal from the bard puzzles on Screen 4.

StageMechanicPuzzlesOpens
Screen 1Red push, green pull4 seriesExit to Screen 2
Screen 2Purple swaps3Top of Screen 3
Screen 3 (top)Gold water-walking4 seriesPath to Screen 4
Screen 4Bard aura2Crystal for bottom of Screen 3
Screen 3 (bottom)Bard, gold, fire3Area cleared

To get in, unlock the golden mirror in The Mirror Isles, then follow the route through The Hearty Heroes of Hauling to the HxM gold room and solve every puzzle there. A crystal appears beside the two-puzzle series on the room’s left. Push it left x4, then down, right, and up, then all the way right and up. That opens the top-right of the map, where the local map labels “Heroes and Water” alongside “Heroes and Water, North” and “Heroes and Mirrors.” Press Tab to leave the map.


Heroes and Water Screen 1: Red and green cloaks

Cloak entrances on Screen 1 change your ability: red pushes and green pulls. Each of the four series releases another overworld crystal, and that crystal builds the path to the next series.

The tile immediately to the right of the cloak entrances resets the entire screen; several routes start with a reset.

Path to the right single puzzle

Enter the red cloak from above.
Push the crystal up to the right side of the monster on the central platform, and keep pushing until the monster falls off the left edge.
Change to green and pull the crystal right. Return to red, push it onto the central platform, then over the platform’s right edge. This opens the single puzzle.

Right single puzzle

As green, pull crystal #1 down x2 and left x3, then step green down.
Push crystal #1 left x2 with red until it sinks, then move red right.
Put green on the sunken crystal. Move red down to the square directly to green’s left.
Pull crystal #2 down x2 and left x5 with green so it sits above red. As red, push it up into the water and stand on it.
Pull crystal #3 down x2 and left x6 with green so it sits below red. Push it down x2 with red to complete the wooden path.
Move red into the crystal area. Take green right, then down, positioning her above the second sunken crystal.
Push crystal #4 down x2 and left x7 with red so it sits above green. Pull it down x2 with green, then step green right.
Red pushes the crystal down; green pulls it right and moves up. Then red pushes it right x2 to plug the gap beside the right teleporter.
Bring both heroes to crystal #5. As green, pull it down x2 and left x7, then move green down.
Push the crystal left with red until it sits over green. Pull it down x2 with green, then step her right.
Have red push the crystal down until it lies to green’s left. Green pulls it left, then moves up into the alcove.
Use red to push the crystal onto the right teleporter, then move red left x3.
Move green to the crystal’s left and put red in the alcove she just left.
Green pulls the crystal left x3 and moves up. Red pushes it left x2 to seal the gap near the left teleporter. This releases a second overworld crystal.

Top-middle series

Reset the screen and knock the central-platform monster off again with red and the first crystal, then push that crystal up x2. Pull the second crystal with green into the column leading to the central platform. Switch to red and push it up past the sunken crystal to finish the path.

Puzzle #1:

Push the right crystal left x3 so the right monster lands in the water.
Push the upper crystal as far north as it goes, which sinks the top monster.
Move the crystal on the right up, then left x5, positioning it above the left monster. Push the crystal-and-monster column downward as far as possible.
Push the left crystal up, right x4, down x4, and left so it sits right of the bottom monster. Push the whole row all the way left. The monsters collide and the teleporter barrier lifts.

Puzzle #2:

Send the monster facing left two squares left.
Push the right-facing monster right x2 into that column, then up x5. That removes every monster on the right plus the upper one on the left.
Push the monster facing up right x4. It defeats the left-facing monster and both upper monsters facing right.
Drive the left-facing monster all the way left, then all the way down, and finally into the water.
Set the down-facing monster beneath the up-facing one and push it right to clear the three lower-right monsters. Push it left to remove the last bottom monster, then into the water.
Clear the last monster at the top with the one facing up, then sink that monster. This opens the teleporter route and releases a third overworld crystal.

Top-right series

Reset, then clear the central monster with red and the first crystal. Pull that crystal right with green and push it off the right edge with red to reopen the single puzzle. Push the other two crystals one at a time onto the central platform, across to the right puzzle, and up to reach the top-right series.

Puzzle #1:

Stand green #1 on the pink button.
With green #2, pull the crystal on the central platform left onto the active pink barrier. Move green #1 off the button so the crystal falls and forms a permanent bridge between the first two platforms.
Move green #1 onto the blue button.
With green #2, pull the lower crystal on the right platform left x5 and up. Pull the other crystal left x6 and down so it rests beside the first.
Move green #2 clear of the active blue barriers, then take green #1 off the blue button. The path to the teleporters is now secure.

Puzzle #2:

Move purple down, then left x2, and press down to swap with the crystal.
Pull the crystal onto the pink button with green to raise the pink barriers.
Put purple on the yellow button to raise the yellow barriers.
Place green one square down and one square right of the blue button.
Put purple on the blue button and press up to swap with the crystal. Pull the crystal onto the yellow button with green.
Return purple to the blue button and press right to swap with the crystal. Both heroes can reach the teleporters, and a fourth overworld crystal appears.

Top-left series

Reset the screen. With red, push the third crystal of the three-crystal row up the middle wooden path, circle around by the left wooden path, and push it right until it sits under the left monster. Repeat with the other crystals to build a route to the central monster. Pull the crystal under the left monster all the way left with green, push it above the middle path with red, pull it down the path with green, and push it to the right of the right monster with red. Push the monster-and-crystal row left so the monsters collide.

Puzzle #1:

Push the top crystal down x2, right x7, down, right x3, up, right. It sinks at the switched-off pink barrier.

Do not step on the pink button again for the rest of puzzle #1.

Cross the sunken crystal, get behind the monster, and push it left into the water.
Push the last crystal up x3, right x3, down, right, down, right x2, up x3, right, down x2, right x3, up, right x4. It sinks and opens the teleporter path.

Puzzle #2:

Put green on the green button to lift the green barriers.
Push the left-facing monster up x7 with red. Move green up out of its way, then push it up x2 more so it sits right of the crystal.
Swap red onto the green button. Walk green down to the blue-button platform without dragging the left-facing monster along.
Take red off the green button and move green right to the teleporter platform. Pull the down-facing monster onto the blue-button platform with green.
Put red back on the green button. Pull the down-facing monster up to the left-facing monster’s platform with green.
Work red and green together to set the down-facing monster on the green button.
Pull the crystal down with green and push it left x2 onto the blue barriers with red. Walk red down to the blue-button platform without pressing the button.
Pull the left-facing monster down with green, then walk her to the blue-button platform while keeping the monster in the crystal’s row.
With both heroes on that platform, press the blue button. The crystal breaks, the left-facing monster destroys the down-facing one, and both teleporters open. Leave Screen 1 through the doorway in its top-right corner.

Heroes and Water Screen 2: Purple swaps

Purple trades places with any crystal or monster in a straight line, and Screen 2 uses that to drop objects onto buttons or into the water. Each of the three puzzles opens the next, and each one starts with a short swap sequence in the overworld.

Screen 2 puzzle #1

From the reset square, go down and left x2, then press down to swap with monster #1. Go down again and press left to swap with monster #2.
Go up x4 and press right to swap with monster #1. Then go up, left, down, and press left to swap with it again.
Go down x4 and press right to swap with monster #2. Go up x2, left x3, up x2, and press down to swap with it again.
Go right x2 and press up to swap with monster #1. Go right x2, down x2, left x4, down, and press up to set monster #2 on the left button.
Go right x4, down x2, left x2, up, and press down. Monster #1 lands on the right button and the first yellow barrier drops.
Inside the puzzle, go up x2, then right until you are two squares short of the crystal. Press up to swap.
Go to the left edge, down to the bottom, left x3, and press right.
Go up, all the way left, down, and press left.
Go all the way down, right, down x2, right x2, and press up.
Go left x3, all the way down, right, down x2, left, and press right.
Go down, left x2, all the way up, left, up, and press down.
Go right, all the way up, all the way left, down, left x3, up x2, and press right.
Go down, all the way left, down, left x3, and press up.
Go right, all the way down, all the way right, up, all the way right, down, and press left.
Go up, right, down, and press right. The crystal settles on the button and the teleporter opens.

Screen 2 puzzle #2

After leaving puzzle #1, press left to swap with the monster on the right button. Go down, right x2, up, and press right to swap again, which lowers the middle barrier.

Move purple up and press left to swap with crystal #1.
Move purple down and right, then press up to swap with crystal #2.
Step purple into red’s column and press up to swap.
Push crystal #2 right x3 and down x2 with red until it sinks.
Move purple down x2 and left x2, then press down to swap with the remaining crystal.
Stand purple on the sunken crystal and press right to swap with the crystal on that side.
Move purple down x2, left x4, down x2, and press left. Then move up, right x2, and press down to pull the crystal out of the corner so red can reach it.
Walk purple into red’s row without swapping, then press left.
Push the crystal up, right x6, and into the water with red.
Move red into purple’s row and swap the two with purple.
Stand purple on the newly sunken crystal and press up to swap with a crystal on the top-right platform.
Move purple up and right, then press down to swap with that platform’s other crystal. Leave it there for later.
Move purple left and press down to swap with the crystal on the bottom-right platform.
Move purple into red’s row and press left. Press up to swap onto the top-left platform, then right to swap onto the top-right platform.
Walk purple into red’s column without swapping, then press down.
Push the crystal down and all the way left with red so it sinks and opens the teleporter platform. Then push the crystal on that platform down x4.
Move purple down and press left to swap with the crystal on the bottom-left platform.
Move purple left, all the way up, and press right to swap with the crystal on the teleporter platform. Both teleporters open.

Screen 2 puzzle #3

From puzzle #2, press left to swap with the monster on the left button. Go up, right x2, up, and press right to set the other monster on the right button. Walk to the left button without swapping, then press right to swap with the monster and open puzzle #3.

Move purple into the monster’s row and press right to swap.
Pull the monster up with green.
Put purple on the pink button and walk green along the wooden path to the middle platform.
Move purple into the monster’s row, outside the pink button’s column, and press left to swap.
Put green on the pink button and move purple to the square directly right of the pink barrier.
Pull the monster into purple’s row with green, then return her to the pink button.
Step purple left onto the active pink barrier and press right to swap the monster onto it.
Step green off the button. The monster is destroyed and the teleporters open. Back in the overworld, push the top-right crystal up to reach the top of Screen 3.

Heroes and Water Screen 3 (top): Gold water-walking

Every puzzle on the top half of Screen 3 runs on gold’s fire rule. The puzzles come in four groups: top-left, top-right, middle, and bottom-right.

Top-left series

Puzzle #1 is a tutorial: walk straight through the fire to the teleporter. Puzzle #2 is one long walk: right x6, up x2, right, up, right x3, down, right x2, down, right x2, up, right x5, up x4, left x5, up x2, left x4, down, left x4, up, left, up, left x8, down x2, right x7, down, right.

Puzzle #3:

Move gold to the monster’s right and push the monster down with red.
Return gold to the monster’s right, leaving one empty square between them. Put red in that gap and push gold right x6 so red can reach the teleporters.
Move gold all the way right and green to gold’s left. Pull gold left x5 so green reaches the teleporters, then walk gold onto one.

Puzzle #4:

Move gold into the monster’s column and up x6. Push the monster left x2 with red, then move gold left x3.
Push the monster left with red, then move gold down x6 and left x2.
Push the monster left x3 with red, then move gold left, up x3, left.
Push the monster left x2 with red, then move gold left, up x4, and left onto red’s platform.
Push the monster left x2 again. Place gold below it with one square between them.
Put red in the gap and push gold down x6. Walk red left onto the top teleporter and gold down onto the bottom one.

Top-right series

Puzzle #1:

Move purple to the bottom-right of his platform and press left to swap with the monster. Move him to the top-right and press up to swap with gold.
Move gold to the monster’s left. As purple, press down to swap with the monster, then left to swap with gold.
Walk gold all the way up through the fire to the monster’s left. Swap purple with gold, then walk gold back up the fire so both stand on the top platform.
Place purple to the monster’s right with two squares between them and press left. Walk gold through the fire to the bottom-right platform.
Swap purple with gold, then walk gold back down the fire to purple’s left. As purple, press left to swap with gold, then up to swap with the monster. The monster sinks, the barriers clear, and the teleporters open.

Puzzle #2:

Pull the bottom monster all the way right with green. Place gold above it with one square between, so green can leave the bottom-right corner.
Pull the top monster down x2 with green and move gold to its left. Walk green left into the fire, all the way down, left, and down to the bottom monster’s left.
Pull the bottom monster all the way left, then down. Place gold above it with one square between, so green can escape the bottom-left alcove.
Walk green to the end of the path to the left teleporter and put gold on her right. Step green left onto the teleporter, pulling gold, then walk gold to the top teleporter.

Middle series

Puzzle #1:

Walk green all the way left, pulling gold. Move gold right x2 into the fire, then up x3.
Put green directly under gold and pull all the way down. Move green right and down, then move gold down and right.
Pull the monster right x2 with green. Walk gold right into the fire and follow it to the left teleporter.
Pull the monster right x2 again and move gold directly above it. Put green above gold and pull up to the teleporters. Green takes the left one and gold moves up to the right one.

In puzzle #2, red pushes gold and a monster together as a pair. “The column” means gold plus the monster lined up with her vertically, and “the row” means the same thing horizontally.

Move gold right x2, down, right x2, up, and right onto the right platform. Put gold below the right monster and push the column up x3 with red.
Move gold to the monster’s right and push the row left. Move gold down, then push her left x4 to the middle platform.
Put gold above the middle monster and push the column down x2. Move gold to its right and push the row left x3.
Move gold up and push her left x3 to the left platform. Put her below the left monster and push the column up x2.
Move gold to the left monster’s left and push the row right. Move gold down and push her right x3 back to the middle platform, shoving the middle monster right.
Put gold on the middle monster’s right and push the column left x2. Move her up and push her left x4 back to the left platform, shoving the left monster left.
Put gold under the left monster and push the column up x2. Move her above the left monster and push her left x2 with red. Both teleporters open.

Bottom-right series

The druid joins here and can turn a monster into a crystal.

Puzzle #1:

Pull the left-facing monster down x2 with green. Put gold under the down-facing monster to block its flame.
Pull the up-facing monster left x3 with green, then have the druid turn the down-facing monster into a crystal.
Move gold to the square where the two flames cross. Pull the crystal left, then down x3 into the water with green.
Turn the left-facing monster into a crystal. Move gold up, then pull that crystal left x6 into the water to complete the teleporter path.
Turn the last monster into a crystal. The barriers fall and all three heroes can reach the teleporters.

Puzzle #2:

Push the left-facing monster down the central blue-green path with red. Stop it in the row of the bottom blue barriers that trap the two gold heroes.
Put gold #1 on the blue button to drop the blue barriers. Move gold #2 down to the lowered barriers and ride the monster’s fire out.
Push the left-facing monster down x2 with red to clear it, then take gold #1 off the blue button.
Move gold #2 to the right-facing monster’s right and push that row left. Push the right-facing monster down to the bottom blue barrier row.
Put gold #2 on its right and return gold #1 to the blue button. Use the fire to carry gold #2 onto the green button, and leave her there.
Push the right-facing monster up with red. Move gold #1 to its right and push the row left until the monster sits below the blue button.
Put red on the monster’s left and gold #1 on the blue button. Push the monster up, take gold #1 off the button, then push the monster onto the blue button. Move red and gold #1 out of that cell.
Push the left-facing monster to the top row of the bottom platform with red. Put gold #1 on its left and push the row right until the monster is below the green button.
Move gold #2 to the green button’s left and push the monster onto the green button. Walk gold #2 left along the fire onto the central path.
Clear gold #1 and red out of the green-button cell, then move gold #2 up. The monsters destroy each other, the central path activates, and every teleporter opens.

Puzzle #3:

Move purple right, up x2, all the way right, and press down to swap with monster #1. Press right to swap with monster #2.
Move purple up x2, left x2, and press down to swap with monster #2. Then go right x2, up x2, and press left to swap with it again.
Move purple down x2, all the way right, up x4, all the way left, and press down to swap with monster #2.
Move green to the bottom row of her platform. Put purple in that row and press left to swap.
Put gold below monster #1 and red on gold’s left, then push right. Move green to gold’s right, step red left, and pull gold all the way right onto the right platform with green.
Move gold down into purple’s row and swap with purple. Put gold below monster #1 and red on her left, then push right.
Move purple into red’s column and press up. Put green on gold’s right, step purple left, and pull gold all the way right onto the right platform.
Move purple down to monster #2’s row and swap. All four heroes reach the teleporters. Head back to Screen 2 and go right to Screen 4.

Heroes and Water Screen 4: Bard aura puzzles

The bard’s aura covers the squares around her. Any crystal or monster inside it moves with her and keeps its relative position, whether that’s a side or a corner. Walk alongside a water gap and the carried crystal drops in, giving you a tile to cross.

Screen 4 puzzle #1

To open it, enter through the bottom gate in the crystal’s row and exit through the middle gate so the crystal stays in the middle row. Then enter the bottom gate again so the crystal sits above you.

Move up x2 and left x2 so the crystal is directly above you, then cross the water.
Move up x3, right x5, and down x4 to cross back.
Move right, down, left, right, up, down, left, and up x2 to bring the crystal to your right. Go down x2 and all the way right to cross.
Go all the way down, up, and left to put the crystal above you. Then move down, left, and up x3 to cross.
Move left x2 and down x2 to cross.
Move left x4 and down so the crystal sits in the top-right of the aura. Move up and right x2 to bring it above you.
Move left and up x3 to cross.
Shift the crystal to your left and cross with this sequence: right, up, right, left, down, left x2, up x2, right x2, down x2, left x2, up x2, right x2, down x2, left x2, up x2, right x2, down x2, left x2, down, right x2, up x2, left x2, down x2.
Go all the way left, then down, right, up, left, down, right to put the crystal in the top-right of the aura.
Move up x3 and left to drop the crystal into a gap. Then move up x2 and all the way right across it.
Move left x2, up, right, down, left, up, right x5, and down to put the crystal in the top-left of the aura.
Move up, left x3, down, left x2, up, right, down, right, and up to bring the crystal above you. Go all the way right to the teleporter.

Screen 4 puzzle #2

Move the bard all the way right, then down, catching the bottom crystal in the bottom of her aura.
Move her all the way left, then down, dropping the crystal into the water to red’s right.
Push the bard up x2 with red, then move red down x2.
Carry the other crystal to the left of the top teleporter by moving the bard all the way right, then up.
Push the bard all the way down with red, then move red up x2.
Move the bard all the way left, then push her down onto the sunken crystal with red.
Walk red to the top teleporter and the bard to the bottom one. A new crystal unlocks to the right of the puzzle in the overworld.

Route to the bottom of Screen 3

Push the new crystal all the way left.
Walk left through the gate just right of the crystal you moved before puzzle #1, so that crystal ends up on your left. Go all the way down to pull the new crystal into your row inside the aura.
Go all the way up, then left, to drop the new crystal. Move down x2 and right to pick it up again in the top-right of the aura.
Move up, then right through the gate, which drops the crystal right below the water square blocking the way up. Push it up to reach the bottom puzzles of Screen 3.

Heroes and Water Screen 3 (bottom): Final three puzzles

Bottom puzzle #1

Move the bard to the top row of her platform. Put purple in the same row and press right to swap with her.
Walk the bard up to the crystal so it enters her aura, then move her all the way down.
As purple, press left to swap with the bard. Without swapping, walk the bard left, up x3, all the way right, and down. She ends one square right of the crystal. Press left to swap with the crystal.
Move purple all the way down, all the way left, and press right to swap with the bard.
Catch the crystal in the bottom-right of the aura by moving right x2, up x4, right. Go all the way down and all the way right to drop it between the platforms.
As purple, press left to swap with the bard.
Catch the crystal in the top-left of the aura, then move right x4, up x3, right x2, down x2 to release it.
Move the bard left x3 and up to catch it again. Go right, up, right, down, left, up, right x2, down x2, left x2 to drop it left of the right teleporter.
Move the bard up x2 and all the way right onto the right teleporter. Put purple on the left one.

Bottom puzzle #2

Move the bard all the way left, all the way down, then right to catch the monster in her aura.
Move her all the way up, then right until the monster hits the wall.
Move gold up, then left, so she stands under the monster.
Move the bard left x4 to shift the monster and gold left. Go all the way down to push the monster into the row above the bard.
Move the bard up, step gold down to free a square, and move the bard into it.
Move the bard all the way up and all the way right. Both heroes land on the teleporters.

Bottom puzzle #3 (final puzzle)

The area’s last puzzle is in the flooded ruins. Step onto its activator pad from the overworld to start it.

Move gold below the bard.
Move the bard up into the right-facing monster’s fire and follow it to where it meets the down-facing monster’s fire.
Follow the down-facing fire to the left-facing monster’s fire, then follow that to the single-square platform and step onto it.
Move gold to the bard’s left. Walk the bard left into the up-facing monster’s fire and follow it up until the right-facing monster sits inside her aura.
Bring the bard back down to the single-square platform, then move her right into the fire of the monster you just turned to face down.
Go down until the up-facing monster is in her aura, then up to lift it off the teleporter. Move down and left to put both heroes on the teleporters.

How to confirm both areas are complete

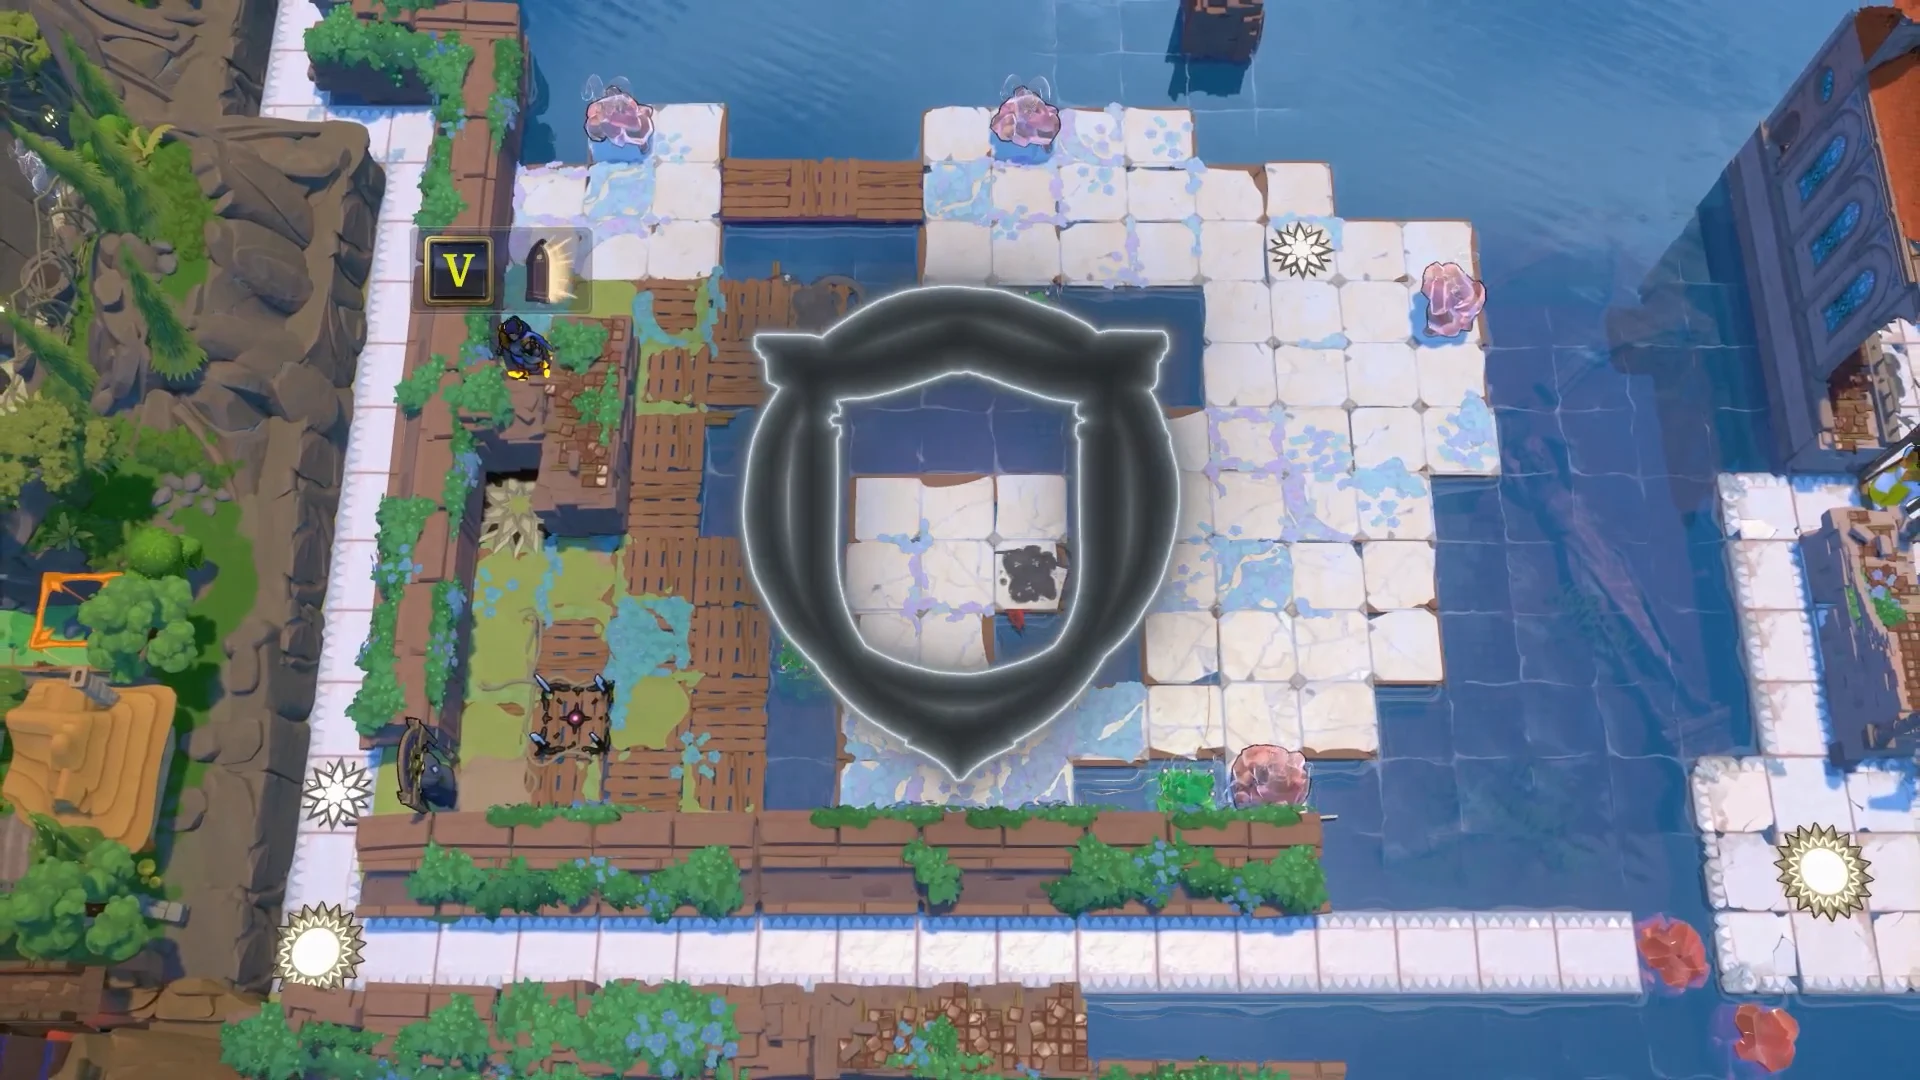
A puzzle counts as solved once its barriers drop and every hero is standing on a teleporter. In Heroes and Water, North, each cleared room adds a shield crest to the golden vertical gear meter on the right edge of the screen. The sector is finished when the final crest locks into that tracker.

For the western half of Heroes and Water, check for these signs:

  • The final bottom-of-Screen-3 puzzle’s shield emblem lights up and returns you to the overworld.
  • The overworld water gate and bridge change, and the local map shows the cleared state.
  • Every teleporter on Screens 1 through 4 is open, including the three on the bottom of Screen 3.

The Gold H&M Steam achievement, described in-game as “Open the H&M gold room,” belongs to this northeast gold-room region. It can pop while you are still on your way into Heroes and Water, so don’t treat it as proof the area is done. The open teleporters and the updated map are the reliable signals. The eastern half of Heroes and Water stays sealed until you push further through the northern map.