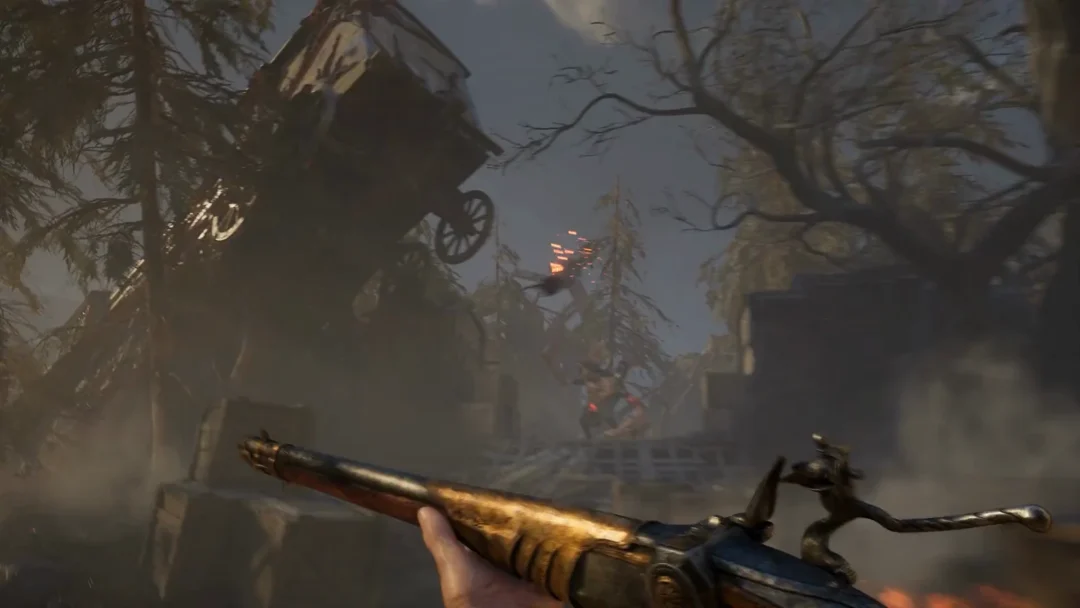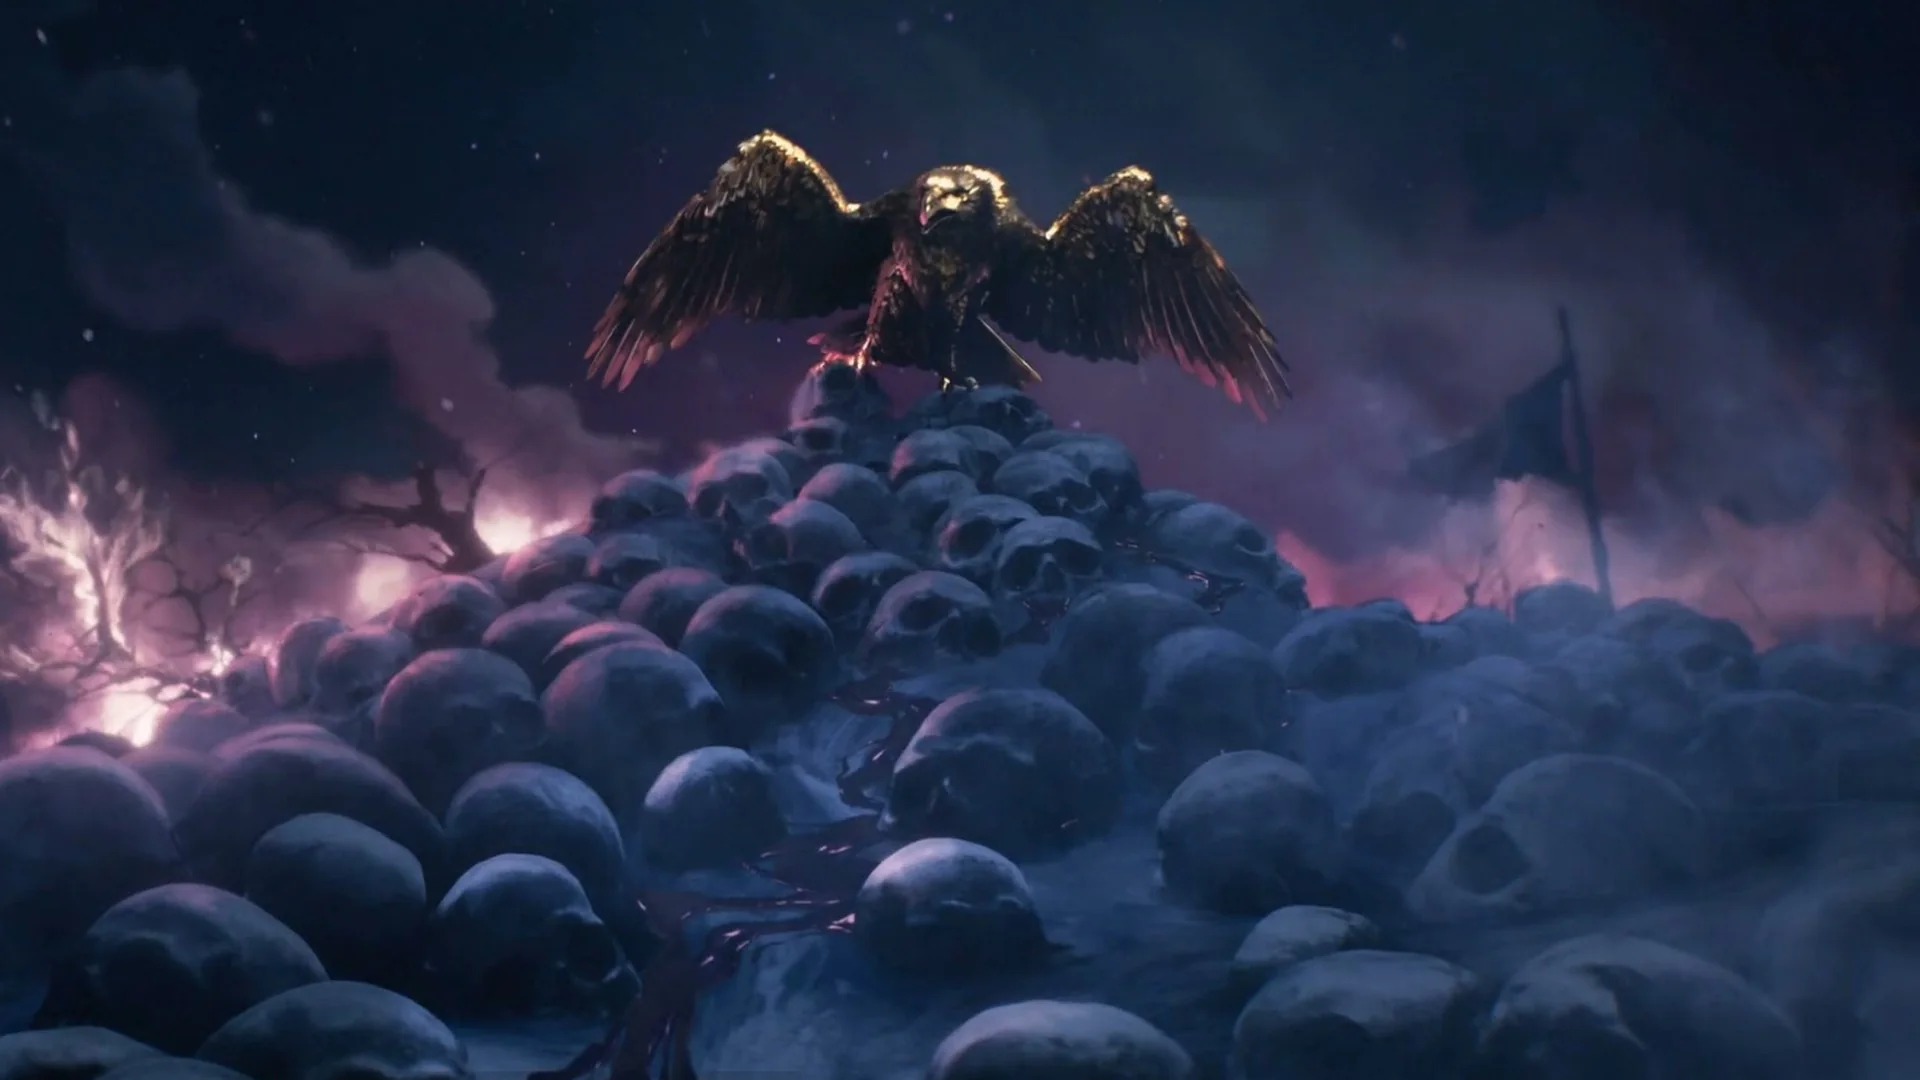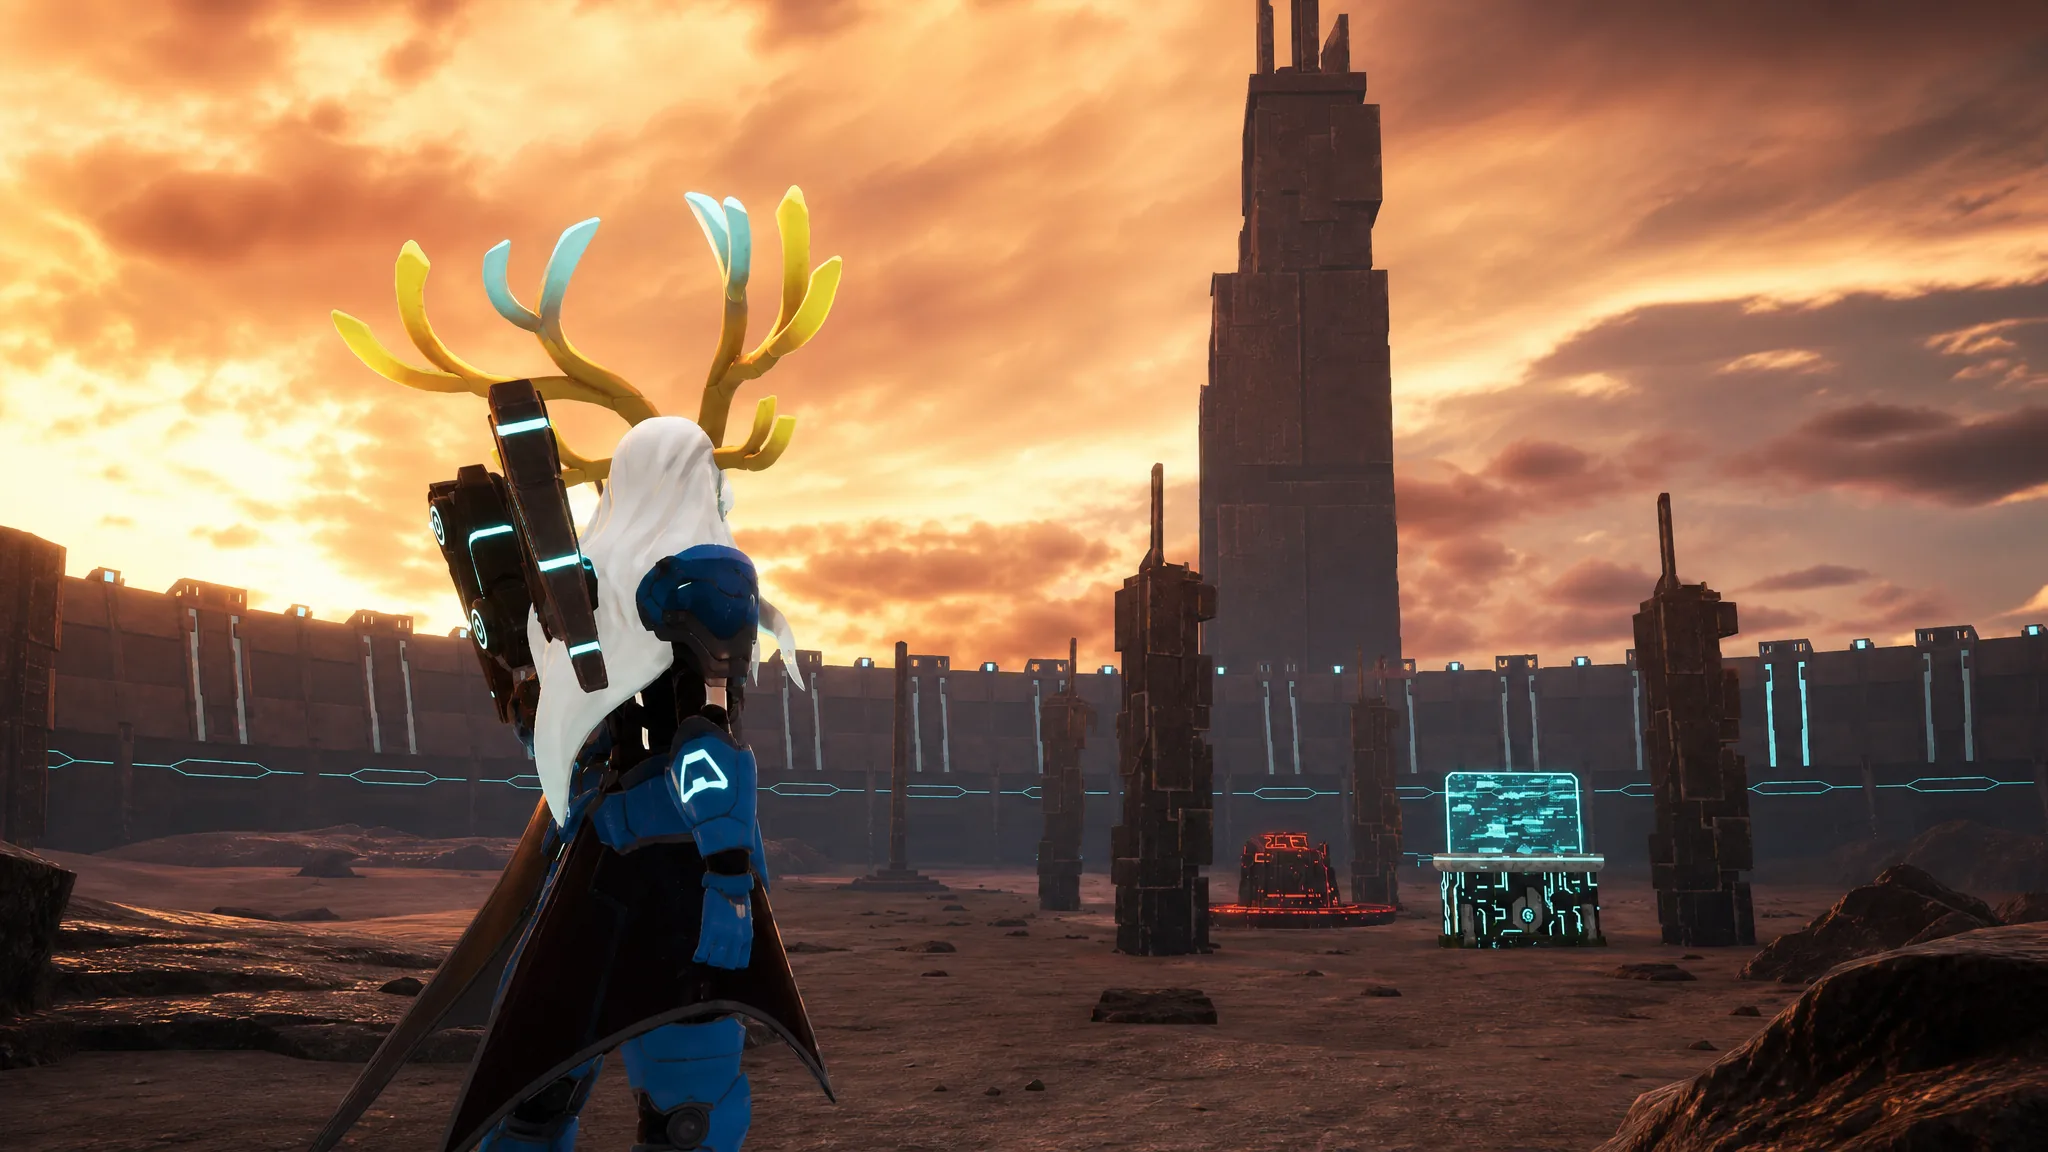
Raid Bosses sit at the very top of the combat ladder in Palworld 1.0. They hit hard, soak huge amounts of damage, and several of them now shift into a second phase once their health empties. When that happens the boss usually changes element, which means the party that carried you through phase one can suddenly become useless. Building around each boss ahead of time is the difference between a clean kill and a wasted Slab.
Quick answer: Match your Pals to each Raid Boss’s element weakness, keep a second party ready for bosses that swap type mid-fight, and bring Felbat or Lovander for life-steal on the longest encounters. Use Ice for Xenolord, Water then Ground for Blazamut Ryu, Dragon for Bellanoir, and both Fire and Electric Pals for Hartalis.
How to start a Raid in Palworld 1.0
Before any of these teams matter, you need to summon the boss. Raids run through the Summoning Altar, and you feed it a Raid Boss Slab built from Slab Fragments. Craft the slab at a workbench, then use it at the Altar to bring the boss into the arena.
There are nine Raid Bosses in total, each with its own stat block and skill set. The counters below cover both the party Pals you ride or fight alongside and the base Pals you want stationed and levelled for raw damage. For the multi-phase fights, keep the second-phase Pals boxed and ready to swap the instant the boss changes element.
Raid Boss weakness chart
| Raid Boss | Type | Counter to bring |
|---|---|---|
| Bellanoir (Lv 30) | Dark | Dragon (Lv 60+) |
| Bellanoir Libero (Lv 50) | Dark → Ice | Dragon, then Fire |
| Blazamut Ryu (Lv 55) | Dragon/Fire → Electric | Water, then Ground |
| Blazamut Ryu Ultra | Dragon/Fire → Electric | Water, then Ground (maxed) |
| Xenolord | Dark/Dragon | Ice |
| Xenolord Ultra | Dark/Dragon | Ice (maxed) |
| Hartalis | Cycling barriers | Fire + Electric, then Dark |
| Hartalis Ultra | Cycling barriers | Fire + Electric + life-steal |
| Moon Lord / Master | No element | Any (fliers + ground) |
Bellanoir and Bellanoir Libero
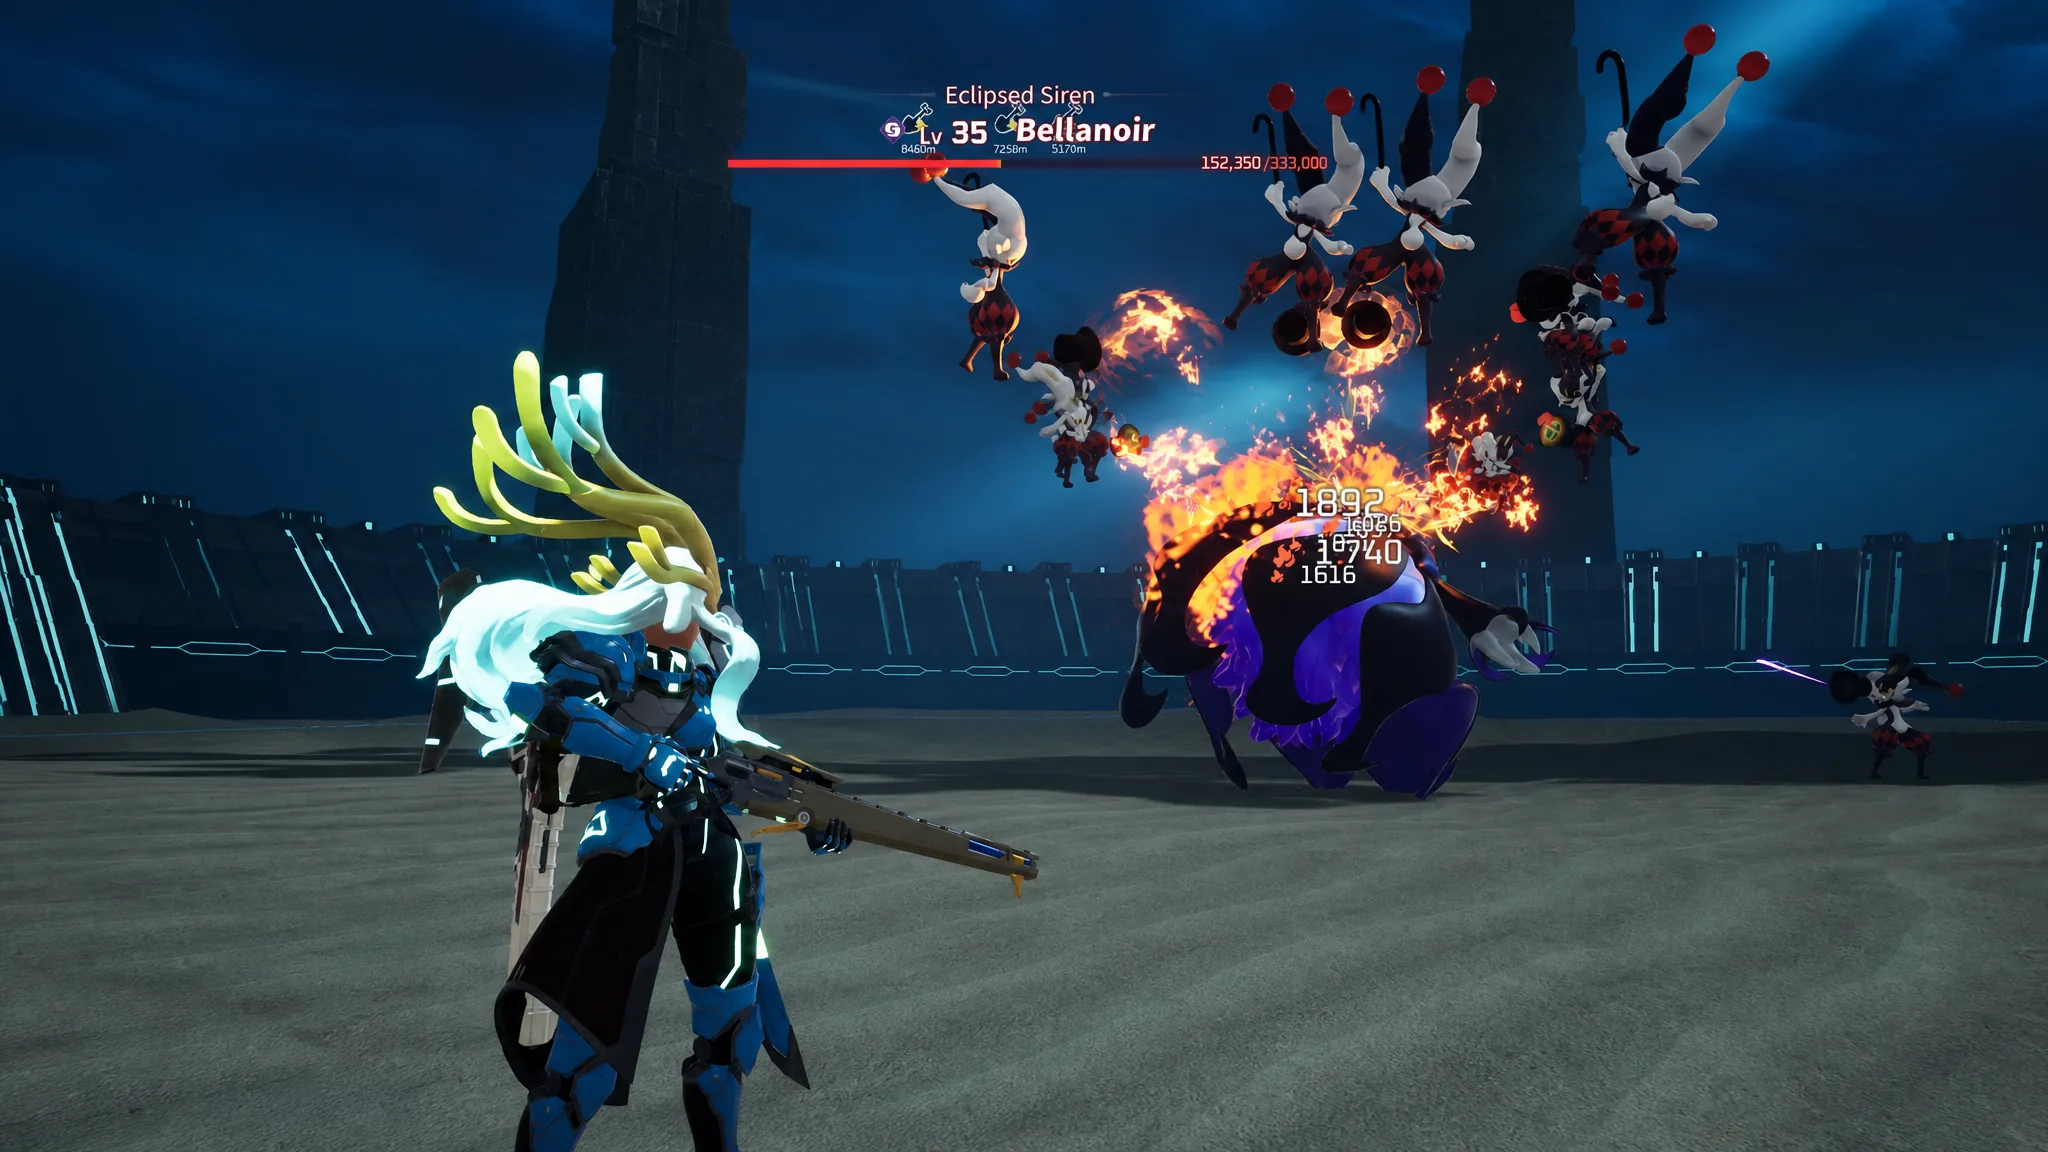
Bellanoir is the gentlest introduction to raids. It is a Level 30 Dark-type that floats around the arena and leans on its Nightmare Ray attack for burst. Since Dark folds to Dragon, a Level 60+ Dragon lineup ends the fight quickly.
- Party: Chillet, Chillet Ignis, Elphidran, Quivern
- Base: Relaxaurus, Relaxaurus Lux, Jormuntide, Xenogard
Bellanoir Libero is the Level 50 ultra version, with a bigger health pool and stronger resistances. It fights across two phases, and the element flips halfway through, so plan two sets of base Pals.
Phase 1: The boss stays Dark-type, so counter it with Level 60+ Dragon Pals like Jormuntide and Xenogard at your base while Chillet, Elphidran, Gobfins, Ragnahawk, and Knocklem hold the party slots.
Phase 2: Bellanoir Libero switches to Ice attacks and its damage climbs sharply. Swap to Fire-type base Pals at Level 60+ such as Jormuntide Ignis, Blazamut, Eidrolon Ignis, and Bushi to close it out.
Blazamut Ryu and Blazamut Ryu Ultra
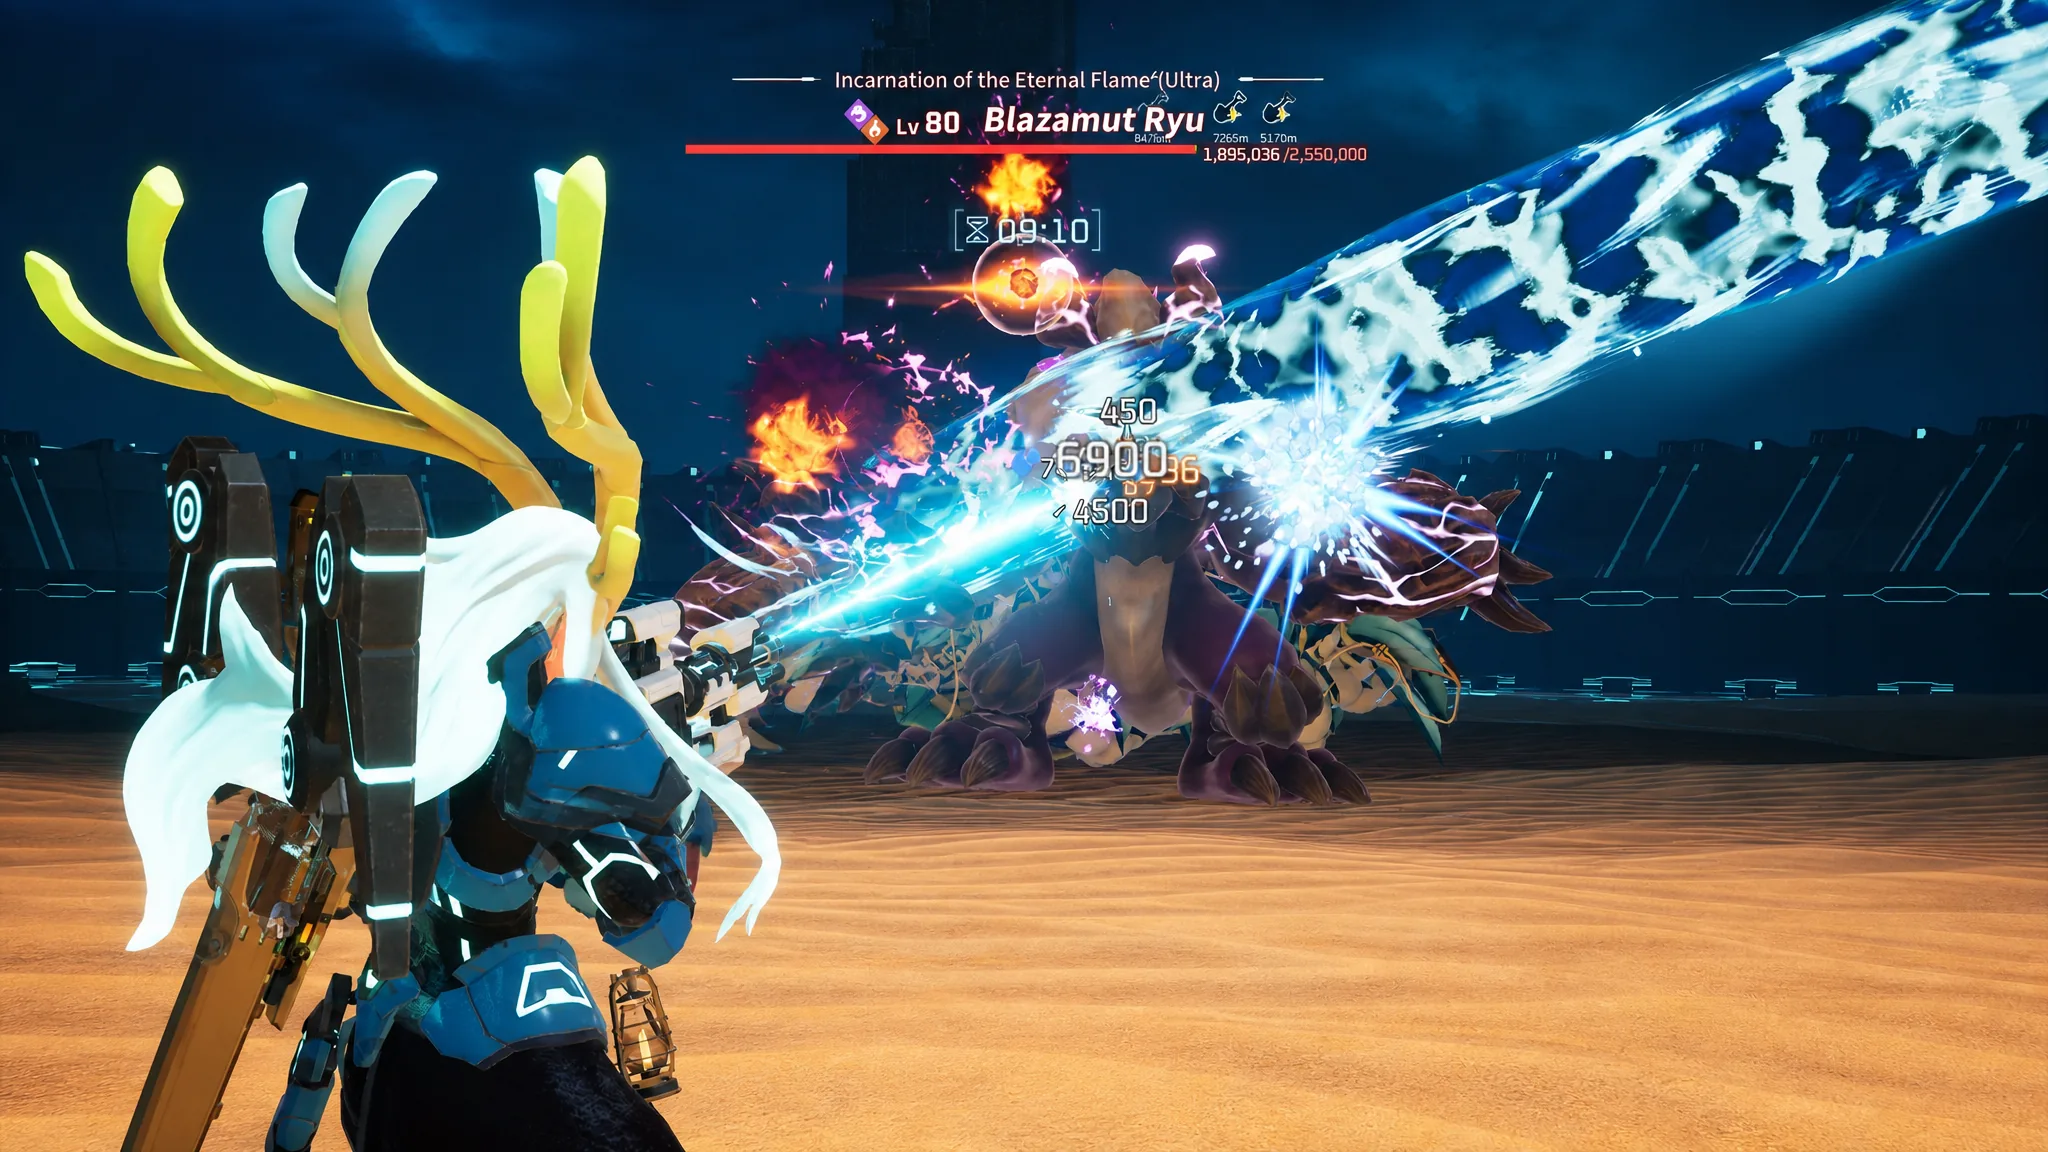
Blazamut Ryu is a Level 55 boss that flips from Fire to Electric once its health drops to about 10%. That single swap turns your whole Water party from a strength into dead weight, so the second team has to be prepped before you even start. A Level 60+ army works best here, and Holy Burst helps a lot. You can farm Pals around Sakurajima for the Holy Burst skill and pass it down through breeding.
Phase 1: The boss uses Dragon and Fire attacks, which Water Pals shut down. Pick Water party members that buff your damage and grant life-steal.
- Party: Lovander, Gobfins, Felbat, Xenogard, Aegidron
- Base: Neptilius, Jormuntide, Shalong
Phase 2: Below 10% health it goes Electric, so drop Water entirely and switch to Ground-type Pals.
- Party: Anubis, Bulldosu, Aegidron, Gildane (mount), Lapiron
- Base: Warsect, Moldron
Blazamut Ryu Ultra runs the same script but with roughly 200% more health and 65–70% higher attack. Push your Pals as high as you can with the Statue of Power, since their health can vanish in a couple of hits. Most of its long-range and AoE attacks are hard to dodge, so Bulldosu and Aegidron are worth slotting purely for the extra defense.
Xenolord and Xenolord Ultra
Xenolord is currently the hardest Raid Boss in Palworld 1.0. It pairs a massive health pool with very high attack, and it calls in Xenovaders and Xenogards as reinforcements whenever its health crosses a threshold, at 70% and again at 40%. As a Dark/Dragon-type, it is vulnerable to Ice.
- Party: Frostallion (mount), Gobfin, Icelyn
- Base: Frostallion, Bastigor, Orserk, Jetragon
Bring a Plasma Cannon with plenty of ammunition to clear the summoned adds fast, otherwise they pile up and overwhelm you.
Xenolord Ultra doubles the boss’s health and attack and summons more aggressively, adding waves at 80%, 50%, and 20% health. You need fully maxed Pals for this one, and a flying mount is strongly recommended so you can weave out of incoming comets and other AoE splash.
Hartalis and Hartalis Ultra
Hartalis is the technical fight of the roster, and you cannot brute-force it. The boss cycles through Grass, Water, and Ground barriers, and breaking each one on time is the whole encounter.
Phase 1: Hartalis raises a barrier twice. At 50% health it puts up either a Grass or Water barrier, so Fire or Electric attacks break it. At 25% health it raises a second barrier, again Water or Grass. You have to break each within 15 seconds or Hartalis nukes the arena and can wipe the whole team, so keep both Electric and Fire Pals on hand.
Phase 2: Once its health hits zero, Hartalis fully regenerates and shifts to Neutral attacks. Break its new barrier with Dark-type Pals to finish it.
- Party: Gobfin, Renjishi
- Base (Phase 1): Orserk, Eidrolon Ignis, Dupin
- Base (Phase 2): Orserk, Frostallion Noct, Bellanoir, Necromus, Xenolord
Hartalis Ultra follows the same pattern with much higher stats across the board. Max your Pals before you attempt it, and add Felbat or Lovander for the Life Steal skill so you can survive the drawn-out barrier phases.
Moon Lord and Moon Lord Master
Moon Lord is the outlier of the group because it has no elemental type at all, which frees you to bring whatever Pals you like. What matters here is mobility. You want Pals that can fly and Pals that can fight on the ground, since the fight asks you to destroy each body part in turn.
Work through the Head, Hands, and Body. Every part you destroy spawns an eye that cannot be broken, but those eyes only chip away low damage, so you can safely ignore them and keep pressing the main targets.
- Party: Gobfin, Lovander
- Base: Orserk, Dupin, Bellanoir
The common thread across all nine bosses is preparation, not reflexes. Read the phase transitions ahead of time, keep a second element team boxed for anything that swaps, and lean on life-steal Pals like Felbat and Lovander whenever a fight drags. Level your damage dealers through the Statue of Power for the Ultra variants, and every raid becomes a matter of bringing the right counter rather than out-trading a boss that hits far harder than you do.