

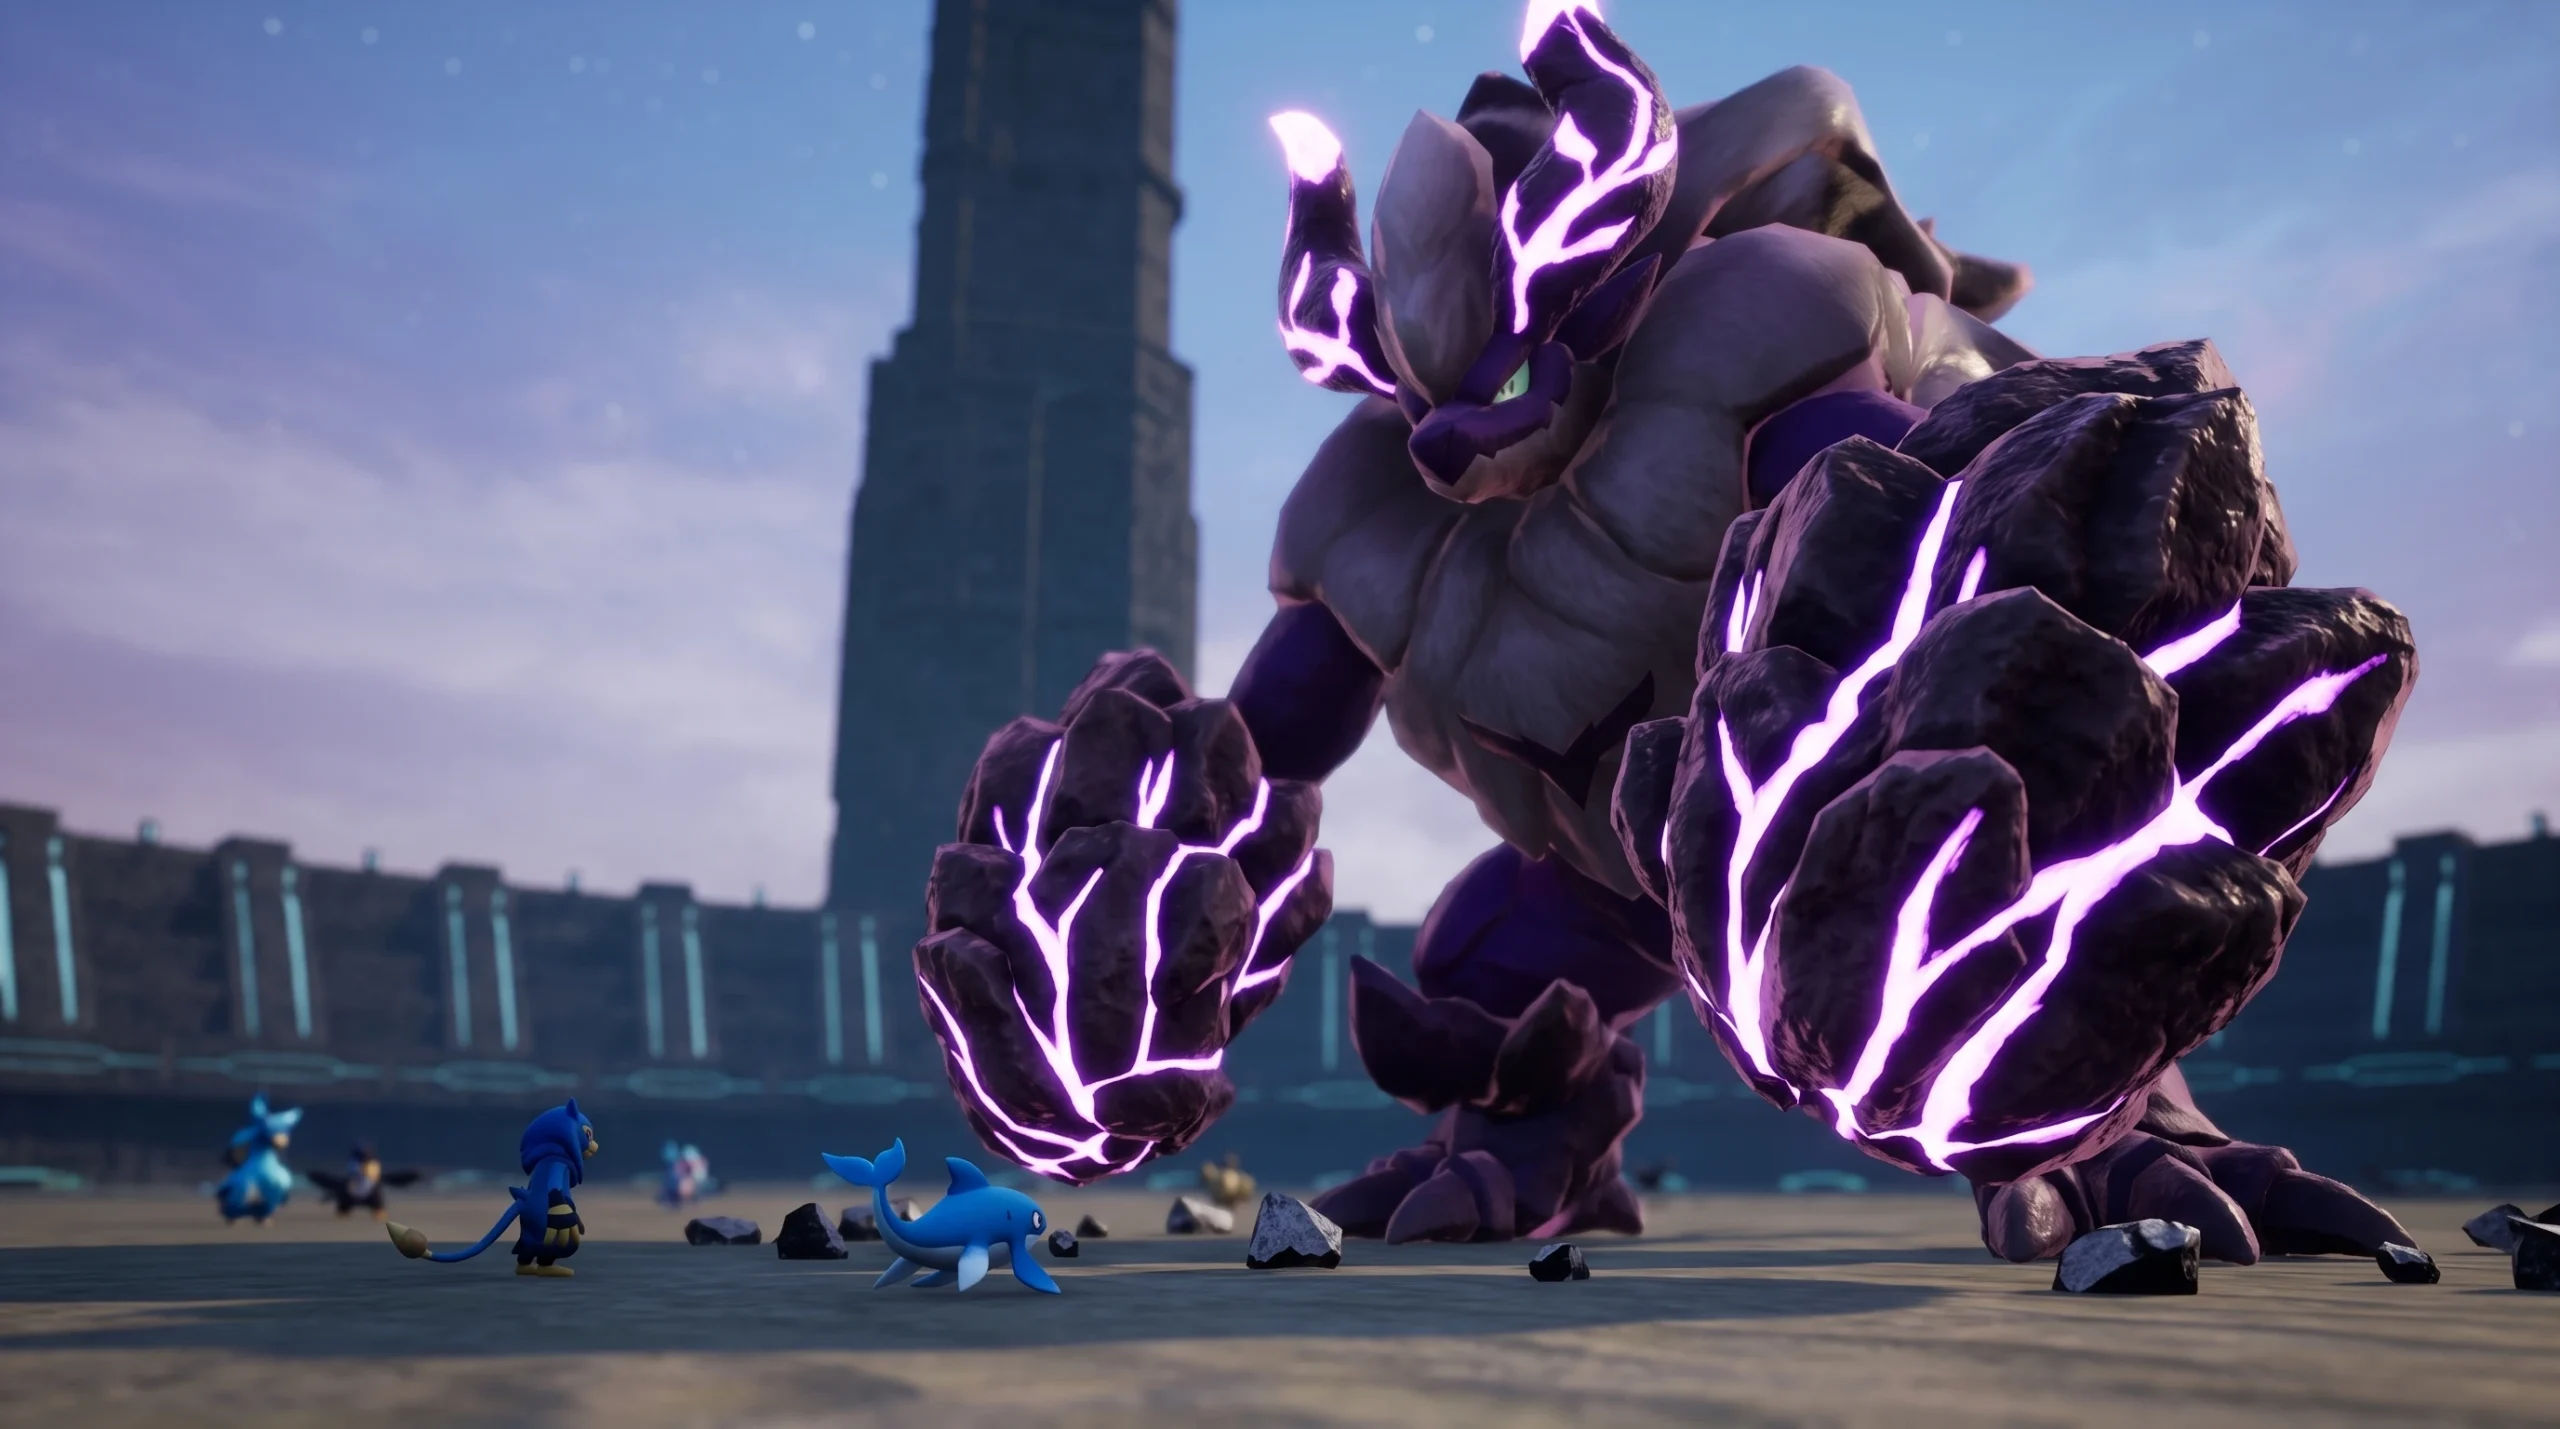
Blazamut Ryu (Ultra) is the hardest form of the Eternal Flame raid boss in Palworld 1.0, sitting at Level 80 with a 2,550,000 HP pool. It shares the standard Blazamut Ryu’s Fire and Dragon typing, which means it still takes heavy damage from Water attacks. The clean way to break it is to run two dedicated armies, lean on a status-effect combo that doubles Water damage, and switch loadouts when the fight moves into its second phase.
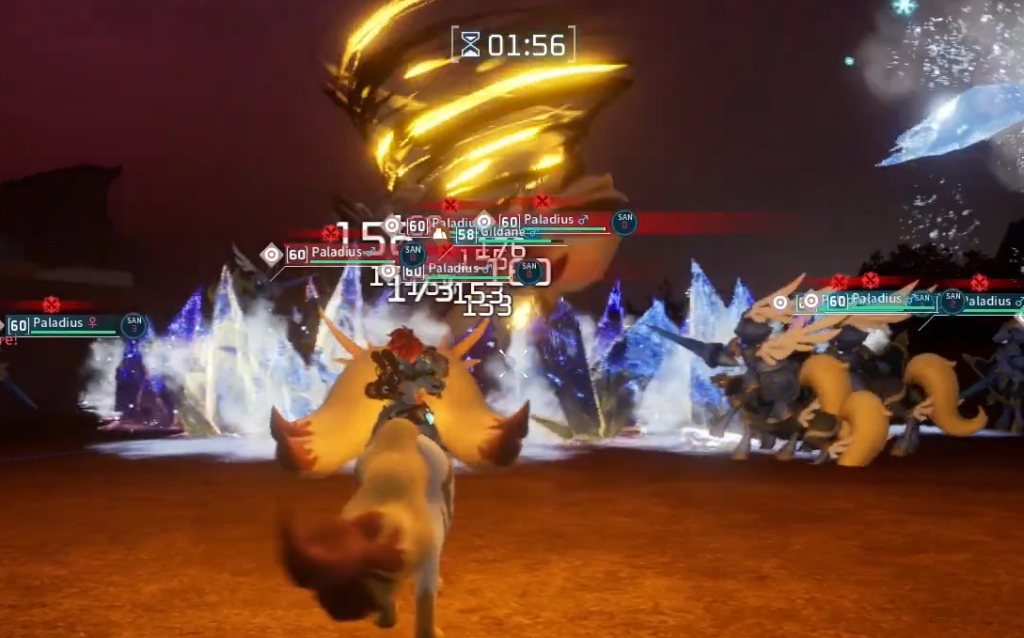
Quick answer: Summon the boss in your base, mount S.S Azure and fight Phase 1 with a Neptilius Water army while using S.S Azure’s electric skills to keep the boss “electrified” for double Water damage. When its health drops to roughly 830,000, run to the Palbox, swap to a Sekhmet army with a Gildane mount, and finish Phase 2 with ground attacks.
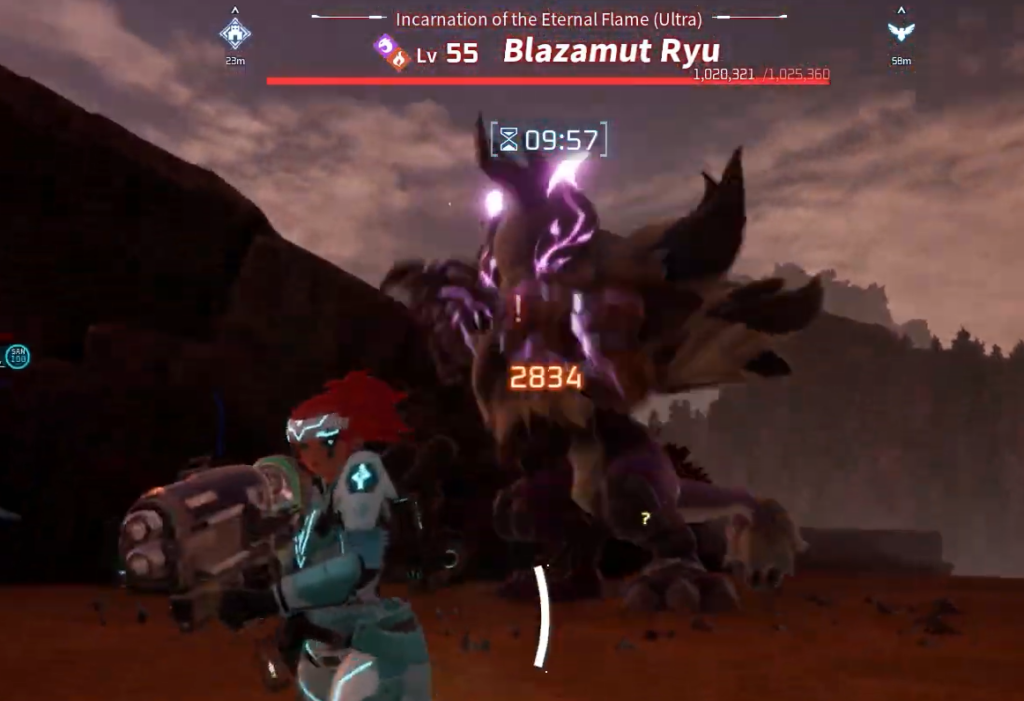
Blazamut Ryu (Ultra) stats and weakness
The Ultra raid boss is an elemental variant of Blazamut, keeping the same model but a different typing. Because it is part Fire, Water Pals are the strongest counter. The fight also takes place inside your own base, so every Pal assigned to work there can join in, and you can pull your best Water Pals into the Palbox before you summon it.
| Detail | Value |
|---|---|
| Level | 80 |
| HP | 2,550,000 |
| Element | Fire / Dragon |
| Primary weakness | Water |
| Phase 2 trigger | ~830,000 HP remaining |
| Battle location | Your base (Summoning Altar) |
What you need before summoning
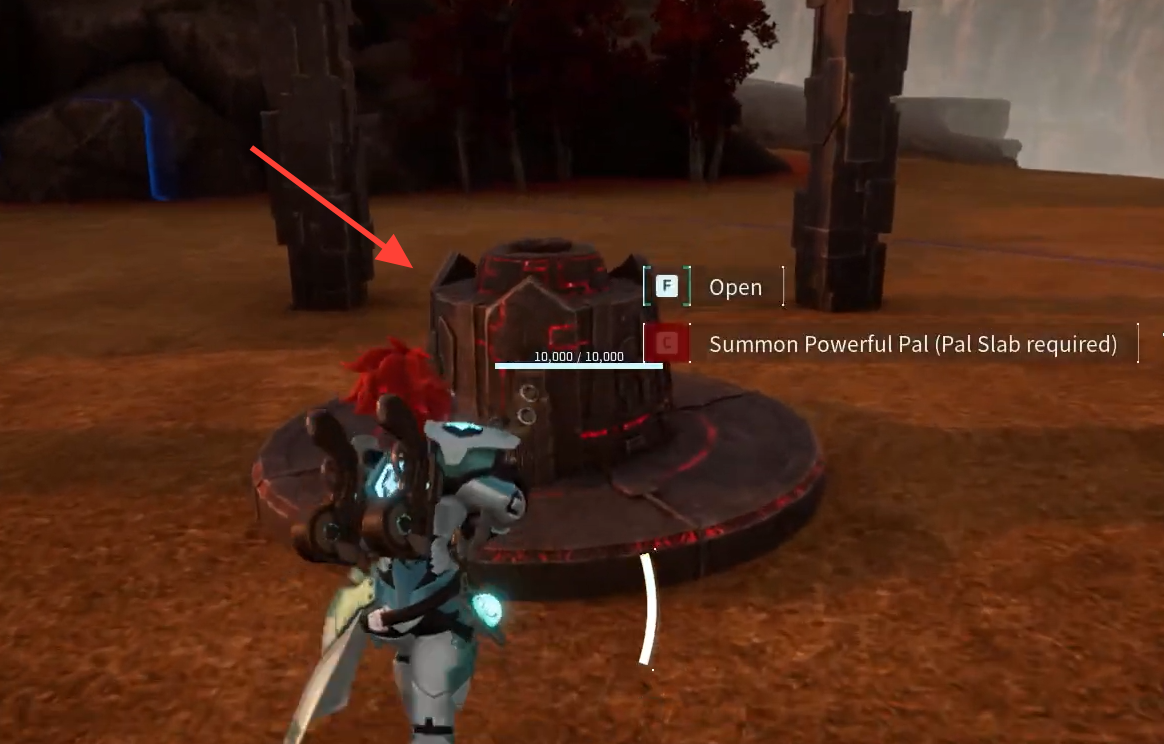
You summon the boss with a Summoning Altar. Unlock it at level 33 for 3 Ancient Technology points, then craft it at your base with 100 Stone and 20 Paldium Fragments. To trigger the fight, place a Blazamut Ryu Slab into the altar. A slab is made on a workbench from 4 Blazamut Ryu Slab Fragments, which drop inside Sakurajima Island dungeons such as the Cherry Blossom Cave. Once summoned, the boss appears with a 10-minute battle timer.
This boss cannot be captured with any Pal Sphere. It has to be defeated, and clearing it is what rewards the egg used to hatch your own Blazamut Ryu.
Party and army loadout
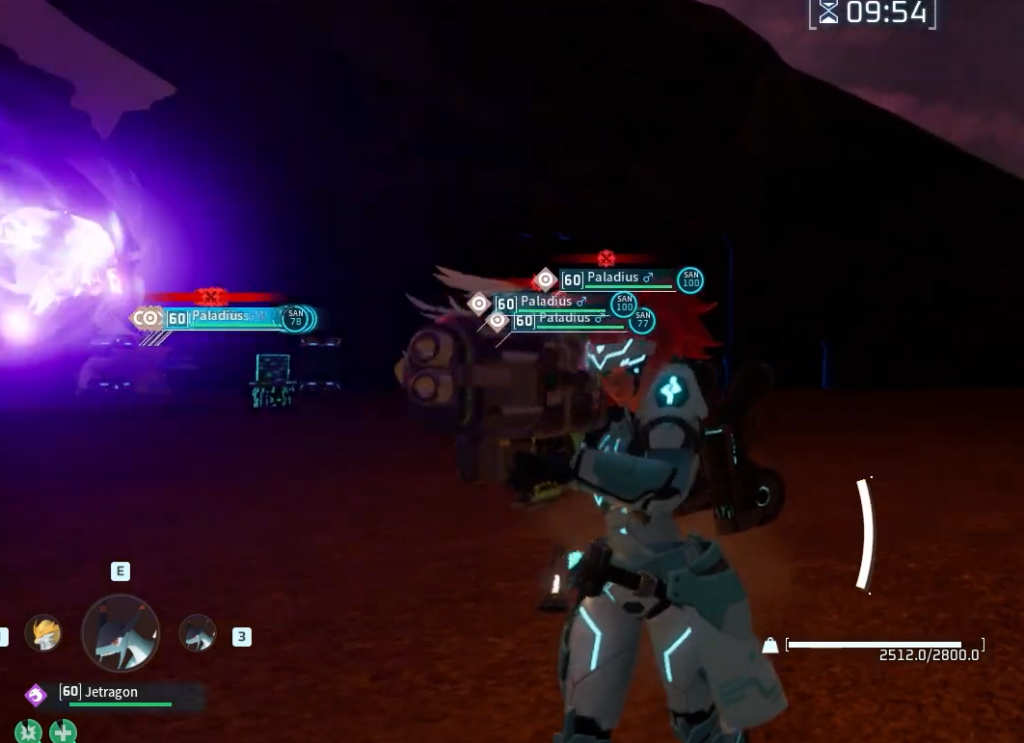
The plan uses two separate raid armies, both at Level 80. Neptilius handles the Water phase, and Sekhmet handles the ground phase. The support party carries mounts and utility Pals you rotate in during the swap.
| Role | Pals |
|---|---|
| Phase 1 army | Neptilius (Water) |
| Phase 1 mount | S.S Azure (electric skills) |
| Phase 2 army | Sekhmet (ground) |
| Phase 2 mount | Gildane |
| Support party | Solenne, Vanwyrm Cryst, Cryolinx Terra, Turtacle Terra, Penking Lux |
Neptilius runs Geyser Gush, Thalasonic Laser, and Hydro Slicer for its Water damage, with the Immortality, Serenity, Legend, and Lunker passives. Sekhmet carries Rolling Scratch, Somersault Scratch, and Sand Twister, backed by Earth Emperor, Legend, Serenity, and Immortality. The Immortality passive is what keeps both armies alive, granting +5% life steal, +100% auto health regeneration, and +15% attack.
The electrify combo that doubles Water damage
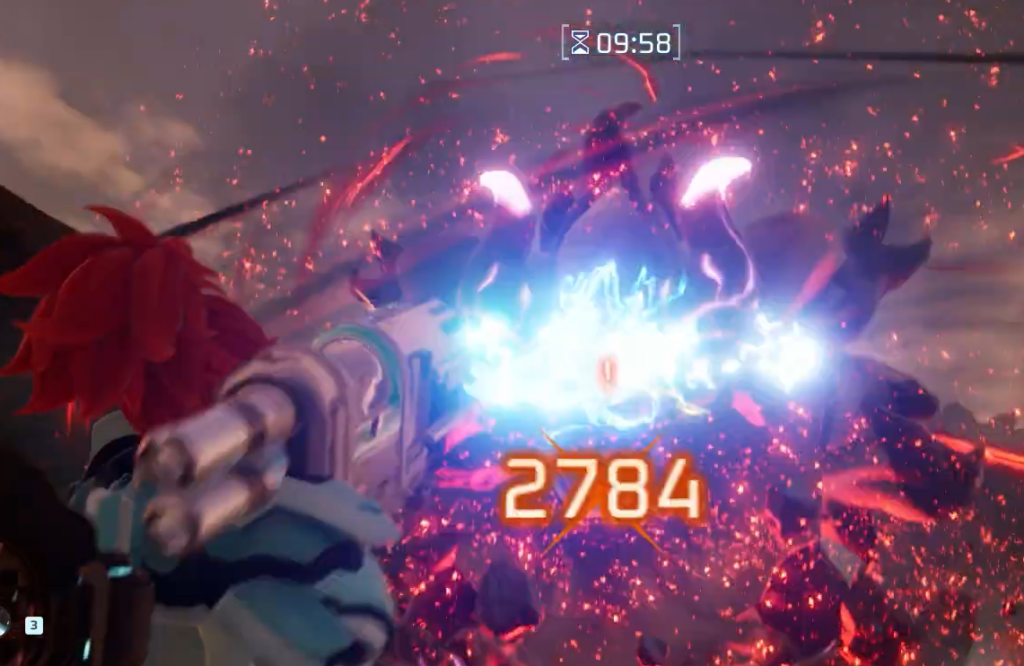
The core damage trick is a status override. Neptilius’s Water attacks apply the “soaked” status to the boss. You then hit that same target with S.S Azure’s electric skills, which replace soaked with “electrify.” An electrified target takes double damage from Water attacks for 10 seconds, so your Neptilius army immediately starts hitting far harder.
S.S Azure’s electric options are Lightning Streak, Lightning Strike, and All Range Thunder. Keep reapplying electrify as it wears off to hold the double-damage window open for as long as possible. Avoid Pals like Shaolong whose Water tornadoes create heavy visual clutter and shove the boss around, since that makes headshots much harder to land.
Buffs, food, and gear to bring
Stack attack buffs on yourself before the timer starts, and feed the right food to each army. Attack-boosting food goes on the Neptilius army so it hits harder, while defense-boosting food goes on the Sekhmet army so it survives Phase 2.
| Slot | Loadout |
|---|---|
| Weapons | Plasma Rifle, Tactical Grenade Launcher, Drone Launcher |
| Armor | Heat-Resistant Ancient Armor (Legendary) |
| Accessories | Attack Pendant, Dogen Emblem, Silvegis Emblem |
| Pre-fight buffs | Mammorest Curry (+25% Attack), Attack Potion |
The Heat-Resistant Ancient Armor matters here because the boss is a Fire type. Set your Pal command to Defensive so your army holds position and keeps attacking instead of scattering.
Fighting both phases
Confirming the clear and rewards
You know the run worked when the screen displays “BOSS ELIMINATED.” Return to the Palbox afterward, and a well-fed Sekhmet army should still be standing with high health thanks to the defense food and Immortality regeneration.
| Reward | Amount |
|---|---|
| Blazamut Ryu (Ultra) Slab | x1 |
| Ancient Civilization Core | x10 |
| Training Crystal | x10 |
| Applied Mining Handbook I | x2 |
| Horns of Supremacy | x1 |
The most common reason this fight stalls is losing the electrify window in Phase 1, which cuts your Water damage in half, or bringing Pals whose skills push the boss out of your line of fire. Keep the electrify combo cycling, hold your headshots, and make the army swap cleanly at the 830,000 HP mark, and the Ultra boss goes down inside the timer.





