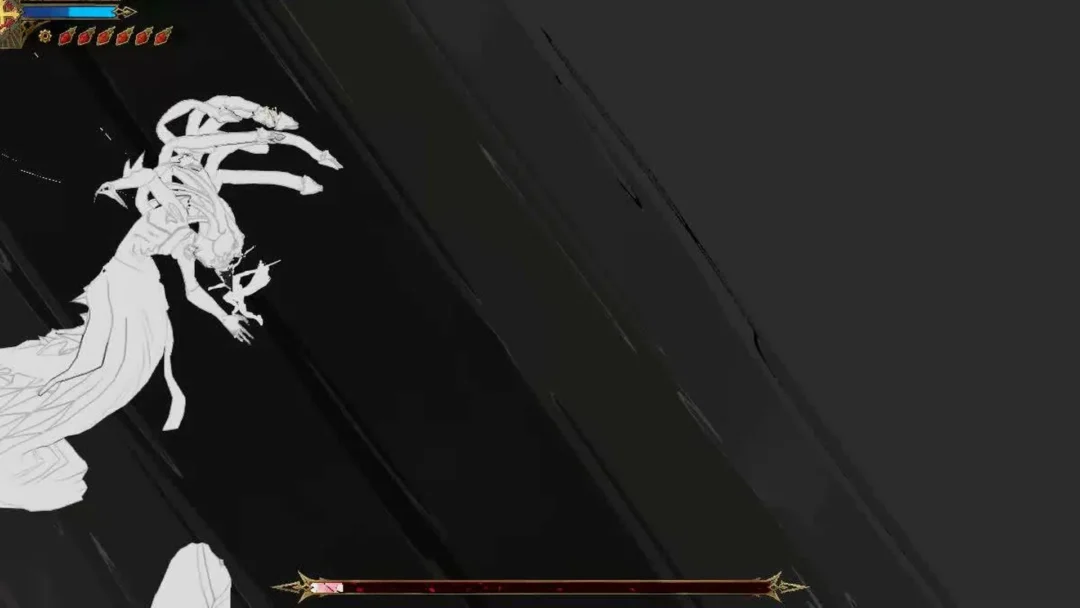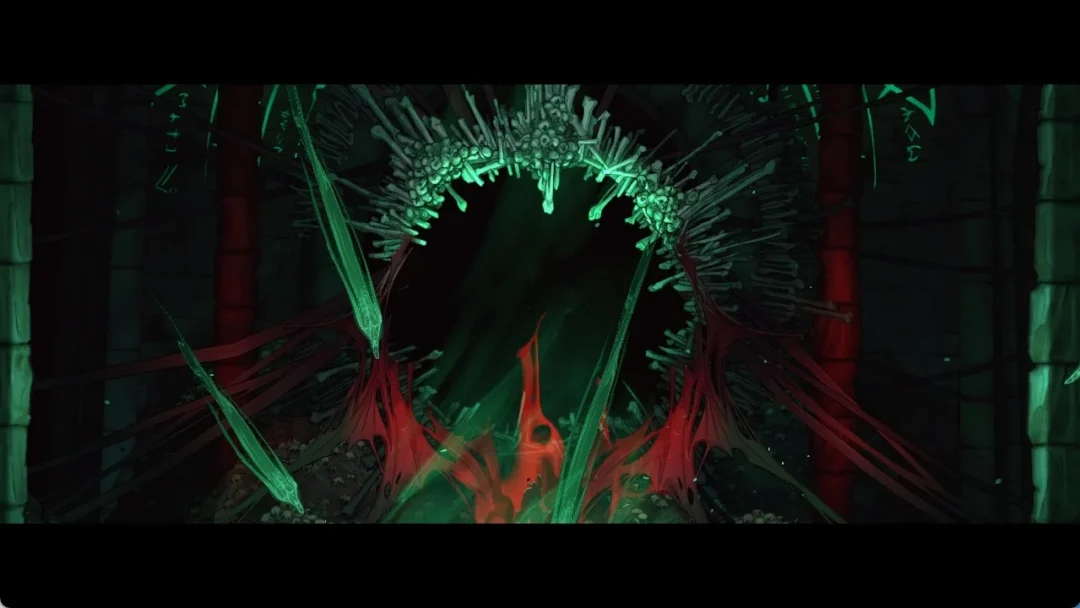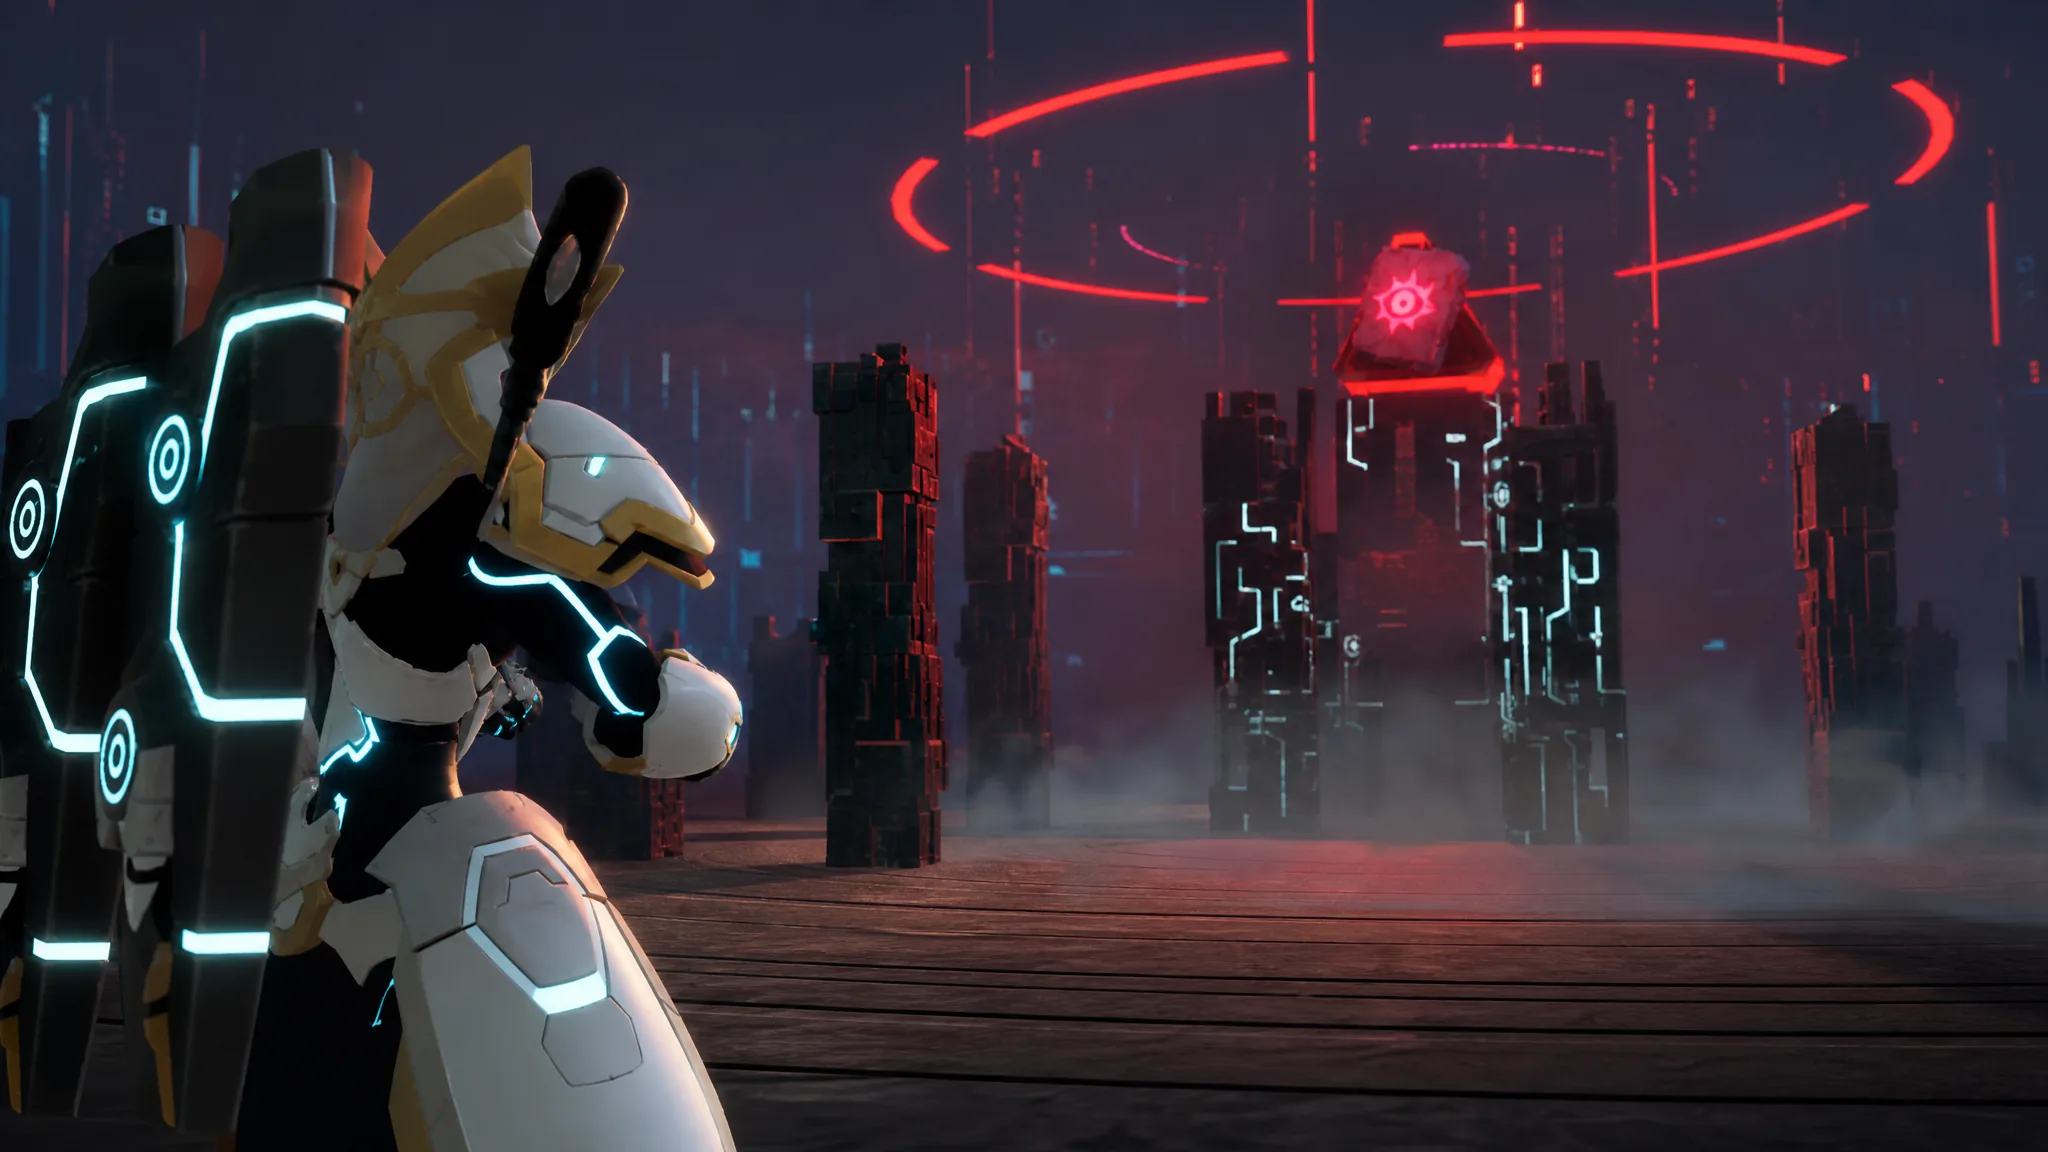
Bellanoir Libero on Ultra Difficulty is the endgame version of Palworld’s witch raid, and it hits back hard. It is a Level 80 boss with 2,393,999 HP split across two phases, and it heals itself when it changes form, so slow damage will run you out of time. The fight rewards two things above all else: matching the boss’s shifting weakness and swapping your entire team at the right moment. Get both right and the 10-minute timer stops being a problem.
Quick answer: Fight Phase 1 with a mounted Chillet (Dragon infusion) plus Eidrolon Ignis raid Pals and burst the boss down fast. Watch the HP bar, and when it nears ~6% HP swap to a Fire team built around Pyrin and Dupin before it freezes the arena, heals to ~35%, and turns into an Ice-type. Shoot its head throughout with a Plasma Rifle.
Boss stats and both weaknesses
The boss changes typing partway through the fight, and its weakness changes with it. In Phase 1 it is Dark, so Dragon damage is your counter. When it transitions it becomes Ice, and Fire becomes the answer. Bringing only Dragon Pals leaves you helpless once the second phase starts.
| Property | Detail |
|---|---|
| Level | 80 |
| Total HP | 2,393,999 |
| Phase 1 type | Dark (weak to Dragon) |
| Phase 2 type | Ice (weak to Fire) |
| Battle timer | 10 minutes |
| Heals? | Yes — recovers to ~35% HP at the phase change |
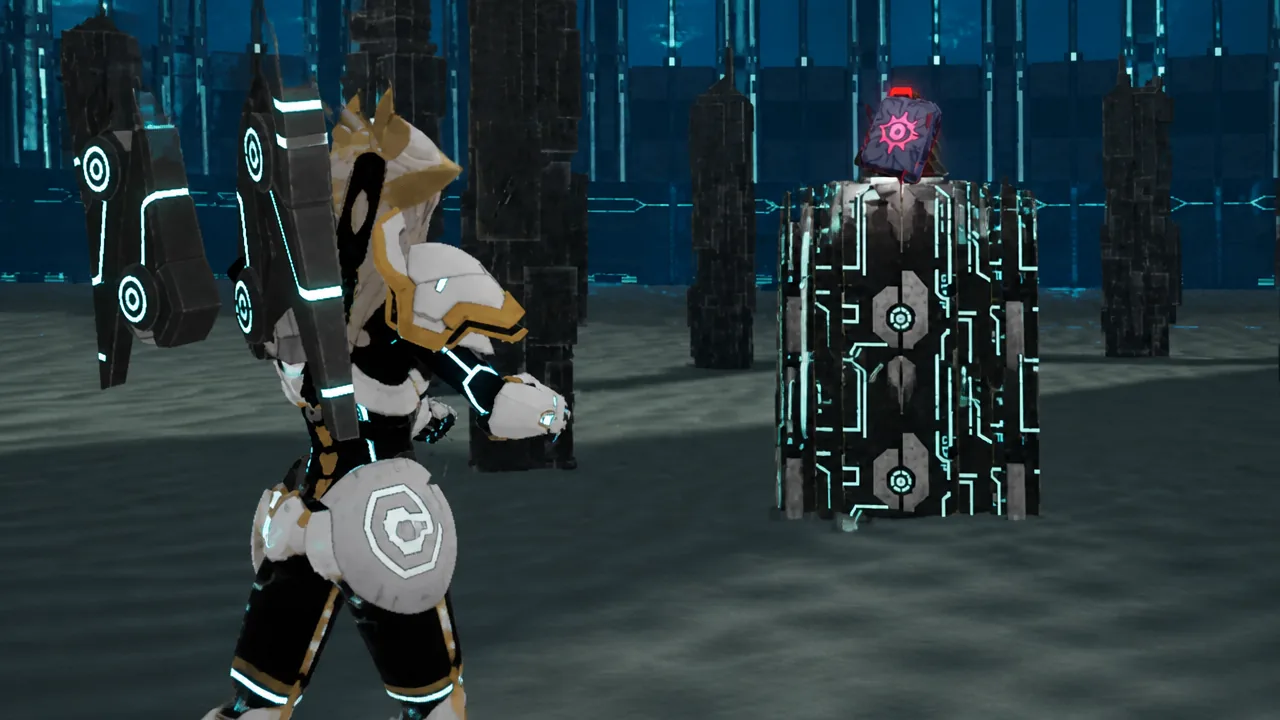
| Summoned with | Bellanoir Libero (Ultra) Slab |
Minimum requirements before you challenge it
This is an end-game encounter, so your raid Pals need heavy investment. Undertuned teams simply cannot out-damage the heal inside the timer. Each Pal you deploy should meet the following before you place the Slab.
| Requirement | Target |
|---|---|
| Level | 80 (cap) |
| Pal Soul upgrades | HP +20, Atk +20, Def +20 |
| Trust Level | 10 |
| Condense rank | 4-Star |
| Awakened | Yes |
| Alpha | Yes |
| Copies to breed | 15 or more, depending on base size |
Phase 1: Dragon team to burn the Dark form
The boss’s Phase 1 stats lean toward defense, so your job is to strip its HP as fast as possible and force the transition with time to spare. The core is Chillet as your mount, chosen for its 100% Dragon infusion uptime, backed by support Pals that stack Attack, Dragon weakness, and weak-point damage.
Mount Chillet so your own shots carry the Dragon element, then ride around the arena and aim for the boss’s head. Your raid party fills the field with Dragon damage on top of that.
| Slot | Pal |
|---|---|
| Active (mount) |  Chillet Chillet |
| Support |  Blazamut Ryu Blazamut Ryu |
| Support | Solenne |
| Support |  Cryolinx Terra Cryolinx Terra |
| Support | Vanwyrm Cryst |
For the raid party itself, Eidrolon Ignis is the pick. Any Dragon Pal works, but Eidrolon Ignis’s Fire typing lets it survive slightly longer into Phase 2’s Ice attacks. Expect it to die at the transition regardless — that is why the Phase 2 party must be ready to go.
| Raid Pal | Passives |
|---|---|
 Eidrolon Ignis Eidrolon Ignis | Serenity, Immortality, Invader, Legend |
| Eidrolon Ignis skill | Type | Power | CT |
|---|---|---|---|
| Blazing Beam | Dragon | 700 | 30 |
| Tail Slash | Dragon | 550 | 24 |
| Meteorain | Dragon | 700 | 30 |
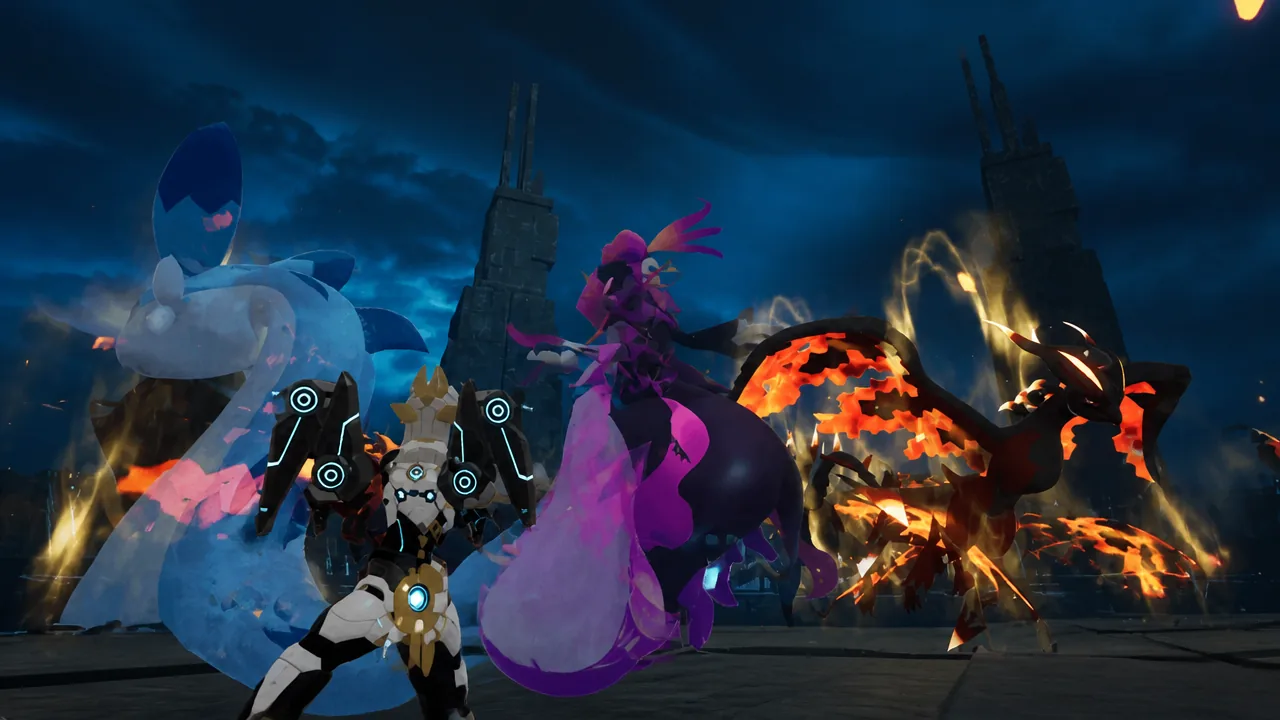
The phase transition and freeze
When the boss reaches roughly 6% HP, it freezes the entire arena, heals back up to about 35% HP, and turns into an Ice-type. If you are caught in the freeze mid-swap, you lose precious seconds you cannot afford. Watch the HP bar closely and switch teams before it triggers, not after.
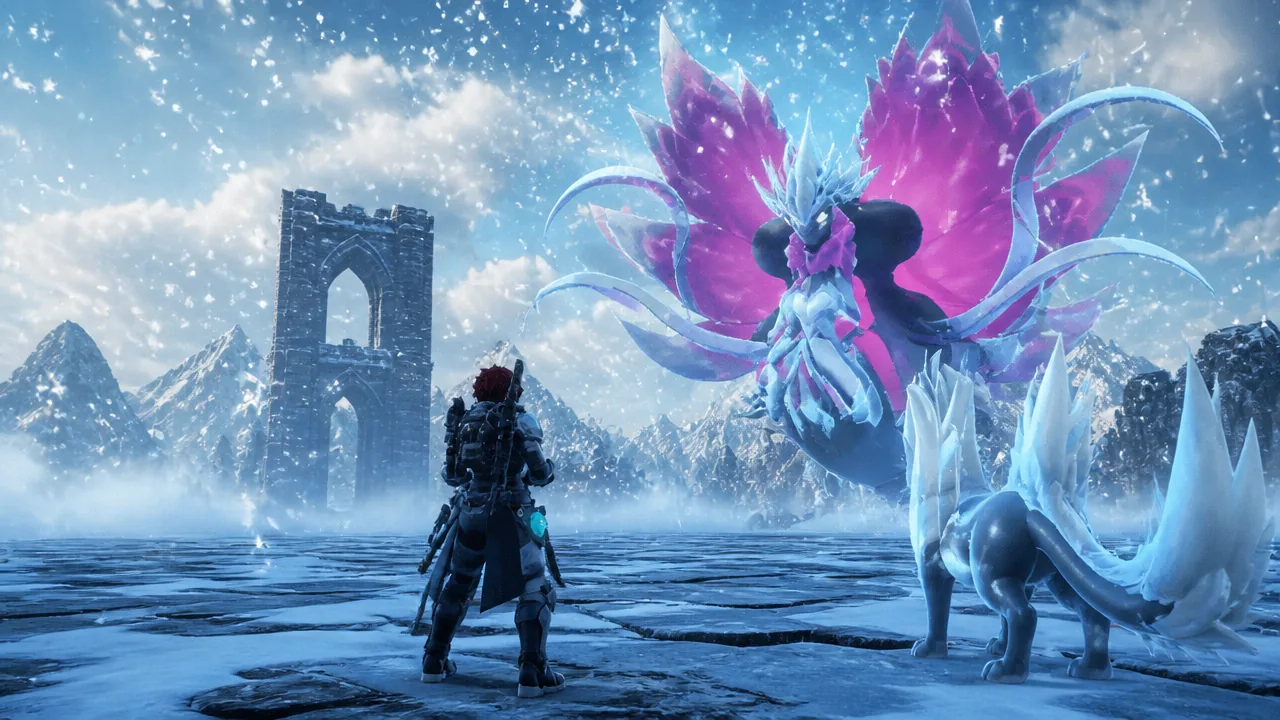
Phase 2: Fire team and player damage
Once the boss becomes Ice, it trades tankiness for offense and its Ice attacks hit brutally hard. Your raid party will likely die here, so Phase 2 leans much more on player damage. Swap the active mount to Pyrin and bring Finsider Ignis in for Blazamut Ryu.
| Slot | Pal |
|---|---|
| Active (mount) |  Pyrin Pyrin |
| Support |  Finsider Ignis Finsider Ignis |
| Support | Solenne |
| Support | Cryolinx Terra |
| Support | Vanwyrm Cryst |
For the raid party, swap your Eidrolon Ignis for Dupin, either at the transition or as the Eidrolons die. Dupin’s Fire skills land more reliably, and its smaller body helps it dodge some of the boss’s Ice attacks.
| Raid Pal | Passives |
|---|---|
 Dupin Dupin | Serenity, Immortality, Eternal Flame, Legend |
| Dupin skill | Type | Power | CT |
|---|---|---|---|
| Trickster Show | Fire | 700 | 30 |
| Fire Ball | Fire | 600 | 30 |
| Volcanic Rain | Fire | 450 | 20 |
Note: the boss can still use Phase 1 attacks in Phase 2, especially Flame Waltz and Nightmare Bloom, but it mostly cycles through its Ice moves. Keep moving, dodge, and keep shooting its head.
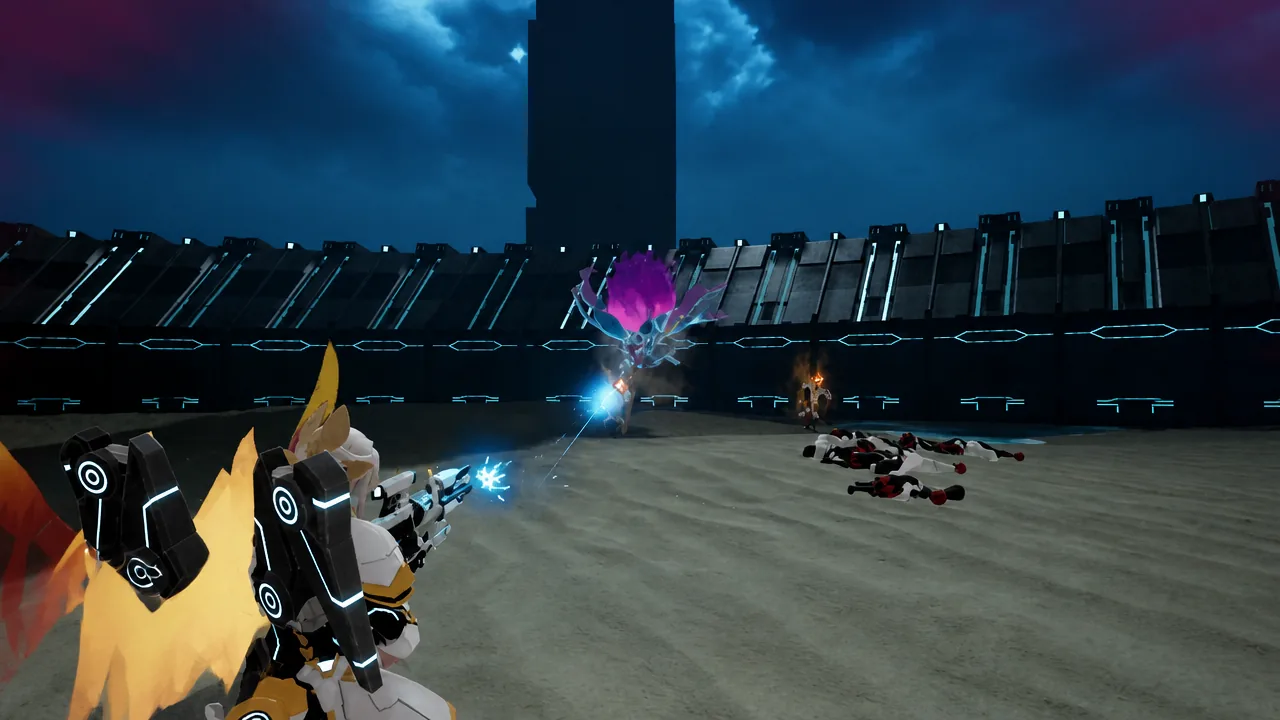
Best weapons, gear, and accessories
Since these builds are player-focused, gear that boosts your own stats matters most. The Plasma Rifle is the strongest weapon in the game and your main damage tool, with the Drone Launcher adding steady chip damage.
| Weapon | Lv. | Attack | Durability |
|---|---|---|---|
 Plasma Rifle Plasma Rifle | 78 | 1860 | 25000 |
 Drone Launcher Drone Launcher | 77 | 200 | 6500 |
 Mechanical Bow Mechanical Bow | 67 | 20000 | 2000 |
 Megaboost Gun Megaboost Gun | 63 | 250 | 400 |
Use the Megaboost Gun if you want to buff your active Pal, and the Mechanical Bow if you want to apply status effects with arrows. For accessories, prioritize items that boost the player directly.
| Accessory | Effect |
|---|---|
 Attack Pendant Attack Pendant | Slightly raises Attack |
 Dogen Emblem Dogen Emblem | Greatly raises your Attack and your Pal’s |
 Silvegis Emblem Silvegis Emblem | Raises your Defense and your Pal’s |
 Warsect Terra’s Belt Warsect Terra’s Belt | Greatly raises Defense and Health |
If you need more survivability, swap the Attack Pendant for the Ring of Dark Resistance to help through Phase 1 and the Ring of Ice Resistance for Phase 2. For armor, run the full base Ancient Armor set at minimum, and upgrade to a higher tier if you have one.
| Armor | HP | Def | Added effect |
|---|---|---|---|
 Ancient Helm Ancient Helm | 1200 | 500 | Neutral Dmg Reduction Lv.1 / Dragon Dmg Reduction Lv.1 |
| Ancient Shield | N/A | 2200 | None |
| Lightweight Ancient Armor | 2400 | 840 | Cold Resistance Lv.2 / Heat Resistance Lv.2 / Max Carrying Capacity Lv.4 |
Food buffs and healing to bring
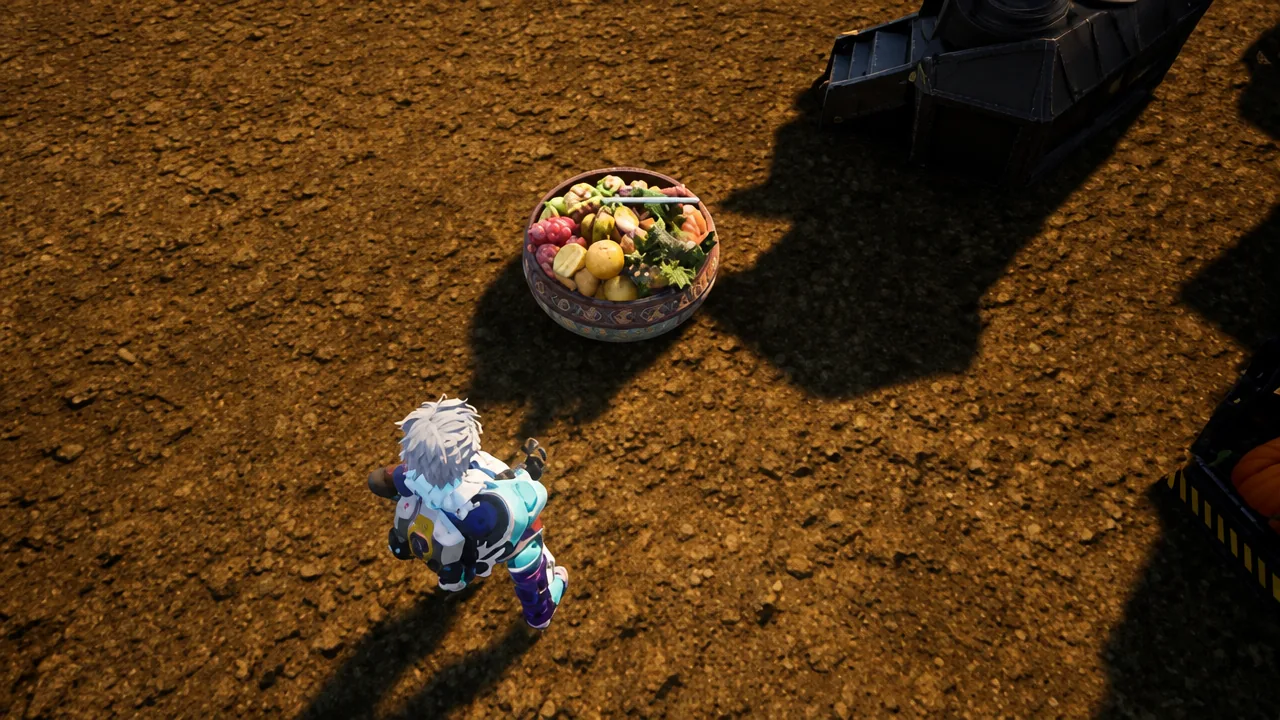
Because the boss has enormous HP and hits hard, run both Attack and Defense foods. Put Defense food on your character and your Pal, and add Attack food if you need more output. Build a Feed Box before the raid starts so the party eats automatically instead of you feeding each one by hand.
| Category | Items |
|---|---|
| Food buffs |  Mammorest Curry, Galeclaw Nikujaga Mammorest Curry, Galeclaw Nikujaga |
| Healing |  Revival Potion, Advanced Recovery Meds Revival Potion, Advanced Recovery Meds |
Fill the Feed Box with Galeclaw Nikujaga to maximize the party’s survivability. Always carry Advanced Recovery Meds for HP regen and Revival Potions in case your Pal drops.
Attacks to watch and dodge
Both phases throw a wide mix of ranged attacks. In Phase 1 its exclusive moves — Flame Waltz and Nightmare Bloom — deal the most, and both can wipe an unprepared party. Phase 2 layers heavy Ice hits on top.
| Attack | Phase | Power | CT |
|---|---|---|---|
| Nightmare Bloom | 1 (Dark) | 600 | 30 |
| Flame Waltz | 1 (Dark) | 450 | 20 |
| Dark Whisp | 1 (Dark) | 600 | 30 |
| Dark Laser | 1 (Dark) | 450 | 20 |
| Apocalypse | 1 (Dark) | 400 | 20 |
| Double Blizzard Spike | 2 (Ice) | 700 | 30 |
| Absolute Frost | 2 (Ice) | 700 | 30 |
| Diamond Rain | 2 (Ice) | 600 | 30 |
| Icicle Line | 2 (Ice) | 300 | 16 |
Timer management and respawns
The raid runs on a 10-minute limit. Dying does not fail the fight, but every respawn eats into that clock while you reset and re-position. Stack up on ammo before you start — Ultra fights run long, and crafting rounds mid-attempt is not an option. Catching a Legendary Ammo Merchant and assigning him to a base lets you buy ammo in bulk instead of farming materials.
You know it worked when the boss’s HP bar empties in Phase 2 and the raid ends with your rewards drop. If you keep running out of time, the usual causes are undertuned Pals that cannot beat the heal, getting frozen during the phase swap, or too many deaths burning the clock.
Rewards for clearing the Ultra raid
The Ultra version is the only place to earn the Witch’s Crown (Ultra) headgear. Clearing it also drops end-game crafting materials and the egg that hatches your own Bellanoir Libero.
| Reward | Notes |
|---|---|
 Witch’s Crown (Ultra) Witch’s Crown (Ultra) | Exclusive Ultra-only headgear |
 Ancient Civilization Core Ancient Civilization Core | High-tier crafting material |
 Huge Dark Egg Huge Dark Egg | Hatches into Bellanoir Libero |
 Training Crystal Training Crystal | Pal enhancement material |
 Bellanoir Libero (Ultra) Slab Bellanoir Libero (Ultra) Slab | Reusable summon for future runs |
 Applied Medicine Production Handbook I Applied Medicine Production Handbook I | Work suitability handbook |
 Applied Ranching Handbook I Applied Ranching Handbook I | Work suitability handbook |
 Applied Transporting Handbook I Applied Transporting Handbook I | Work suitability handbook |
The whole fight comes down to discipline. Race the Dark phase down with Dragon damage, keep one eye on the HP bar so the freeze never catches you mid-swap, then survive the Ice phase on player damage while you finish the last stretch before the clock runs out.