PEAK stacks its challenge one tier at a time. You start with two options, Tenderfoot and the default PEAK difficulty, and everything harder is locked behind an Ascent ladder that only opens as you win runs. The Final Ascent update reshaped the top of that ladder, adding an eighth Ascent and rewriting how death works on Ascent 7. Each tier also hands out a sash, a cosmetic badge that records the hardest run you have personally finished.
Quick answer: Complete the default PEAK difficulty to unlock Ascent 1, then beat each Ascent to unlock the next, all the way to Ascent 8. You must escape the run yourself for the sash and the next tier to unlock. Tenderfoot never unlocks anything.
How Ascent unlocking works
Difficulty is chosen at the departure booth in the lobby. Interact with the ticket kiosk and use the up and down arrows to switch tiers. By default you are set to PEAK, and you can only pick an Ascent sash after you have earned the right to it.
The order is strictly sequential. Finishing PEAK unlocks Ascent 1, finishing Ascent 1 unlocks Ascent 2, and so on through Ascent 8. Every Ascent also carries all the modifiers from the tiers below it, so higher runs pile new penalties on top of the old ones.
Unlocks are tied to your own escape. Playing alongside a friend on a higher Ascent does not grant you that friend’s sash or open the tier for you unless you complete that difficulty together and escape. Tenderfoot is exempt from all of this. You can earn badges there, but it will never open the Ascent path.
Run a new island layout on Tenderfoot first to learn the terrain, then commit to your real attempt on the higher tier.
Every difficulty, modifier, and sash
The table below lists what each tier adds on top of the previous ones, plus the sash and the next difficulty it unlocks. Modifiers are cumulative, so an Ascent 6 run, for example, includes doubled fall damage, faster hunger, heavier items, missing summit flares, and cold nights, along with its own stamina penalty.
| Difficulty | New modifier added | Reward |
|---|---|---|
| Tenderfoot | Climbing uses 30% less stamina, hunger grows 30% slower, no time limit, no fog | None |
| Peak | Default balanced difficulty with fog enabled | Tadpole Scout Sash, unlocks Ascent 1  |
| Ascent 1 | Fall damage is doubled | Rabbit Scout Sash, unlocks Ascent 2  |
| Ascent 2 | Hunger grows 60% faster | Raccoon Scout Sash, unlocks Ascent 3  |
| Ascent 3 | Items carry +2.5 weight (Backpacks excluded) | Mule Scout Sash, unlocks Ascent 4  |
| Ascent 4 | No Flares spawn at the top of the PEAK | Kangaroo Scout Sash, unlocks Ascent 5  |
| Ascent 5 | Nights are Cold, dealing 2.5 Cold damage every 5 seconds | Owl Scout Sash, unlocks Ascent 6  |
| Ascent 6 | Climbing uses 40% more stamina | Wolf Scout Sash, unlocks Ascent 7 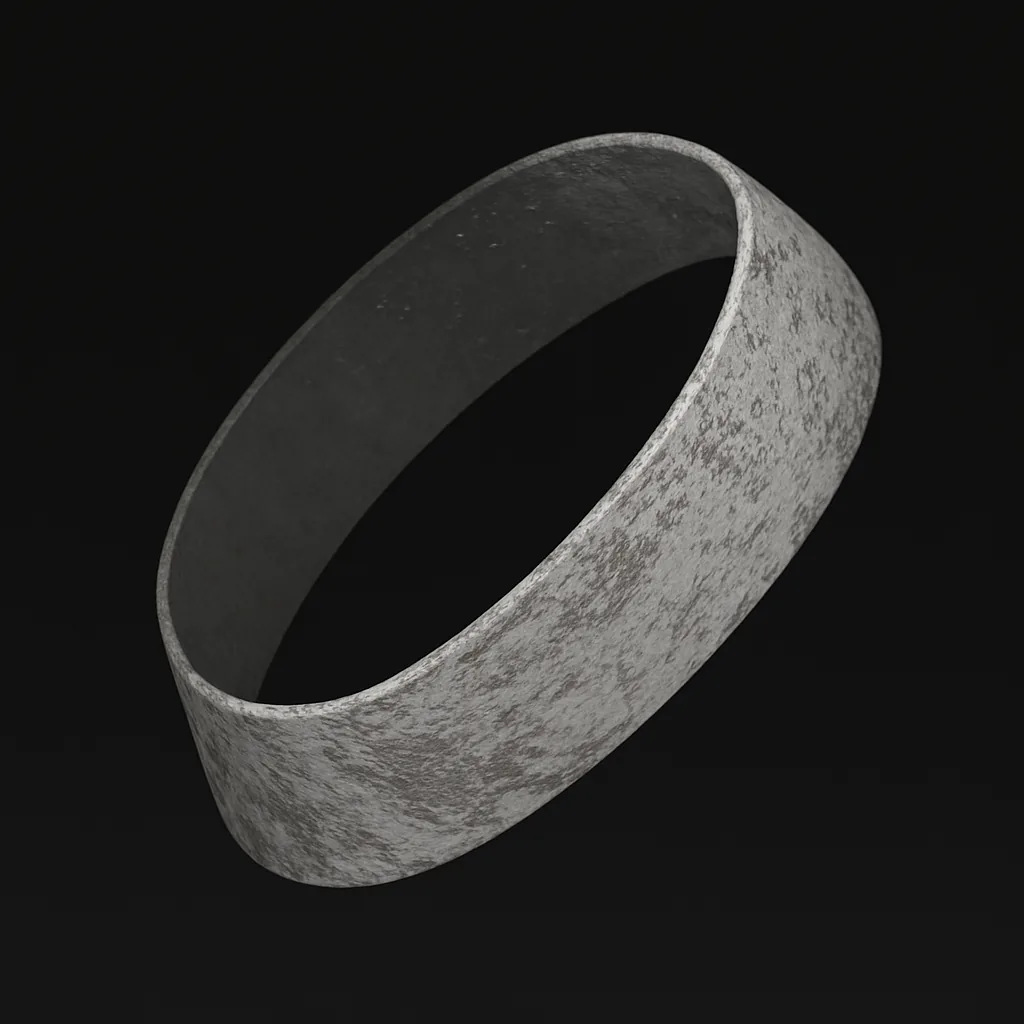 |
| Ascent 7 | Stamina starts Cursed, and revived players gain more Curse | Goat Scout Sash, Goat Horns, unlocks Ascent 8  |
| Ascent 8 | You must free the Scoutmaster’s soul | Scoutmaster Sash  |
What changed on Ascent 7
Ascent 7 used to run on permadeath, but the Final Ascent update changed that. You can now revive fallen teammates in Ascent 7. The catch is Curse. Your stamina begins the run Cursed, and any player revived at an Ancient Idol comes back carrying extra Curse.
The Curse penalty sits at roughly 10% of your stamina and can be cleared. Cure-All, Pandora’s Lunchbox, and cooked Mandrake all remove it. Reviving a teammate is manageable, but it deepens their Curse each time, so avoiding deaths altogether is still the safest way through the tier.
Ascent 8 and freeing the Scoutmaster
Ascent 8 is the hardest tier in the game. It keeps every modifier from the lower Ascents and adds one large objective on top: you must free the Scoutmaster’s soul and finish an entirely new biome called NADIR.
Surviving the stacked modifiers
Because penalties stack, the same items keep the higher tiers from becoming impossible. Keep healing on hand for the doubled fall damage, and treat every climb as a risk to assess before committing your stamina.
- Hunger (Ascent 2+): Stock safe natural foods like Blue Berrynanas, Yellow Crispberries, Yellow Winterberries, and Purple Kingberries, cook at Campfires, and save packaged Luggage food for emergencies.
- Weight (Ascent 3+): Use the Balloon Bunch to lower your load and only carry what you need in the moment. You do not have to fill every slot.
- Flares (Ascent 4+): Grab the Flare at the SHORE crash site and carry it to the top, since none spawn at the summit. Keep it away from fire so it does not explode.
- Cold nights (Ascent 5+): Bring Heat Packs and Lanterns, huddle with teammates to warm faster, and if you have no warmth, drop your gear in a safe spot and let the Cold knock you out to recover by morning.
- Climbing drain (Ascent 6+): Lean on Rope, Chain Launchers, Rope Cannons, Rope Spools, Jetpacks, and Pitons, and save Energy Drinks and Big Lollipops for the toughest sections.
Checking and changing your sash
Your sash updates automatically the moment you complete a new highest Ascent. It is purely cosmetic and gives no gameplay bonus. To confirm it changed, open the Accolades menu from the pause screen and check your current scout rank and sash color.
There is no way to equip an older sash. The game only displays the highest tier you have finished, so once you rank up, the previous sash is replaced for good. If a sash did not appear after a run, the most common reason is that you did not escape the tier yourself, since dying on the final PEAK does not count as a win.