Permafrost: Where to Find Gold and How to Mine It Near Hunter’s Glade
The one confirmed Gold spot sits in the cave below the lookout tower, and a Scrap Pickaxe is what breaks the boulders.
The one confirmed Gold spot sits in the cave below the lookout tower, and a Scrap Pickaxe is what breaks the boulders.
by AllThingsHow Staff
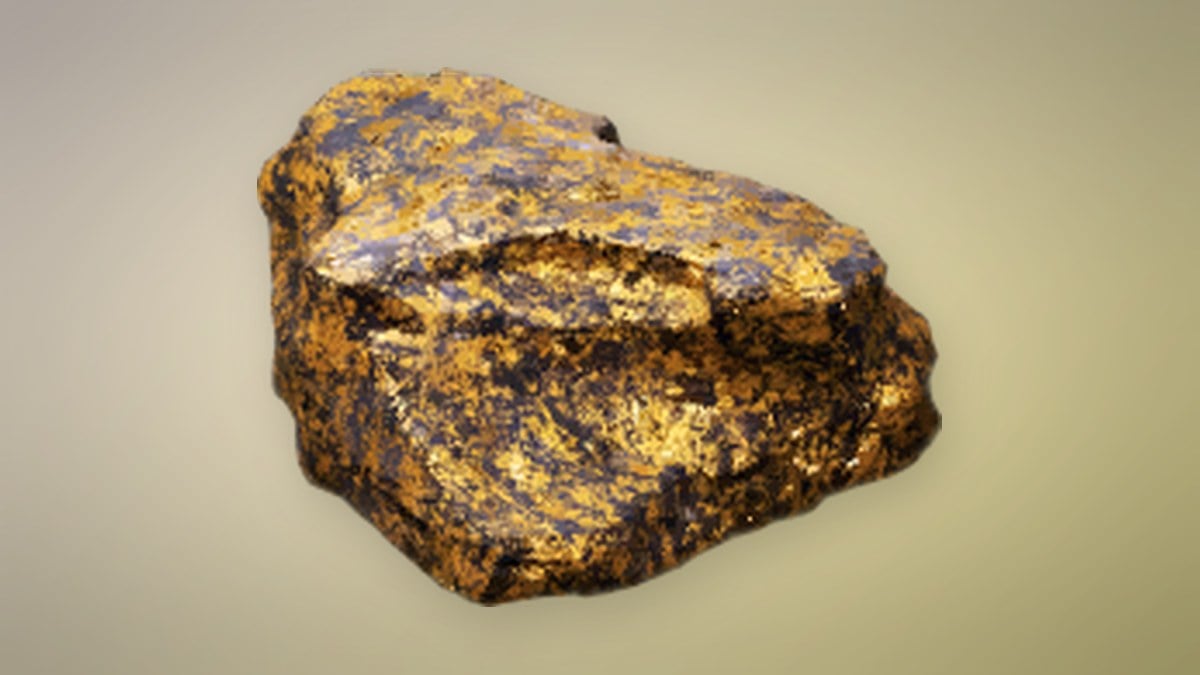
Gold in Permafrost comes from Gold Boulders tucked deep inside a cave that opens right beside the lookout tower at Hunter’s Glade. It is seconds from the tower, but it sits past a stretch of dark tunnels, so you want the right pickaxe and a light before you go in. This covers that one confirmed spot, not every place Gold can turn up.
Quick answer: Head downhill from the Hunter’s Glade tower to the cave in the rock outcrop by the broken fence, follow the tunnels to the snowy crevice, and break the Gold Boulder with a Scrap Pickaxe using the left mouse button.
What you need before going in
The cave is dark, and its gold chamber is the chilliest area, so even a short visit can leave you freezing if you arrive unprepared. Four things are important.
A Scrap Pickaxe, crafted at a Workbench from 7 Scrap and 15 Processed Plastic. It is the pickaxe confirmed to break the Gold Boulders here.
Bring a light source. The HUD includes a Flashlight in its key hints for good reason.
Warm clothes and something to burn, such as coal or wood, for a fire in the deep chamber.
Free inventory space, since an “INVENTORY FULL” message stops you picking Gold up.
Whether a weaker pickaxe can break Gold Boulders is not confirmed, so bring the Scrap Pickaxe rather than hoping a lower tier works.
Make your way to Hunter’s Glade: Skinwalker waits on the upper deck of its tall metal lookout tower. Descend to the foot of the tower stairs. As you step off, you pass a “LEAVING / No Build Zone” banner.
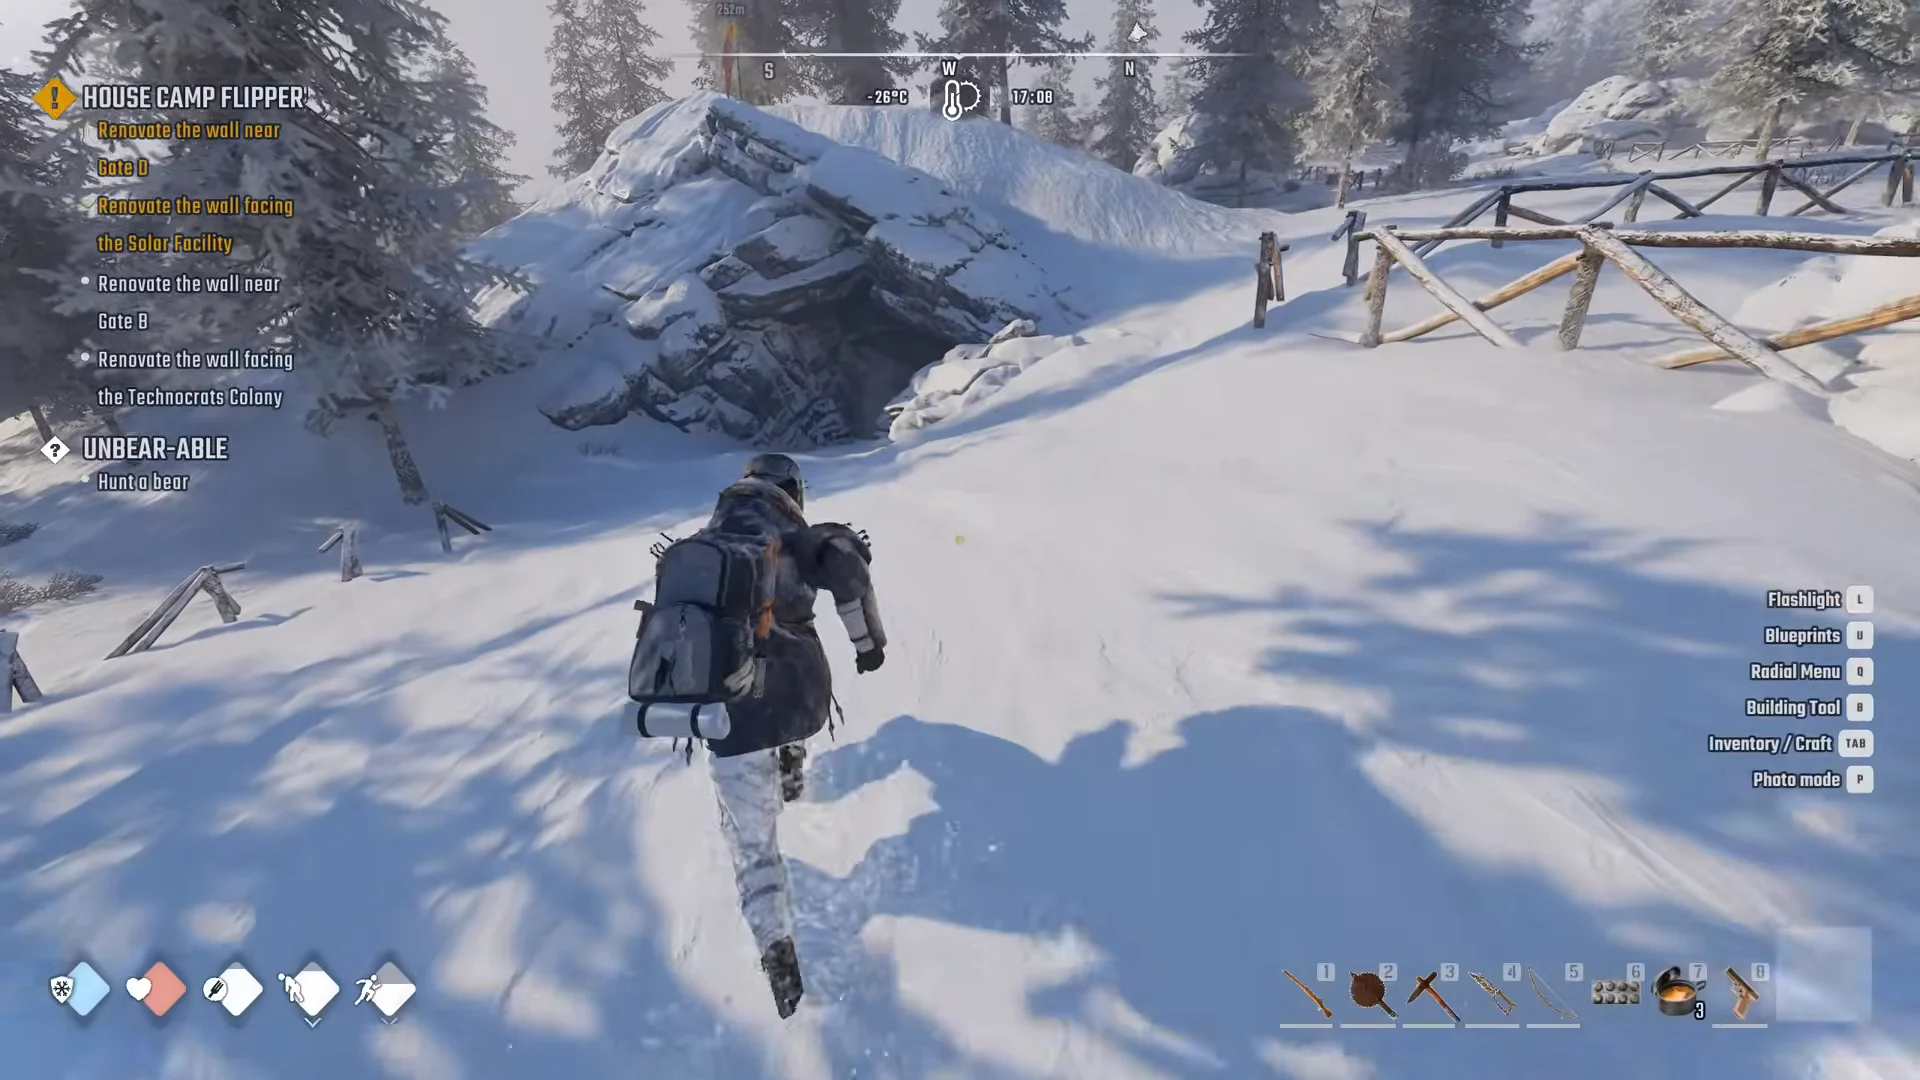
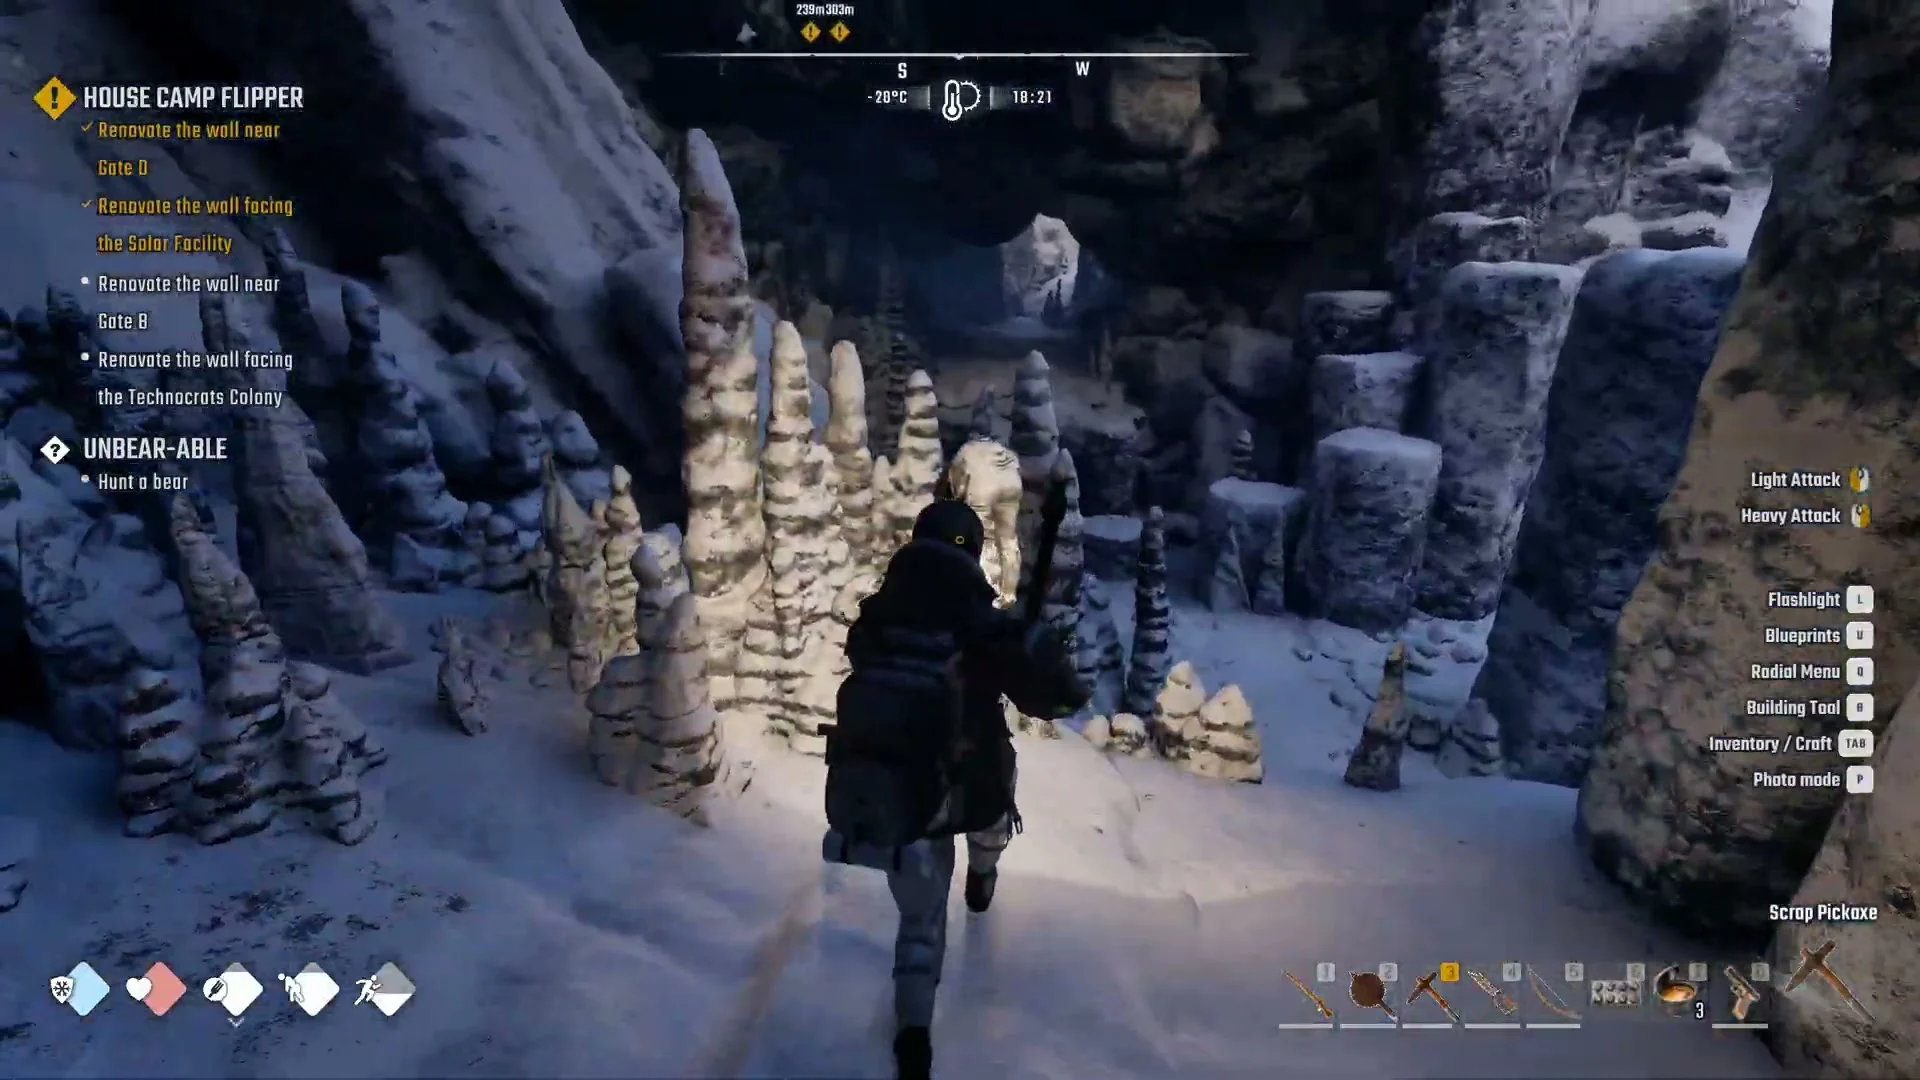
At the fence’s edge, look for a snow-covered rocky outcrop with a shadowed entrance at ground level. This is the cave. Farther down the slope, the outcrop opens again: as you run downhill, keep the fence to your left and the rock to your right. Both entrances lead into the same tunnels.
On the map tab, the gold chamber sits a short way west and slightly north of the house icon whose tooltip reads “Location: Hunter’s Glade,” next to a dark rocky patch. The cave itself shows no name banner on screen.
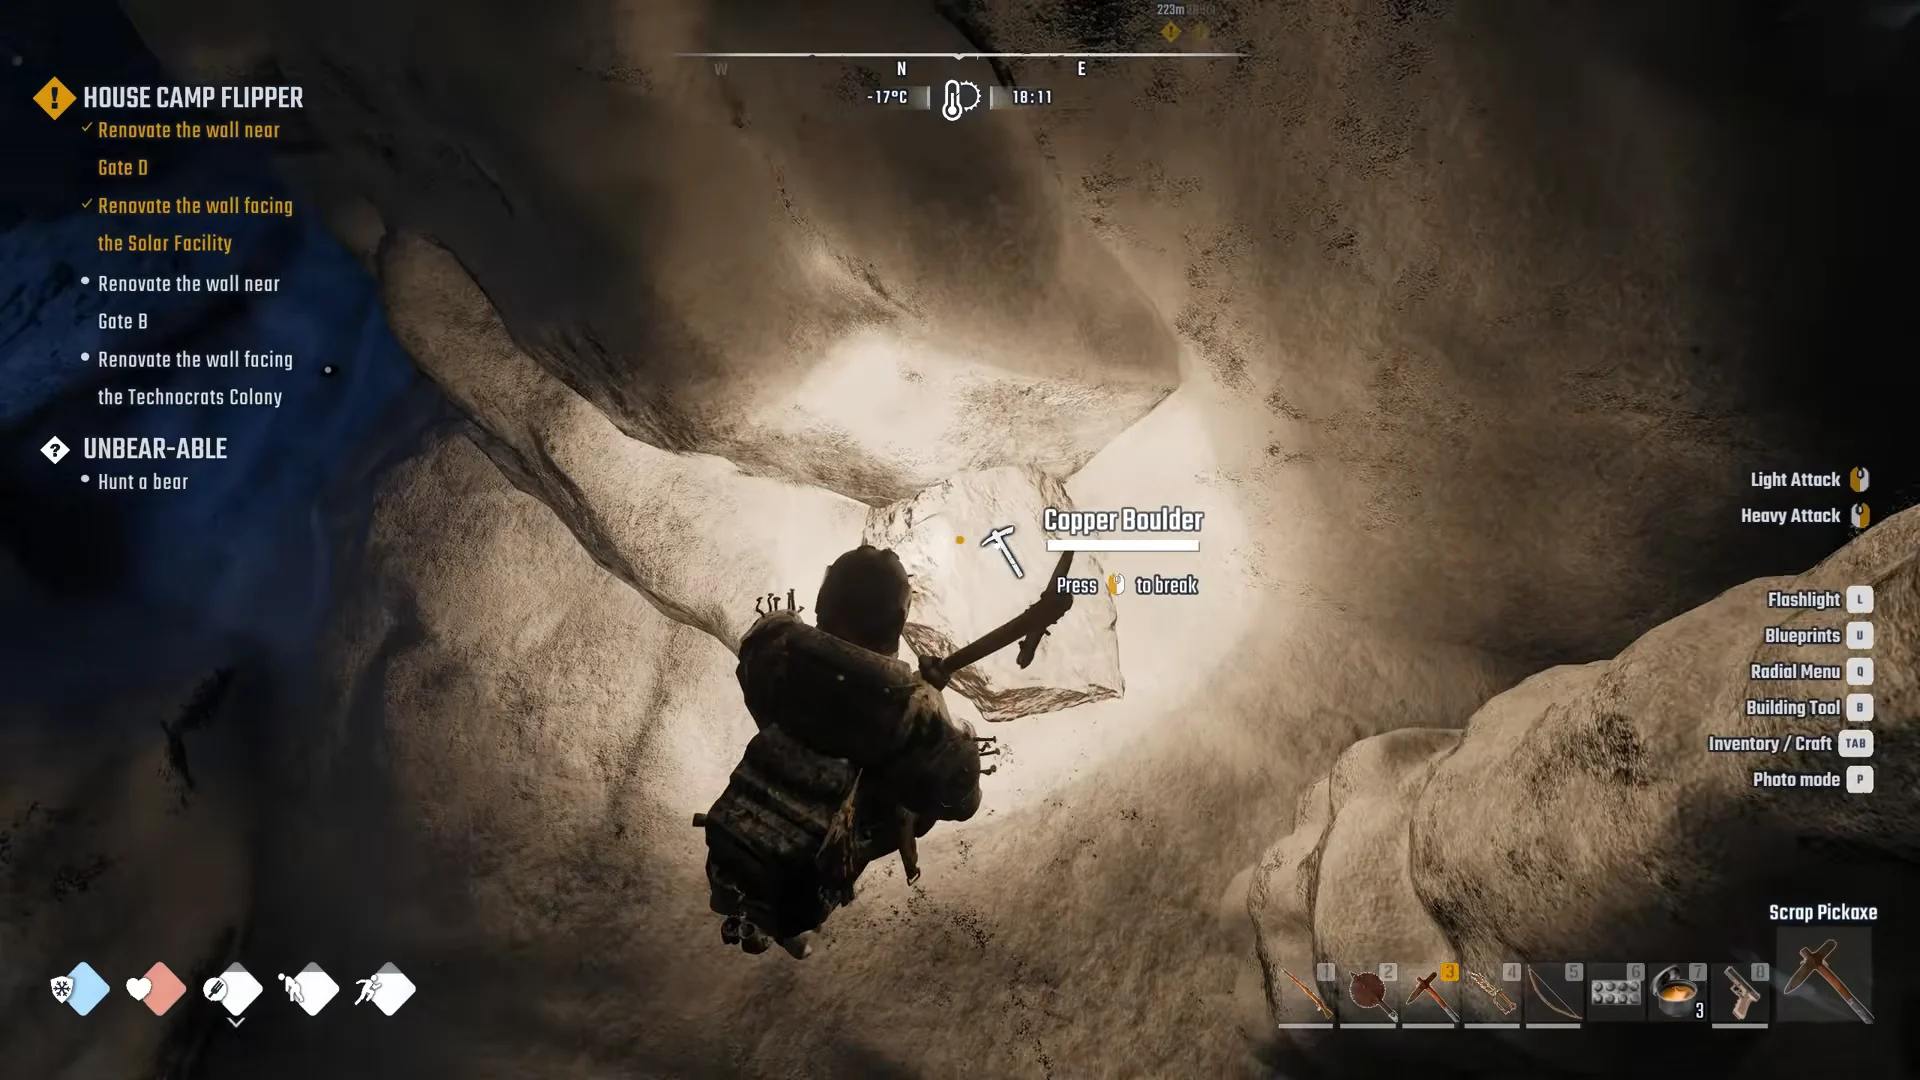
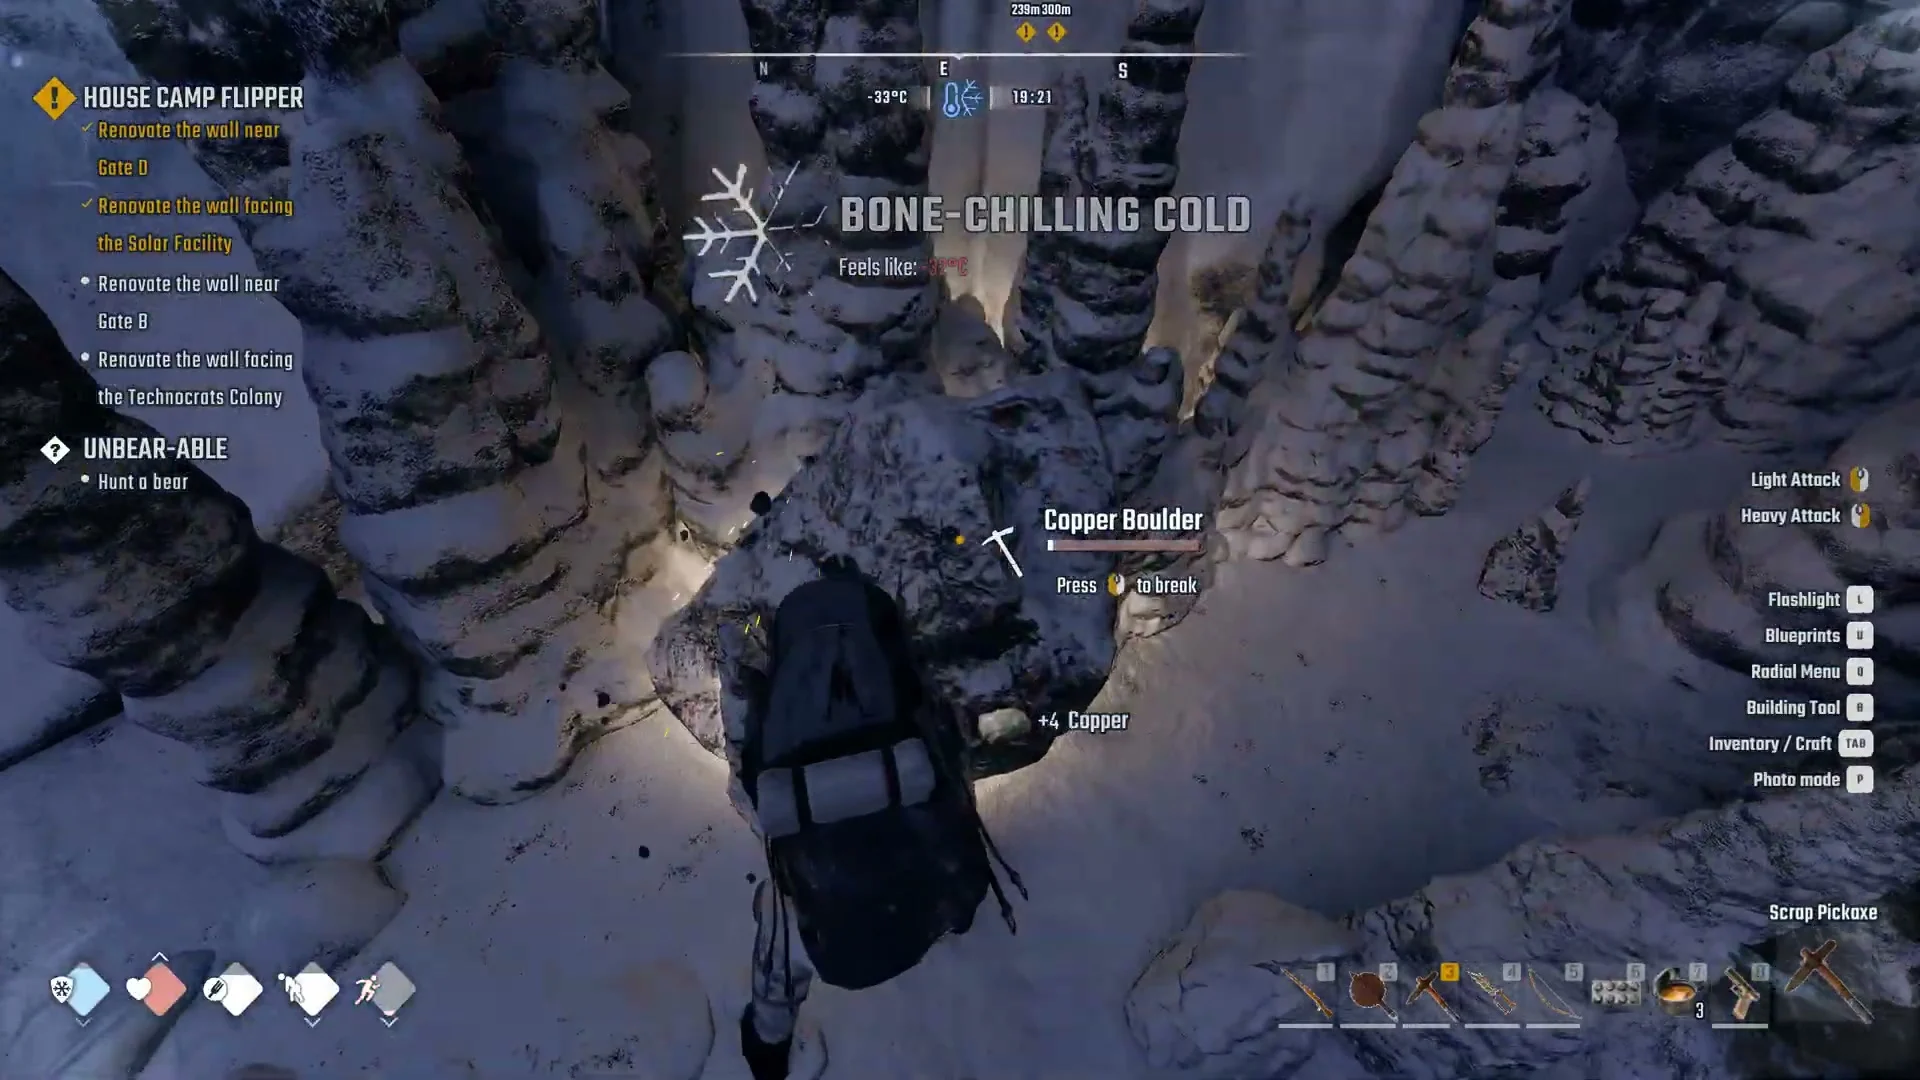
Pass a Coal Boulder on the tunnel wall, then a Copper Boulder a little further in. Facing the Copper Boulder with the Scrap Pickaxe out, the prompt reads “Copper Boulder / Press (left mouse button) to break” with a white pickaxe icon, which means your tool can break it.
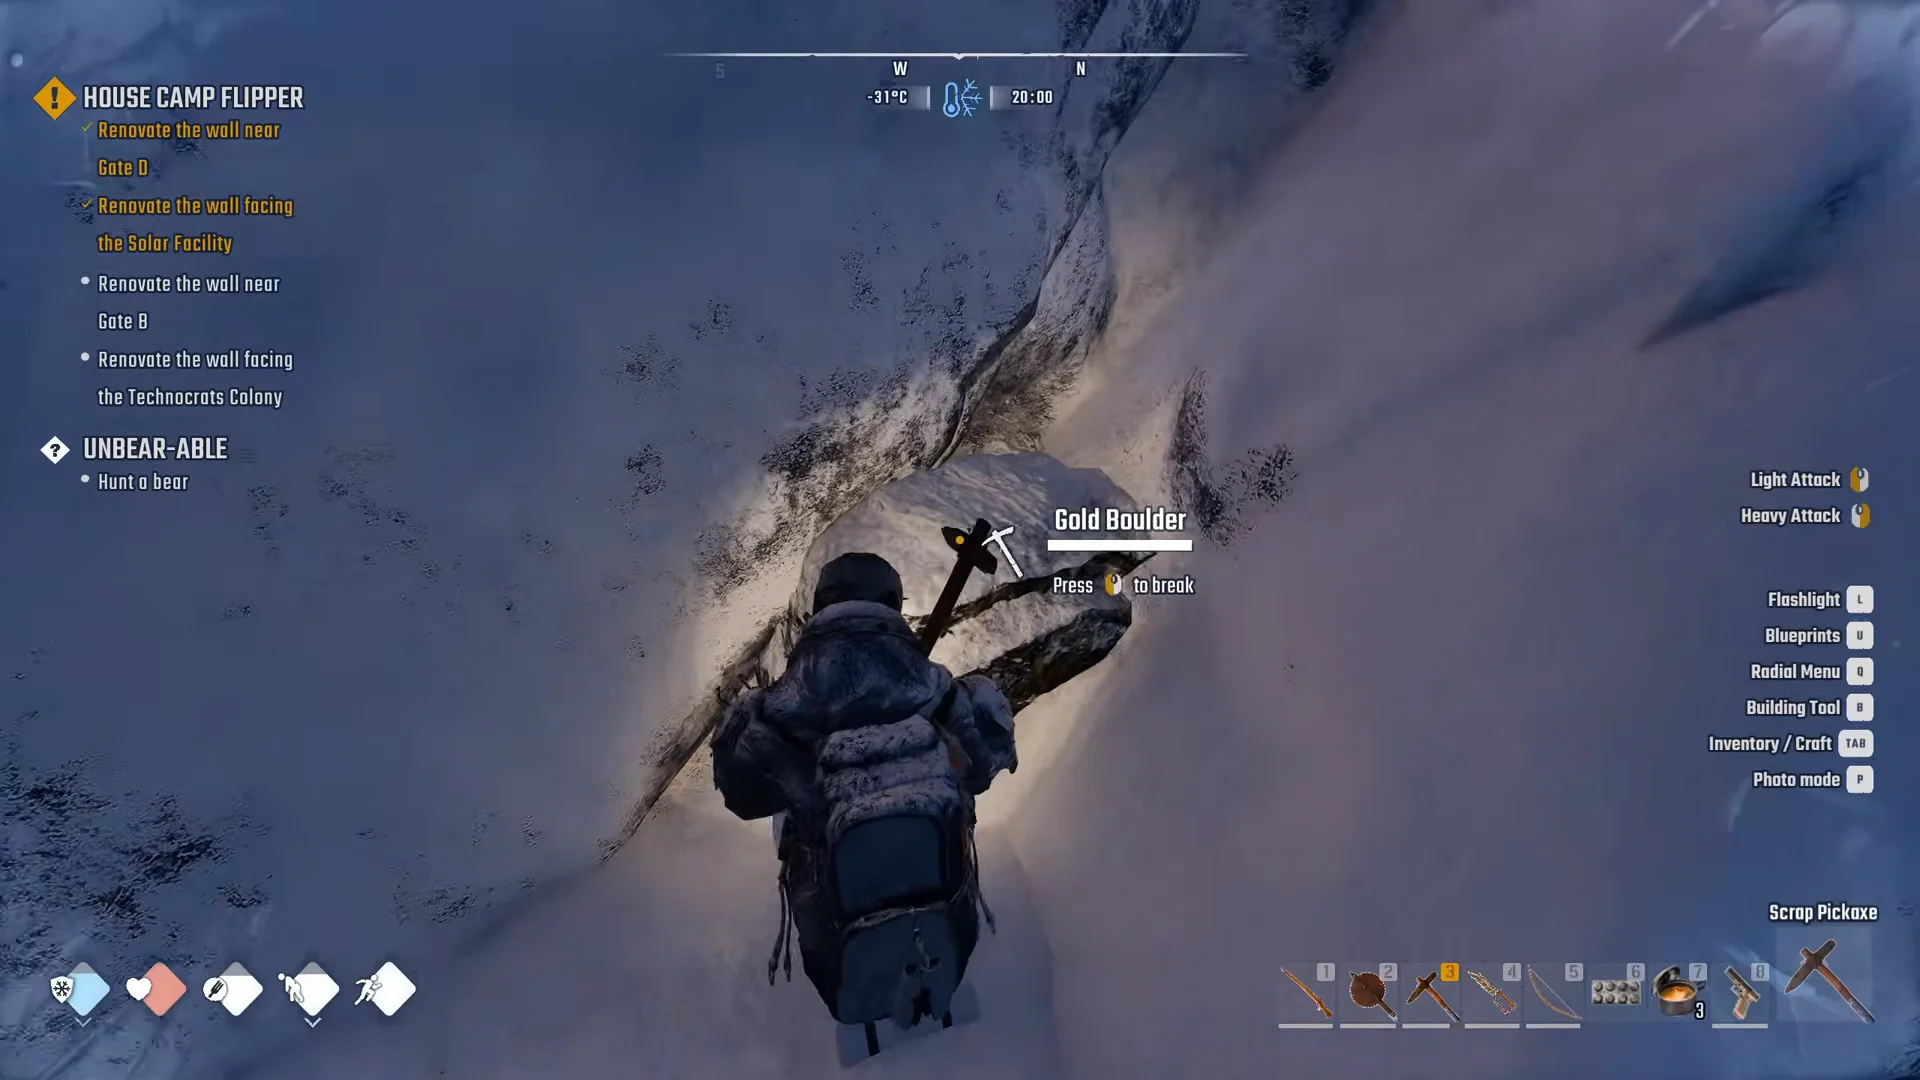
You reach the Gold Boulders. Several sit close together in a snowy crevice, on the floor and on the ledges around it. Facing one gives the prompt “Gold Boulder / Press (left mouse button) to break,” with a white pickaxe icon and a bar under the name that drains as you hit.
Use the mouse to break boulders; F will not work. Their prompt displays a left mouse button glyph, while equipping a pickaxe brings up Light Attack and Heavy Attack on the HUD. Reserve F for picking up loose items from the ground.
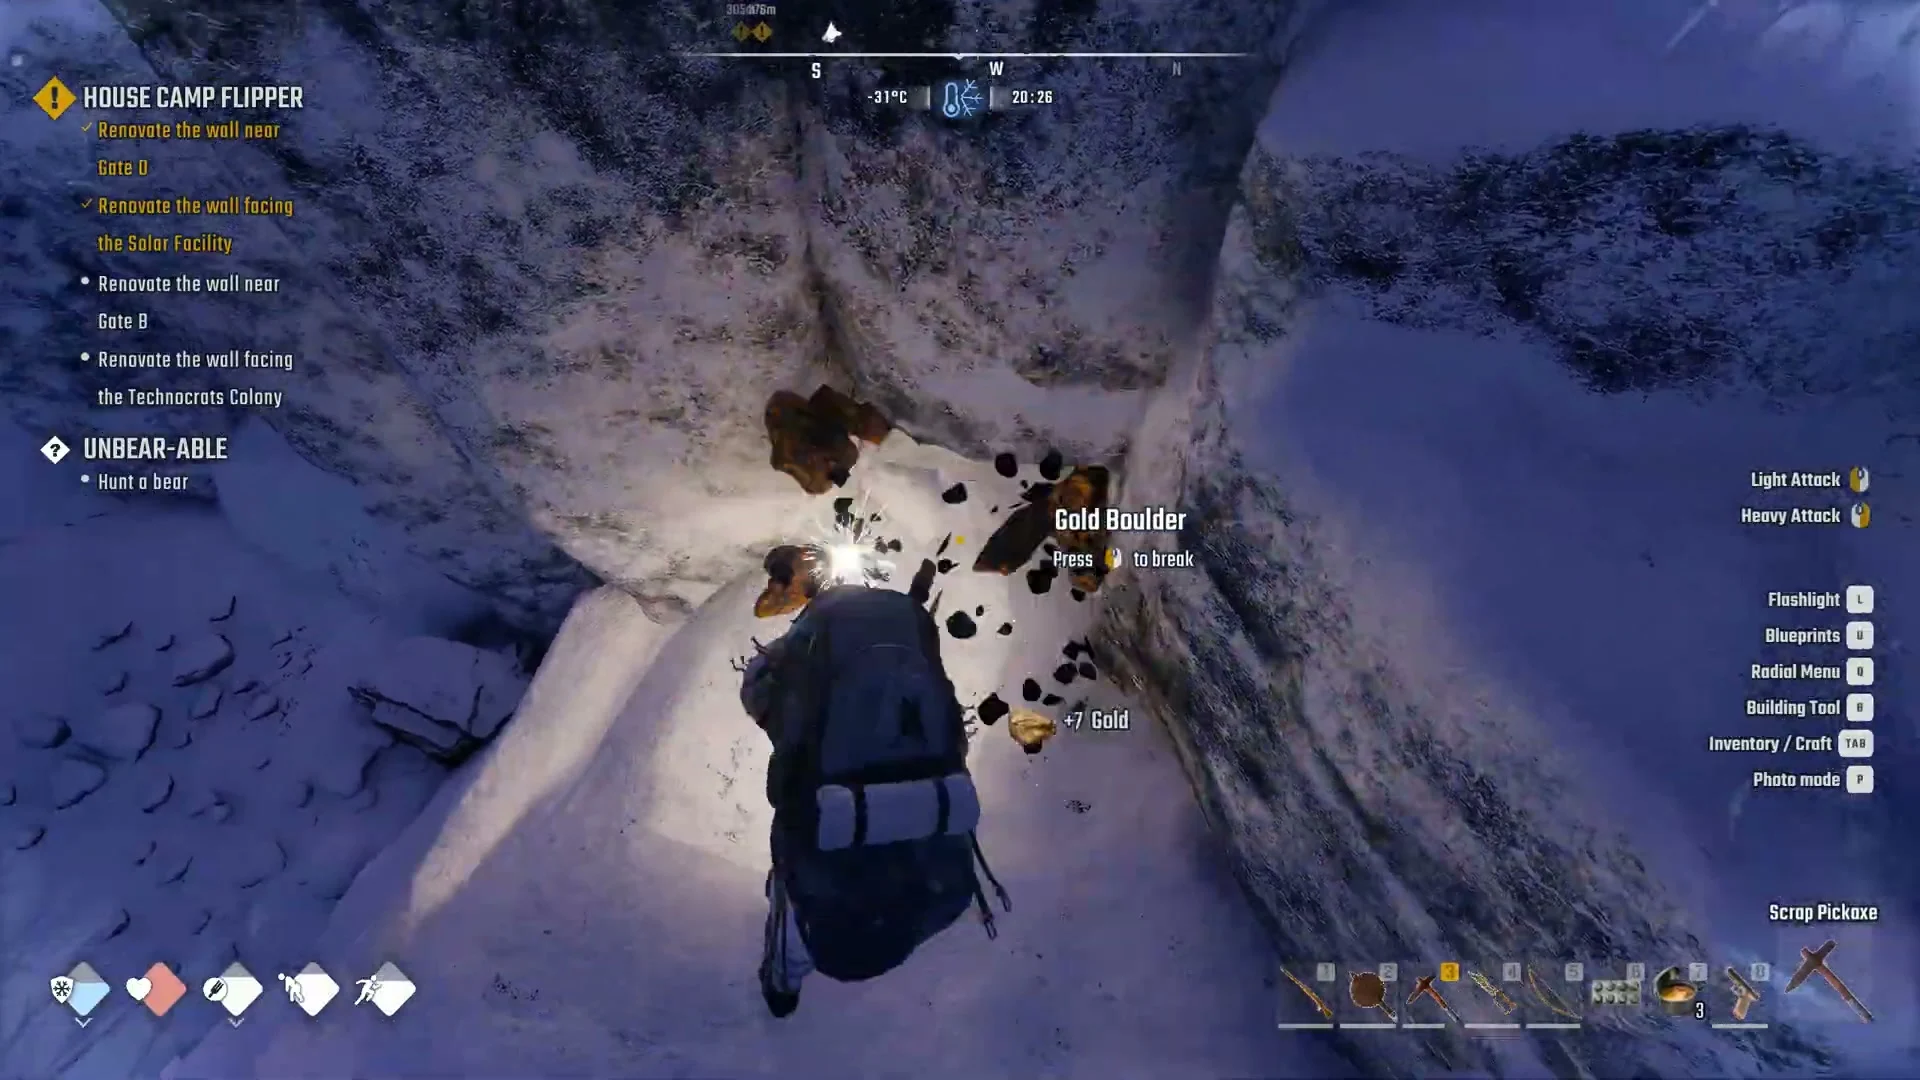
Each hit adds to a running “+N Gold” counter beside the boulder, and the boulder bursts into chunks once its bar empties. One boulder gave 4 Gold. The counter keeps climbing if you move straight onto the next boulder, so a larger number on screen is a running total rather than a single boulder’s yield. In the inventory, the Gold tooltip reads “As valuable as ever, but for more practical reasons,” with a value of 80.
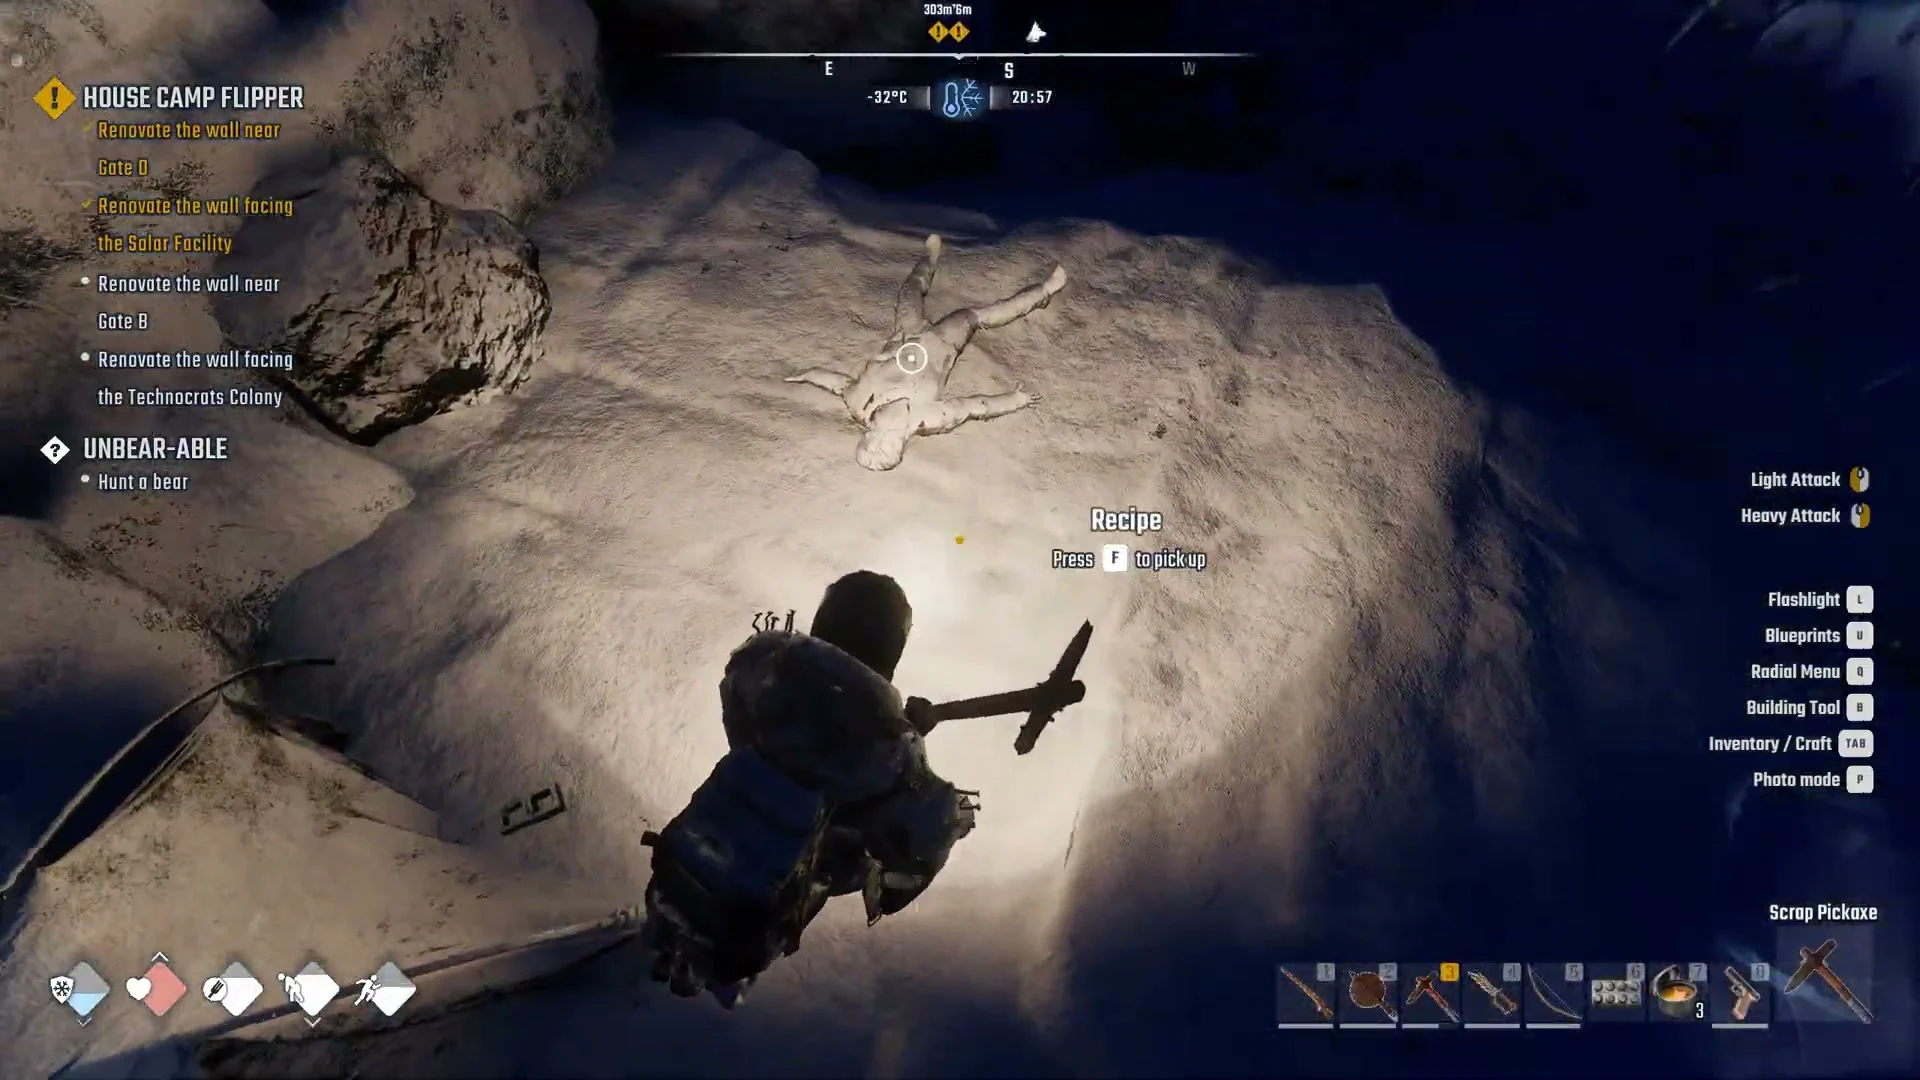
The cave reaches its lowest temperatures in the deep chamber with the Gold Boulders. There, the HUD thermometer reads roughly -31°C to -32°C, its icon turns blue, and the “BONE-CHILLING COLD” warning appears. Bring coal or wood to start a fire and keep mining without having to retreat outside.
What else is down there
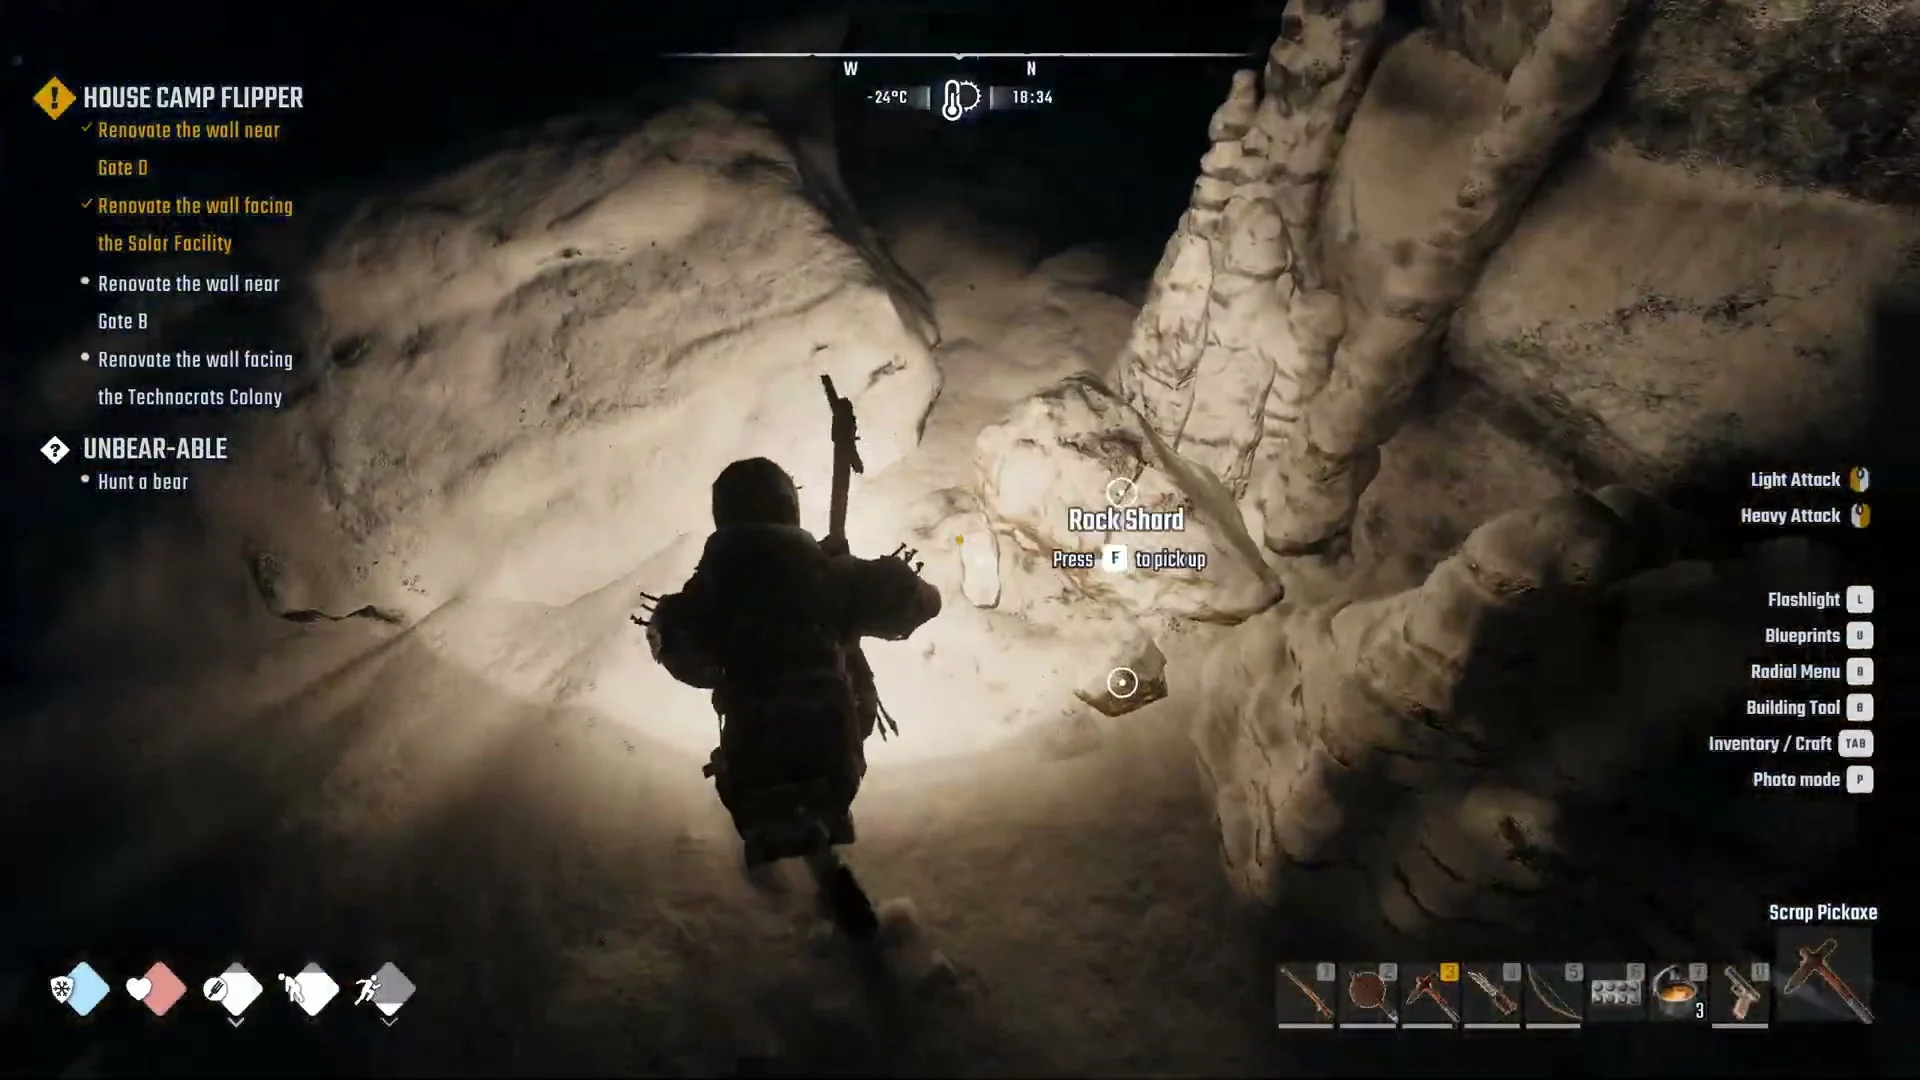
A Recipe pickup lies in the snow beside a frozen body near the Gold Boulders. Grab it with F and you get “RECIPE UNLOCKED / BARREL BRAZIER.” Beyond the gold chamber, more Copper and Coal Boulders line the tunnels.