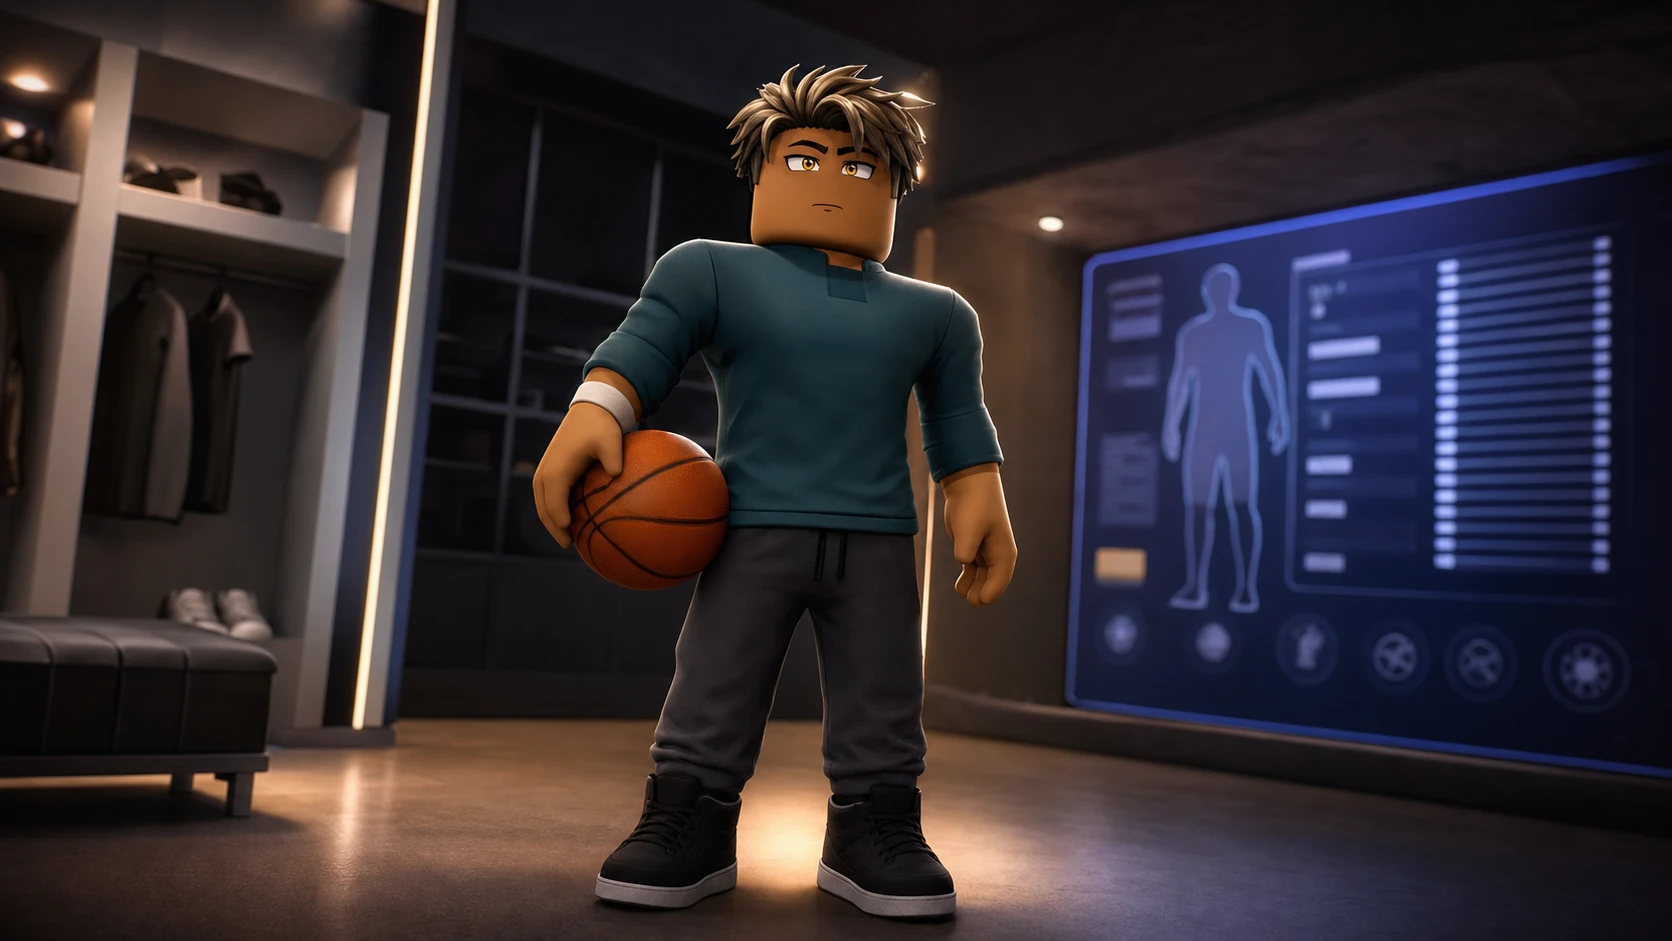
A shooting guard in Practical Basketball wins games in the final minute by pulling up with confidence and staying attached to its matchup on defense. The setup below leans on elite shooting, enough ball handling to create your own looks, and a defensive profile that holds up against strong opponents. It plays as a scorer first and a support piece second, which keeps its role simple and hard to stop.
Quick answer: Pick a Shooting Guard at 6’7″ height, 6’7″ wingspan, 180 lbs, and Built body type. Set Mid-Range Shot and Three-Point Shot to 95, Ball Handle to 86, and Perimeter Defense to 85, then run the Knockdown Shooter takeover.
Body setup and why Built works at 6’7″
Size and body type decide how the rest of the build feels. At 6’7″ with a matching 6’7″ wingspan and 180 lbs, you shoot over smaller defenders while keeping your speed and acceleration high. The Built body type is the right call here because it adds enough strength to absorb contact on drives and hold position when boxing out, without dragging down your burst.
| Setting | Value |
|---|---|
| Position | Shooting Guard |
| Height | 6’7″ |
| Wingspan | 6’7″ |
| Weight | 180 lbs |
| Body Type | Built |
| Anomaly | None |
| Handed | Right |
Full attribute spread
The point totals are spread across scoring and defense rather than piled into one number. Twin 95 ratings in mid-range and three-point shooting anchor the offense, an 86 Ball Handle opens up self-created looks, and 85 Perimeter Defense with 83 Lateral Speed lets you stay in front of quick guards. Speed, acceleration, and stamina all sit in the 90s so you can keep creating and defending deep into a game.
| Category | Attribute | Value |
|---|---|---|
| Finishing | Driving Layup | 77 |
| Finishing | Close Shot | 48 |
| Finishing | Driving Dunk | 25 |
| Finishing | Standing Dunk | 25 |
| Shooting | Mid-Range Shot | 95 |
| Shooting | Three-Point Shot | 95 |
| Shooting | Moving Shot | 65 |
| Shooting | Free Throw | 50 |
| Playmaking | Pass Accuracy | 71 |
| Playmaking | Ball Handle | 86 |
| Playmaking | Post Control | 25 |
| Defense | Interior Defense | 60 |
| Defense | Perimeter Defense | 85 |
| Defense | Lateral Speed | 83 |
| Defense | Steal | 25 |
| Defense | Block | 60 |
| Defense | Rebound | 70 |
| Physicals | Stamina | 90 |
| Physicals | Speed | 90 |
| Physicals | Acceleration | 91 |
| Physicals | Vertical | 75 |
| Physicals | Strength | 50 |
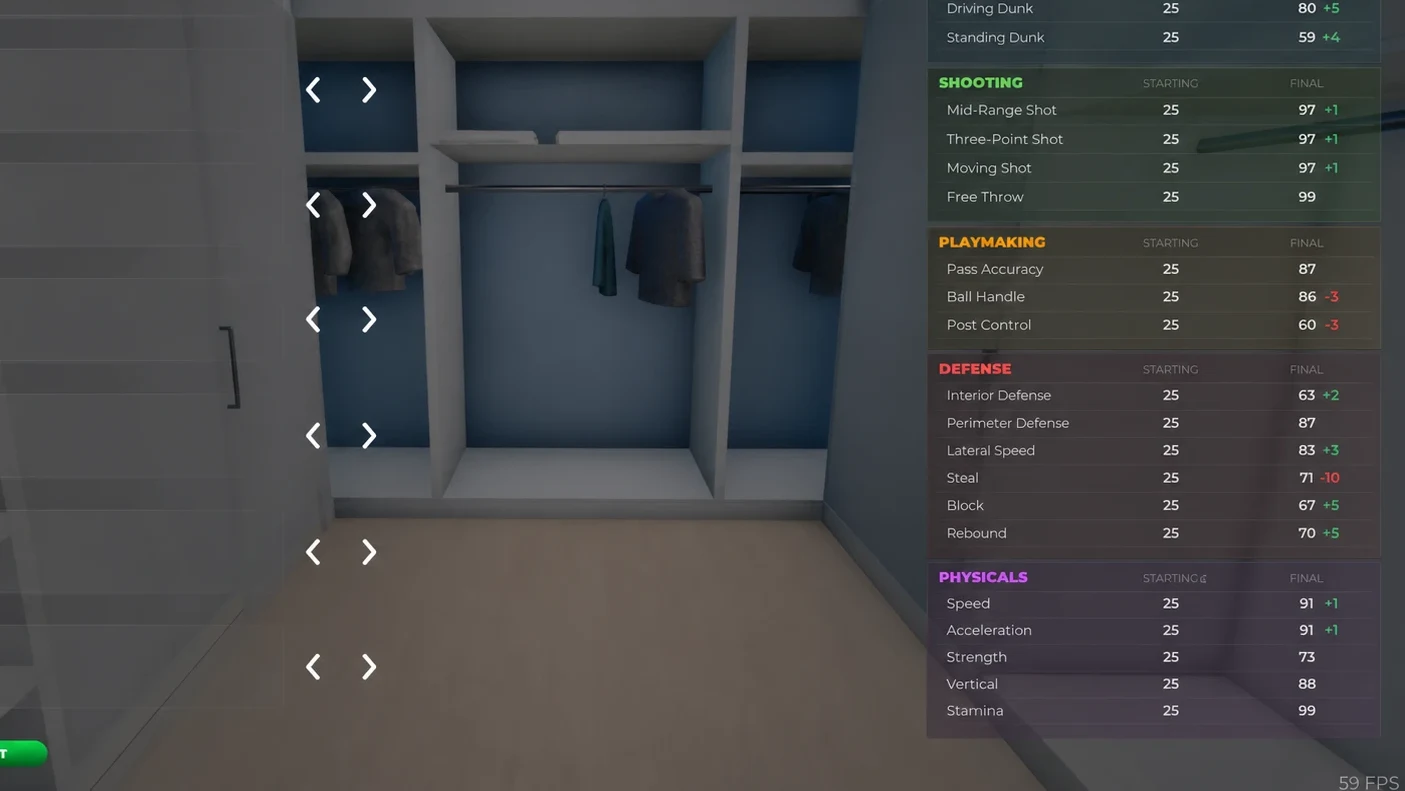
Badge loadout
Badge choices should match how the build actually plays, which means loading up on shooting and perimeter defense first. The shooting badges below are worth taking at Hall of Fame tier because they widen your effective range and cut down the penalty when a defender closes out. The rest support ball handling, easy passing, and staying glued to your man.
| Category | Badge | What it does |
|---|---|---|
| Finishing | Gymnast | Boosts hard layup attempts like spins, euro-steps, and reverses, and improves the chance of beating defenders with those gathers. |
| Shooting | Quick Draw (HOF) | Speeds up the jumpshot release off the catch. |
| Shooting | Tunnel Vision (HOF) | Reduces the penalty from a defender closing out on mid-range and three-point shots. |
| Shooting | Limitless Shooter (HOF) | Extends the range you can hit standing three-pointers from. |
| Playmaking | Quick Handles | Chains dribble moves together faster. |
| Playmaking | Tireless Handles | Cuts the energy lost on consecutive dribble moves, so combos last longer. |
| Playmaking | Quick Pass | Gets the ball out of your hands faster and speeds up pass velocity. |
| Defense | Locks | Helps you stay in front of the ball handler with quicker cutoff moves and better hip riding. |
| Defense | Intimidator | Makes contested offensive players miss more often and raises your shot defense when guarding tightly. |
| Defense | Tough Ankles | Lowers the chance of getting crossed over or ankle-broken. |
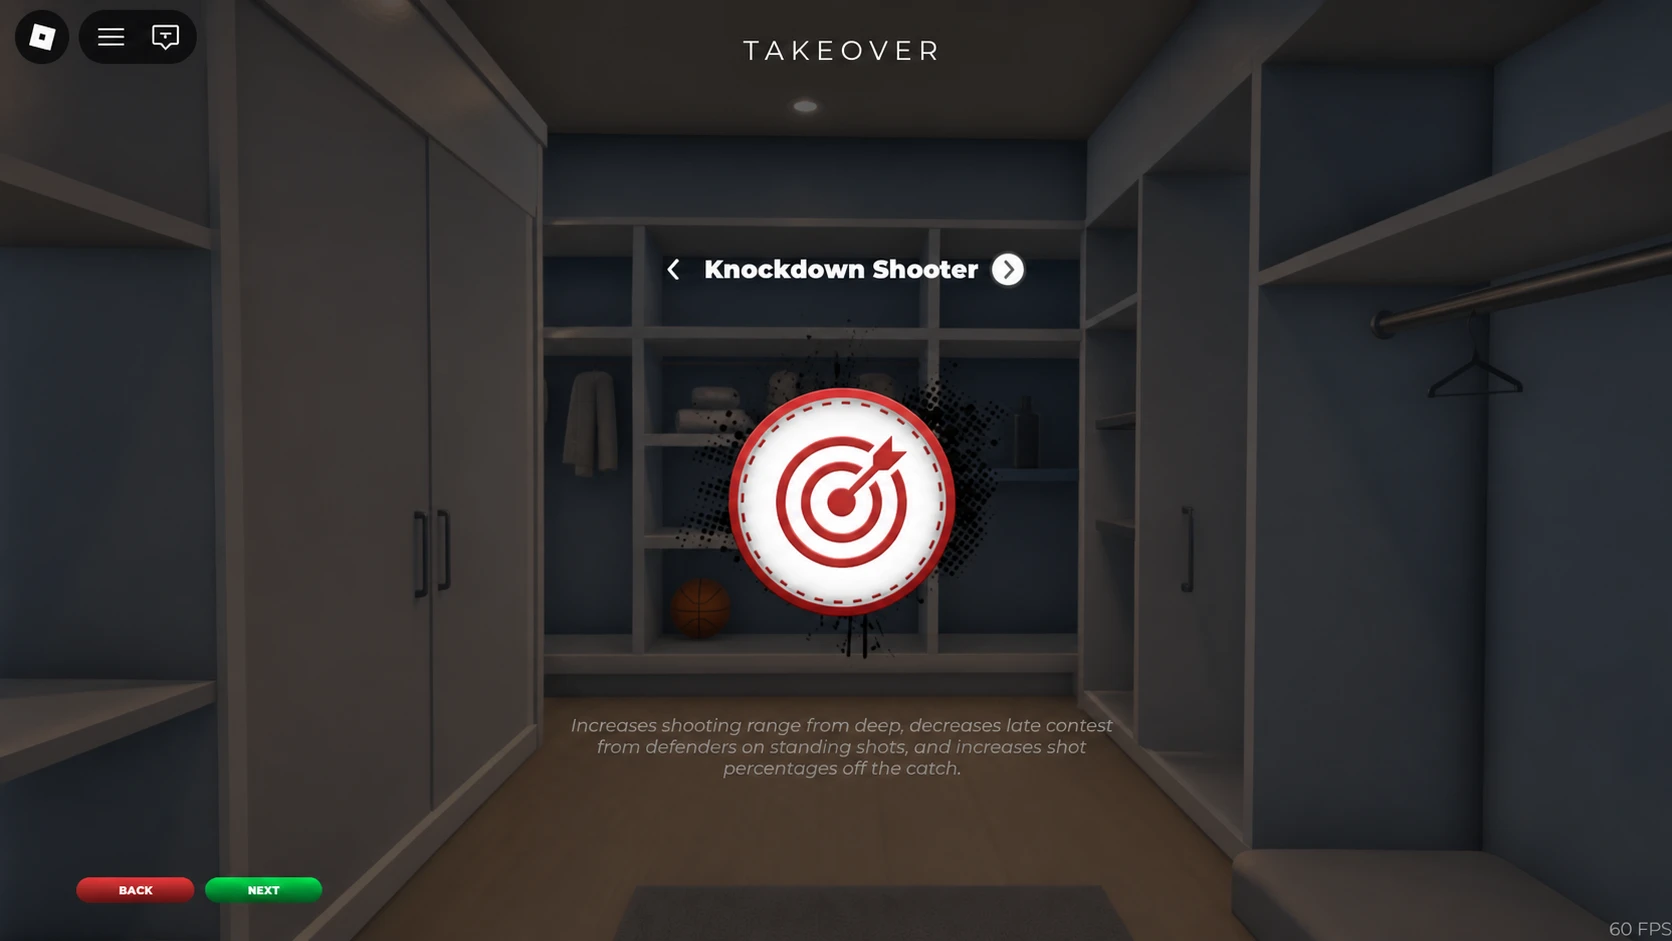
Best takeover: Knockdown Shooter
Knockdown Shooter is the takeover that fits this build. It raises your shooting percentages on contested and tough attempts, which is exactly the kind of pull-up scoring the setup relies on. Activate it during a close game and difficult shots start dropping, letting you go on a scoring run when your team needs it most.
How to play the build
Think of your job in order: scorer first, rebounder second, creator third. Position yourself on the wing or in the corner so passes find you in rhythm for open shots. The 71 Pass Accuracy handles simple reads, so avoid running the full offense like a point guard.
When defenders start crowding your shot, put the ball on the floor and attack the rim. The 77 Driving Layup is enough to finish those closeouts. On defense, stay tight to your assignment and crash for rebounds when shots go up, since the 70 Rebound rating lets you clean up the glass.
Note: adjust the badge priorities to match your own tendencies. If you get blocked often on drives, lean harder into pull-ups and perimeter play instead of forcing shots inside.
Run these settings, spend a little time reading how defenders react to your shooting, and the build starts swinging matches quickly. Its identity stays consistent no matter the opponent, which is what makes a two-way scoring guard so reliable when the game is on the line.