The endgame gear conversation in Project Slayers 2 has moved. High-level PvP no longer rewards raw damage stacking. It rewards staying alive, and the full Firstlight set is now the loadout that does that best. Recent balance buffs pushed Firstlight ahead of Nightfall, and the top of the ranked ladder reflects that shift.
Quick answer: A refined Tier 3 Firstlight set is the current best PvP loadout, granting roughly 4,000 to 5,000 Max HP with heavy block and regeneration; the Duelist and Bulwark accessory sets are the fallback until you craft it.
Why Firstlight replaced Nightfall in the PvP meta
Older meta advice put Nightfall gear at the top for competitive play. That has changed. The PvP environment now revolves around survivability, specifically Max Health and Block Points, rather than how hard a single hit lands. Under those conditions, Firstlight outperforms Nightfall because every core piece stacks health, damage reduction, and health regeneration together instead of trading them for offense.
Nightfall pieces are still built around the Duelist role. The Nightfall Top, for example, carries flat damage and a small damage factor with modest health. That profile loses ground in a meta where the winning strategy is outlasting an opponent through a huge health pool and constant regeneration.
Firstlight set pieces and stats
No shop stocks Firstlight gear. Every piece is crafted at Ouwland (also shown as Ouwigahara), and each one leans into a defensive class tag rather than the Duelist tag seen on standard accessories. The Haori carries the heaviest single health bonus, while the Lantern and War Fans handle block defense.
| Piece | Class | Key stats | Source |
|---|---|---|---|
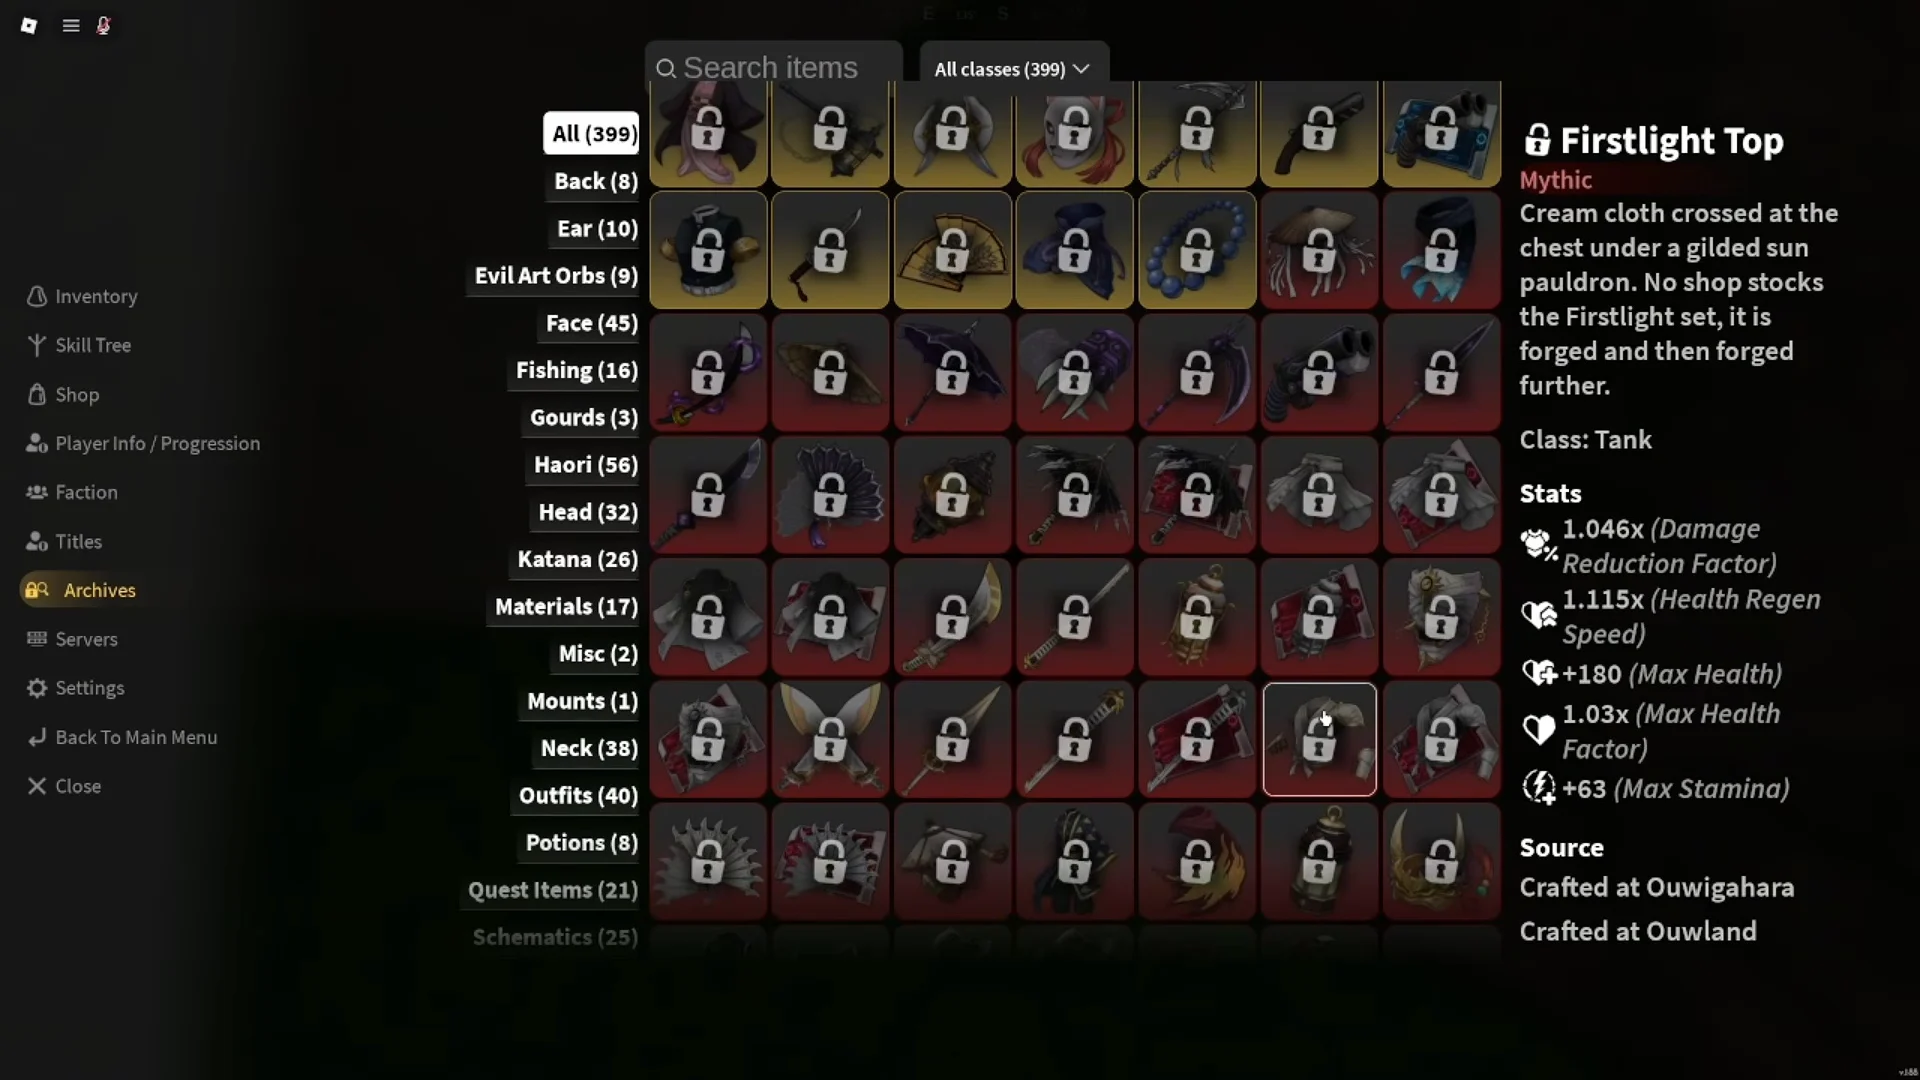
| Firstlight Top | Tank | 1.046x DR, 1.115x regen, +180 HP, 1.03x HP factor | Crafted at Ouwland |
| Firstlight Bottom | Tank | 1.046x DR, 1.115x regen, +180 HP, 1.03x HP factor | Crafted at Ouwland |
| Firstlight Mask | Tank | 1.046x DR, 1.09x regen, +160 HP | Crafted at Ouwland |
| Firstlight Haori | Titan | 1.16x regen, +360 HP, +98 stamina | Crafted at Ouwland |
| Firstlight Lantern | Sentinel | +1.15 Block, 1.14x Block Regen, +100 HP | Crafted at Ouwland |
| Firstlight War Fans | Weapon | +5.75 dmg, 1.154x factor, +8.45 Block | Crafted at Ouwland |
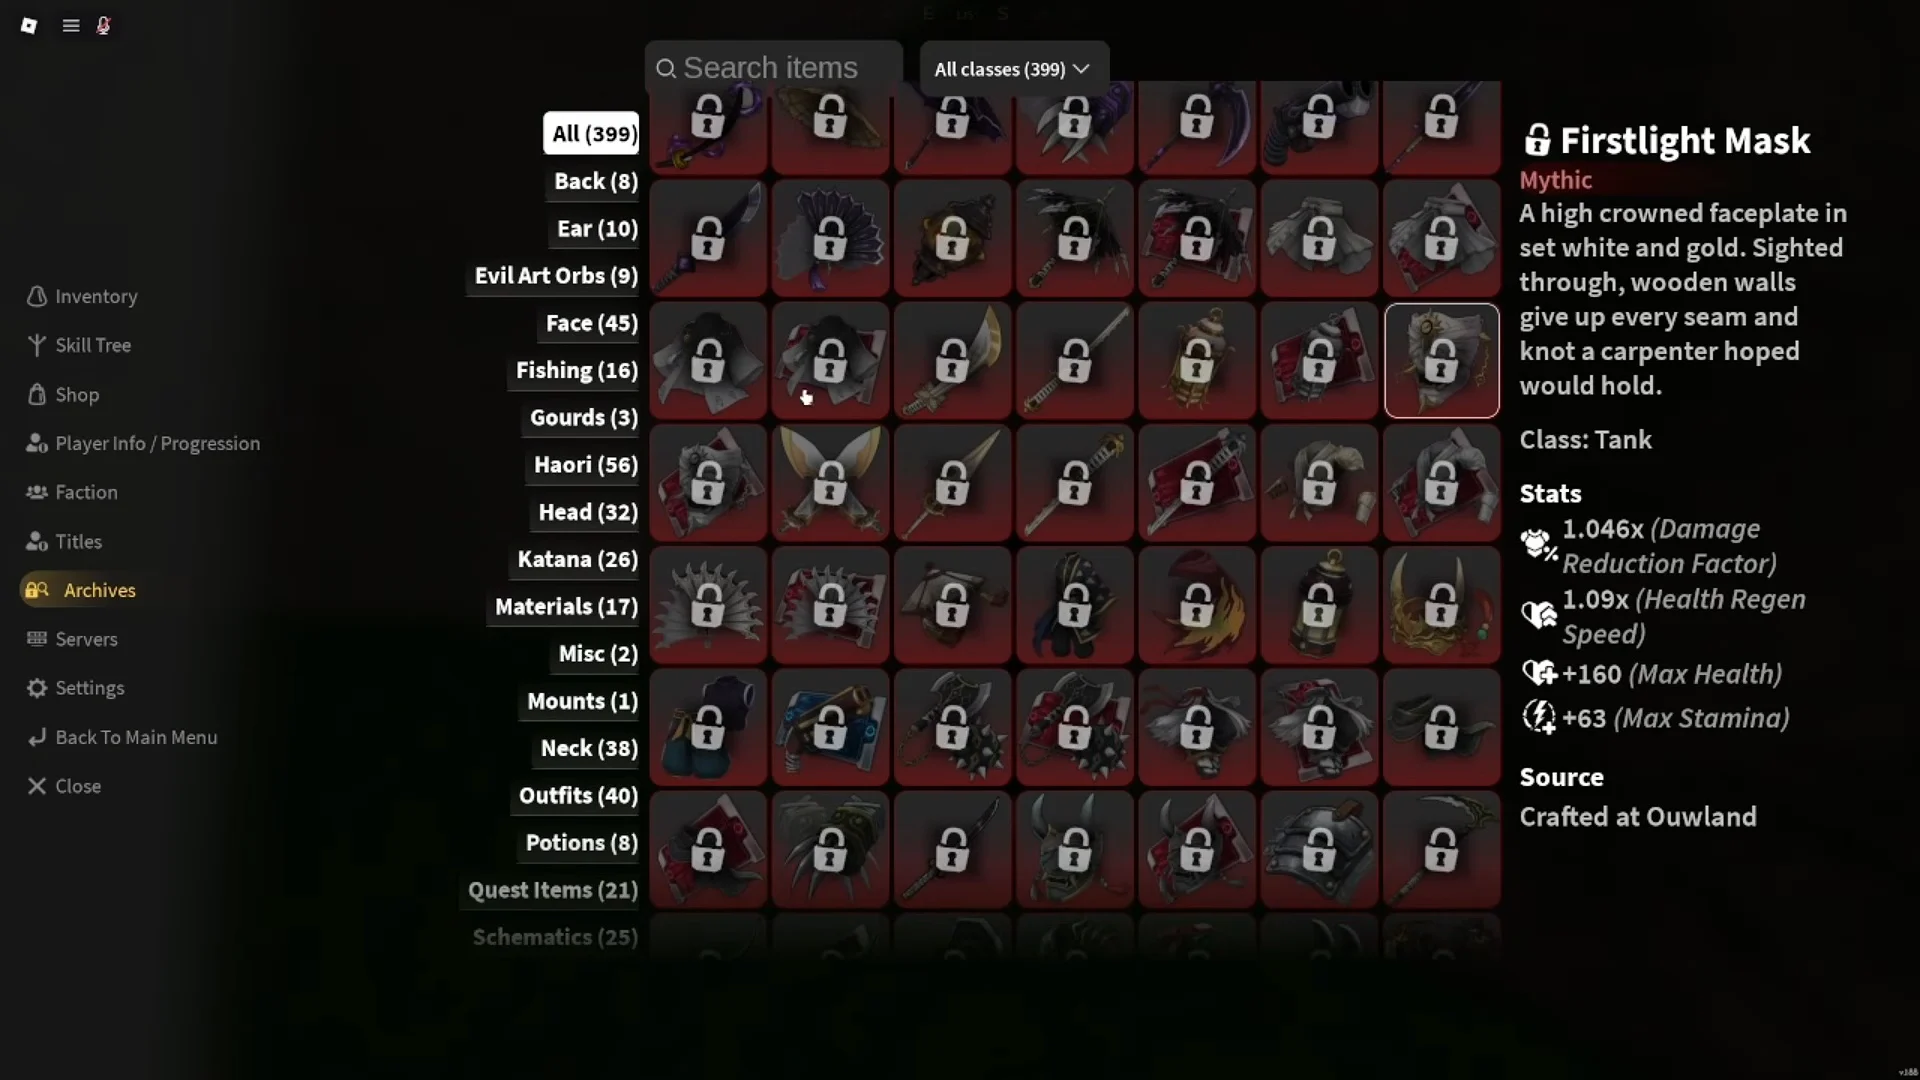
The Firstlight Lantern is not mandatory. It provides block defense and +100 HP, but the slot is flexible. Players who want a little more offense can swap in the Lost Lantern for a 1.03x Additional Damage Factor or the Demonic Lantern for +2 flat damage. The Everburn Lantern exists mainly for cold immunity and illumination, so it is a utility pick rather than a combat one.
What the Firstlight armor actually delivers
The Top, Bottom, Mask, and Haori are the reason the set dominates. Together they push Max Health far past anything a Duelist build reaches, add a damage reduction multiplier on top of that health, and speed up regeneration so the pool refills between exchanges. The Top and Bottom even carry a 1.03x Max Health Factor, which multiplies the health you already have rather than adding a flat number.
A fully refined set is not purely defensive. With Tier 3 R10 weapons equipped, characters still land roughly 50 to 70 M1 damage while wearing the tank armor, so the trade is far smaller than it looks. You keep enough pressure to win, while your opponent struggles to break through the health and block.
Firstlight weapons and the block-heal effect
Firstlight weapons work differently from Nightfall’s. Where a Nightfall Katana leans on bleed from Tier 3, Firstlight weapons such as the War Fans reward defense. When an opponent strikes your block, the weapon restores a percentage of your HP and reflects damage back at the attacker. In a survivability meta, that turns blocking from a passive stall into a source of sustain.
The War Fans also carry high Block Points and strong block regeneration, which fits the rest of the set. The result is a build that punishes aggression instead of simply absorbing it.
Kamado Clan synergy for demon players
Demon players running the Kamado Clan family gain the most from Firstlight. Kamado health regeneration moves scale with the size of the health pool they heal, so stacking them onto a 4,000 to 5,000 HP build amplifies the recovery well beyond what a standard health bar returns. The high-HP armor and the clan’s regeneration reinforce each other, making it one of the strongest pairings in ranked play.
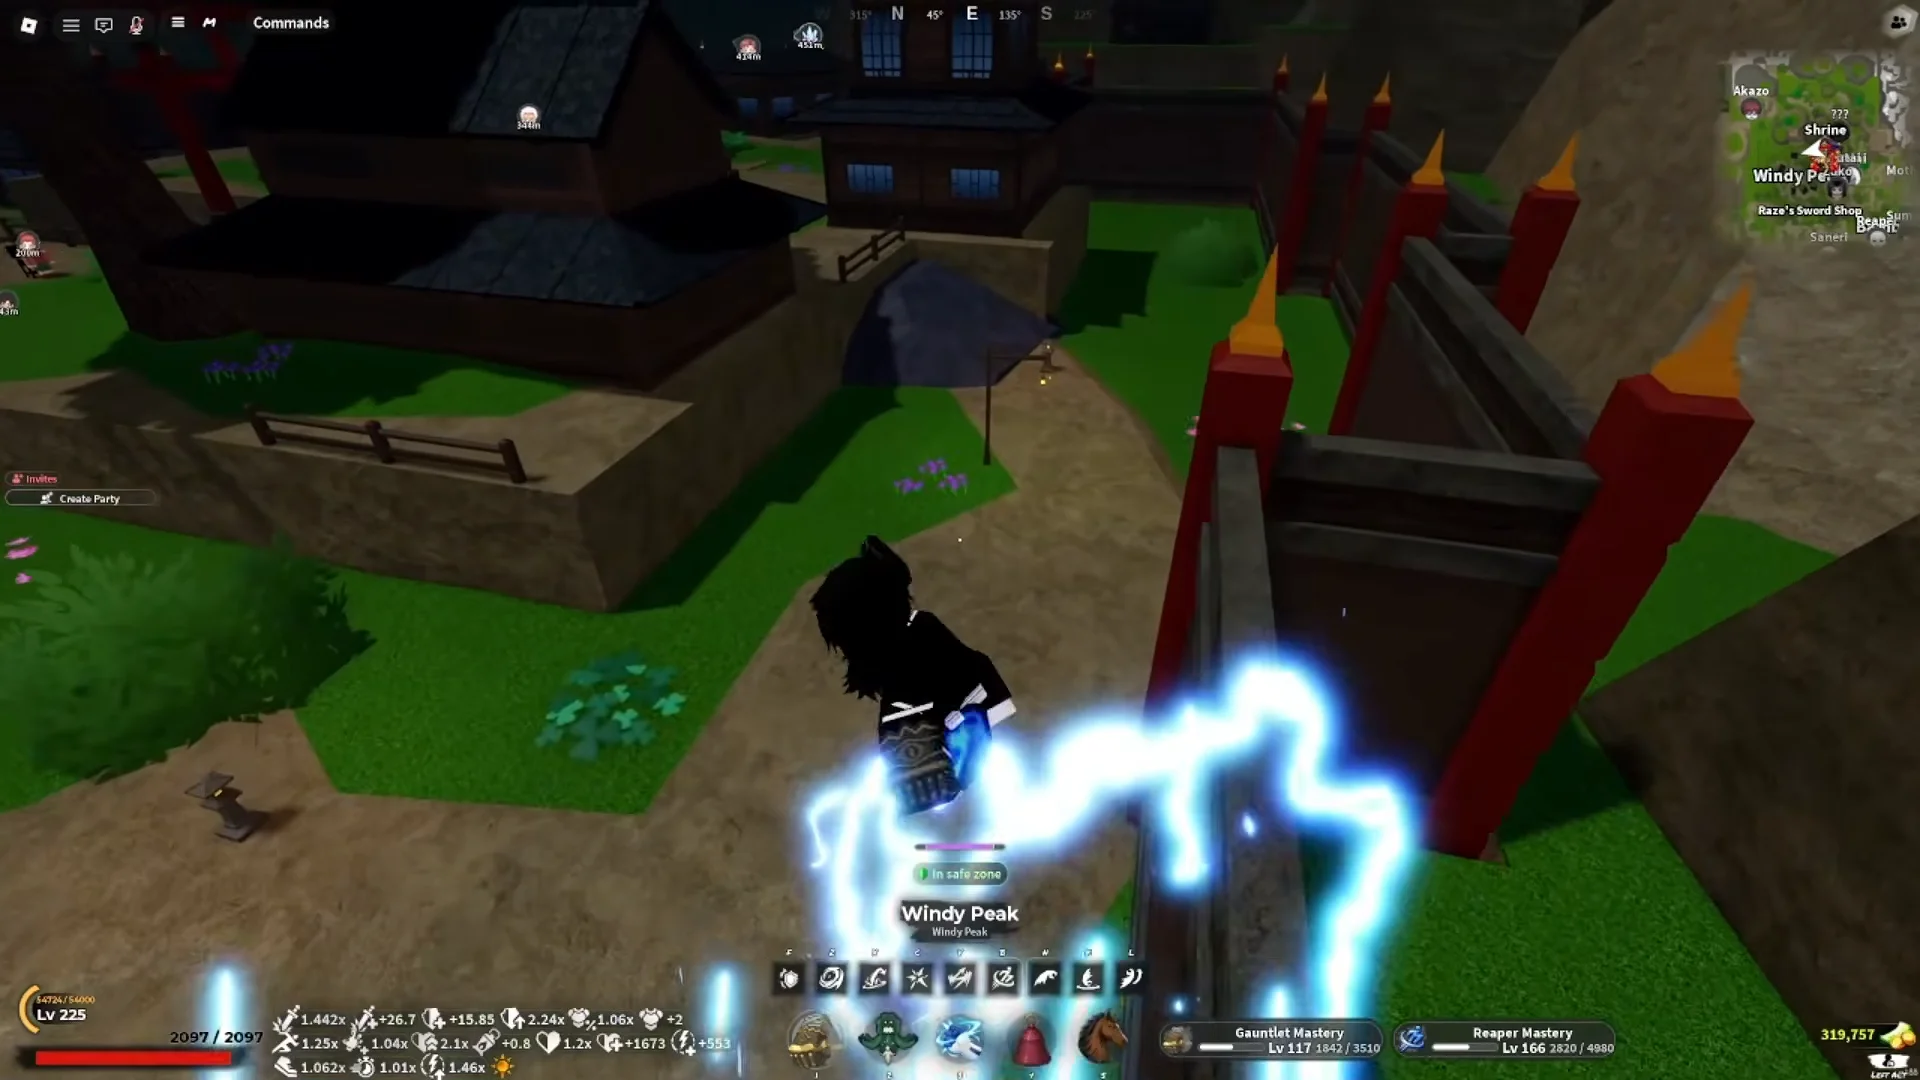
At the top of the ranked leaderboard, the pattern is consistent. The highest-placed PvP players are running full Tier 3 R10 Firstlight sets, sitting in that 4,000 to 5,000 HP range with high block capacity and fast regeneration. It is currently the default competitive answer.
The Duelist (DPS) accessory set before you craft Firstlight
Firstlight takes real farming to assemble, so most players still run a standard damage set in the meantime. This loadout stacks flat Additional Damage across as many slots as possible while keeping practical health and stamina. Each piece comes from a boss, a dungeon, or a chest.
| Piece | Damage stats | HP / Stamina | Source |
|---|---|---|---|
| Stone Haori | +2 dmg, 1.02x factor | +150 / +80 | Gyorei (3%) |
| Bamboo Muzzle | +2 dmg, 1.015x factor | +160 / +80 | Nezura (3%) |
| Demonic Lantern | +2 dmg, 1.015x factor | +105 / +55 | World boss or chest |
| Reaper’s Outfit | +1 dmg, 1.015x factor | +180 / +90 | Boss drop |
| Red Oni Mask | +2 dmg | +55 / +45 | Ougiwahara dungeon |
| Scarred Warding Mask | +2 dmg | +40 / +30 | Sabito (2%) |
Stone Haori is the premier damage pickup: no other piece combines +2 flat damage with a 1.02x Additional Damage Factor. You can freely swap the mask slot. Red Oni Mask and Scarred Warding Mask each grant +2 damage; Red Oni Mask also boosts health and stamina, while the Warding Mask, farmed from Sabito, is a budget substitute that costs you no damage. Silver Fang Mask, a Legendary +2 damage option, serves the same purpose.
Demonic Lantern provides +0.8 Illumination, keeping night farms visible while leaving your damage slot intact. Put this setup and the tank setup in different loadout slots so you can swap between them without rebuilding either.
The Bulwark (tank) accessory alternative
If Firstlight is out of reach but you still want a survivability profile, the Bulwark set trades flat damage for damage reduction, a much larger health pool, and faster regeneration. Bamboo Muzzle carries over from the damage build because it holds the highest health value in the muzzle slot while still adding damage.
| Piece | Defensive stats | HP / Stamina | Source |
|---|---|---|---|
| Black Dragon Armour | +2 DR, 1.06x DR factor, 1.12x regen | +120 / +90 | World chest or Tier 3 boss |
| Kintsugi Haori | +1 DR, 1.05x DR factor | +85 / +65 | Mythic chest |
| Black Lotus Crown | 1.11x health regen | +160 / +80 | Doma |
| Golden Kanzashi | 1.11x health regen | +160 / +80 | Dotai (5%) |
| Bamboo Muzzle | +2 dmg, 1.015x factor | +160 / +80 | Nezura (3%) |
Black Lotus Crown and Golden Kanzashi have matching stats, so they make the easiest combination for boosting health regeneration and raw HP. Black Dragon Armour is the best all-around tank piece, and obtaining it does not require a boss; opening chests along every route is therefore as important here as farming bosses.
Additional Damage vs Additional Damage Factor
The tooltip descriptions may seem alike, but these are separate stats. Additional Damage grants a fixed bonus on each hit. Additional Damage Factor works as a multiplier and gives the biggest payoff on attacks with repeated hits, barrages among them.
Flat damage is usually the dependable pick because it benefits all your moves. A piece’s class label indicates its role: Duelist gear favors raw damage, Technician gear relies on multipliers, and Tank gear provides damage reduction. Technician pieces surpass Duelist pieces only after your base stats are high, so pursuing multipliers too early wastes farming time.
Confirming a loadout is active and what comes next
Before combat, inspect your inventory and hover over every accessory you have equipped. Each item should display its stat lines, and the Max Health and Stamina totals should update to reflect the selected set. If swapping sets leaves those totals unchanged, the loadout has not taken effect and you are about to fight with the wrong build.
Tier 4 armor and weapons are the next progression step players expect, and any future balance pass could shift the ranking again. For now, the picture is clear. Firstlight is the optimal survivability set for competitive play, the Duelist build is the fastest damage setup to farm, and the Bulwark build is the tank option for anyone not yet ready to craft the full endgame gear.