
In Project Slayers 2, M1 is your standard light strike threaded between abilities; its maximum isn’t locked behind one clan or a short-lived buff. Stack damage titles, a fully upgraded Nightfall weapon, damage-focused gear, and capped mastery for triple-digit hits before clan bonuses. Combat Intuition then pushes individual M1s to displayed values of 322 and 342, both well above 300.
Quick answer: Equip Bonebreaker, Devastator, and Annihilator, wield a Tier 3 +10 Nightfall Katana, max Sword and Breathing mastery, fill every slot with Additional Damage gear, then activate a Soyama or Kamado Combat Intuition to break 300.
How M1 damage scales in Project Slayers 2
Two stats drive every hit. Additional Damage is a flat number added to each swing, and Additional Damage Factor is a multiplier that grows more valuable as your flat total climbs. Because of that order, add flat damage first through titles, the weapon, and gear, then let Factor pieces and a clan buff multiply the result. Sword Mastery sits on top of all of it and substantially multiplies your basic M1 output.
Every layer that follows targets one of those two stats. None of it expires, so once the build is assembled it stays assembled.
Equip all three damage titles
Titles add flat Additional Damage to every hit, and you can run three at once. Each unlocks at a cumulative total-damage-dealt threshold and stays earned permanently, so equip Bonebreaker, Devastator, and Annihilator together in the Titles tab under Combat. Combined, these three contribute roughly +5.1 Additional Damage once their buffs and passives stack.
| Title | Total damage | Buff | Passive |
|---|---|---|---|
| Hard Hitter | 50,000 | +0.75 | +0.10 |
| Bonebreaker | 500,000 | +1 | +0.15 |
| Devastator | 2,500,000 | +1.5 | +0.20 |
| Annihilator | 10,000,000 | +2 | +0.25 |
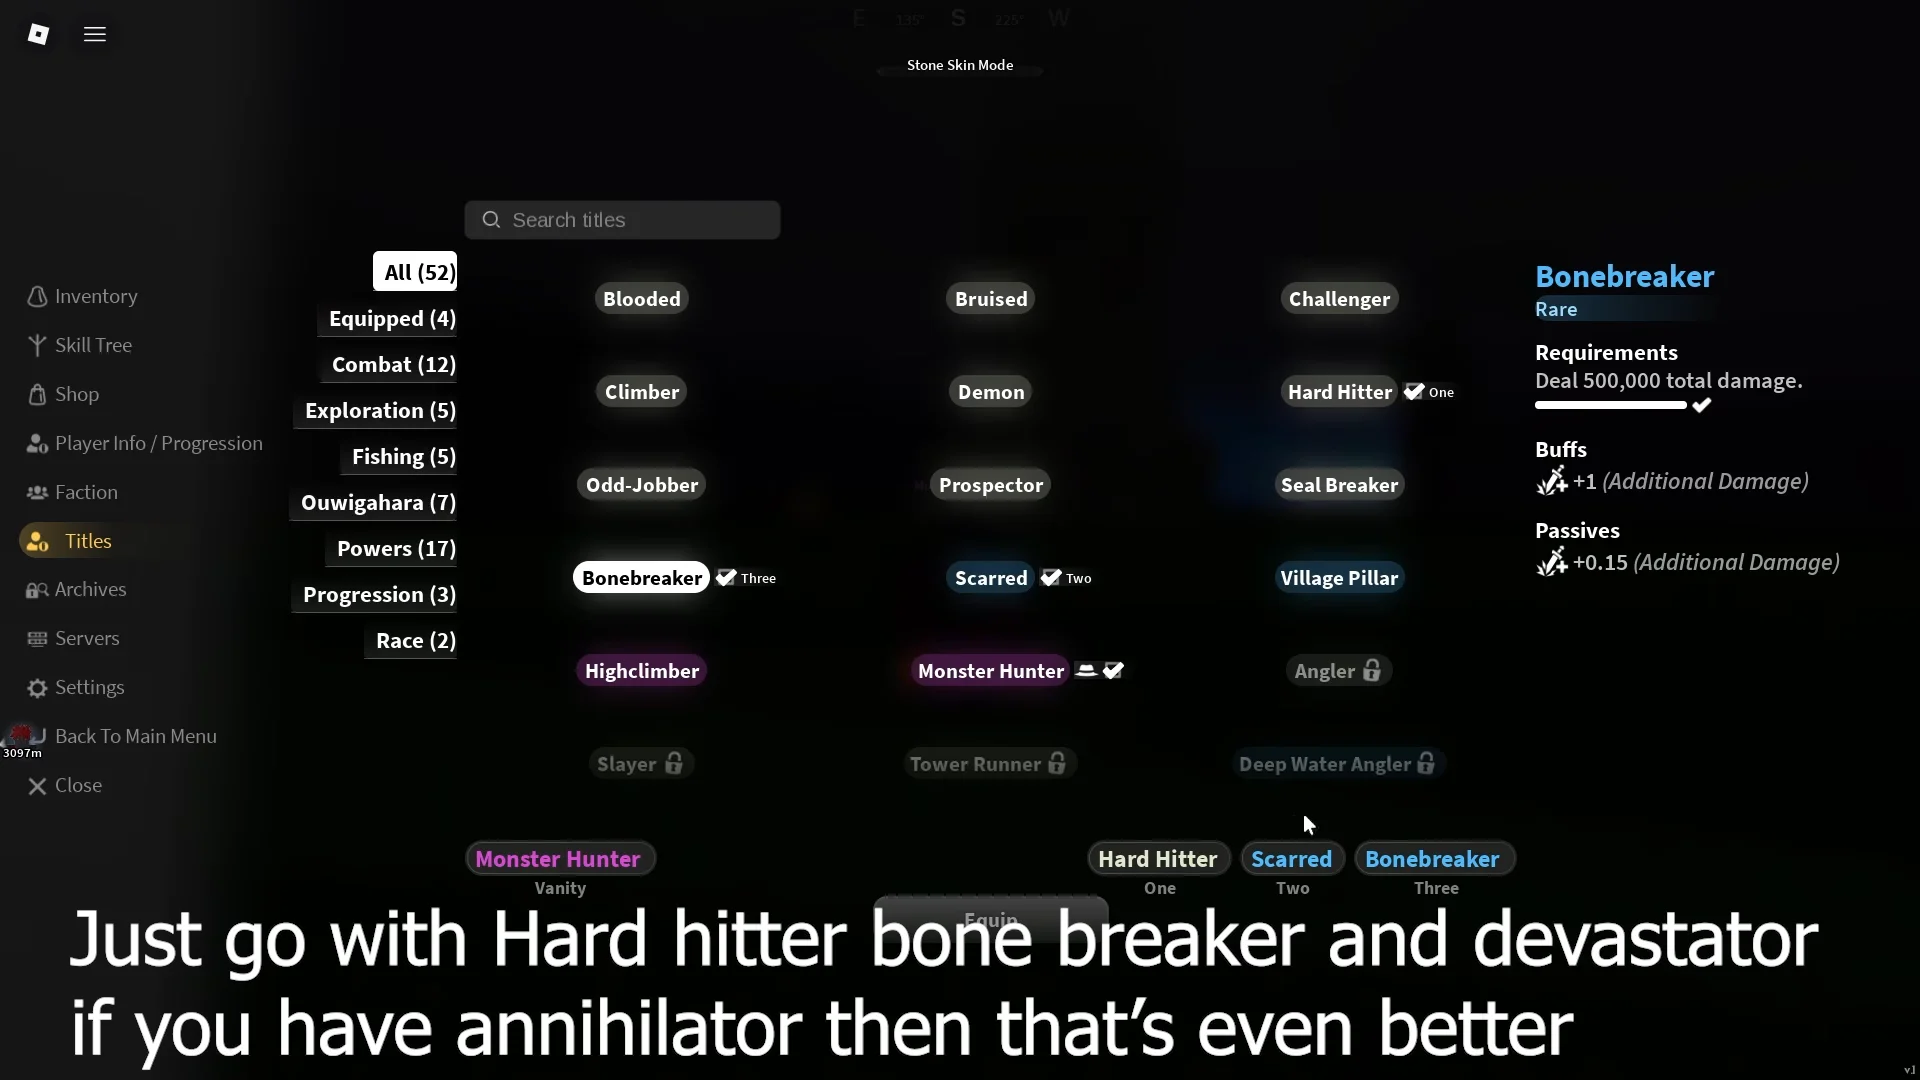
The counter measures raw damage dealt, not the number of hits, so a stronger character reaches each milestone in fewer swings. The jump from Devastator at 2.5 million to Annihilator at 10 million is by far the largest gap.
An indestructible training statue sits inside a cave at Windy Peak, ringed by pink lotus flowers, and it soaks up unlimited hits. Position your character against it, run a macro that repeats a short M1 sequence, and leave it attacking while you are away. Note that AFK fishing does not move the damage title counters at all.
The fifth hit in the M1 combo pushes your character back from the statue. Record only four M1 attacks and set the macro to loop before that fifth hit, so the loop keeps landing without drifting out of range.
Get a Nightfall weapon to Tier 3 and +10
Among the game’s weapons, Nightfall options lead in base damage, and the Nightfall Katana outperforms its alternatives. At base, it provides +5.75 Additional Damage and a 1.138x Additional Damage Factor, beating the Firstlight and Nightfall Serpent variants in raw damage.
| Weapon | Class | Add. Damage | Damage Factor |
|---|---|---|---|
| Nightfall Katana | Duelist | +5.75 | 1.138x |
| Firstlight Katana | Sentinel | +4 | 1.148x |
| Nightfall Serpent Katana | Technician | +3.5 | 1.17x |
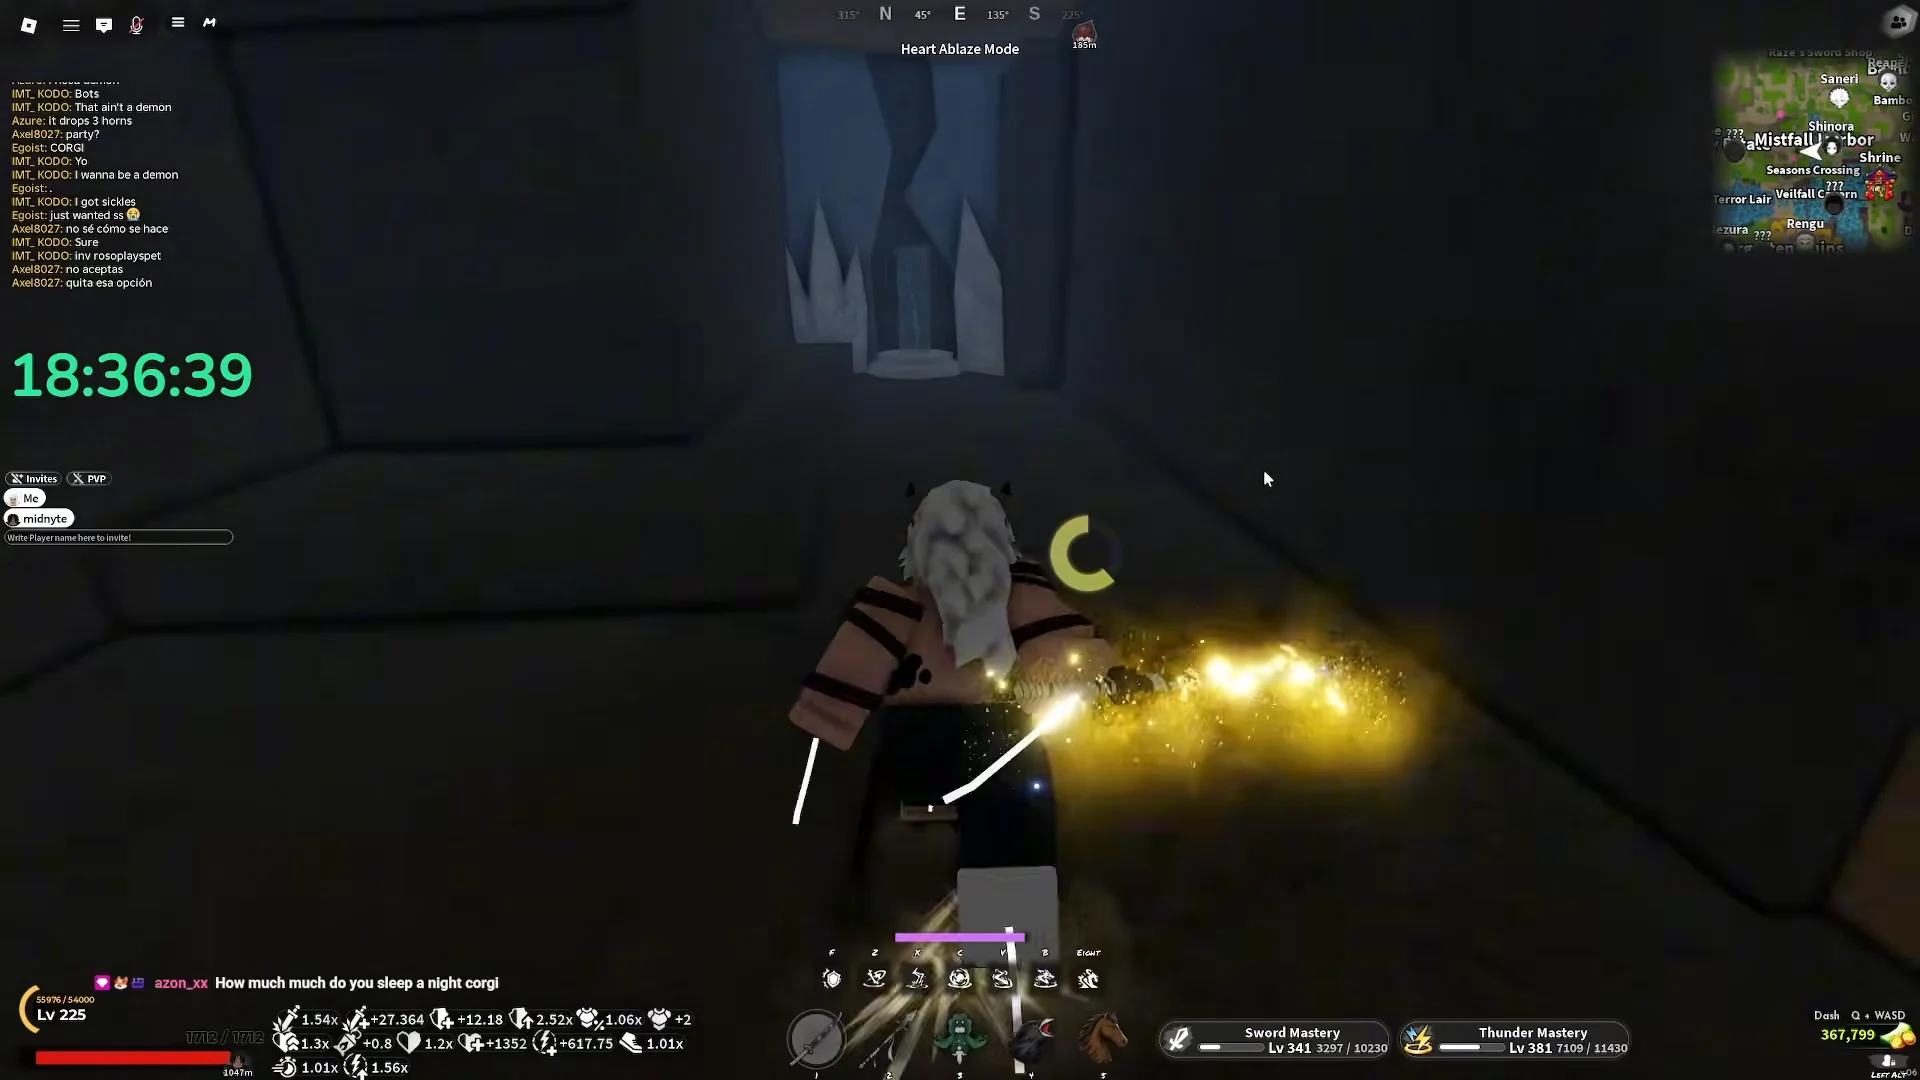
A concealed cavern beneath Mistfall Harbor contains the Nightfall Katana schematic. Descend the cliff near Shinobu’s boss area, follow the cave passage, then cross the water toward Four Season Crossings; the schematic is in an alcove in the rock wall. Before reaching this point in the katana line, get the Thunder Katana and then the Thundercloud Katana from the Ogawara Dungeon; the Nightfall schematic becomes available afterward.
Craft Tier 3 at Blacksmith Togane
Take the katana from Tier 2 to Tier 3 at Blacksmith Togane. The recipe costs 3,500,000 Wen plus a base Nightfall Katana, Nightfall Claws, and a Nightfall Scythe, along with Nightfall Ore, Nightfall Cloth, and Dark Alloy Ore. Those Nightfall materials and Firstlight ingredients drop at low rates, roughly 2 to 5 percent, from Ouwigahara and World Events Chests, so expect to farm for them.
Refine to +10 with Refiner Hagane
Refiner Hagane in the Hidden Mist Village handles refinement. Levels +1 through +9 give small, steady increases, but Level 10 adds a +100 damage jump compared to just +5.5 at Level 9. That single step is what carries the build into cap territory. At Tier 3 and +10 together, the weapon’s Additional Damage climbs to around +18 and its Factor to roughly 1.3x.

| Refine level | Damage bonus |
|---|---|
| +7 | 3.75 |
| +8 | 4.5 |
| +9 | 5.5 |
| +10 | 100 |
Even with a guard, the Level 9 to Level 10 roll is extremely unlikely at around 0.75%, and the base success chance at Level 9 is only 5.5%. A live attempt on a Level 9 katana can still fail and, without a guard active on lower levels, drop back a step. Expect many attempts.
Fill every gear slot with damage pieces
Each slot can carry flat Additional Damage, an Additional Damage Factor multiplier, or both. Slot the flat pieces first, then swap in Factor-heavy items once your base damage is high enough for the multiplier to matter.
| Slot | Item | Add. Damage | Factor |
|---|---|---|---|
| Lantern | Demonic Lantern | +2 | 1.015x |
| Face / Mouth | Bamboo Muzzle | +2 | 1.015x |
| Mask | Nichirin Lantern / Red Oni Mask | +2 | — |
| Haori | Stone Haori | +2 | 1.02x |
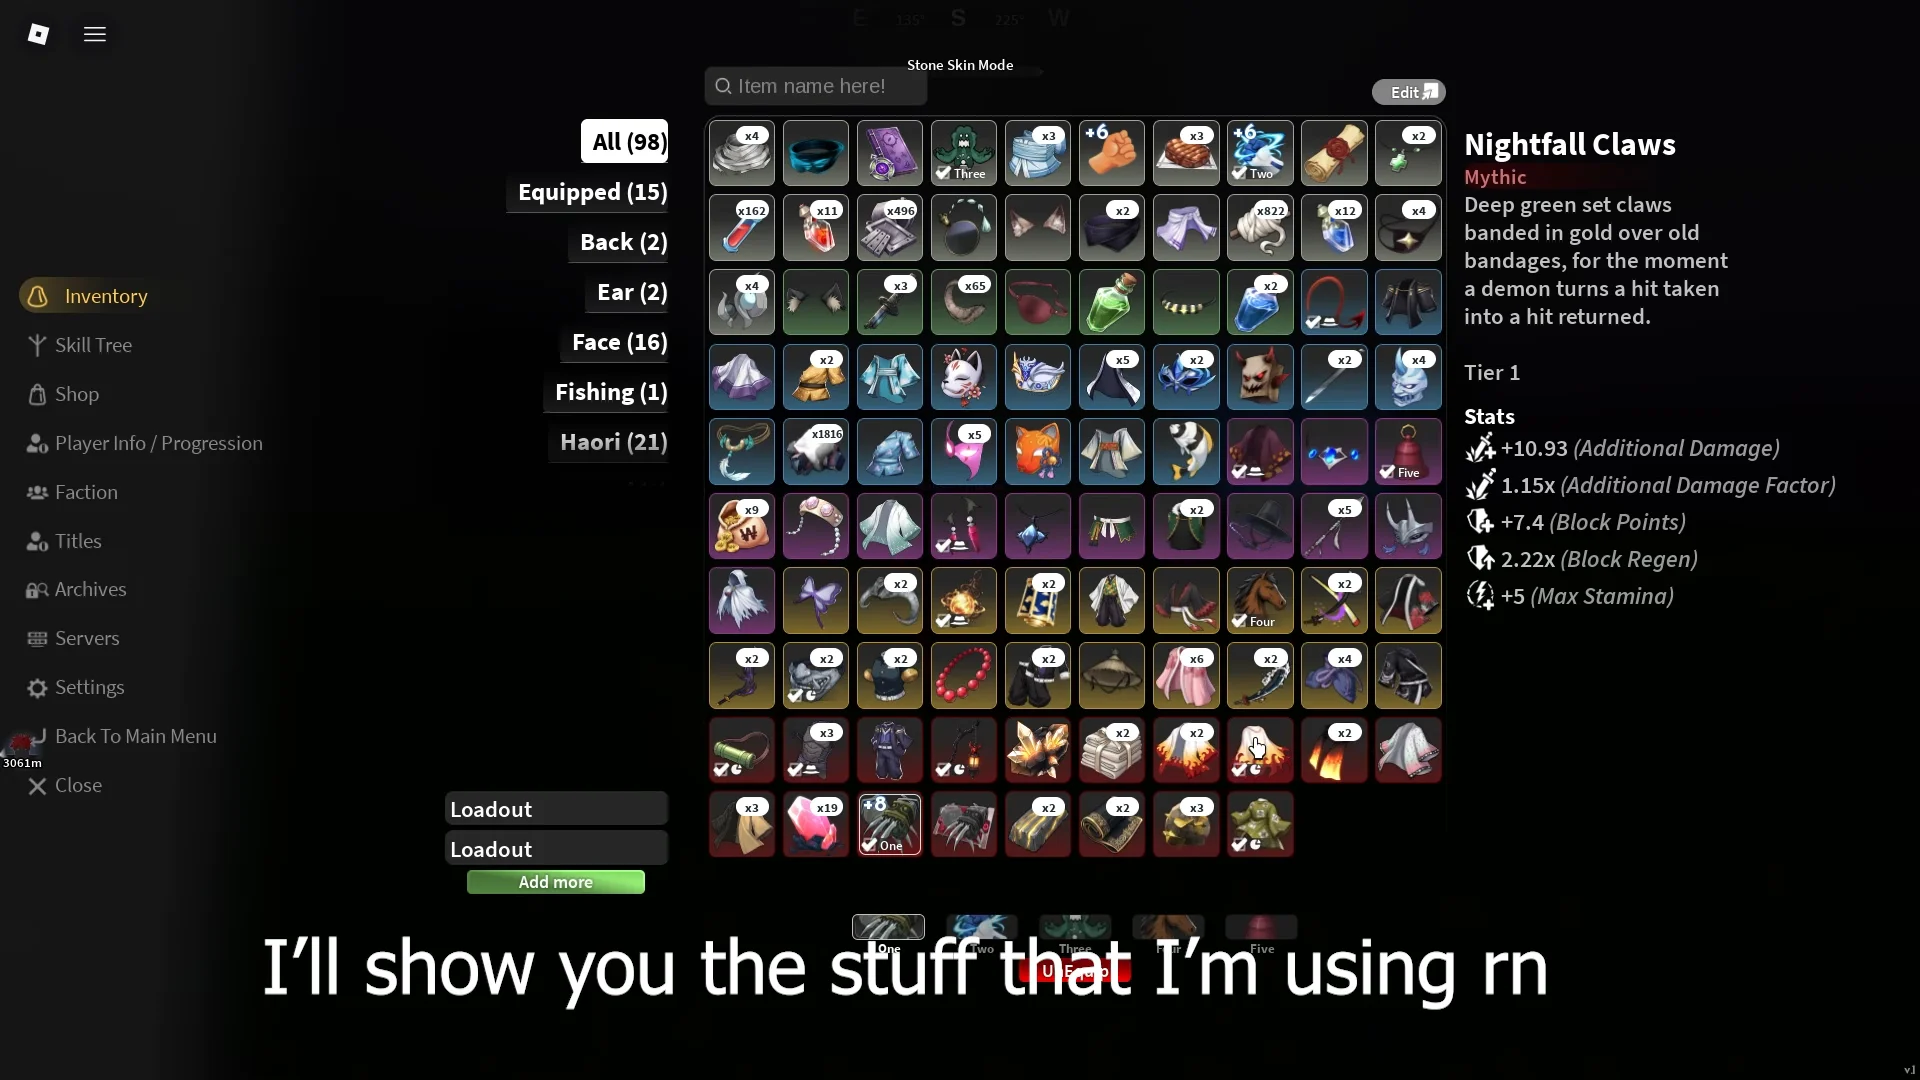
The Bamboo Muzzle drops from the Nezuko boss at the Butterfly Estate area at around a 3% rate. The Demonic Lantern drops from World Bosses and also gives +105 Max Health and extra stamina. The Stone Haori drops from Gyomei at the Stone Sanctuary, and the Silver Fang Mask pulled from Ouwigahara dungeon chests adds +0.5% Crit Chance on top of its damage.
When your base damage is already substantial, replace the Stone Haori with Flame Haori Style 1. On a maxed weapon, its 1.07x Damage Factor outscales Style 2’s modest +1 flat bonus. The crafted maximum uses Nightfall gear alongside a Firstlight Haori and Firstlight Lantern, showing closer to 110 M1 per swing before clan buffs.
Leave the Nightfall Cape unequipped: it gives up the damage slot in exchange for movement speed and stamina regen, and a filled utility slot is a frequent cause of low M1 readings.
Max Sword and Breathing mastery
High Sword Mastery multiplies your basic M1 damage, and you want it maxed alongside either Breathing or Thunder Mastery. Boss farming is the quickest route. A max-level Akazo kill can hand out around 4,200 Serpent and Sword mastery in one fight.
Kasugai Crow quests point you toward the best targets, including Reaper, Domae, Sumari, Enru, and Akazo, and they grant bonus XP and mastery when run in public servers rather than private ones. Ouwigahara dungeons offer another steady source, and the Tower Crystal lets you trade tower points for weapon mastery levels.
The in-game Shop sells a 2x mastery boost for Robux or Ore that lasts 30 minutes. Stack it with a Crow quest run for the fastest single session.
Spend skill tree points on Additional Damage nodes
The Character, Weapon, and Style branches of the Character skill tree contain Additional Damage nodes worth amounts such as +0.5, +0.7, and +0.8 apiece. Take them when pursuing the highest possible ceiling.
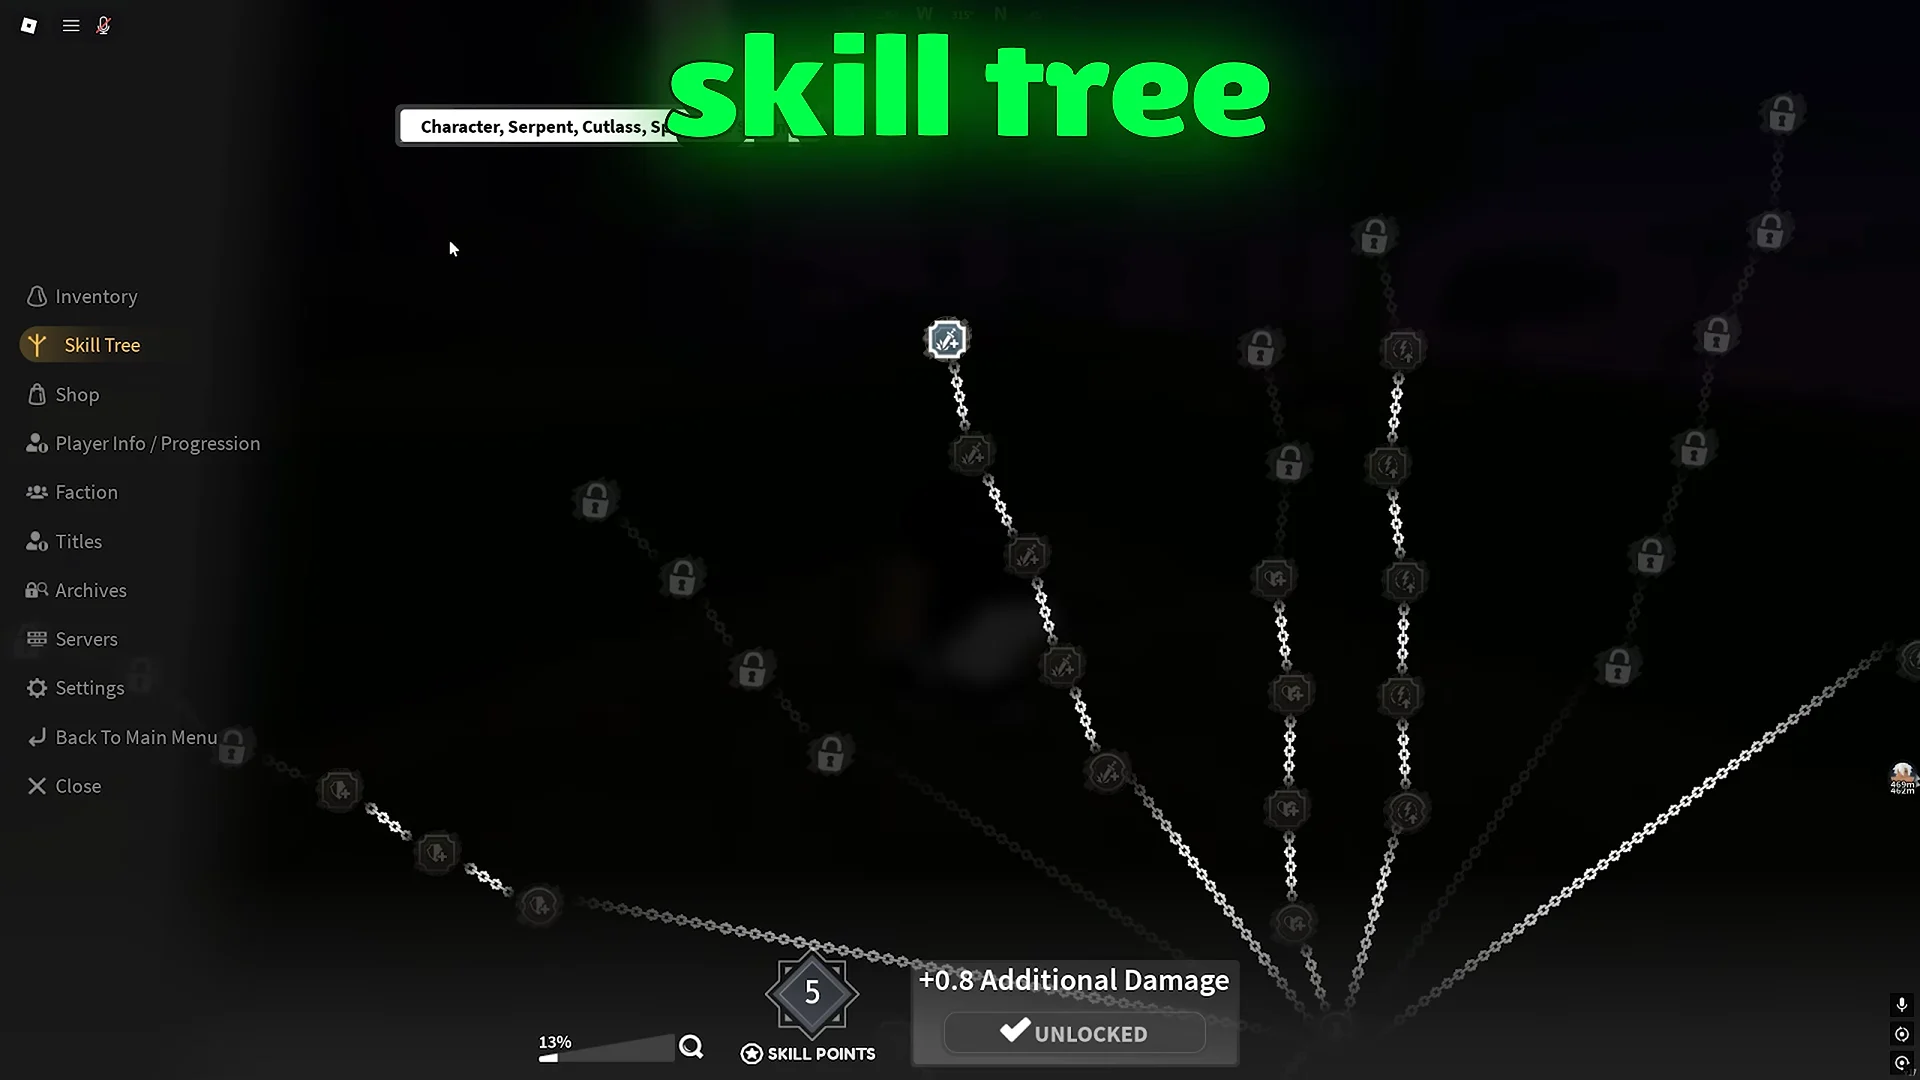
Be aware of the cost. Filling the full damage line runs roughly 150 to 170 points for only about +3 Additional Damage total, a modest return next to weapon and gear scaling. For longer boss fights, spreading some points into Block Points, Max Health, and stamina regen is the more practical call.
Add a Combat Intuition clan to break 300
The permanent build alone lands well into the triple digits, but Combat Intuition delivers the biggest temporary M1 spike and is what pushes single hits past 300. In a live test, activation lifted swings from roughly 40 to 126. Both Soyama and Kamado carry the perk, and they trigger it differently.
| Clan | Trigger | Damage Factor |
|---|---|---|
| Kamado | Taking damage | +23% |
| Rengoku | Adds burn instead | +24% |
| Soyama | Dealing damage | +22% |
Soyama turns on its bonus with your first attack, making it the better option for boss farming and PvP. Kamado has a marginally higher base Factor of 23%, but its spike only happens after you take a hit, limiting it to PvE. Rengoku sacrifices raw scaling for added burn damage from Heart Ablaze Mode, serving as a backup if Combat Intuition can’t be rolled. Supreme clans have a 0.1% roll rate.
Verify your M1 damage is capping
Test your damage on a boss or trainee and inspect the numbers that appear. With all three titles equipped, maxed mastery, a Tier 3 +10 Nightfall weapon, and the damage gear listed above, base M1 strikes reach at least 82; bleed stacks and buffs raise them into the 100–160+ range. Before clan effects, a complete Nightfall and Firstlight setup shows closer to 110 per hit. Activate Soyama or Kamado Combat Intuition and individual swings climb past 300, with displayed values such as 322 and 342.

Low readings typically point to one of three issues: the weapon is below Tier 3 +10, utility gear such as the Nightfall Cape occupies a damage-factor slot, or a title is unequipped. Correct all three and the displayed totals will rise, confirming the build is working.