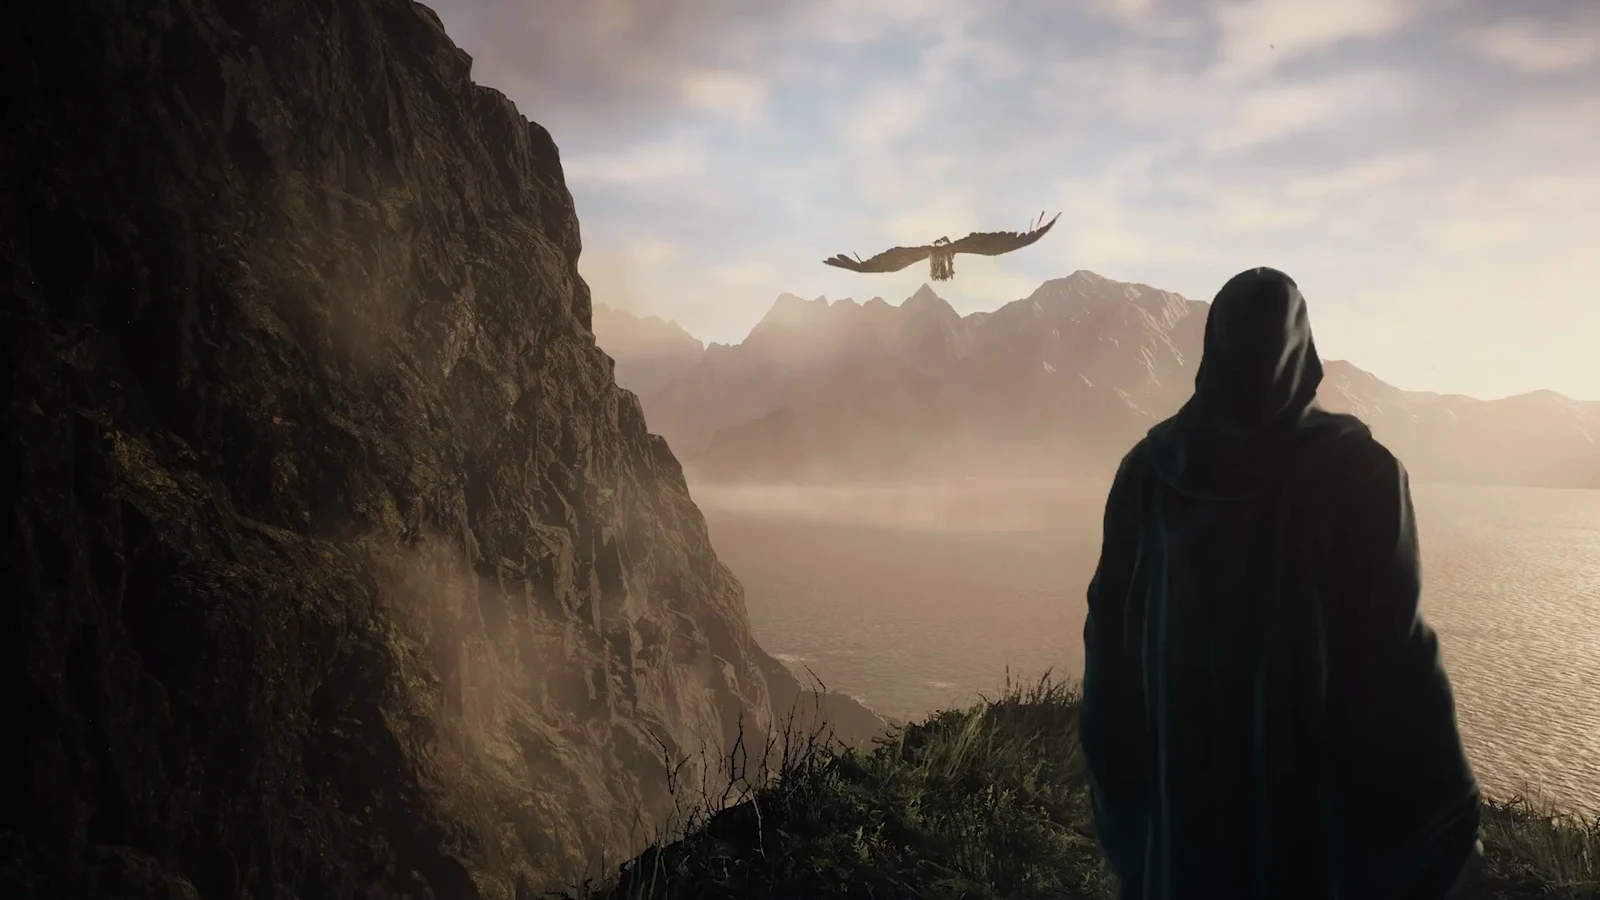
In Dragon’s Dogma 2: Dark Arisen, Reaching the Far Shore is one of the Forsaken Dominion side quests. The job sounds like a straightforward recovery: Jiera, a shopkeeper in the Norgandian Settlement, needs an old tome from a cave beyond Lake Norgan. Instead, you pursue an ice wyrm across northern Norgan, bring it down with siege weapons at a ruined estate by the lake, then let its body freeze the water. The book is the Taillour-Crafte Treatise; taking it to Hal unlocks transmog in Dark Arisen.
Quick answer: Look for “Completed: Reaching the Far Shore” in the quest log, then check Hal’s dialogue for a newly available Tailor Equipment option. That opens the transmog menu.
Reaching the Far Shore requirements, NPCs and rewards
This quest is available only with Dark Arisen active: the quest giver and tailor are both based in Norgan. The area is balanced for characters near level 40, and the Fimbl is a draconic boss, making this a poor task for low-level characters.
- Prerequisite quest: Rumbles in the North. Jiera tends to offer the job once the Norgan story moves on to the Soul Searching main quest and the Fallen Dragon’s resurrection.
- Quest giver: Jiera, in the Norgandian Settlement
- Other characters: Polyeidus and Ryatt at the Sealed Study, and Hal, Jiera’s husband and the village smith
- Rewards: 50,000 experience, 10,000 gold and 1,000 Rift Crystals
- Unlock: the Tailor Equipment service at Hal
You start with a handful of short conversations. The bridge across Lake Norgan collapsed long ago, and the Brine fills the lake. Polyeidus, at the Sealed Study in the North Valgrian Frostgrove, can’t offer anything useful and sends you to Ser Ryatt in the same room. Ryatt knows of a creature that died by the lake in the past and altered its water. Repeat his account to Jiera, and she confirms it. She suggests recreating what happened and marks a ferocious fimbl near the Mountain Stronghold on your map.
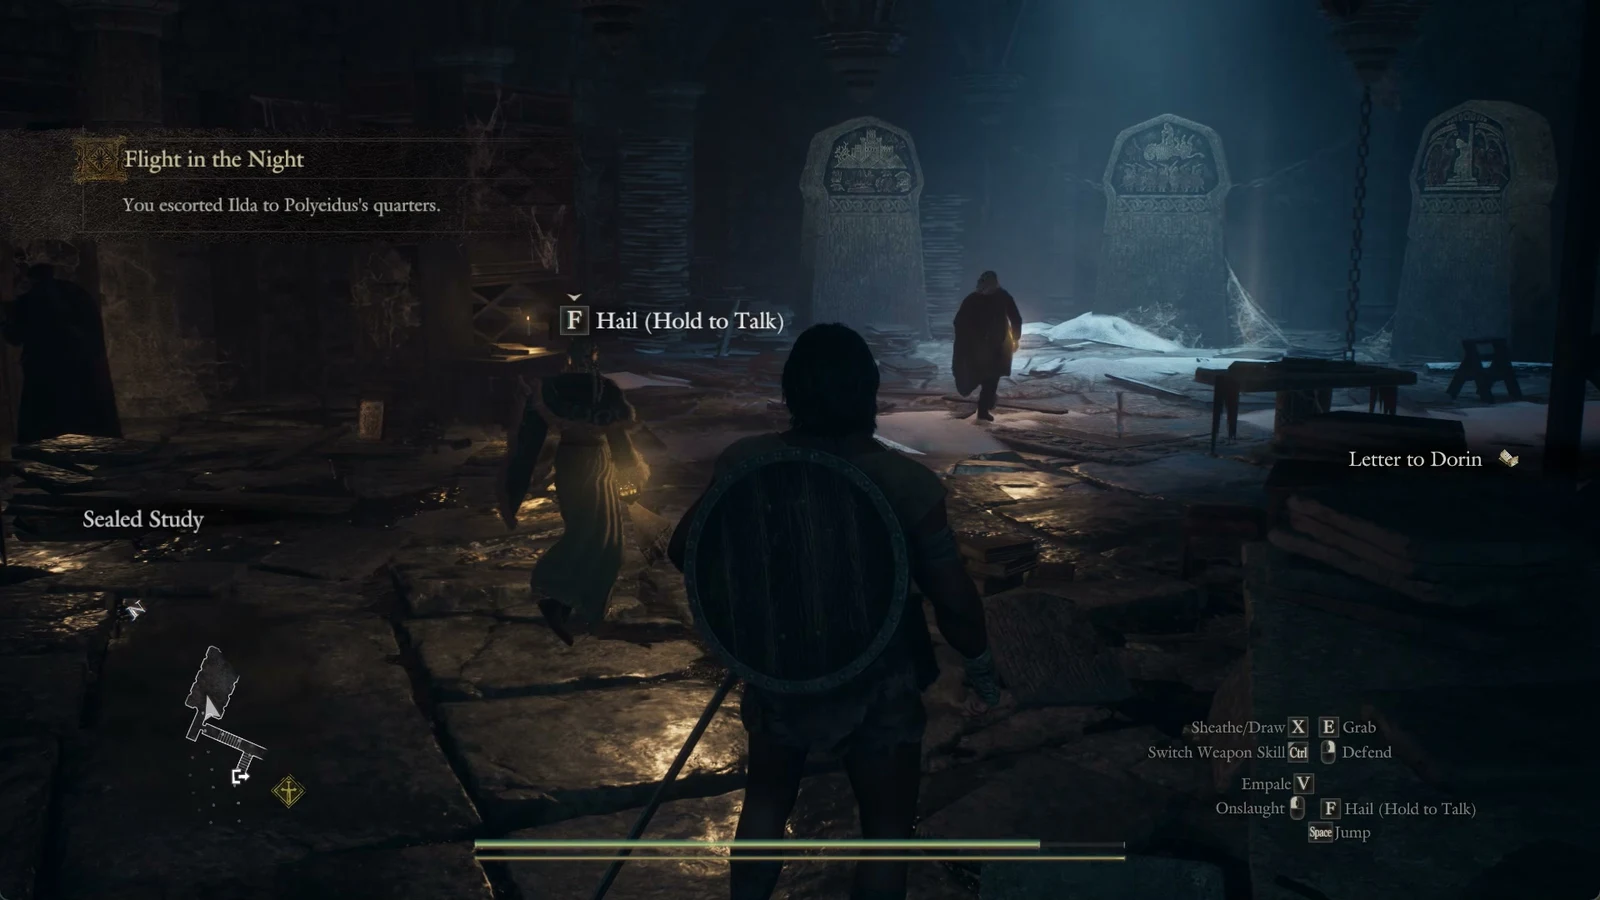
The quest bounces you between the settlement, the stronghold and the lake several times. The Eternal Ferrystone, plus a Portcrystal placed at the lake, saves a lot of walking.
The Fimbl chase across three locations
Your goal is to drive the Fimbl onward, not kill it, until it reaches the lake. The objective makes this clear: “Weaken the fimbl till it flees to the lakeshore.” In each of the first two battles, deal enough damage to make it fly to the next location. Use fire damage; having a Mage imbue the party’s weapons with fire shortens each stage.
Valgr Ravine, north-east of the Mountain Stronghold
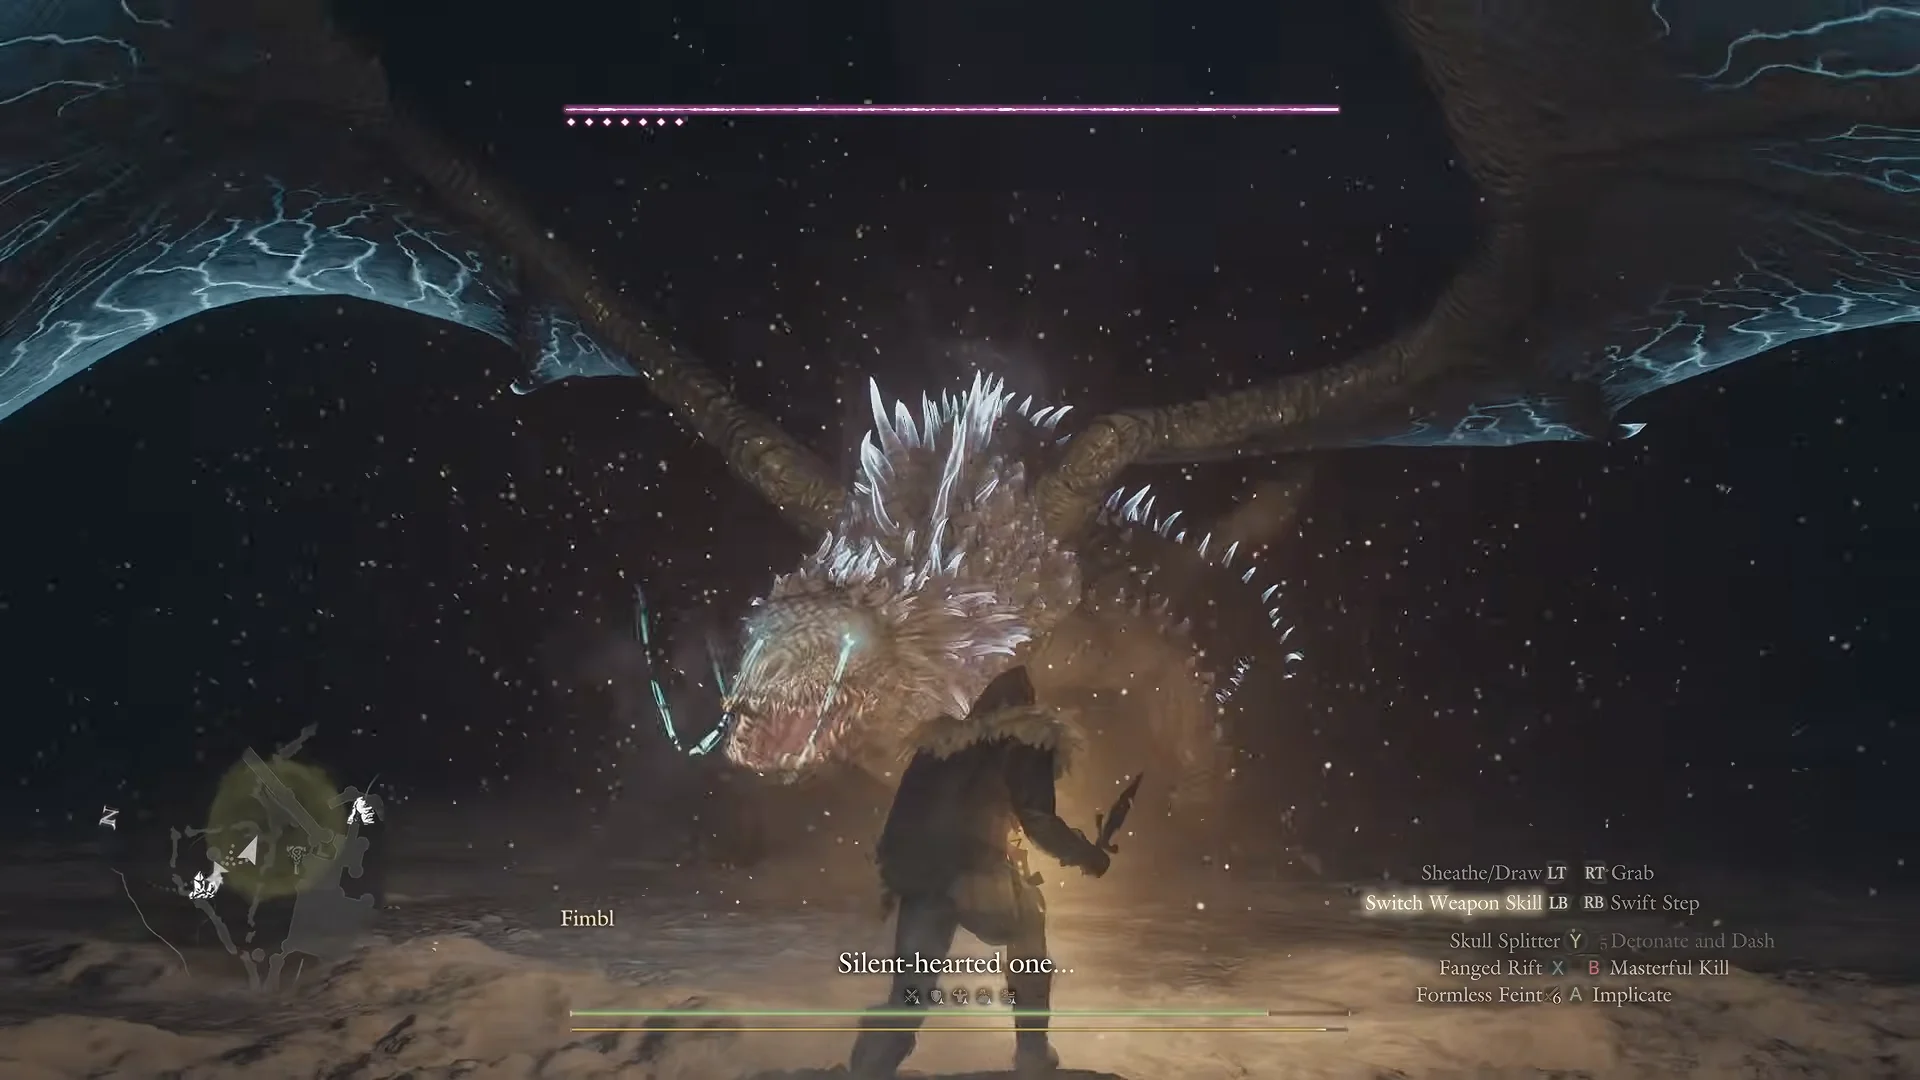
The first encounter is a short trip east from the Northwall Campground Portcrystal. The Fimbl rests on a frozen river by the stronghold’s walls, near a cavern entrance in Valgr Ravine. It opens with a line of dialogue, “Silent-hearted one… I shall release you from your charge!” Melee builds do best close to its legs, where many of its sweeping attacks miss, while ranged vocations can stay back. Once it has lost a chunk of health it takes off, and the notification “The fimbl fled to the mountain stronghold.” appears.
The Mountain Stronghold courtyard
The second encounter happens in the open area west of the stronghold, where Dark Arisen first introduces the creature. Reaching it takes some work. A wooden beam on the far side secures the stronghold’s barred iron gates; strike the beam through the bars to open them. For a shortcut into the courtyard, use a Climbing Hook on the tether post on the cliff beside the stronghold wall. Explosive barrels are scattered around the arena. When the Fimbl staggers, its heart is exposed, giving you an opening to deal heavy damage.
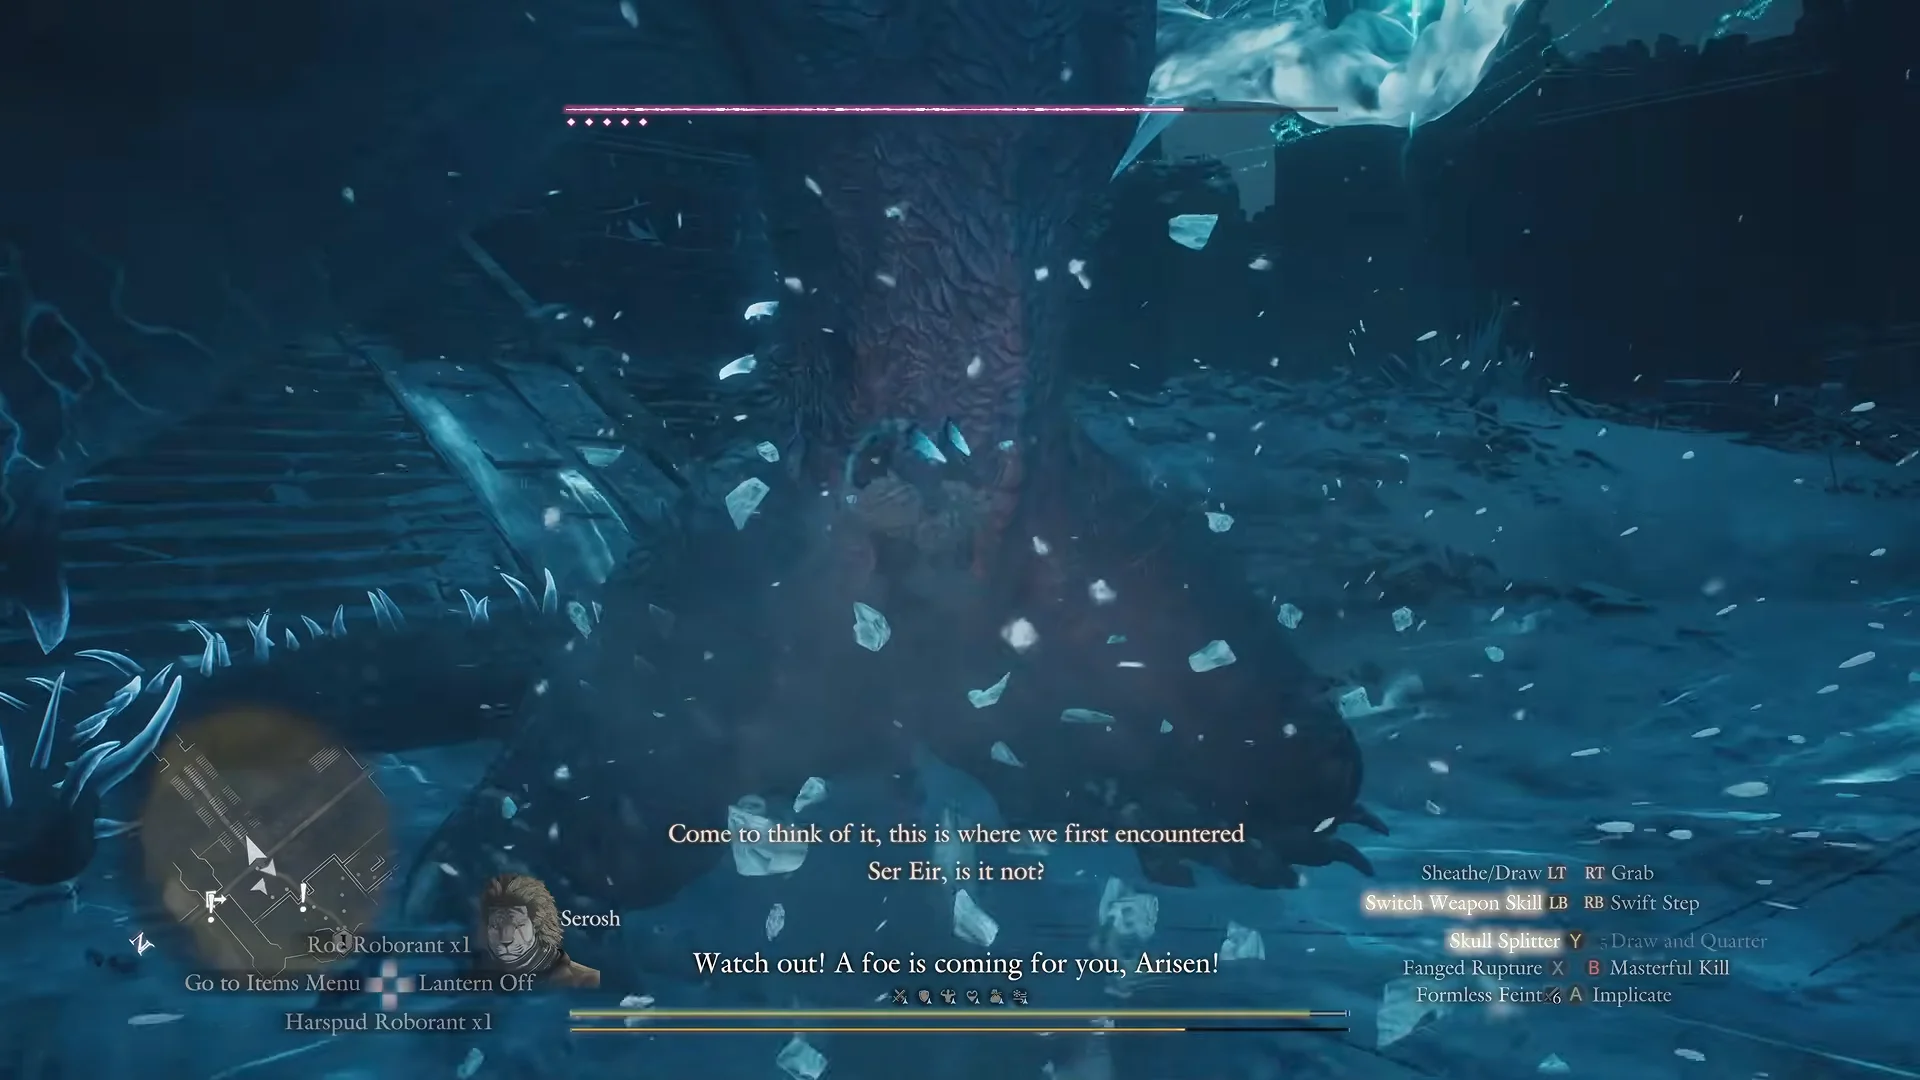
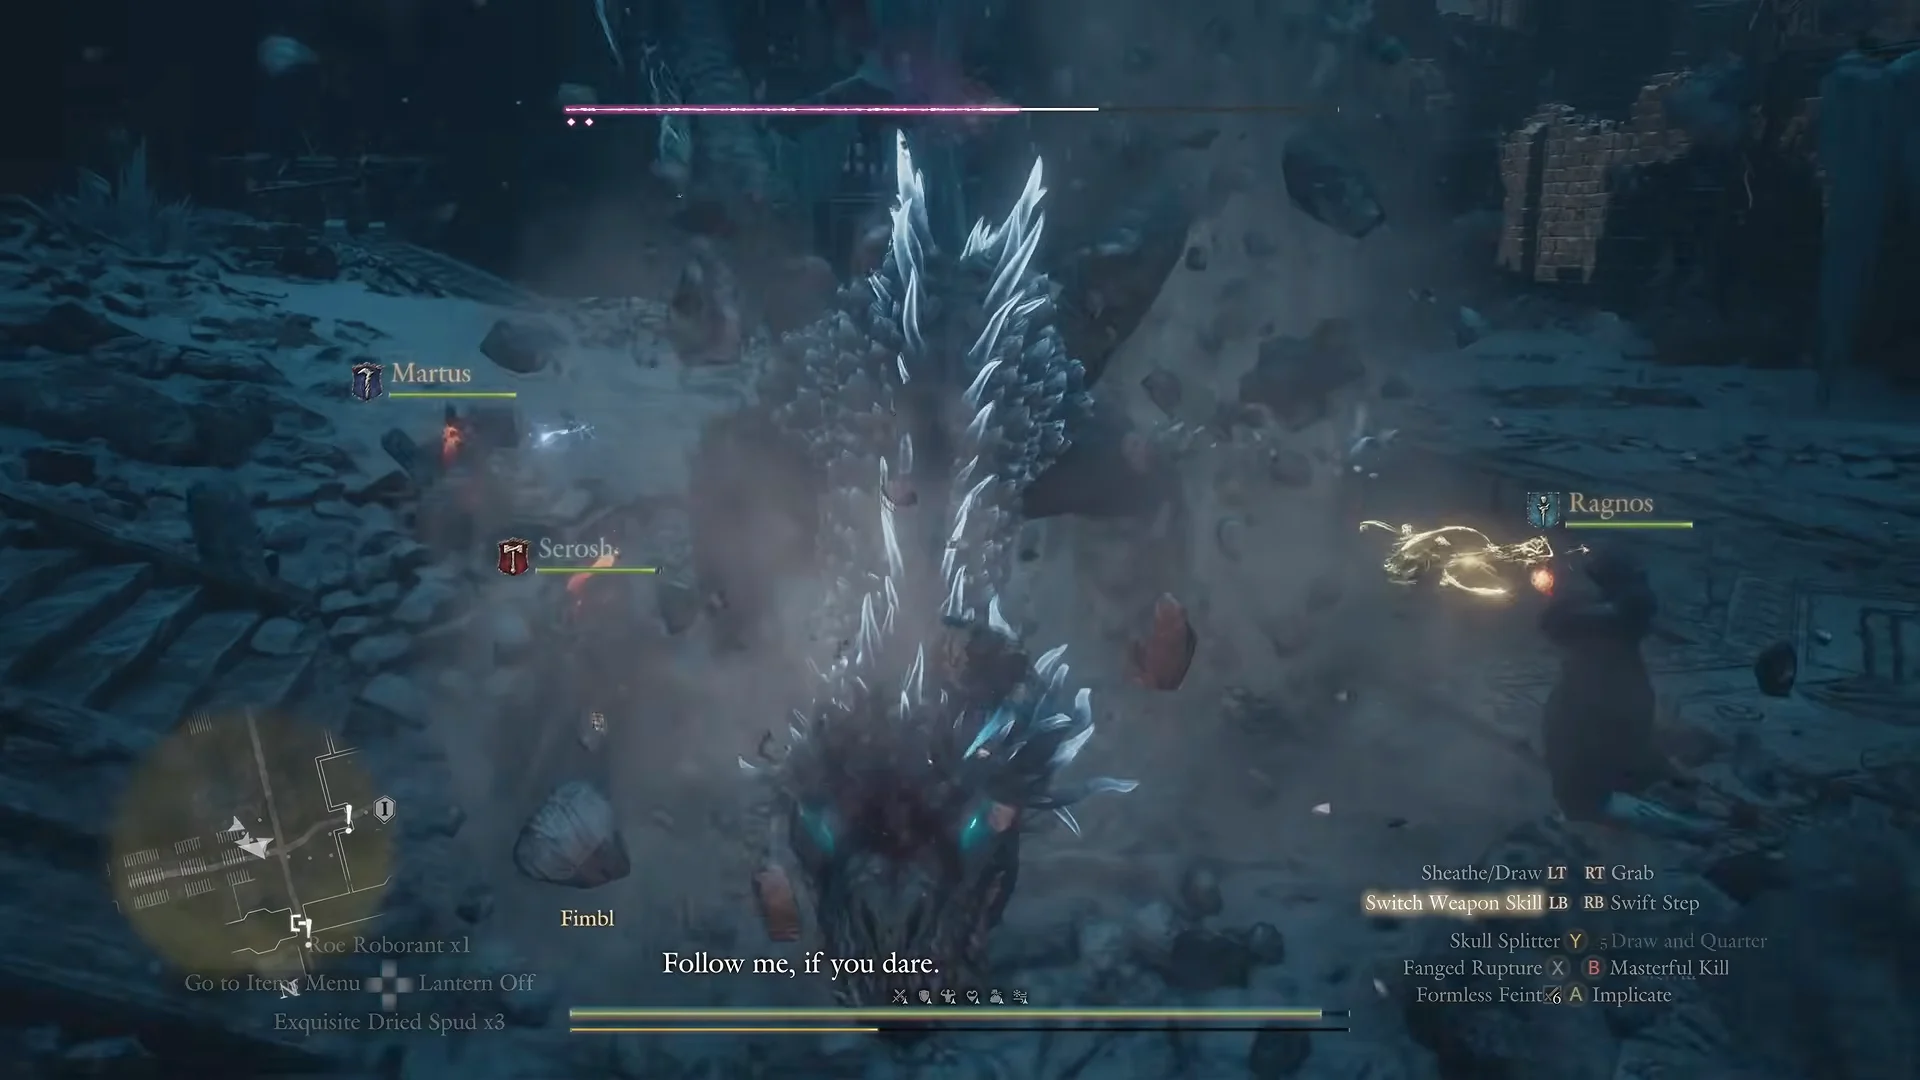
This stage runs longer than the first. When the Fimbl has taken enough, it taunts the party with “Follow me, if you dare.” and flies off. The notification switches to “The fimbl fled to Lake Norgan.”
The Deserted Lakeside Estate on Lake Norgan
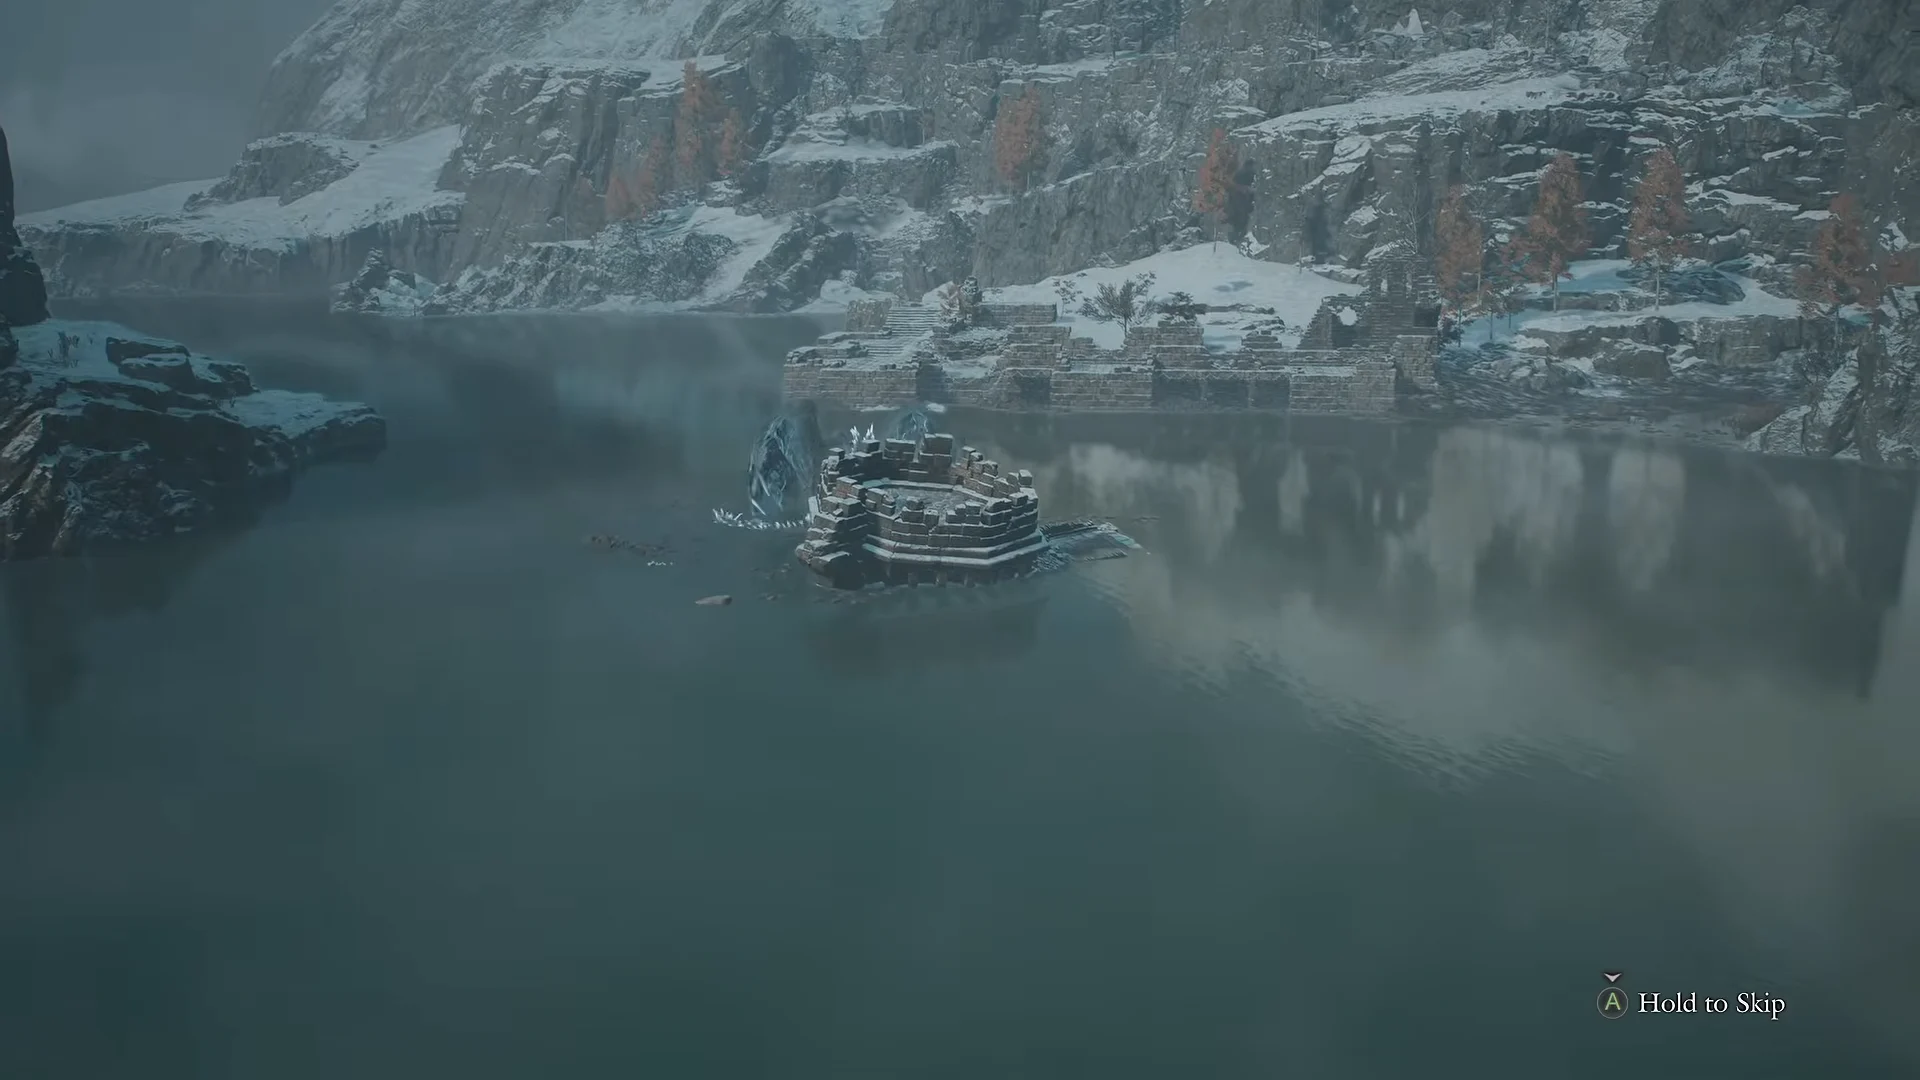
The final encounter is at the Deserted Lakeside Estate ruins on the western shore of Lake Norgan. The quickest route from the settlement starts at the broken bridge just north-west of the village. Climb the cliff by using a Climbing Hook on the tether post above the bridge. Take the trail north-west into Ettam Forest, continue west through the trees, then head south to the estate. A short cutscene shows the Fimbl perched atop a stone ruin in the middle of the lake.
Killing the Fimbl with the Lake Norgan ballistas
The Fimbl stays over the water once combat starts, beyond the reach of swords and daggers. Ballistas set in the estate’s paved terraces and platforms face the lake. You can find one on top of a wall and a second on an upper terrace reached by stairs. To mount one, sheathe your weapon and approach from the seat side, which faces the lake. The Use prompt won’t appear while your weapon is drawn; approach from another side and the prompt turns the ballista instead of putting you in the seat.
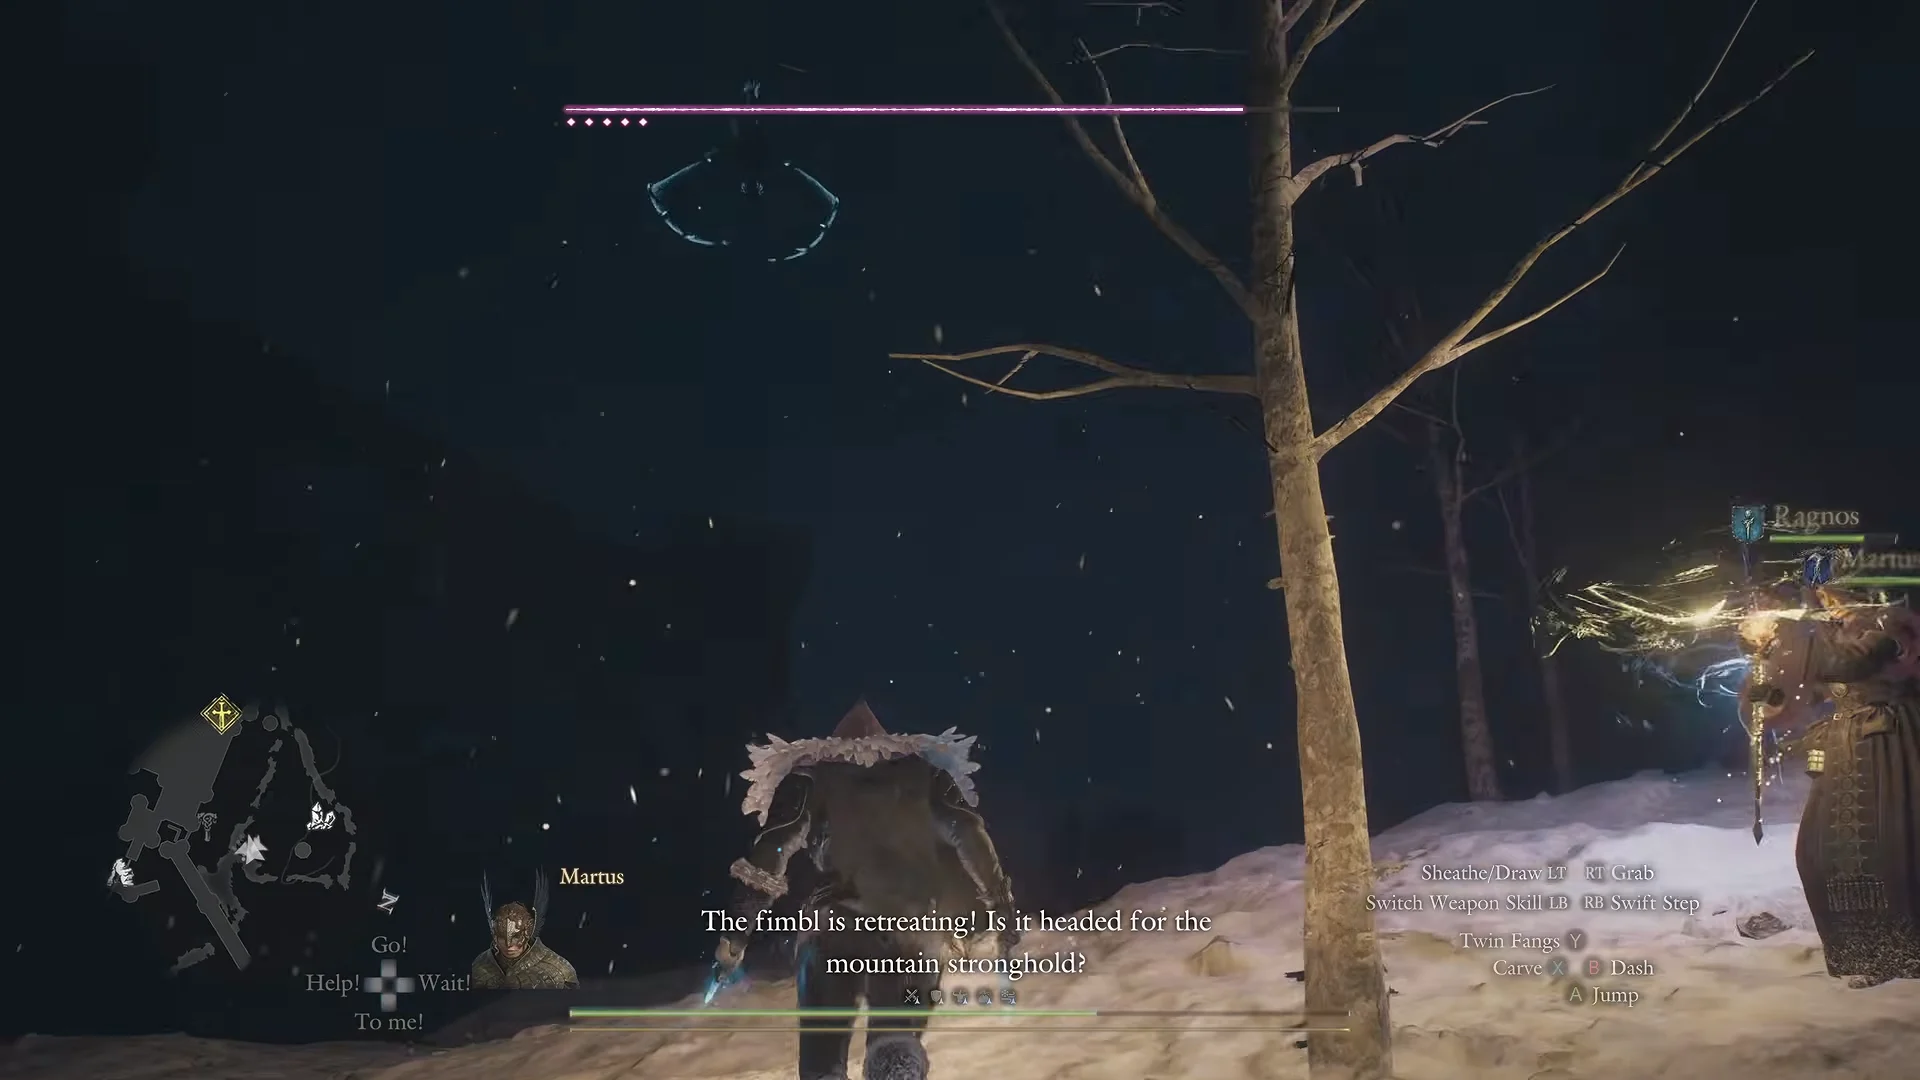
Mounted on the ballista, you’ll see the lake from behind it, with a cross-hair on screen. Quick draws usually miss. Keep the bolt drawn for about 15 seconds and aim at the Fimbl’s body just below its chest; a red burst indicates a hit. Each successful shot removes a substantial amount of health.
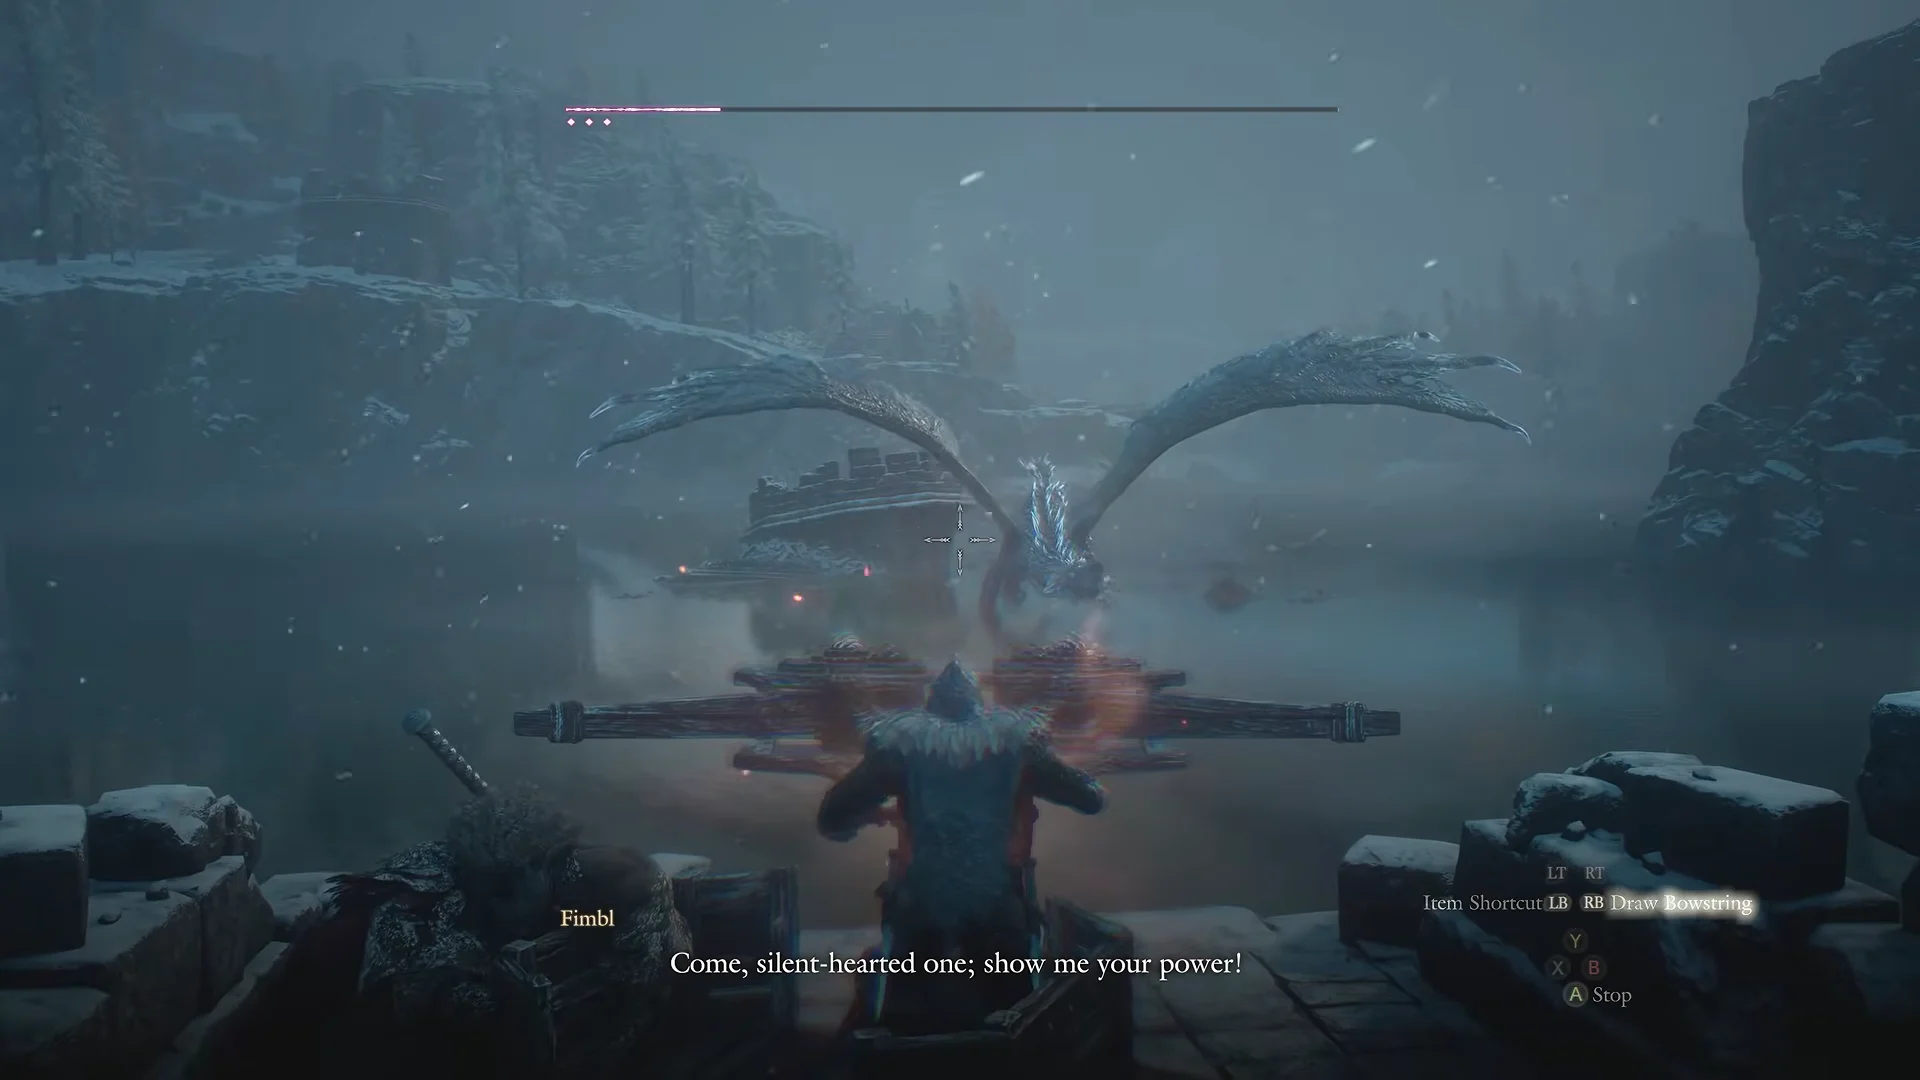
The Fimbl fights back. Its long-range ice blasts shatter ballistas outright, including ones nobody is sitting on, and some break within seconds of the fight starting. In one run, the first ballista went down to an ice wave, the player moved to a second, and that one was destroyed too while the pawns finished the job. During its Hailstorm the sky darkens and the fight gets more draining. Ruin walls give cover between volleys.
The supply of ballistas is finite, and attacking the Fimbl directly is close to impossible once they are all broken. A save before the fight gives you a clean retry. An Archer firing from the shoreline is a mobile backup.
The kill registers as “You felled the ferocious fimbl.” and the objective becomes “Wait for the change to come over the lake.” Placing a Norgan Portcrystal on the lakeshore battlement makes the next trip back trivial.
If the Fimbl dies before reaching Lake Norgan
Killing the Fimbl before it reaches the lake—at the ravine or the stronghold—doesn’t end the quest in failure. You’ll see “You defeated the fimbl before it reached the lake.” and the new objective will be “Inform Jiera of the fimbl’s early demise.” You can still examine the body. In one early-kill run, it yielded a Wintry Dragon Scale and one Lv 3 spoils item.
Jiera takes the news calmly and doubts it was the only one of its kind. The quest then reads “Wait for Jiera to locate another ferocious fimbl.” After some time passes, for example a rest at the Norgandian Inn, she calls out as you approach with news that another has settled on the lakeshore. The objective “Fell the ferocious fimbl at Lake Norgan.” moves the marker to the estate, and the quest continues with the ballista fight.
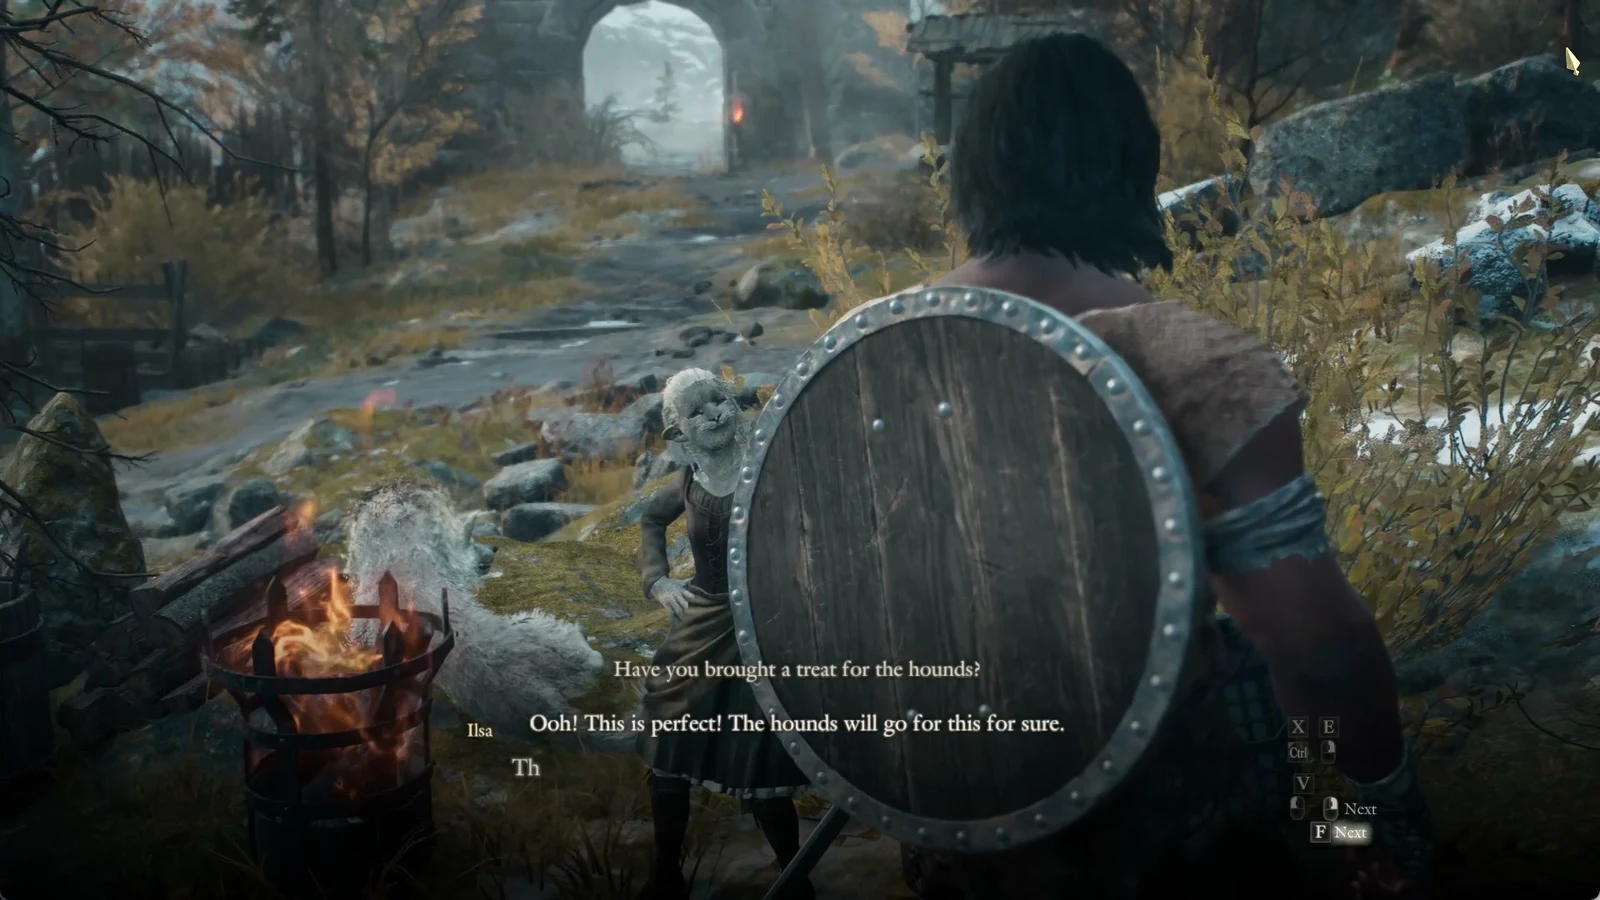
The frozen lake and the Taillour-Crafte Treatise
Lake Norgan does not freeze right away. Camping at the clifftop campfire ring north-east of the estate takes an Arctic Camping Kit. The tent there offers “Await Weather Change,” which changes the weather but leaves the lake as open water and the quest untouched. What moves things forward is a day passing and a return to the settlement, where the objective reads “Confirm that the change has come over the lake.” Jiera praises the kill and tells you the change will come with time. Two nights at the inn brought no banner, because the quest already points back at the lake.
On returning to the estate, the objective updates to “Cross the lake and retrieve the treatise.” Broken floes and wide ice sheets now run from shore toward the ruin. For a safe approach to the ice, begin on the snowy shore just north of the ballista platforms. Open water remains between the platforms and the ice. If you fall in, the Brine appears, drowns you, and returns you to the nearest ledge with reduced health.
The Fimbl’s frozen body lies in the middle of the ice field, neck and tail arched over the floes. Examining it once yielded these items, and a second look gave nothing more.
- Spoils: Lv 3, Ancient Light Weaponry
- Spoils: Lv 3, Ancient Long Weaponry
- Spoils: Lv 3, Ancient Bowstaff
- Wintry Dragon Scale
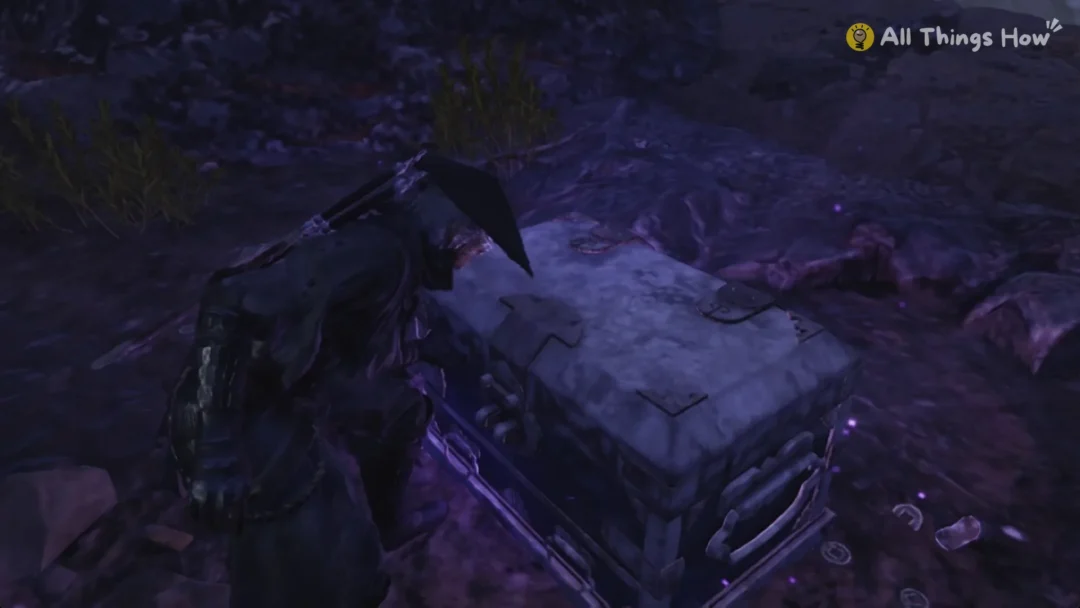
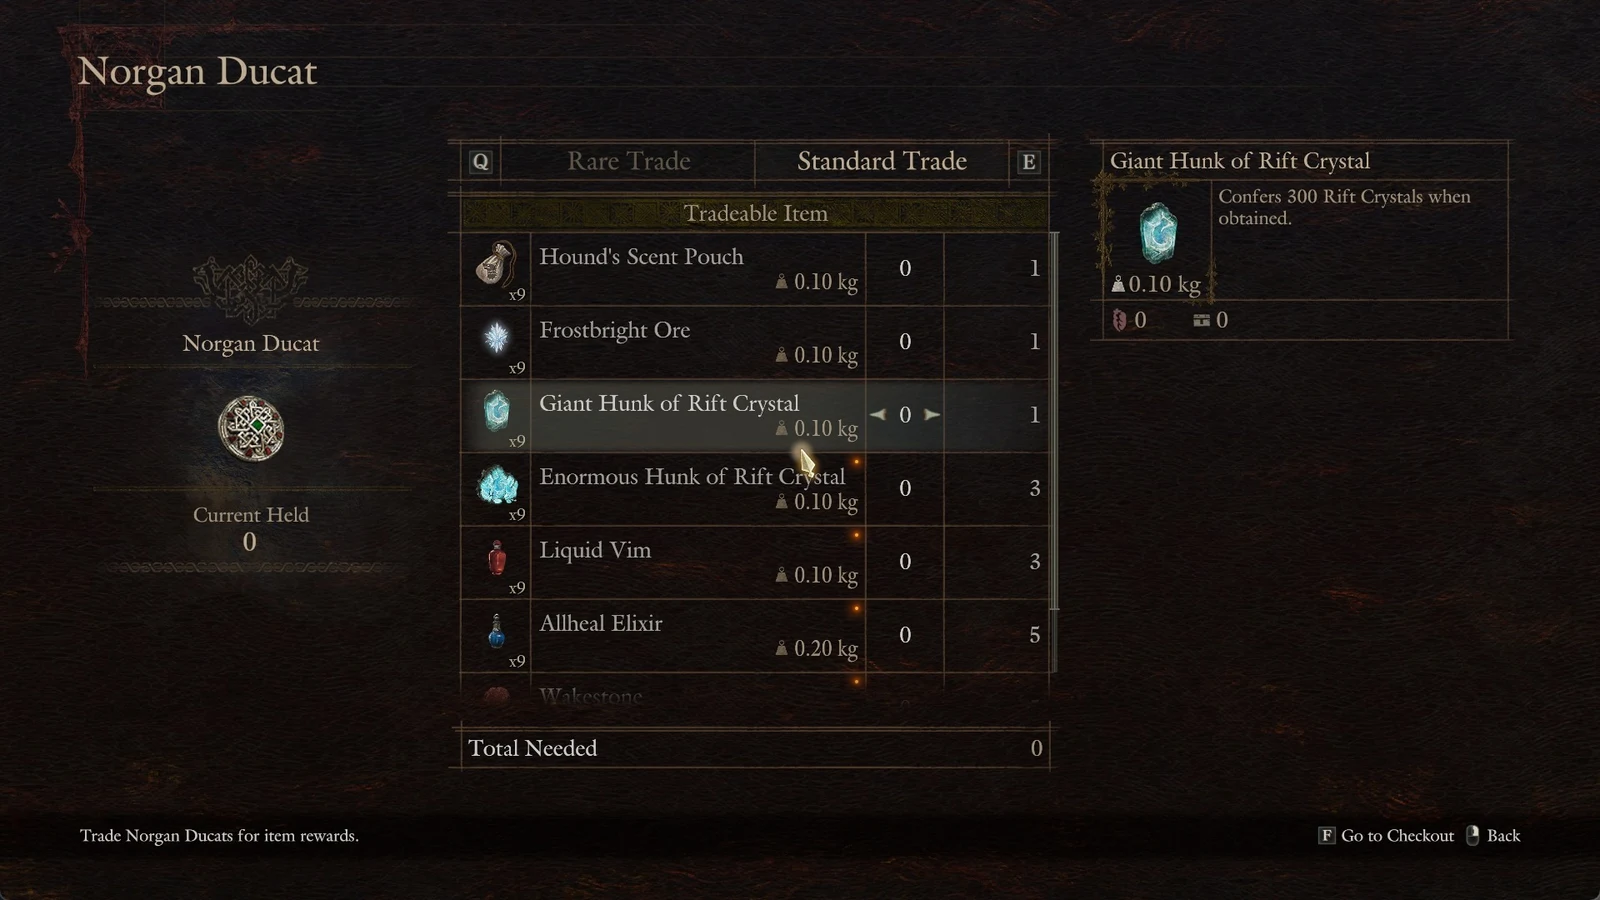
A nearby damaged ruin can be climbed; its chest contains a Wakestone and a Norgan Ducat. The body blocks the direct eastern route, so go around its western side. A thin ice strip then leads south, bordered by open water on both sides, and reaches shore rocks at the entrance to Lakeside Grotto.
Inside Lakeside Grotto
The grotto is dark enough to need a lantern, and a few obstacles stand between the entrance and the treatise. They follow roughly in this order.
| Spot in the grotto | What is there |
|---|---|
| Side chamber south-east of the mouth | Ornate chest, Abandoned Supplies (Rare) x2 and Abandoned Supplies (Normal) |
| Nook with crates and barrels | Iron-banded chest, Spoils: Lv 3, Ancient Light Weaponry |
| Two-leaf iron gate | Beam on your side, breaks with light attacks |
| Lower cavern at lake level | Shallow water that can douse the lantern |
| Passage with two boulders | Both break with light attacks, about 30 m apart |
| Raised chamber with documents | Iron-banded chest holding the treatise |
There’s no prompt at the iron gate. After breaking the beam, approach with your weapon sheathed and walk into the gate to swing it open. The final chest displays “You found the Taillour-Crafte Treatise.” and changes the objective to “Bring the treatise to Jiera.” Take the path opposite the treatise room to leave the grotto.
Jiera reads the treatise and sends you to Hal, who stands across from her shop. He finds a forgotten technique in it for changing how equipment looks without touching what it does. Handing it over completes the quest.
Tailor Equipment: Dark Arisen’s transmog rules
Tailor Equipment changes a piece of gear’s appearance and leaves its stats and properties alone. It stays available at Hal for the rest of the save. The catch is that only Norgan Relic gear can be restyled, but almost anything you have owned can serve as the look.
| Rule | Detail |
|---|---|
| Gear that can be restyled | Relic weapons and armor appraised by Jiera |
| Appearance sources | Any weapon or armor owned now or before, base game included |
| Supported slots | Weapons, shields, helmets, chest armor, leg armor |
| Not supported | Masks, glasses and cloaks |
| Cost | Gold per change, 80% cheaper if you own the look |
| Who it covers | The Arisen and the main pawn |
Nothing is consumed when you tailor, so an earlier look can be restored later. A sword bought in Vernworth will always look like that sword. It can, however, lend its look to a stronger Relic blade. Keeping favourite base-game pieces in storage instead of selling them is what triggers the 80% discount, and across a full outfit that adds up.
Fimbl stats and Reaching the Far Shore figures
The Fimbl is a large Draconic enemy. Its health bar is split into six segments, which is a useful gauge for how much of it you have spent at the ravine and the stronghold.
| Fimbl stat | Standard | Stronger variant |
|---|---|---|
| Health | 240,000 | 240,000 |
| Strength | 6,000 | 8,500 |
| Magick | 5,500 | 8,000 |
| Defense / Magick Defense | 750 / 750 | 950 / 950 |
| Experience | 82,000 | 110,000 |
| Knockdown power | 900 | 900 |
On hard mode the Fimbl keeps 240,000 health and takes 0.7 times damage, with Strength 9,500 and Magick 8,500. Its damage multipliers explain why fire and head hits matter so much.
| Damage type | Body | Head |
|---|---|---|
| Fire | 0.3 | 1 |
| Slash / Strike | 0.2 | 0.8 |
| Holy / Lightning | 0.2 | 0.6 |
| Ice | 0.1 | 0.1 |
It is weak to fire, resistant to ice and immune to Frostbite. Its drop table lists Wintry Dragon Scale, Frostbitten Scarthe, Norgan Ducat, Scrag of Beast and Beast-Steak. Debilitations need a lot of build-up. Silence takes 1,000, Blighted 1,500, Tarred and Drenched 3,000 each, Unconscious 5,000, Petrification 12,000 and Sleep 40,000.
The quest itself has 13 stages, counting the early-kill branch, and pays 50,000 experience, 10,000 gold and 1,000 Rift Crystals on completion.
Obelisks, skills and side stops along the Fimbl route
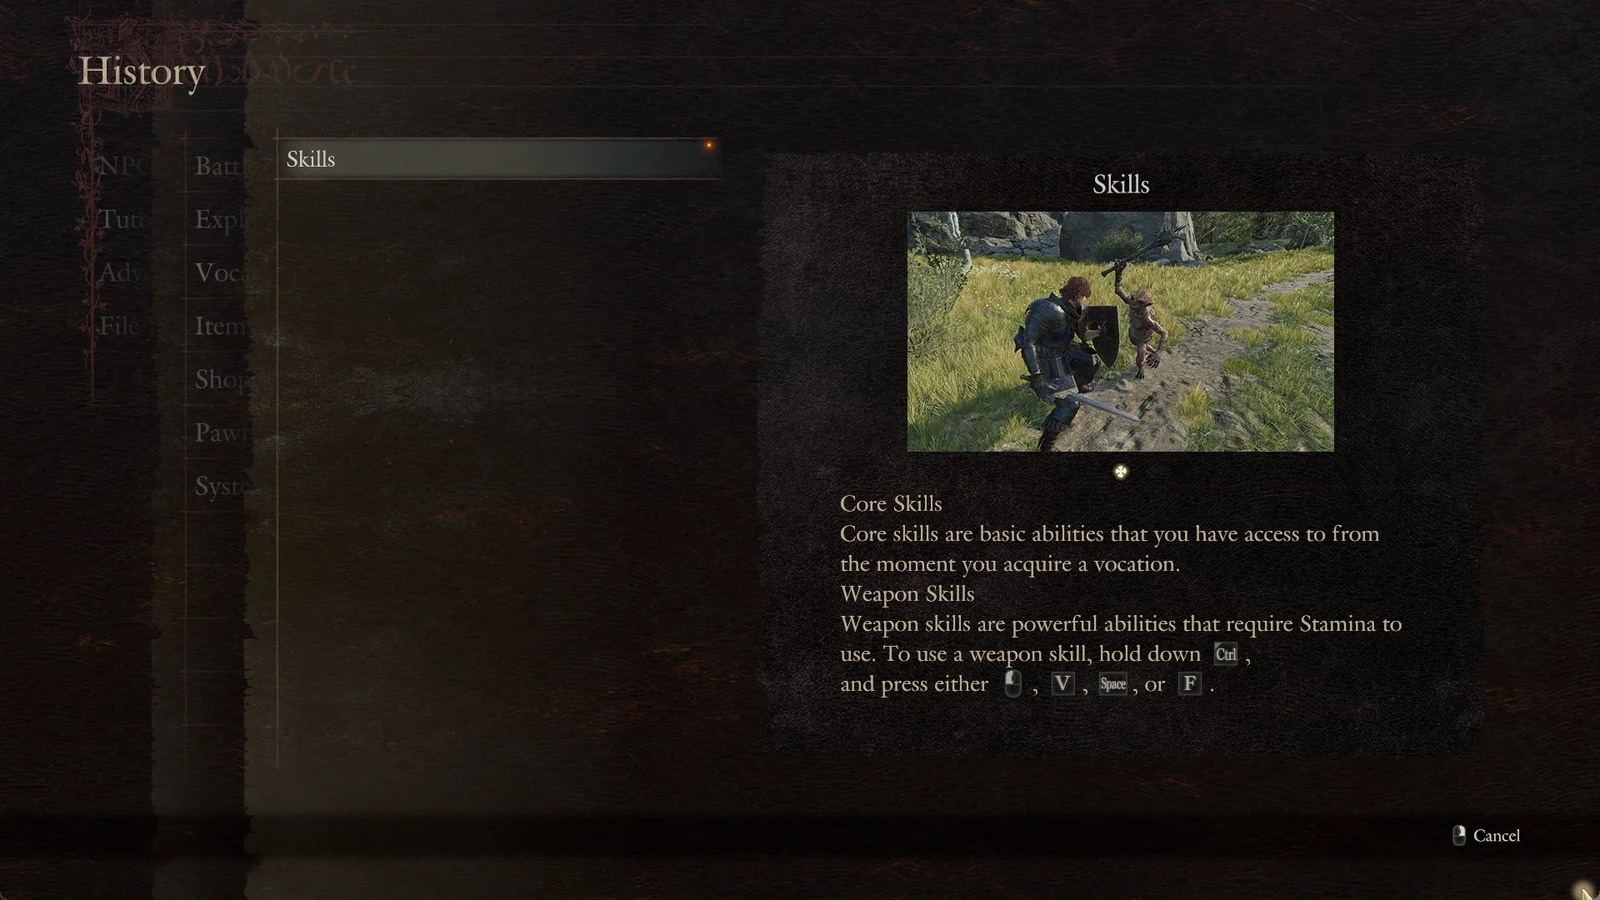
The Fimbl’s route runs past several Obelisks of Benediction. These shrines take an offering flame to open their full list of boons. Without one, only base weapon skills can be bought with Dcp. One obelisk in Valgr Ravine sells Thief skills, another overlooking Lake Norgan sells Sorcerer skills, and one out in Norgan Snowfield sells Magick Archer skills.
| Boon | Vocation | Dcp cost |
|---|---|---|
| Fanged Schism | Thief | 2,500 |
| Fanged Rift | Thief | 5,000 |
| Thief Spoils Spawn Rate Boost | Thief | 7,000 |
| Brontide | Sorcerer | 2,500 |
| High Brontide | Sorcerer | 5,000 |
| Shadefetter Bolt | Magick Archer | 5,000 |
Fanged Schism is a Thief skill that attacks upward and triggers an explosion. Hold the button to leap into a slash, then set off the blast. Its advanced version, Fanged Rift, deals more damage. The top-tier skill, Fanged Rupture, causes additional explosions and cannot be bought at an obelisk. Equipping Fanged Rift grants it as an equipment special skill.
The campsite cavern on the way to the stronghold is also where Morgus hands out A Howl in the Dark, a hunt for a blackdog using a spirit compass in the Norgan Snowfield at night. Amos is there too, tied to The Stranger in the Snowfield. Cooking at its campfire with Aged Alpine Hare Meat gives the party a meal buff before the courtyard rematch. Aged Alpine Hare Meat restores 100 Health on its own, double the 50 of fresh Alpine Hare Meat, and it stacks to 99 at 0.2 kg each.