
Word documents often retain personal details such as the author’s name, email address, and other metadata that can be visible to recipients. This information may be embedded in document properties, comments, or revision history. Removing these details is crucial when distributing files publicly, submitting documents for anonymous review, or selling templates. Microsoft Word includes built-in tools for inspecting and deleting personal data, ensuring your documents remain private and professional.
Remove Personal Information Using Document Inspector (Windows)
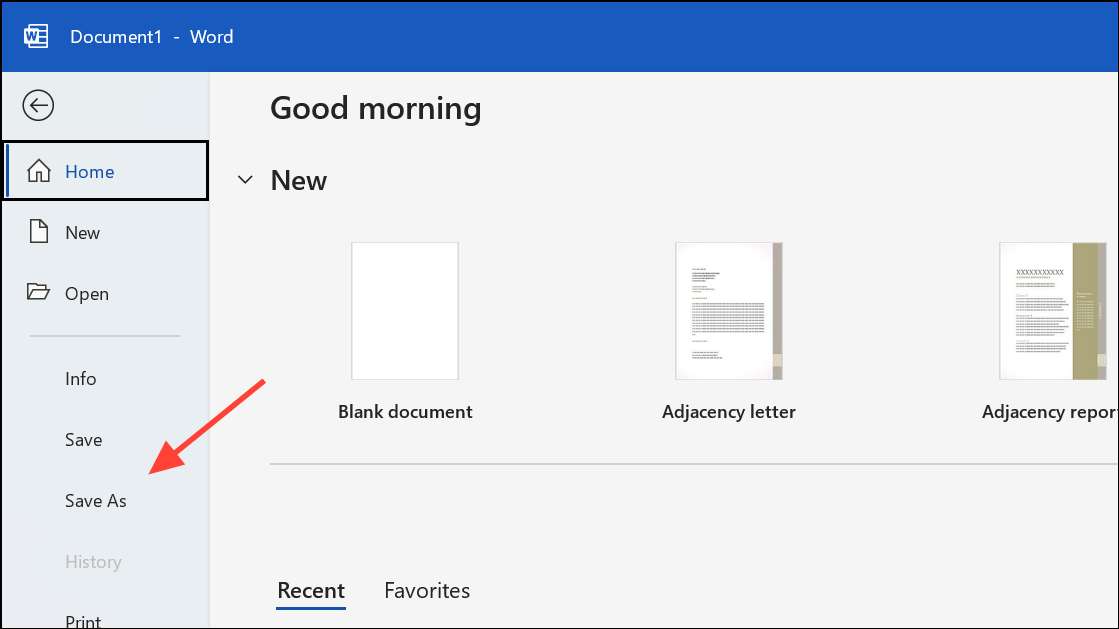
Step 1: Open the Word document you want to clean. To avoid accidental loss of important data, save a copy of your file first by navigating to the File tab, selecting Save As, and giving the copy a new name.
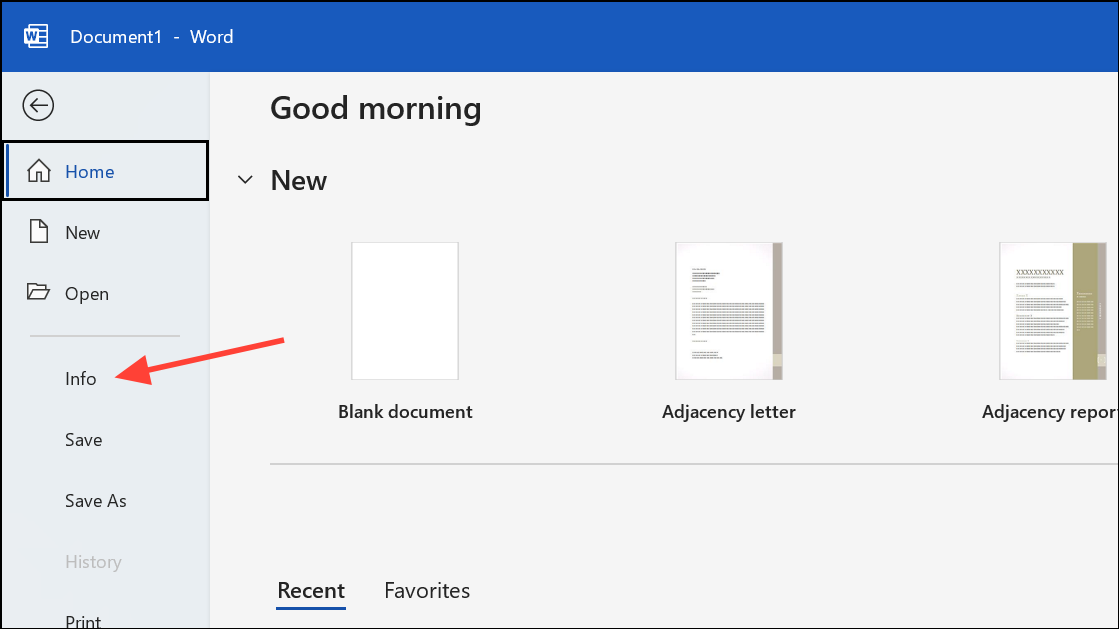
Step 2: With the copy open, go to the File tab and choose Info.
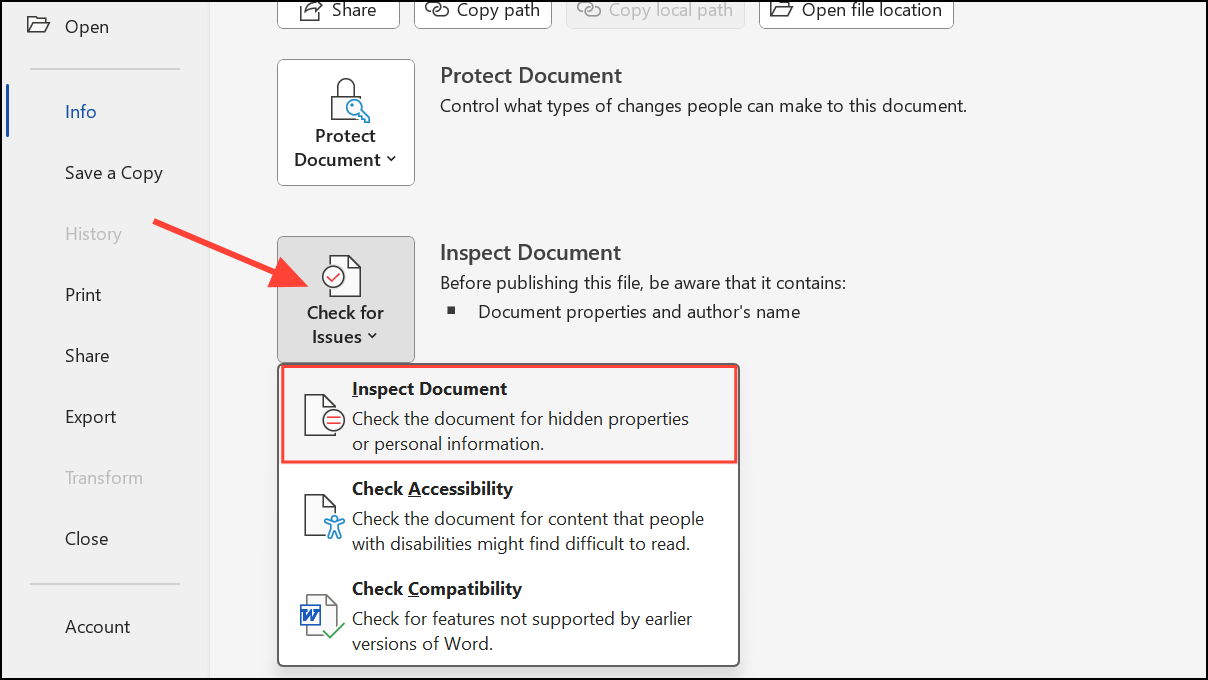
Step 3: On the right-hand side, locate the Check for Issues button and click it. From the dropdown, select Inspect Document.
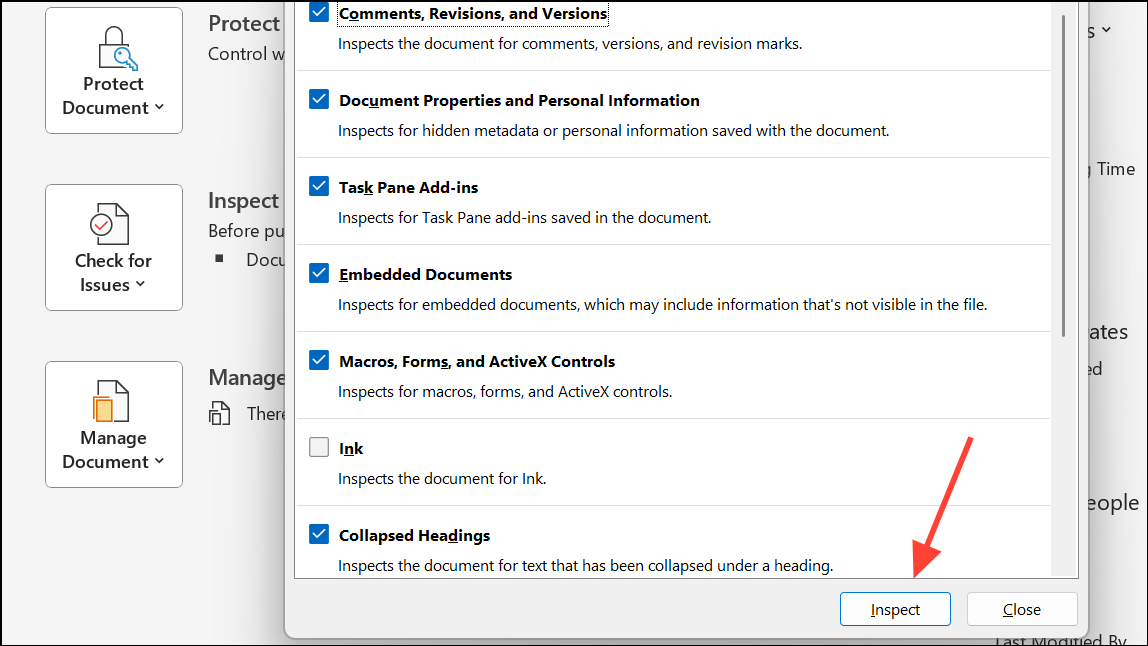
Step 4: The Document Inspector dialog box will appear. Here, you can select the types of content you want to inspect, such as comments, document properties, personal information, headers, footers, and custom XML data. Select the relevant checkboxes and click Inspect.
Step 5: Review the inspection results. For each category where personal information is found, click Remove All to delete that data. Be aware that some changes cannot be undone, so verify your selections before proceeding.
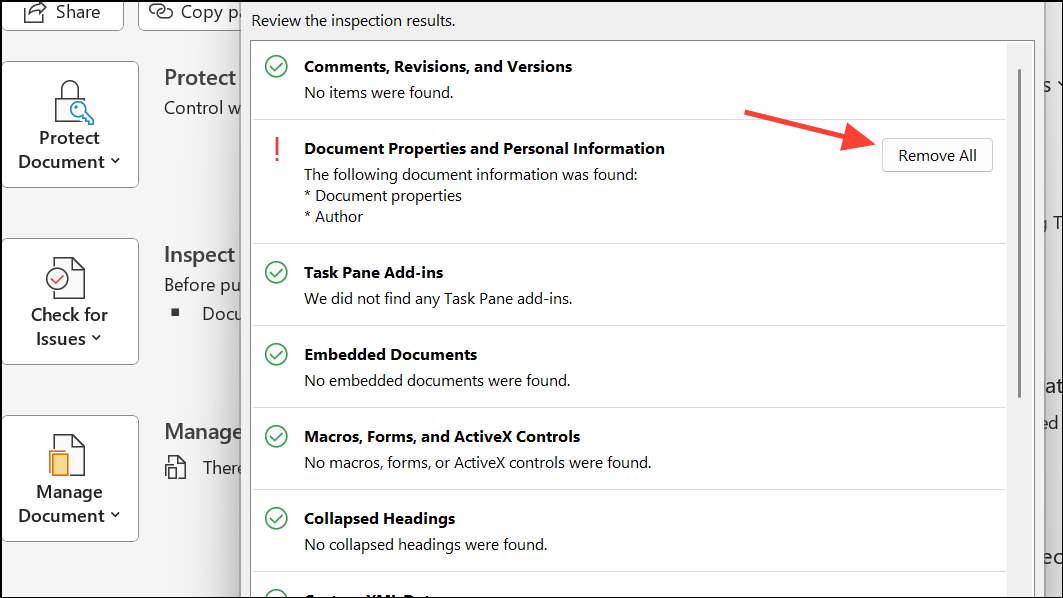
Step 6: After removing the data, click Close and save the document. Your file is now stripped of the selected personal and hidden information.
Delete Author Name from Document Properties (Windows)
Step 1: Open your Word document and go to the File tab. Select Info.
Step 2: In the Related People section on the right, you’ll see the author’s name. Right-click on the name and choose Remove Person. This deletes the author’s name from the document’s visible metadata.

Step 3: Save the document to confirm the changes.
Remove Personal Information on Mac
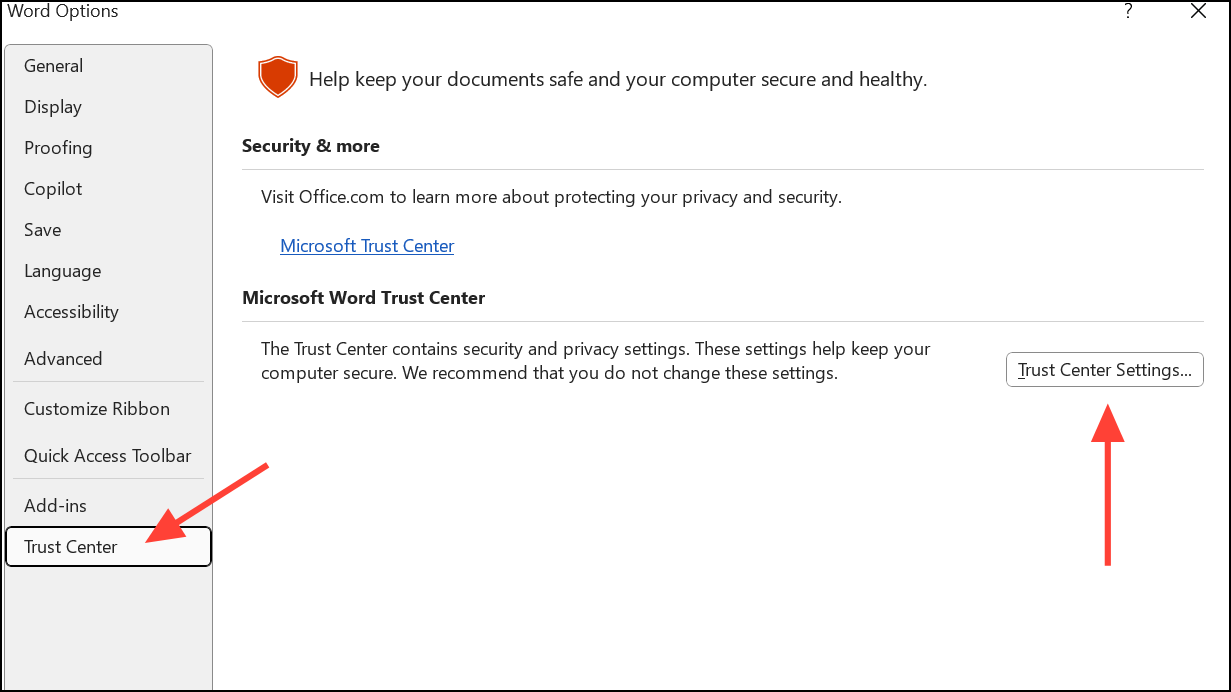
Step 1: Open the Word document, then select File from the top menu and click Options.

Step 2: In the Word Options dialogue box, click Trust Center on the left. Then click the Trust Center Settings button on the right.
Step 3: Click Privacy Options on the left and then check the Remove personal information from file properties on save o
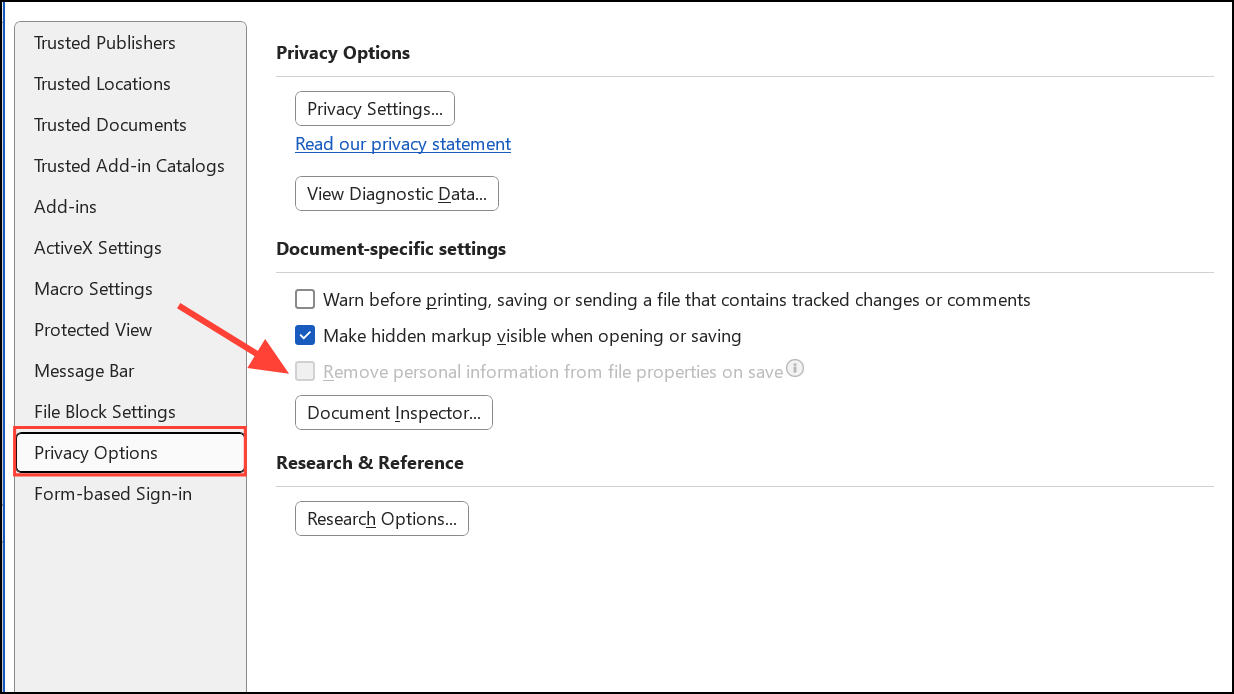
Step 4: Save the document. For some versions, you may also need to check under User Information in Preferences and manually clear out any personal details before saving.
Older Versions of Word (Windows 2007 and Earlier)
Step 1: In Word 2007, click the Office button in the top-left corner, point to Prepare, and select Inspect Document. In Word 2003 or earlier, go to Tools > Options, select the Security tab, and check Remove personal information from file properties on save.
Step 2: Run the Document Inspector or save the document to apply the removal of personal data.
Additional Tips and Cautions
When using Document Inspector, always work on a copy of your original document. Some removed information cannot be restored, and undo may not be available after saving. If your document includes headers, footers, or custom XML data that should remain, carefully review what you remove. Also, note that certain types of embedded content or advanced features, like macros or external links, may retain hidden data that requires separate manual review or deletion.
For templates or documents intended for broad distribution, repeat the inspection process after each major edit or before converting to PDF. Exported PDFs may also contain metadata, so consider using a PDF metadata removal tool if privacy is essential.
Cleaning personal information from Word documents streamlines privacy and ensures you share only what you intend. Regularly using these built-in tools keeps your files professional and protects your identity.