
Update installations on Windows 11 sometimes fail with the error code 0x80070026, which can block critical security or feature updates and disrupt normal system operation. This error may also appear during file transfers or when copying files from network shares, indicating underlying system file corruption or issues with update components.
Reset Windows Update Components
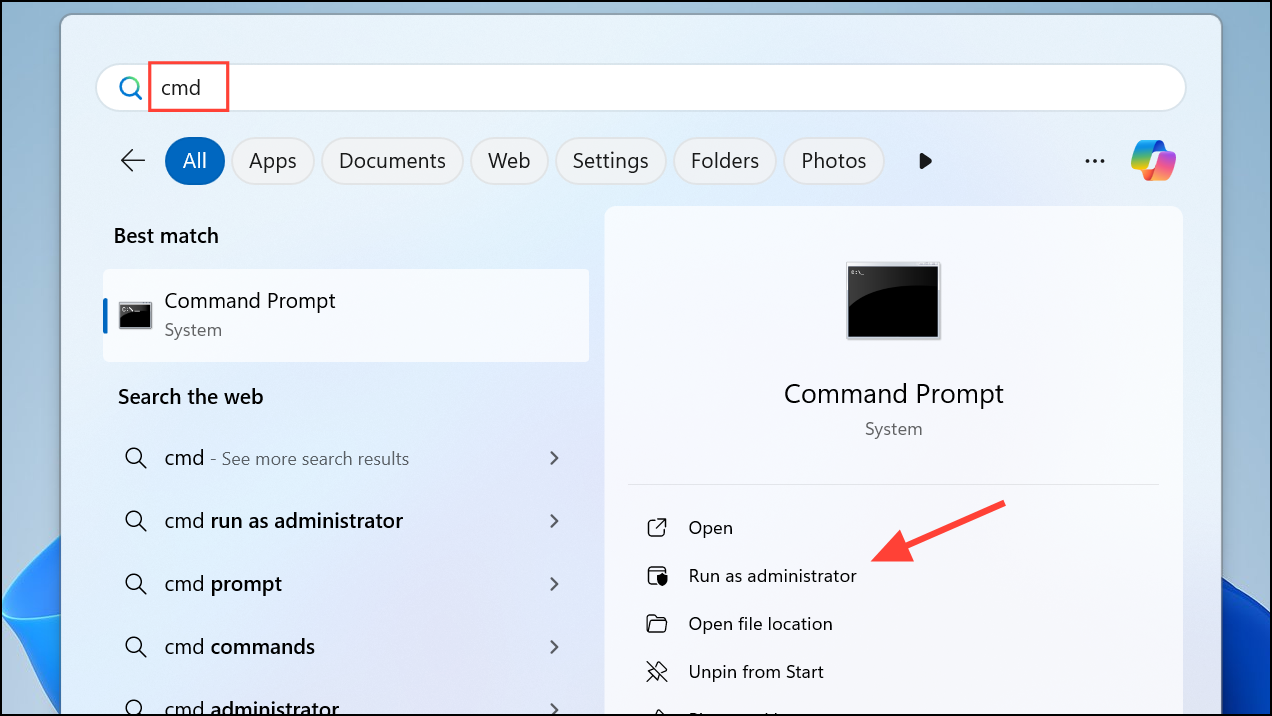
Step 1: Open Command Prompt as an administrator. To do this, press Windows + S, type cmd, right-click on Command Prompt in the search results, and select Run as administrator.

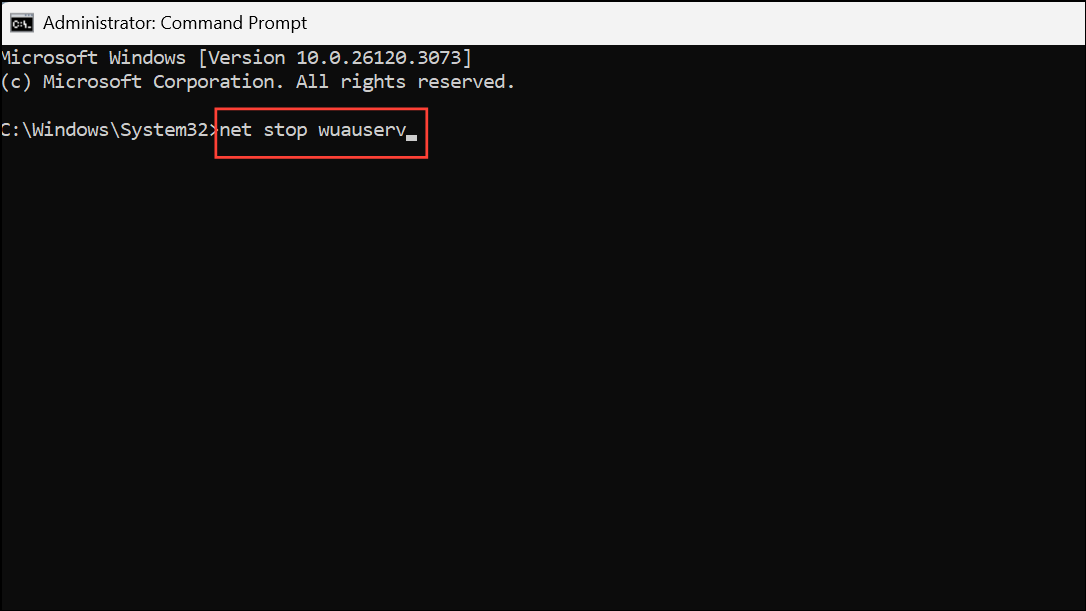
Step 2: Stop the Windows Update services by entering the following commands one at a time and pressing Enter after each:
net stop wuauserv
net stop cryptSvc
net stop bits
net stop msiserver
Step 3: Rename the update cache folders to force Windows to create new ones. Enter these commands:
ren C:\Windows\SoftwareDistribution SoftwareDistribution.old
ren C:\Windows\System32\catroot2 catroot2.old
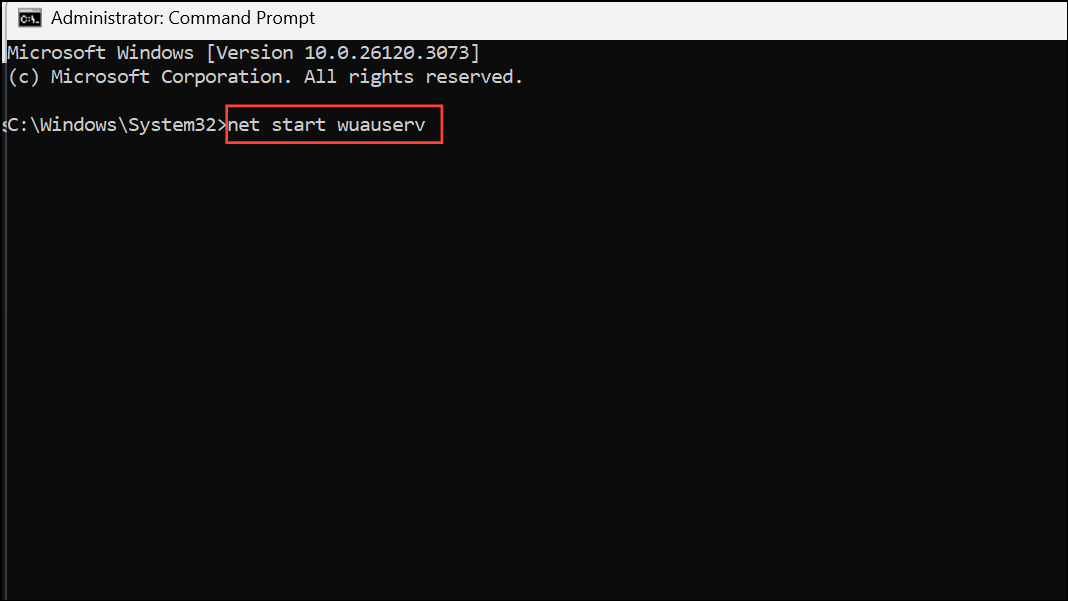
Step 4: Restart the services using these commands:
net start wuauserv
net start cryptSvc
net start bits
net start msiserver
Step 5: Close the Command Prompt window and restart your computer. After restarting, try running Windows Update again. This process clears out potentially corrupt update files and resets the update system, often resolving persistent update errors.
Run System File Checker and DISM Scans
Corrupted system files can prevent updates from installing or cause file transfer errors. Windows includes built-in tools to detect and repair these issues.
Step 1: Open Command Prompt as an administrator.
Step 2: Run the System File Checker tool by typing:
sfc /scannow
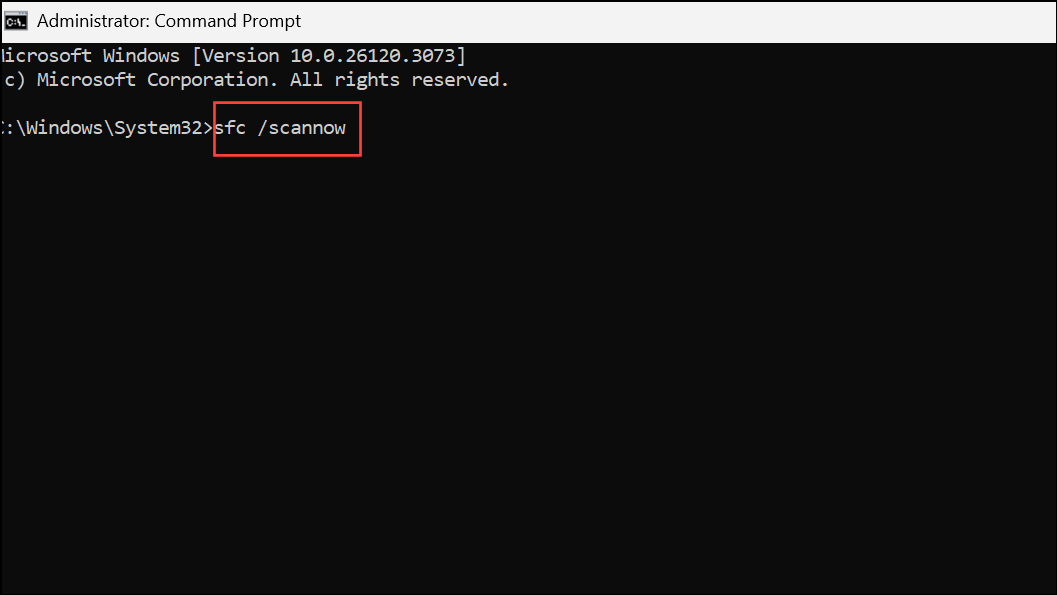
This scan checks protected system files and attempts to repair any that are corrupted. Wait until the scan completes, then restart your computer.
Step 3: If problems persist, run the Deployment Image Servicing and Management (DISM) tool with these commands, one at a time:
DISM /Online /Cleanup-Image /CheckHealth
DISM /Online /Cleanup-Image /ScanHealth
DISM /Online /Cleanup-Image /RestoreHealth

These commands inspect and repair the Windows image used for updates and system repairs. After completion, restart your device and try updating again.
Delete Corrupted Update Files
Corrupted files in the update cache can cause repeated failures. Removing these files forces Windows to download fresh copies.
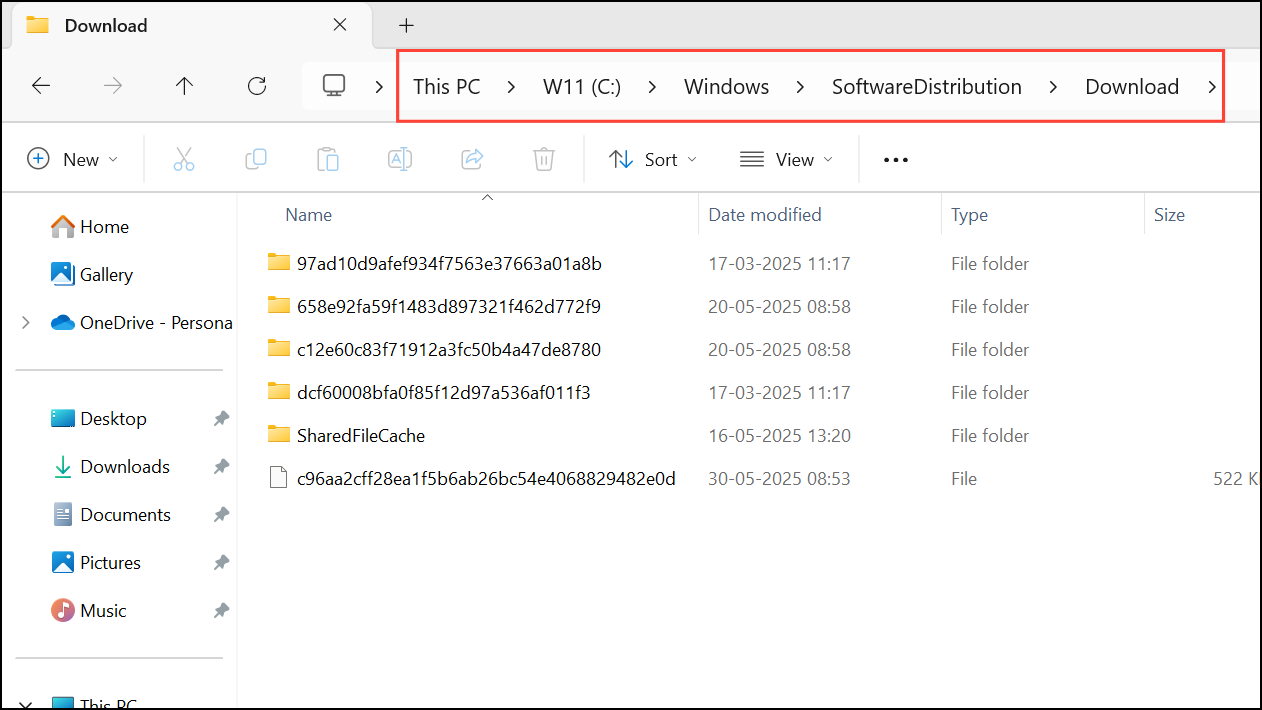
Step 1: Open File Explorer and navigate to C:\Windows\SoftwareDistribution\Download.
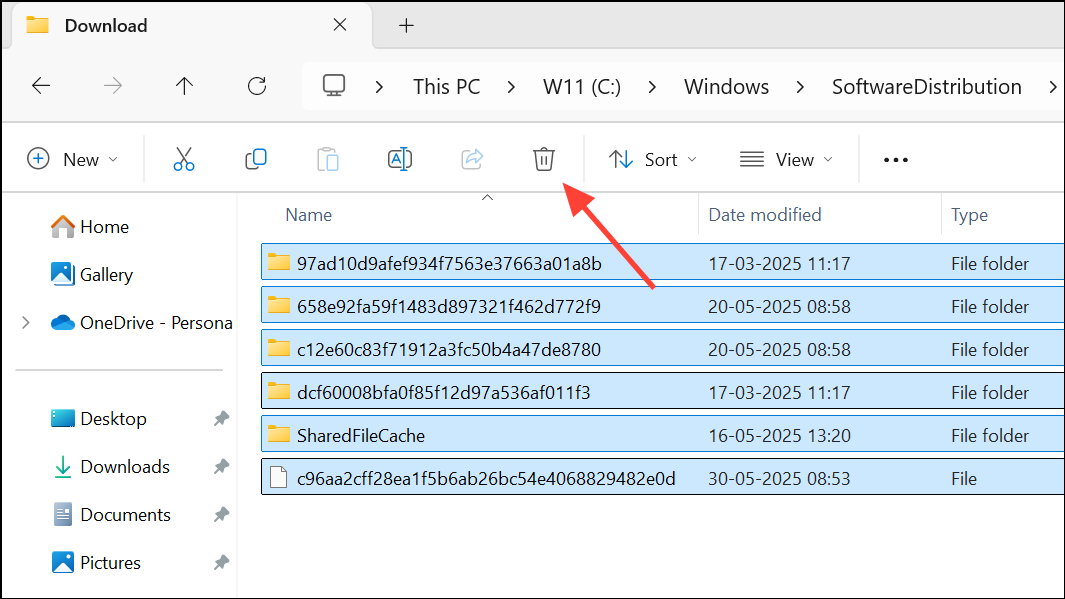
Step 2: Select all files in this folder and delete them. You may need administrator permission to complete this step.
Step 3: Restart your computer and check for updates again. This step is especially useful if the update error occurs after multiple failed attempts to install the same update.
Temporarily Disable Antivirus and Firewall
Security software may mistakenly block update files or interfere with system processes. Temporarily disabling third-party antivirus software and the Windows Defender Firewall can help determine if these tools are causing the update error.
- Right-click your antivirus icon in the system tray and select the option to disable or pause protection.
- For Windows Defender Firewall, go to
Settings > Privacy & security > Windows Security > Firewall & network protection, select your active network, and turn off the firewall.
After disabling security tools, try running Windows Update again. Remember to re-enable your protection after testing.
Clean the Temporary Files Folder
Corrupted temporary files can interfere with updates and file operations.
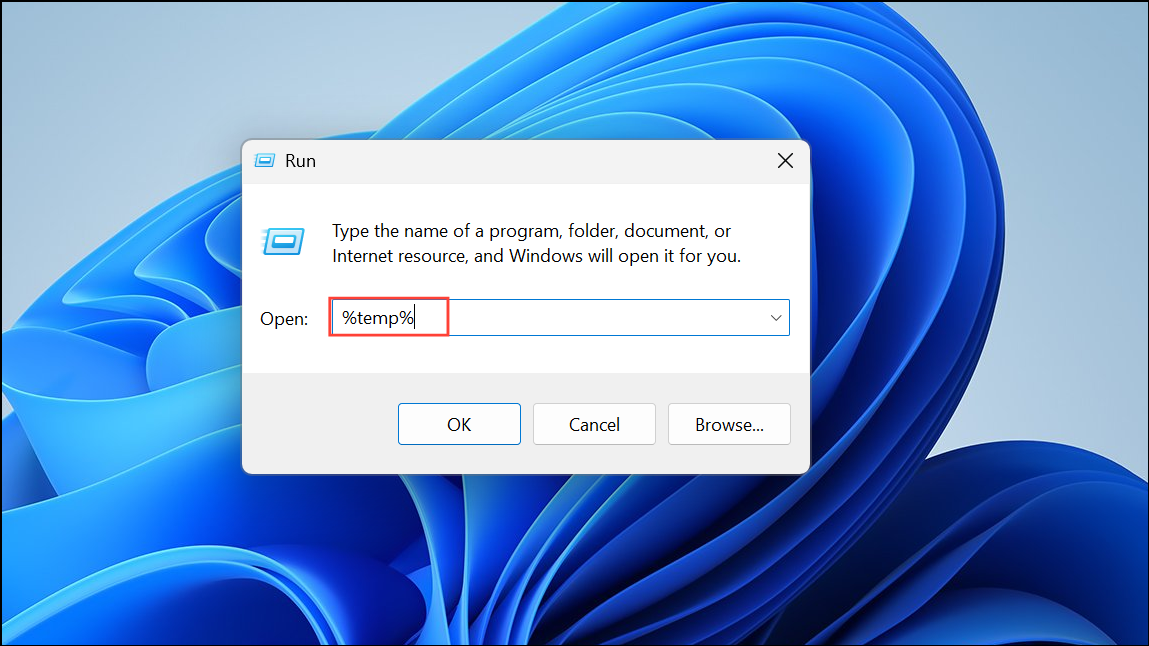
Step 1: Press Windows + R to open the Run dialog, then type %temp% and press Enter.
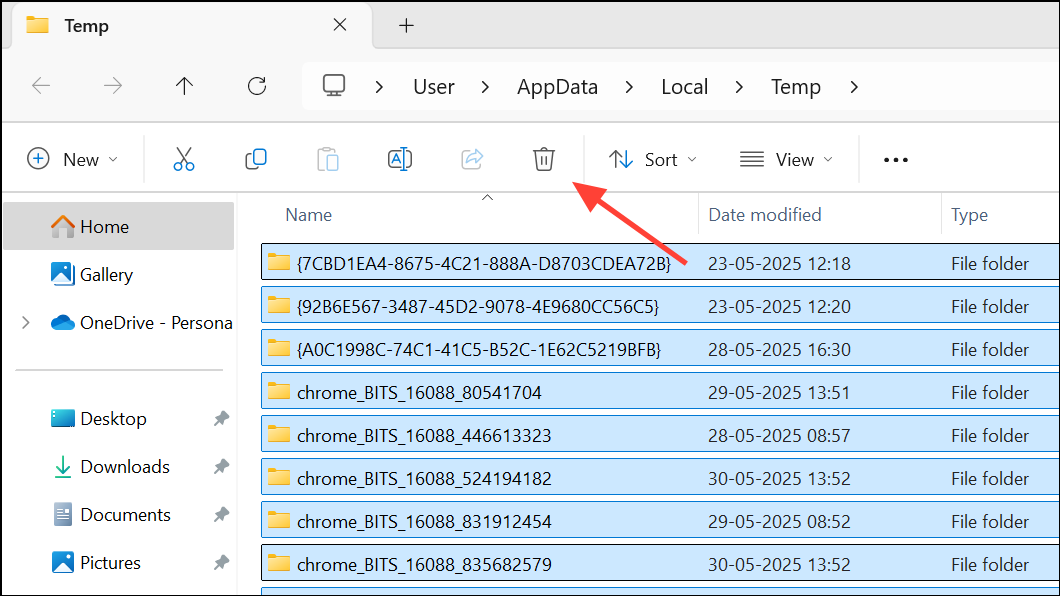
Step 2: Select all files in the Temp folder (Ctrl + A), then right-click and choose Delete. Skip any files that cannot be deleted because they're in use.
Clearing these files can resolve issues caused by corrupt or incomplete temporary data.
Check for System Version or Language Mismatches
Some users reported that update or file copy errors persisted due to mismatched Windows versions or language settings, especially after using ISO files for repairs or upgrades. If you attempt a repair install using an ISO, ensure the language and version exactly match your current system. Otherwise, options to keep personal files and apps may be unavailable, or the process may fail.
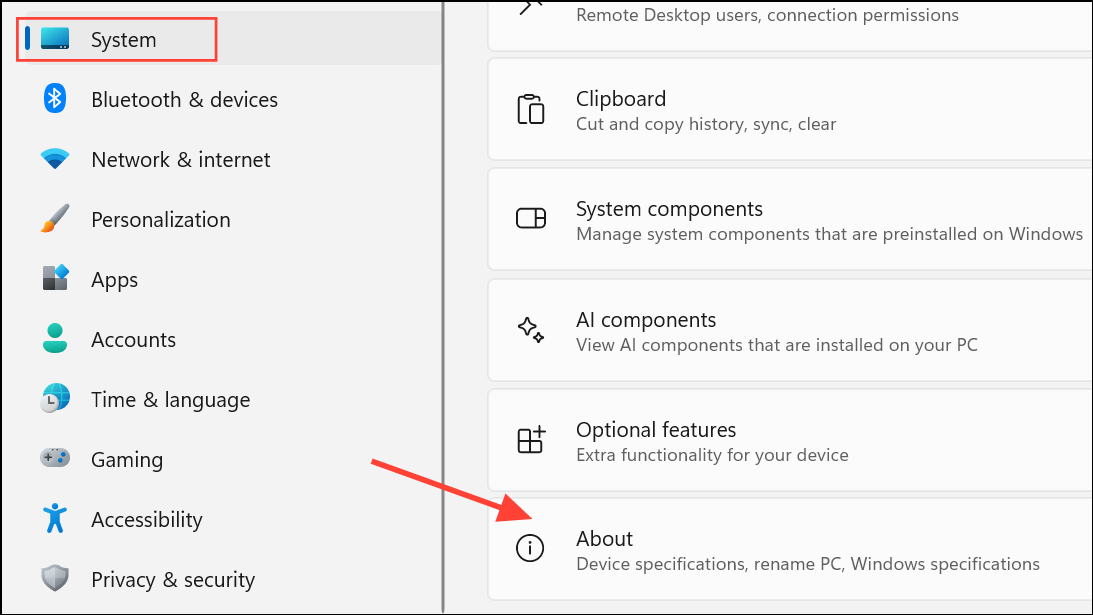
To verify your current system version and language, open Settings > System > About and Settings > Time & language > Language & region.
Update Windows 11 to the Latest Build
Some versions of Windows 11 have known bugs that cause error 0x80070026 during updates or file transfers. Upgrading to a newer build often resolves these issues.
Step 1: Download the latest Windows 11 ISO from the official Microsoft website: https://www.microsoft.com/software-download/windows11.
Step 2: Mount the ISO by double-clicking it, then run setup.exe from the mounted drive. Choose the option to keep personal files and apps if available.
Step 3: Follow the on-screen instructions to complete the installation. If the option to keep files and apps is unavailable, verify the ISO language and edition match your current installation.
Alternatively, use the Windows Update Assistant or create a bootable USB drive to perform an in-place upgrade. Always back up important files before proceeding.
Additional Checks for File Copy Errors
When error 0x80070026 appears during file transfers, especially from older network file servers, compatibility or security settings may be involved. Confirm that your Windows 11 build is up to date, as earlier releases may have unresolved bugs affecting file operations. If the issue persists, check for redirected user folders or non-standard registry settings for application install paths, as these can interfere with updates and file access.
To check the default Program Files path, open regedit and navigate to HKEY_LOCAL_MACHINE\SOFTWARE\Microsoft\Windows\CurrentVersion. Ensure the ProgramFilesDir value is set to C:\Program Files.

Applying these targeted steps resolves most instances of error 0x80070026 in Windows 11, restoring the ability to update and copy files without further issues.