
Display output failures in Windows 11 often trace back to connection problems, outdated drivers, or incorrect settings. When an external monitor is not detected, users lose the benefits of expanded workspace, which can slow down multitasking and workflow. Addressing this issue requires a systematic approach, starting with the most effective solutions first.
Check Cable Connections and Power
Step 1: Confirm that your external monitor is securely connected to a working power outlet. Inspect the power cable for any visible damage, and verify that the monitor’s power light is on. Some monitors require pressing a physical power button, so double-check that the monitor is switched on.
Step 2: Examine the video cable (HDMI, DisplayPort, USB-C, or VGA) connecting your computer and monitor. Ensure both ends are firmly seated in their respective ports. If your hardware supports more than one port, try connecting the cable to a different port on both the monitor and the computer to rule out port-specific issues.
Step 3: Swap out the current video cable for another compatible cable to eliminate the possibility of a faulty or incompatible cable. Even minor damage or poor shielding can disrupt the signal.
Step 4: If you’re using a USB-C monitor, make sure the cable and port meet the necessary standards (DisplayPort 1.4 or HDMI 2.0 for full compatibility). Try connecting the monitor directly to the computer’s USB-C port, bypassing any USB hubs or docking stations.
Step 5: Use the monitor’s built-in menu to confirm it’s set to the correct input source (e.g., HDMI1, DisplayPort). Cycle through available inputs if needed.
Manually Detect the Monitor in Windows 11 Settings
Step 1: Open the Windows 11 Settings app by pressing Windows key + I.
Step 2: Navigate to System > Display. Scroll down to the Multiple displays section.
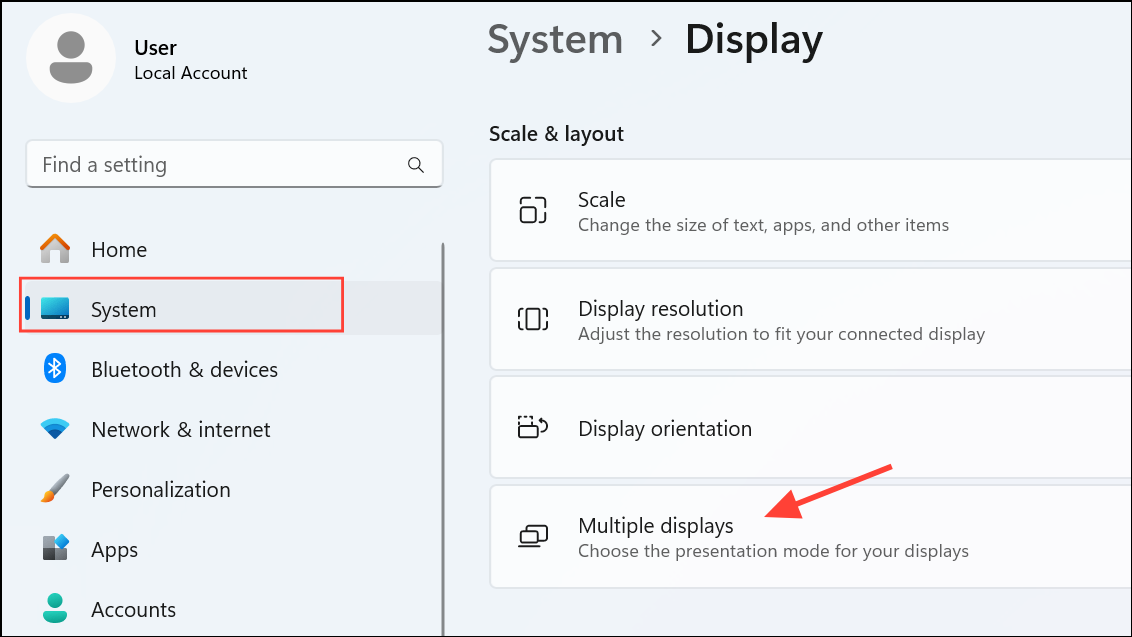
Step 3: Click the Detect button. This forces Windows 11 to scan for connected displays, even if they weren’t automatically recognized during startup.
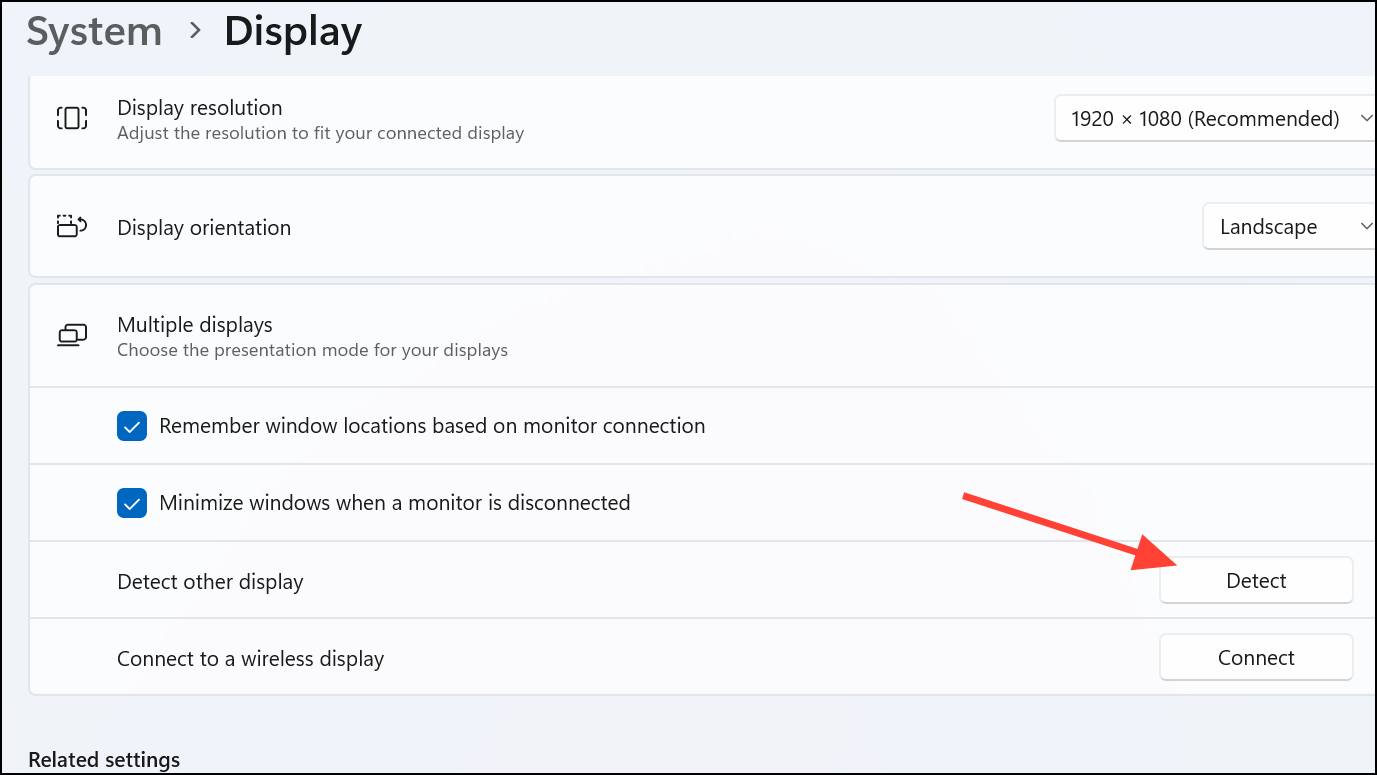
Step 4: If your monitor is wireless (e.g., Miracast or WiDi), select Connect instead. Make sure the wireless monitor is powered on and discoverable.
Step 5: If the monitor appears, use the Identify button to confirm which display is which, and adjust your display layout as needed.
Update or Reinstall Graphics Drivers
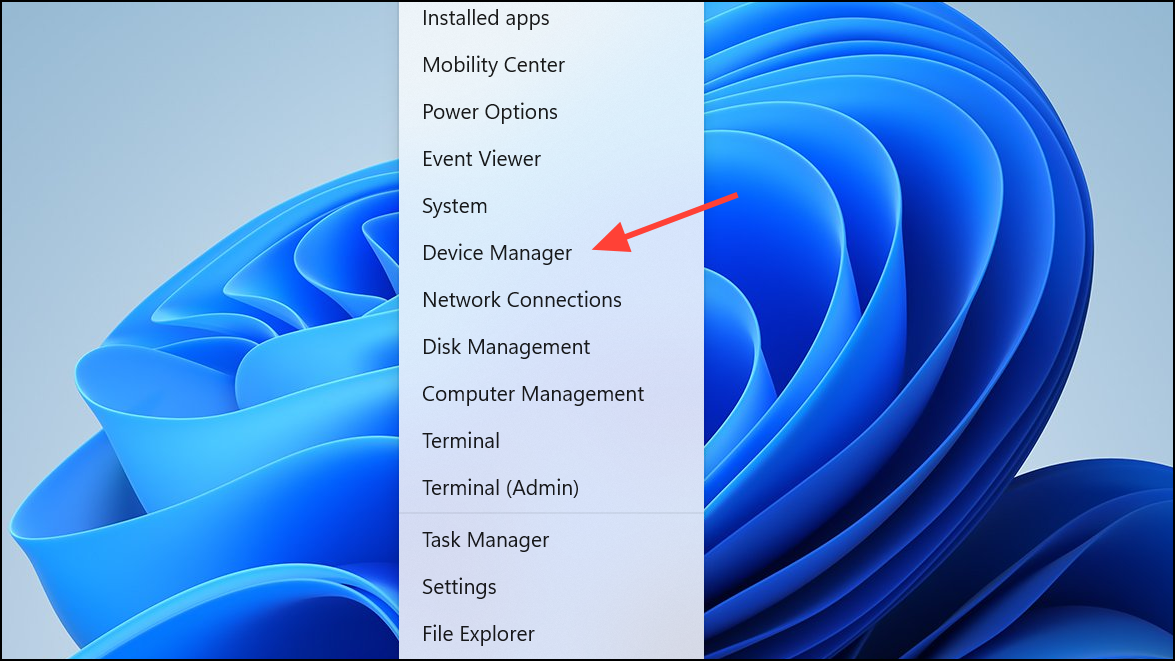
Step 1: Open Device Manager by right-clicking the Start button and selecting Device Manager.
Step 2: Expand the Display adapters section. Right-click your graphics adapter and choose Update driver.
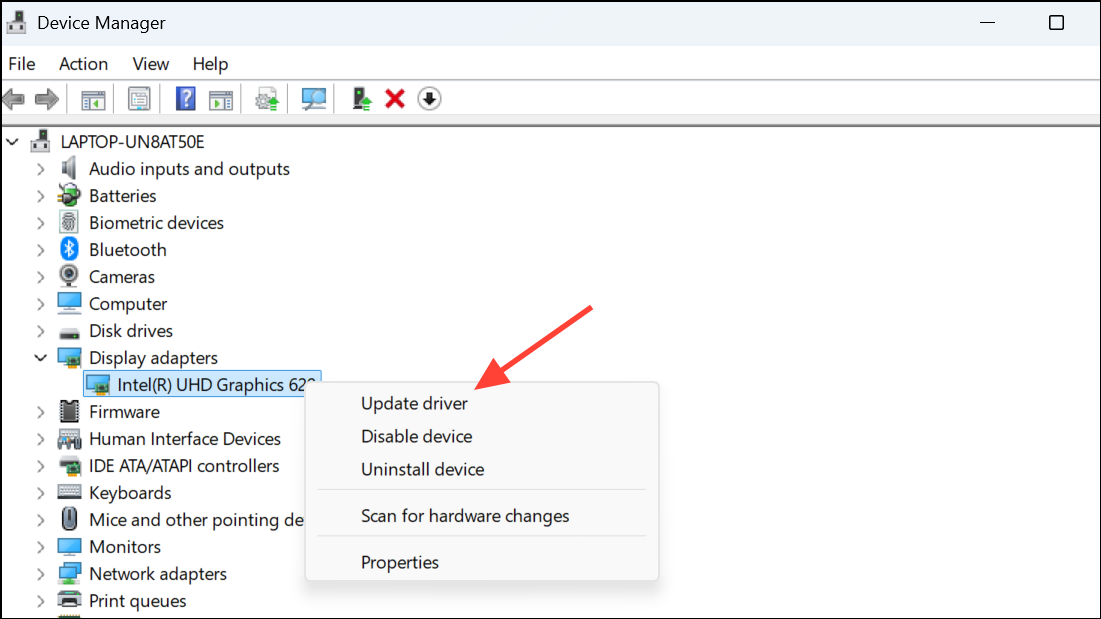
Step 3: Select Search automatically for drivers. If Windows finds an update, follow the prompts to install it. If no update is found, visit your graphics card manufacturer’s website (NVIDIA, AMD, Intel) to download and install the latest drivers manually.

Step 4: Restart your computer after updating drivers. This ensures new drivers are fully loaded and any display changes take effect.
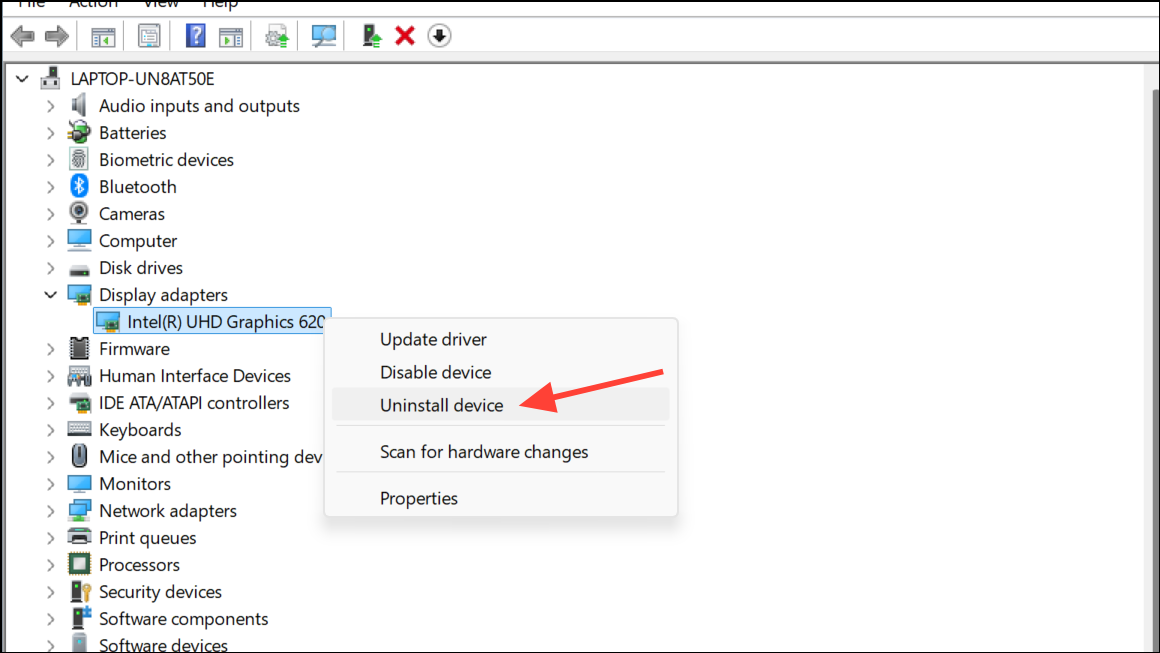
Step 5: If updating doesn’t resolve the issue, try uninstalling the graphics driver: In Device Manager, right-click your display adapter, select Uninstall device, check Delete the driver software for this device if available, and confirm.
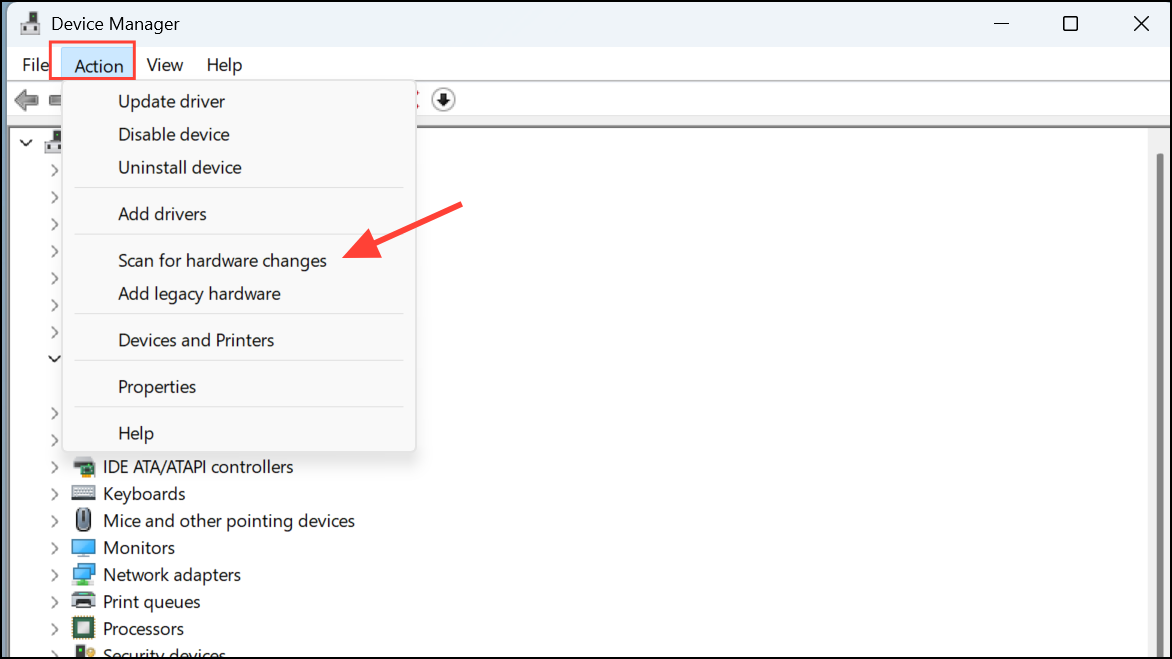
Step 6: Restart your PC, and Windows will attempt to reinstall the correct driver automatically. You can also use the Scan for hardware changes option in Device Manager if the driver doesn’t reinstall on reboot.
Adjust Display Settings and Project Modes
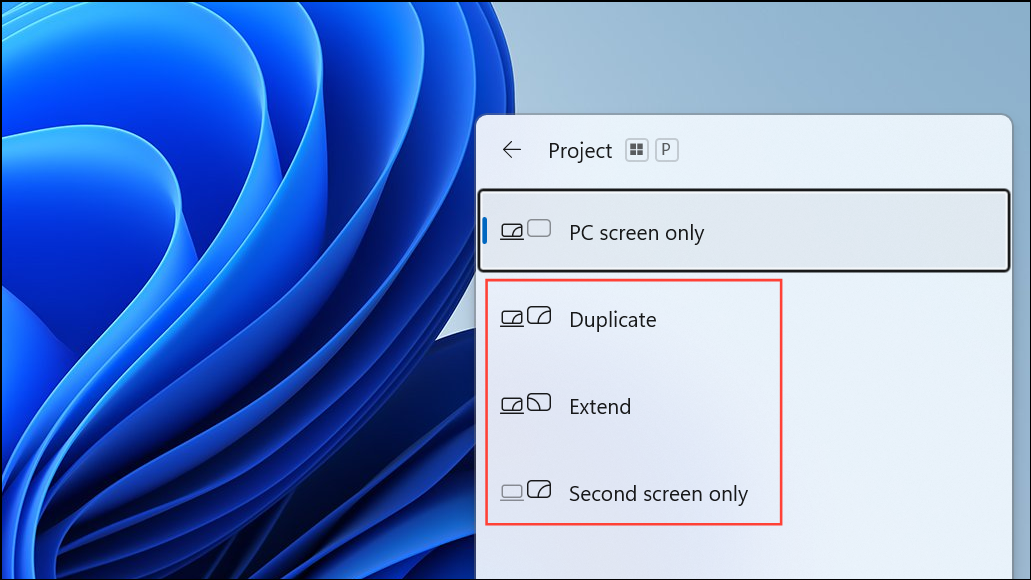
Step 1: Press Windows key + P to open the Project menu. Cycle through options such as Duplicate, Extend, or Second screen only to see if the external monitor responds.
Step 2: In the Display settings window, check that the external monitor is not set as “disconnected.” If it is, select it and choose an appropriate mode (Extend or Duplicate).
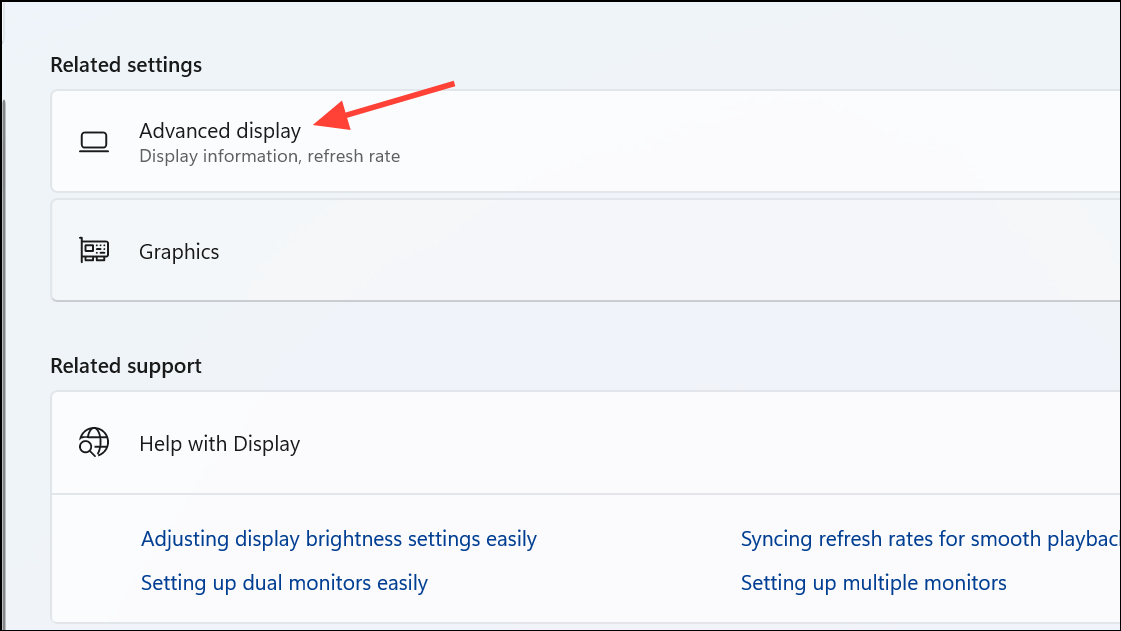
Step 3: Adjust the display resolution and refresh rate. Select the external monitor in Display settings, then click Advanced display settings. Set the resolution and refresh rate to values supported by your monitor. Using an unsupported resolution or refresh rate can result in a blank screen.
Step 4: If the display is detected but not showing content, try resetting the graphics driver by pressing Windows key + Ctrl + Shift + B. This refreshes the video driver and can resolve temporary glitches.
Test Hardware and Alternate Configurations
Step 1: Disconnect all unnecessary peripherals (USB drives, printers, cameras) from your computer. Peripheral conflicts can sometimes interfere with display detection.
Step 2: If using a docking station, connect the monitor directly to your computer to rule out dock-related issues. Some docks may not provide enough power or bandwidth for multiple displays.
Step 3: Connect the external monitor to a different computer. If it’s still not detected, the monitor or cable may be faulty. Conversely, try a different monitor with your current computer to see if the problem persists.
Step 4: Power cycle both your computer and the external monitor. Shut down both devices, unplug them from power for at least 30 seconds, then reconnect and restart. This clears temporary hardware states that might block detection.
Update Windows and Monitor Firmware
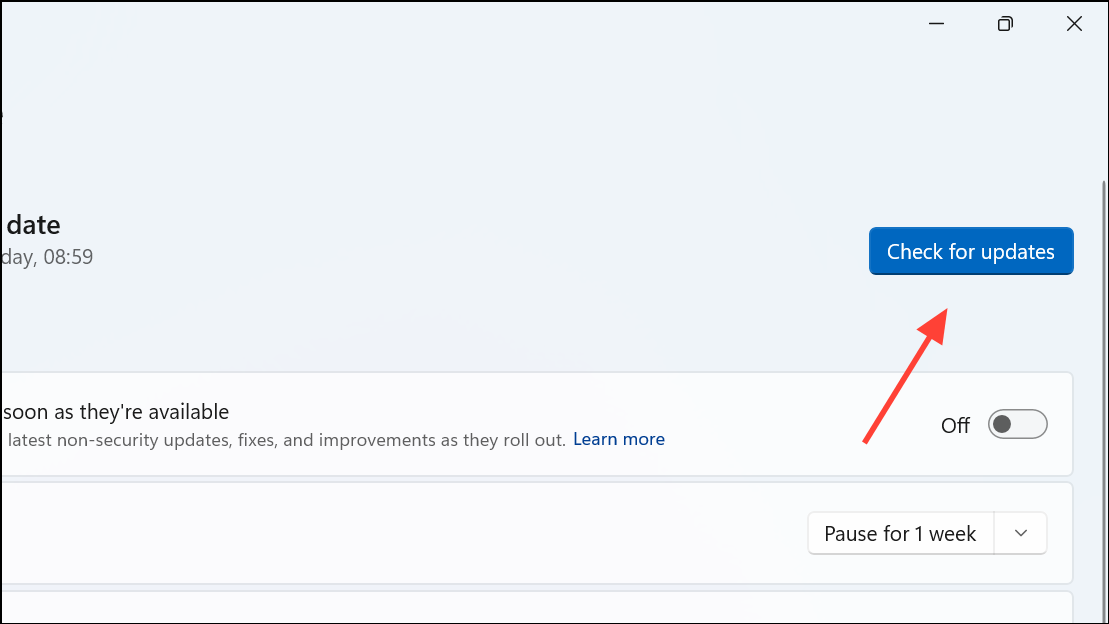
Step 1: Open Windows Update by going to Settings > Windows Update. Click Check for updates and install any available updates. Updates often include fixes for hardware compatibility and display bugs.
Step 2: Visit your monitor manufacturer’s website to check for firmware updates. Some monitors, especially newer or high-resolution models, may require firmware upgrades to function reliably with Windows 11.
Advanced Troubleshooting and Manufacturer Tools
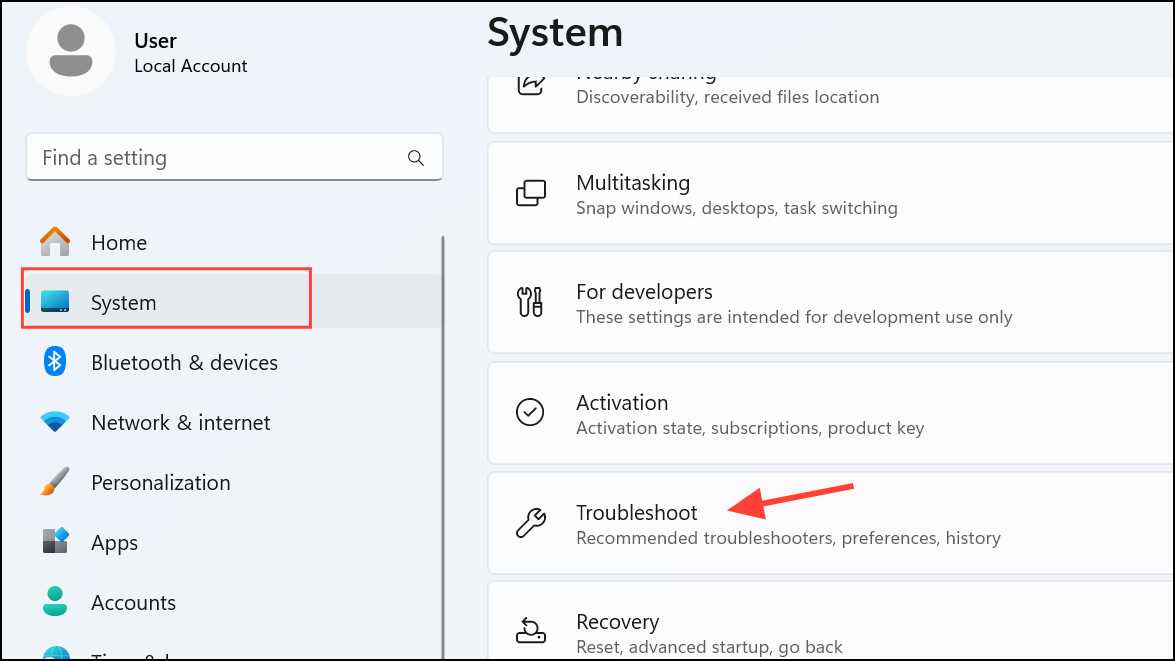
Step 1: Use built-in troubleshooters: Go to Settings > System > Troubleshoot.
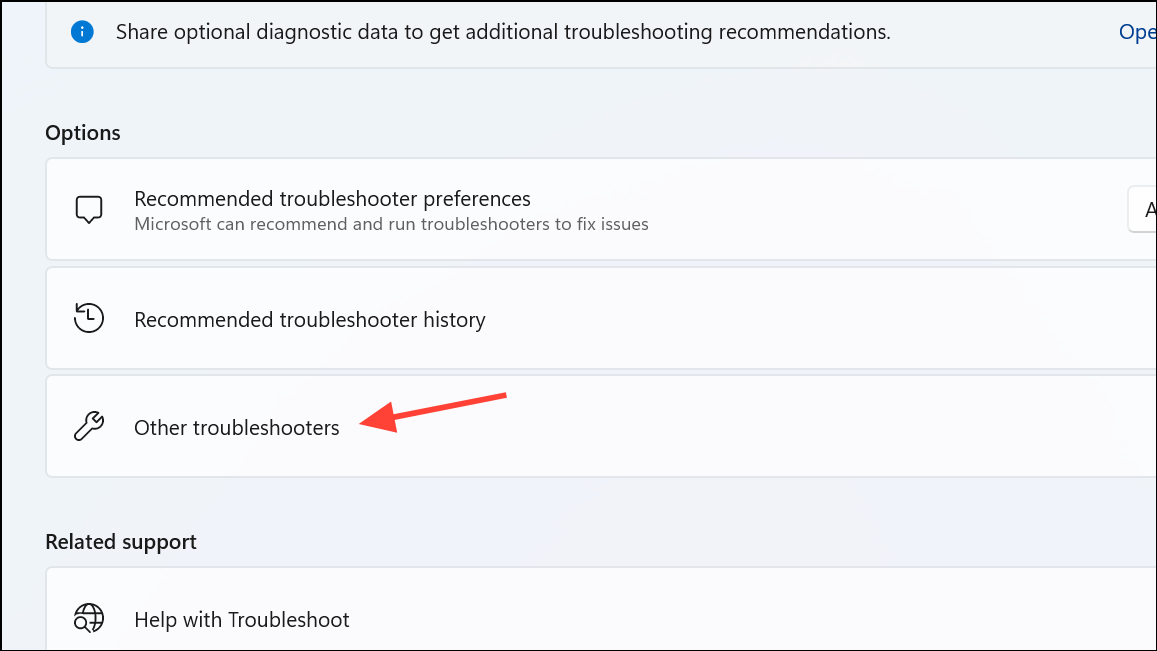
Step 2: Select Other troubleshooters and then run the Hardware and Devices troubleshooter to automatically scan for problems.
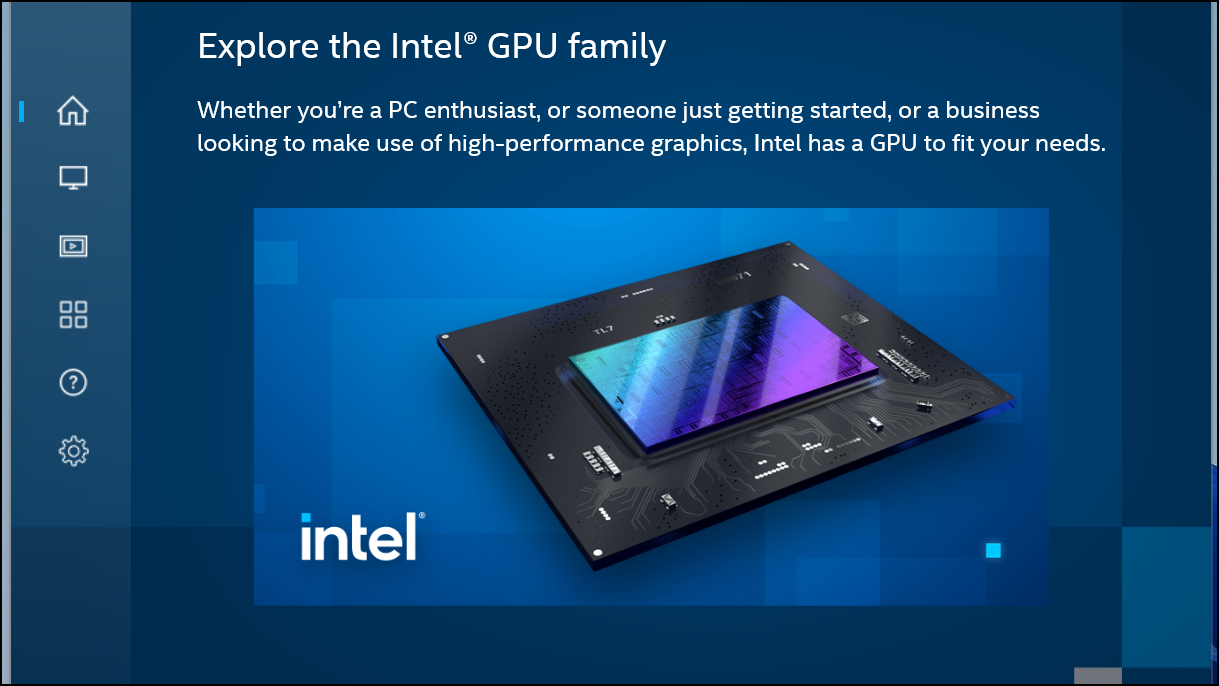
Step 3: For NVIDIA, AMD, or Intel graphics, open their respective control panels (e.g., NVIDIA Control Panel, AMD Radeon Settings, Intel Graphics Command Center). Check that the external monitor is enabled and correctly configured within these tools.
Step 4: If all else fails, consider updating your system BIOS or UEFI firmware, especially if your hardware is new or recently upgraded. Refer to your PC or motherboard manufacturer’s instructions for safe update procedures.
Resolving external monitor detection issues on Windows 11 usually comes down to checking connections, updating drivers, and configuring settings. If the problem persists after these steps, hardware replacement or professional support may be necessary.