
ODBC Data Source settings sometimes fail to save correctly in Windows 11 Pro, causing applications to lose database connectivity or revert to previous configurations. Addressing this problem requires checking permissions, running the correct ODBC tool version, and ensuring the proper system context is used when modifying settings.
Check and Adjust User Permissions
Step 1: Open the folder where your ODBC Data Source Names (DSNs) are stored. System DSNs are typically located in C:\Windows\System32 or C:\Windows\SysWOW64 depending on whether you are using 64-bit or 32-bit drivers.
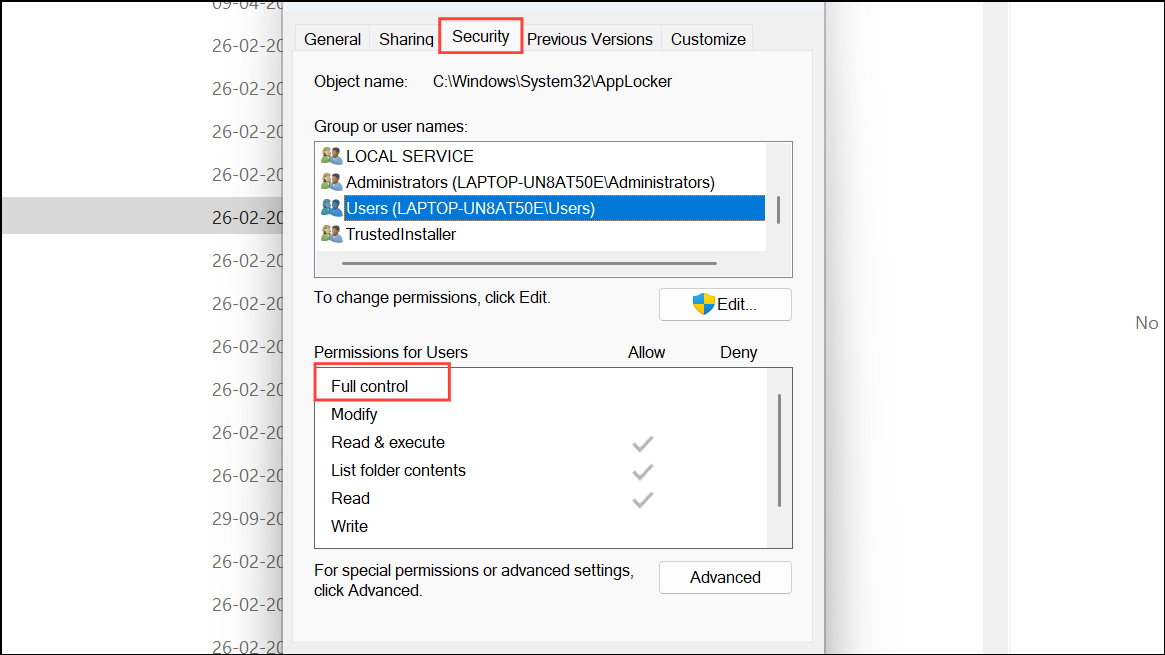
Step 2: Right-click the folder or the relevant registry keys and select Properties. Go to the Security tab and ensure your user account has Full Control or at least Modify permissions. Without these permissions, changes to DSNs might not be saved.
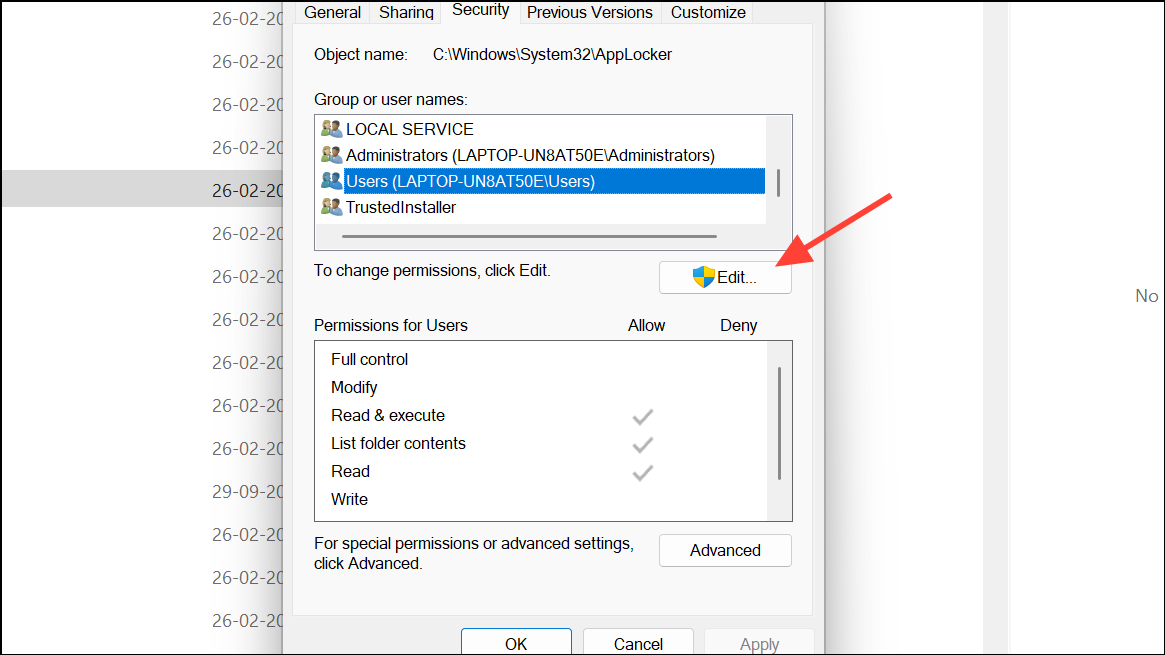
Step 3: If you lack appropriate permissions, click Edit, select your user, and grant the necessary access. Apply the changes and close the dialog.
Step 4: Try saving your ODBC settings again to see if the issue is resolved.
Run ODBC Administrator as Administrator
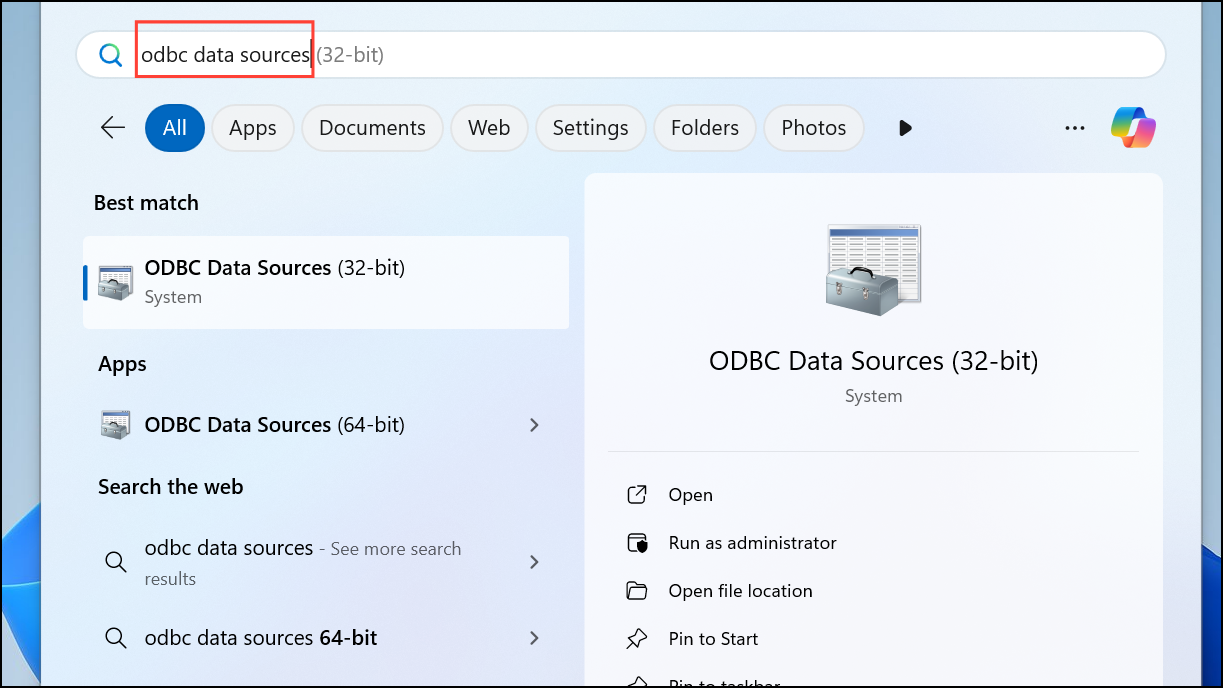
Step 1: Use the Windows Search bar to locate ODBC Data Sources (32-bit) or ODBC Data Sources (64-bit) depending on your driver and application requirements.
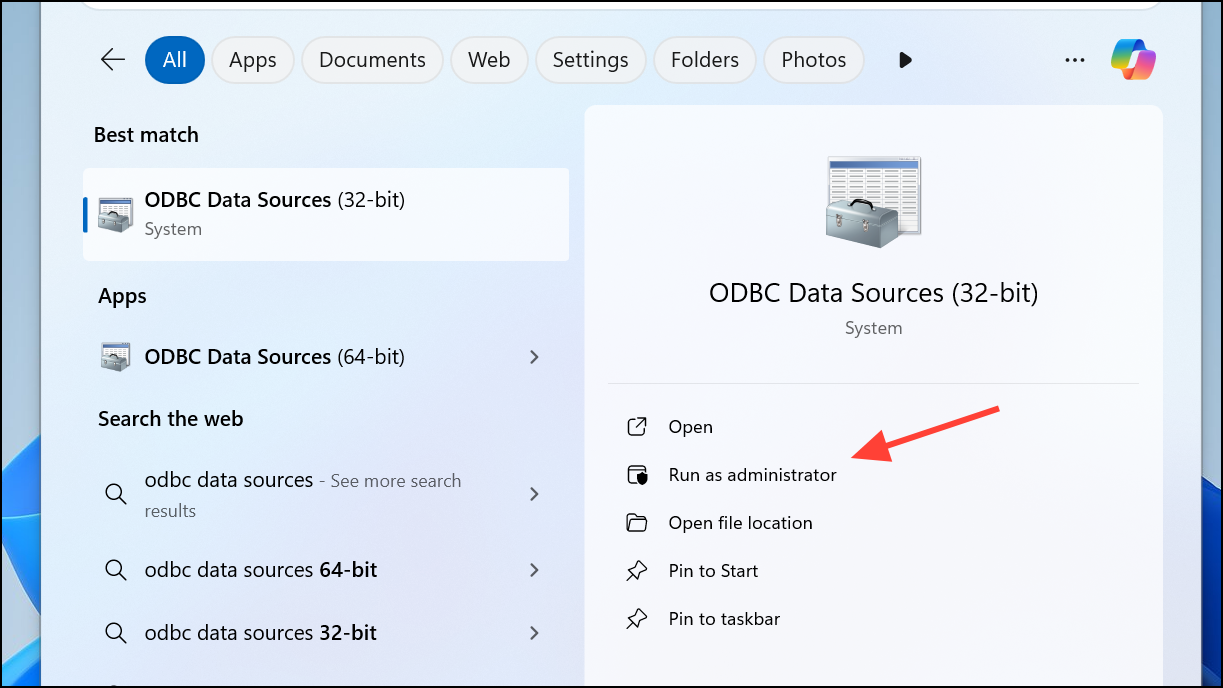
Step 2: Right-click the appropriate ODBC tool and select Run as administrator. This ensures you have the necessary privileges to modify and save DSN settings, especially for System DSNs that require elevated permissions.
Step 3: Make the required changes to your DSN configuration and save. Close the ODBC Administrator and reopen it to confirm your changes were retained.
Use the Correct ODBC Version (32-bit vs 64-bit)
Step 1: Determine whether your application is 32-bit or 64-bit. This is important because 32-bit applications use the 32-bit ODBC Administrator, while 64-bit applications use the 64-bit version. The settings are stored separately and won't be visible across versions.
- For 64-bit:
C:\Windows\System32\odbcad32.exe. - For 32-bit:
C:\Windows\SysWOW64\odbcad32.exe.
Step 2: Open the correct version based on your application's architecture. Make changes to the DSN and save.
Step 3: Restart your application and verify that it recognizes the updated ODBC settings.
Check Registry Access for DSN Storage
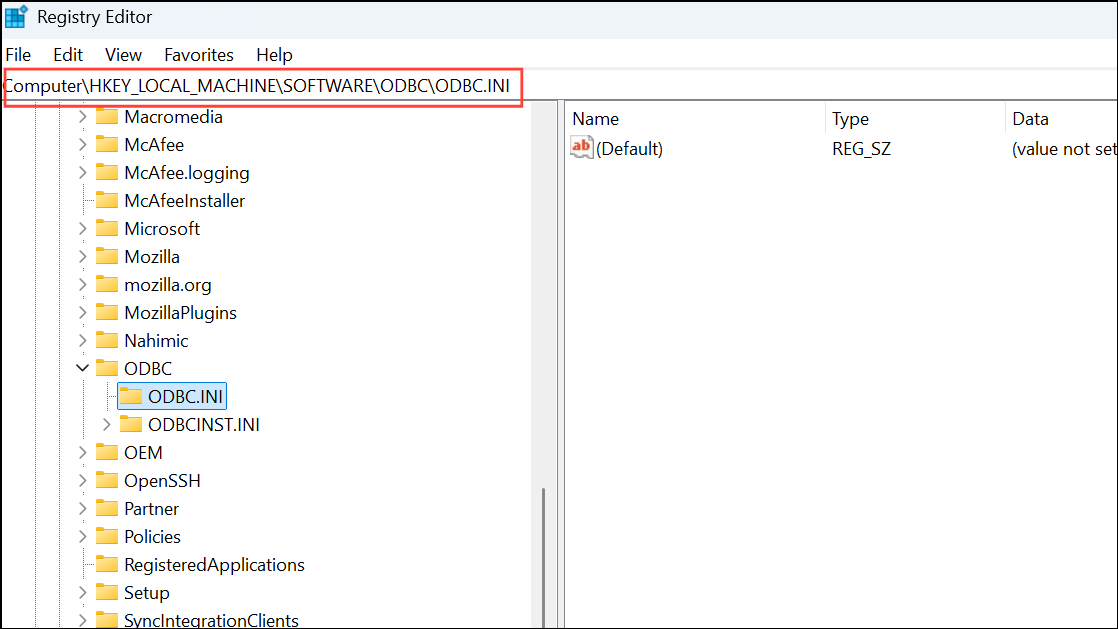
Step 1: System DSNs are stored in the Windows Registry under HKEY_LOCAL_MACHINE\SOFTWARE\ODBC\ODBC.INI (64-bit) or HKEY_LOCAL_MACHINE\SOFTWARE\WOW6432Node\ODBC\ODBC.INI (32-bit). Open the Registry Editor (regedit.exe) and navigate to these keys.
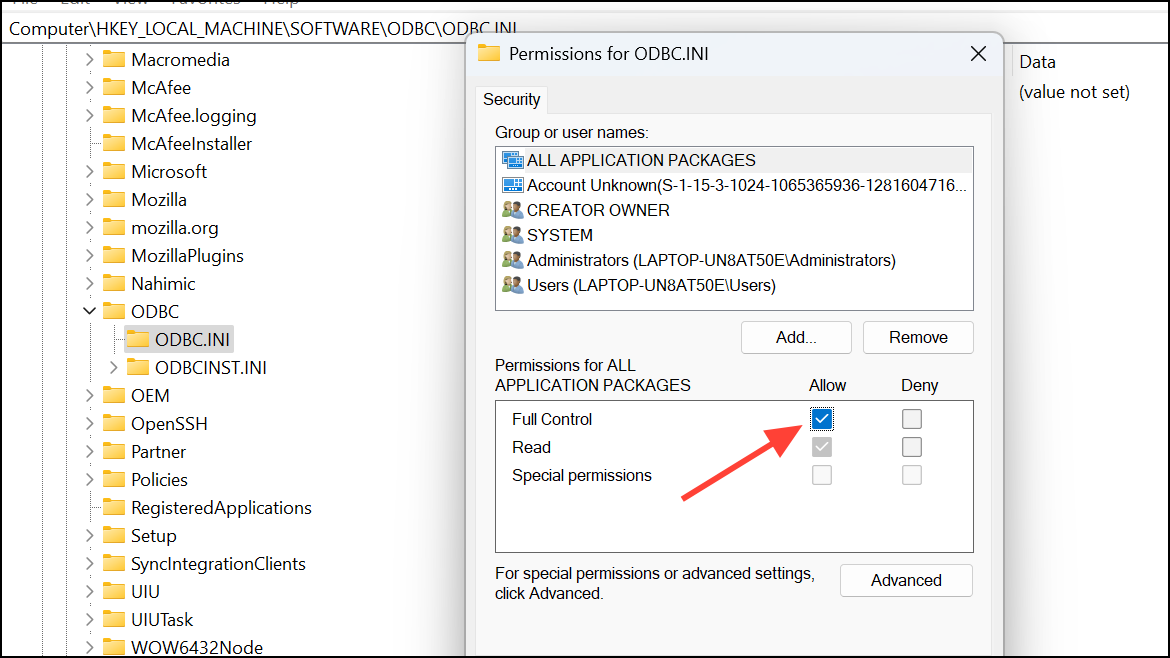
Step 2: Right-click the ODBC.INI key and select Permissions. Make sure the user or service account modifying DSNs has Full Control.
Step 3: Apply changes if necessary, then close the Registry Editor. Attempt to save your ODBC settings again.
Temporarily Disable Security Software
Step 1: Some antivirus or endpoint security applications may block changes to system files or registry keys, preventing ODBC settings from being saved. Temporarily disable such software or add exceptions for ODBC-related processes.
Step 2: Re-attempt to save your ODBC settings. If successful, update your security software settings to permanently allow ODBC configuration changes.
Following these steps should resolve most issues with ODBC settings not being saved in Windows 11 Pro. Double-check permissions, use the correct ODBC tool, and verify registry access for a smooth configuration process.