
Access to folders can be blocked on Windows 11, even for users with administrator privileges. This issue often appears when attempting to open system folders or files that require elevated permissions, resulting in a message such as “You have been denied permission to access this folder.” Resolving this problem restores full control for administrators and removes unnecessary barriers to managing files and directories.
Granting Administrators Full Control via Security Properties
Properties. In the Properties window, switch to the Security tab. This tab displays the current permissions for users and groups.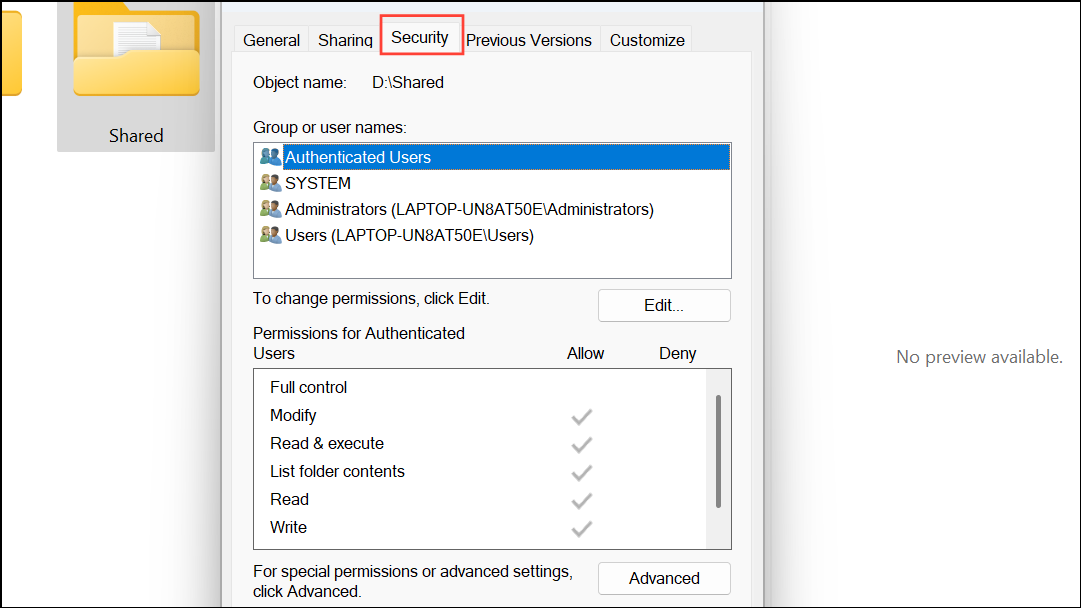
Edit button to modify permissions. In the Permissions window, select Administrators from the list. If the group is missing, click Add, enter Administrators, and confirm.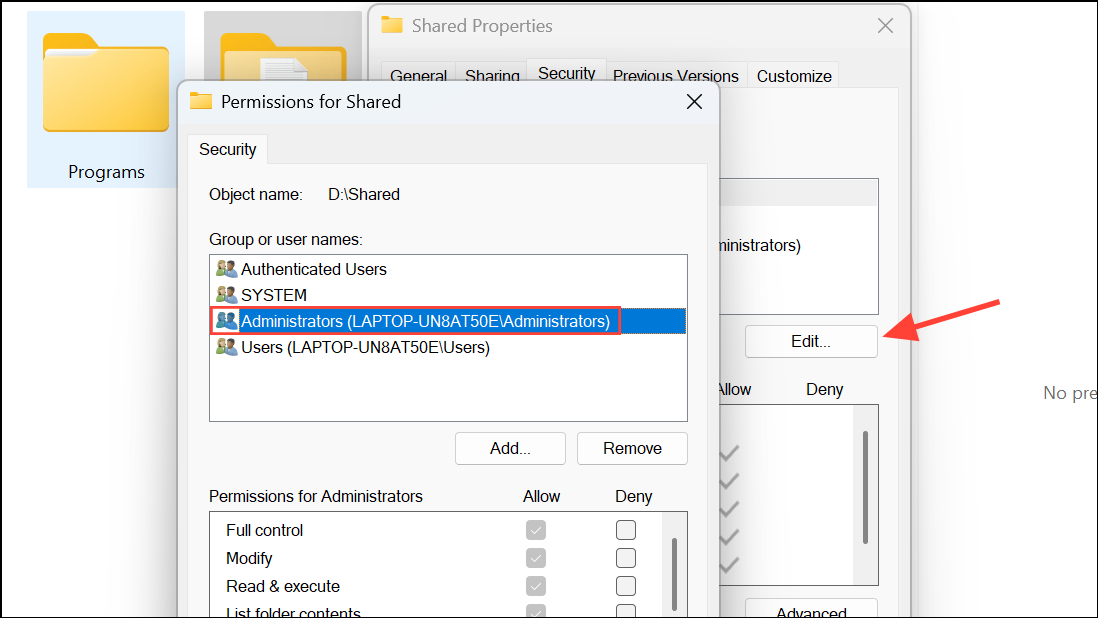
Administrators highlighted, check the Full control box under Allow. This action grants complete access to the folder for all members of the Administrators group.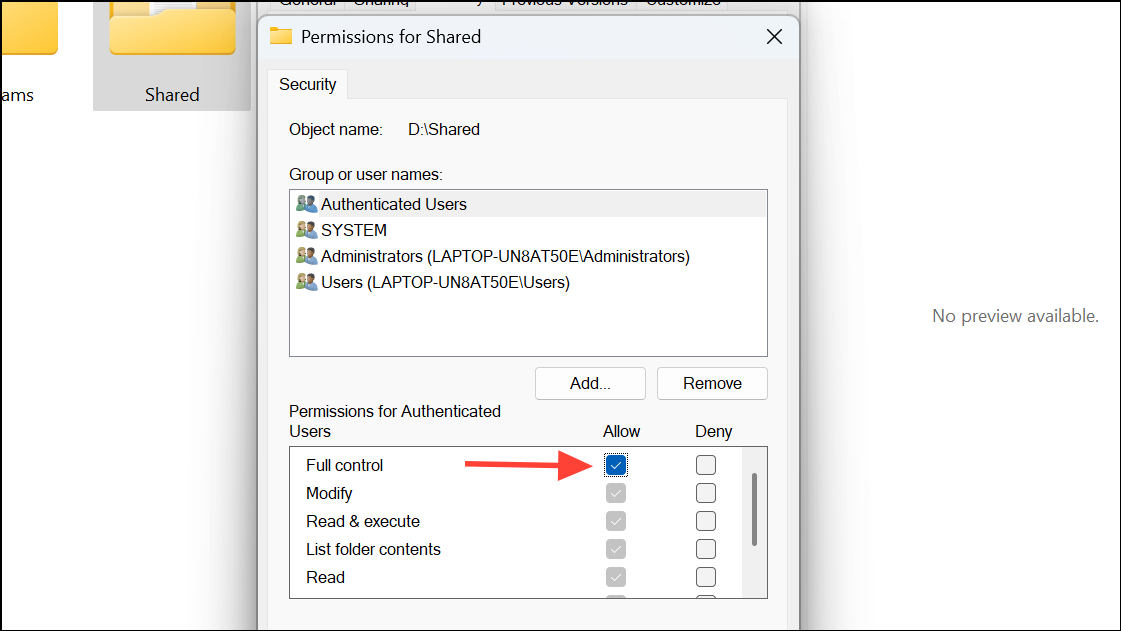
Apply and then OK to save changes. If prompted, confirm changes for all subfolders and files. Now, try accessing the folder again to verify that the issue is resolved.Taking Ownership of the Folder
Properties. Navigate to the Security tab, then click Advanced to open advanced security settings.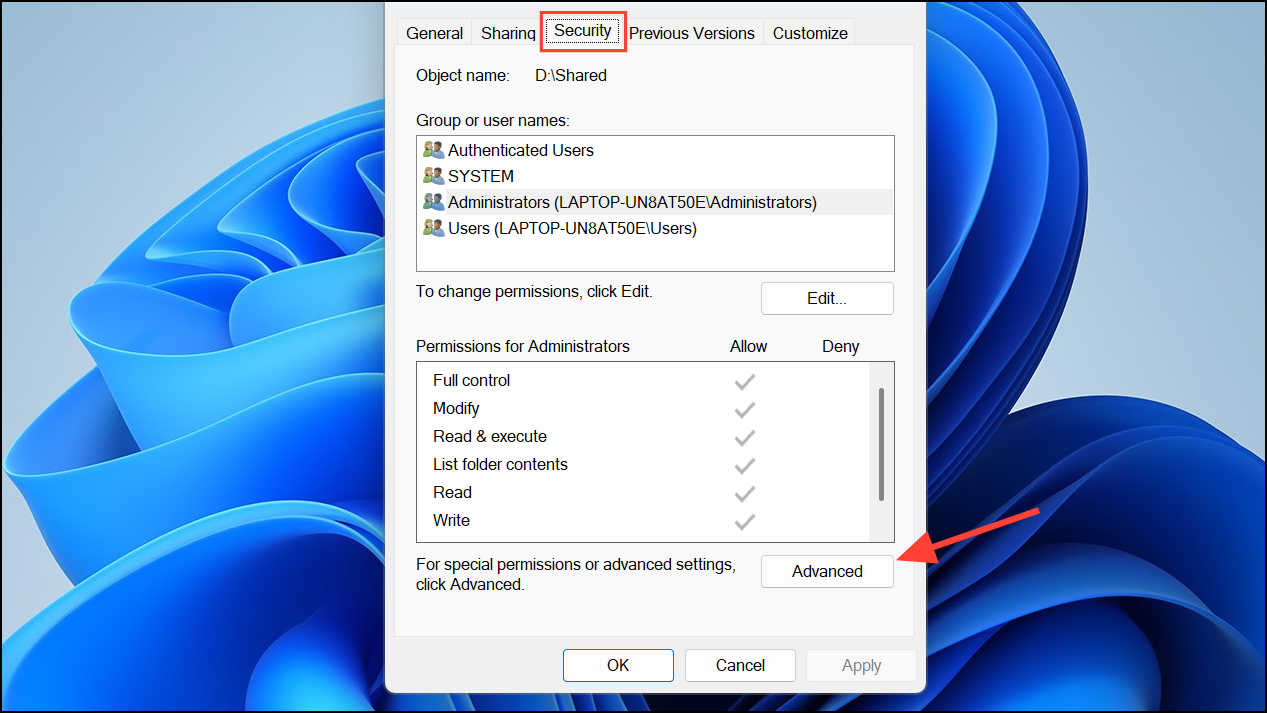
Owner field and click Change. In the dialog box, type your user account name or Administrators and click Check Names to verify.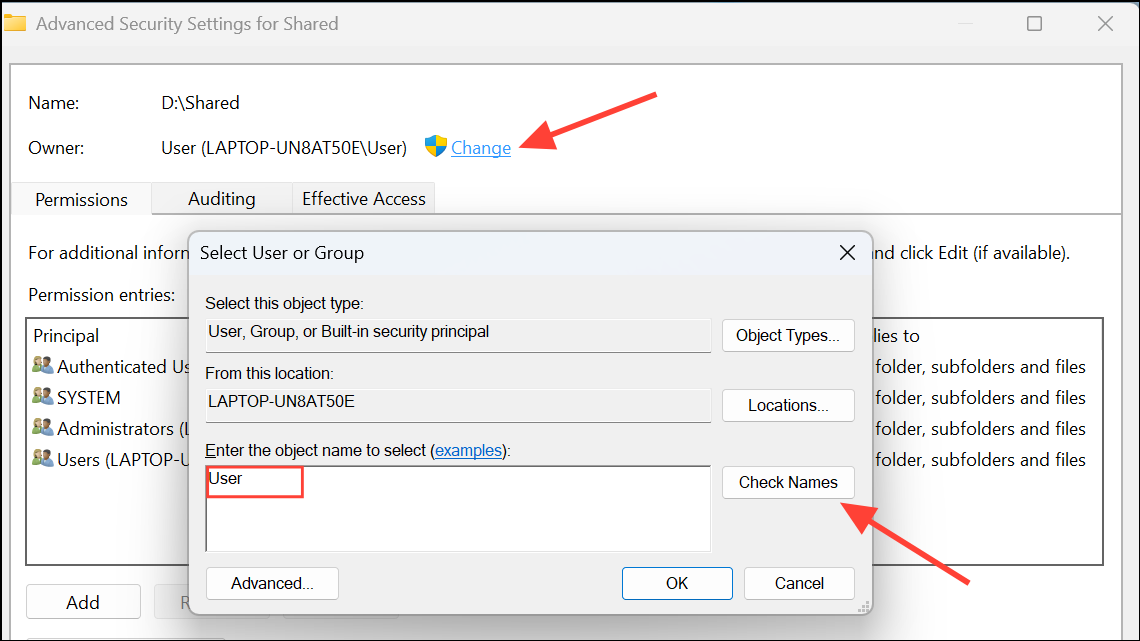
OK. Check the box labeled Replace owner on subcontainers and objects to apply the change to all files and folders within the directory.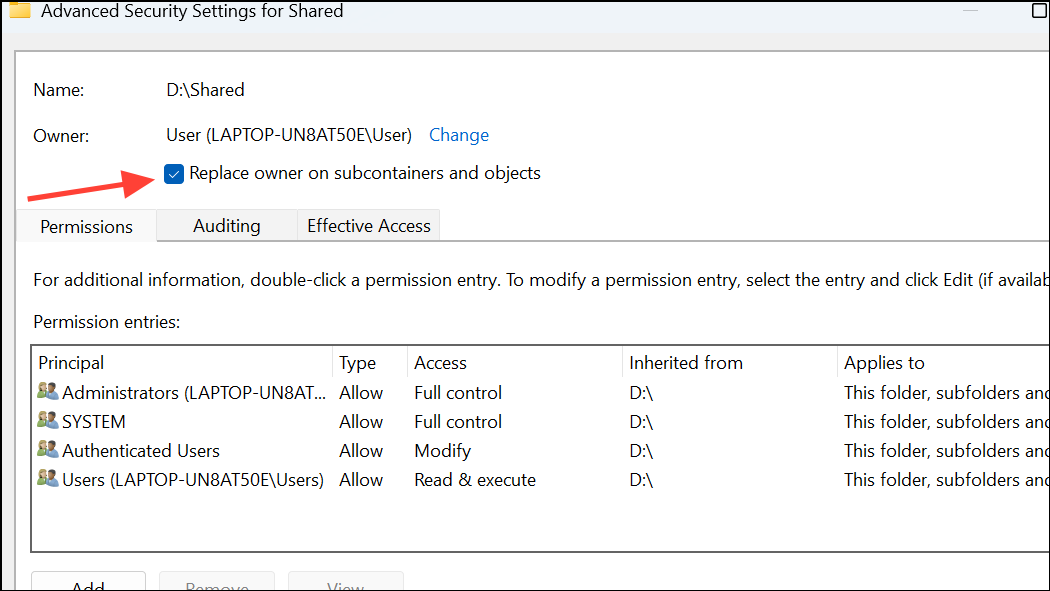
Apply and OK to confirm. You may need to close and reopen the Properties window before changes take effect. Test access to the folder once more.Enabling the Built-in Administrator Account
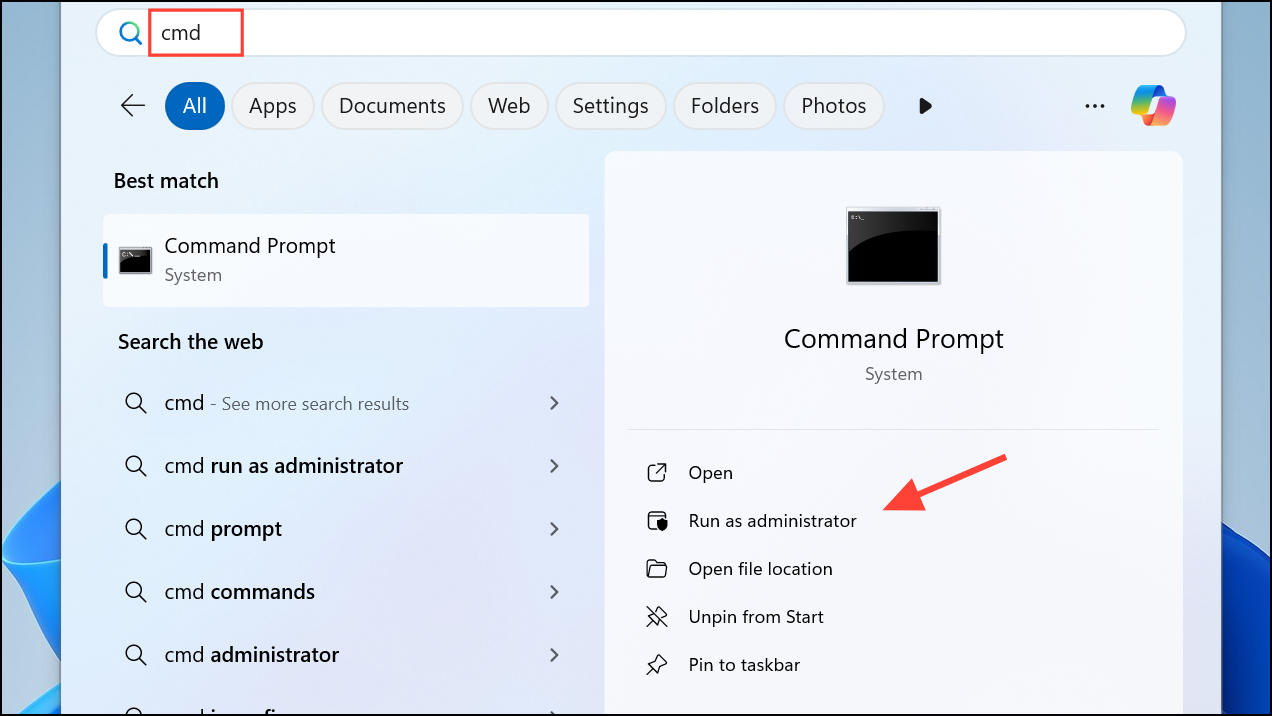
net user administrator /active:yes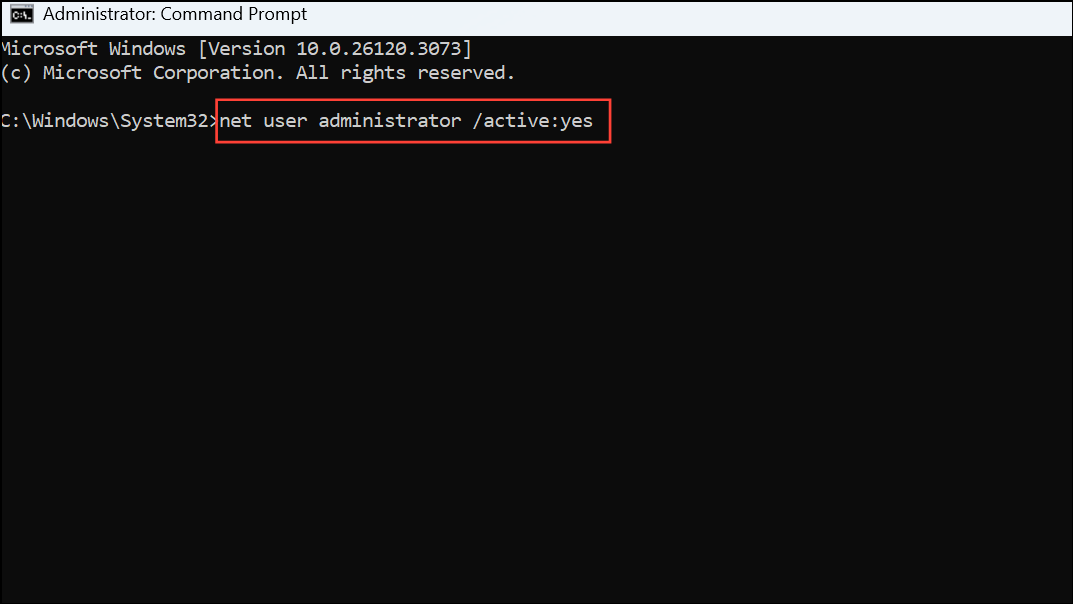
net user administrator /active:no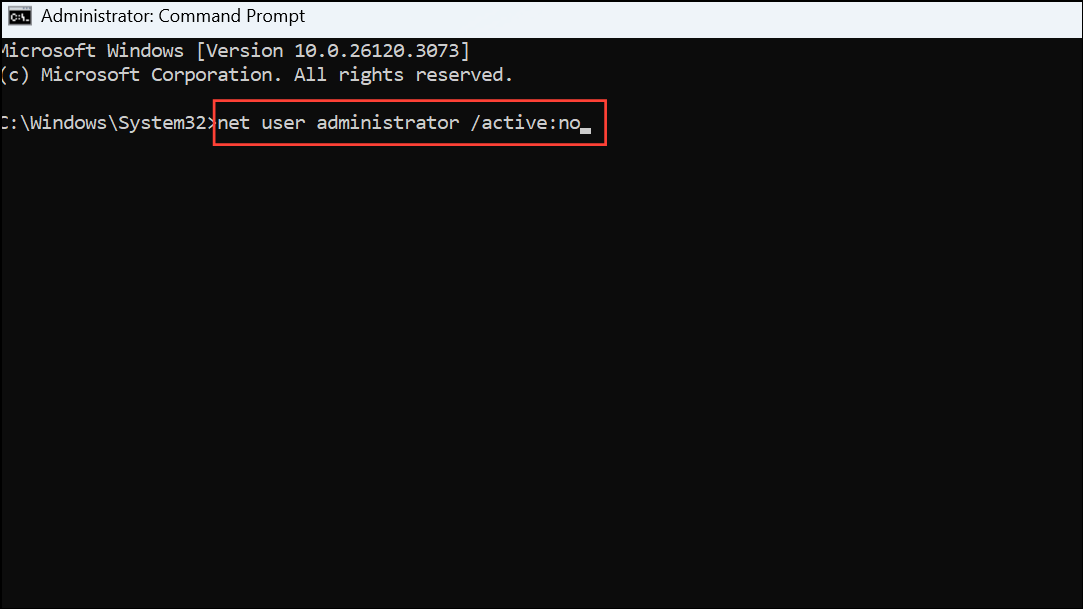
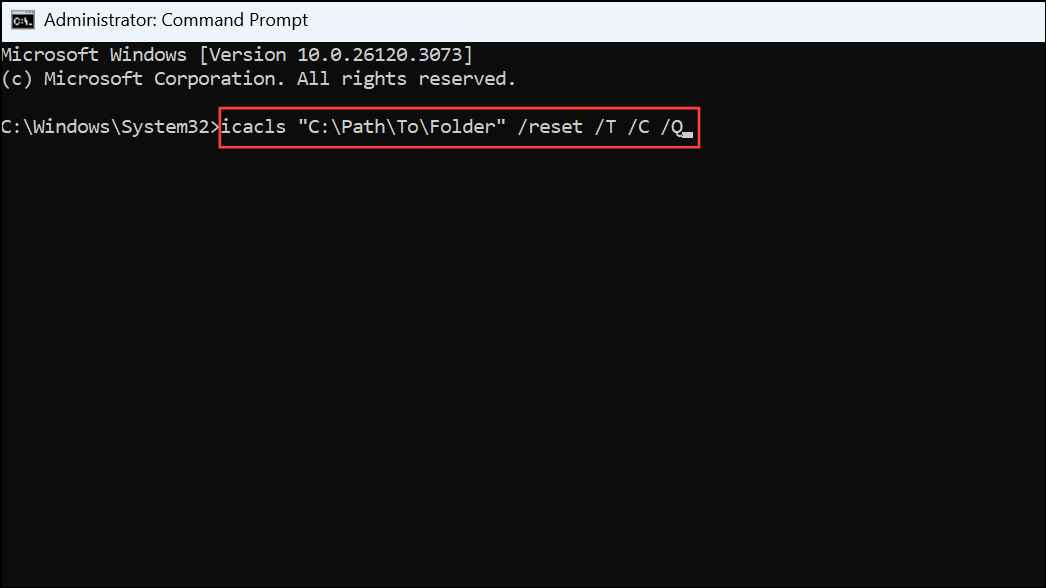
Resetting Permissions with Command Line Tools
C:\Path\To\Folder with your folder’s actual path:icacls "C:\Path\To\Folder" /reset /T /C /QThis command removes custom permissions and restores defaults, which can resolve access issues caused by improper permission settings.
icacls "C:\Path\To\Folder" /grant Administrators:F /T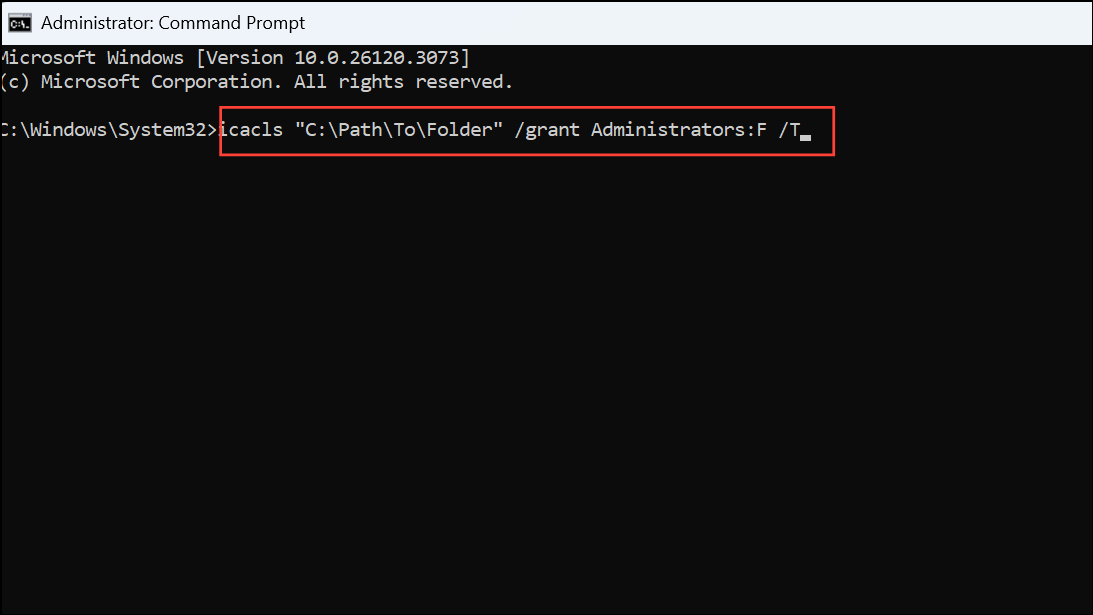
After running these commands, try accessing the folder again to confirm that permissions have been corrected.
Fixing denied folder access for administrators on Windows 11 restores your ability to manage files and folders without unnecessary obstacles. Regularly reviewing permissions and ownership can prevent similar issues in the future.


