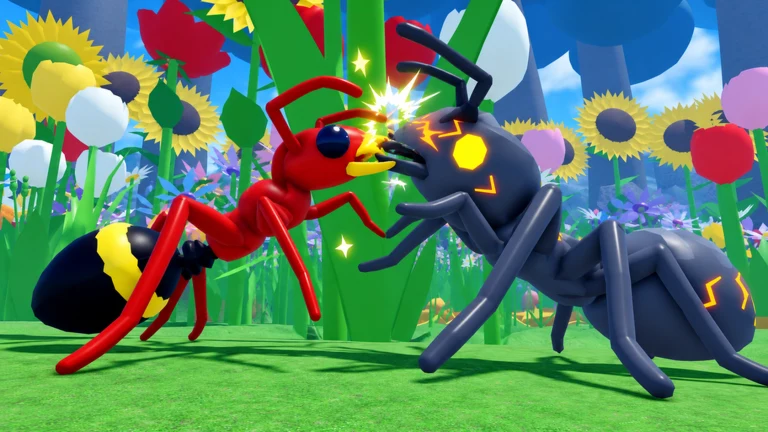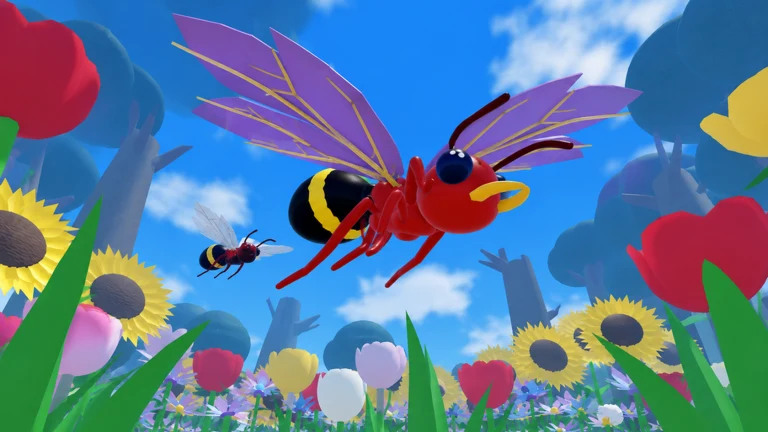
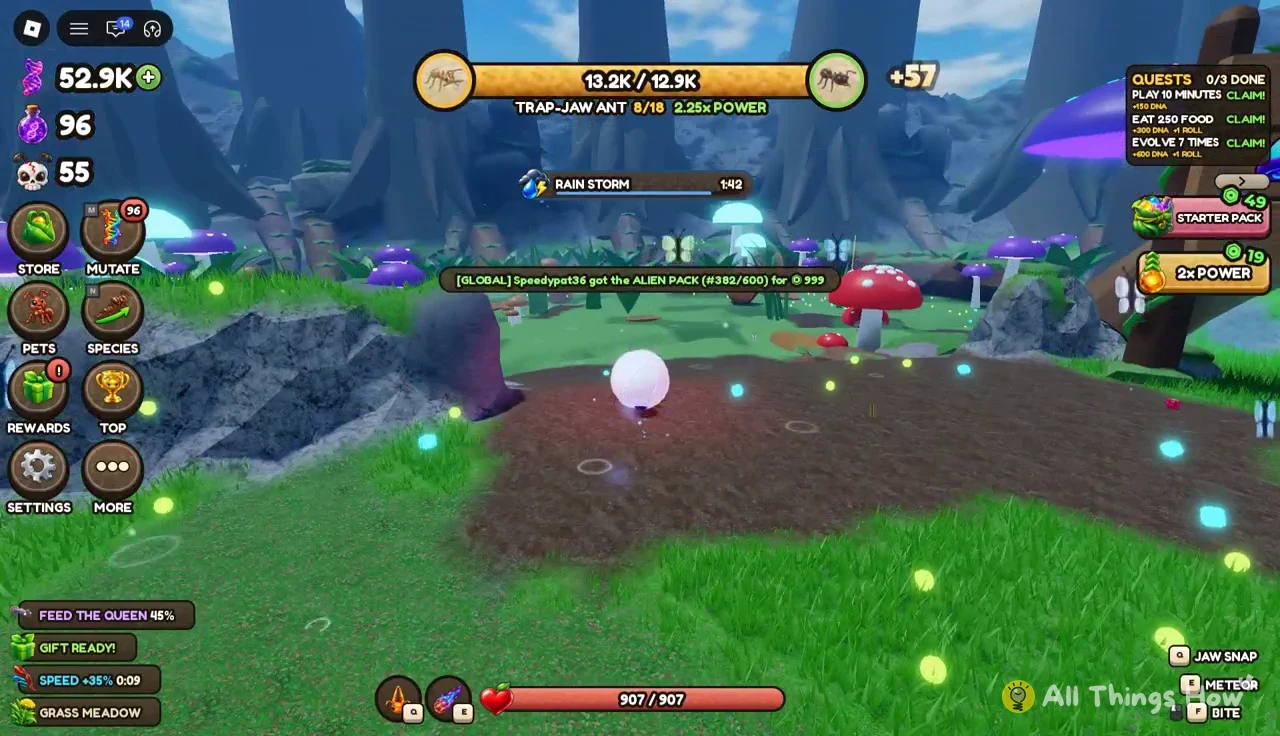
The Ant Ladder in Roblox’s Ant Evolution is the main species line. You start as a Larva, eat glowing orbs to fill a power bar, and evolve inside a cocoon each time the bar passes its target. There are 18 stages in total, and the counter at the bottom of the screen always shows where you are (for example, “WORKER ANT 4/18”). Below are the stages from Larva up to Bullet Ant at 9/18, the power each one needs, the move each one unlocks, and what can knock you back down.
Quick answer: Fill the power bar past its target by eating orbs and small bugs, then press R (the EVOLVE button). Each evolution moves you one stage up, from Larva at 2/18 to Bullet Ant at 9/18.
Ant Ladder stages, evolve targets and moves
Each target below is the number on the right side of the power bar while you’re that species. Once the left number goes past it, the EVOLVE button lights up. Every new move goes on the Q key.
| Stage | Species | Power to evolve | New move (Q) |
|---|---|---|---|
| 2/18 | Larva | 135 | Roll |
| 3/18 | Baby Ant | 300 | — |
| 4/18 | Worker Ant | 660 | — |
| 5/18 | Carpenter Ant | 1,440 | Leaf Shield |
| 6/18 | Leafcutter Ant | 3,000 | — |
| 7/18 | Soldier Ant | 6,300 | Charge |
| 8/18 | Trap-Jaw Ant | 12.9K | Jaw Snap |
| 9/18 | Bullet Ant | — | Sting |
The target roughly doubles at every step, so the higher stages take a lot longer to fill. The Baby Ant also has Run, Pounce and Bite buttons on screen, and those carry over as you climb. Your ant’s model changes at every stage too: the Leafcutter Ant carries a leaf on its back, and the Trap-Jaw Ant gets oversized mandibles.
How to climb the Ant Ladder from Larva to Bullet Ant
Every stage works the same way. You eat glowing power orbs, bite smaller creatures and follow the yellow arrow paths on the ground, which lead you between food spots and zones. When the bar is full, you press R and your ant curls up inside a glowing cocoon for a moment before it hatches as the next species.
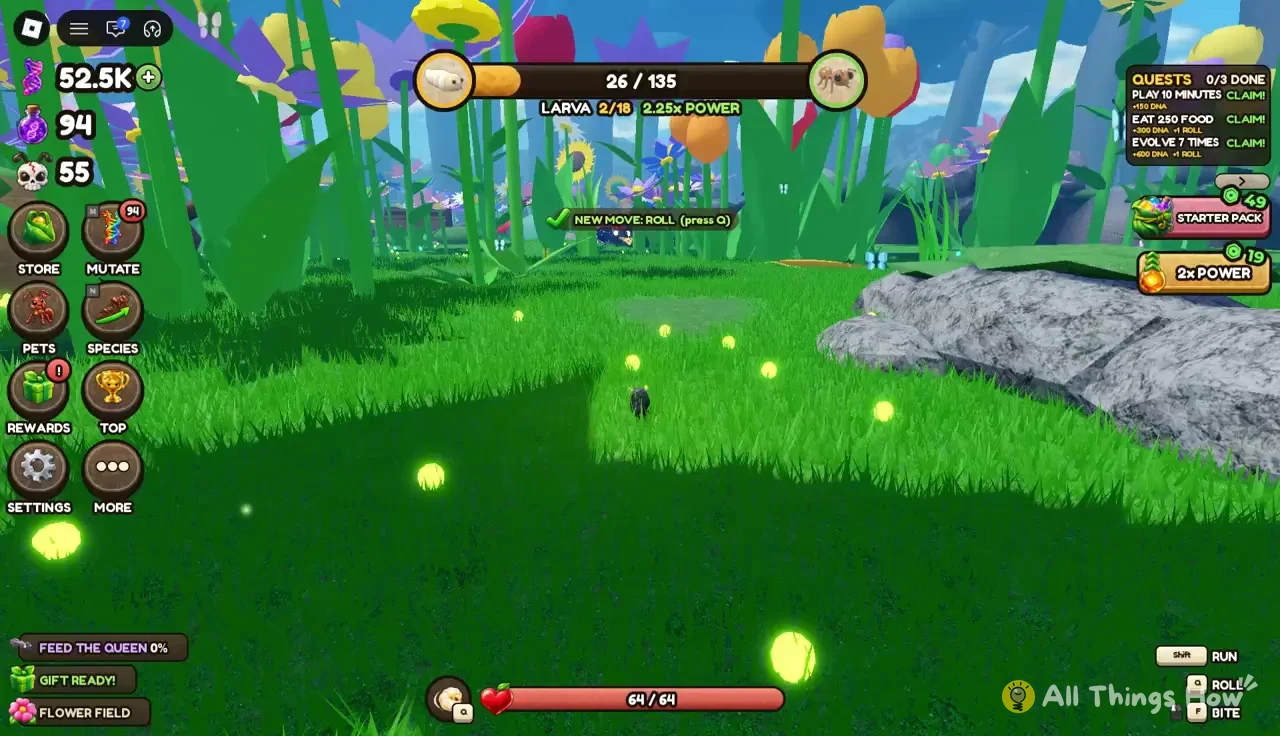
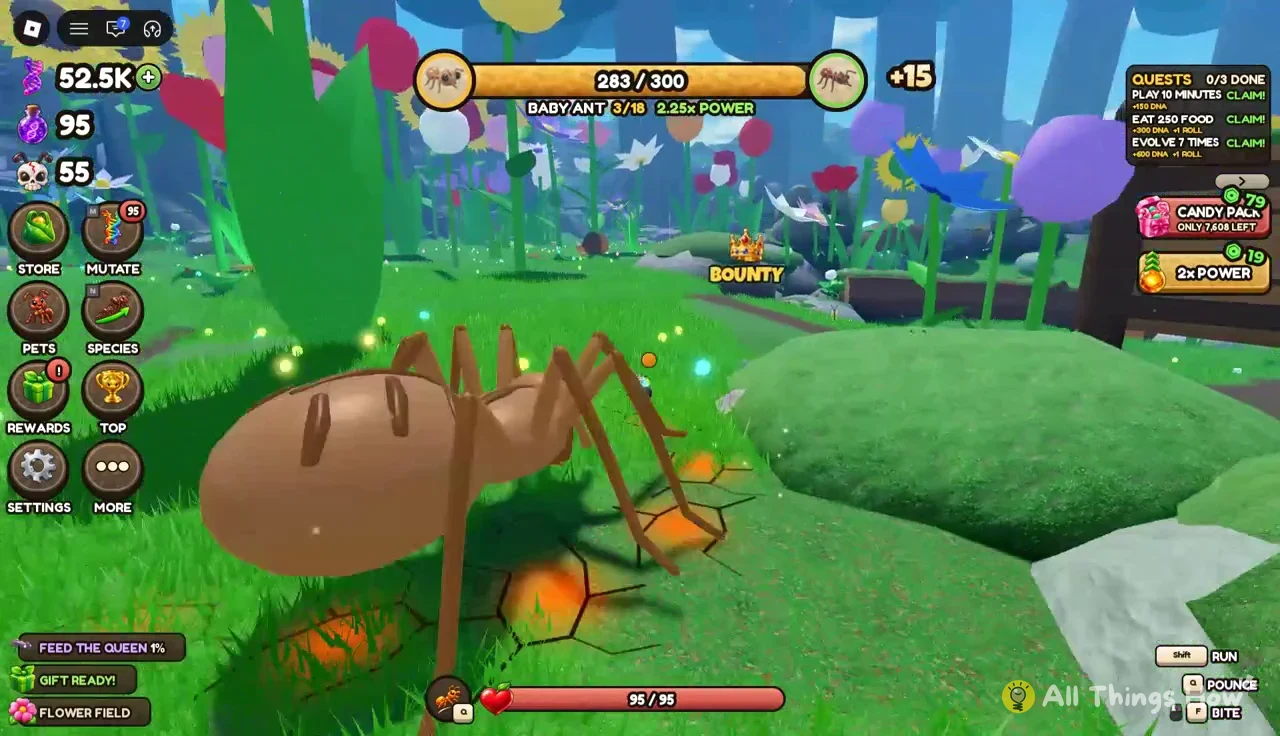
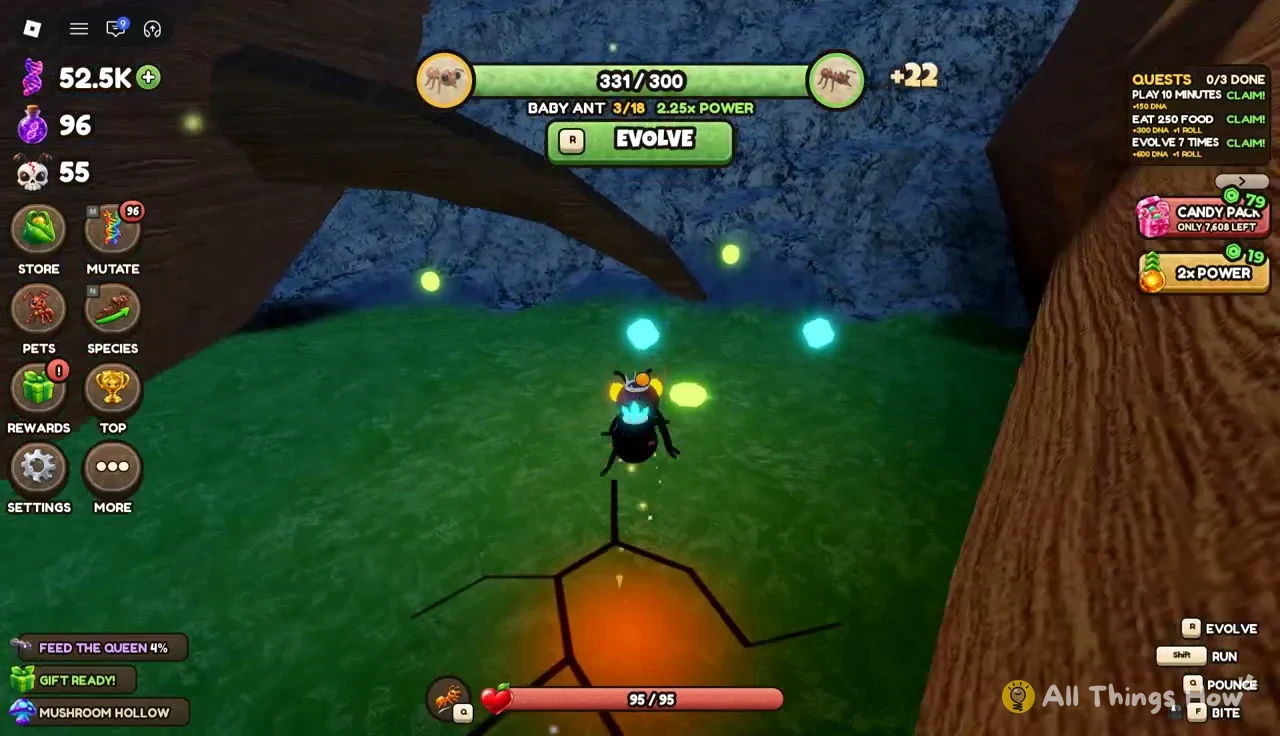
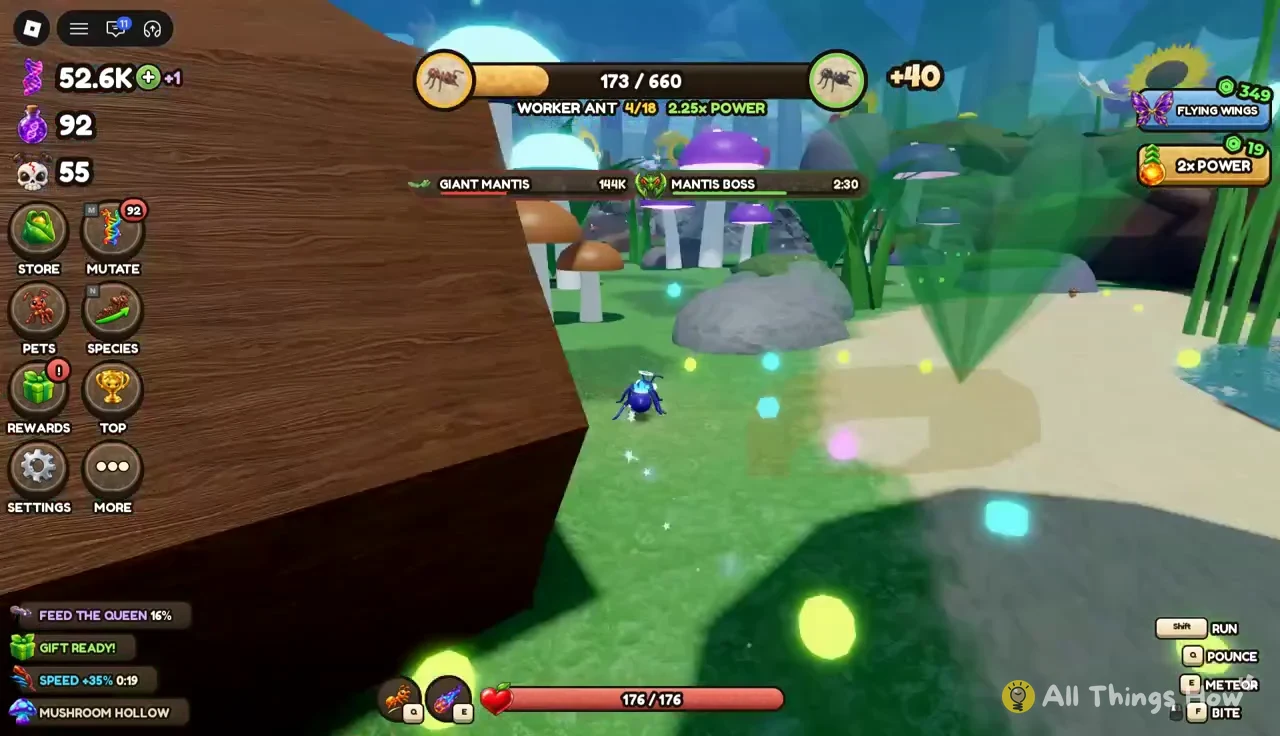
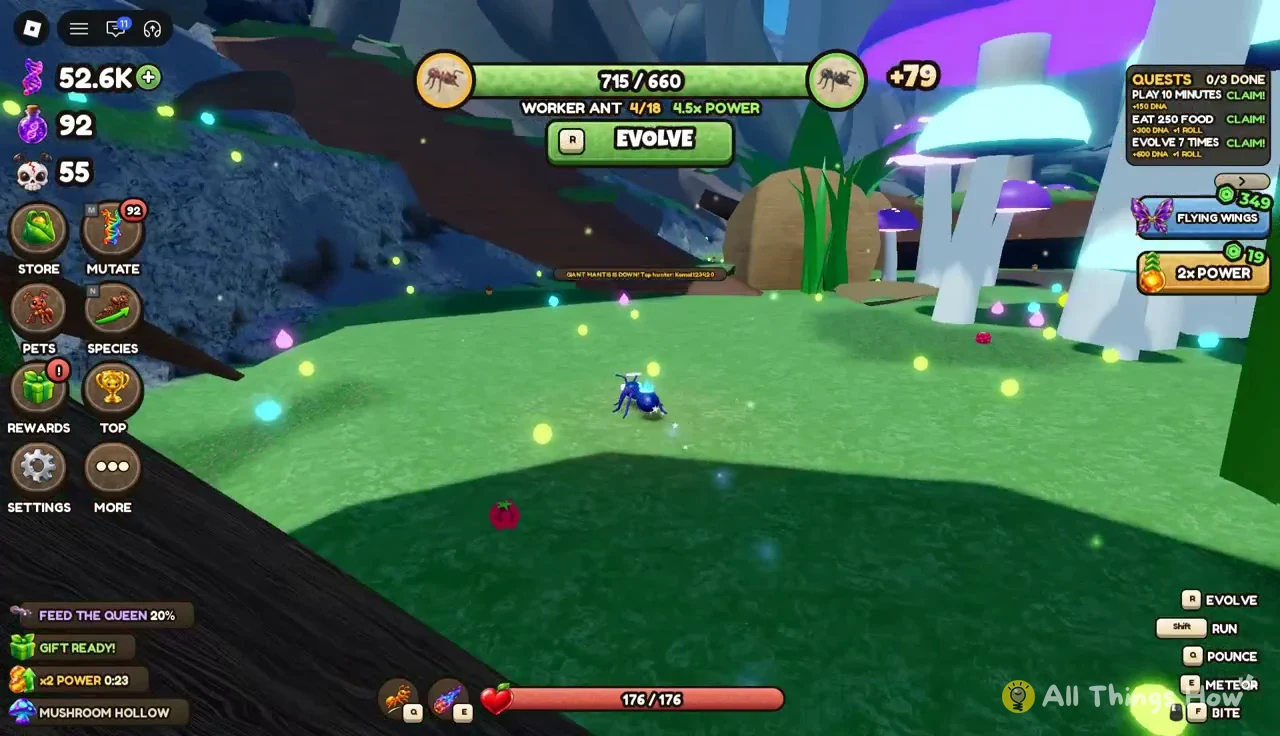
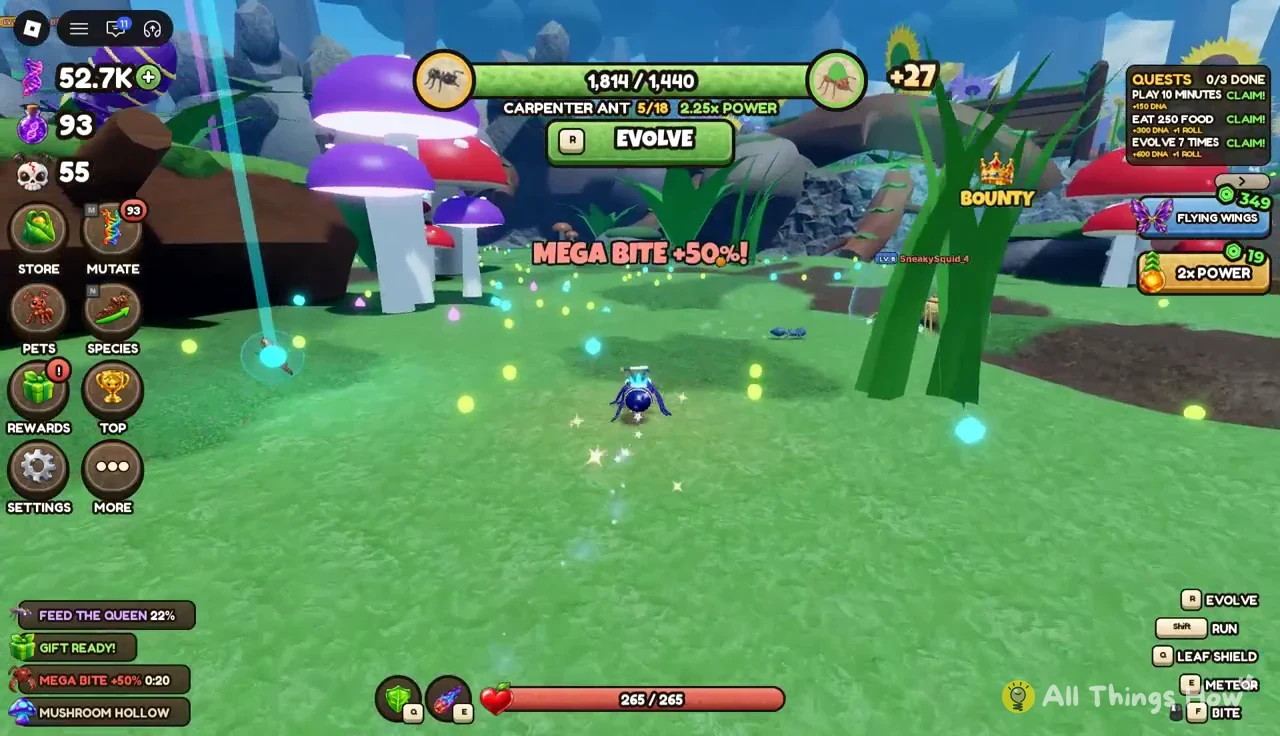
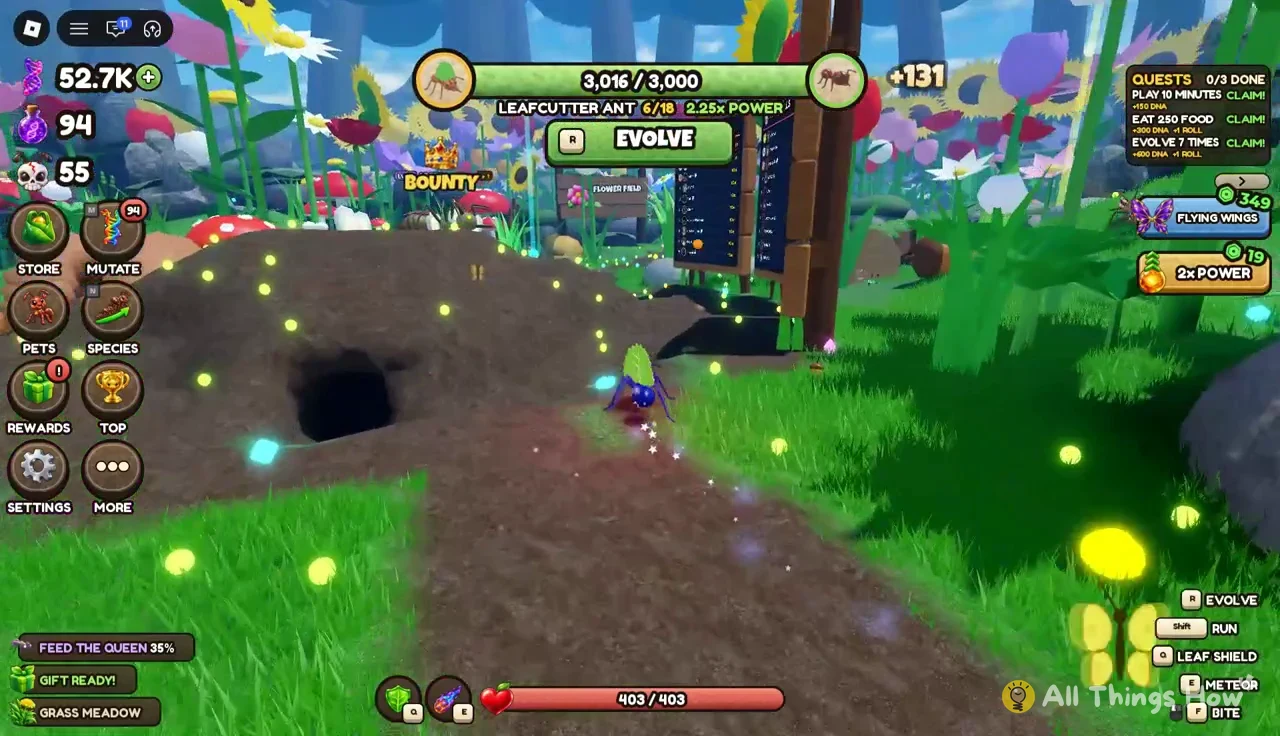
You’ll know each evolution worked when the cocoon opens, the species name and stage number at the bottom of the screen change, and a “NEW MOVE” popup shows up for any stage that adds a skill.
Ant Evolution zones and the Feed the Queen bar
The map has four zones you’ll pass through on the way up: Flower Field, Grass Meadow, Mushroom Hollow and Dusty Dunes. The Flower Field is where the Larva starts, Mushroom Hollow is full of aphids and orbs for the Baby Ant and Worker Ant stages, and Grass Meadow and Dusty Dunes are where the Leafcutter Ant and Soldier Ant run into rival ants. While you farm, a “FEED THE QUEEN” bar at the top of the screen fills with a percentage as you collect food, and a “GIFT READY!” notice shows up when a gift is waiting for you.
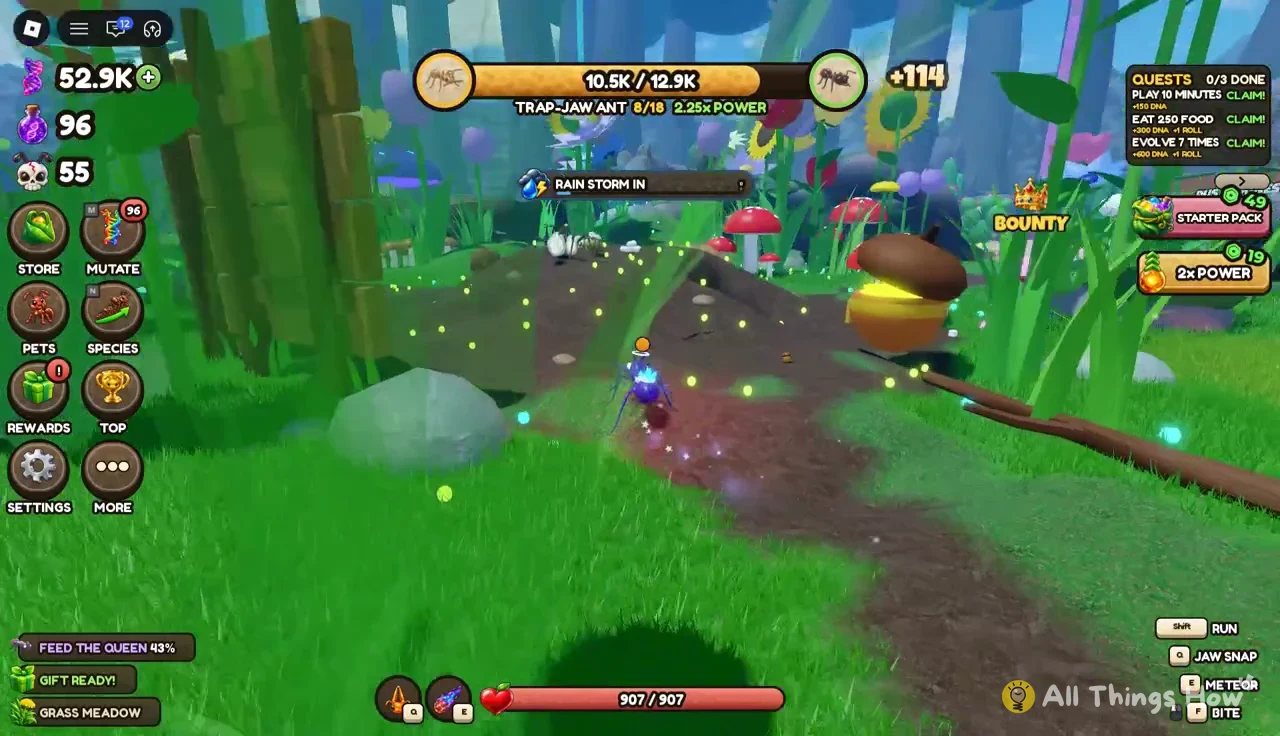
Power-ups are scattered around the map as well. Picking one up shows a banner with its effect:
- SPEED +35%! makes you move faster.
- SHIELD! puts a shield on your ant.
- MEGA BITE +50%! makes your bites hit harder.
- MAGNET +200%! pulls orbs in from much farther away.
Rolling and equipping mutations in the Mutate menu
Mutations are perks you put on your current species. They come in rarities from Common up to Mythic and Secret, and some of them are visible on your ant, like a glowing halo or icy crystals on its back. Galaxy Ant, for example, gives you a Meteor skill that calls down a meteor.
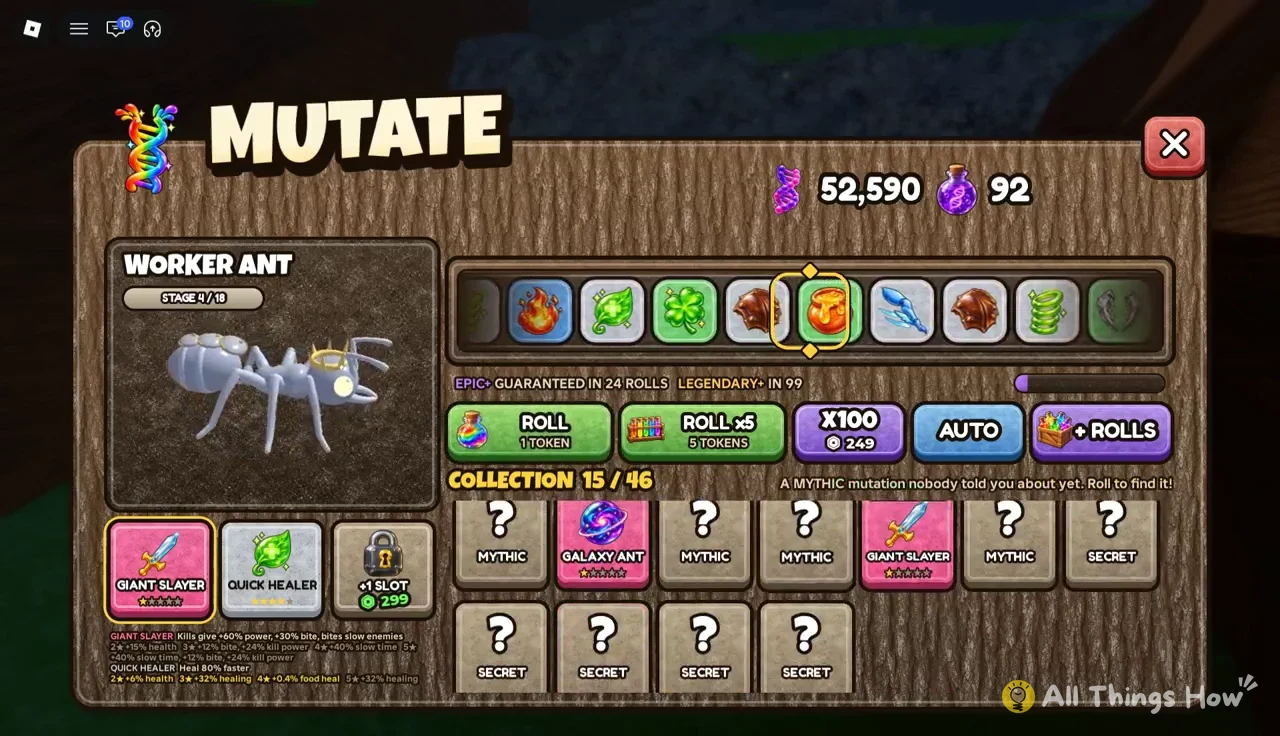
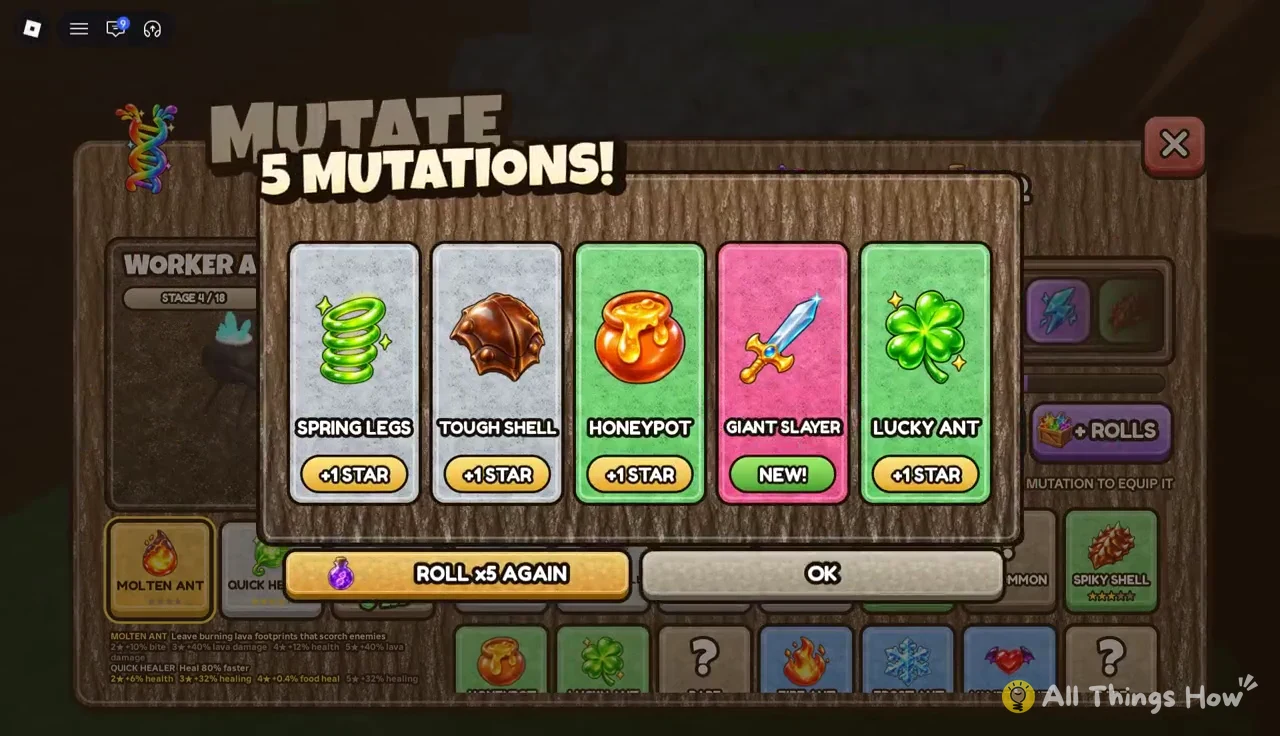
The full mutation pool includes Spring Legs, Tough Shell, Honeypot, Giant Slayer, Lucky Ant, Molten Ant, Quick Healer, Razor Jaws, Spiky Shell, Galaxy Ant, Fire Ant, Frost Ant, Vampire Ant and Berserk Ant.
Mantis Boss and Rain Storm world events
Two world events pop up now and then for everyone on the server, and both are worth dropping what you’re doing for. A banner at the top of the screen announces each one, and a marker on screen points you toward it.
Mantis Boss
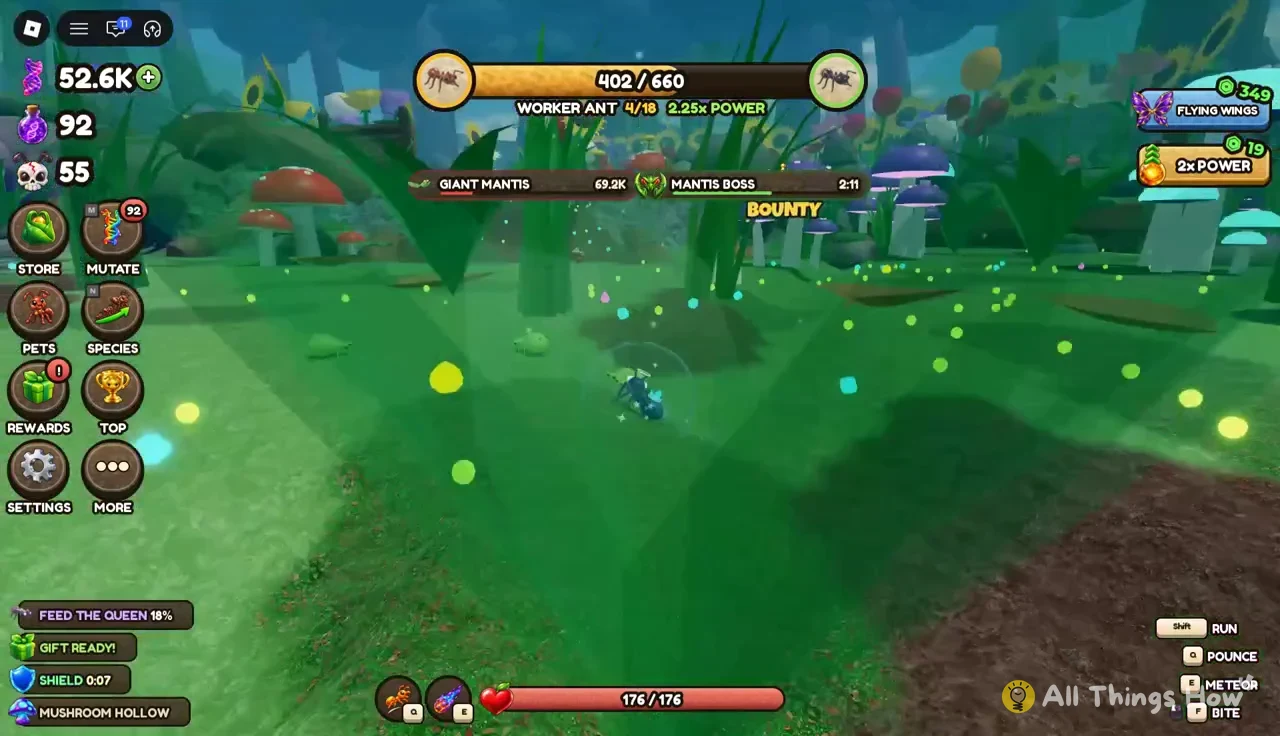
The “MANTIS BOSS!” banner says a Giant Mantis has appeared and asks players to team up and take it down. A Mantis Boss bounty shows on screen while it’s alive. When it dies, a “GIANT MANTIS IS DOWN!” banner names the top hunter, the player who did the most to bring it down.
Rain Storm
The “RAIN STORM!” banner means blue rain orbs worth x2 power are falling across the map, and the storm lasts two minutes. This is the fastest way to fill the bigger bars from Trap-Jaw Ant onward, especially with a Magnet buff active, since the blue orbs land everywhere and Magnet pulls them in from a distance.
What happens when your ant gets eaten
Bigger predators like the Wolf Spider can kill you in a couple of hits, and dying costs you stages. The death screen reads “EATEN!” and names what got you, then tells you how far you’ve dropped, for example “DOWN TO BABY ANT.” From there you can pay 15 Robux to “REVIVE HERE” and keep your spot, or wait out the short respawn countdown for free.
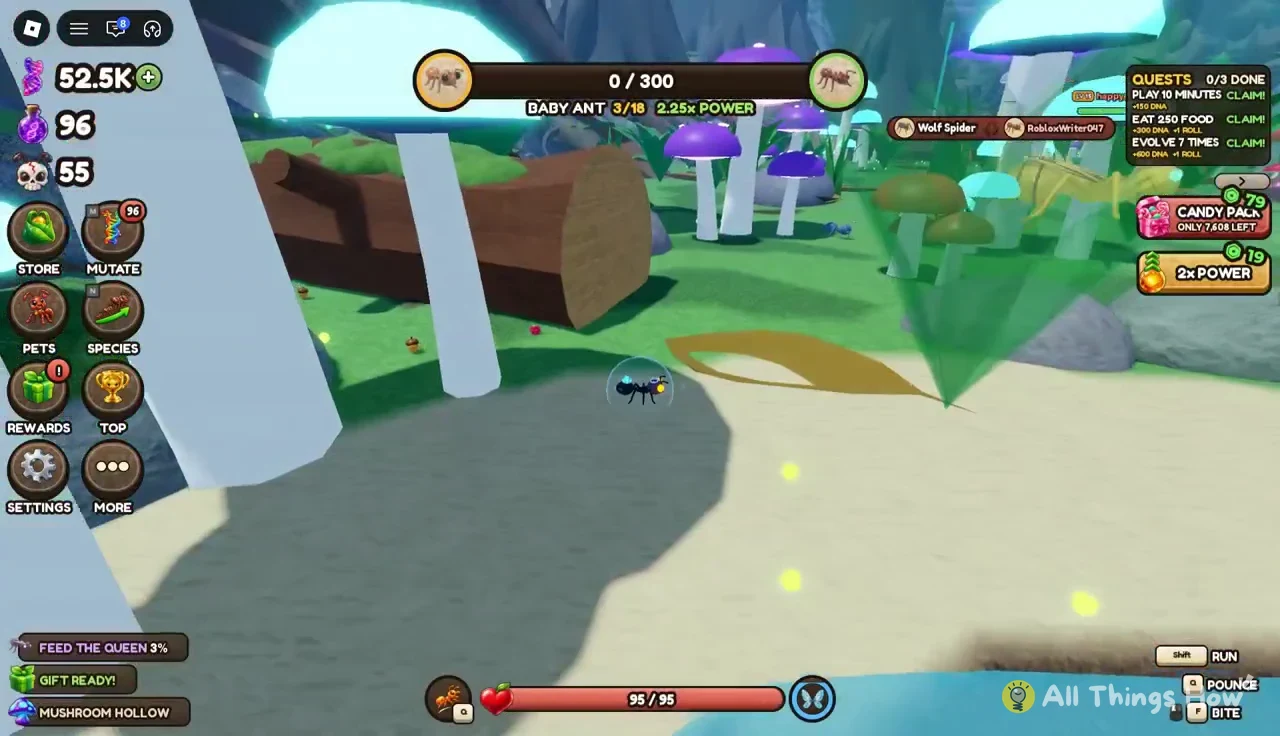
A free respawn puts you back in the world at the lower stage, which can be a different zone from where you died. A Baby Ant eaten in the Flower Field respawned in Mushroom Hollow and had to fill its 300-point bar again from there.
Free and paid ways to skip Ant Ladder stages
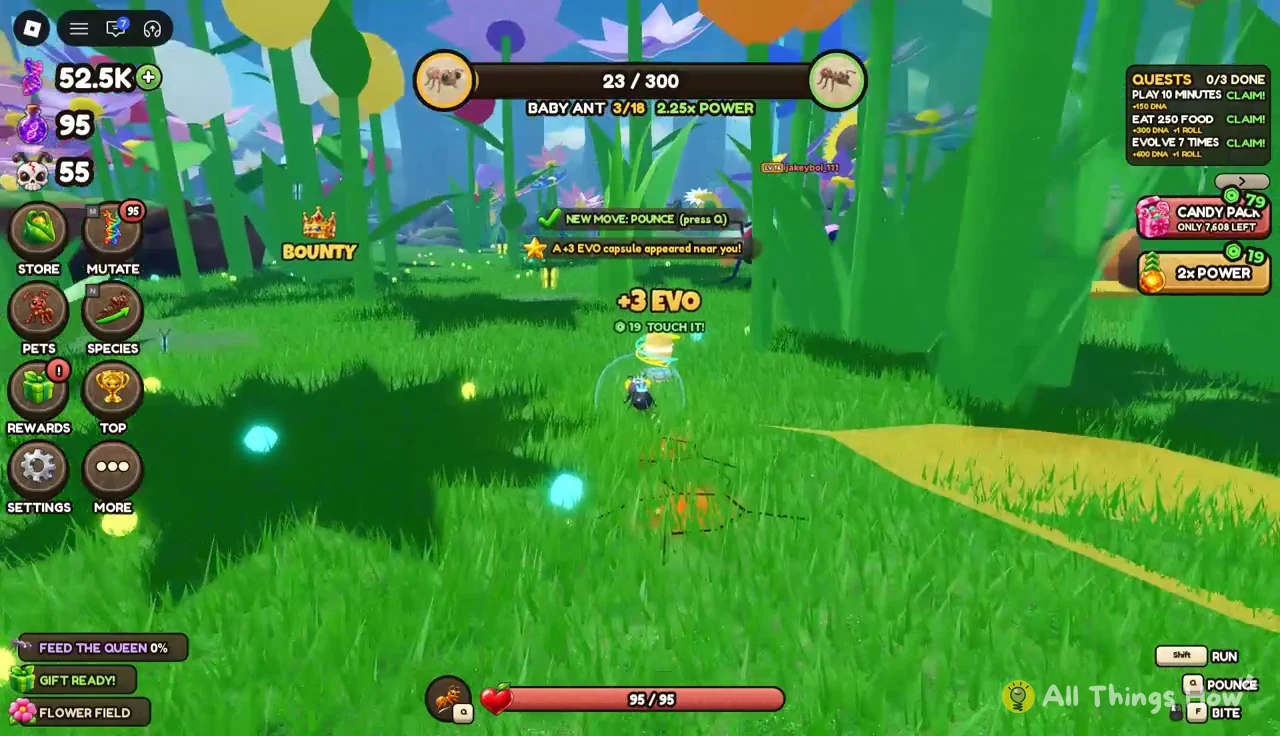
Every so often a “+3 EVO capsule appeared near you!” banner shows up, and a glowing capsule marked “TOUCH IT!” appears close by. Run into it to pick it up. It’s the free version of the “+3 Evolutions” offer that otherwise costs 19 Robux in the shop.
The STORE menu also sells Power Packs that add power straight to your bar, with Boosts on a separate tab. The packs come in three sizes:
| Power Pack | Bar filled |
|---|---|
| +110 | Half a bar |
| +330 | 1.5 bars |
| +880 | 4 bars |
The button bar also has Starter Pack, 2x Power and Flying Wings offers alongside the STORE, MUTATE, PETS, SPECIES, REWARDS and TOP menus. None of these are needed to reach Bullet Ant; orbs, aphids, rival ants and Rain Storms get you there without spending anything.