A Bizarre Run turns the Steel Ball Run into a Roblox race that you finish in pieces. You register in a western lobby town, ride Stage 1 across canyons and a collapsing bridge, regroup on a passenger train, and then fight through Stage 2’s bounties and elimination checkpoint before you reach the finish. The riding is easy to learn. Most failed runs come from missing the registration timer, running out of stamina, or falling behind the pack in Stage 2.
Quick answer: Register at the Ticket Booth before the timer expires, mount a horse with N, cross the Stage 1 GOAL arch, restock in the train’s Run Shop, then reach every Stage 2 checkpoint before the fog closes in.
What a full A Bizarre Run race looks like
Each run is one race split into two playable stages with a break in between. The intro cutscene shows a route map that runs from San Diego to a goal at Trinity Church in New York, but only two stages are part of the race right now. Each one is a different kind of challenge.
| Phase | What you do | Combat |
|---|---|---|
| Lobby | Register, pick a photo pose, mount up | None |
| Stage 1 | Race canyons, a bridge, desert, and meadows | No shooting riders directly |
| Train intermission | Check results, shop, re-equip | None |
| Stage 2 | Bounties, checkpoints, elimination zone | Full PvP |
If this is your first time in the game, you go through a tutorial before any of this. It hands you a random Stand from a card draw and walks you through a practice race and a short combat lesson with a tutorial boss. Finish it, because the blocking and ability drills matter once Stage 2 opens up player fights.
Register for the race before the lobby timer runs out
The lobby runs on a countdown, and you have to register before it hits zero. Late players hold up the start for a short while, but you should not rely on that.
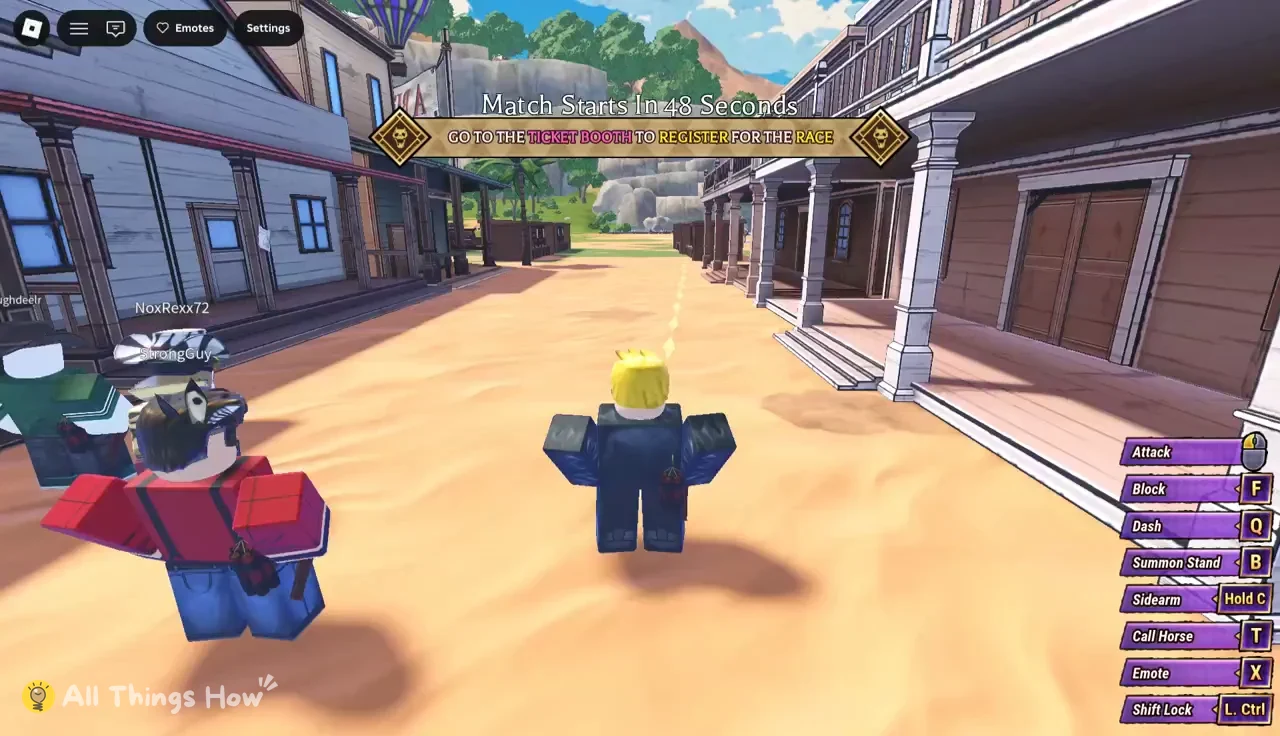
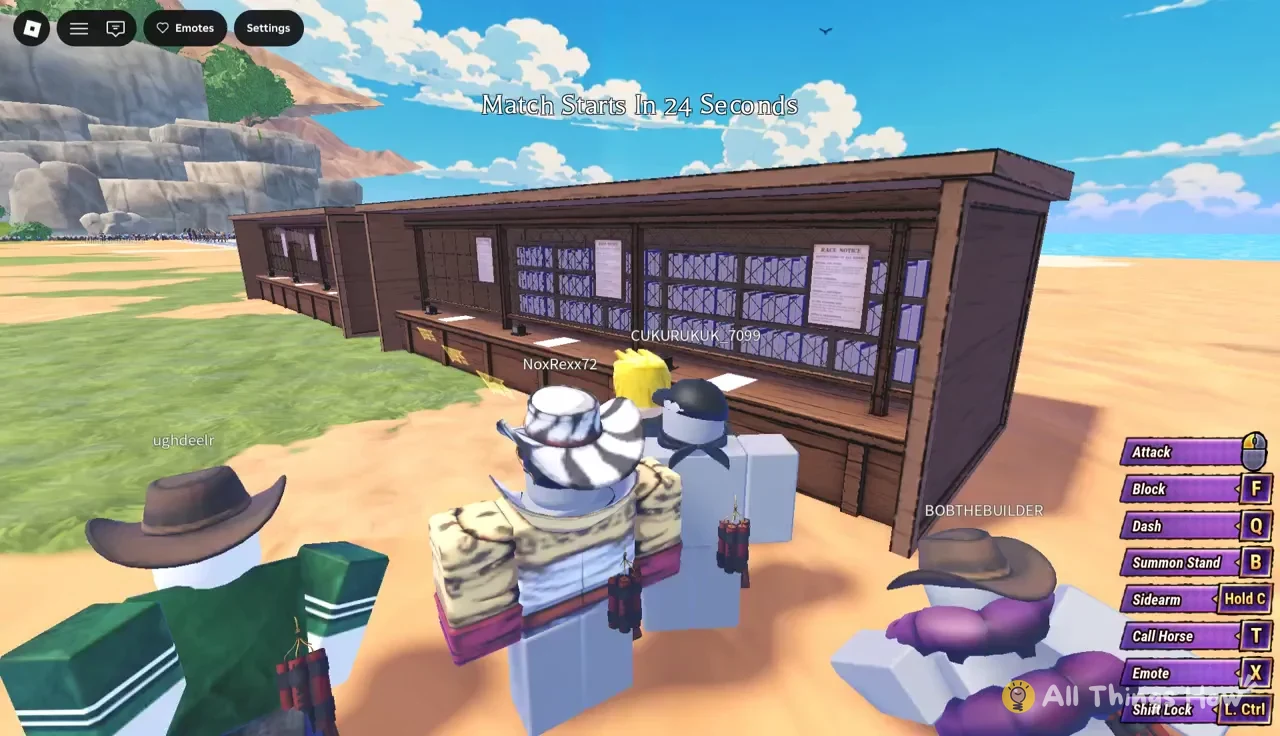
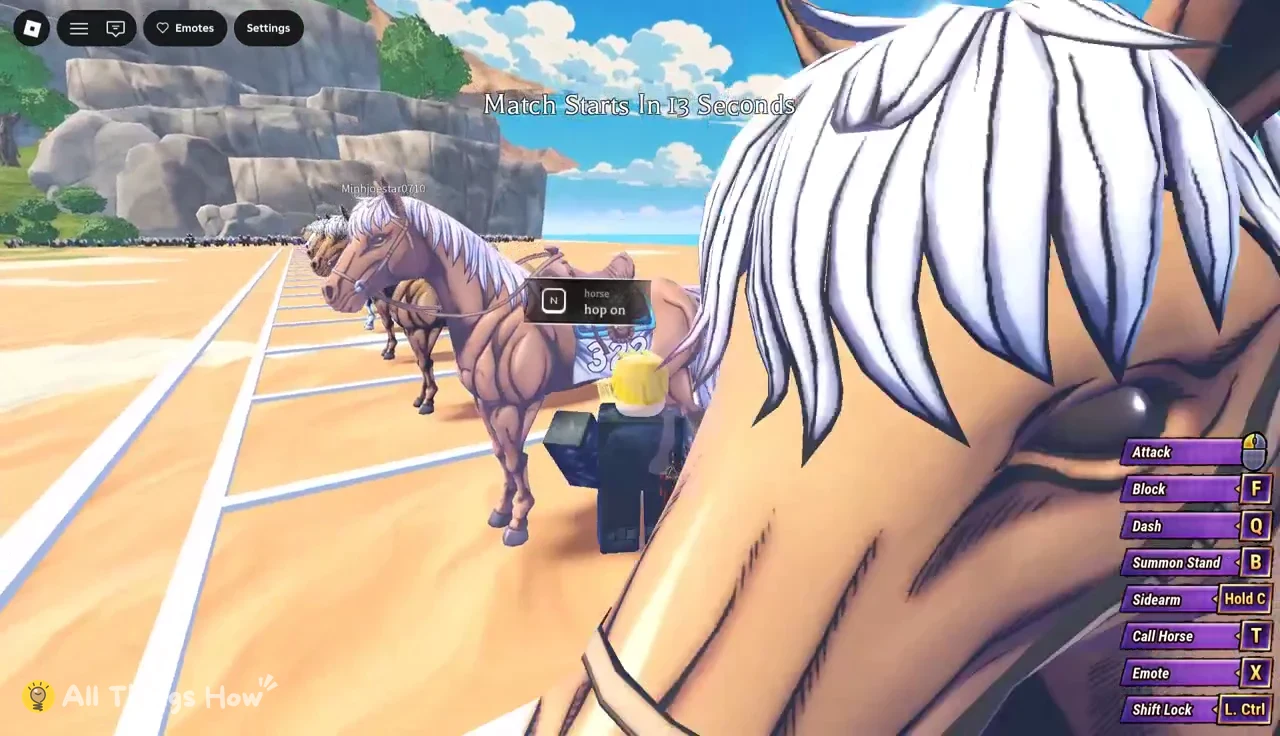
Once you are mounted, the screen switches to “Waiting For Players To Finish Registering.” A final ten-second timer follows. You know registration worked when you are sitting on a horse at the grid and the riding controls appear on the right side of the HUD.
Some Stands, such as Sandman and The Sun, run the race on foot instead of on horseback. If everyone else mounts up and you don’t, your game has not glitched. Your Stand sets how you move. Sandman can make large jumps but takes time to build speed, so its acceleration and stamina need more attention than a horse’s.
A Bizarre Run controls for racing and fighting (PC)
The HUD switches control sets depending on whether you are mounted. These are the keys the game shows on screen during a run.
| Action | On horseback | On foot |
|---|---|---|
| Sprint | L. Shift | — |
| Boost | Z | — |
| Get off / mount | N | N (at a horse) |
| Hang | Q | — |
| Dash | — | Q |
| Summon Stand | B | B |
| Sidearm | Hold C | Hold C |
| Revolver | R | — |
| Attack | — | Left Click |
| Block | — | F |
| Call Horse | — | T |
| Emote | X | X |
| Shift Lock | — | L. Ctrl |
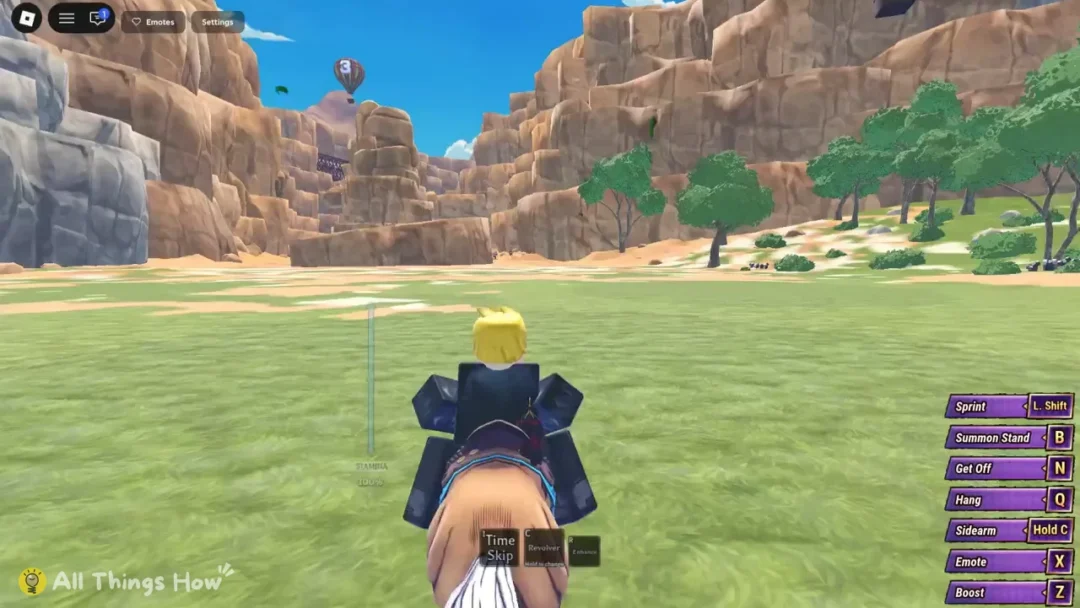
Mounted riders also get a Time Skip ability on C. Space jumps. If you get knocked off mid-race, press T right away to call your horse back. Every second you spend on foot is a place lost. On mobile and controller, follow the prompts the tutorial shows you.
Riding Stage 1 to the GOAL arch
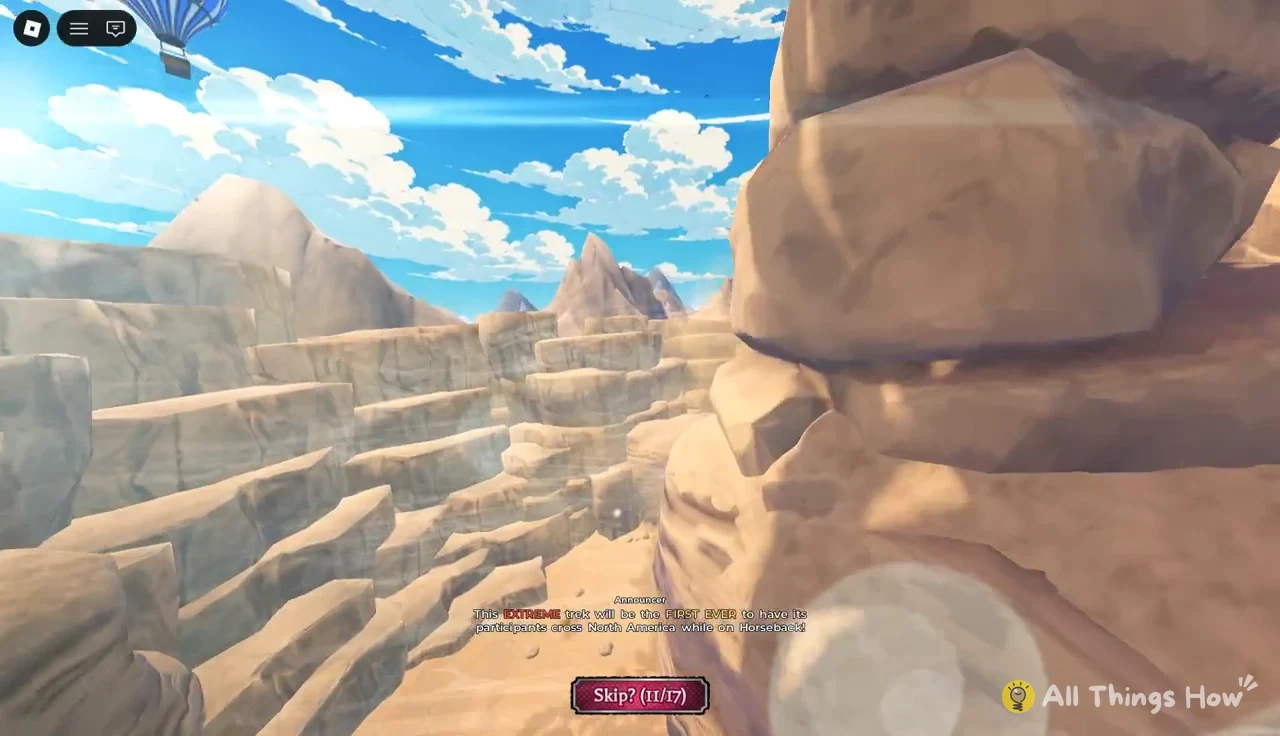
Before the gun goes off, an announcer introduces “the first ever Bizarre Run race” over a map of North America. The cutscene has 17 parts. A Skip button in the corner cycles through them, and you can tap it until you are back on the grid. Skipping does not cost you your starting position.
The race starts when the “RACE!” banner fills the screen. Look at the bottom of the HUD at that moment. Your stamina sits at 100 percent and the prompt reads “Boost Ready (Z).” Those two readouts decide the rest of the stage.
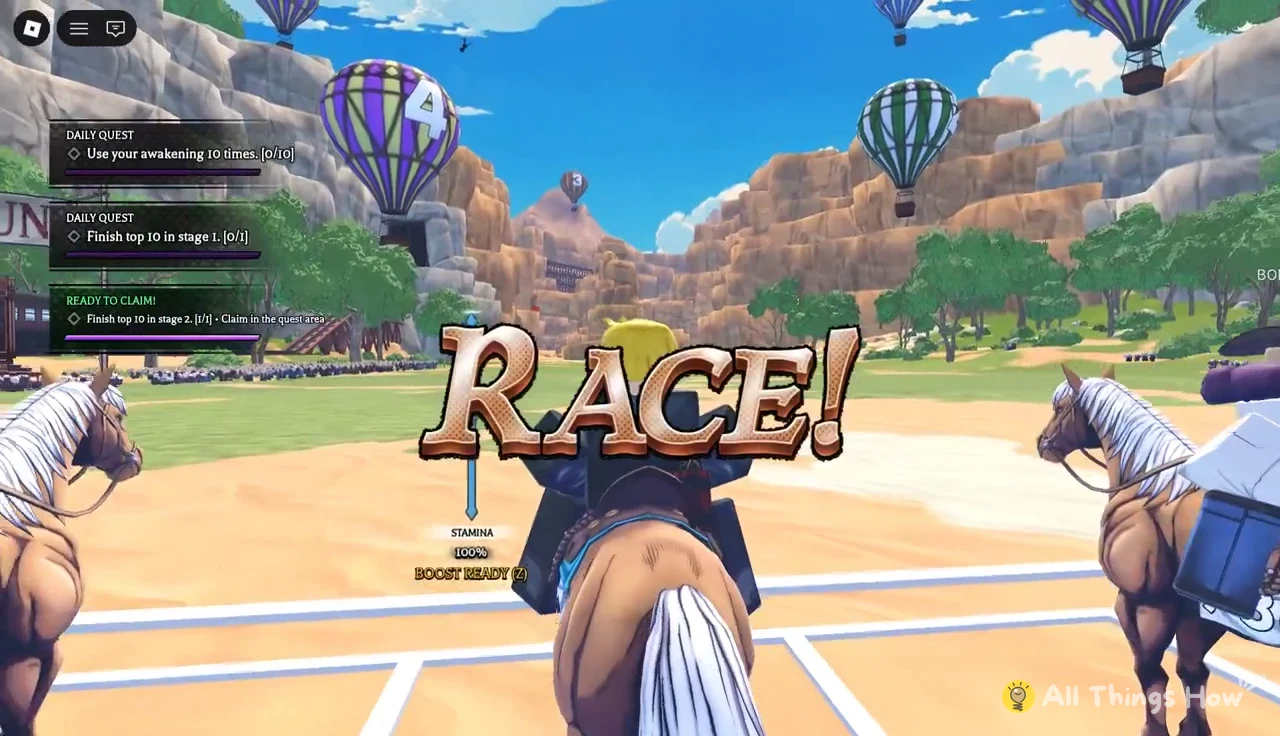
Holding L. Shift to sprint drains stamina. If the meter hits 0 percent, your horse becomes exhausted and slows down. A short slowdown in the pack is enough to drop several places. Sprint in bursts on clear ground and ease off before the meter empties. Riding directly behind another rider puts you in their slipstream, which gives you extra speed without spending stamina. It is the safest way to make up ground.
Canyon entrance and rocky corridors
The opening stretch runs across open plains and funnels everyone into a canyon. The whole field arrives at once, so expect to be in the low 20s here even on a clean start. Don’t waste your boost trying to escape the crowd. One mistimed burst into a tight turn sends you into a rock wall, and the crash costs more than the boost gained.
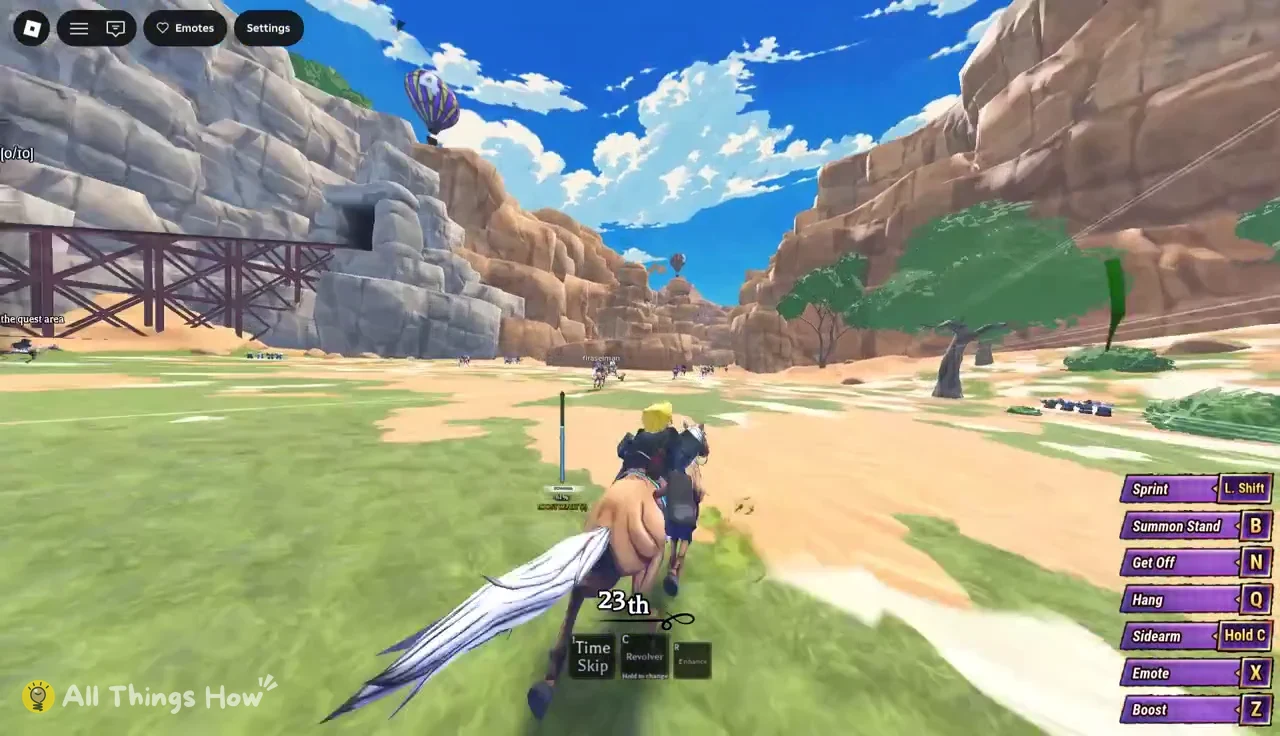
The announcer cautions you to “avoid obstacles, and possibly explosions.” During Stage 1, you cannot shoot the other riders themselves. You can fire at TNT on the map to destroy obstacles or seal off a route. Keep track of the road and the rider ahead, since TNT set by someone else may send you along a different path than planned.
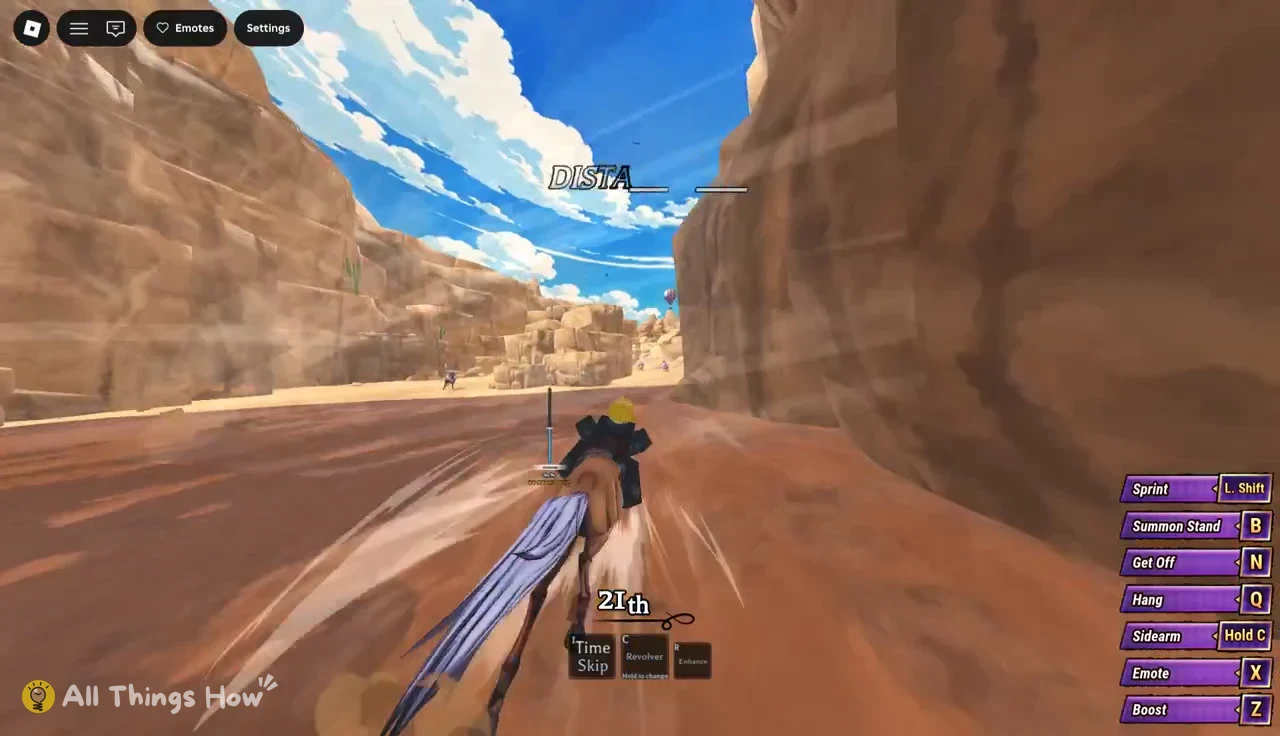
Stay on the flat dirt path. Grass and tree clusters slow you down, and clipping a tree trunk stops your horse completely. If you do get stuck against a wall, the Get Off (N) prompt stays on the HUD. Use it only to recover, then remount right away.
The collapsing wooden bridge
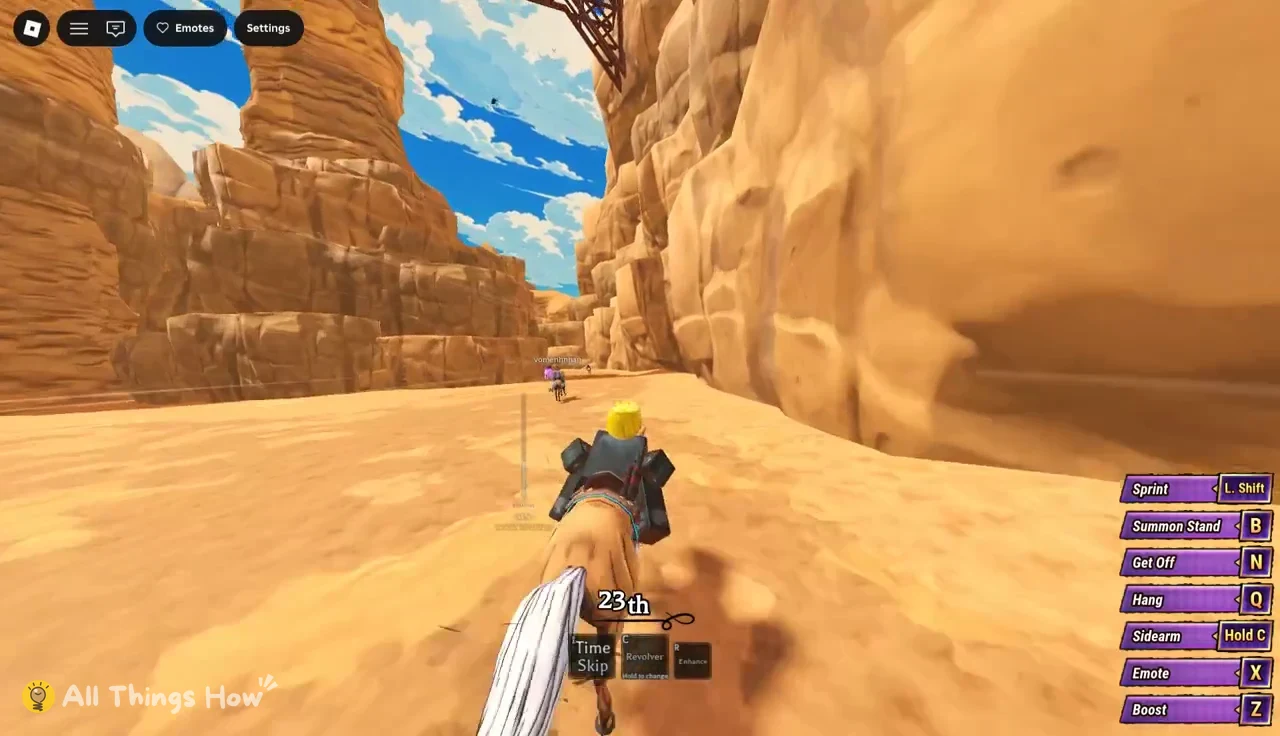
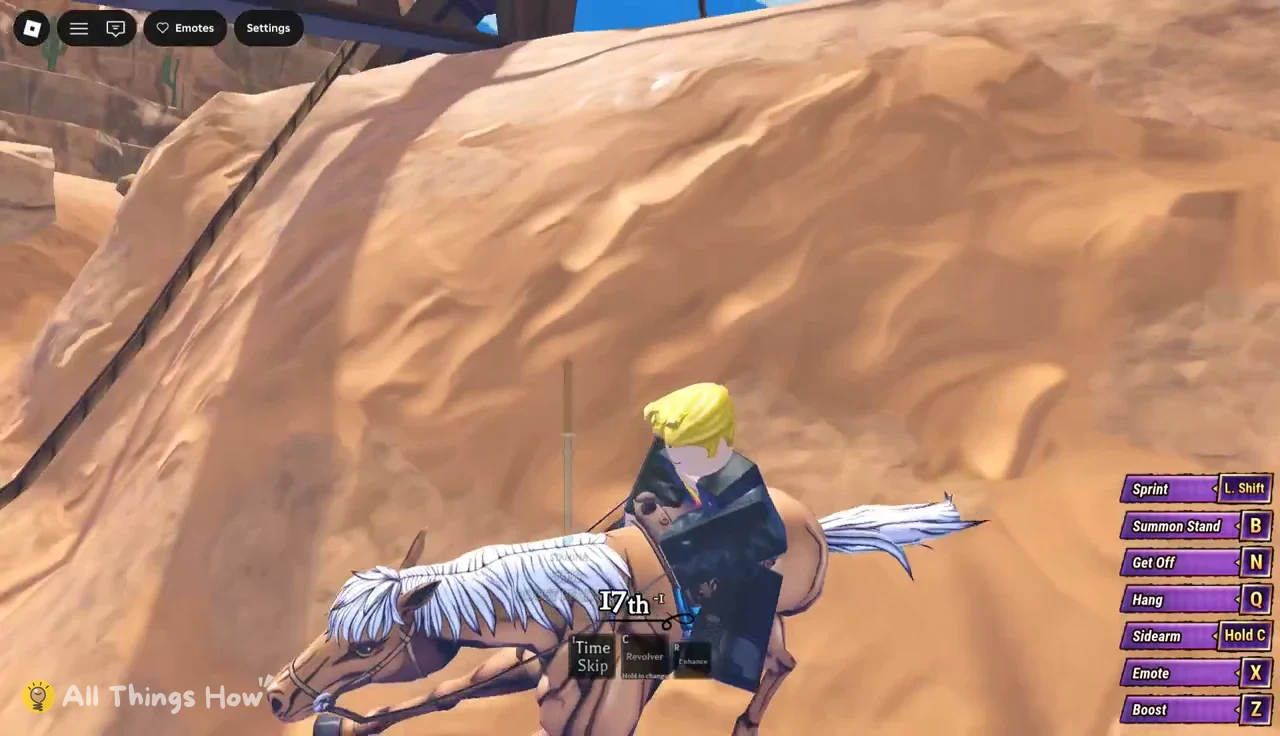
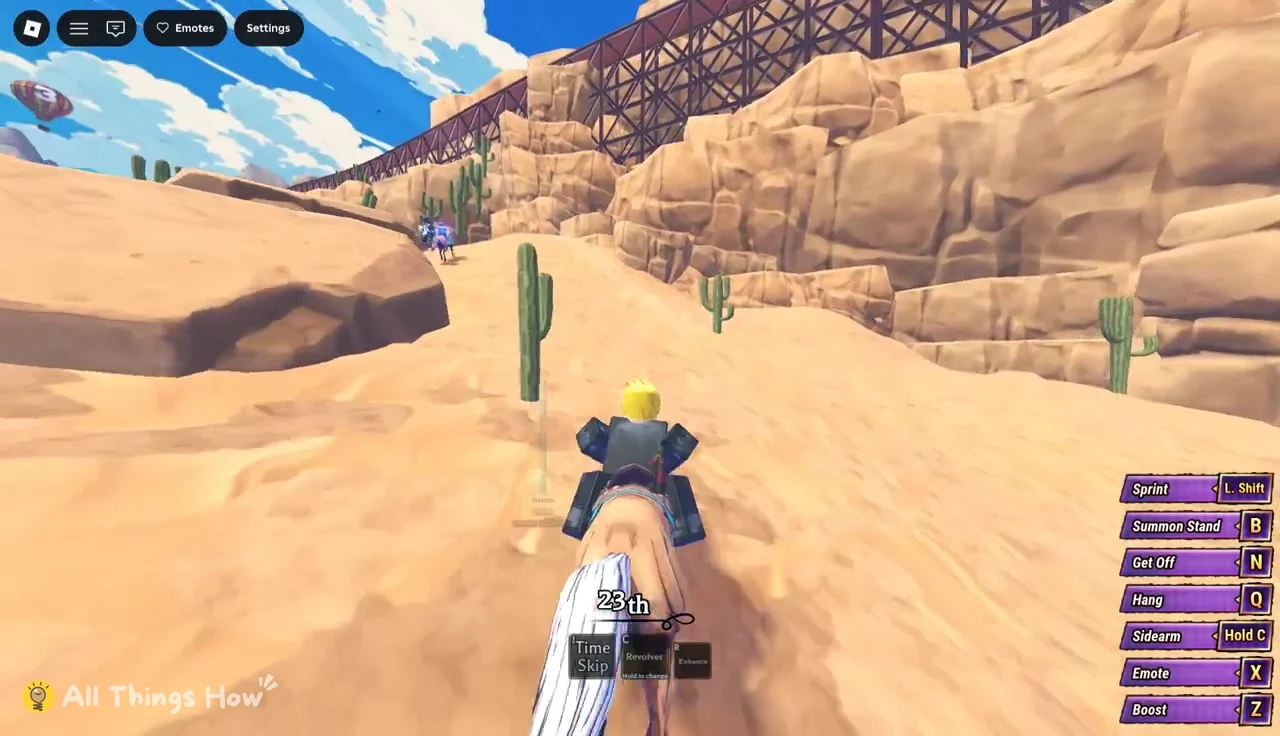
Past the canyon, the route crosses a raised wooden bridge. Partway across, the announcer shouts “The bridge’s planks are giving way!” and the floor drops riders onto the sandbanks below. You can’t avoid the fall reliably in a crowd, so don’t panic when it happens. Keep holding forward, climb out from under the wreckage, and rejoin the course through the desert rocks. Commit to the far gate as soon as you land.
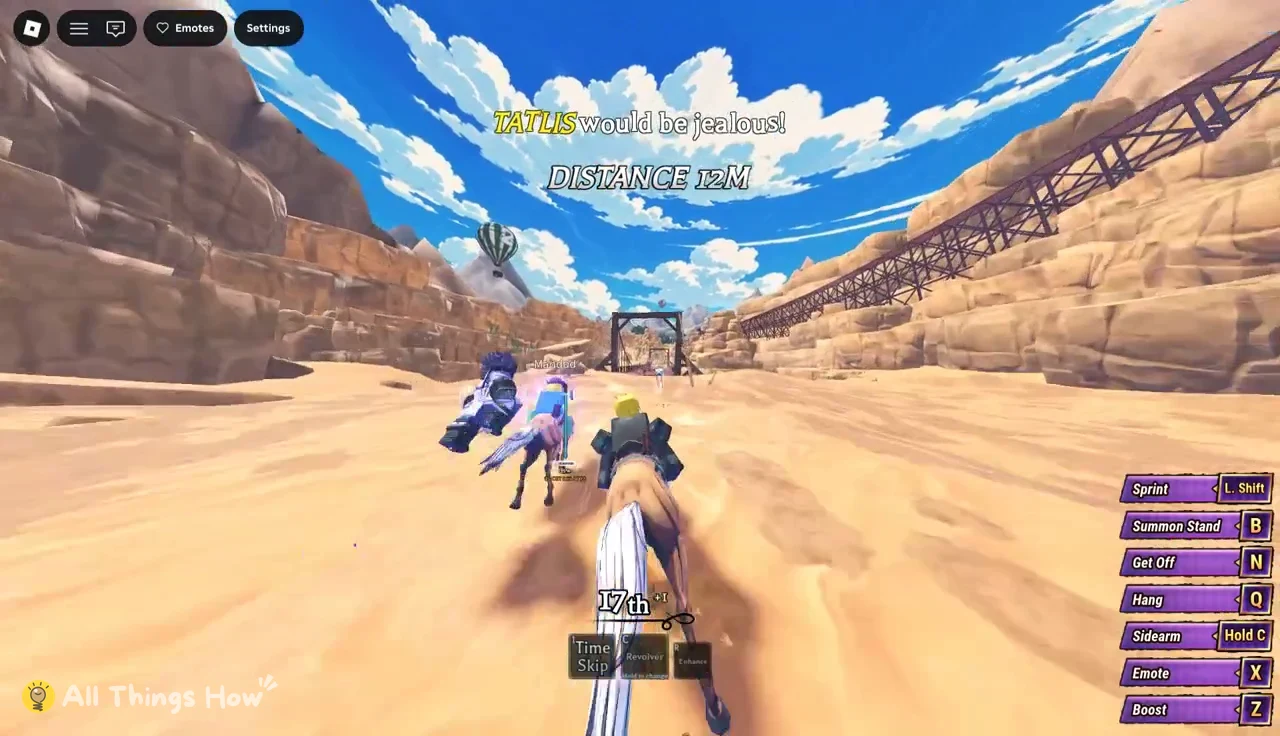
The desert sprint after the bridge is the first real stretch of open ground. Your stamina has had time to refill, so use short sprints here to pass riders who are still recovering from the fall.
The downhill meadow and final stretch
Around the midpoint, the announcer reminds everyone there are only four miles left in the stage. The track then opens into green meadows on a downhill slope, which the game calls “the treacherous downhill.” Speed picks up on its own, so hold back on sprint and steer around the trees. Losing your footing here costs more than a slow line does.
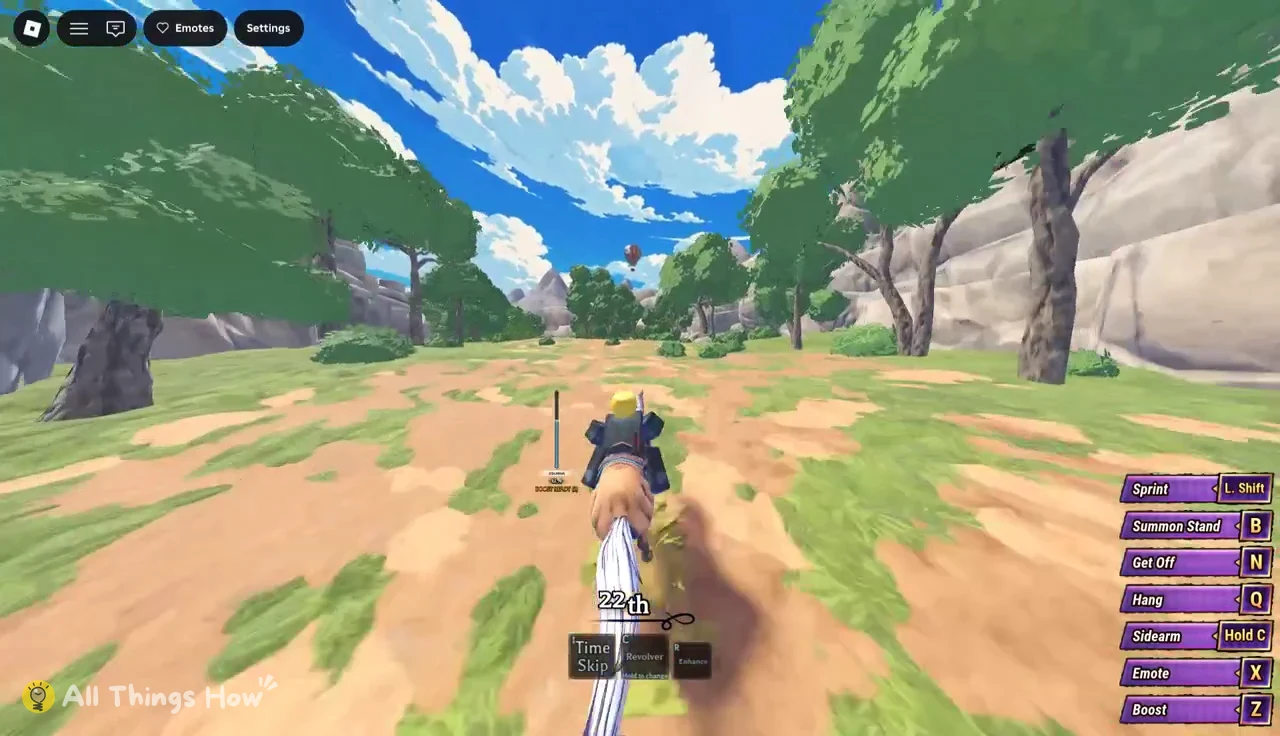
The downhill is also the best place to slipstream. Riders spread into single file on the trail, so you can line up behind one, draft, and pull out to pass with stamina still in the tank.
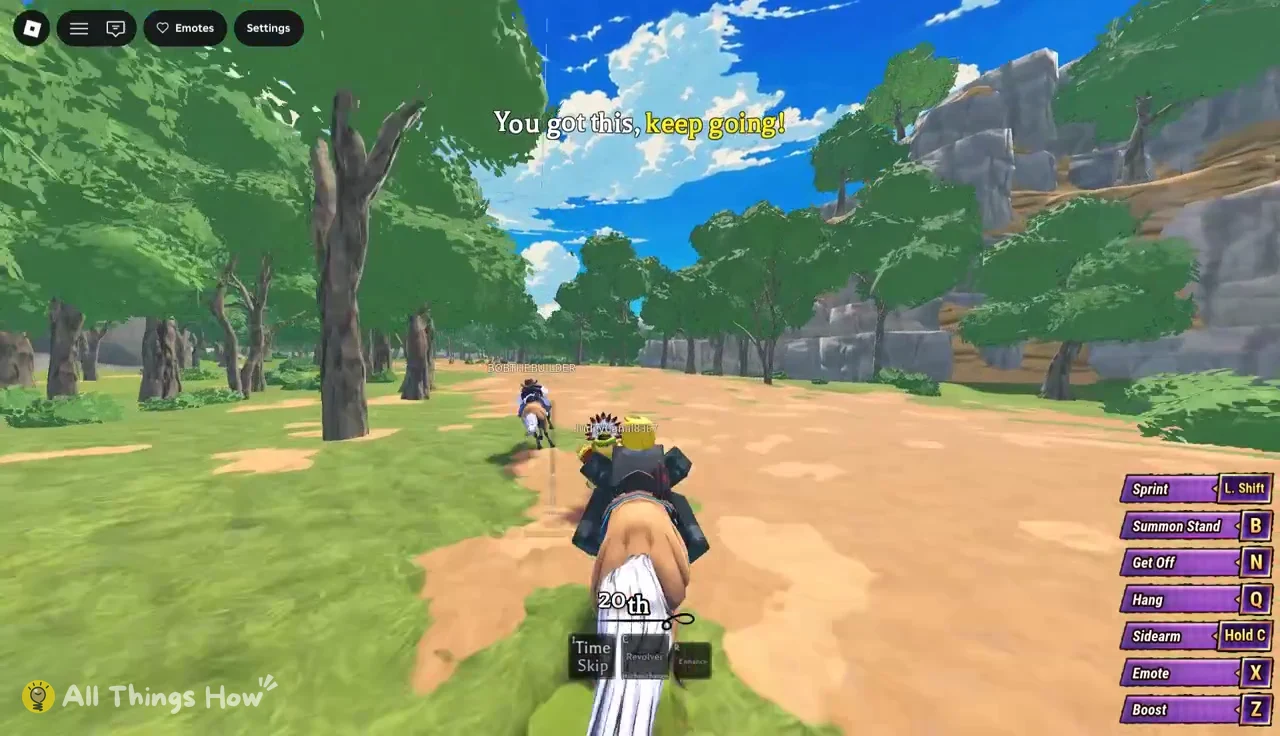
The final approach is lined with bleachers and balloons and ends at a “GOAL” archway. This is where you spend everything. Sprint the rest of your stamina and fire the boost on Z once the path ahead is straight and clear. Places change quickly in this stretch.
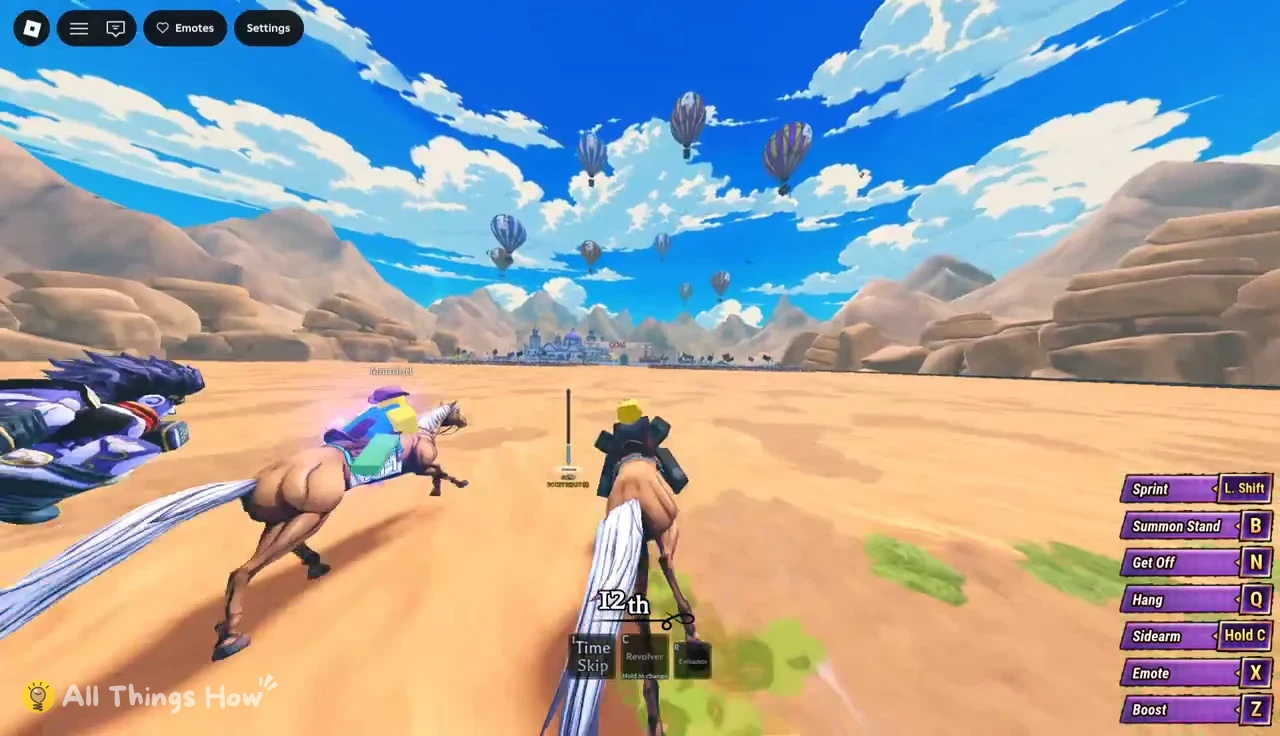
You have cleared Stage 1 when a “STAGE COMPLETED” banner appears after you pass under the arch, followed by a short victory cinematic.
Stage 1 results screen and rewards
After the cinematic, a “GREAT RACE! STAGE 1” screen shows your placement, a Race Ledger with your stats, and what you earned. You get paid even without a podium finish. A 12th-place run with no kills still earned cash and a spin ticket.
| Results field | Example (12th place) |
|---|---|
| Time | 02:38 |
| Top speed | 171 MPH |
| Kills | 0 |
| Sabotages | 0 |
| Cash | +$288 |
| Spin Ticket | x1 |
| Grade | F |
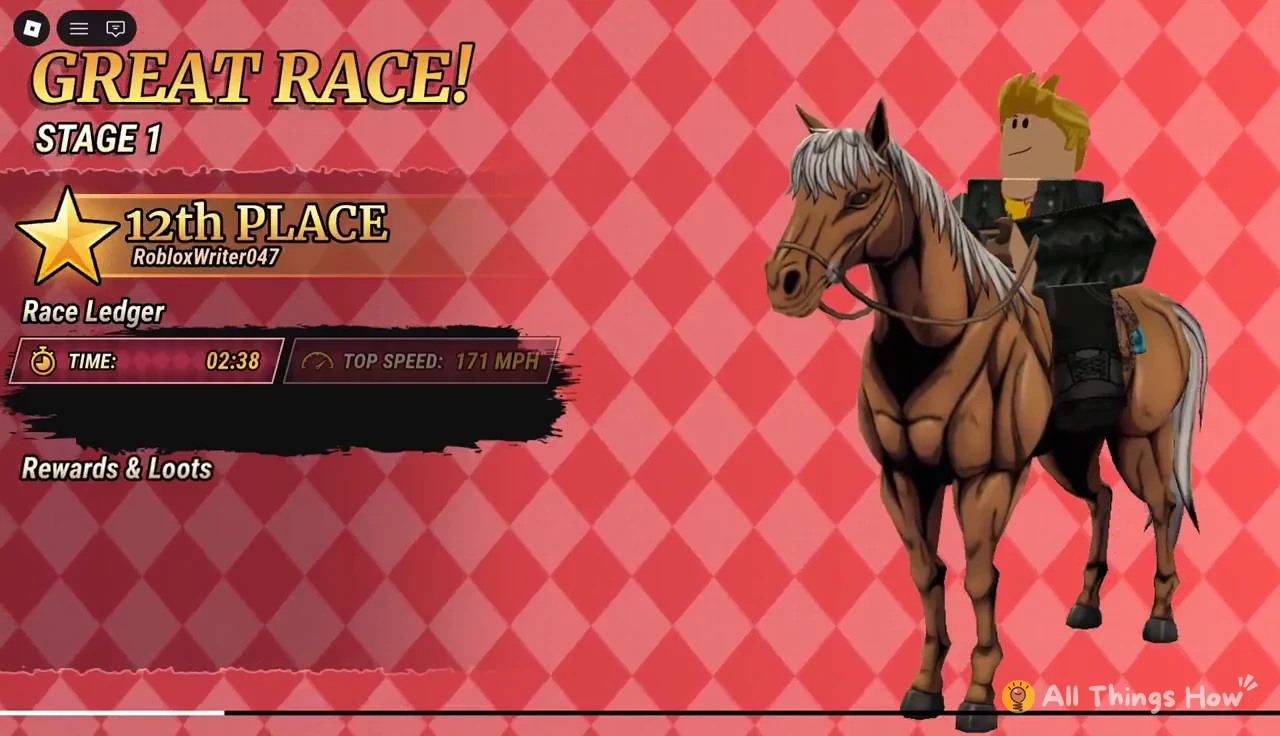
Kills and sabotages are tracked even in Stage 1, which explains the low grade on a quiet run. Spin Tickets go toward the Spin Wheel. Its rewards are random and can include cash, Rokakaka Fruit, Stand Arrow Fragments, or a Shiny Stand Arrow.
Train intermission: Run Shop and leaderboard
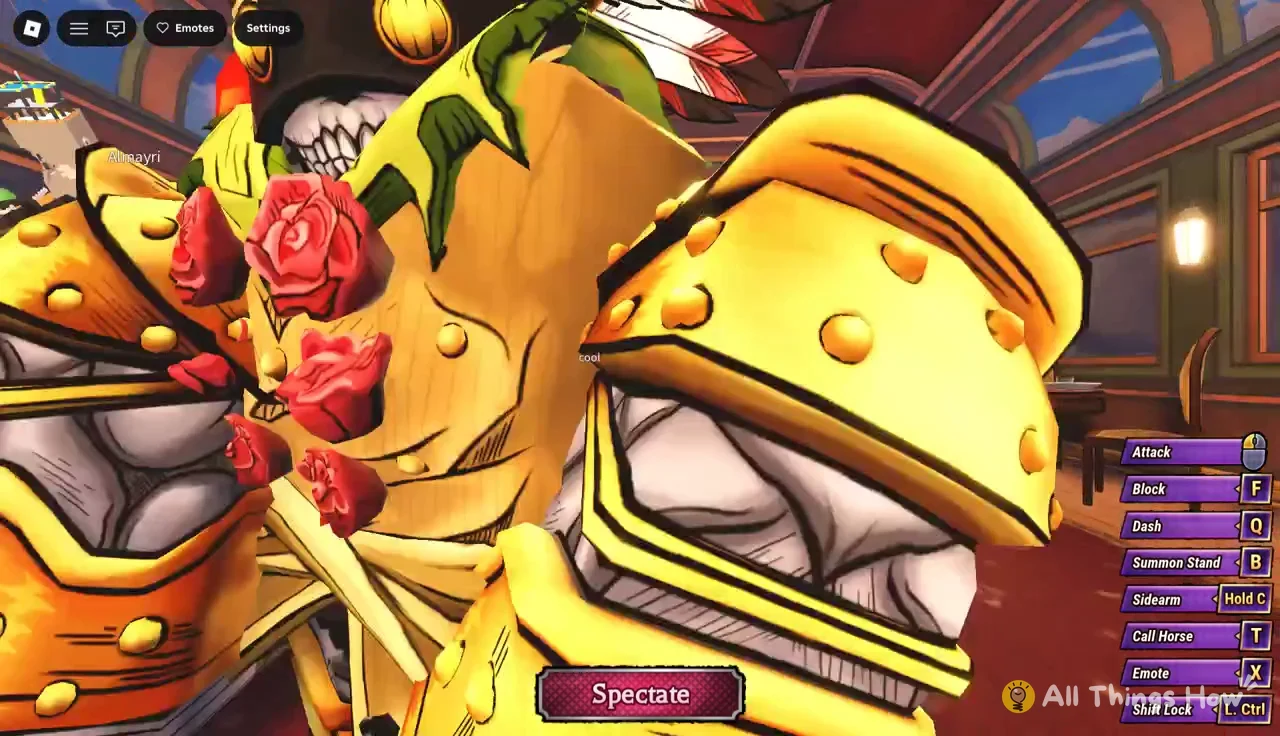
Between stages, you spawn in a passenger train with the other racers. You can’t skip this part, and it is the only time you can rearm before Stage 2. If you finish early, a Spectate button at the bottom center lets you watch other players while you wait.
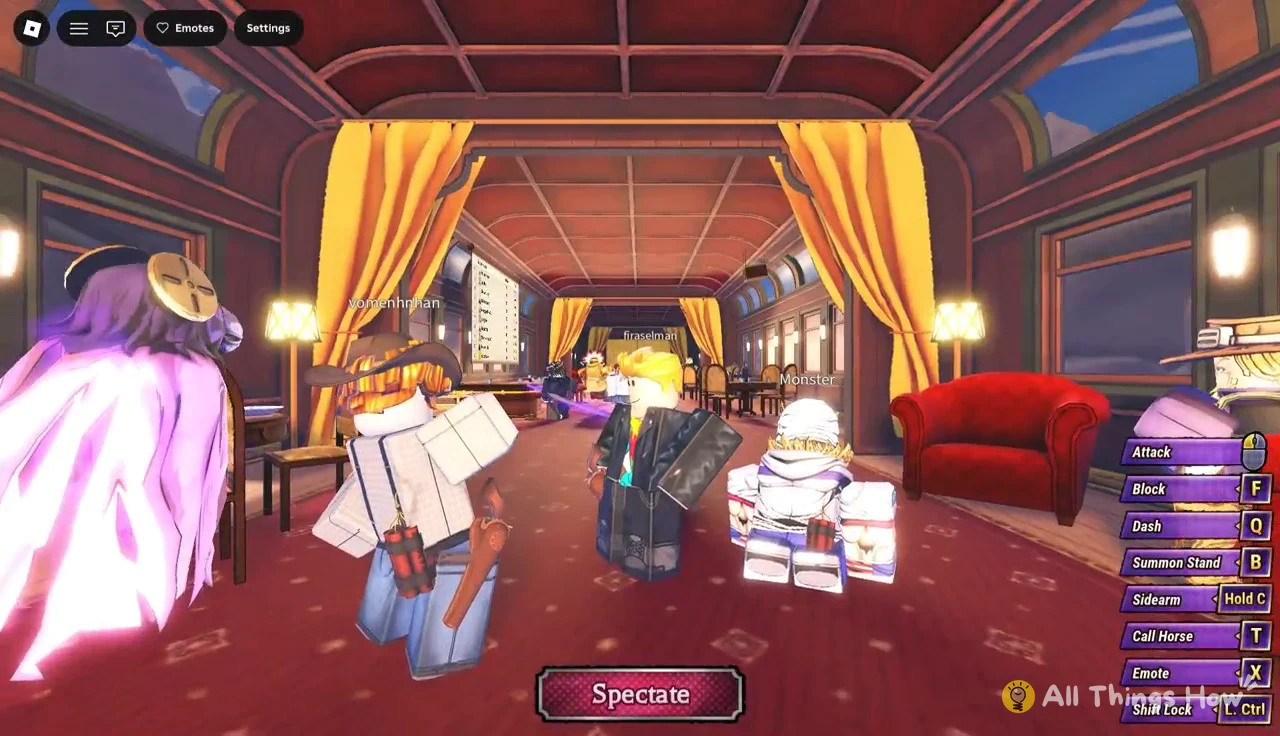
The leaderboard boards on the train list the fastest Stage 1 times and the points they earned. The top ten split ran from 80 points for 1m 51s down to 27 points for 2m 37s. That gives you a rough target: finish under two minutes to fight for the top spot.
| Points | Stage 1 time |
|---|---|
| 80 | 1m 51s |
| 70 | 2m 2s |
| 60 | 2m 8s |
| 55 | 2m 10s |
| 50 | 2m 15s |
| 45 | 2m 16s |
| 40 | 2m 26s |
| 35 | 2m 27s |
| 30 | 2m 27s |
| 27 | 2m 37s |
To shop, walk up to the shop counter and press E when the Interact prompt appears. The Run Shop menu opens with your current cash shown at the top.
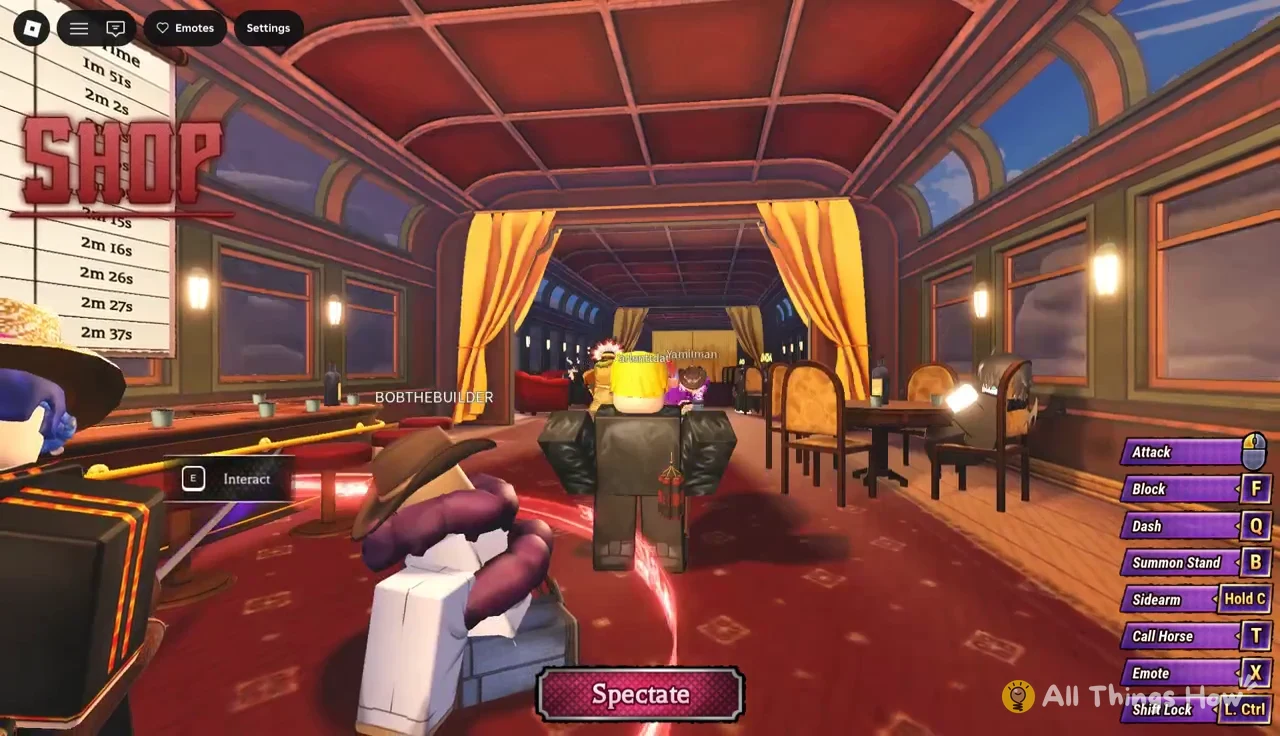
| Run Shop item | Price | What it does |
|---|---|---|
| Shotgun Ammo x6 | $20 | Shells for the shotgun |
| Shotgun | $500 | Knocks riders off in one shot, short range |
| Lasso | $75 | Ties up enemies and drags them |
| Ammo | $12 | Revolver rounds |
| Revolver | Equipped | Fills the first weapon slot |
| Dynamite x3 | Equipped | Large explosion radius |
You can carry only one firearm at a time, so pick either the shotgun or the revolver and buy ammo for that gun alone. The revolver comes equipped and its ammo is cheap, which makes it the sensible default for a first run. The shotgun is a $500 investment that only pays off if you plan to get up close. Dynamite is best thrown into a bunched-up group of riders.
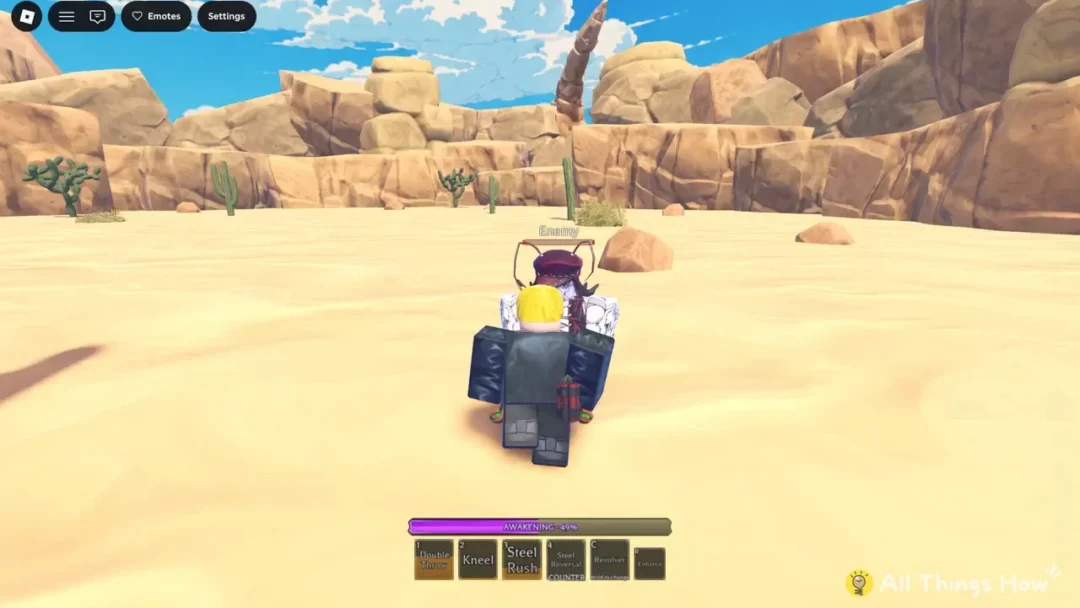
Use the time left on the train to check your on-foot controls. In Stage 2 you can be knocked off your horse, and when that happens you are fighting with Left Click, F to block, Q to dash, and B for your Stand.
Stage 2: bounties, checkpoints, and the elimination zone
Stage 2 is where the race becomes a survival match. Player-versus-player combat is fully on, a fog timer counts down, and the route is gated by checkpoints with time limits. Before you enter, you pick one of three bounty targets.
| Bounty | Cash | Points |
|---|---|---|
| Easy | About $175 | +25 |
| Medium | About $350 | +50 |
| Hard | Up to $600 | +80 |
If your goal is to finish the run, take the easy bounty. Hard targets tend to be players who already block and counter well, and losing a fight in the open desert can leave you with nothing from the stage.
Waiting around at the elimination barrier is how a lot of runs end. The fog does damage on its own, so a player who survives every fight can still be eliminated by sitting still.
You finish the run by crossing the Stage 2 finish line; the results screen then displays your cash, points, and other rewards before you return to the lobby. The quest board lists objectives to pursue next time, including placing in a race, eliminating players, and locating a Corpse Part. Finishing well outside first place still earns cash and spin tickets to put toward your next Stand.