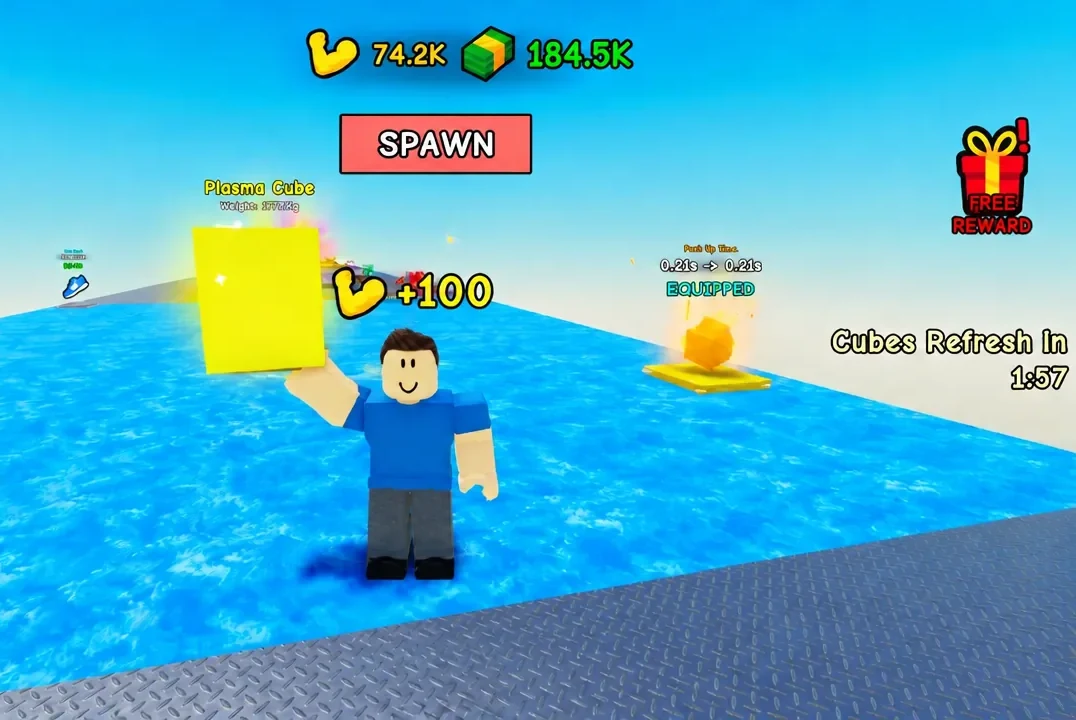
Lift a Cube is an incremental simulator built on one number. Strength. Everything you do in the experience either raises that number or turns it into cash, and cash exists only to make the number grow faster. Once you understand which purchases actually speed that loop up, the early hours stop feeling like a grind at spawn.
Quick answer: Start push-ups with the Train button or the 1 key, buy the $30 Buy Better Arms upgrade before spending anything on chest rolls, equip the highest strength multiplier material you own, then farm only the heaviest cube you can lift comfortably while training on the furthest zone pad you have reached.
Strength never resets, so overtraining is the strategy
There is no rebirth or prestige reset in Lift a Cube. Strength only goes up, which changes how you should think about every decision. In a game with a reset, you would rush tiers to bank a multiplier. Here, there is no penalty for building far past what your current cube needs.
That makes skipping tiers viable. If you train past a middling cube entirely and jump straight to a heavier one, you get the bigger payout without ever farming the weaker cube. The last cube currently in the experience asks for roughly 1.3 billion Strength, so the ceiling is high enough that banking extra progress is rarely wasted.
How training works and what multiplies it
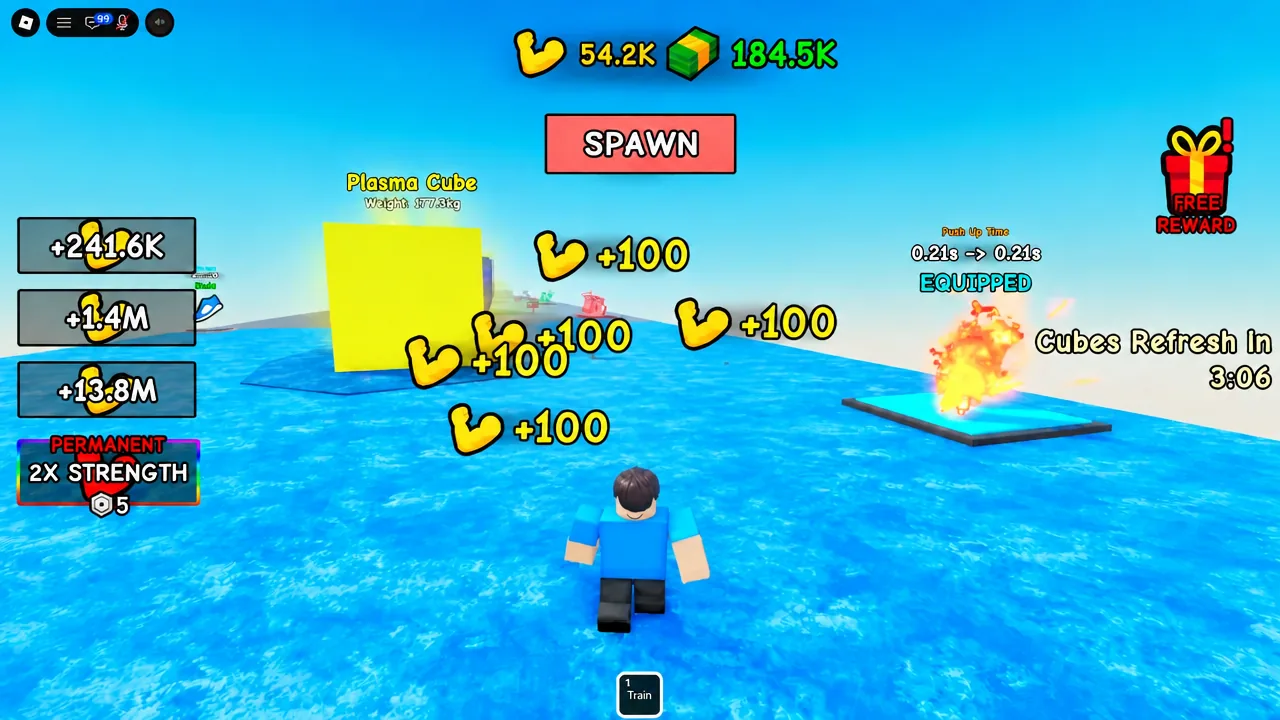
Press 1 or tap the Train button at the bottom of the screen and your avatar starts doing push-ups. At the base rate, each push-up is worth 1 Strength before any multipliers are applied. Training keeps running on its own once it starts, so you can leave it going while you do something else and come back to a much larger number.
Two separate systems make that number climb faster, and it helps to keep them straight in your head.
| System | What it changes |
|---|---|
| Arm upgrades (green pads) | Cut the time each push-up takes, so you get more reps per minute |
| Arm materials (chest rolls) | Multiply the Strength each push-up awards |
| Multiplier bubbles | Boost a single push-up when clicked |
| Zone training pads | Later pads train more efficiently than the ones at spawn |
Multiplier bubbles appear occasionally near you. Grab one if it is close, but do not chase it across the map. The seconds you spend running are seconds you are not training, and that trade almost never pays.
Controls
| Action | Input |
|---|---|
| Move | W, A, S, D |
| Interact | E |
| Jump | Spacebar |
| Train | 1 |
Lifting a cube: the click minigame and how to tell it worked
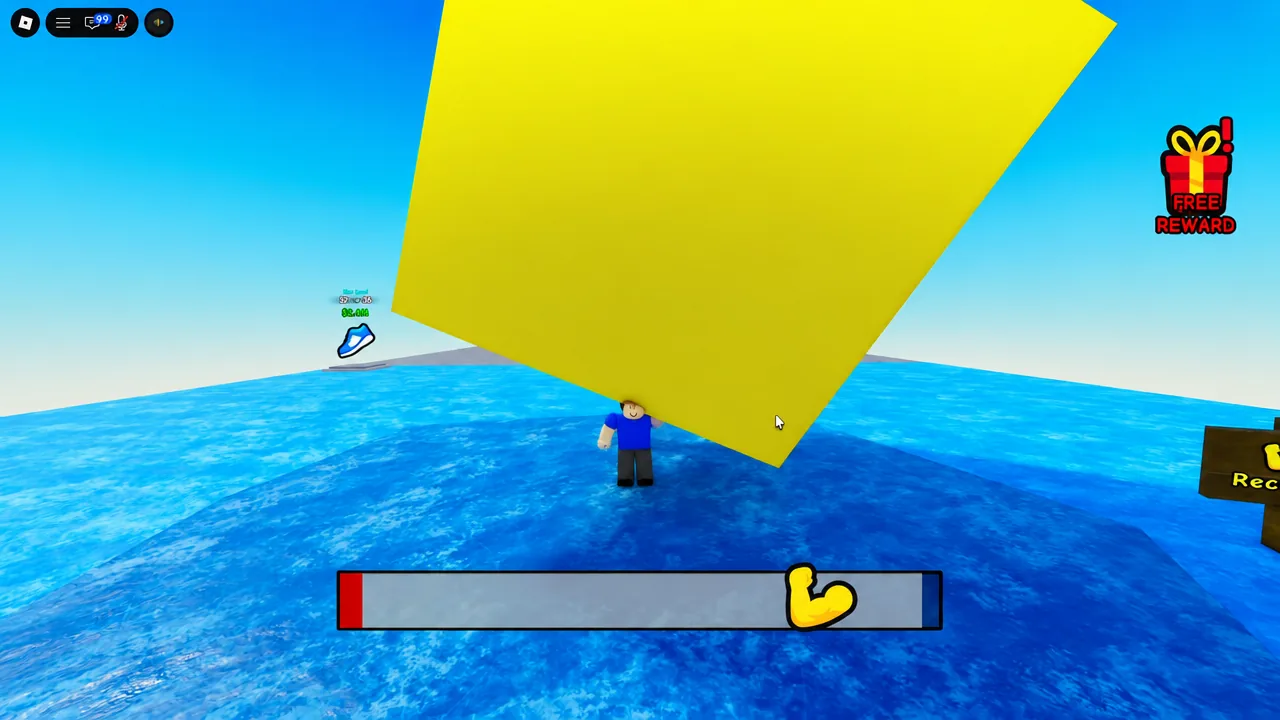
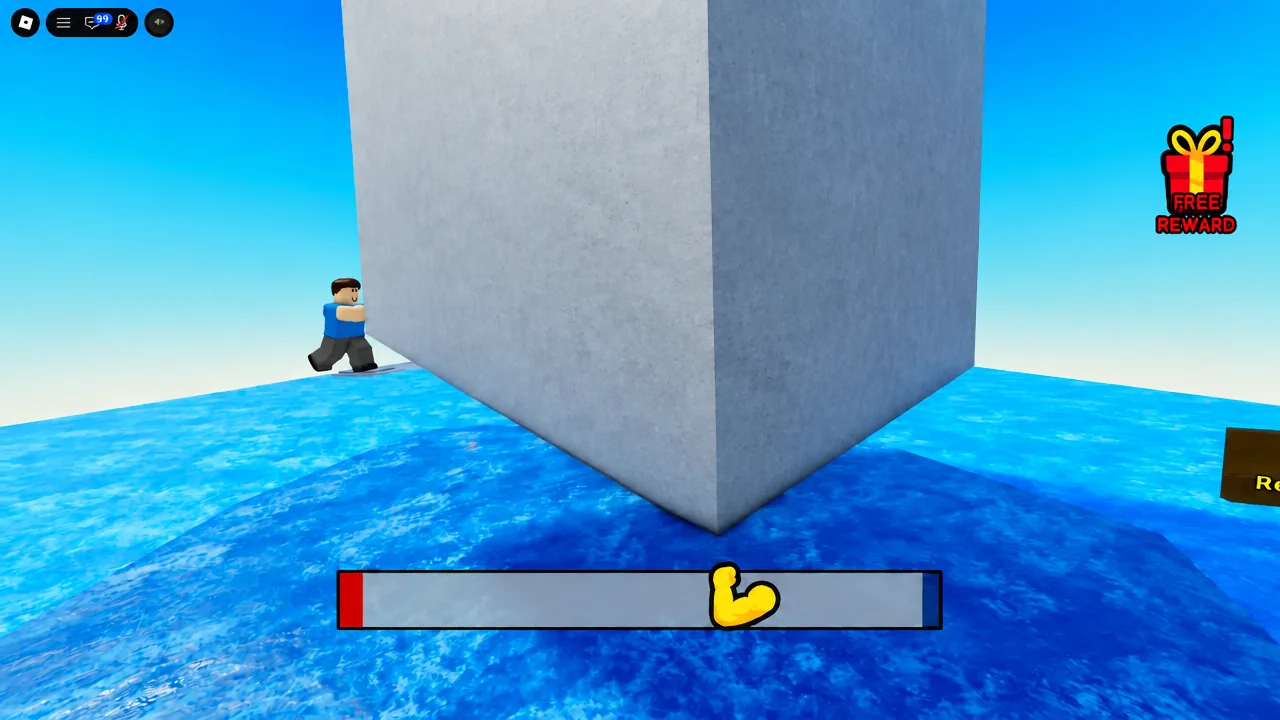
If the bar barely budges no matter how fast you click, the problem is not your clicking. Your Strength is too low for that cube, and no amount of retrying will change it. Go back to training and come back when the number is higher.
Early cube requirements and payouts
Heavier cubes pay more, which is the entire reason to keep training. These are the tiers you meet first.
| Cube | Weight | Strength | Payout |
|---|---|---|---|
| Wood Cube | 2.1kg | 6 | Tutorial-level |
| Stone Cube | 6.6kg | 61 | $35 |
| Cooper Cube | 21kg | 206 | $69 |
| Ice Cube | 66.2kg | 582 | Scales higher |
The ladder keeps going well past these. Plasma Cube, Void Cube, and Singularity Cube sit deep in the progression, and the final visible cube is the one asking for around 1.3 billion Strength. Reaching it takes strong materials plus most of the purchasable upgrades scattered around the map.
Where to spend cash first: arm pads before chest rolls
Green purchase pads sit around the map and sell permanent upgrades, mostly for training speed and movement speed. The first Buy Better Arms upgrade costs $30 in the current build and shortens your push-up time. Because the effect is permanent and guaranteed, it beats gambling your first few payouts on a chest.
Arm Materials are the other half of the equation and the main multiplier system. You pay for a roll at the Arm Materials Chest and receive a random material with a rarity and a Strength multiplier attached. Sand Material is a common result worth roughly 1.5x, and stronger early rolls can land near 3x. One early chest can show a 20 requirement to unlock before rolling opens up at all.
Note: judge a material by the multiplier printed in your live interface, not by how rare the colour looks. A common with a good number equipped is worth more than a flashier material sitting unused.
Once arm speed is no longer holding you back, materials become the better buy. Rolling makes sense when your push-ups already come out quickly and the limiting factor is how much Strength each rep is worth.
Zone progression: Grass, Sand, and Ice
The map opens outward rather than upward. Grass covers the early Wood and Stone cube stretch. Sand adds heavier cubes along with more upgrades and materials. Ice pushes into heavier cube tiers and better training options.
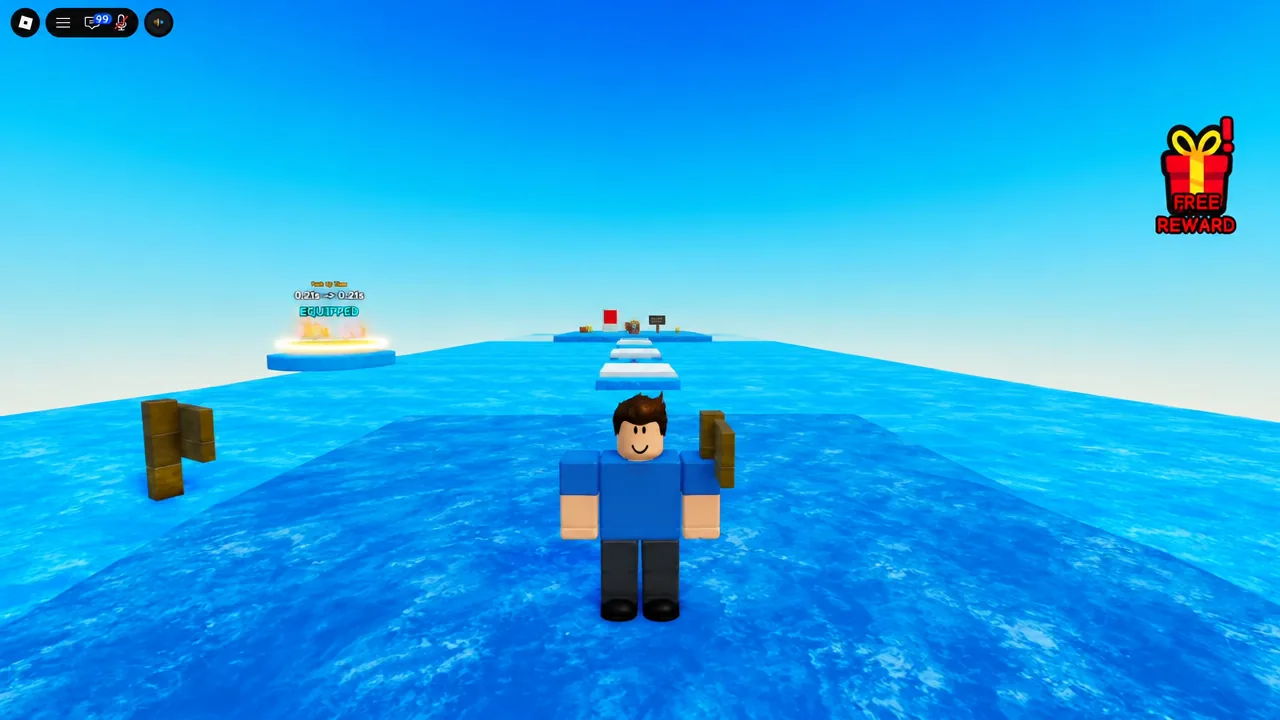
Always train at the furthest useful zone you have unlocked. Later pads are more efficient than the ones near spawn, so parking yourself at the start platform out of habit slows everything down. When you do need to get back quickly, use the SPAWN button to return to the starting platform.
The fastest progression loop
Mistakes that stall early progression
- Over-farming a low cube because the minigame is comfortable, when a heavier cube pays several times more per lift.
- Dumping early cash into chest RNG before buying the first Buy Better Arms upgrade.
- Training at the spawn pads after unlocking Sand or Ice, which throws away the better rates.
- Rolling a good material and never equipping it, leaving the multiplier inactive.
- Sprinting across the map after multiplier bubbles instead of leaving training running.
There are no working codes for the experience at the moment, so nothing here depends on redeeming anything. The Lift a Cube experience page is where to launch it, and the build has been updated as recently as September 10th, 2026, which means individual upgrade costs and cube values can shift between visits. Treat the numbers in your own interface as the final word and the loop above as the part that stays the same.