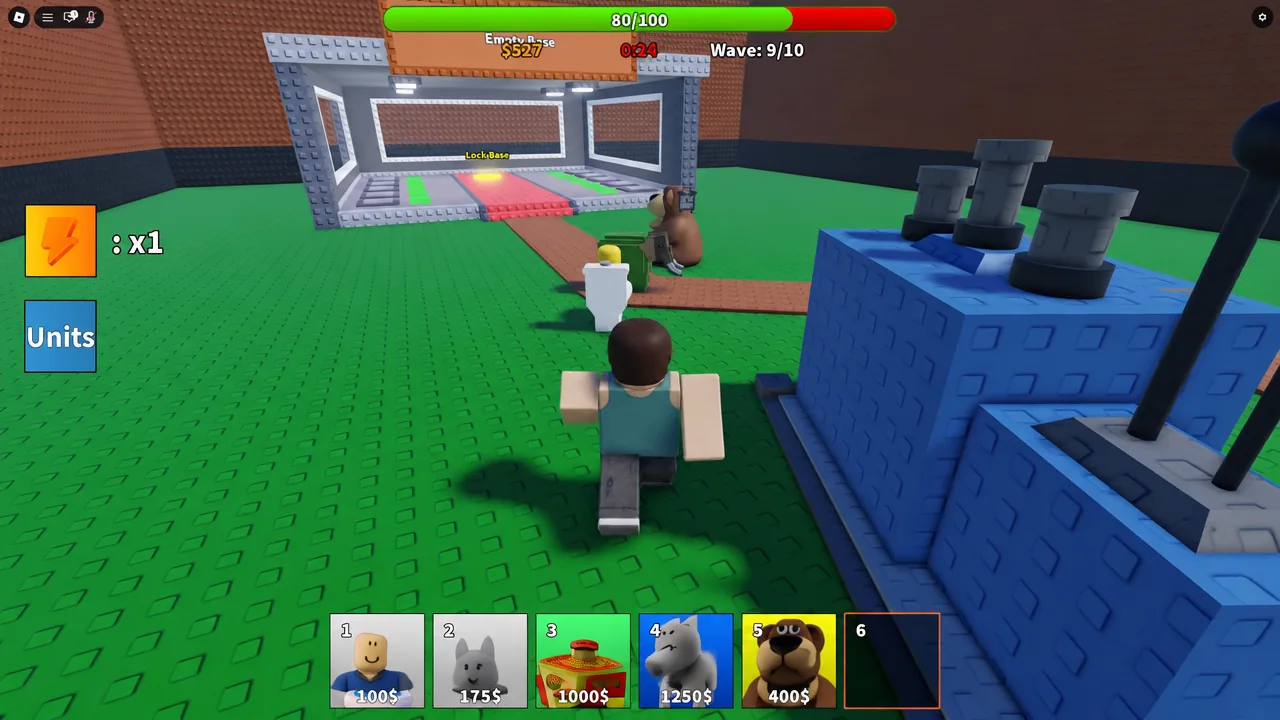
Slop Tower Defense is a lane defense game on Roblox where you summon meme units, place them along an enemy path, and upgrade them mid-wave to survive. New players usually lose early for one reason: they spend their opening cash on the wrong kind of unit and have nothing left to actually deal damage.
Quick answer: Claim Playtime Rewards and Daily Quests in the lobby, spend Cash on Basic Summons until you own at least three attacking units, then queue into Brainrot Bases on the standard Base map at Normal difficulty and place attackers on the path before you ever place a farm unit.
Free Cash and Gems before you queue
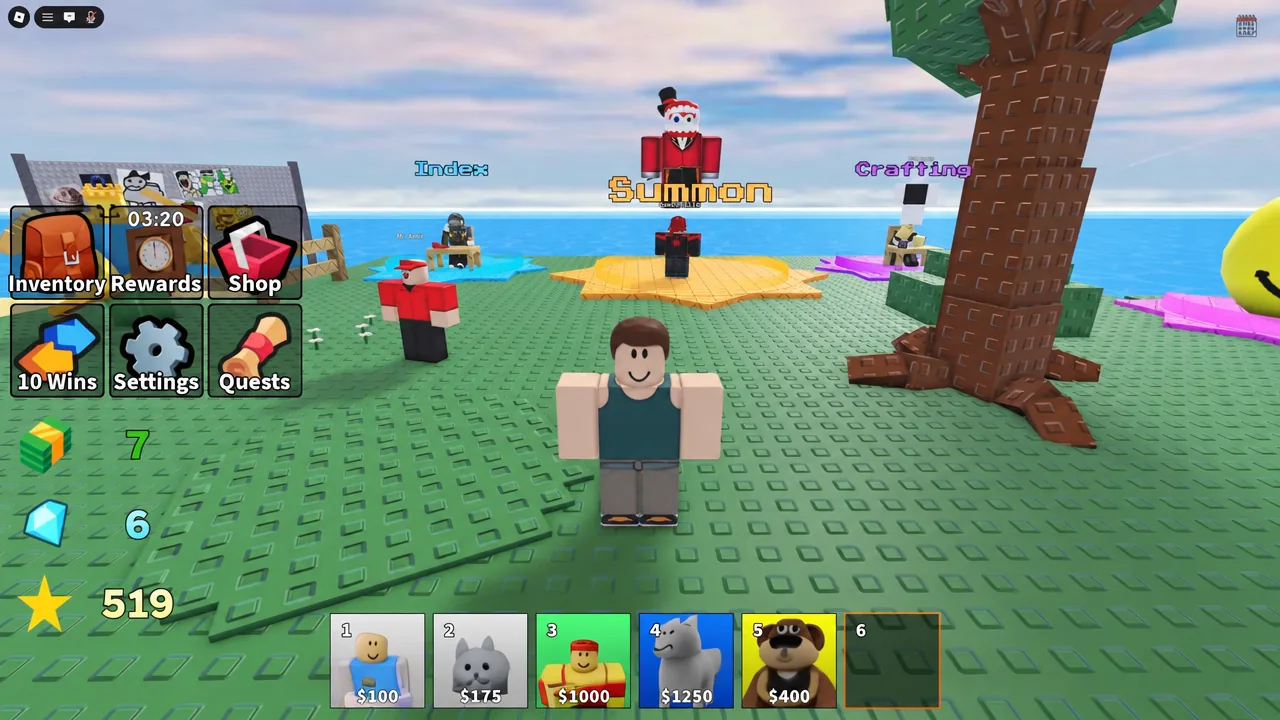
Everything in the game runs on three currencies. Cash pays for Basic Summons and unit placement, Gems pay for Premium Summons, and Stars come from match wins. Before your first match, drain every free source in the lobby so you are not summoning with an empty wallet.
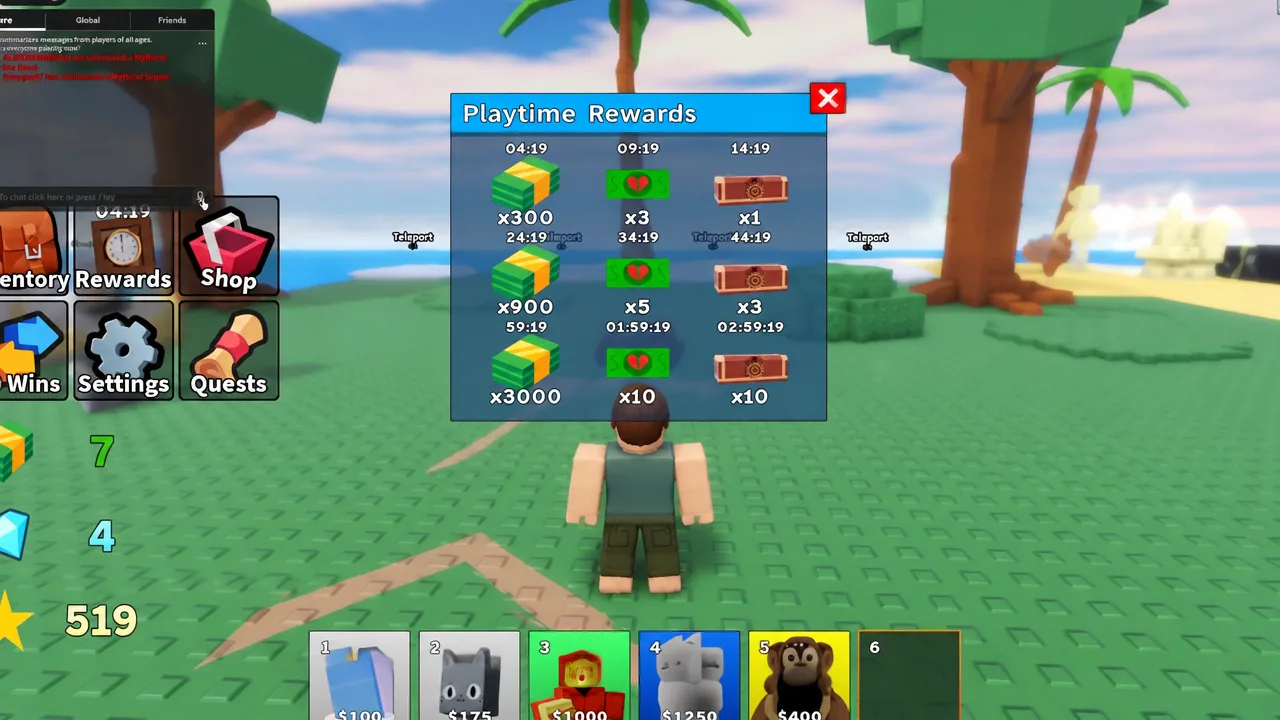
The Playtime Rewards menu hands out cash, chests, and crates simply for staying in the server. Rewards unlock on a timer, so open the menu again between matches and claim anything that has filled up.
Next, talk to the Quest Merchant. Daily Quests and Weekly Quests pay out XP and points, and they are the fastest way to level up in the opening hours. Most daily objectives complete on their own while you play normal matches, so read them before you queue and pick a map that lines up.
How to redeem Slop Tower Defense codes
Codes are locked behind a progression gate. You need 10 match wins on your account before the redemption box will accept anything, so treat them as a mid-session boost rather than a starting bonus.
| Code | Reward |
|---|---|
| DELAY FINAL BOSS | 1,000 Gems |
| 250KVISITS | 500 Gems |
| ALIEN | 500 Stars |
| 1KSERVERMEMBERS | 250 Gems |
| 25KVISITS | 250 Gems |
| SPACE | 250 Stars |
| 200SERVERMEMBERS | 200 Gems |
| AFK | 100 Gems |
| 200FAVS | 100 Gems |
| GUBBITY | 100 Gems |
| SLOP | 900 Cash |
Summon costs and what Premium Summons change
The Summon pedestal in the lobby has two pools. Basic Summons run on Cash and are your bread and butter early on. Premium Summons run on Gems and carry the higher odds for Legendary, Mythical, Godly, and Celestial units.
| Pull | Basic Summon cost |
|---|---|
| Single | 500 Cash |
| x10 | 4,750 Cash |
| x50 | 20,000 Cash |
The x10 and x50 bundles are cheaper per pull than buying singles, so save up rather than spending 500 at a time. Hold your Gems for Premium Summons instead of converting them anywhere else, since Gems are the only realistic route to the top rarities early.
Farm units versus attackers, and the mistake that ends runs
Units fall into two jobs. Attackers shoot enemies on the path. Farm units generate money during the match and do nothing else. Freddy Trashcan is the clearest example, a Legendary farm unit that pays out steadily but never fires a shot.
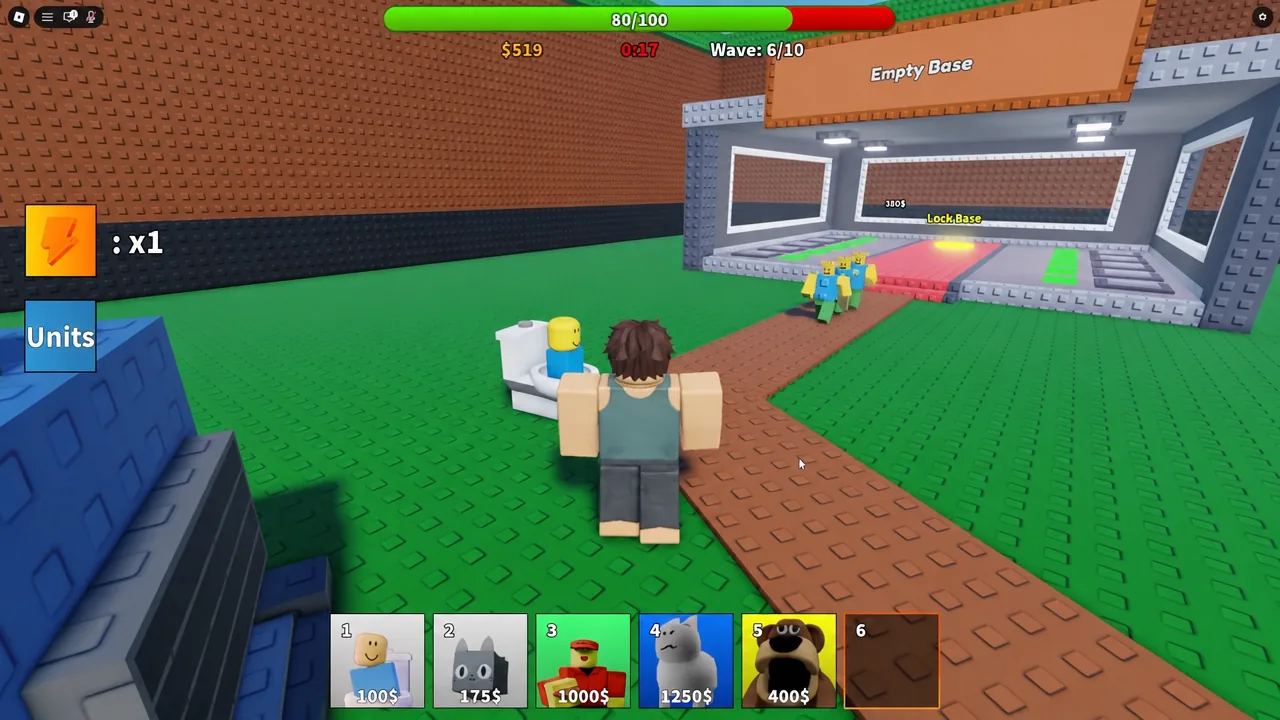
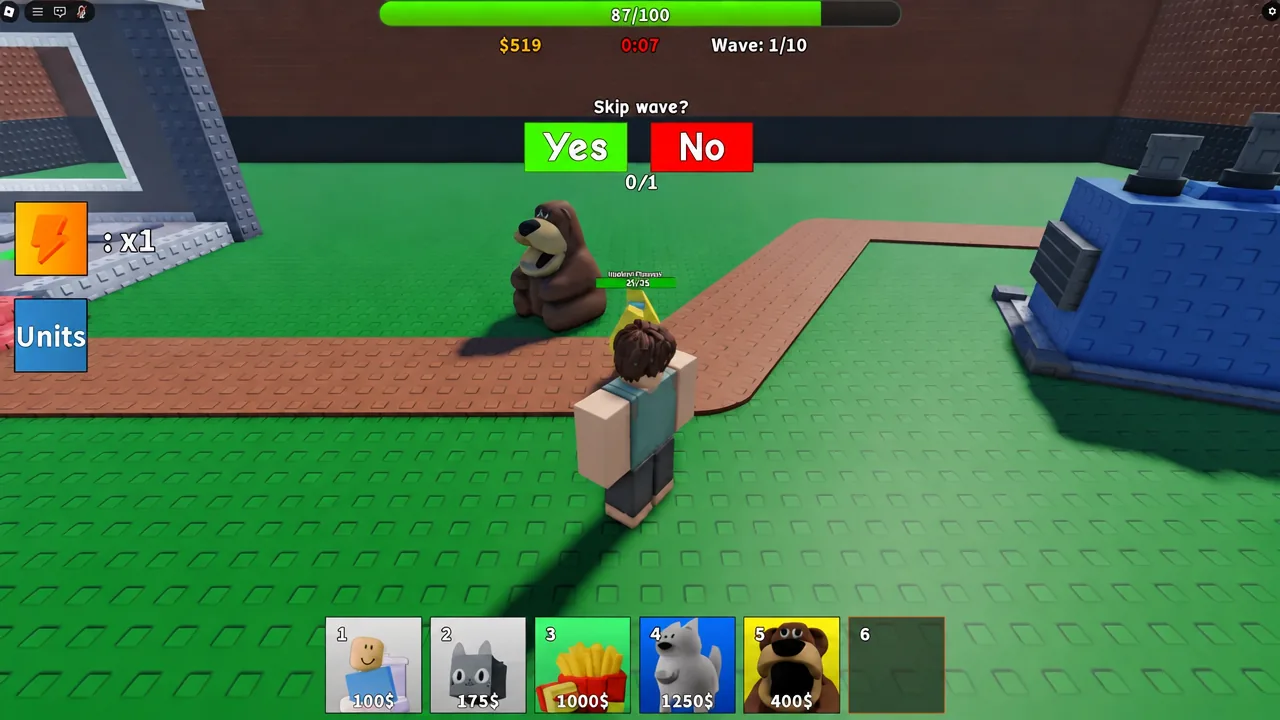
Pulling a Legendary farm unit feels like a win, and it is exactly what sinks first attempts. A loadout leaning on a farm unit stalls out around wave 5 on Normal because nothing on the field is killing anything. Fill your slots with attackers first, add a single farm unit once your defense is holding, and place it well away from the path where enemies cannot reach it.
Note: an upgraded unit generally outperforms two fresh copies of the same unit. Upgrades raise damage, extend range, and cut cooldown, so reinvest in what you already have on the field before spamming new placements.
Maps and difficulty options
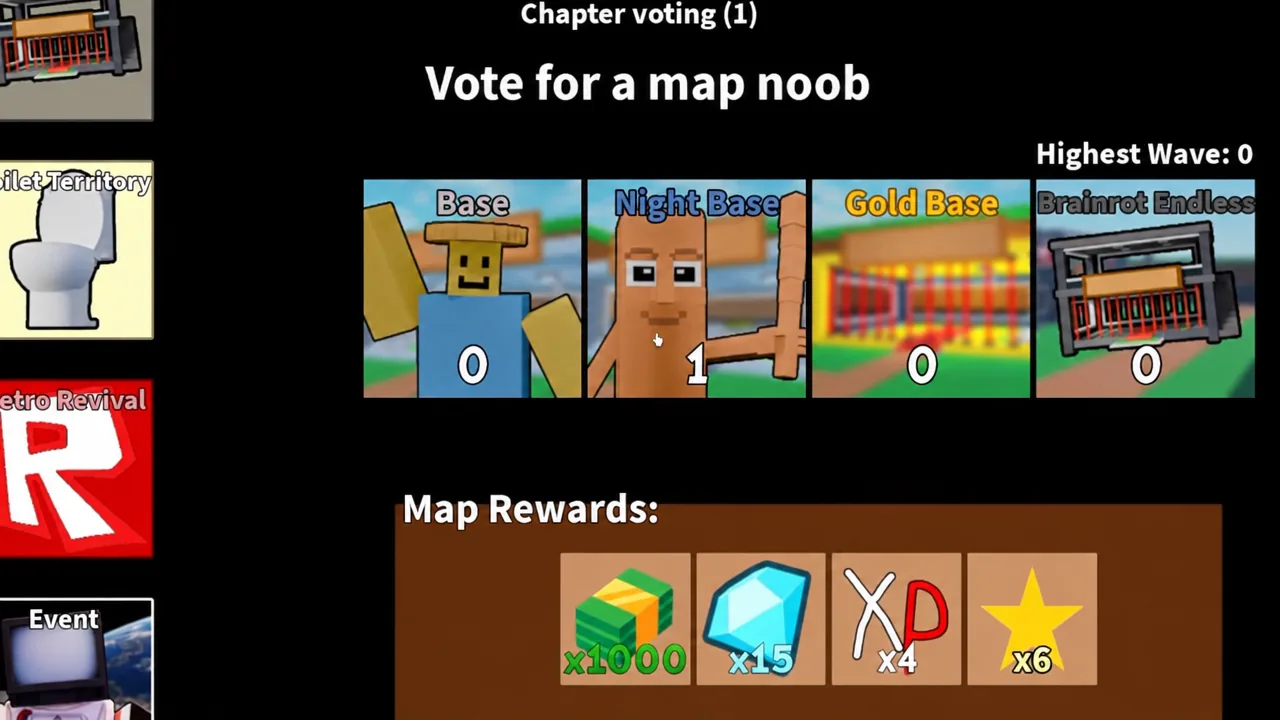
Each teleport pad in the lobby leads to a map family. Once inside, the lobby vote lets everyone pick a sub-map and a difficulty. Brainrot Bases on the standard Base layout at Normal is the softest entry point.
| Category | Options |
|---|---|
| Map families | Brainrot Bases, Toilet Territory, Retro Revival, Event |
| Brainrot Bases sub-maps | Base, Night Base, Gold Base, Brainrot Endless |
| Difficulties | Normal, Hard, Nightmare |
Night Base is not a beginner map despite sitting next to Base in the vote. Stick with Base until you can clear all 10 waves comfortably, then move up one variable at a time, either a harder sub-map or a harder difficulty, never both at once.
Placing and upgrading units during a match
How to tell your run worked
Clearing all 10 waves on the standard Base map ends the match with a victory screen that pays out Cash, Stars, and Gems. That payout is your confirmation, and it is also the win that ticks you closer to the 10-win requirement for codes.
If a run collapses, it is almost always one of two things. Either a farm unit took a slot that should have held an attacker, or income went into new placements instead of upgrading the units already covering the path.
Crafting specific units in the lobby
The Crafting station sits in the lobby alongside the Summon pedestal and the Index. Unlike summoning, crafting targets a specific character rather than rolling the pool, which makes it the reliable route to a unit you actually want.
Check the Crafting menu after every few matches. Match rewards and playtime crates feed the materials it needs, so a recipe that looked out of reach at the start of a session is often affordable by the end of one.