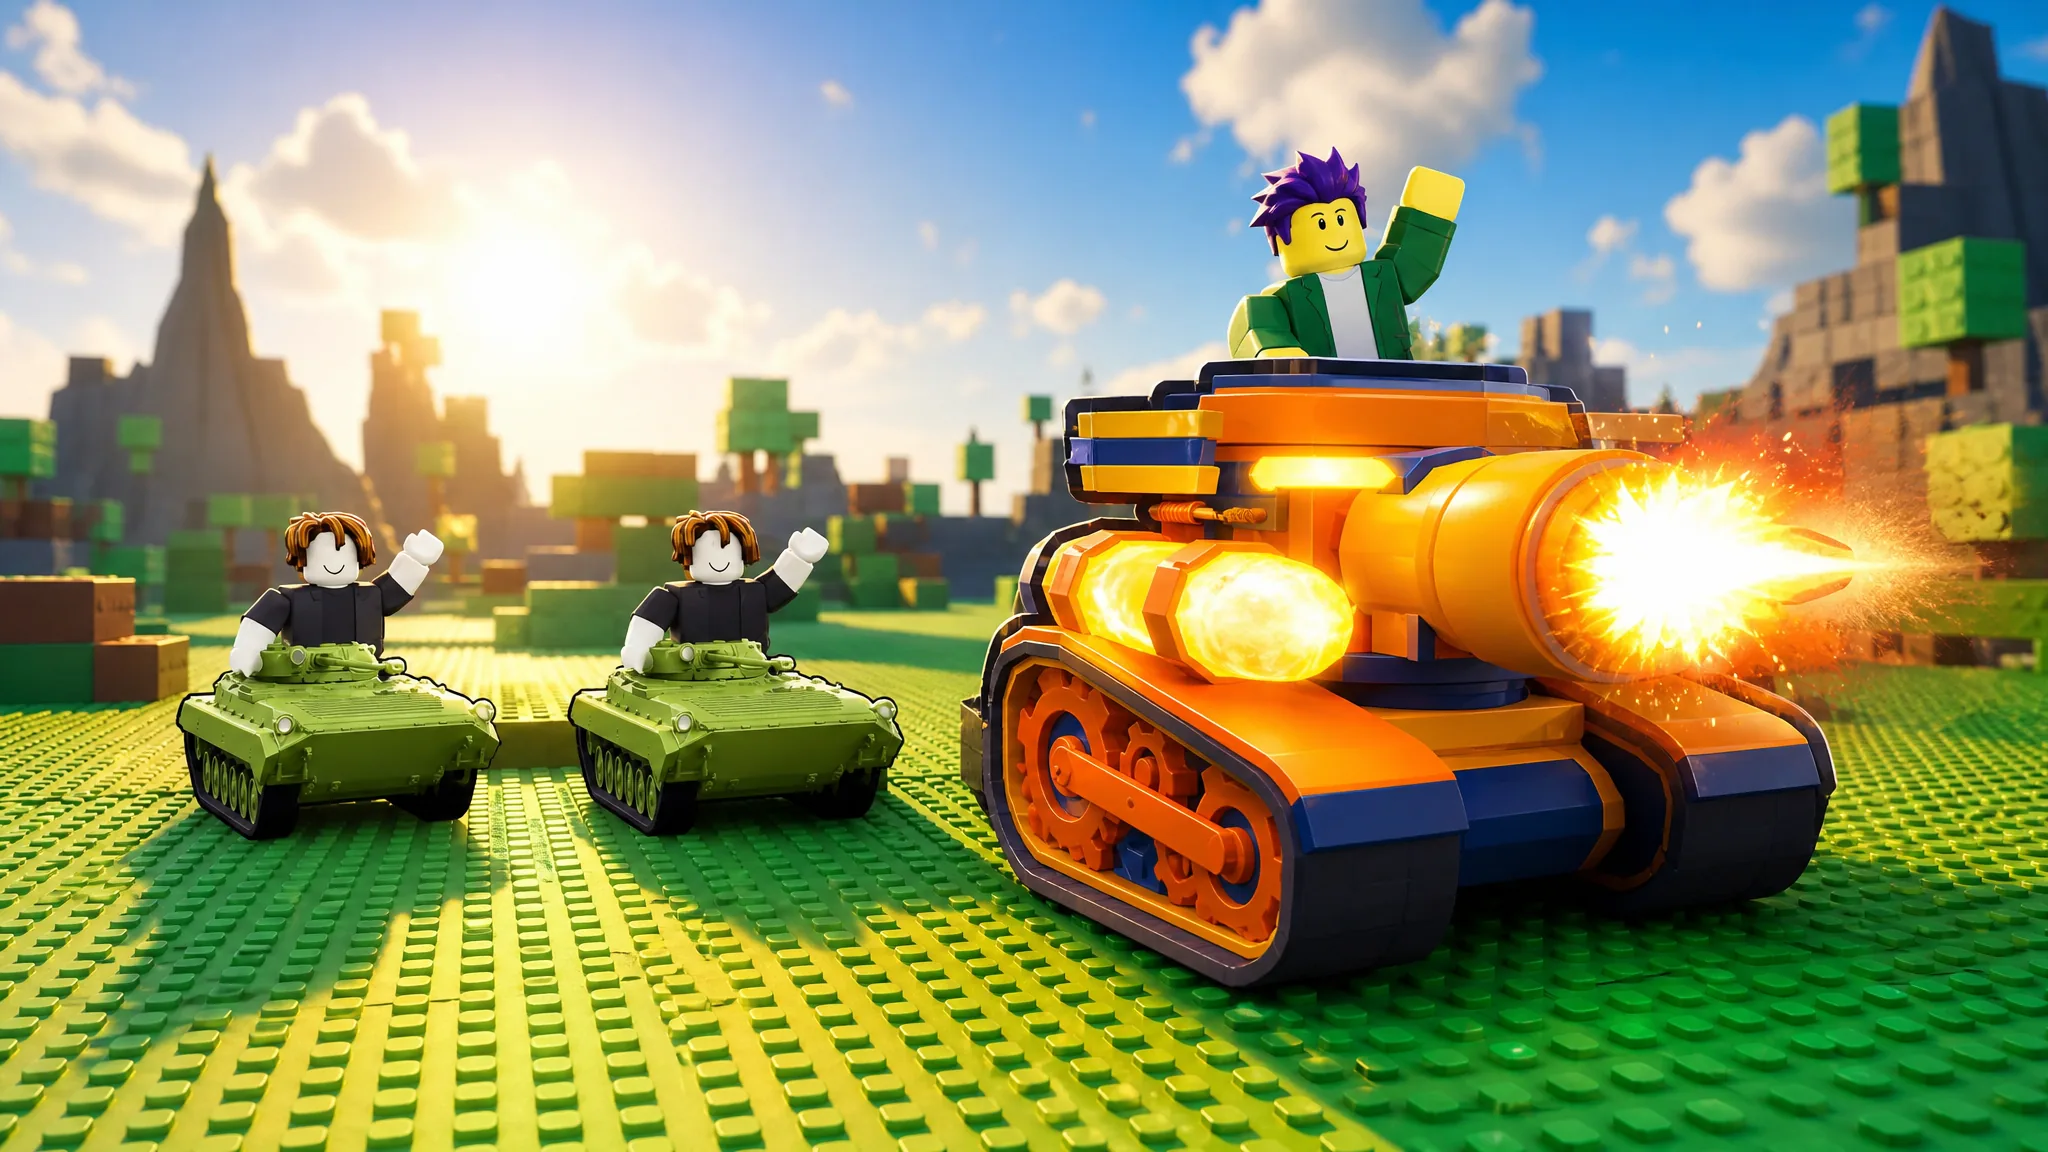
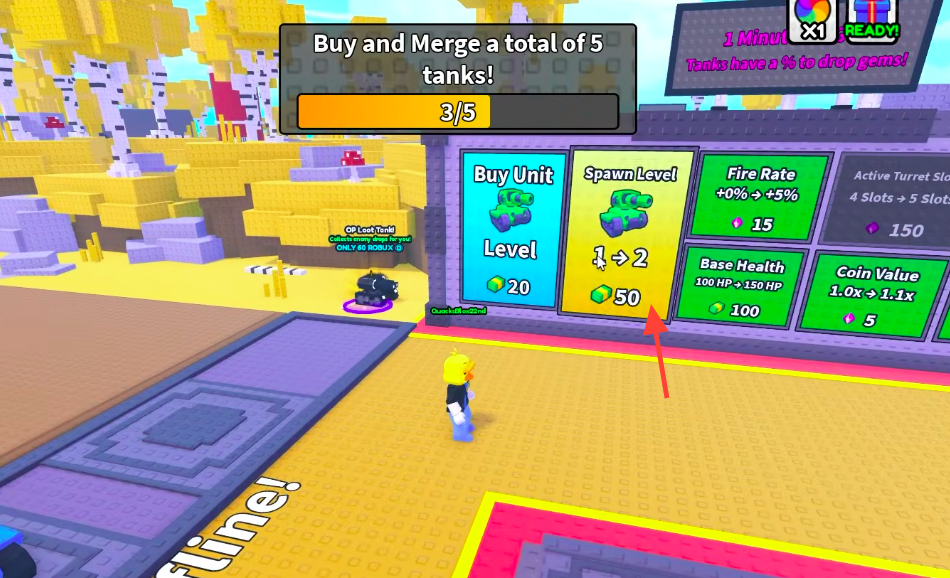
Building the strongest army in a Roblox tank-merging simulator comes down to one loop repeated over and over. You buy identical tanks, drag two of the same kind together to fuse them into the next tier, and use that stronger unit to clear tougher waves. Higher tiers add more DPS and new attack types, while crates, workers, and rebirths stack permanent boosts on top.
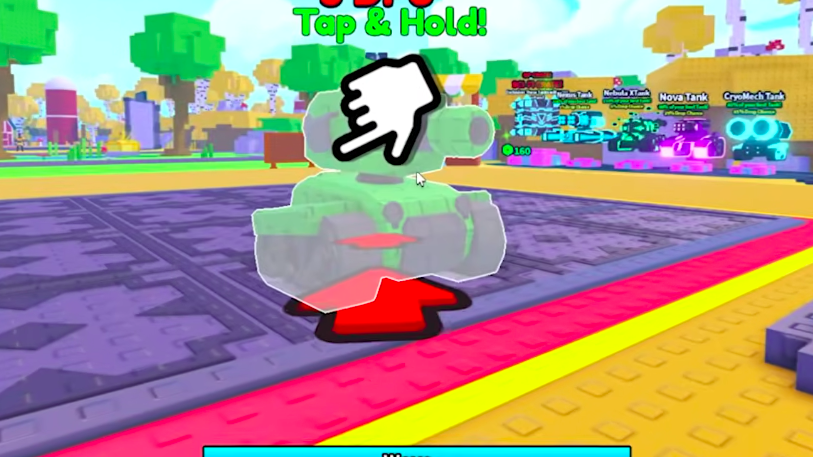
Quick answer: Place a tank, buy a second identical tank, then drag one onto the other to merge them into the next level. Repeat with each new tier, raise your spawn level so purchased tanks start higher, and rebirth once you hit the cash requirement to keep permanent multipliers.
The merge loop, step by step
Tank tier ladder
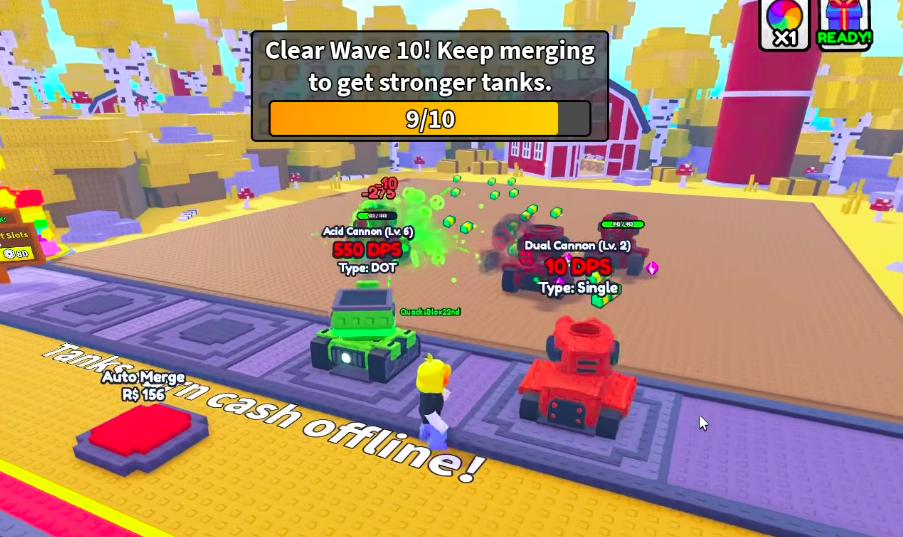
Each merge climbs to a new named tank with its own attack style. This is the early progression path from the starting cannon through the first rebirth.
| Level | Tank |
|---|---|
| 1 | Cannon |
| 2 | Dual Cannon |
| 3 | Minigun Tank |
| 4 | Explosive Tank |
| 5 | Energy Tank |
| 6 | Acid Cannon |
| 7 | Dual Explosive Tank |
| 8 | Dark Matter Tank |
| 9 | Electric Cannon |
The Index menu tracks your collection. Unlocked tanks appear as full icons, while ones you have not reached yet stay as locked silhouettes, so you always know how many tiers remain.
Waves, base health, and checkpoints
Enemies spawn in waves and march toward your base. Your job is to destroy them before they get through. Clearing waves also pushes you into new environments, such as the Desert World that opens up around Wave 21.
If your defenses fall behind, base health drains to zero and you are knocked back to an earlier checkpoint. Losing on Wave 15, for example, resets you to Wave 10 rather than the start. The fix is straightforward. Spend coins on more merges and stronger tanks instead of overinvesting in one slot, and raise your spawn tier so replacements come in strong after a wipe.
Crates and worker boosts
Crates hand out character “workers” that attach to a tank and raise its stats. Assigning a Rare Cowboy to an Acid Cannon, for instance, can lift that tank’s DPS to around 2.5K, which is a large jump for a single equip.
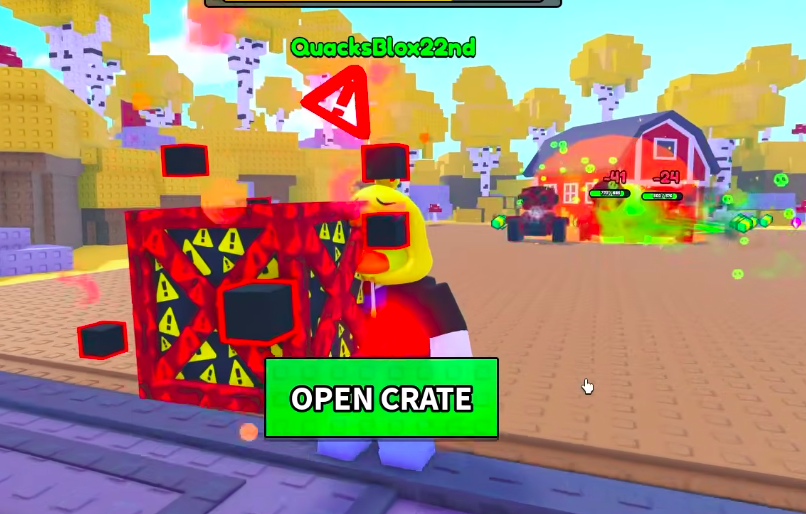
- Rare Crates cost gems, roughly 90 per pull, and can drop workers like the Wanderer.
- A secret Admin Crate can yield rarer workers such as the Cowboy.
- Equip a worker to your best current tank to squeeze the most value out of its bonus.
To keep gems flowing for crates, use the upgrade board to raise Gem Drop Chance alongside Coin Value. More gems means more crate pulls, and more coins means faster merges.
Rebirth and the Aether realm
Rebirth is the long-term progression system. Once you bank the cash requirement, currently around $50K, you can rebirth to reset your run in exchange for permanent bonuses. After rebirthing you start again at Wave 1, but with better multipliers you climb far faster than before and can push past your old ceiling into tanks like the Level 9 Electric Cannon.
Those permanent unlocks live in the Aether realm, where each rebirth adds lasting boosts that carry across every future run. The pattern is simple. Merge as high as you can, rebirth when the cost is affordable, then repeat with stronger starting stats each time.
Note: A rebirth wipes your placed tanks and current wave progress, so cash in only when the permanent boost is worth resetting. The moment it registers, you will see your stats restart at Wave 1 with the new multipliers applied, which is the clearest sign the rebirth succeeded.