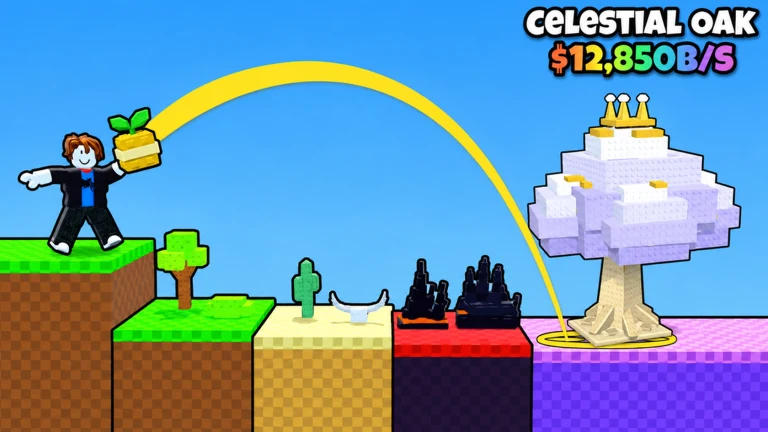
Luck in Throw a Seed comes from two numbers stacked together. There’s the multiplier on the seed you have equipped, and there’s the multiplier your throw builds up as the seed travels through each biome on the track. Once the seed stops, the game rolls for a plant using the luck where it landed plus any clover boost on that spot. A farther throw with a better seed gets you rarer plants, and rarer plants earn more cash per second for the next round of upgrades.
Quick answer: Equip your best Seed Shop seed (Golden Seed is 3.0x), then raise Throw Power on the pull-up bar so throws reach later biomes like Jungle (up to 7.67KX) and Bamboo Grove (37.8KX).
How Throw a Seed luck multipliers stack
Every plant roll is shaped by three things, and each one is controlled by a different part of the game:
- Biome luck: the LUCK number at the top of the screen, which climbs the farther the seed rolls down the track.
- Seed luck: the base multiplier of the seed you equipped in the Seed Shop, from 1.0x up to 10.0x.
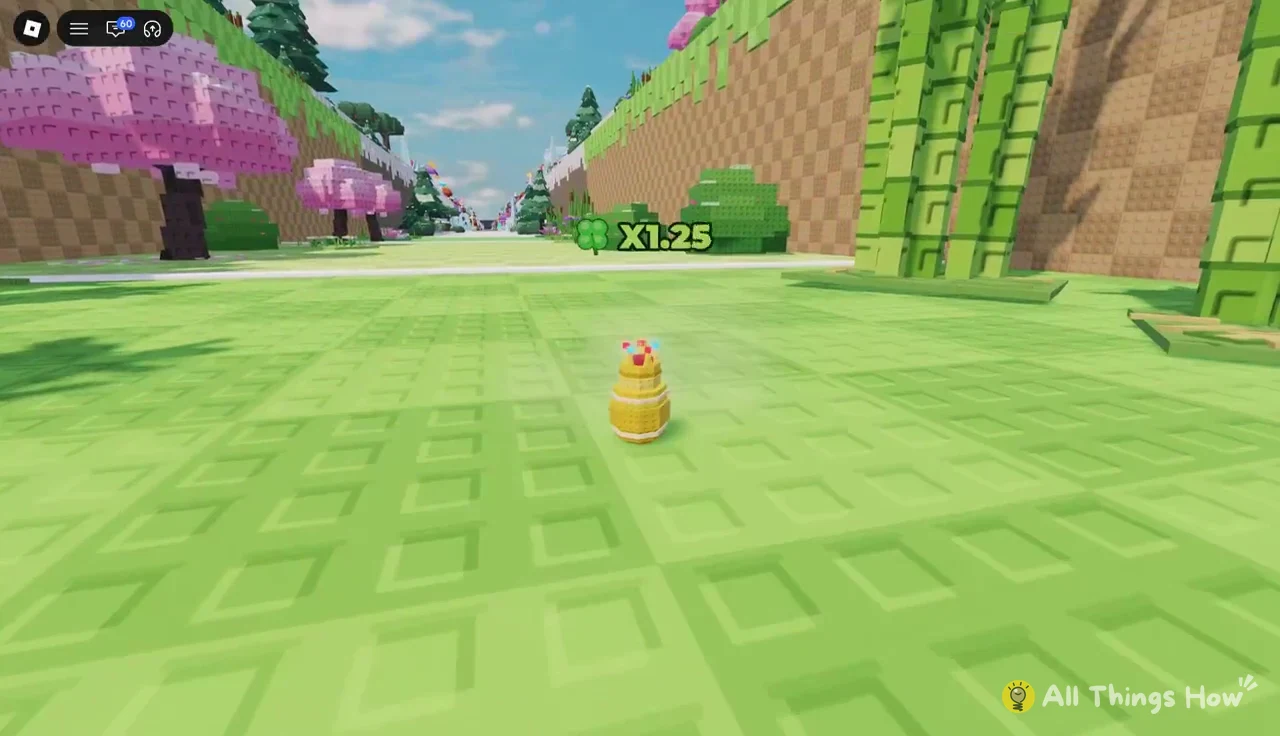
- Clover boost: a small extra multiplier, like x1.25 or x1.38, on the glowing circle where the seed comes to rest.
- Throw Power: no luck on its own, but it decides how far the seed goes and so which biome multiplier you get.
Biome luck has by far the widest range. The best seed in the shop tops out at 10.0x, while the biome multiplier goes from single digits in Meadow to tens of thousands in Autumn Woods and Bamboo Grove. So Throw Power, which gets you to those later biomes, does most of the work, and the seed and clover multiply on top of it.
Biome luck multipliers on the throwing track
The track runs through biomes in a fixed order, and the LUCK readout ticks up the whole way rather than jumping at each border. That’s why you’ll see different values inside the same biome depending on how deep into it the seed got. Here are the values the readout shows in each zone:
| Biome | Luck values shown |
|---|---|
| Meadow | 3.16X to 8.59X |
| Forest | 10.82X to 27.11X |
| Savanna | 42.64X to 53.21X |
| Desert | 100X to 181X |
| Tropical Beach | 303X to 452X |
| Swamp | 699X to 1.4KX |
| Jungle | 2.77KX to 7.67KX |
| Autumn Woods | 8.79KX to 29KX |
| Bamboo Grove | 37.8KX |
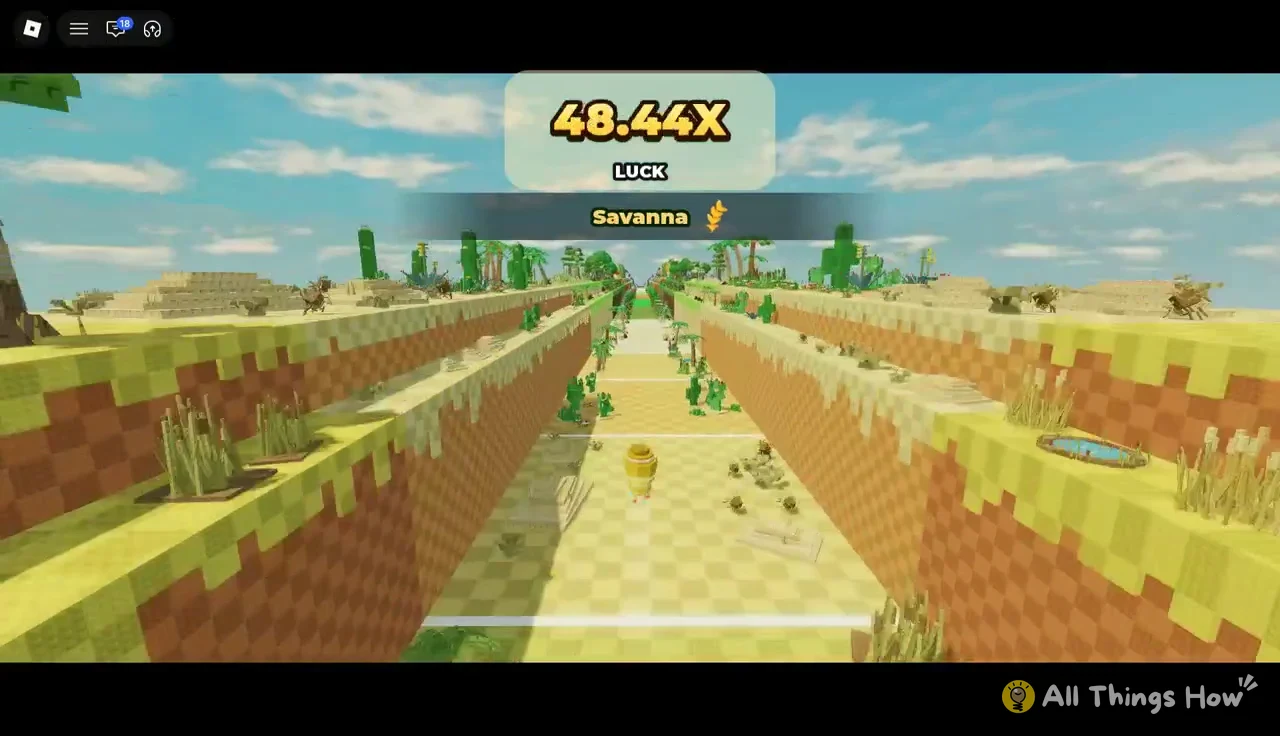
Each biome roughly doubles or triples the range of the one before it. Savanna sits in the 40s and 50s, with readouts like 48.44x partway through.
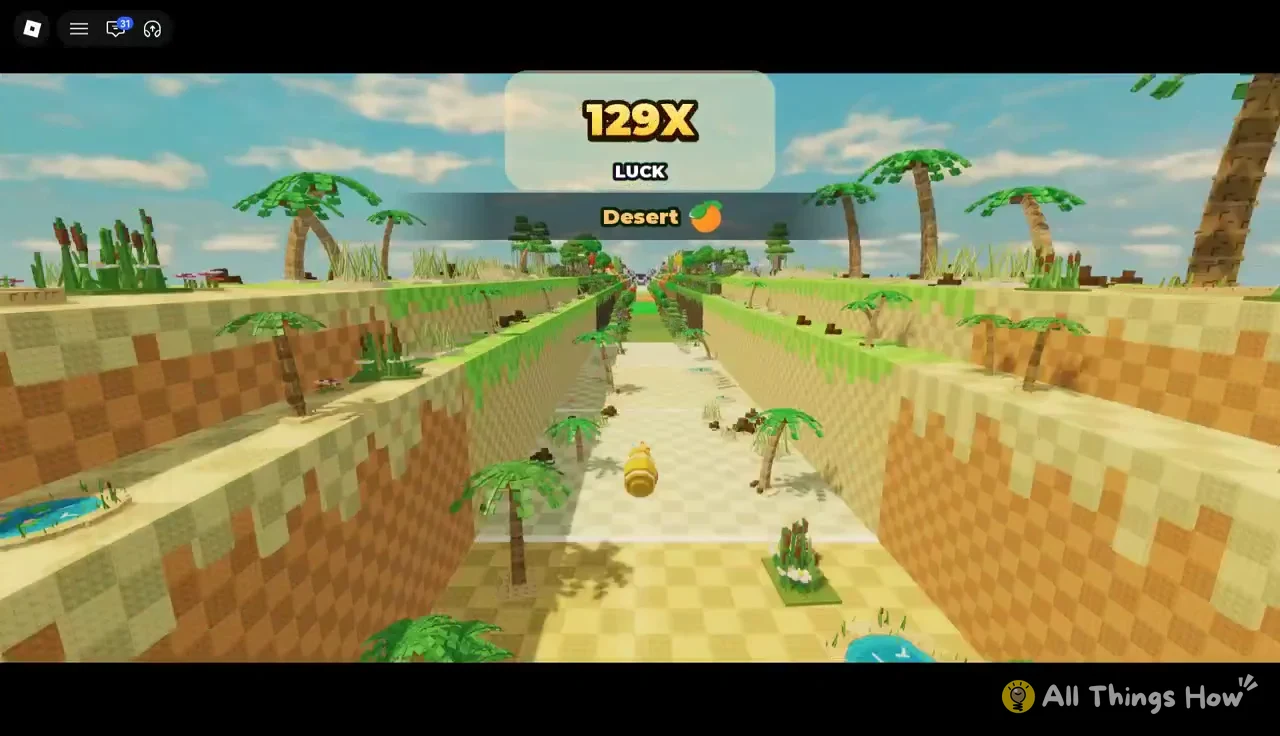
Desert is the first biome where luck passes 100X, and values like 129X show up in its middle section.
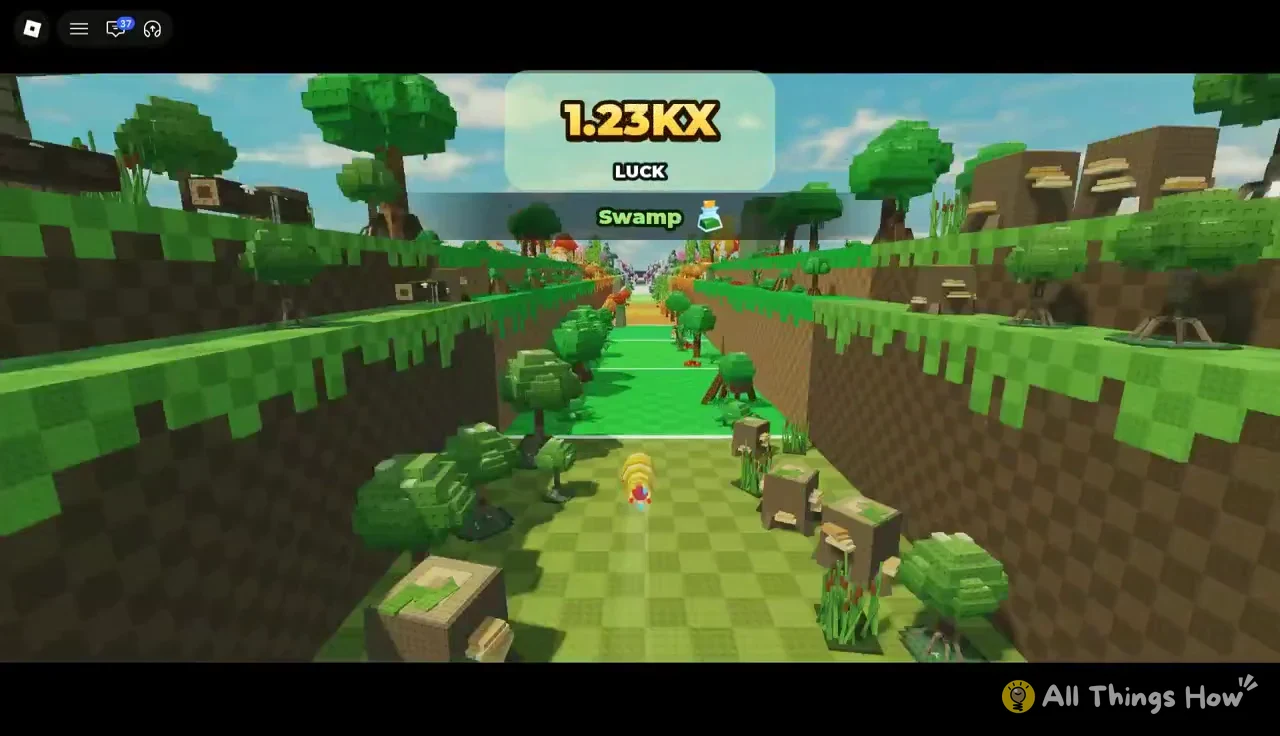
Swamp is where the readout switches to the “KX” suffix, which means thousands. A seed still in Swamp reads around 1.23KX, and once it reaches Jungle the number jumps into the 2.77KX to 7.67KX range.
Bamboo Grove comes after Autumn Woods at 37.8KX, and the track keeps going past it. Getting there takes a lot of Throw Power. On a Platinum Bar, Bamboo Grove came within reach at Throw Power level 358.
Seed Shop luck multipliers by tier
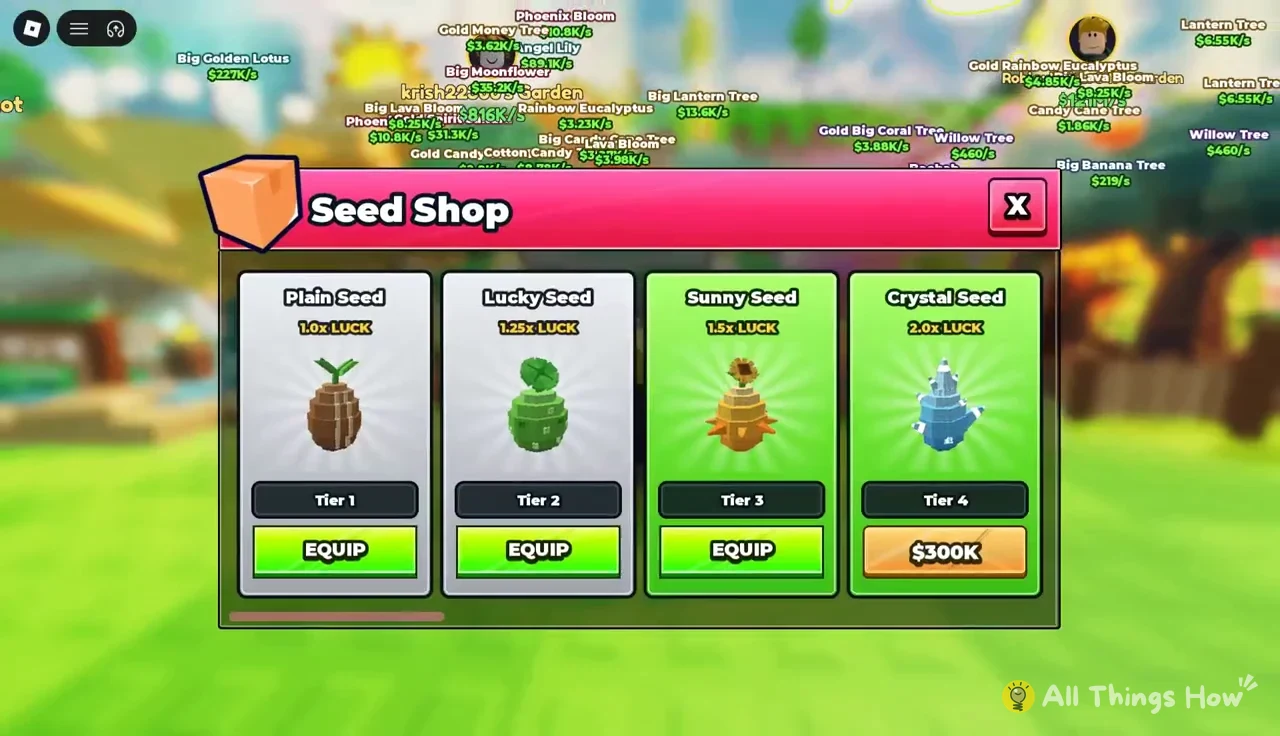
The Seed Shop is the SEEDS stall next to your garden. Each tier raises your base luck, and once you buy a seed you can switch to it with its equip button. You only throw the seed you have equipped, so make sure the best one you own is the active one before you head to the track.
| Tier | Seed | Luck | Price |
|---|---|---|---|
| 1 | Plain Seed | 1.0x | Starting seed |
| 2 | Lucky Seed | 1.25x | Not shown |
| 3 | Sunny Seed | 1.5x | Not shown |
| 4 | Crystal Seed | 2.0x | $300K |
| 5 | Magic Seed | 2.5x | $6M |
| 6 | Golden Seed | 3.0x | Not shown |
| 7 | Diamond Seed | 4.0x | Not shown |
| 8 | Lava Seed | 6.5x | $500B |
| 9 | Cosmic Seed | 10.0x | $15T |
Prices grow much faster than luck. Crystal Seed doubles your base luck for $300K, while Cosmic Seed costs $15T for 10x. The shop shows the price of the next seed you can buy and equip buttons for the ones you already own.
How to land a throw in a high-luck biome
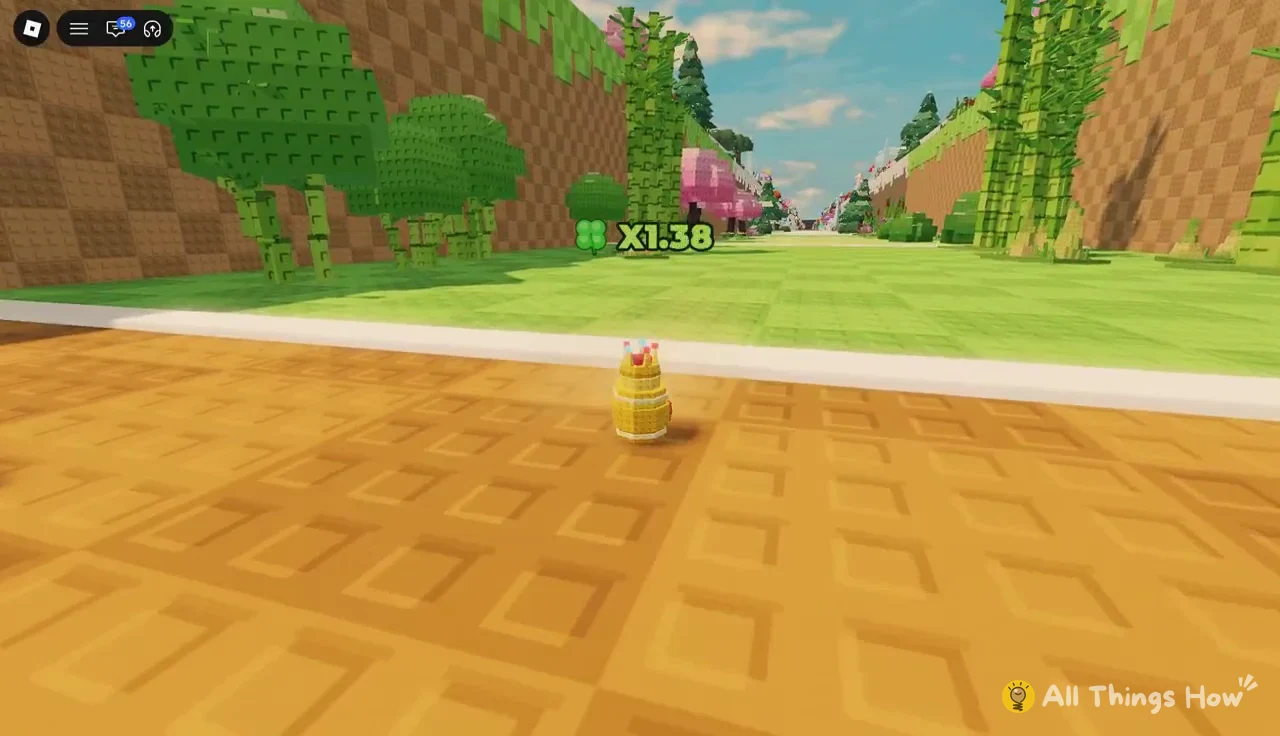
Clover boosts change from throw to throw. Another landing might only show x1.25, which still adds a quarter on top of whatever biome luck you reached.
Raising Throw Power at the pull-up bar
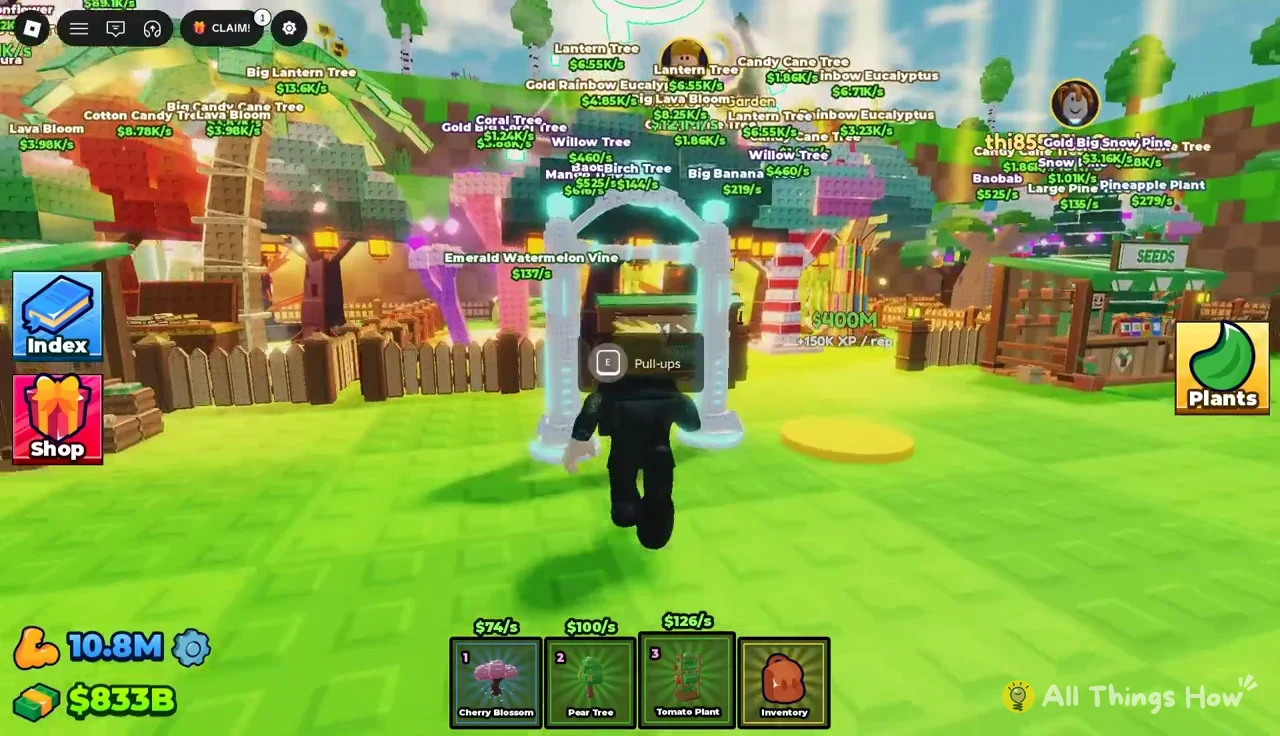
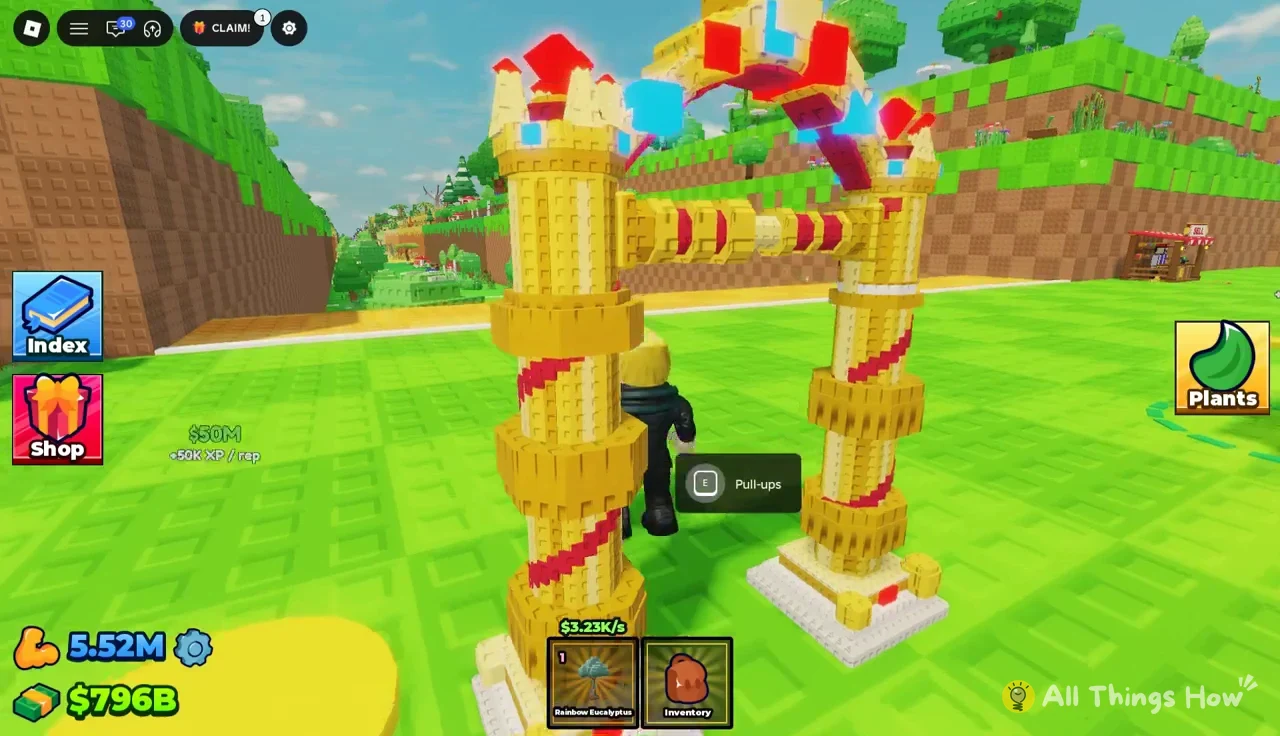
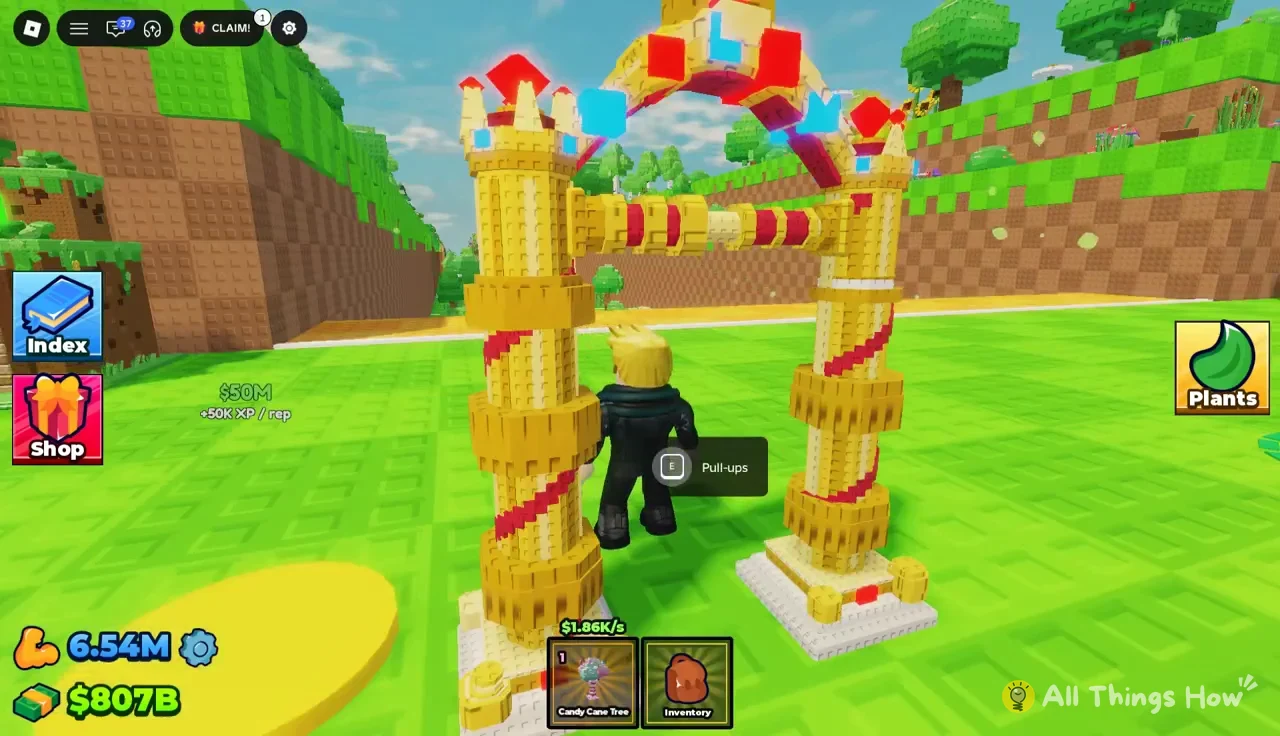
You get into those later biomes with Throw Power, and you train it at the pull-up station. Walk up to the bar and press E on the “Pull-ups” prompt to start. Your avatar keeps repeating the exercise on its own, and each rep adds XP toward the next Throw Power level.
While you train, a round purple “2x” button pops up above the bar. Clicking it speeds up training and doubles what you get from it, so tap it whenever it shows up instead of letting the bar run on its own.

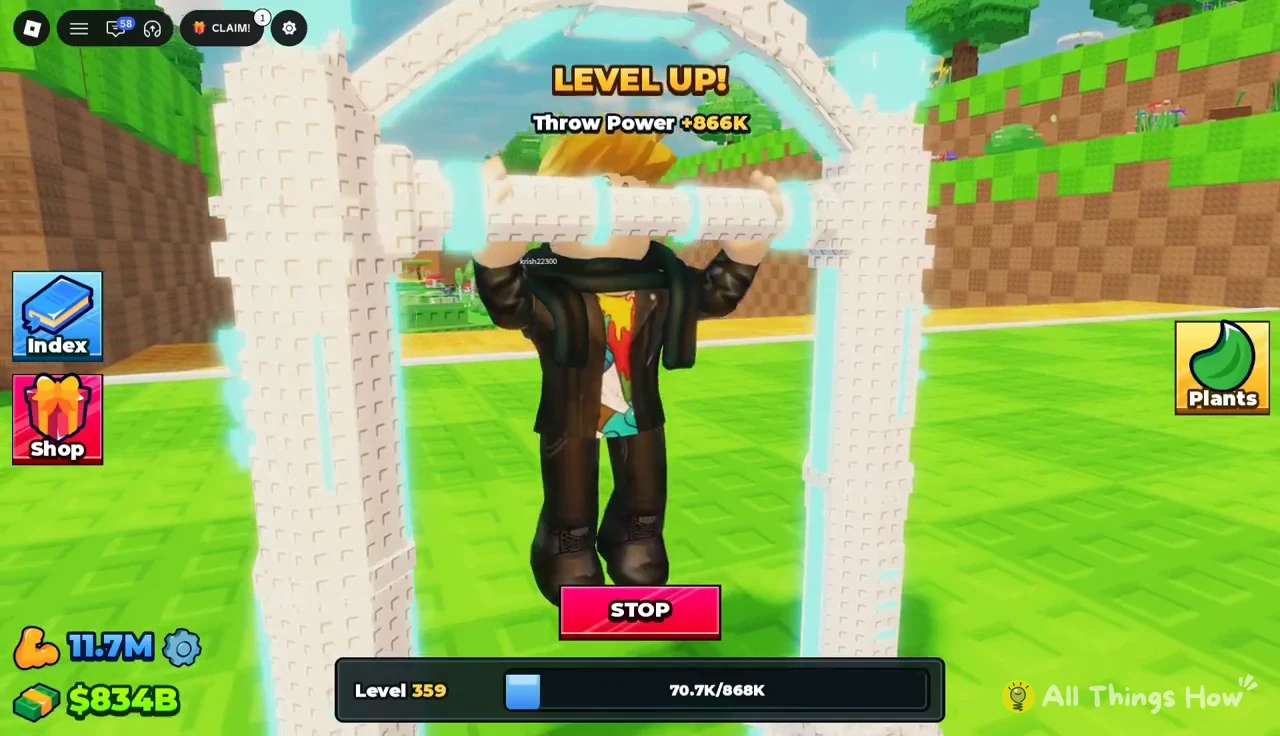
A progress bar under your character tracks XP toward the next level, and the red STOP button above it ends training when you want to go throw. Each level-up shows a Level Up notice for Throw Power.


Pull-up bar upgrades and XP per rep
| Bar | Cost | XP per rep |
|---|---|---|
| Titanium Bar | $2.5M | +4K |
| Gold Bar | $10M | +15K |
| Platinum Bar | $50M | +50K |
| Ruby Bar | $400M | +150K |
| Diamond Bar | $500B | +4M |
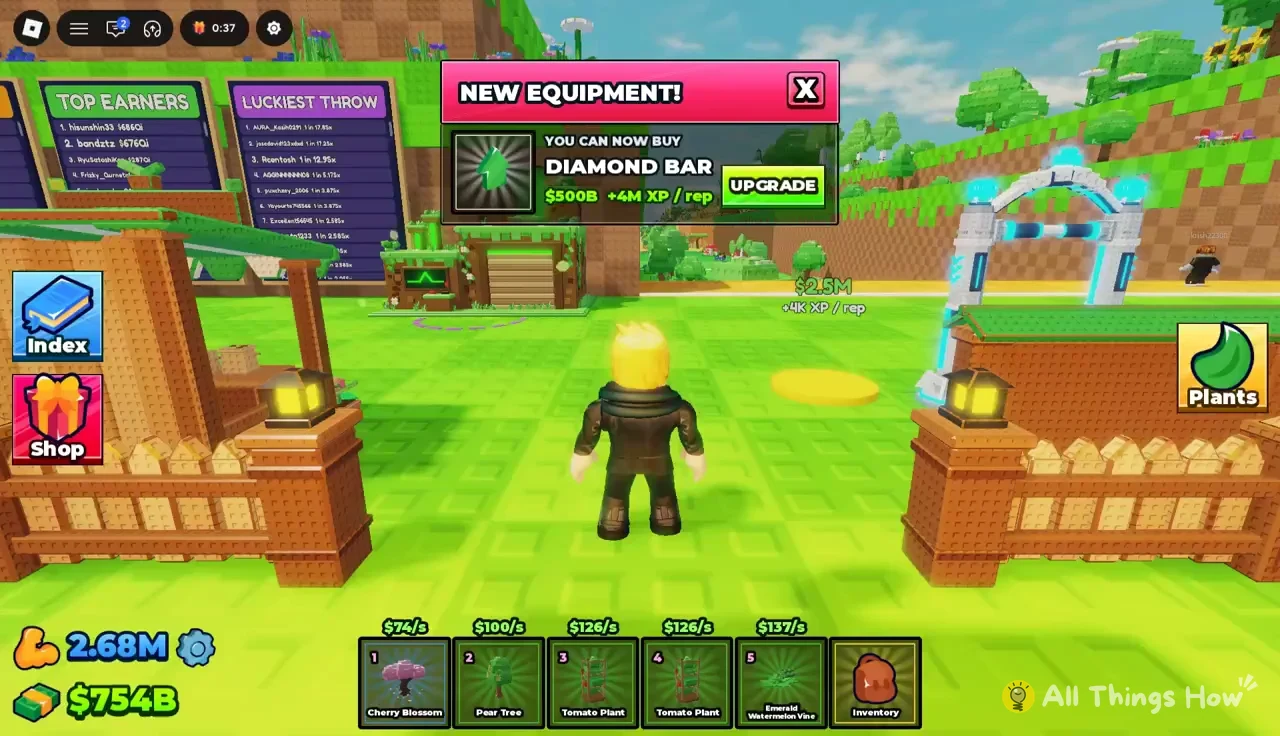
You buy each bar from the E: Upgrade prompt at the station. Going from Titanium to Gold almost quadruples your XP per rep for $10M, and Platinum more than triples it again for $50M. Once you can afford a new bar, a NEW EQUIPMENT! popup shows its price and XP per rep along with a green Upgrade button.
Plant odds and income at different luck levels
Rarities go from common plants up through Epic, Legendary and Mythic, with Eternal above that. Each roll result shows its “1 in” odds, and the rarest plants earn far more per second than the ones you get early on. These are the results from throws into Jungle, Autumn Woods and Bamboo Grove:
| Plant | Rarity | Odds | Income |
|---|---|---|---|
| Mango Tree | Epic | 1 in 7.5K | $616/s |
| Coral Tree | Epic | 1 in 20K | $1.24K/s |
| Candy Cane Tree | Legendary | 1 in 35K | $1.86K/s |
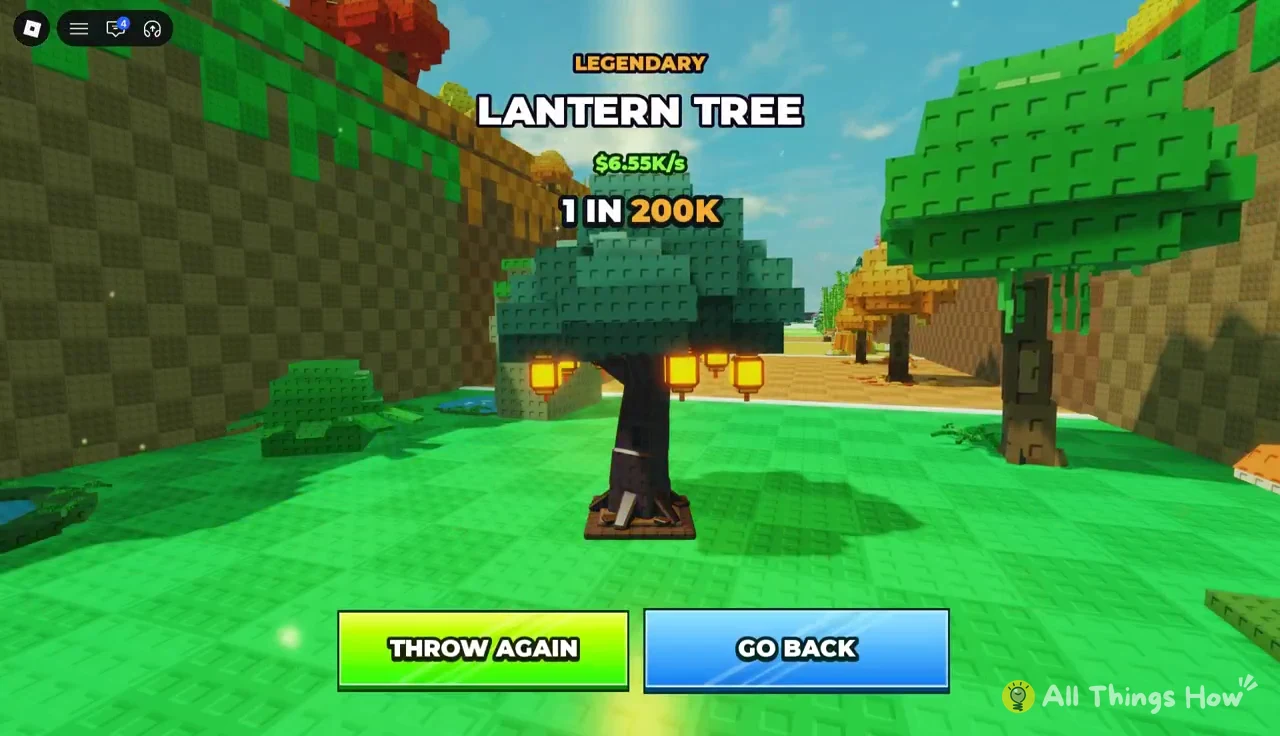
| Lantern Tree | Legendary | 1 in 200K | $6.55K/s |
| Big Rainbow Eucalyptus | Legendary | 1 in 262K | $6.71K/s |
| Phoenix Bloom | Mythic | 1 in 400K | $10.8K/s |
| Moonflower | Mythic | 1 in 750K | $16.9K/s |
| Diamond Spirit Sakura | Mythic | 1 in 13.8M | $62.6K/s |
Jungle throws with the 3.0x Golden Seed turn up Legendary plants like Lantern Tree and Big Rainbow Eucalyptus, but Jungle can still give you an Epic Mango Tree. Autumn Woods is where Mythic plants such as Phoenix Bloom start showing up, and a perfect throw into Autumn Woods produced the 1-in-13.8M Diamond Spirit Sakura. Bamboo Grove’s 37.8KX luck rolled a Mythic Moonflower.
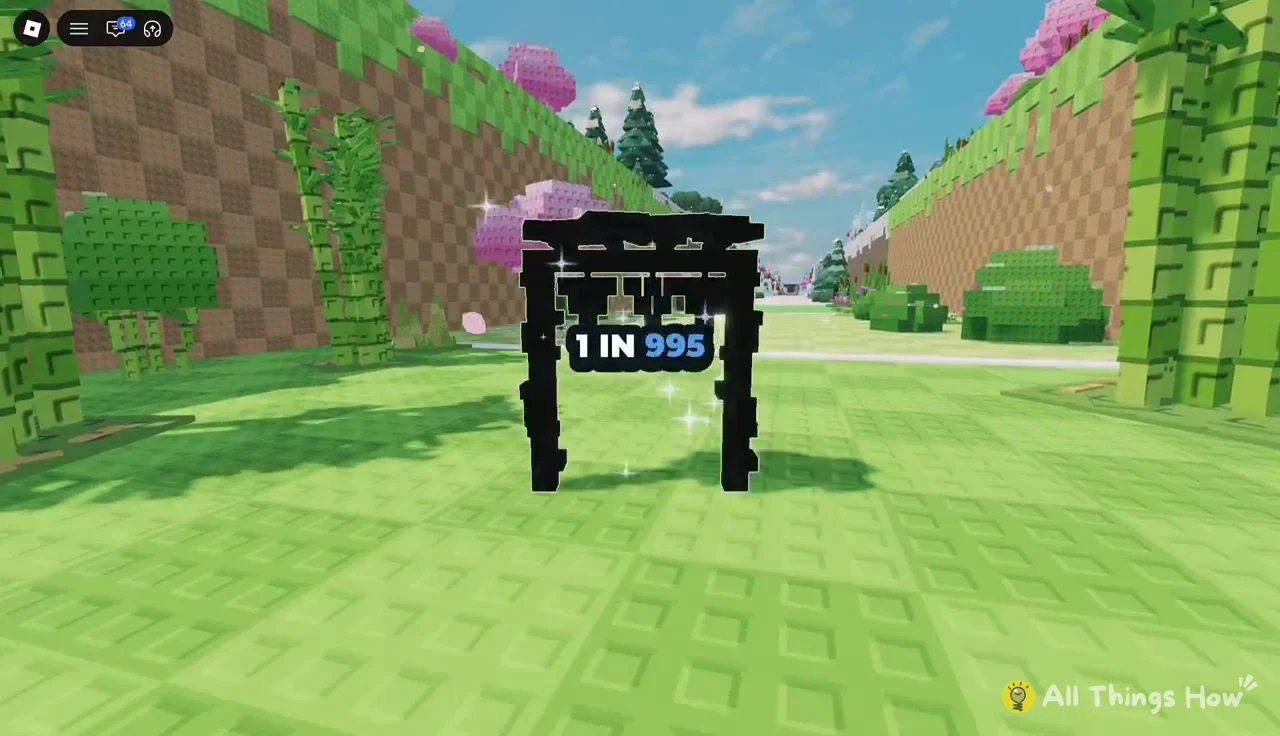
Odds markers also show up in the game world itself, like a sparkling black gate labeled 1 IN 995.
Garden space to fund better seeds and bars
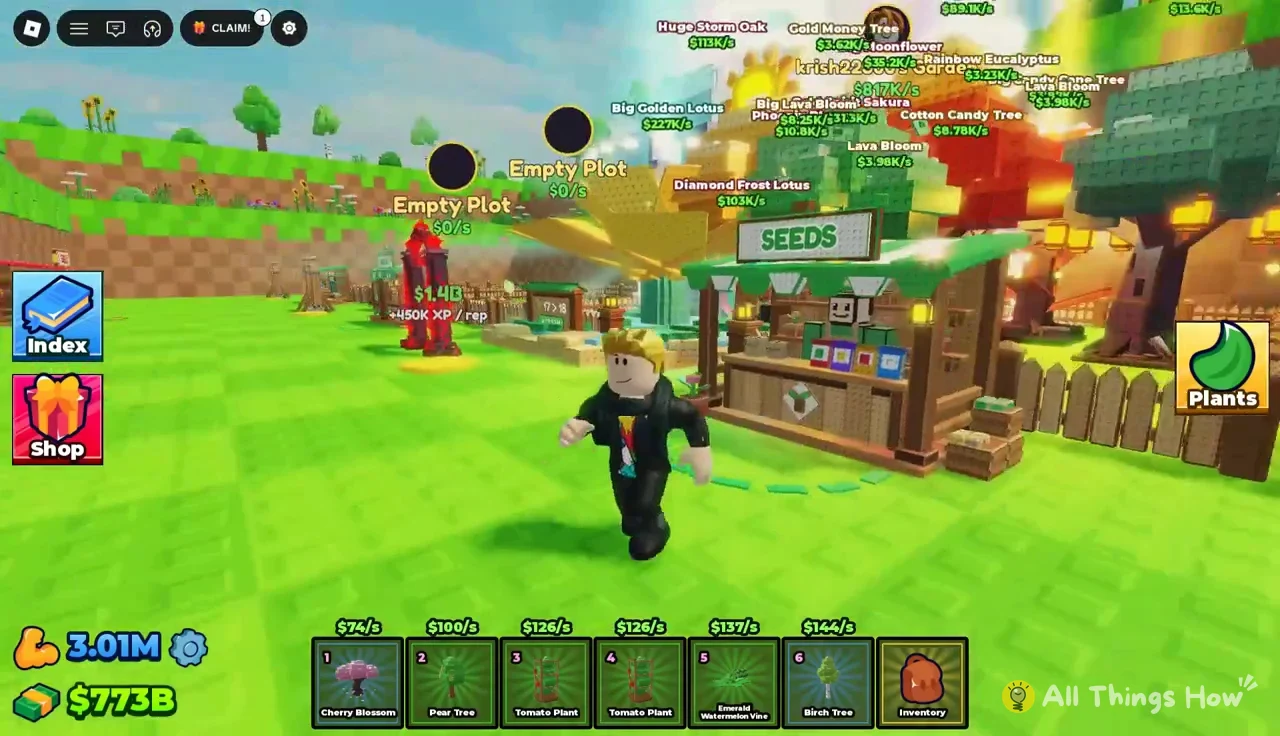
Every upgrade in the tables above costs cash, and the cash comes from plants sitting in your garden. A plot you haven’t filled shows as “Empty Plot” at $0/s, so a rare plant left in your inventory isn’t earning anything.

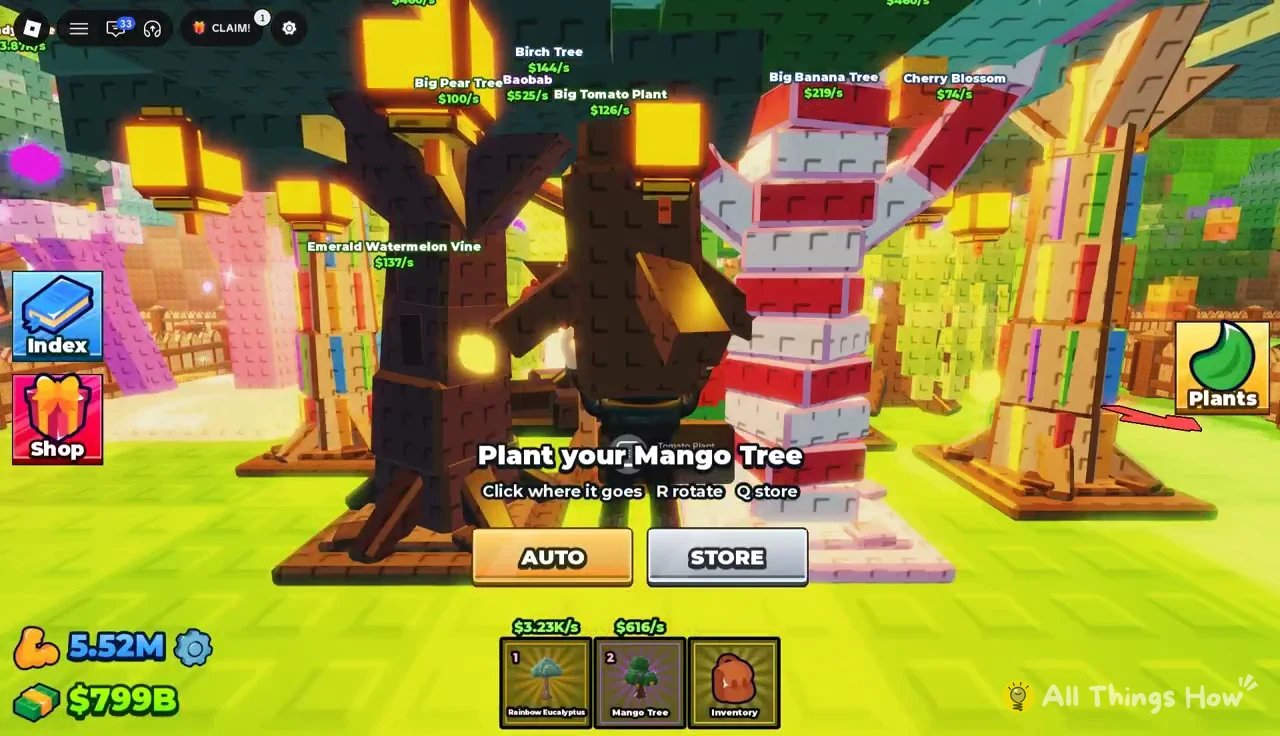
After a roll, the game prompts you to plant your new plant. You can position it yourself, press AUTO to let the game pick a spot, or press STORE to keep it in your inventory.
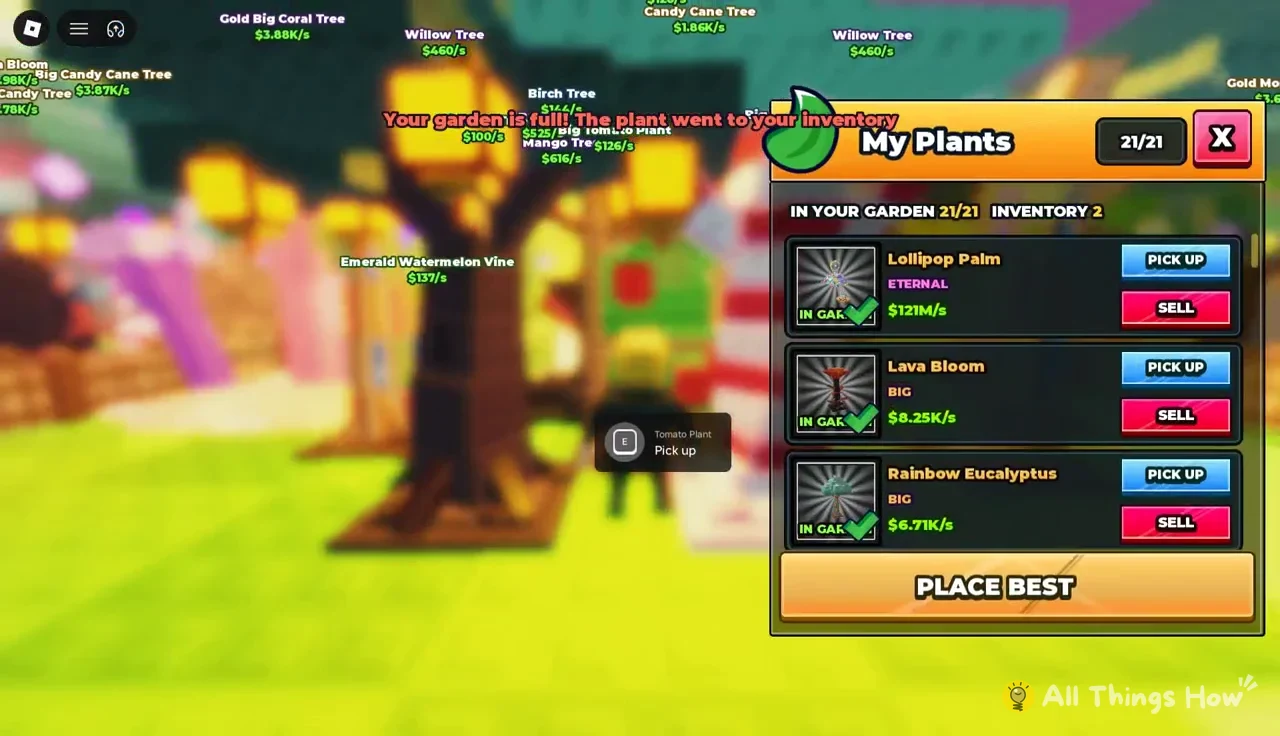
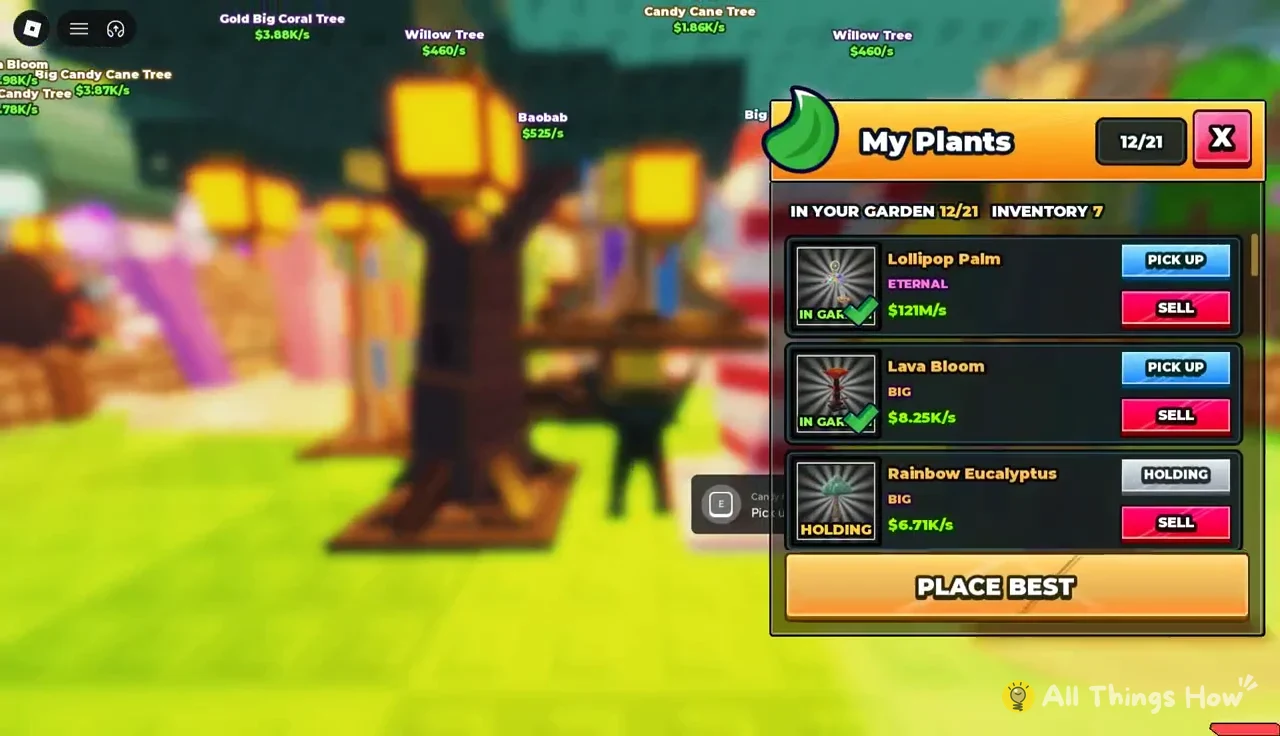
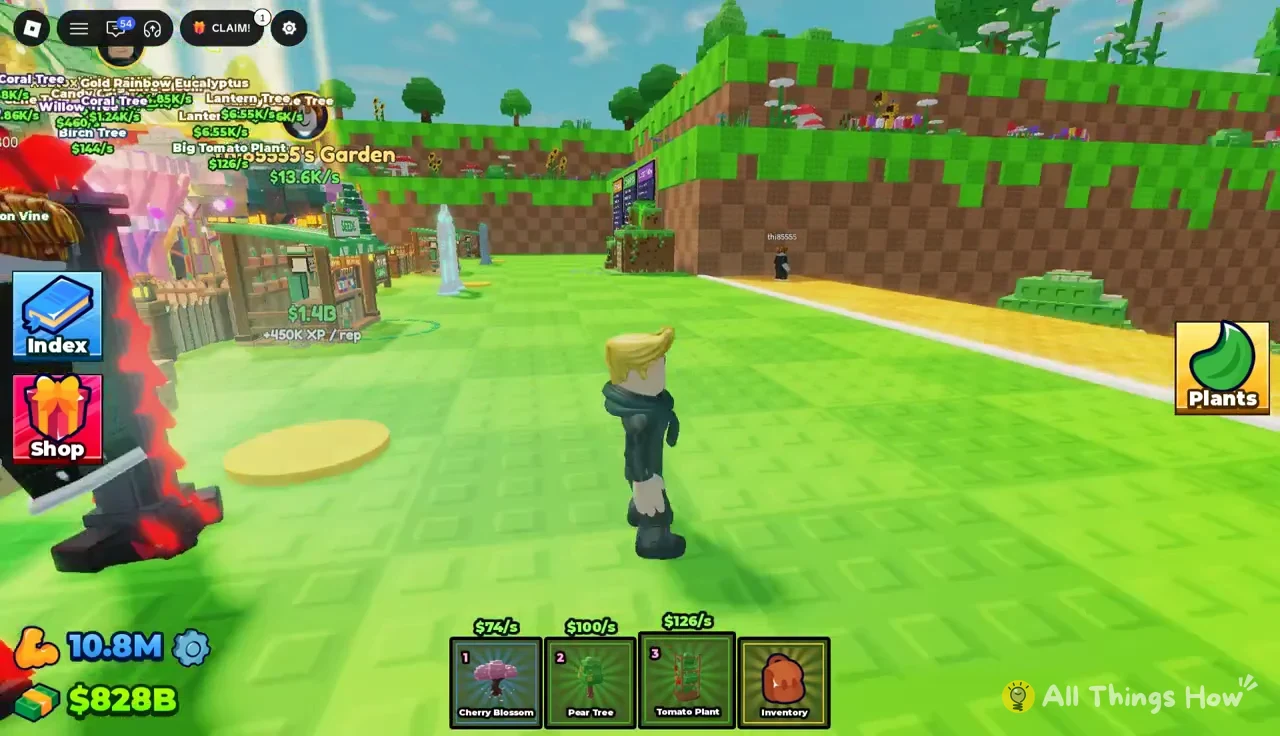
The Plants button on the right side of the screen opens My Plants, which lists everything you own and marks the one you’re holding. Its PLACE BEST button fills your garden with your highest earners, which is the fastest way to swap out weak plants after a good run of throws.
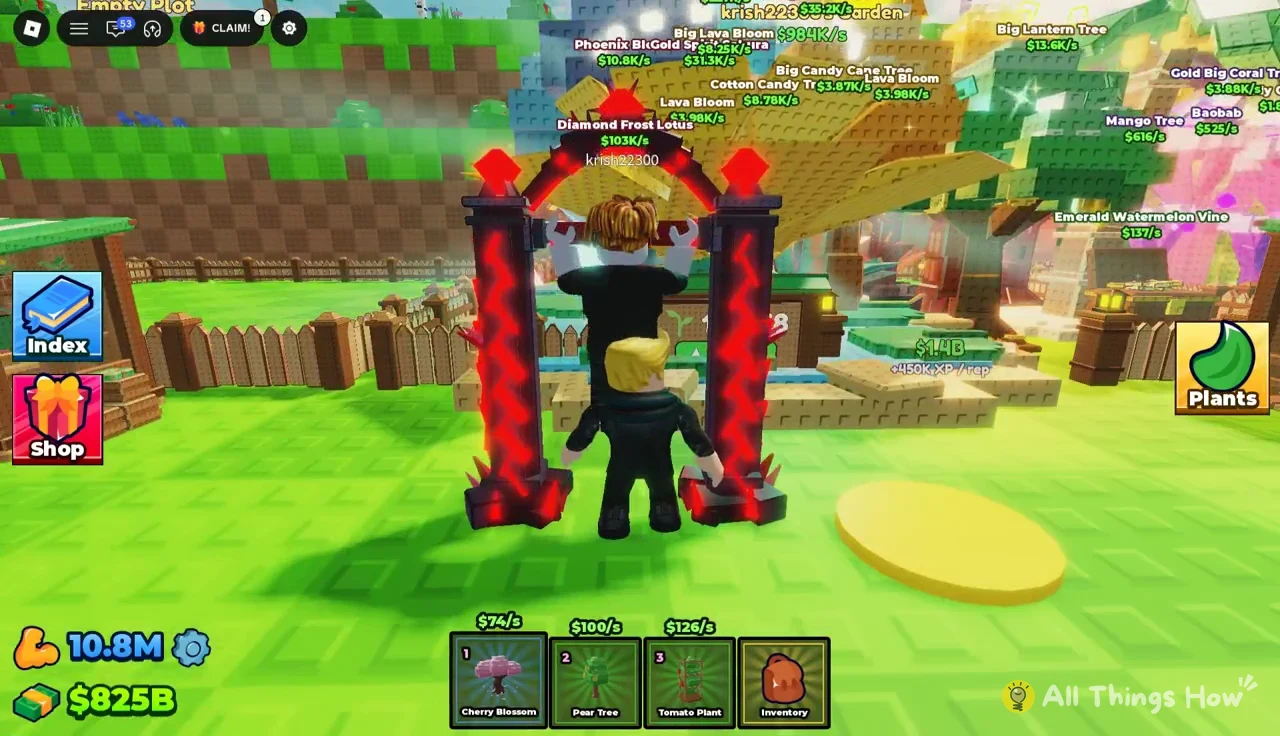
Plants you’re carrying sit in a hotbar at the bottom of the screen, and you can walk up to a placed plant and press E to pick it back up. Any plant you pick up goes to your inventory.
Garden capacity upgrade costs
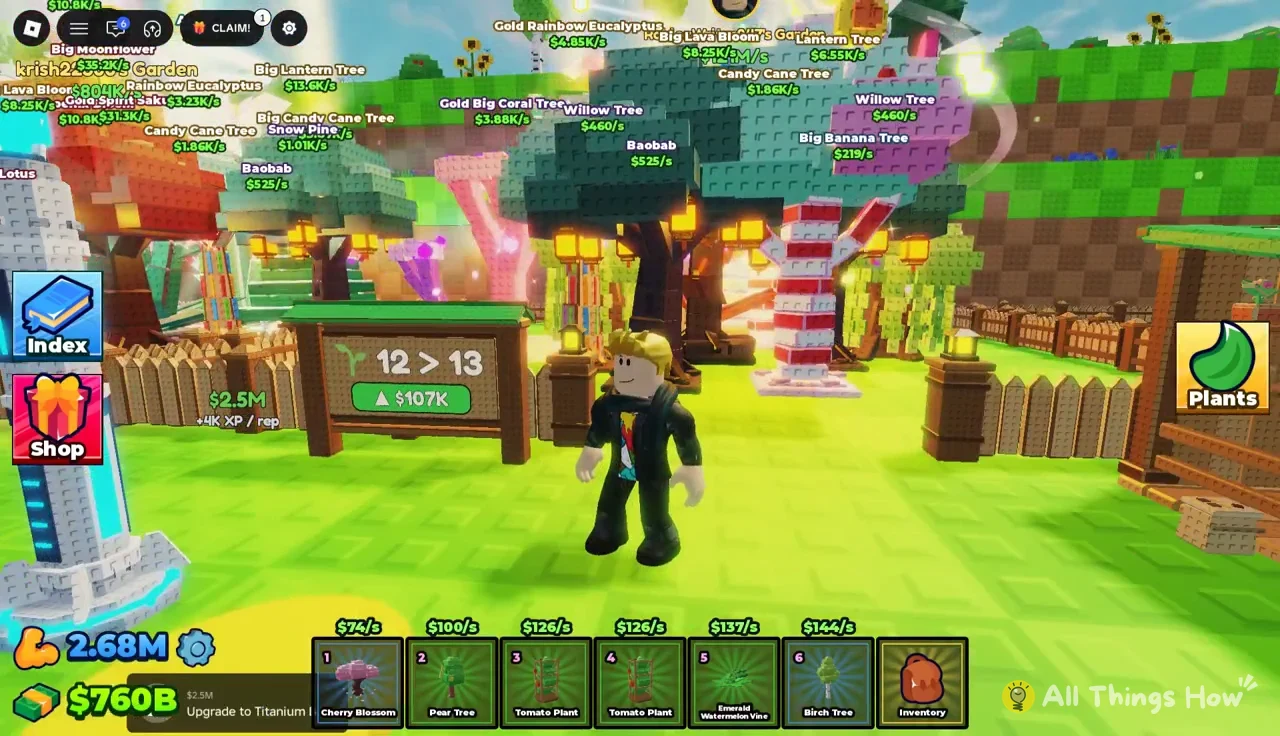
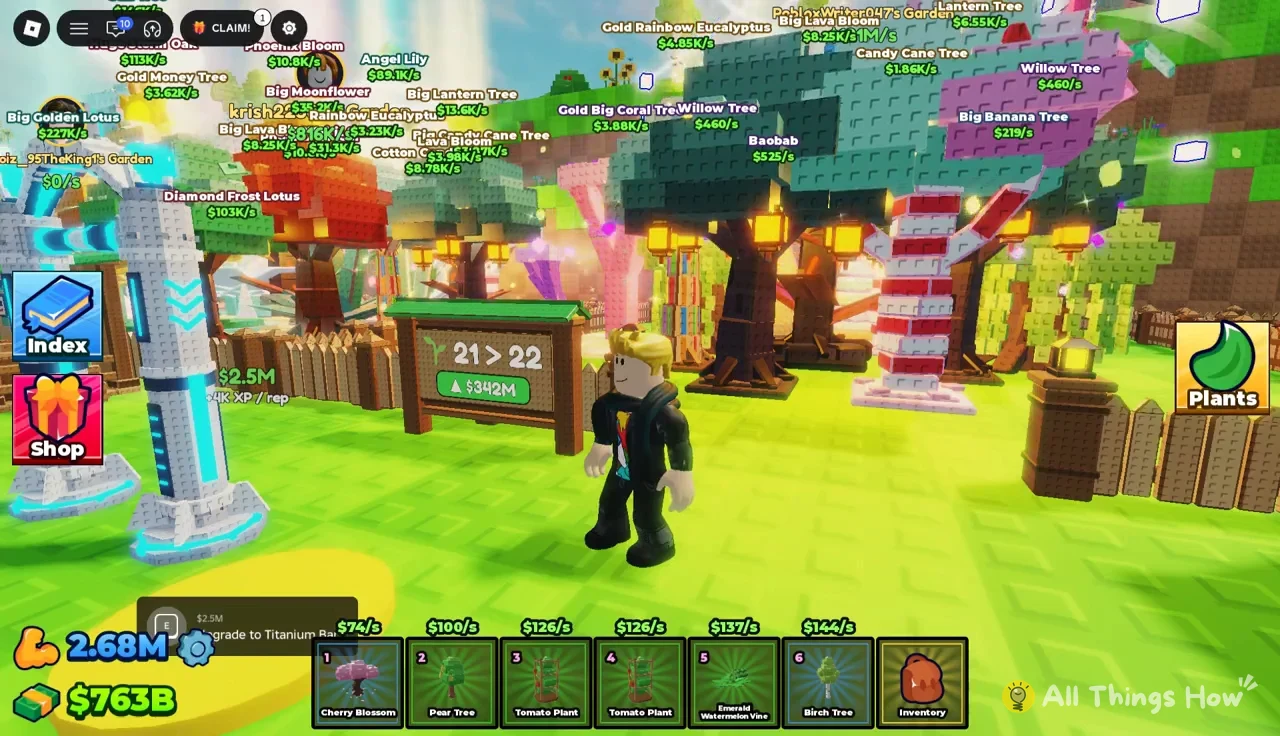
The level-up sign in your garden sells one extra plant slot at a time, starting from 12. Each step costs roughly two and a half times the last one.
| Capacity upgrade | Cost |
|---|---|
| 12 to 13 | $107K |
| 13 to 14 | $264K |
| 14 to 15 | $647K |
| 15 to 16 | $1.58M |
| 16 to 17 | $3.88M |
| 17 to 18 | $9.52M |
| 18 to 19 | $23.3M |
| 19 to 20 | $57.1M |
| 20 to 21 | $139M |
| 21 to 22 | $342M |
The sign’s green button shows the price of the next slot. The first expansion is $107K.
By the 21-to-22 step the price is $342M, which is more than a Platinum Bar and almost as much as a Ruby Bar. At that point you have to choose between another plant slot and more Throw Power training.
Other players in your server can send you plants as well. Hold a plant, walk up to someone, and press E to gift it. They’ll see a popup with the plant’s name, rarity, and income, plus Accept and Decline buttons and a 20-second timer. A gifted Legendary or Mythic tree fills a slot without a roll.
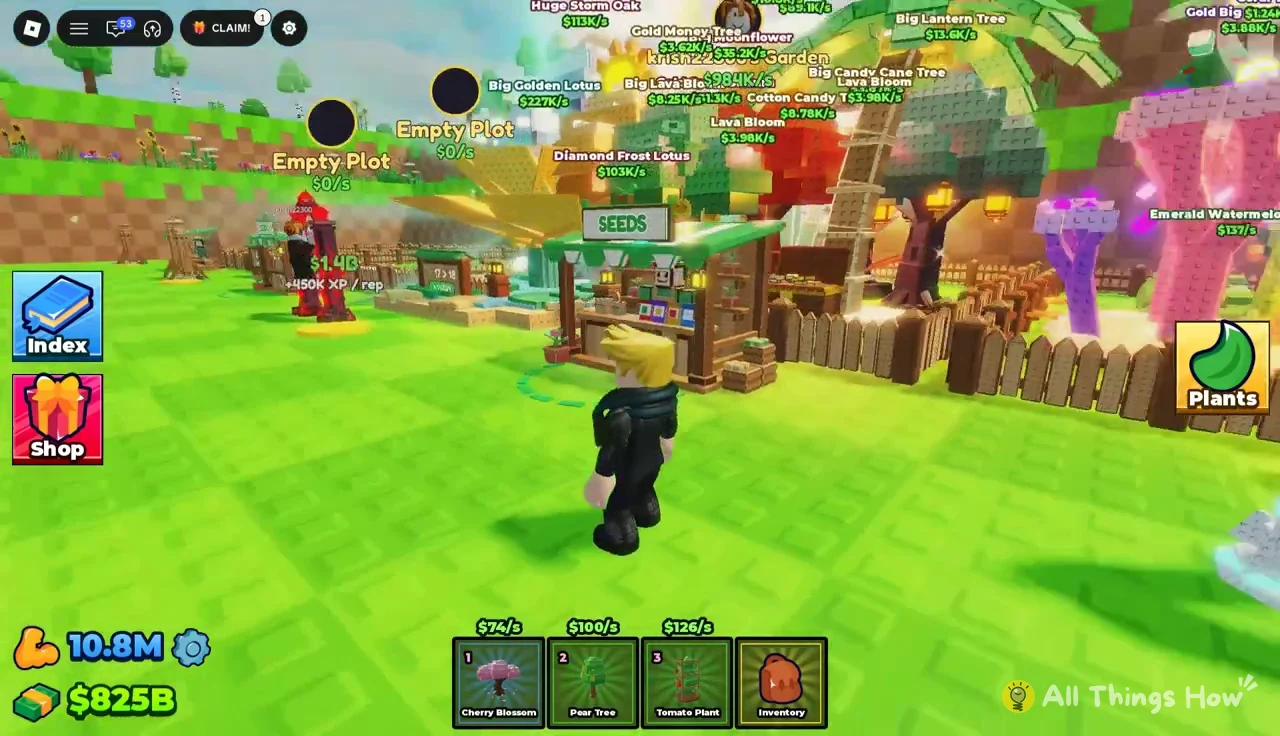
Your garden’s total income floats above your plot next to your name, and it’s the fastest way to check whether a new seed or bar is affordable yet. Once every slot holds a plant you rolled in Autumn Woods or Bamboo Grove, that number climbs quickly enough to start saving for the Lava Seed or the Diamond Bar.