
Sea Beasts are the Sea 2 bosses in Sailor Piece, and they behave nothing like the island bosses players are used to. There is no summon item, no fixed timer, and no marked arena. Spawns are gated by where you stand and how much bounty is on your head, which is why so many players end up sailing in circles without ever seeing one.
Sea Beast requirements in Sailor Piece
Two gates control whether a Sea Beast can appear for you at all. Miss either one and nothing will ever spawn, no matter how long you wait.
| Requirement | Detail |
|---|---|
| Sea 2 unlocked | Complete the Ancient Fragments quest (2 fragments) and the Map Pieces quest (7 pieces) for the Sea Traveler NPC on World Island. |
| Minimum bounty | 500,000 on the active character. |
| Position | Roughly 200–600 studs from any island, inside the Open Sea zone. |
| Global cap | Only one Sea Beast can exist in the server at a time. |
The Sea Traveler, who hands out those two quests, sits in the middle of World Island in Sea 1 and requires level 12,500 before he will talk to you. Ancient Fragments appear in random spots from a pool of about 20 locations per player, and Map Pieces come from bosses, mainly the Knight, Qin Shi, and Blessed Maiden on Boss Island.

Where Sea Beasts spawn
The spawn zone is the Open Sea band that sits between islands. The on-screen “Open Sea” indicator appears when you cross into it, but that alone is not enough. You also need to be far enough from land, somewhere in the 200 to 600 stud range from any island. A safe rule is to sail until you can no longer see land in any direction.


How bounty controls spawn rate
Spawn frequency scales with bounty. Your own bounty counts, and the bounty of nearby players stacks with yours, up to a combined cap of 50 million. Past that cap, extra bounty does nothing. This is why coordinated groups pull Sea Beasts far faster than solo players.
| Combined bounty nearby | Approx. spawn interval |
|---|---|
| ~10 million | Every 20–40 minutes |
| ~20 million | Every 5–15 minutes |
| 50 million (cap) | Fastest possible rate; consistently low-single-digit minutes with a full group |
A 12-player setup is the cleanest way to hit the cap. A common split is 8 players holding 9M–10M bounty, 3 players holding 10M–11M, and one carrier with around 20M. Everyone stacks in the same Open Sea spot, so the game reads all of their bounty at once.
On rare occasions, the server will spawn two Sea Beasts at once. When that happens, it is always one Kraken and one Sea Serpent, never two of the same creature, and it remains uncommon even at max bounty.
Sea Serpent vs Kraken
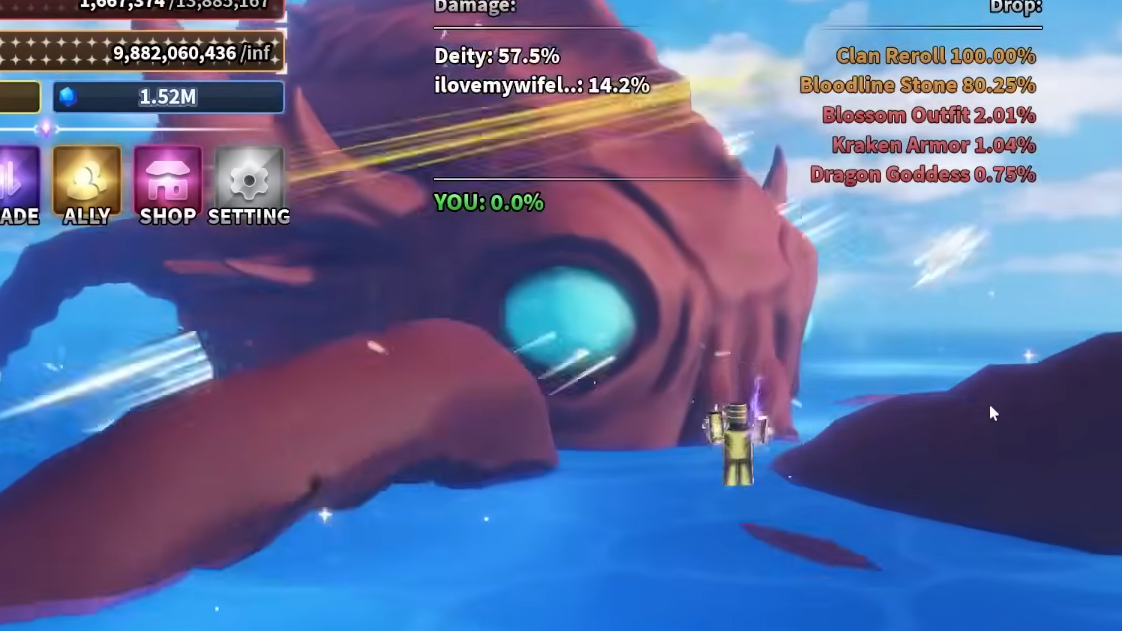
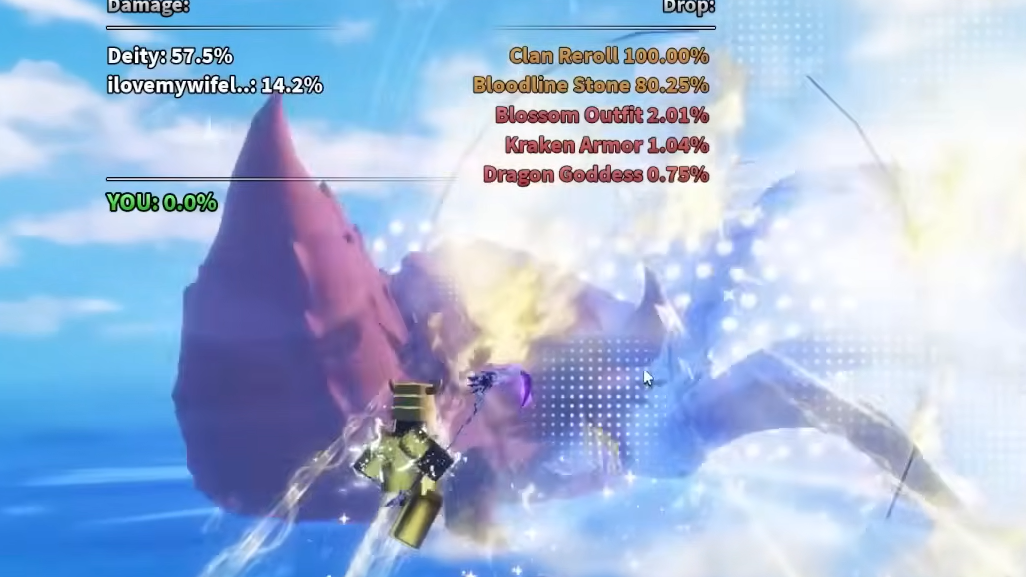
The two Sea Beasts share a drop table but differ in size. Kraken has double the HP and slightly higher roll chances on the rare items, which is the only real reason to prefer it.
| Boss | HP | Notes |
|---|---|---|
| Sea Serpent | 625B | Baseline Sea Beast. Faster to clear, lower rare drop odds. |
| Kraken | 1.25T | Double HP, better rare drop rates, same loot pool. |
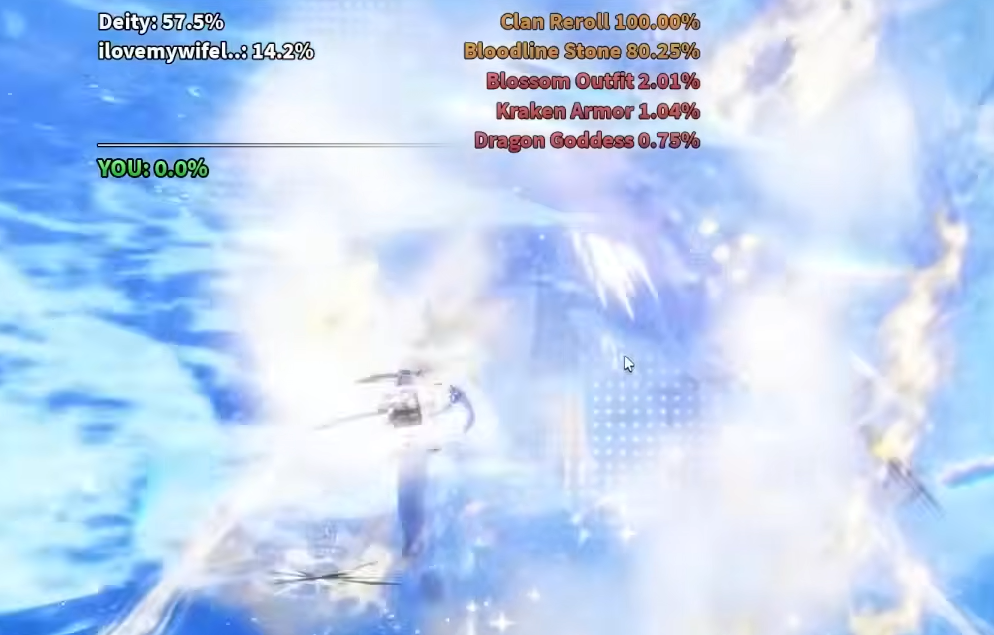
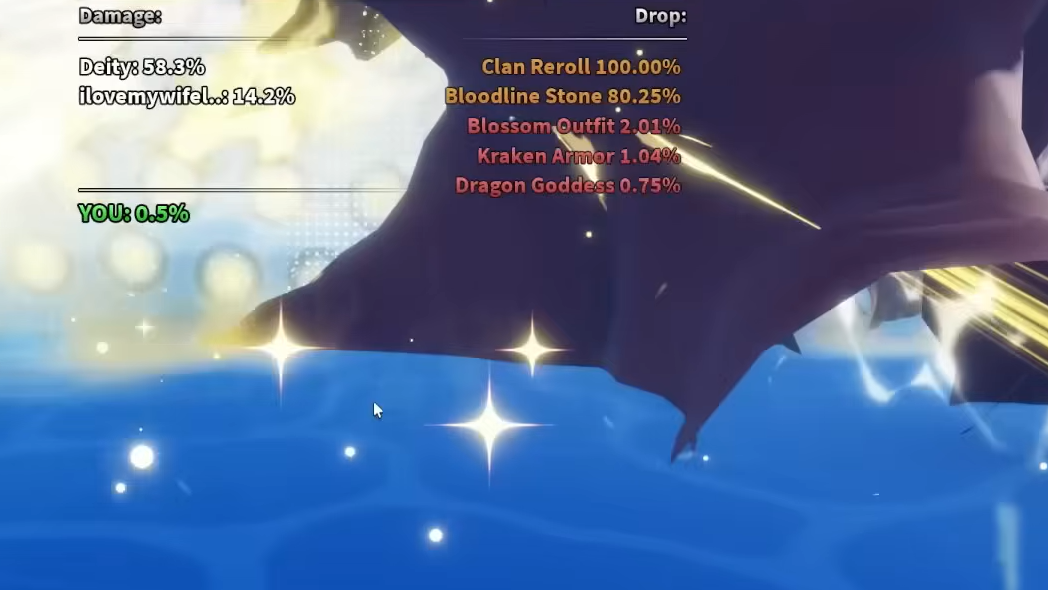
Sea Beast drops
Every kill gives a Bloodline Stone and a Clan Reroll. The cosmetic and gear rolls are independent, and a Dragon Queen Title has a 150-kill pity shared across both bosses.
| Drop | Sea Serpent | Kraken |
|---|---|---|
| Bloodline Stone | 100% | 100% |
| Clan Reroll | 100% | 100% |
| Blossom Outfit | 6.73% | 6.95% |
| Kraken Armor | 3.37% | 3.48% |
| Dragon Goddess (sword) | 2.02% | 2.88% |
| Dragon Queen Title | Guaranteed at 150 kills (pity) | |
Dragon Goddess is the headline reward and the main reason most players farm these bosses. Kraken Armor and Blossom Outfit are cosmetic/gear side rolls, and the Bloodline Stone plus Clan Reroll are useful for anyone still shopping for a new clan.
How to fight Sea Beasts efficiently
Sea Beasts are pure HP sponges, not mechanical fights. The efficient approach uses two loadouts: a luck build to register stat bonuses before the fight ends, and a damage build to actually chew through the health bar.
In a group with strong damage output, you can skip the damage swap entirely and stay in luck gear the whole fight. Shared damage keeps the boss dying fast enough that the risk of being killed mid-cast drops sharply.
Verifying a successful spawn and kill
You will know the zone is working the moment a Sea Beast model appears in the water near you and aggros. If the Open Sea indicator is on screen, your bounty is above 500K, and nobody in the server has an active Sea Beast, the only variable left is time.
On kill, Bloodline Stone and Clan Reroll land in your inventory every single time, so missing guaranteed drops means the kill did not credit to you. The rare rolls (Dragon Goddess, Kraken Armor, Blossom Outfit) either appear or they do not, and the Dragon Queen Title triggers automatically once the 150-kill counter fills.
If Sea Beasts are not spawning at all, the usual causes are sitting inside the island boundary, standing more than ~600 studs out, having under 500K bounty, or another player in the server already holding the single global Sea Beast slot. Fix those four, and the spawn will trigger on its normal bounty-driven timer.