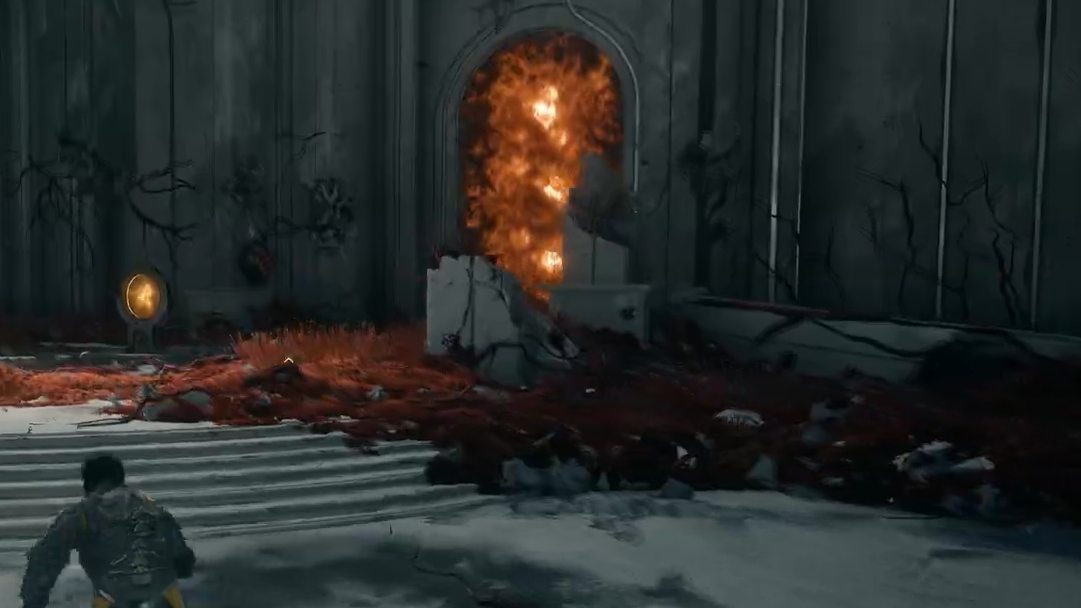
Orange walls show up early in Saros, tucked into side rooms across Shattered Rise, the first biome on Carcosa. Their glowing orange section makes them easy to spot, and they always hide a reward worth grabbing. Bullets and melee strikes do nothing to them, which is why so many players walk past, assuming they need a late-game ability.
What you need to break orange walls
Orange walls only respond to a Power Weapon blast. The first one Arjun picks up is the Prominence, found inside Biome 1: Shattered Rise, the same place these walls start appearing. The timing works out so you almost always have the right tool on hand the moment you encounter your first wall.
Power Weapons run on the Power charge bar, the same resource your shield uses. The bar fills as you damage enemies and, more efficiently, by absorbing blue projectiles with your shield (R1). If the bar is not full enough, the Power Move simply will not fire.

How to fire the Prominence

What drops behind the wall
Each broken orange wall reveals a glowing container that gives you a choice between two items. Whatever you skip disappears, so the pick is final. Possible rewards include the following:
| Reward | Why it matters |
|---|---|
| Carcosan Keys | Open locked containers and gated doors during a run |
| Artefacts | Passive buffs that stack across the run |
| Weapons | New main weapons, sometimes at higher Proficiency |
| Halcyon | Permanent currency for major Armor Matrix upgrades |
| Aether | Restores Armour Integrity (health) |
| Power Weapons | Swap or upgrade your current Power Move |
| Enhancers | Improve weapon traits and stats |
Halcyon and Carcosan Keys are the rewards most worth chasing, since both feed directly into long-term progression and run-saving moments later on.

If the blast does not fire
The most common reason the Prominence fails to break a wall is an empty or partially filled Power charge bar. The Power Move requires a full segment to fire. Hold R1 to raise your shield and absorb blue projectiles from any nearby turrets or mechanisms, or push back through the previous room and clear more enemies. Once the bar is topped up, the L2 plus R2 input releases the blast normally.
Orange walls vs other barriers
Saros uses several colored barriers, and each one wants a different solution. Mixing them up is what trips most players up early on.
| Barrier | How to break it | Available from |
|---|---|---|
| Red barrier | Melee with R1 | Start of game |
| Orange wall | Power Weapon blast (L2 + R2) | Shattered Rise (Biome 1) |
| Yellow barrier | Blazing Strike permanent upgrade | Act 3, Yellow Shore biome |
The Broadside trophy is also tied to the Prominence. Knocking out five enemies in a single Prominence blast unlocks it, which is much easier when a tight group of weaker enemies is bunched up near a corridor. Keep an eye out while clearing rooms on the way to your next orange wall, and the trophy often comes naturally.