Scare your neighbor puts its whole progression on one long street. Each house belongs to a rarity zone, and every zone past Common asks for a higher Scare Level and Speed before its resident will give up a package. The further you walk from your plot, the bigger the numbers, starting at 800 Scare in Uncommon and climbing to 45 million in Horror.
Quick answer: Zones run Common, Uncommon, Rare, Epic, Legendary, Mythical, Cosmic, Secret, Horror. Raid the furthest house whose roadside board shows recommended Scare and Speed you already meet.
Scare your neighbor zone requirements, in street order
The zones sit in a straight line down the main road. Common houses are the ones right outside the player plots, and each zone after that sits a little further away. The table lists them in the order you reach them on foot.
| Zone | Recommended Scare | Recommended Speed | Resident |
|---|---|---|---|
| Common | None listed | None listed | — |
| Uncommon | 800+ | 2,500 | — |
| Rare | 4,500+ | 5,000 | Police Officer |
| Epic | 18K+ | 20K | Strong Man |
| Legendary | 80K+ | 85K | — |
| Mythical | 320K+ | 350K | — |
| Cosmic | 1.1M+ | 1.2M | Slenderman |
| Secret | 8M+ | None listed | Red horned demon |
| Horror | 45M+ | 50M | Jack-o’-lantern head |
Each step up is a big jump. Going from Rare to Epic means roughly quadrupling both stats, and the gap only widens from there. That is why most of your time goes into training on your plot rather than walking the street, and why it pays to push stats well past a zone’s threshold before you move up.
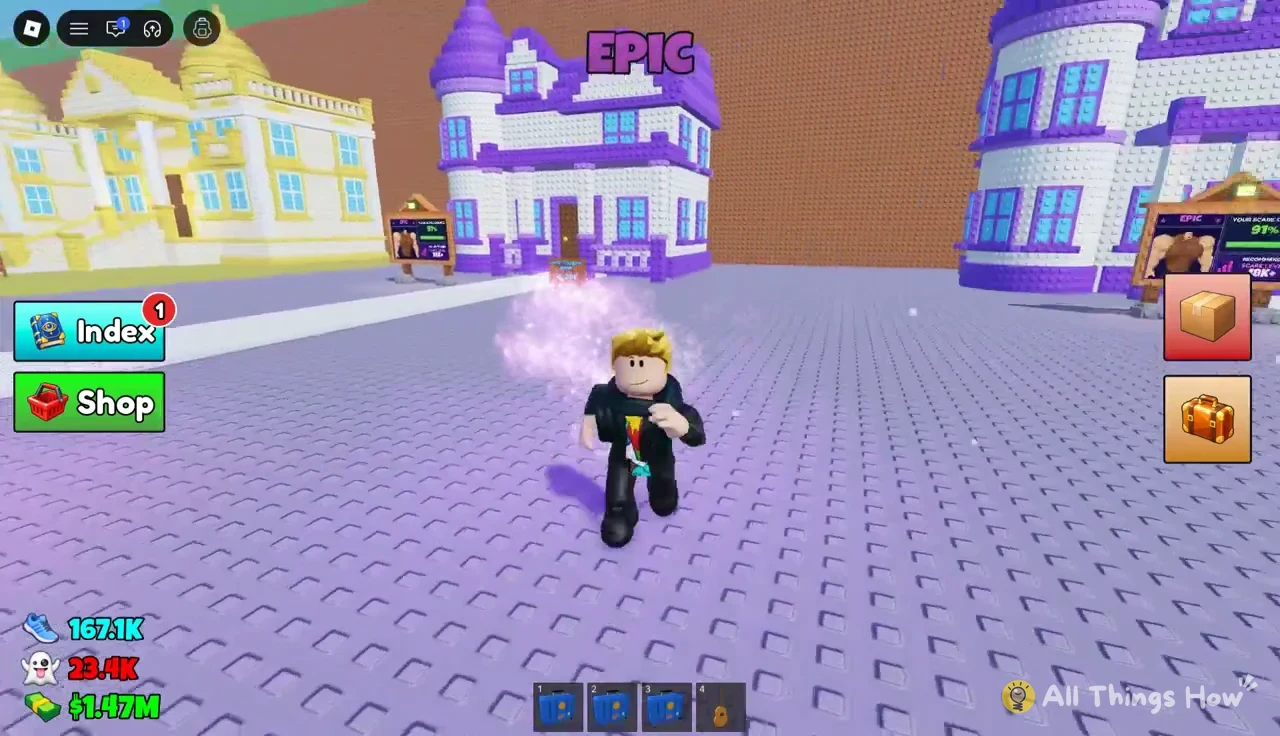
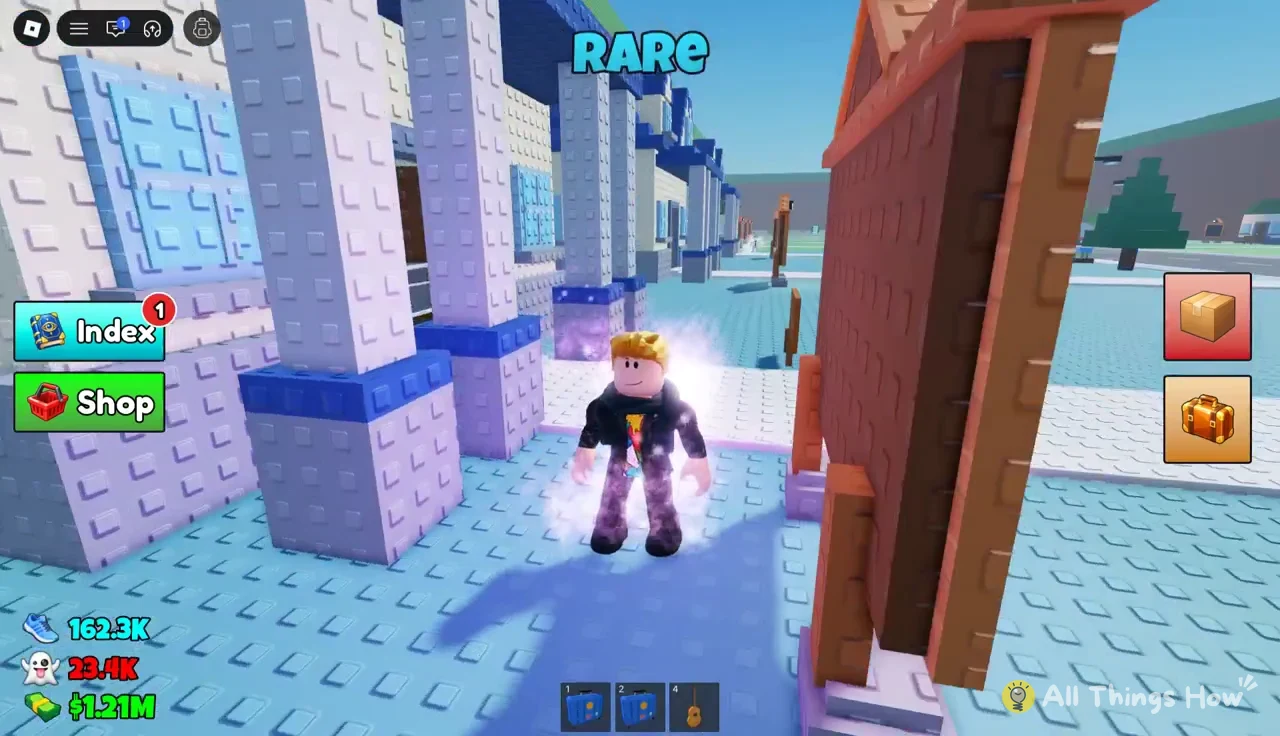
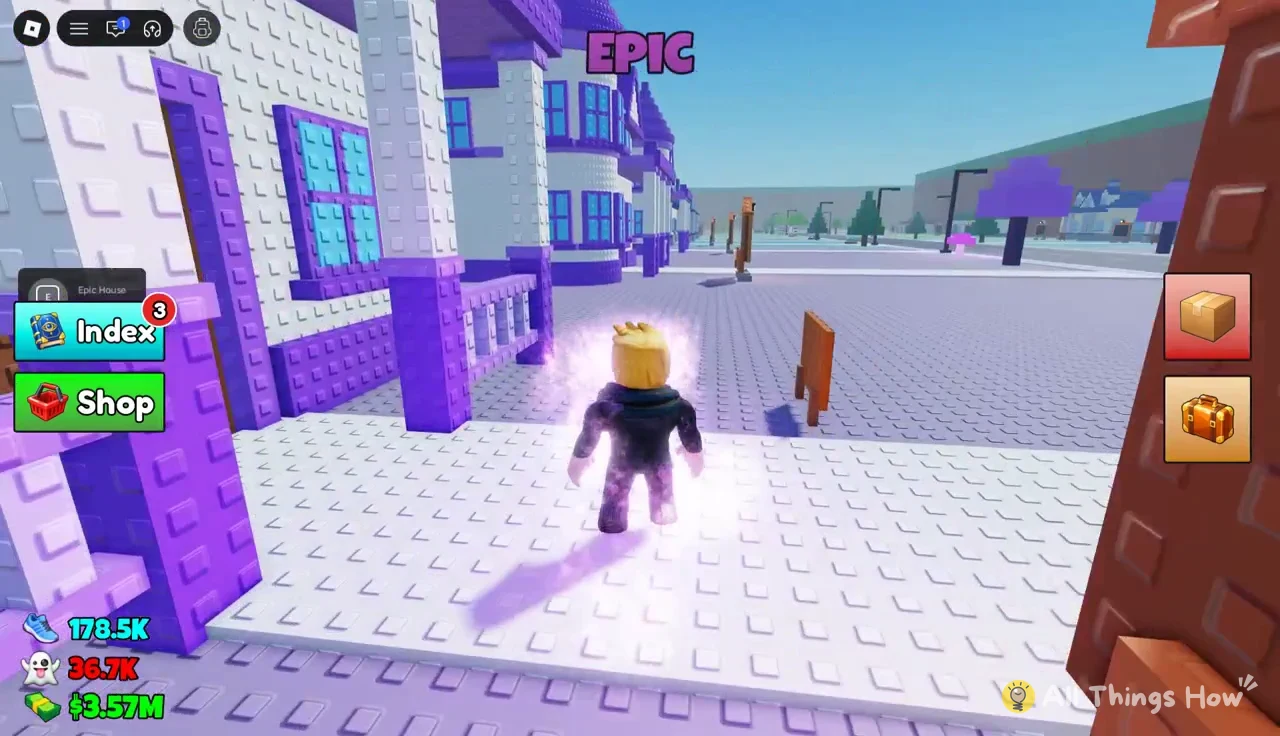
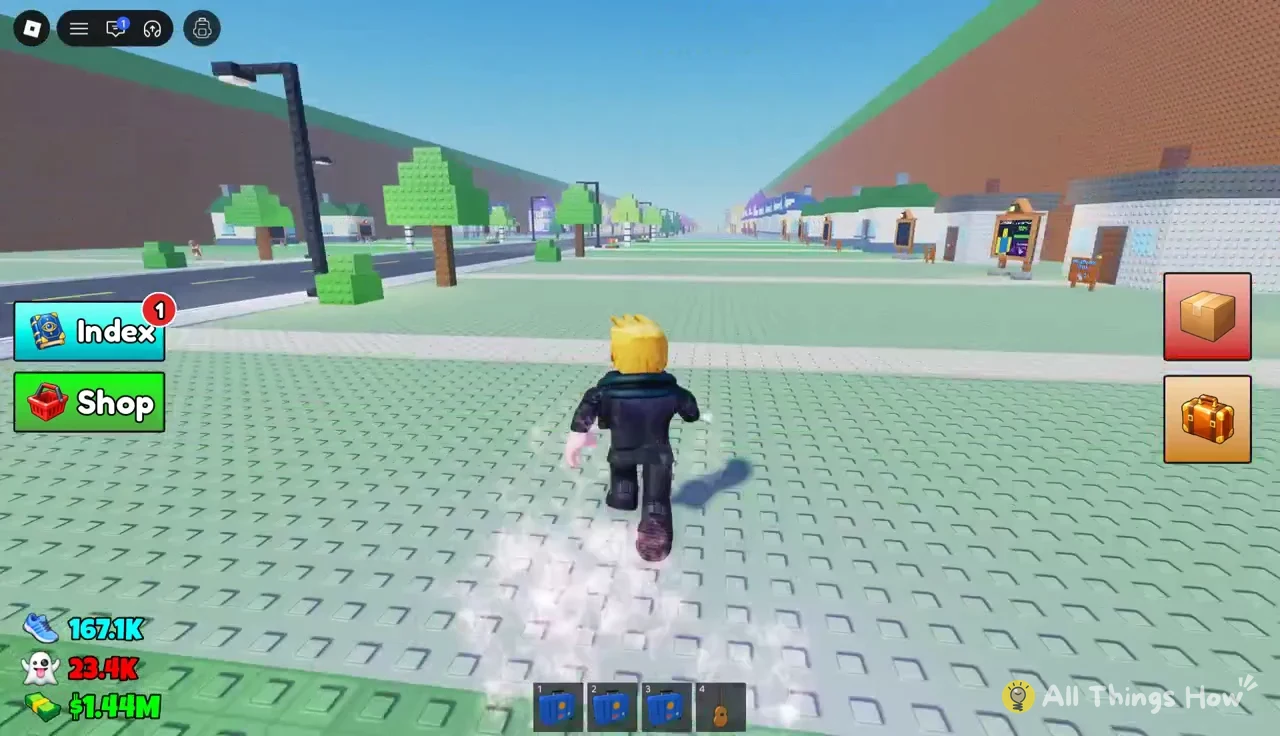
You always know which zone you are standing in. As you walk the road, the zone name appears in large text at the top of the screen, from lowercase “common” and “uncommon” up to “RARE”, “EPIC” and eventually “HORROR”.
What each zone drops
The package changes with the zone, and so does the work your minions have to do to crack it. Rare houses drop a wooden crate with about 200 HP. Epic houses drop a metal safe with somewhere between about 1,181 and 1,575 HP, so an Epic package sits at your base far longer before it opens.
- Rare crates opened into a Suitcase and a Fish Tank.
- Epic safes opened into an Epic Air Hockey Table, a Bicycle and a Pinball Machine.
- Lower-tier hauls sell for small amounts, such as a Scooter at $9,200 or a Basketball at $2,400.
Better furniture means more passive income. Placing the Epic finds pushed one plot’s offline earnings from $274.75M/Day to $557.71M/Day, which in turn pays for the training upgrades that unlock the next zone.
Costumes and auras to equip before you raid
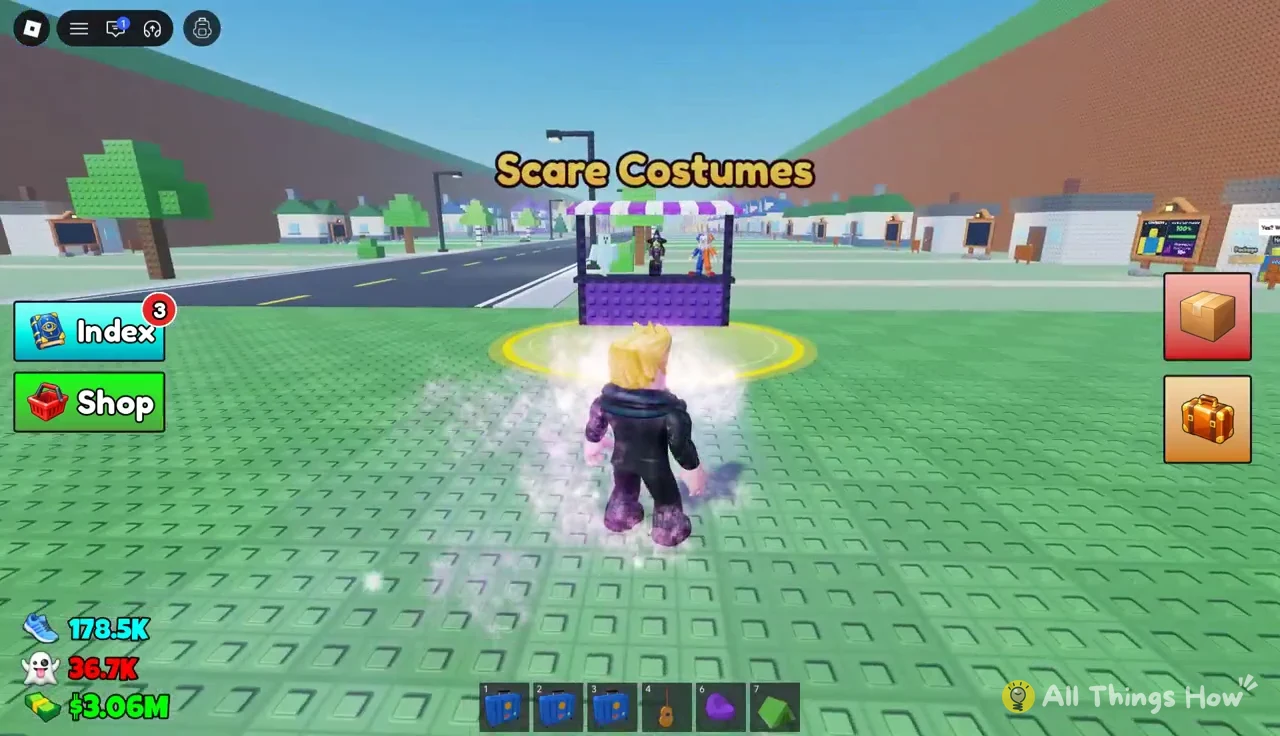
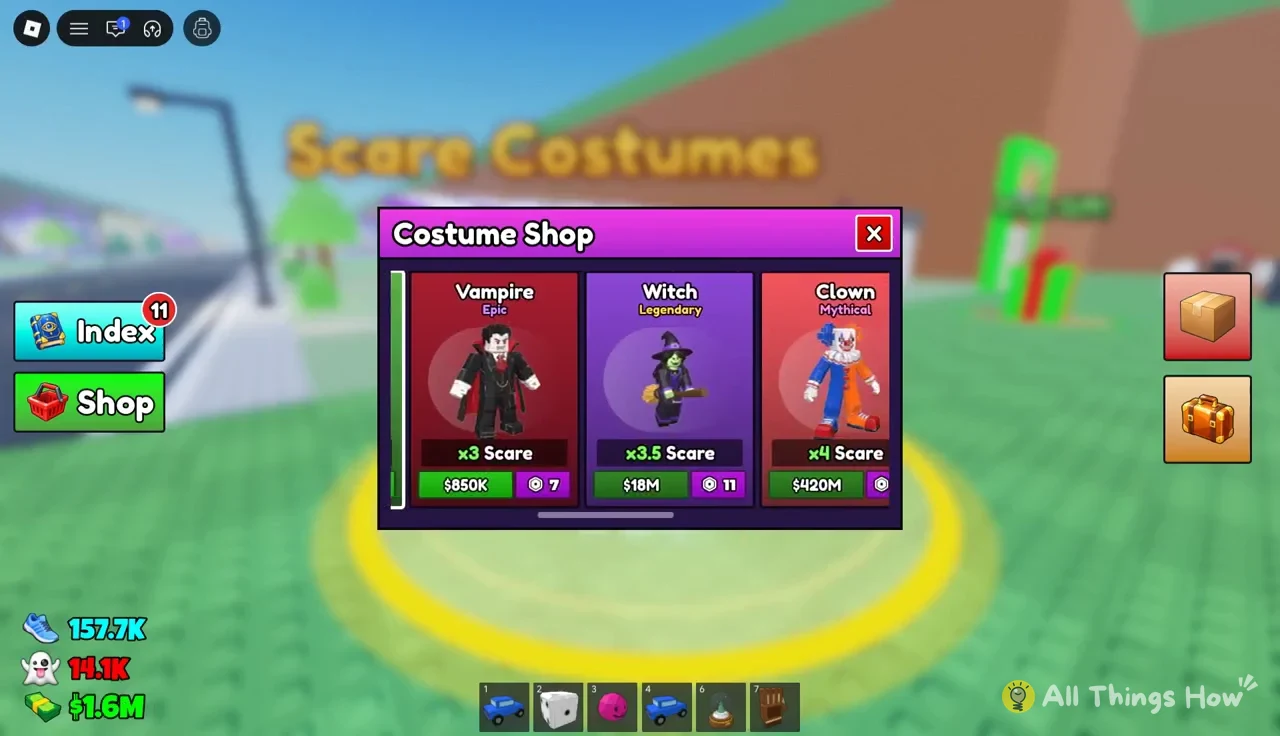
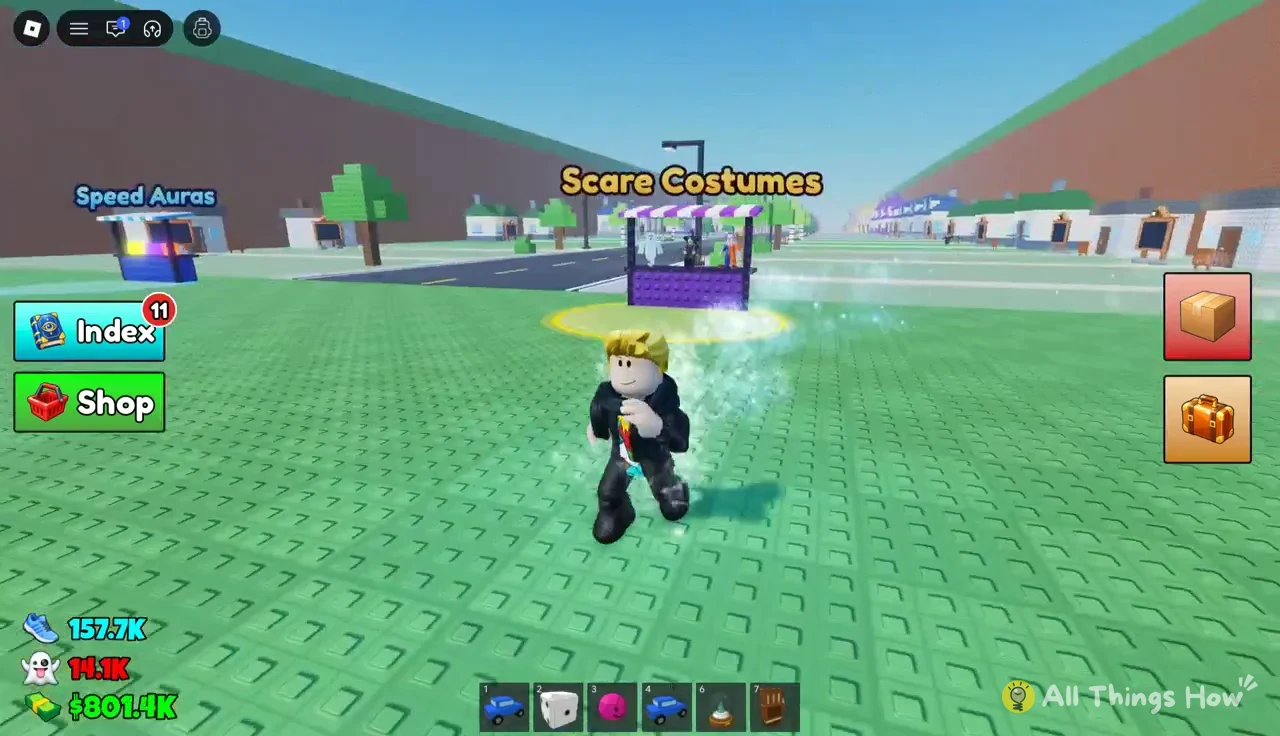
Costumes and auras do not add stats directly. They multiply what you gain each time you train, so a better one shortens the grind to every zone. Both shops are in the hub area. The Scare Costumes stall is marked with a yellow ring on the ground, and the Speed Auras stall with a blue one. Walk into the ring to open the menu.
Scare Costumes
| Costume | Rarity | Scare multiplier | Price |
|---|---|---|---|
| Zombie | Rare | x2.5 | — |
| Vampire | Epic | x3 | $850K / 7 |
| Witch | Legendary | x3.5 | $18M / 11 |
| Clown | Mythical | x4 | $420M / 16 |
Buying a costume equips it and shows a confirmation such as “Bought the Vampire costume! Scare training x3”. Each card lists a cash price alongside a second, smaller number. The Vampire is the realistic early buy, and it is the costume that carries a plot comfortably through Rare and into Epic.
Speed Auras
| Aura | Rarity | Speed multiplier | Price |
|---|---|---|---|
| Blue Aura | Rare | x2.5 | — |
| Purple Aura | Epic | x3 | $700K / 7 |
| Golden Aura | Legendary | x3.5 | $15M / 11 |
| Mystic Aura | Mythical | x4 | $350M / 20 |
| Cosmic Aura | Cosmic | x5 | $10B / 35 |
| Crimson Aura | Secret | x7 | $200B / 55 |
| Magma Aura | Divine | x10 | $6T / 95 |
| Hallowed Aura | Horror | x14 | $40T / 140 |
The aura list runs much deeper than the costume list, ending with the Hallowed Aura at the Horror tier. Its prices track the zones closely, which gives you a rough sense of how much cash a plot needs to be producing before the late streets are realistic. The Purple Aura shows “Got the Purple Aura! Speed training x3” once it is yours.
How to raid a house in any zone
The routine is identical on every house, whether it is a Police Officer at Rare or Slenderman at Cosmic. Only the stat requirements and the package change. Every interaction uses the E key prompt that appears over doors and packages.
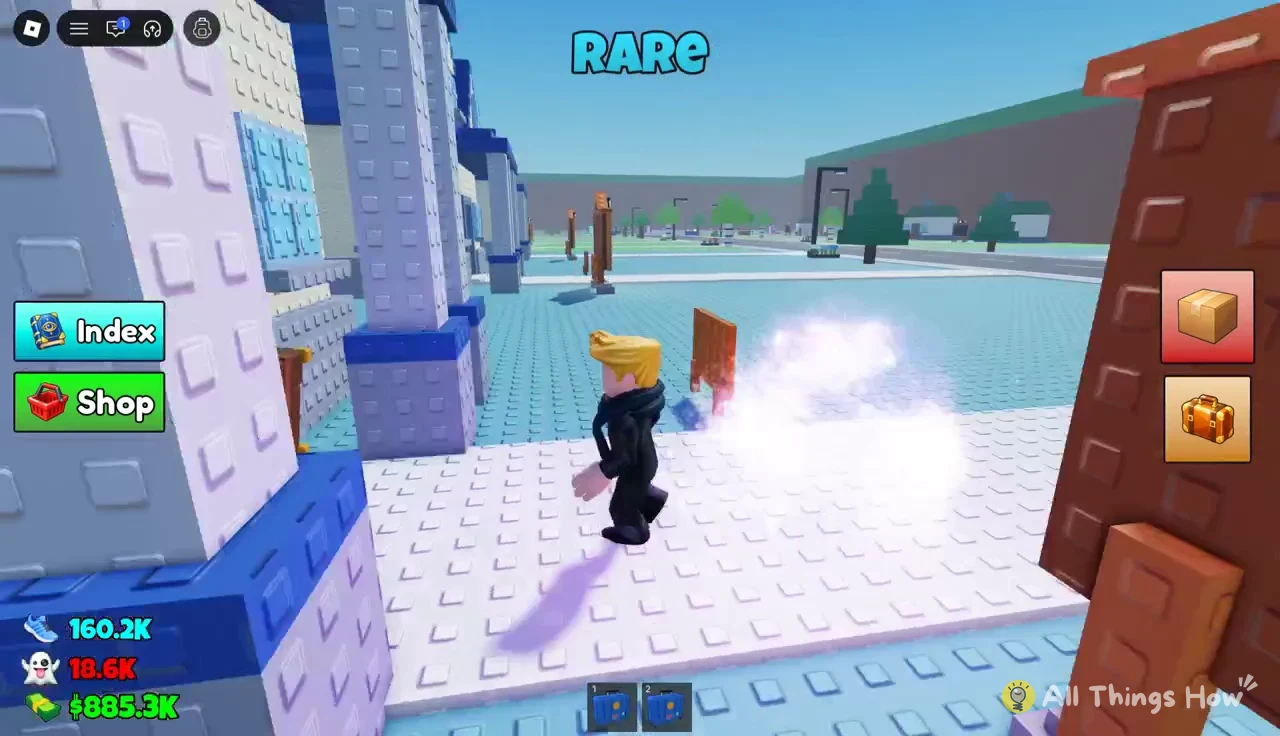
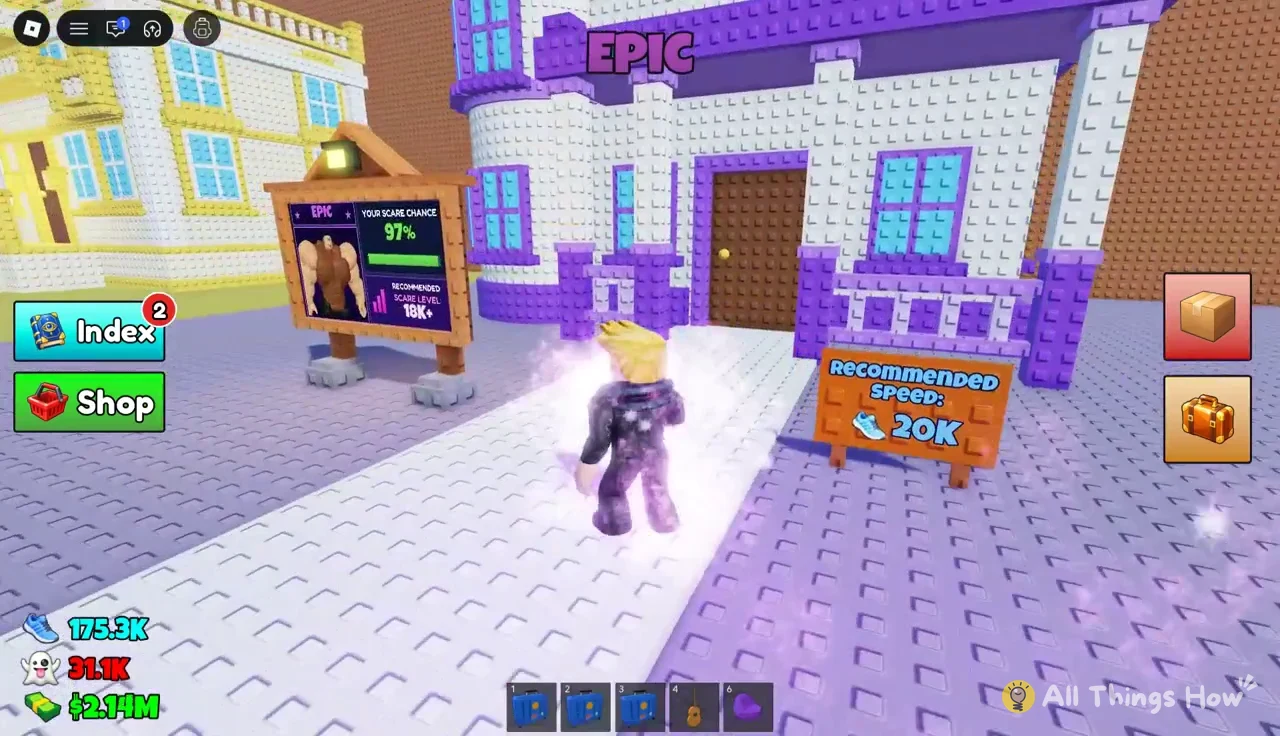
E to knock. The resident answers with “Yes? Who’s there?” when the door opens.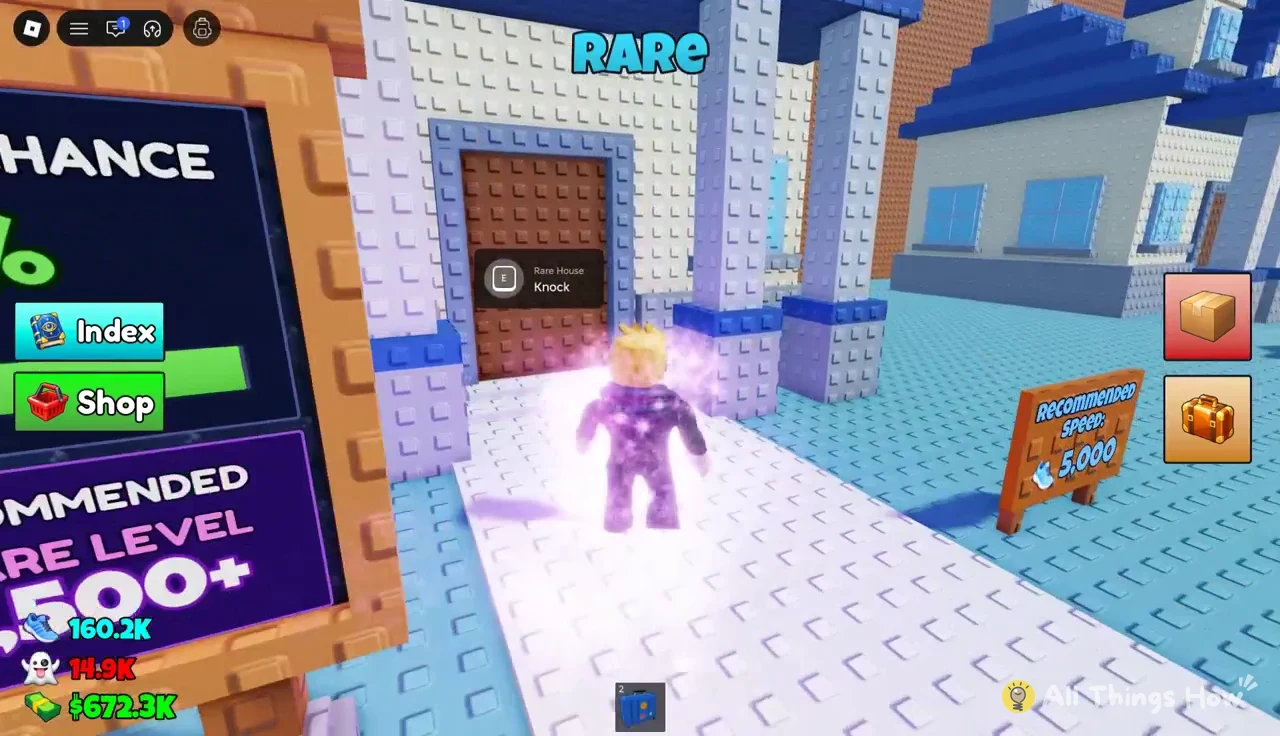
E again as soon as the resident is in the doorway to trigger the scare. Your character briefly appears in the equipped costume, and a successful scare gets a startled “Huh?!” from the neighbor.E on the package to pick it up. It goes into a hotbar slot, and your character carries it visibly.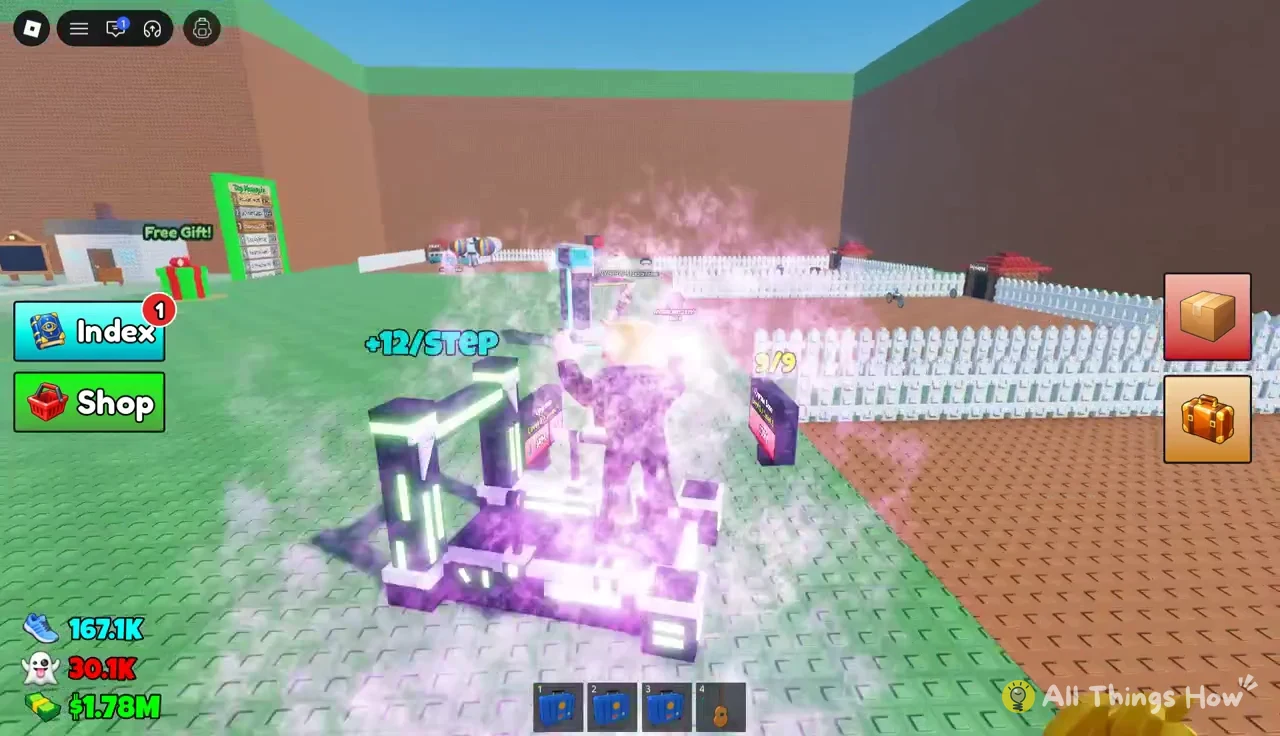
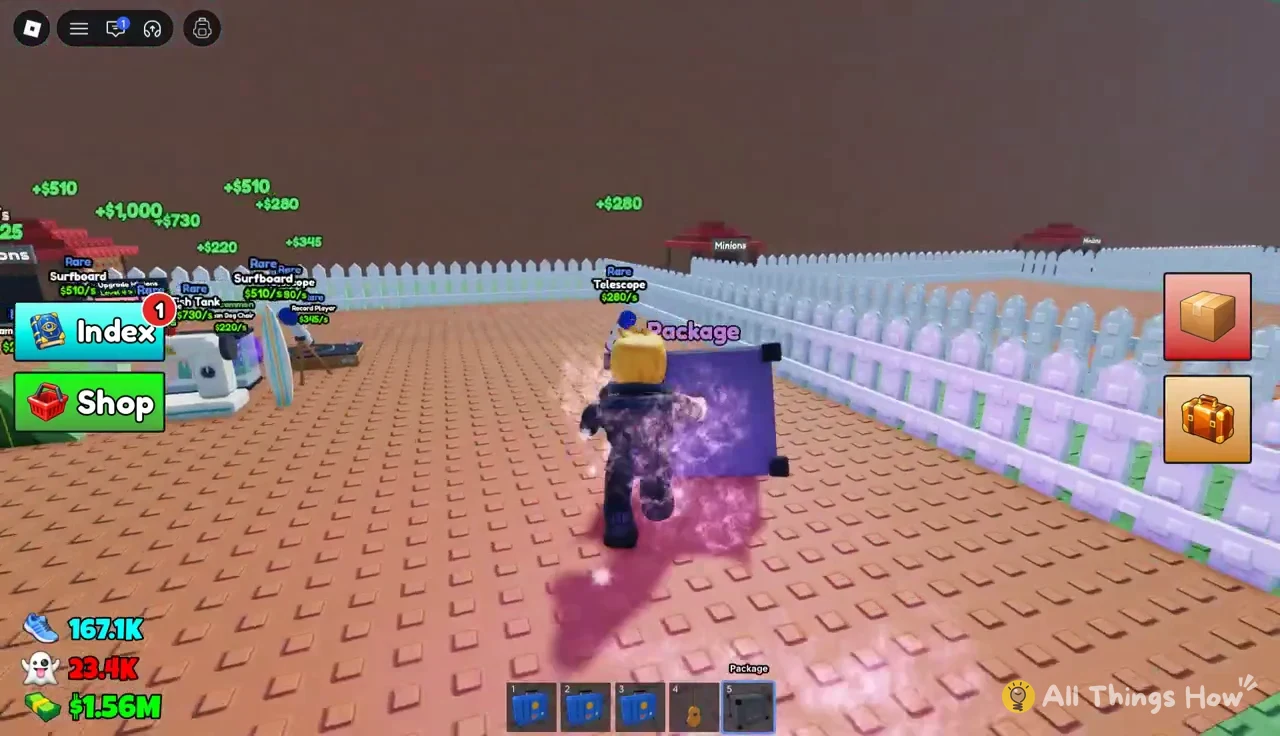
The Epic house looks the same each time you come back, and the Strong Man restocks, so you can loop it repeatedly. Five Epic safes in a row from the same door is normal once your scare chance is high.
Opening packages and placing items at your base
The Minions stay in the little hut on your plot, whittling packages down with each hit. Taking them from Level 3 to Level 4 requires $1.5M and 19 tokens; they become Monkeys and inflict 15 damage per hit, a useful boost when you start bringing back safes with well over 1,000 HP.
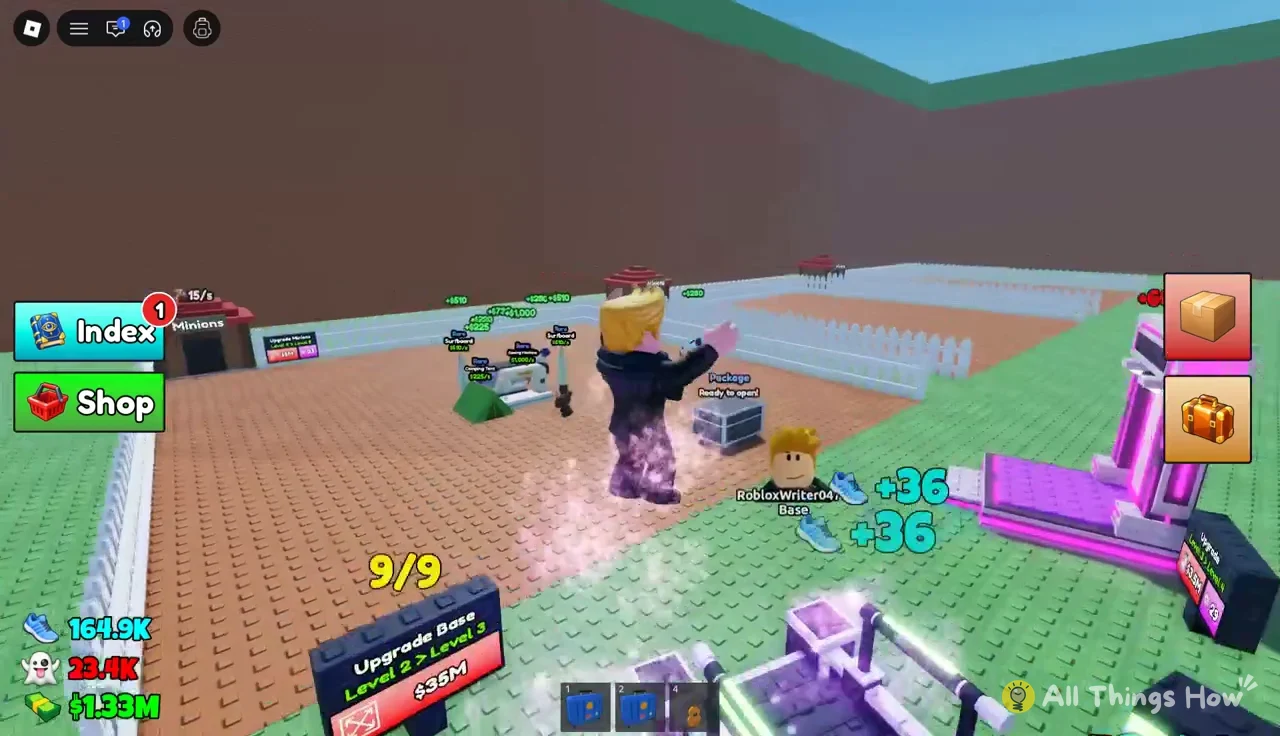
When a package has been chipped down, it shows “Ready to open!” Walk up and press E to claim what is inside. The game then names the item, for example “You unboxed a Fish Tank!”
If your plot has no free spots, the item lands in your hotbar instead, with the message “Your base is full, so it’s in your hotbar.” It earns nothing sitting there, so you need to swap it onto the plot.
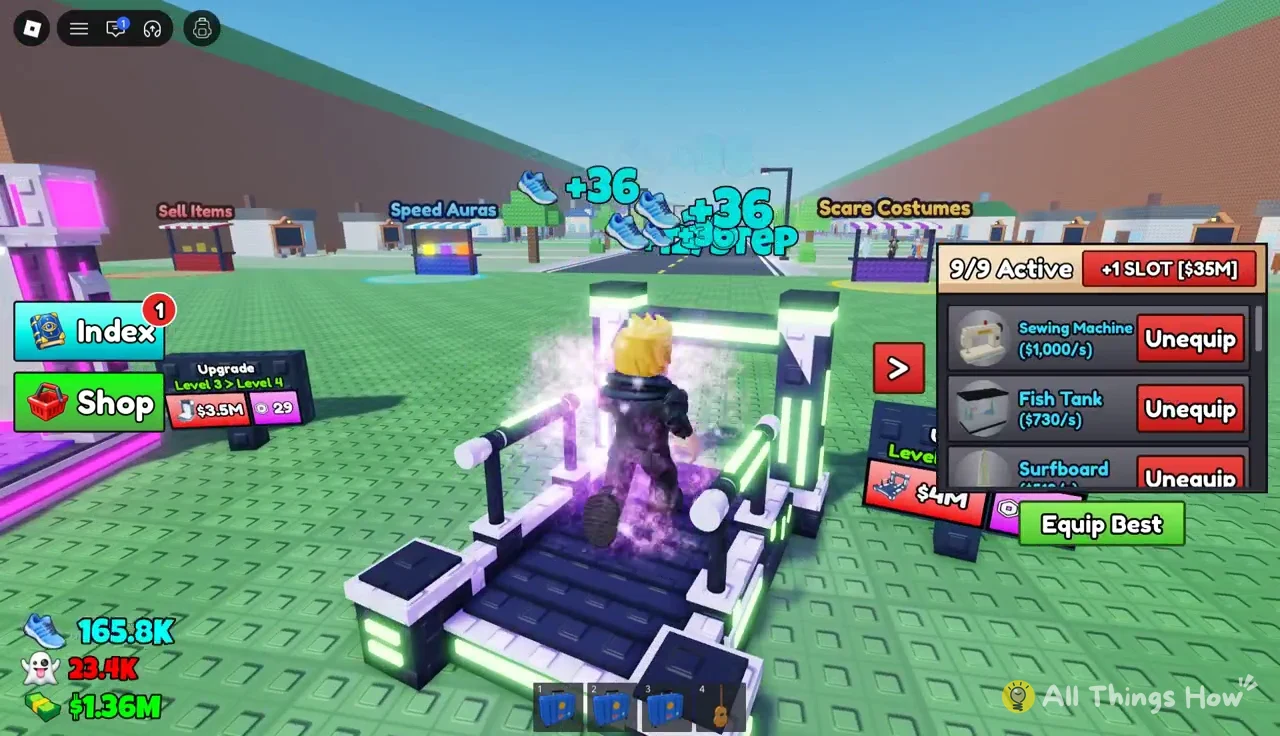
Open your item storage and press Equip Best. The game fills every active slot with your highest-earning items and confirms with “Placed your best item!” or “Placed your best 2 items!” The panel shows how many slots are in use, such as 9/9 Active. More slots come from base upgrades, and the Level 2 to Level 3 base upgrade costs $35M.
Whatever does not make the cut can go to the Sell Items stand, marked by a red ring. Its Sell All button clears the lot in one go, and a single Epic-era sweep of spare Camping Tents, Guitars and Suitcases brought in $83.6K. Also open the Index from the button on the left. Every new item adds an entry, and CLAIM ALL collects the rewards at once. Eleven entries paid out $365.8K, +2,475 Speed and +890 Scare, which is a quick stat bump toward the next zone.
Training Scare and Speed to reach the next zone
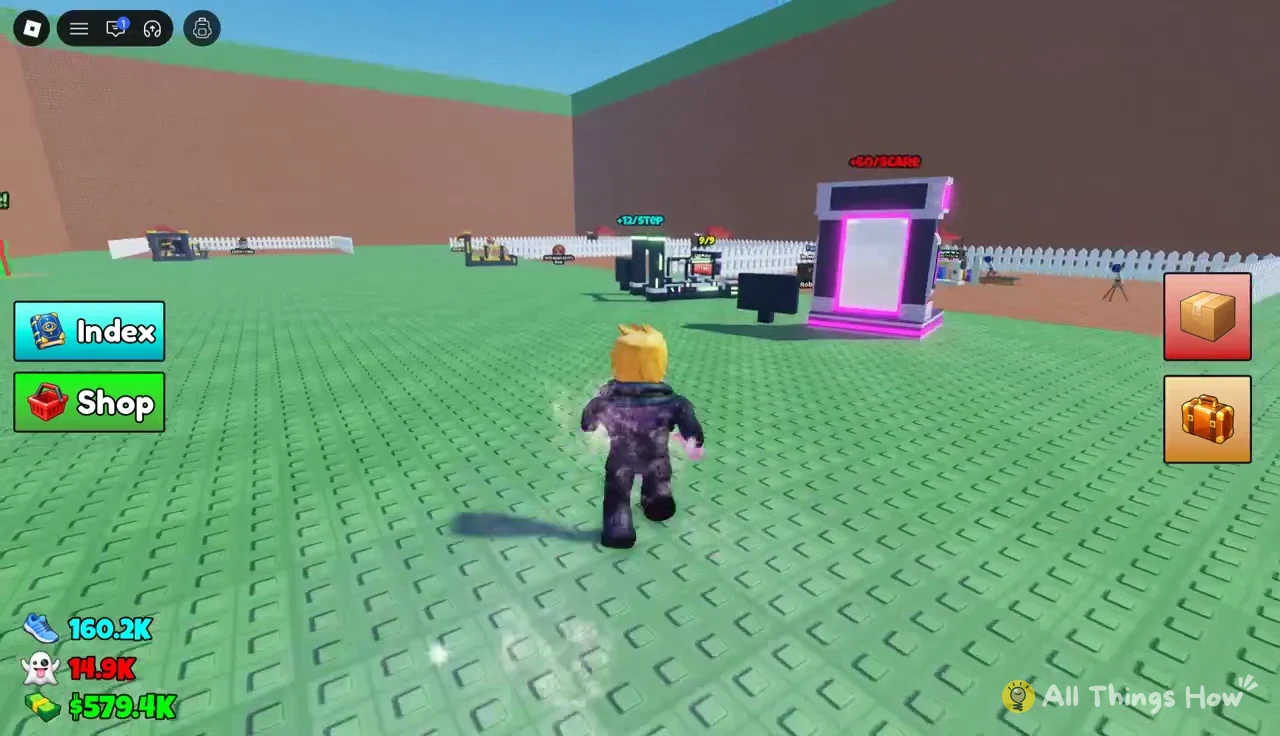
Both stats come from equipment on your own plot. The Scare Trainer adds Scare per rep, and the treadmill adds Speed per step. The best rhythm is to drop a package, then train while the minions work on it, since both happen at the same time.
Scare Trainer
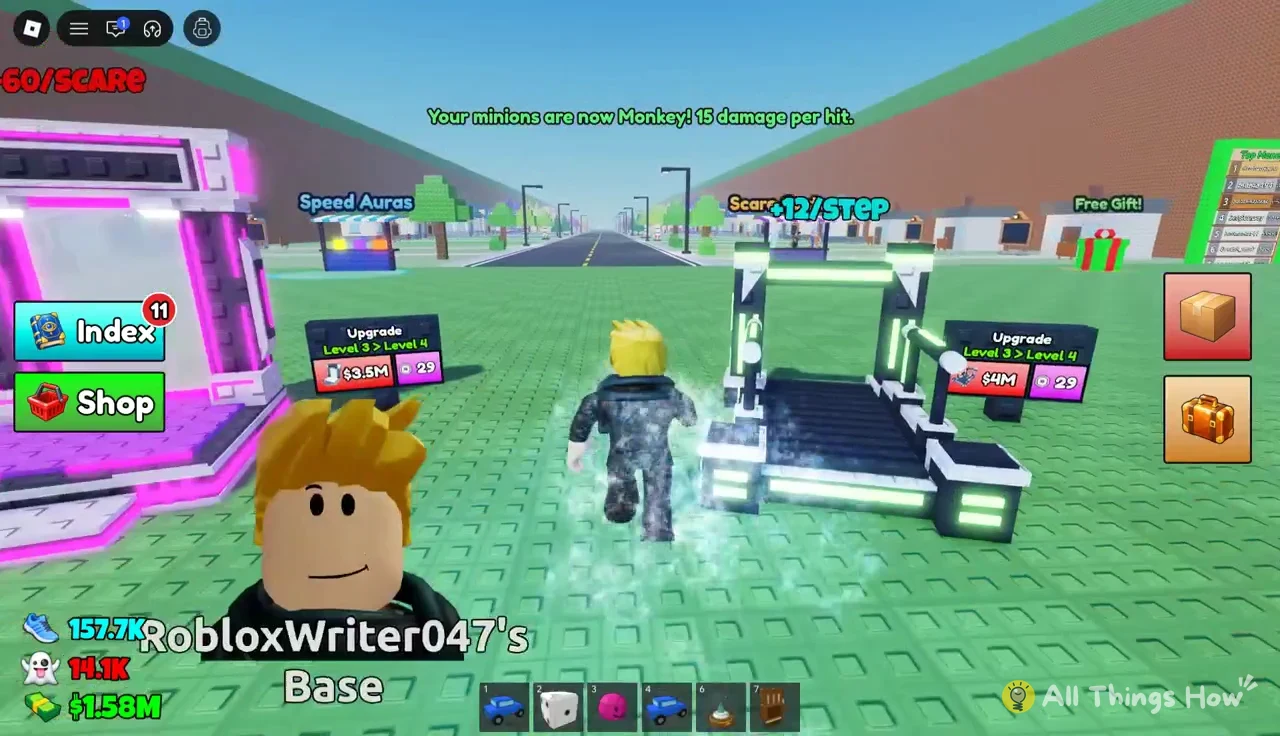
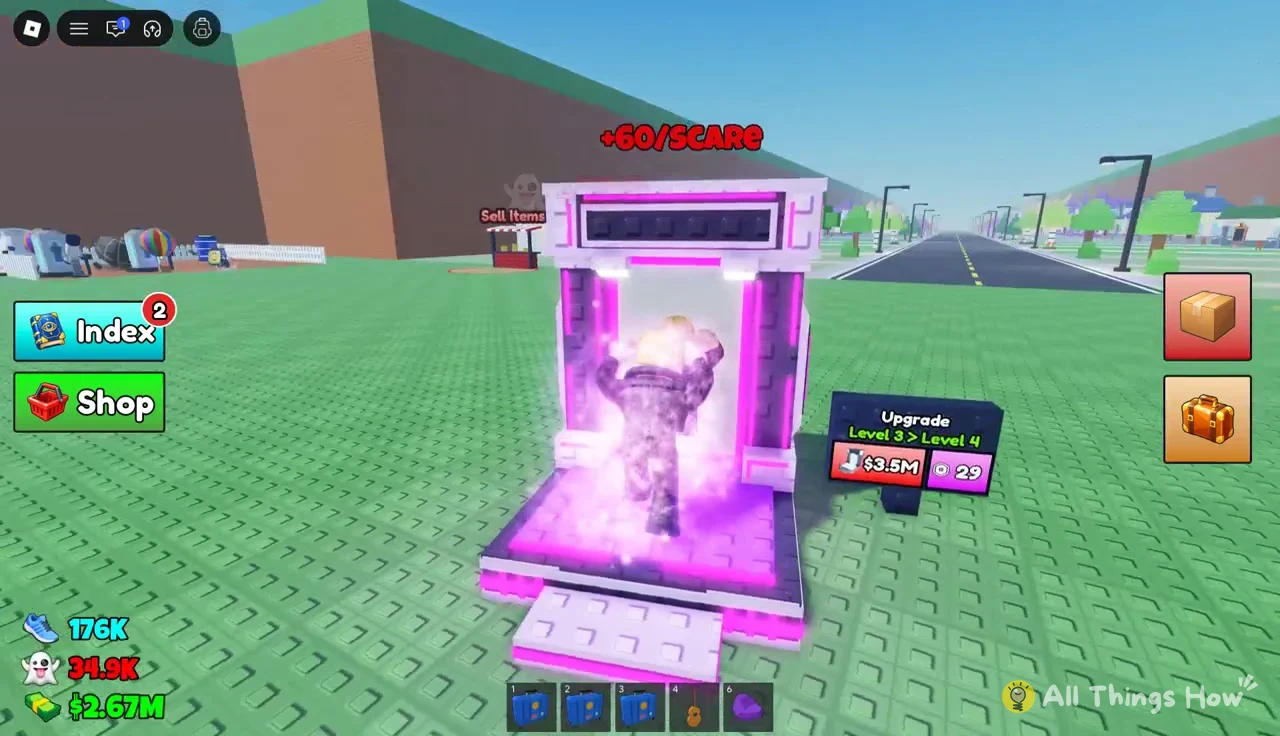
At Level 3, the Scare Trainer gives +60 Scare per rep before any costume bonus. The costume multiplier applies to every rep, so the Vampire’s x3 turns that +60 into +180.
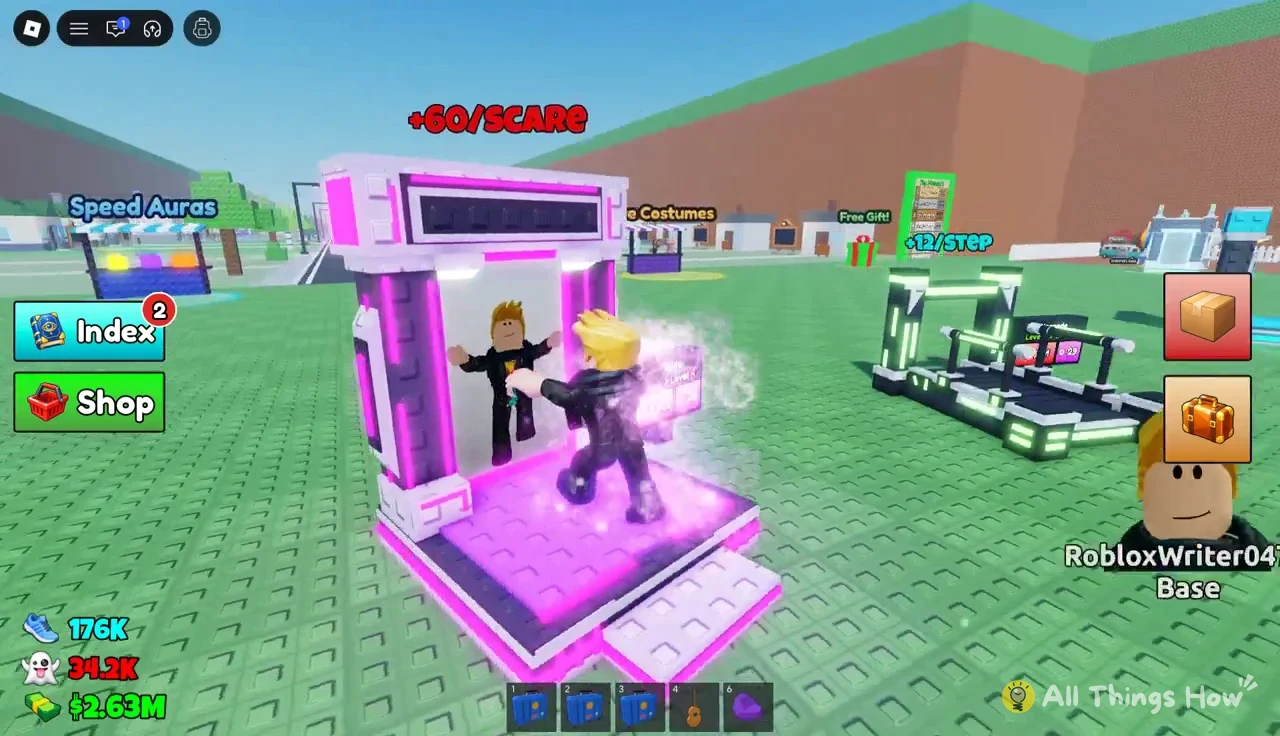
Walk to the upgrade sign next to the machine to raise its level. The Level 3 to Level 4 upgrade costs $3.5M and 29 tokens, and confirms with “Scare Trainer upgraded to level 4!”
Level 4 lifts the base gain to +150 per rep, or +450 with the Vampire equipped. That is two and a half times faster than Level 3, which is exactly the kind of jump the 18K-to-80K gap between Epic and Legendary demands. The next tier, Level 4 to Level 5, is listed at $80M and 49.
Treadmill
The Level 3 treadmill gives +12 Speed per step before any aura bonus. Stand on it and keep running, and the gains tick up above your character with every step.
An aura multiplies each step the same way a costume multiplies each rep. With the Purple Aura’s x3, the same treadmill pays +36 per step.
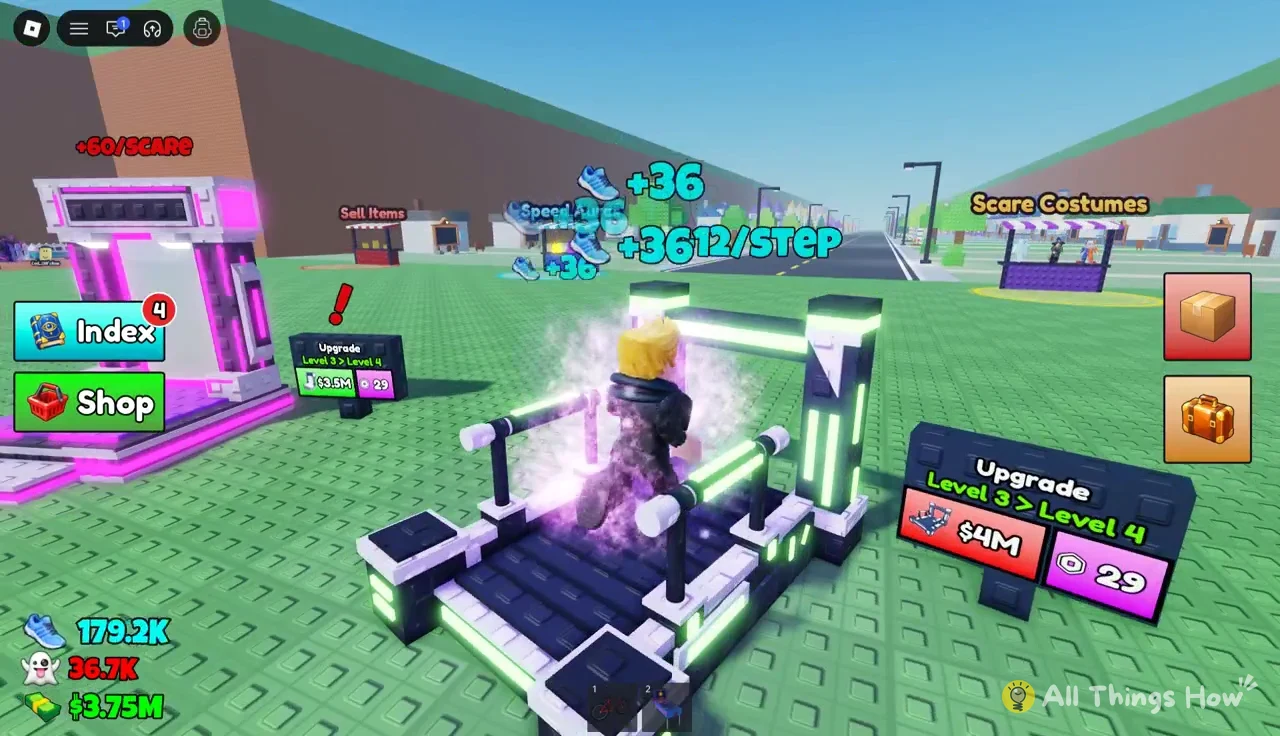
Treadmill sessions are a good use of the downtime while a heavy Epic safe is being broken open. The Free Gift box nearby, marked by a green ring, sits close enough to check between sets.
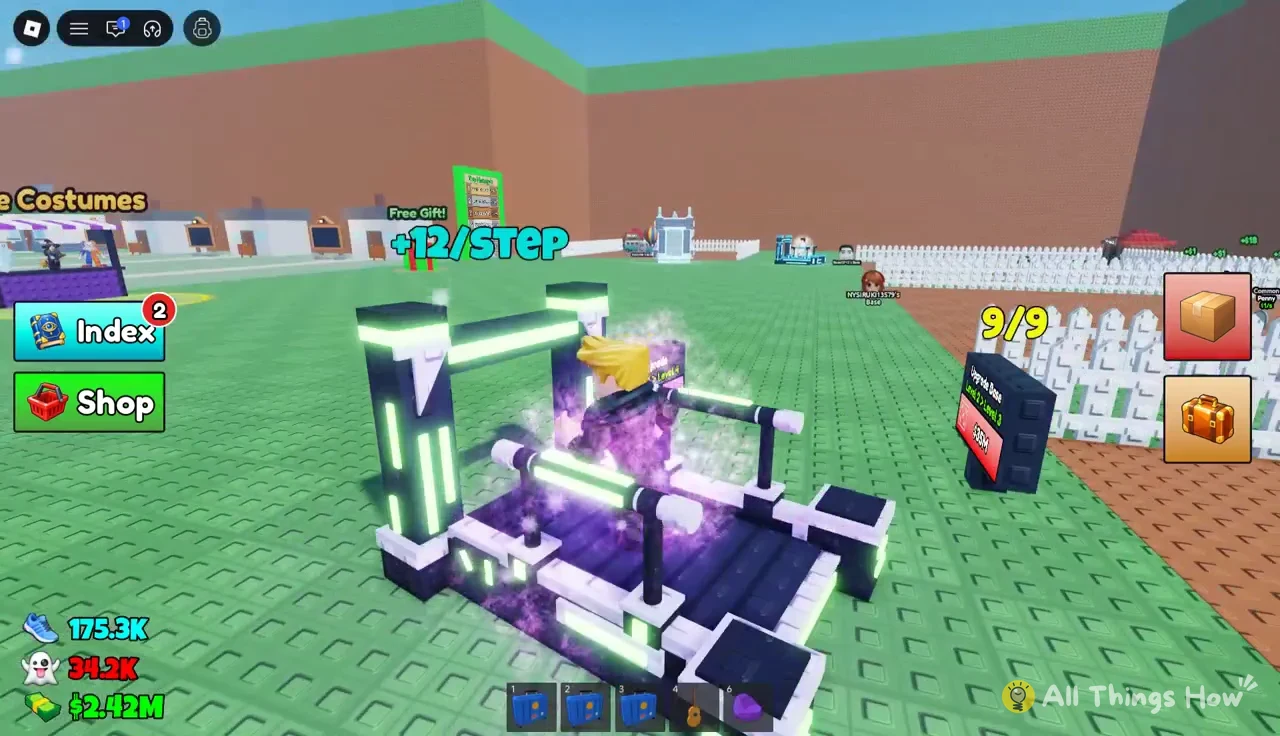
Training pads are not the only glowing objects on the map, and the purple numbers you see around the arena are worth walking through as you move between stations.
The loop never changes, only the scale. Train until the next board’s numbers are behind you, raid that house until its packages stop moving your income, then spend the cash on a trainer upgrade or the next costume and aura, and walk a little further down the street.