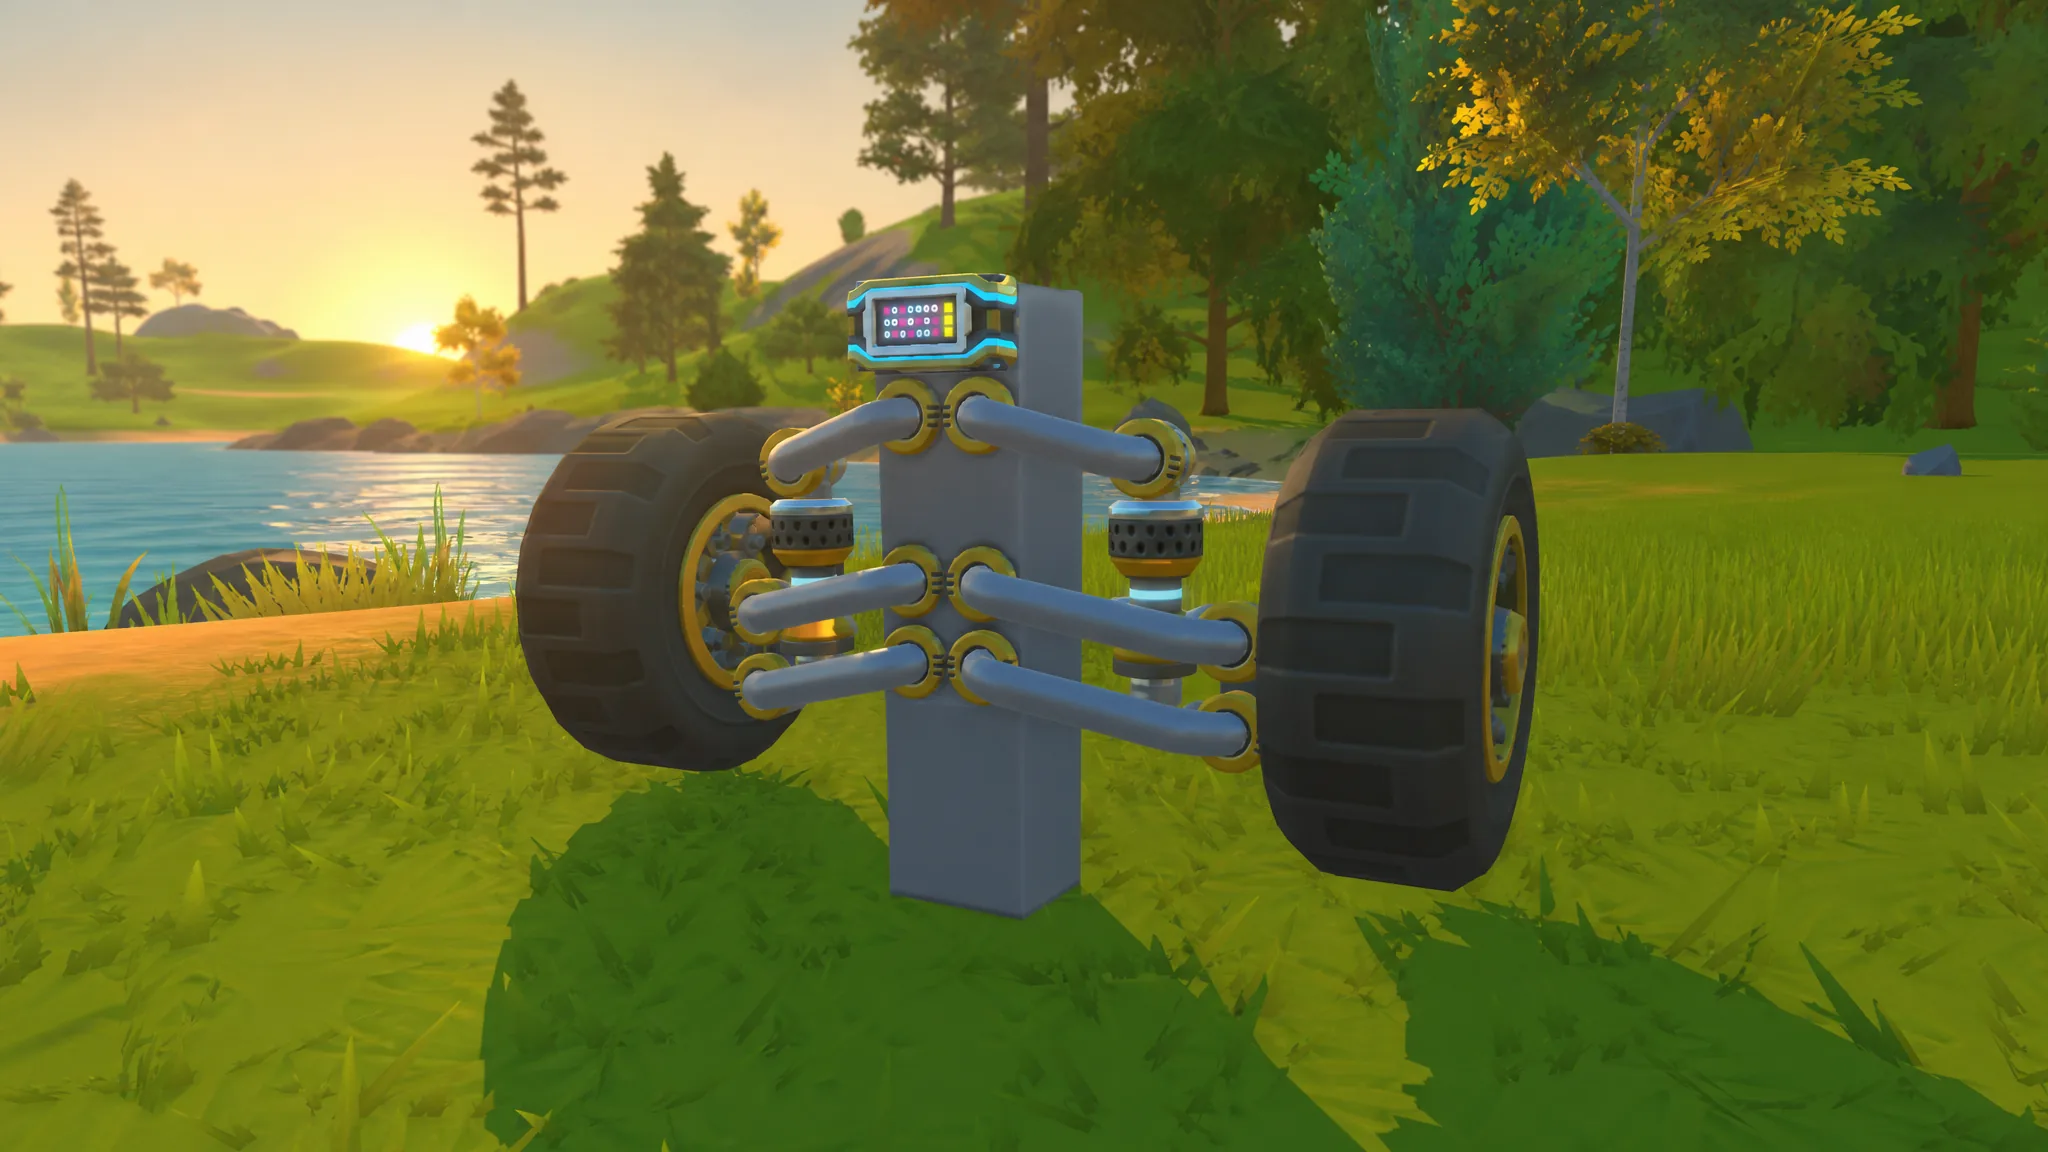
A double wishbone setup in Scrap Mechanic is two arms stacked one above the other, each hinged to the chassis and each meeting an upright that carries the wheel. Get that geometry right and the wheel moves up and down the way you want. Get it wrong and the car tucks its wheels under the frame or shakes itself apart the moment you pull the lift away.
Quick answer: Mount an upper and lower arm of equal length above each other with a clear gap, hinge both to the chassis with bearings facing the same direction, connect both arm ends to a solid upright, weld every joint, add a bump stop under the lower arm, then add a suspension part or controlled bearing torque for the restoring force. Test it off the lift on both physics settings before you trust it.
Parts you need for one wishbone corner
Each wheel corner uses the same small kit of parts. The exact count scales with how many corners you build, but the pattern per corner stays fixed.
| Part | Role at each corner |
|---|---|
| Bearings | Hinge the arms to the chassis and to the upright |
| Pipes or blocks | Form the upper and lower arms and the upright |
| Suspension part | Provides the spring force between lower arm and chassis |
| Bump stop (block) | Stops the lower arm drooping past its limit |
| Wheel | Bolts to the upright |
If you want adjustable stiffness instead of a fixed spring, you can drive the arm bearings with a separate gas engine or a controller. Keep that engine off your drive bearings so steering and power don’t fight the suspension.
Build the wishbone arms and upright
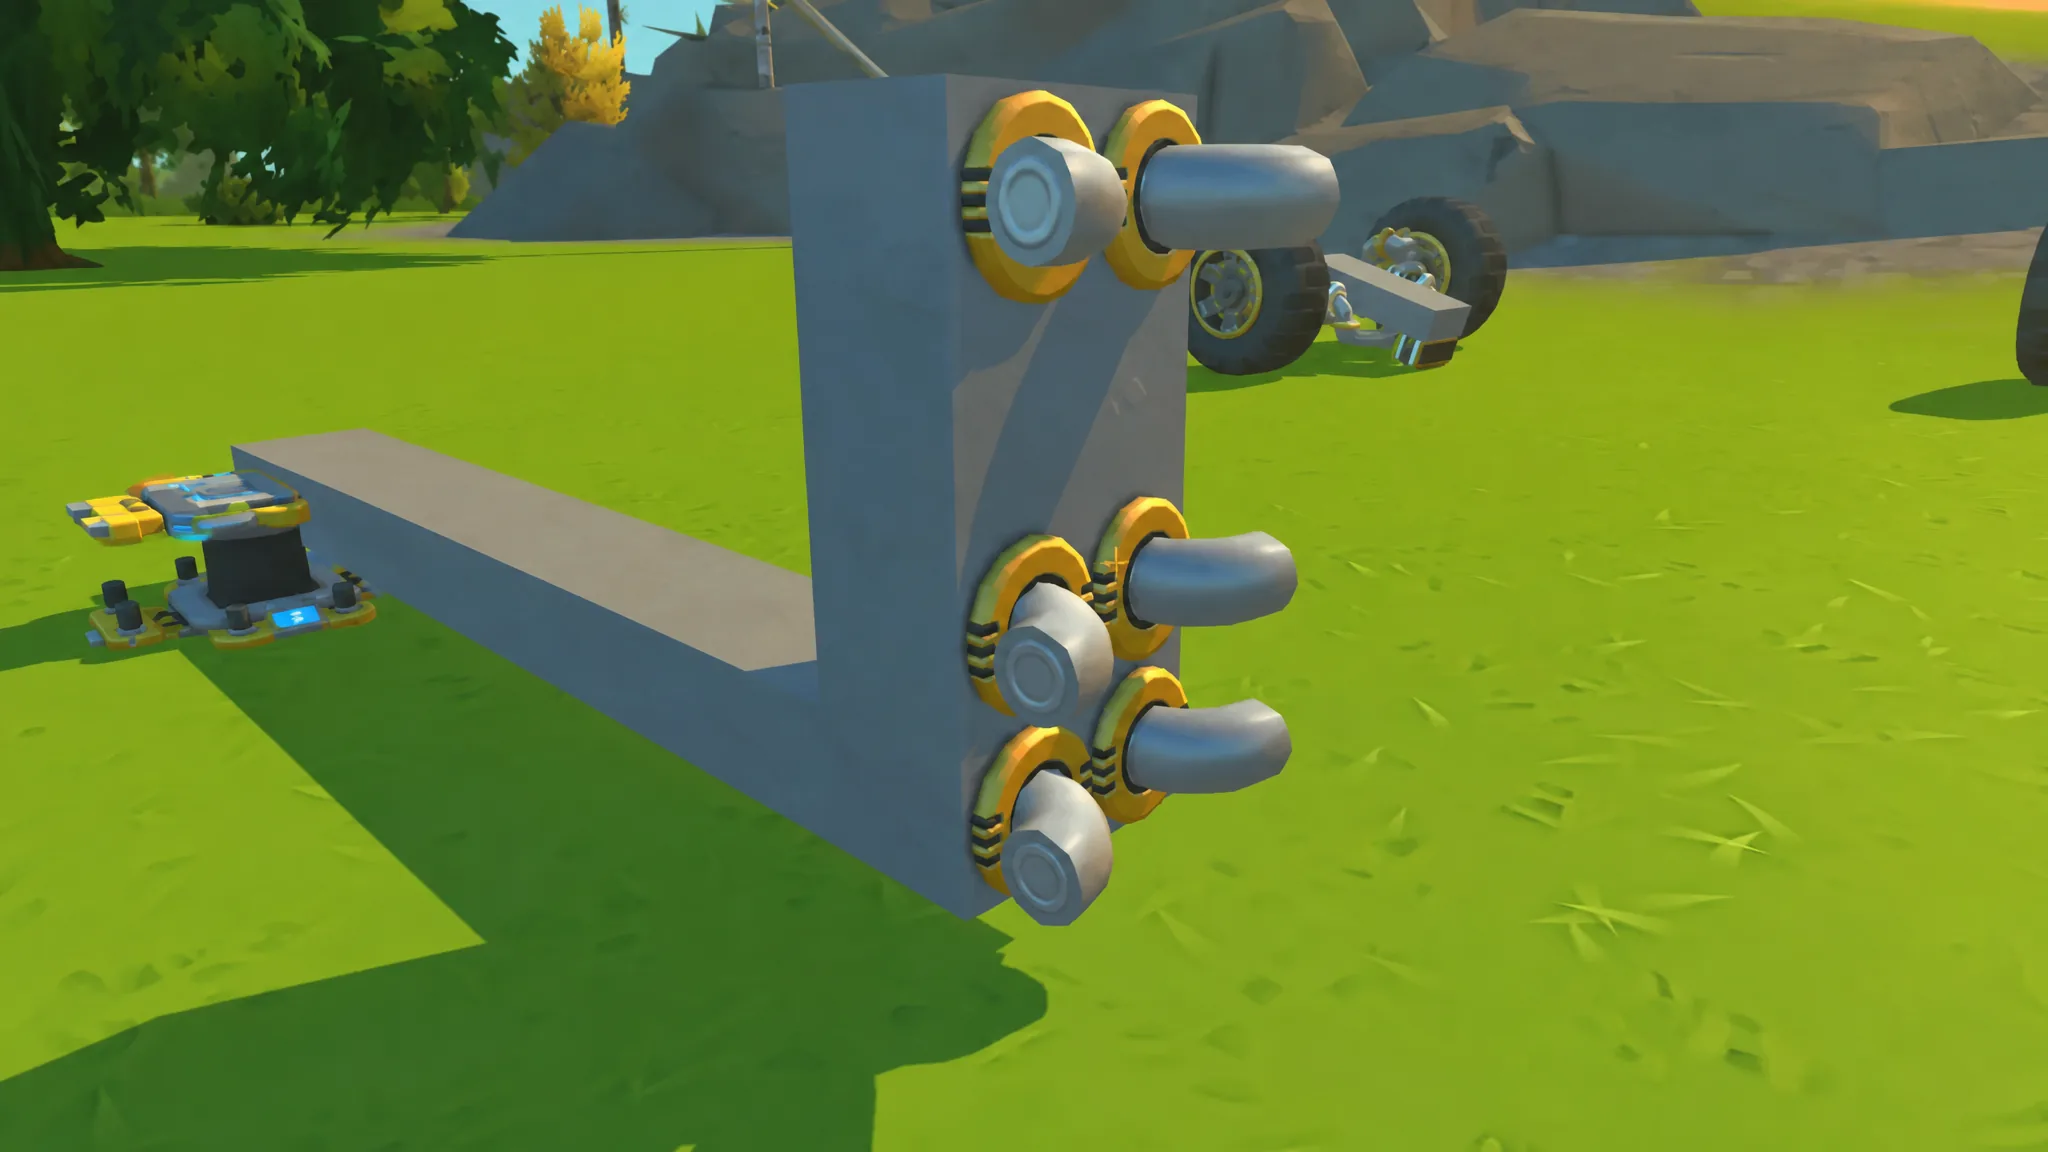
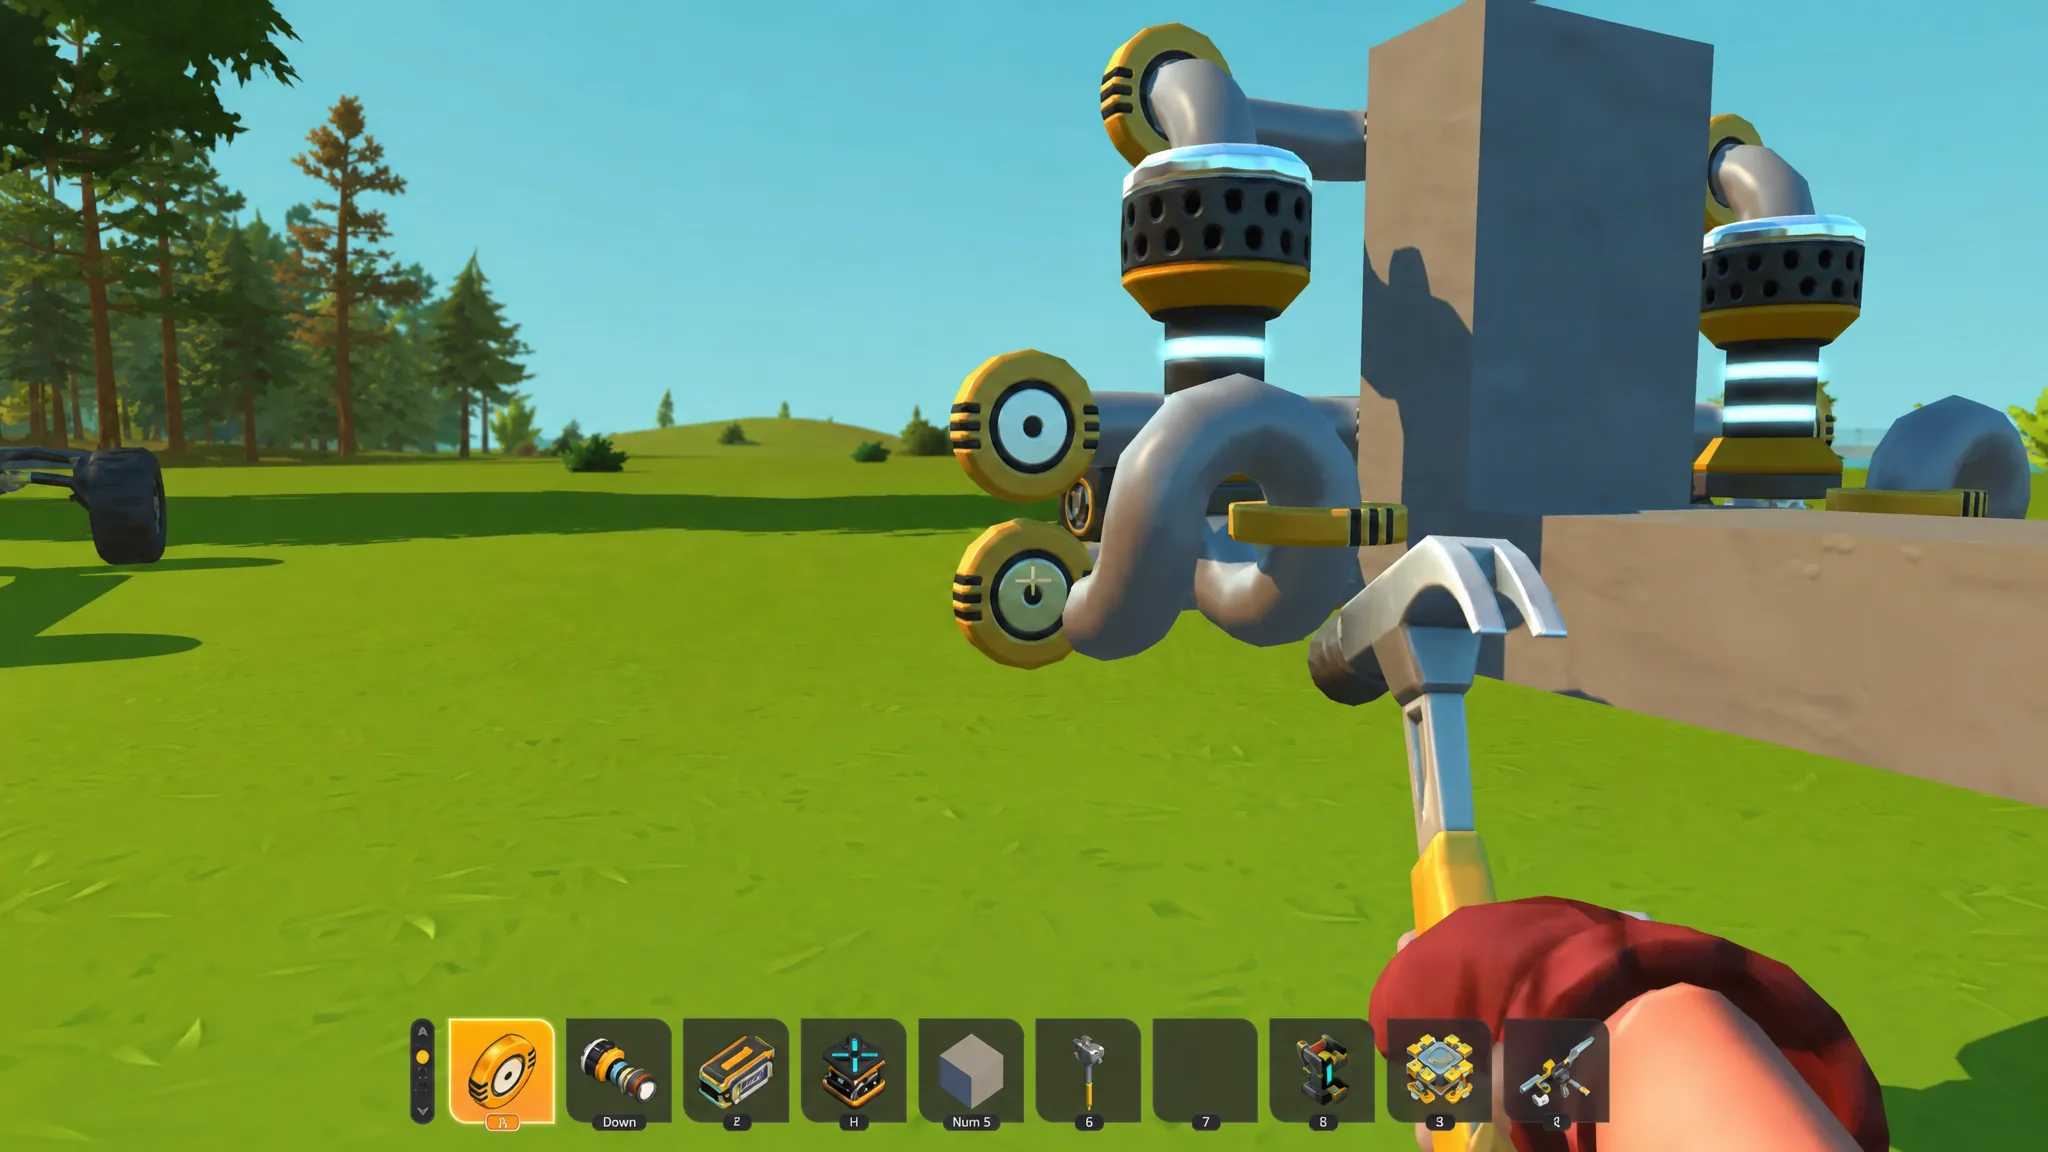
Add the bump stop and restoring force
Tip: Engine-powered arms hold wheel camber through travel, which sharpens handling in turns. They also stay more compact and use less computing power than the stock suspension part.
The bearing-only spring trick
You can build a working wishbone with no suspension part, no controller, and no spring at all. Bearings in Scrap Mechanic are not rigid joints. They act like strong magnets that pull harder the further apart you drag them. When the lower arm sits on the shortest link, moving the wheel up and down forces those bearings apart and they snap back. That snap is your spring.
This is handy for tight builds. It costs almost nothing, fits where a real suspension part won’t, and sidesteps the stabilization glitch entirely. In Survival you can stack two bearings on top of each other for the same effect. The catch is that Survival bearings are much weaker than Creative ones, so a bearing-only spring may need reworking or may not hold under a heavy rig. Test it before you rely on it.
Test the build and confirm it works
You’ll know something is wrong the instant you remove the lift. The car hangs in the air, the wheels tuck under the chassis, or the frame vibrates until it rattles apart. A finished corner drops naturally onto its wheels and settles without shaking.
Run these four checks before you call the build done.
- Drop it off the lift and watch the wheels settle.
- Lift one end, pull the lift, and check whether it falls naturally or hovers.
- Drive over repeated bumps and watch the arms cycle.
- Turn hard under acceleration and watch for the wheel folding inward.
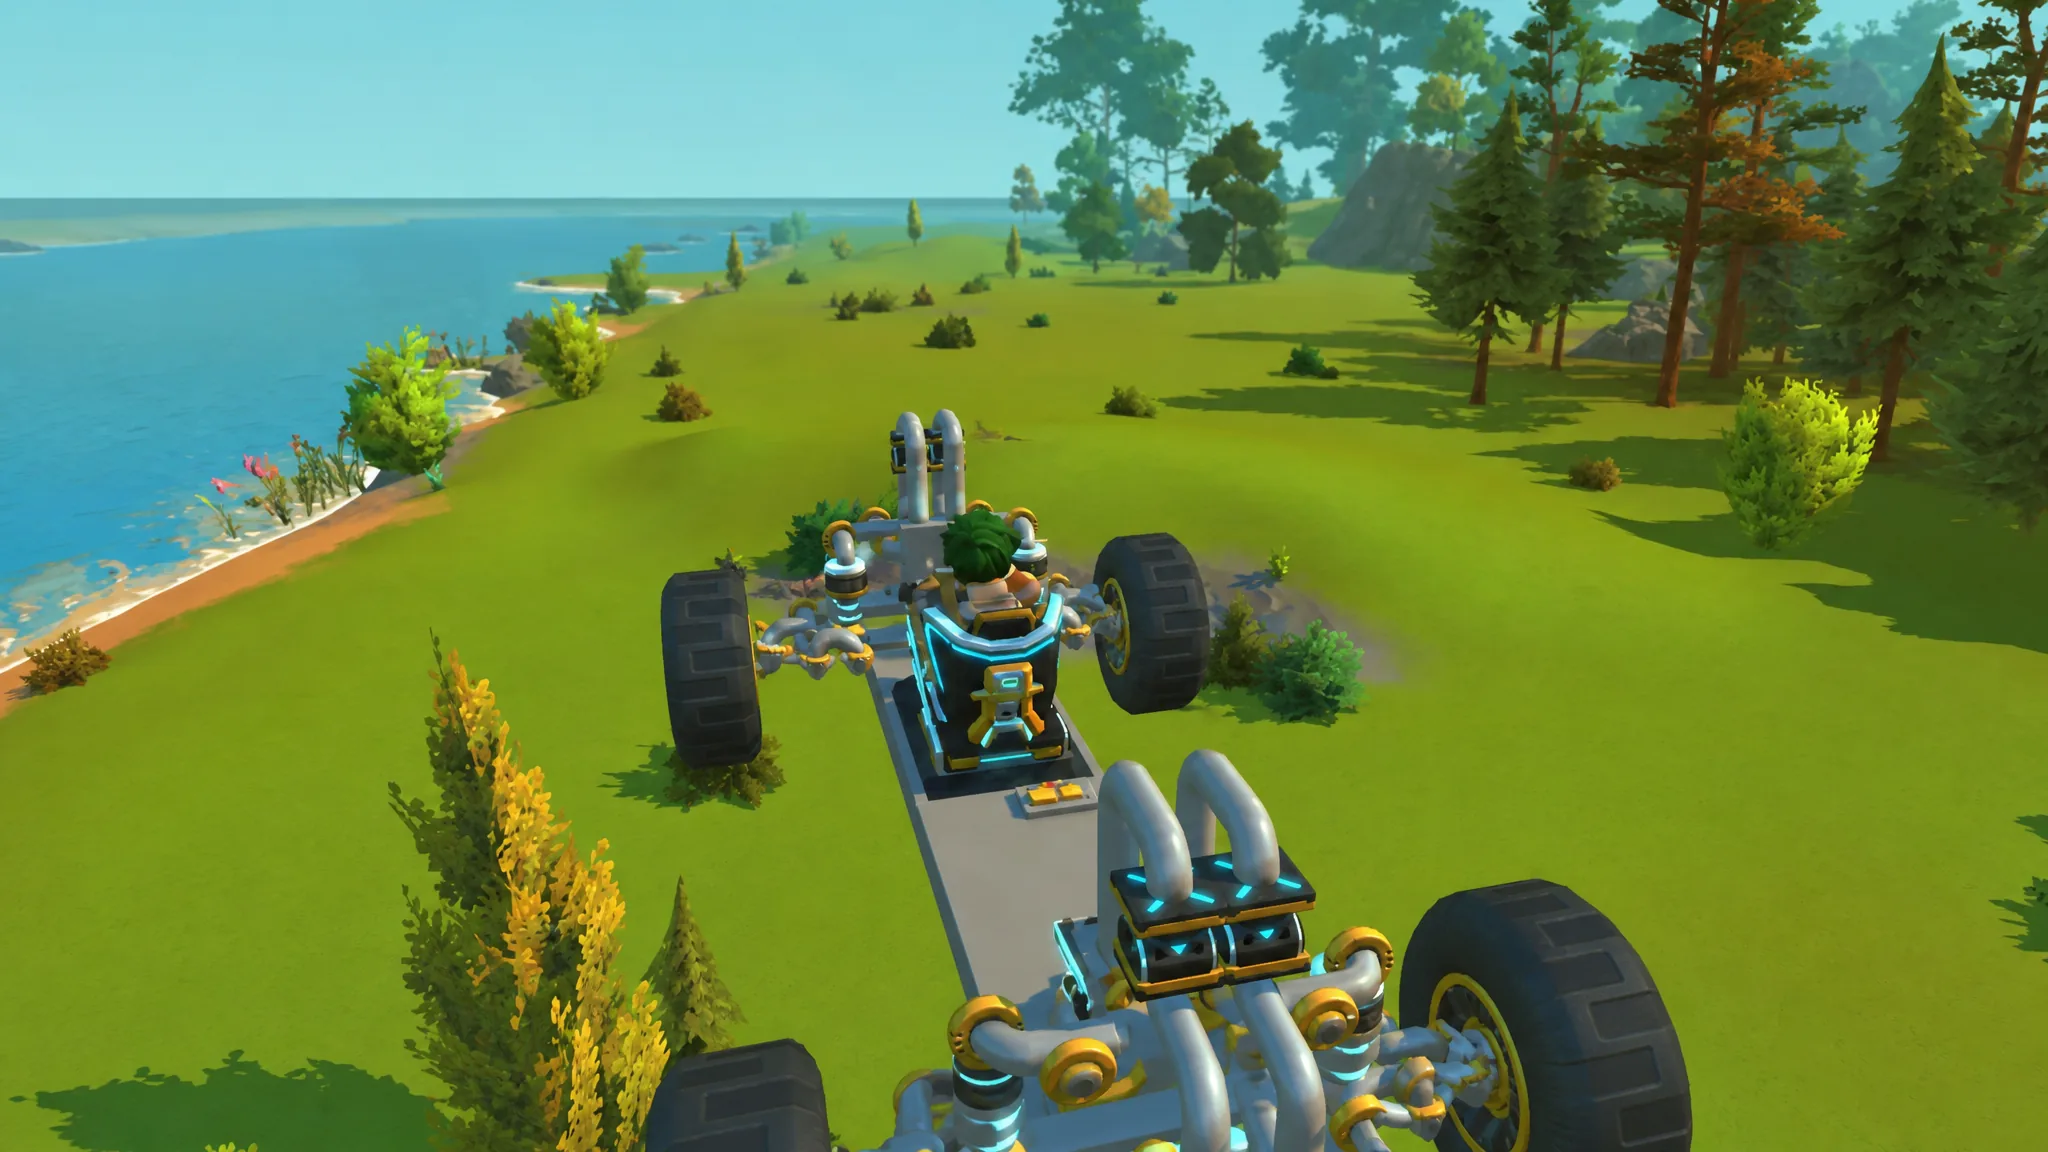
Then repeat all four checks on the other physics setting. New 1.0 worlds run Smart physics by default, while older worlds keep whatever they had until you change it under Options > Gameplay > Physics quality. In multiplayer, only the host can switch it.
Why a wishbone folds or shakes
When a corner misbehaves, the cause is almost always one of four things, listed by how often it’s the problem.
| Symptom | Most likely cause |
|---|---|
| Arm twists or folds | A missed weld somewhere in the arm assembly |
| Wheel tucks under the car | A bearing facing the wrong direction |
| Constant vibration at rest | A suspension part left stretched at rest |
| Whole frame shakes apart | Too many moving parts for the game to track |
Single vs double wishbone
One arm works fine on a small scout car. The second arm is what stops the wheel leaning under load, which matters once the vehicle gets heavy or fast.
| Single | Double | |
|---|---|---|
| Arms per wheel | 1 | 2 |
| Space needed | Low | Higher |
| Alignment control | Loose | Precise |
| Best for | Compact, cheap builds | Heavy or fast vehicles |
Does it survive Survival mode
Sometimes, and not the way it behaves in Creative. This trips up more players than any other part of the build. A design that runs perfectly in Creative can go unstable in Survival, and players have reported that exact contrast since 2021. The two usual causes are weaker Survival bearings and weight you didn’t plan for.
A light scout car is not the same test as a truck hauling a drill, a saw, and four crates of loot. Those tools swing around and shake the frame while you drive. The practical rule is to keep work vehicles mechanically simple and save the precise wishbone geometry for something you’re actually going to race. Older wishbone tutorials from 2020 and 2021 still hold up for the arm and bearing layout, but anything built before the December 2024 physics overhaul won’t match the current behaviour, so treat their exact settings as a starting point rather than gospel.