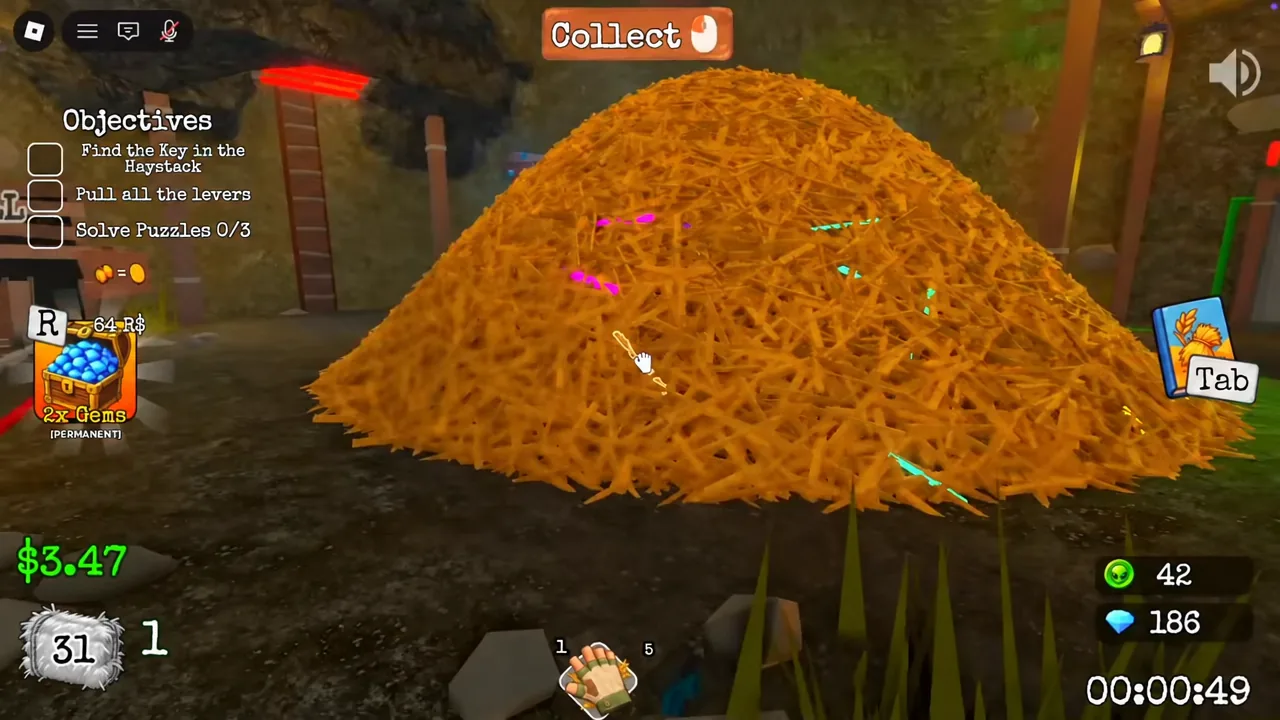
The basement in Search For The Needle swaps the sunny hay farm for a locked cellar, a caged green alien, and three puzzles that sit between you and the exit hatch. Two of those puzzles change their answer every single run, which is why copying numbers off someone else’s playthrough fails more often than it works.
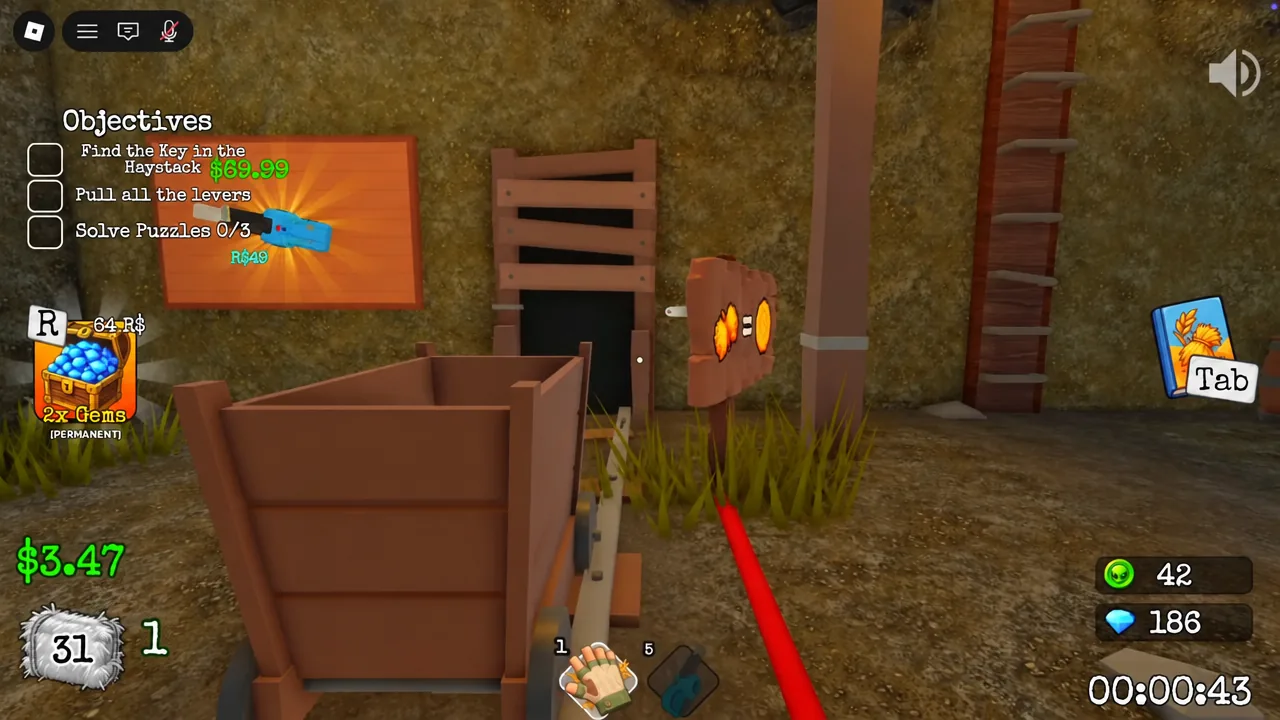
Quick answer: Pull the three levers on the basement floor, click the “DO NOT ENTER” sign to open the hidden room, then rotate the 16 wall tiles to match the reference picture, set the three pedestals to the number of red, purple, and green crystals in the room, and type the four-digit code found on the scattered floor papers into the wall keypad.
Chapter 2 basement objectives
The objective list in the top corner tracks three separate jobs, and only one of them is a straight hay grind. The puzzles are what drop the laser barrier over the trapdoor, so you cannot skip them and rush the exit.
| Objective | What it actually means |
|---|---|
| Find the Key in the Haystack | Clear and sell hay from the basement pile until the key turns up. It unlocks the trapdoor at the end. |
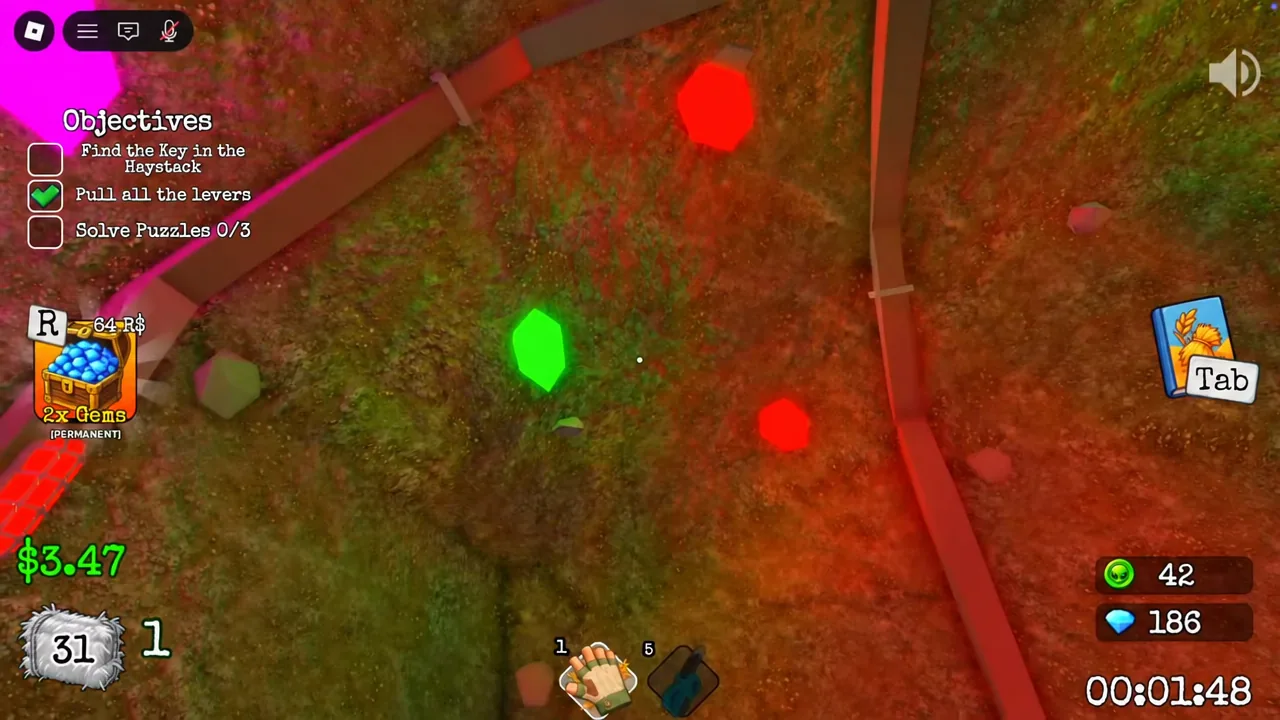
| Pull all the levers | Three levers hidden around the room. Pulling all three opens the hidden puzzle room. |
| Solve Puzzles 0/3 | The tile picture, the crystal pedestals, and the keypad code. Finishing all three frees the alien and retracts the lasers. |
Lever locations: how to open the hidden puzzle room
Each lever is wired to a colored cable that runs along the basement floor. If you lose track of a lever, pick a cable and walk its length — it always terminates at a switch. The counter in the objectives panel tells you how many you still owe.
Note: if the counter is stuck at 2/3, it is almost always the lever behind shelving or signage rather than the one out in the open. Sweep the room’s corners before assuming it bugged out.
Tile puzzle: rotate the 16 pieces into the alien emblem
To the right of the entrance is a large picture split into 16 tiles, all scrambled. Each click rotates a single tile one step, and there is no penalty for spinning a piece too far — you just keep clicking until it comes back around.
The reference is the small picture pinned beside the board, showing the circular alien emblem you are rebuilding. Work one row at a time rather than jumping around the grid, and treat the emblem’s outer ring as your anchor: those edge segments are the easiest to judge because a wrong rotation breaks the circle visibly. The board completes on its own the moment the final tile lines up.
Crystal puzzle: count the gems, then set the pedestals
On the left side of the room, three pedestals each hold a crystal — red, purple, and green — with a zero underneath. Clicking a number raises it by one. The answer is simply how many crystals of that color are stuck around the room.
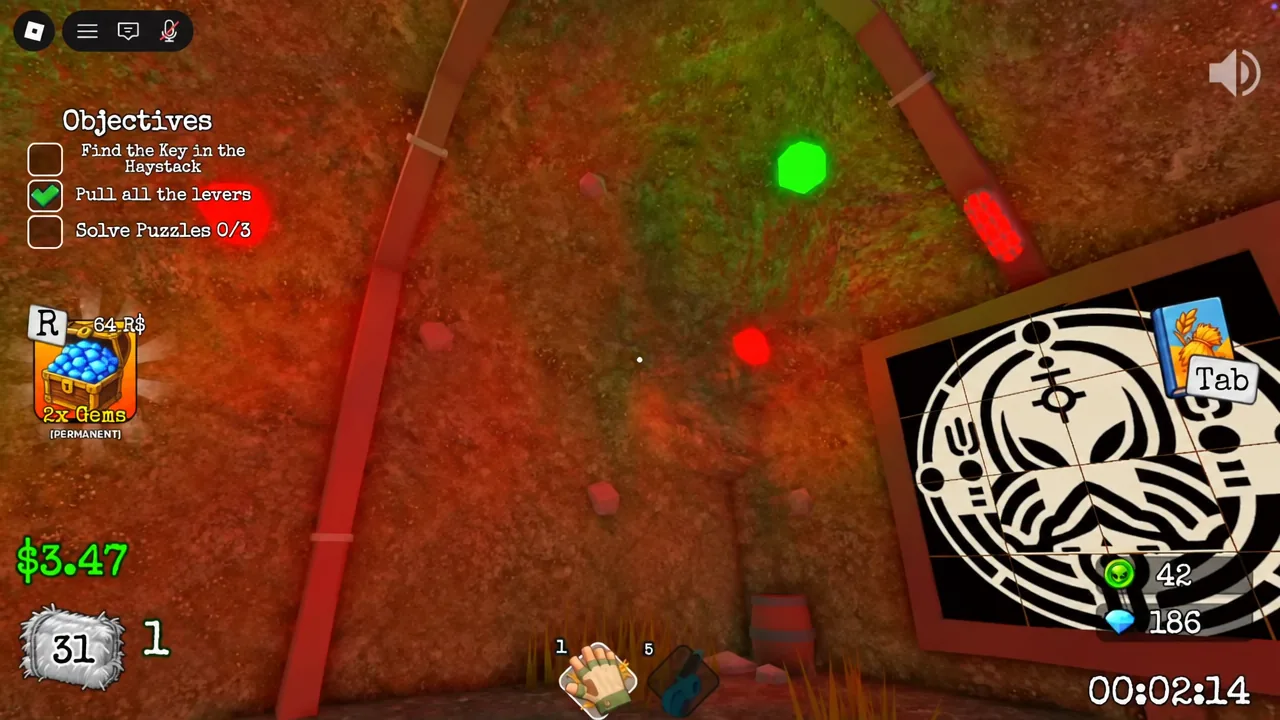
The crystal layout is randomized, so the numbers change from run to run. Recorded solutions have landed on totals as different as 5 red, 4 purple, and 4 green in one session and 1 red, 3 purple, and 1 green in another. There is no universal answer to memorize — count your own room.
Keypad puzzle: find the four-digit code on the floor papers
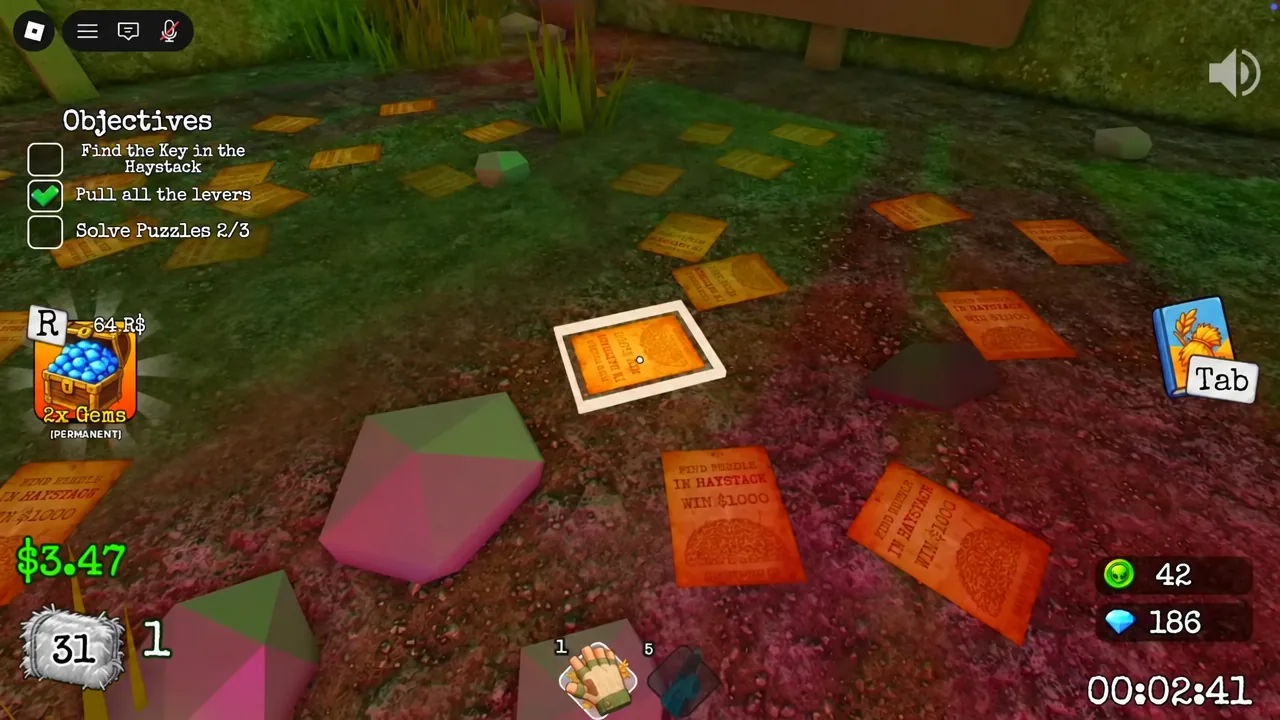
Directly across from the tile board is a wall keypad that wants four digits. Those digits are printed on one of the many papers scattered across the dirt floor of the secret room, and the note beside the keypad spells out that you need to flip pages to find it.
Why a puzzle won’t register
Failures in the puzzle room come down to a small set of causes, and none of them require a restart.
| Symptom | Cause and fix |
|---|---|
| Keypad rejects your digits | Transposed numbers. Re-read the flyer and enter them in the printed order. |
| Pedestals set but nothing happens | A crystal was missed, usually on the ceiling. Recount that color from a different spot in the room. |
| Copied numbers from a video don’t work | Crystal totals and the keypad code are generated per run. They only ever apply to that session. |
| Tile board looks right but won’t complete | One tile is rotated a step off. Compare each piece against the reference picture edge by edge. |
How to confirm 3/3 and escape the basement
The objective counter flipping to “Solve Puzzles 3/3” is your confirmation, and it comes with two visible changes in the room. The cage holding the green alien swings open and he wanders out, and the laser bars covering the tunnel to the trapdoor retract.
From there it is just the key. If you have not turned it up yet, go back to the basement haystack and keep clearing and selling hay until it appears. Equip it, climb the wooden ladder past the pile, and open the hatch. The cellar exits into a farmyard where the alien points skyward, a UFO beams you both up, and the run ends on a “TO BE CONTINUED… (CHAPTER 3)” card alongside your clear time and rewards.