Taking the elevator down at the start of Part 6: Simon drops you into a distorted CEG HQ with a single prompt: FIX THIS. The thing that needs fixing is the flare stack, a vertical gas pipe tower split into four misaligned sections. Nothing ignites until you kill the alarm, unlock the rotation clamps, line up every section, and run a clean flow test.
Quick answer: Grab the Controller Key upstairs, silence the alarm with A5D7, release the clamps with E3E3, then align valves floor by floor (right x2, left x1, left x2, right x2), run Flow Test, and press IGNITE.
Codes and key item for the flare stack puzzle
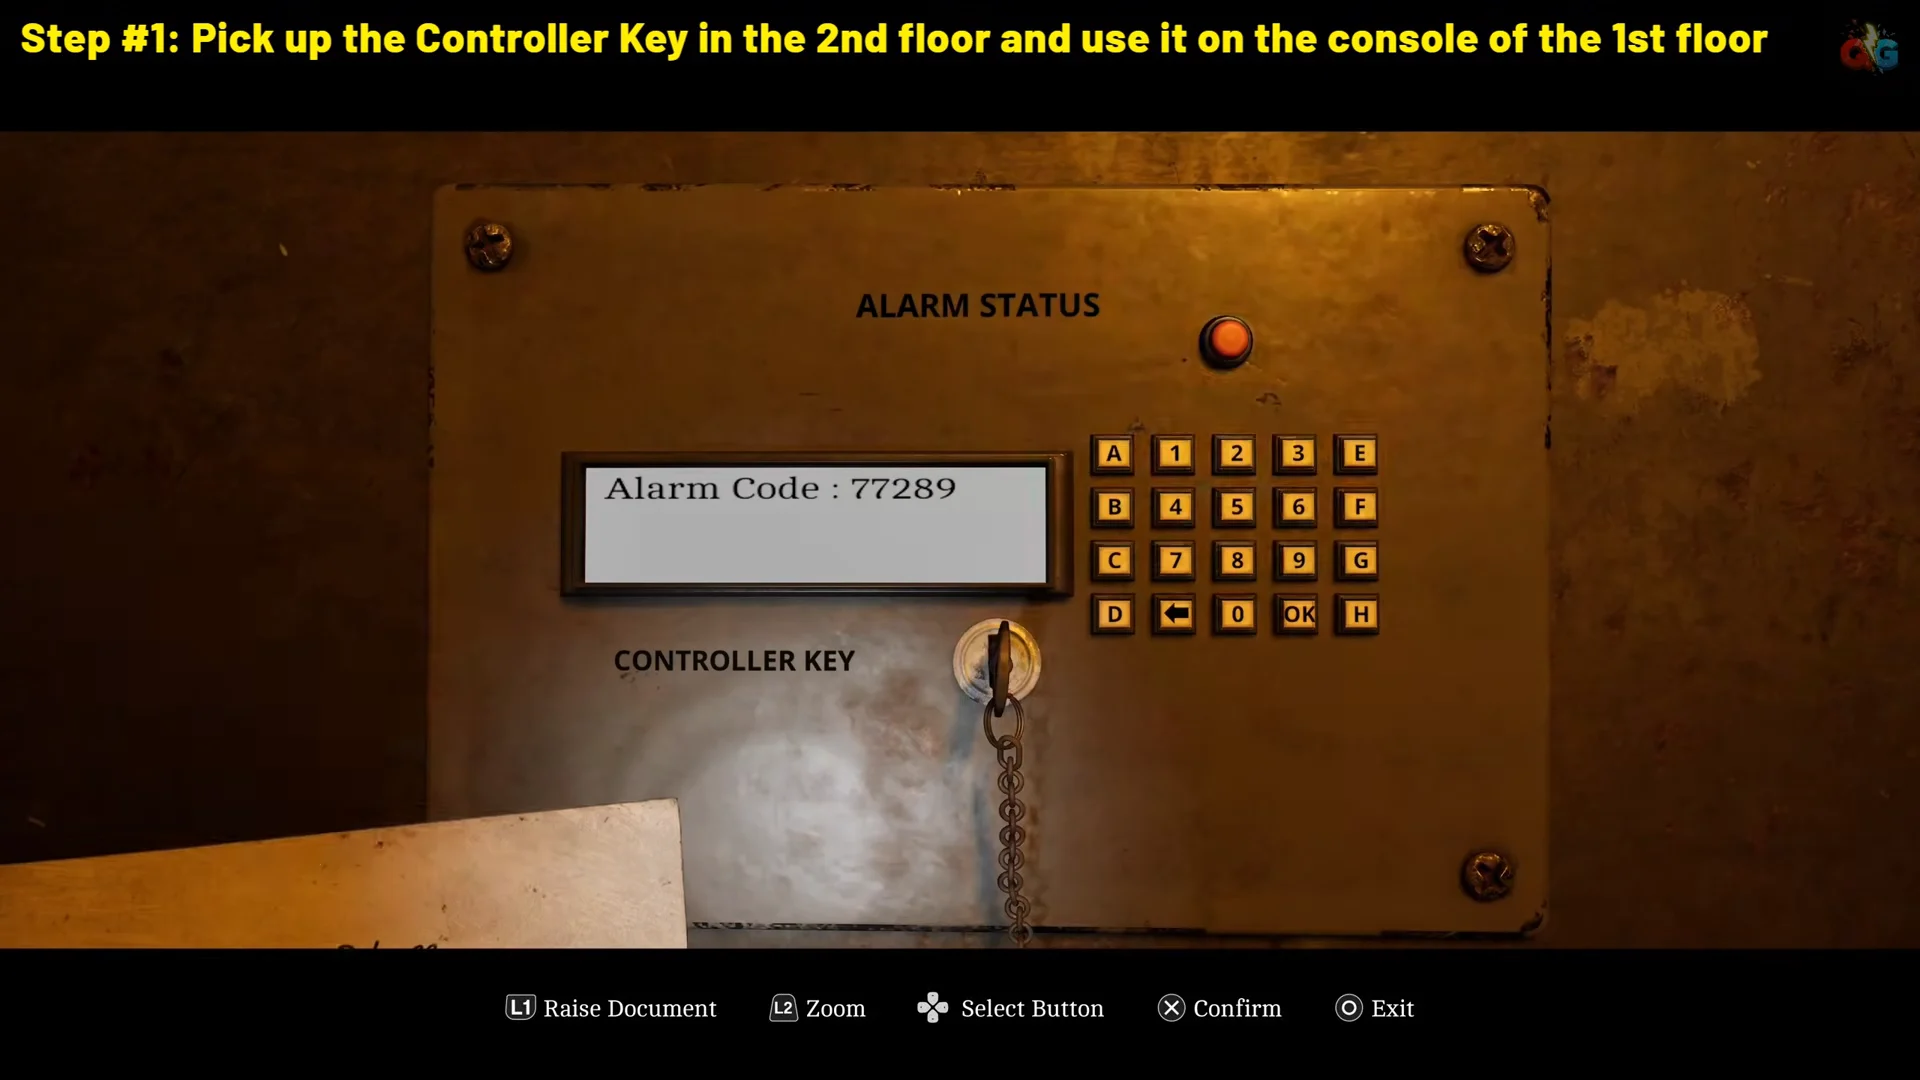
Two codes and one item gate the whole sequence. Neither keypad will accept input until the Controller Key is in your inventory, so collect it before you touch the lower control panels. The key also doubles as the Room 204 Key on your item screen.
| Input | Where it goes | Result |
|---|---|---|
| Controller Key | Alarm Status panel slot | Unlocks the keypad |
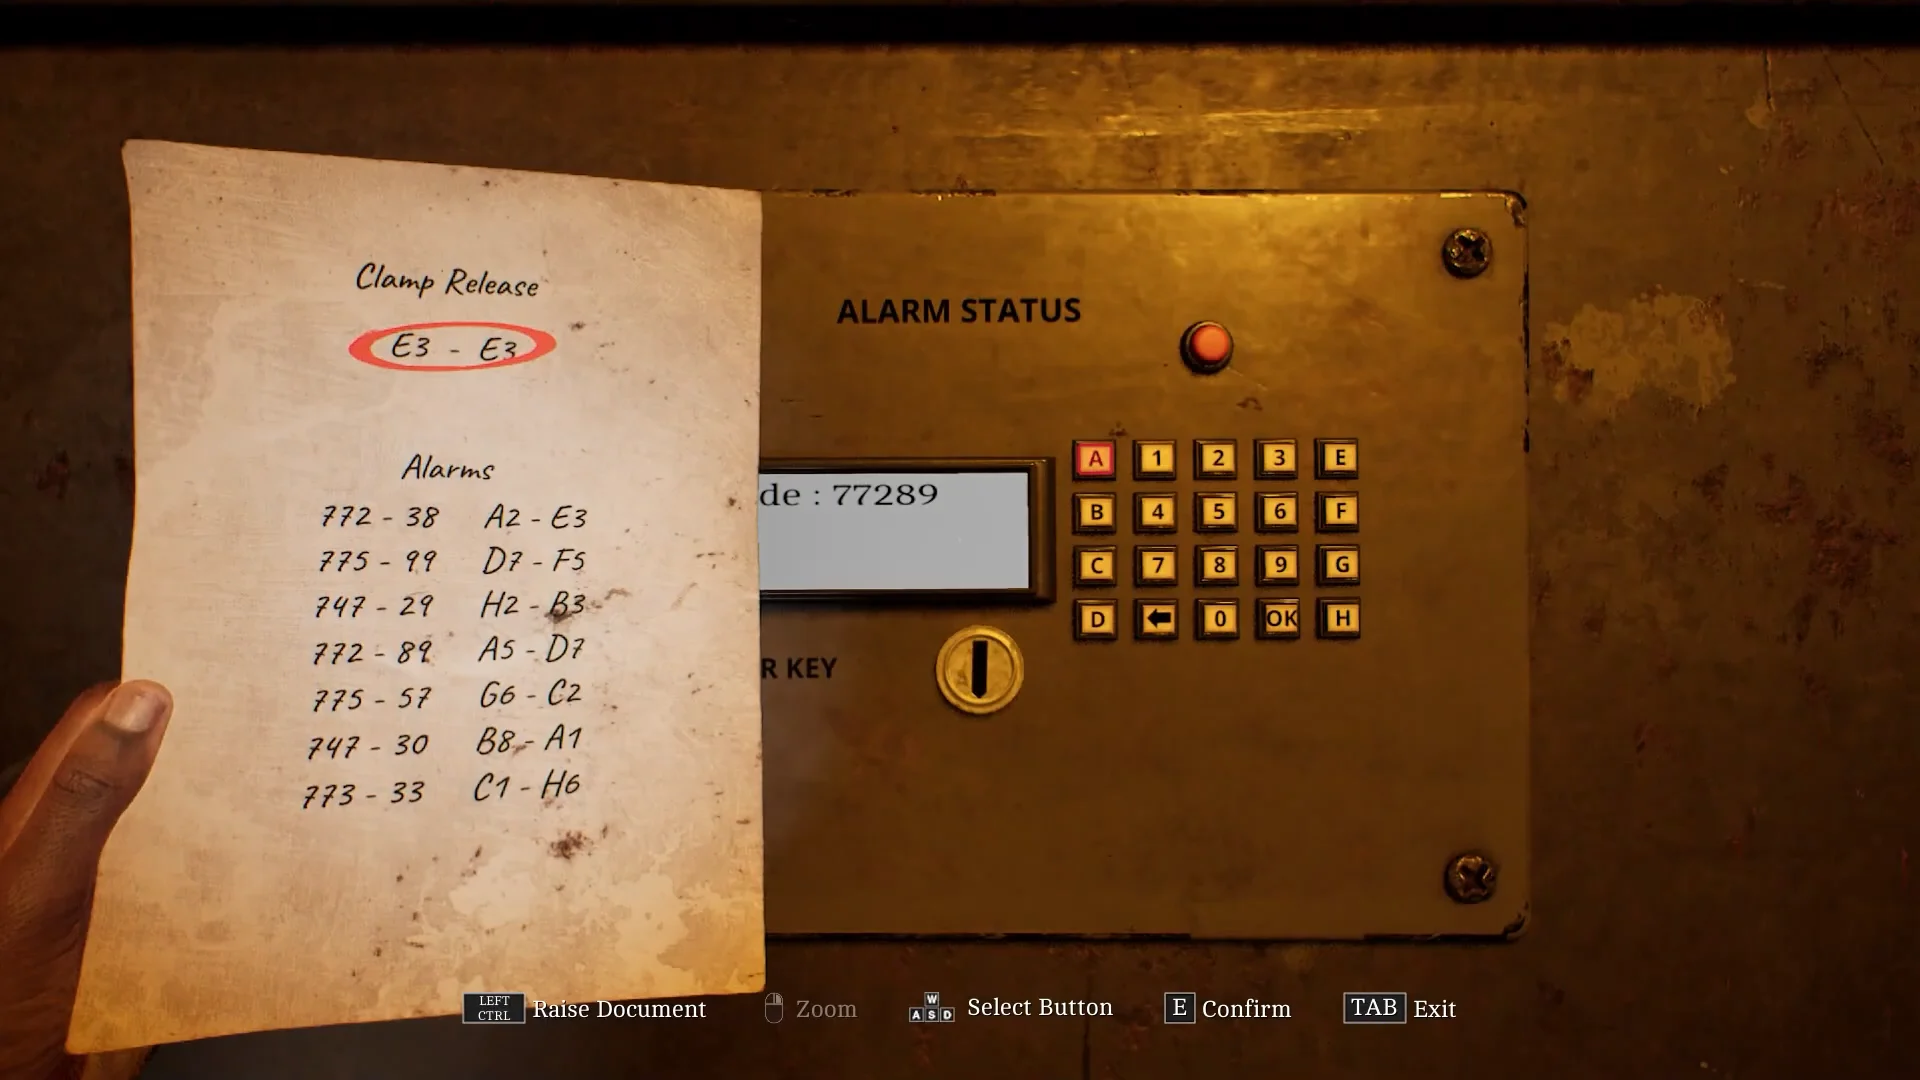
| A5D7 | Alarm Status keypad | Silences the alarm |
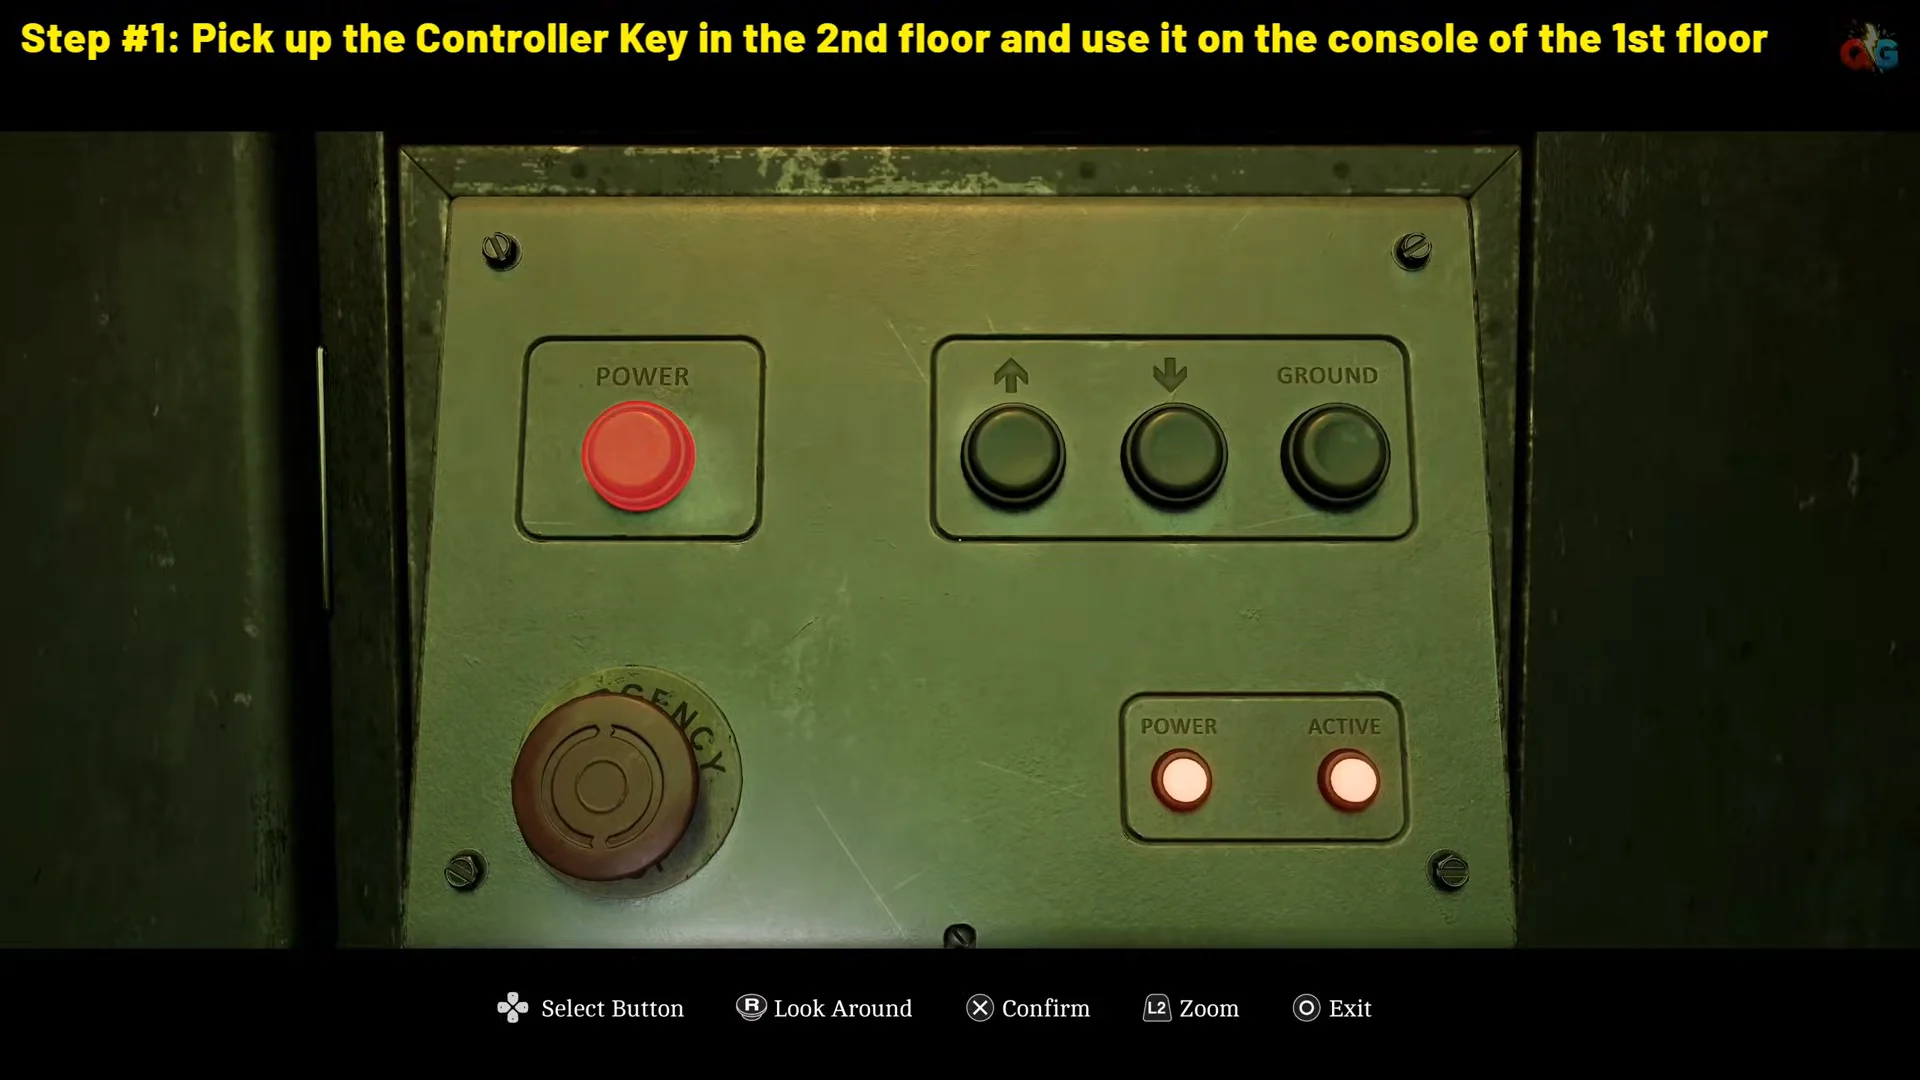
| E3E3 | Command Console keypad | Releases the rotation clamps |
The handwritten Reference Sheet on the table beside the console supplies alarm code A5D7. It shows the current alarm as 77289 and matches alarm 772-89 to entry A5-D7. On that sheet, beneath the “Clamp Release” heading, E3E3 is circled in red as the clamp code.
Get the Controller Key first
Skipping this step is the only real trap in the puzzle. Pick up the Reference Sheet, then power the lift and ride it up to reach the key before you start working the ground-floor panels.
Silence the alarm and release the clamps
Both terminals sit on the ground floor. Handle the alarm first, since the valves stay locked until the clamps are freed.
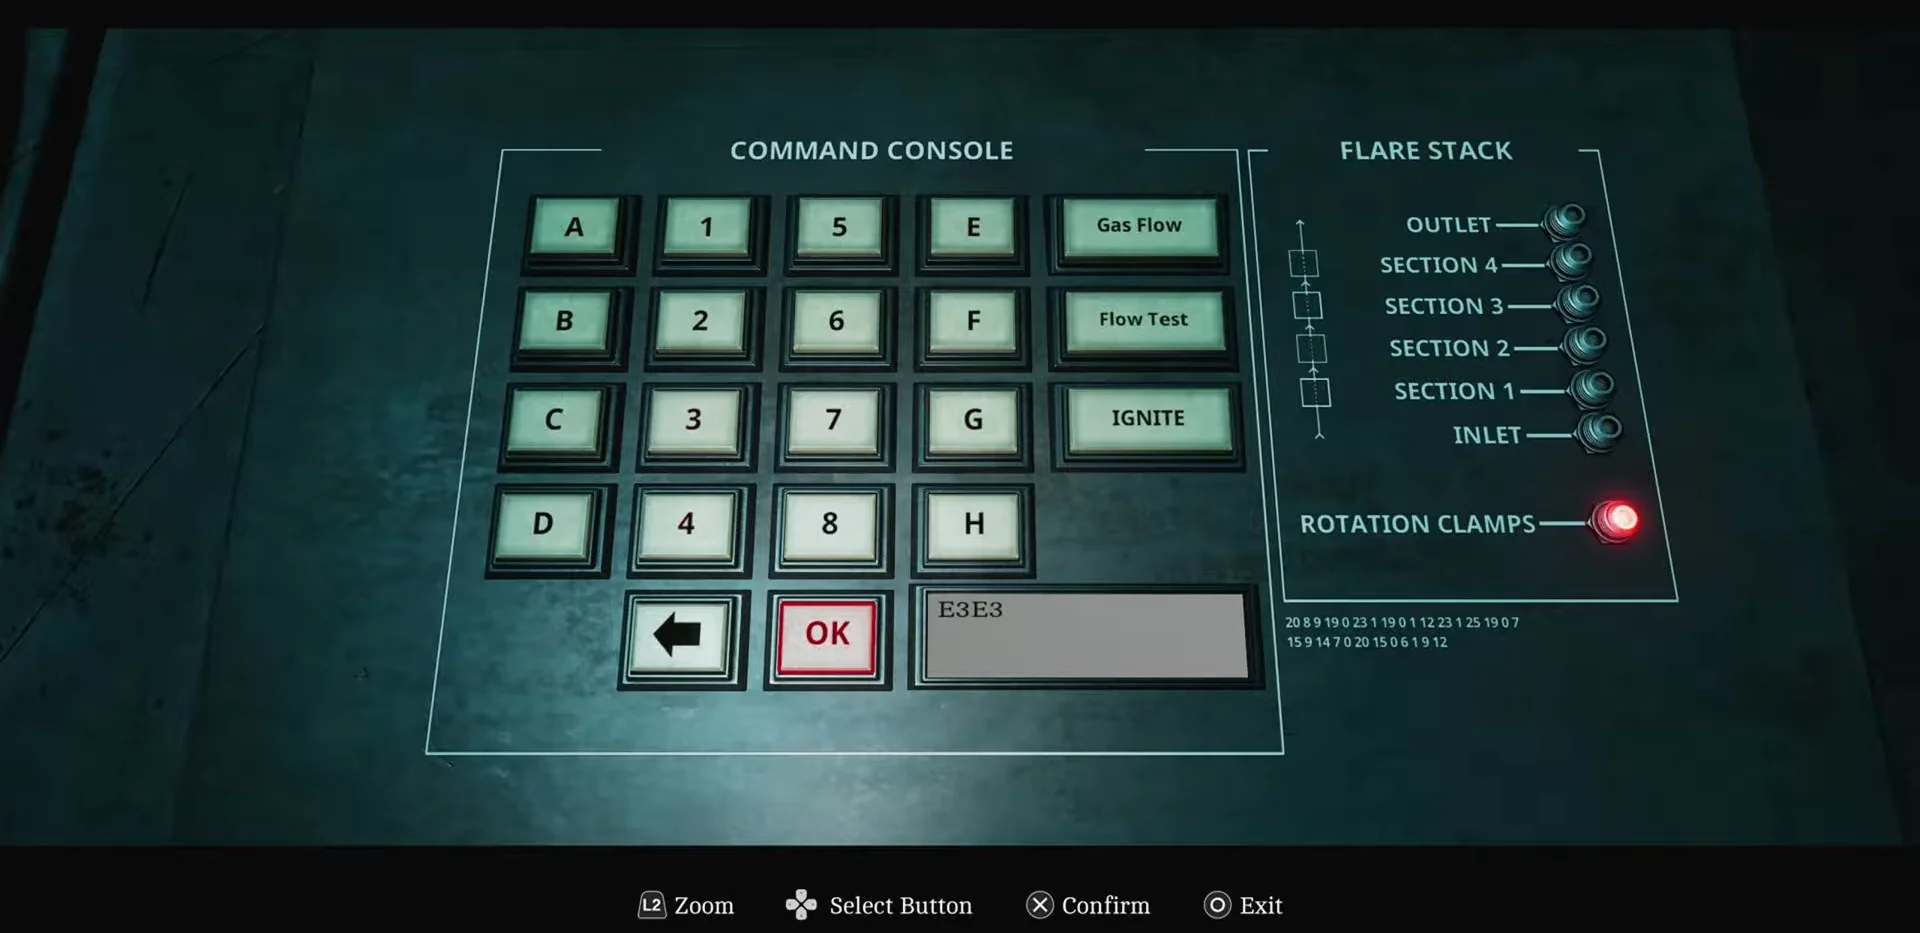
Engaged clamps prevent the valve wheels from moving the pipe sections. Before climbing, verify the green clamp message.
Align the four pipe sections
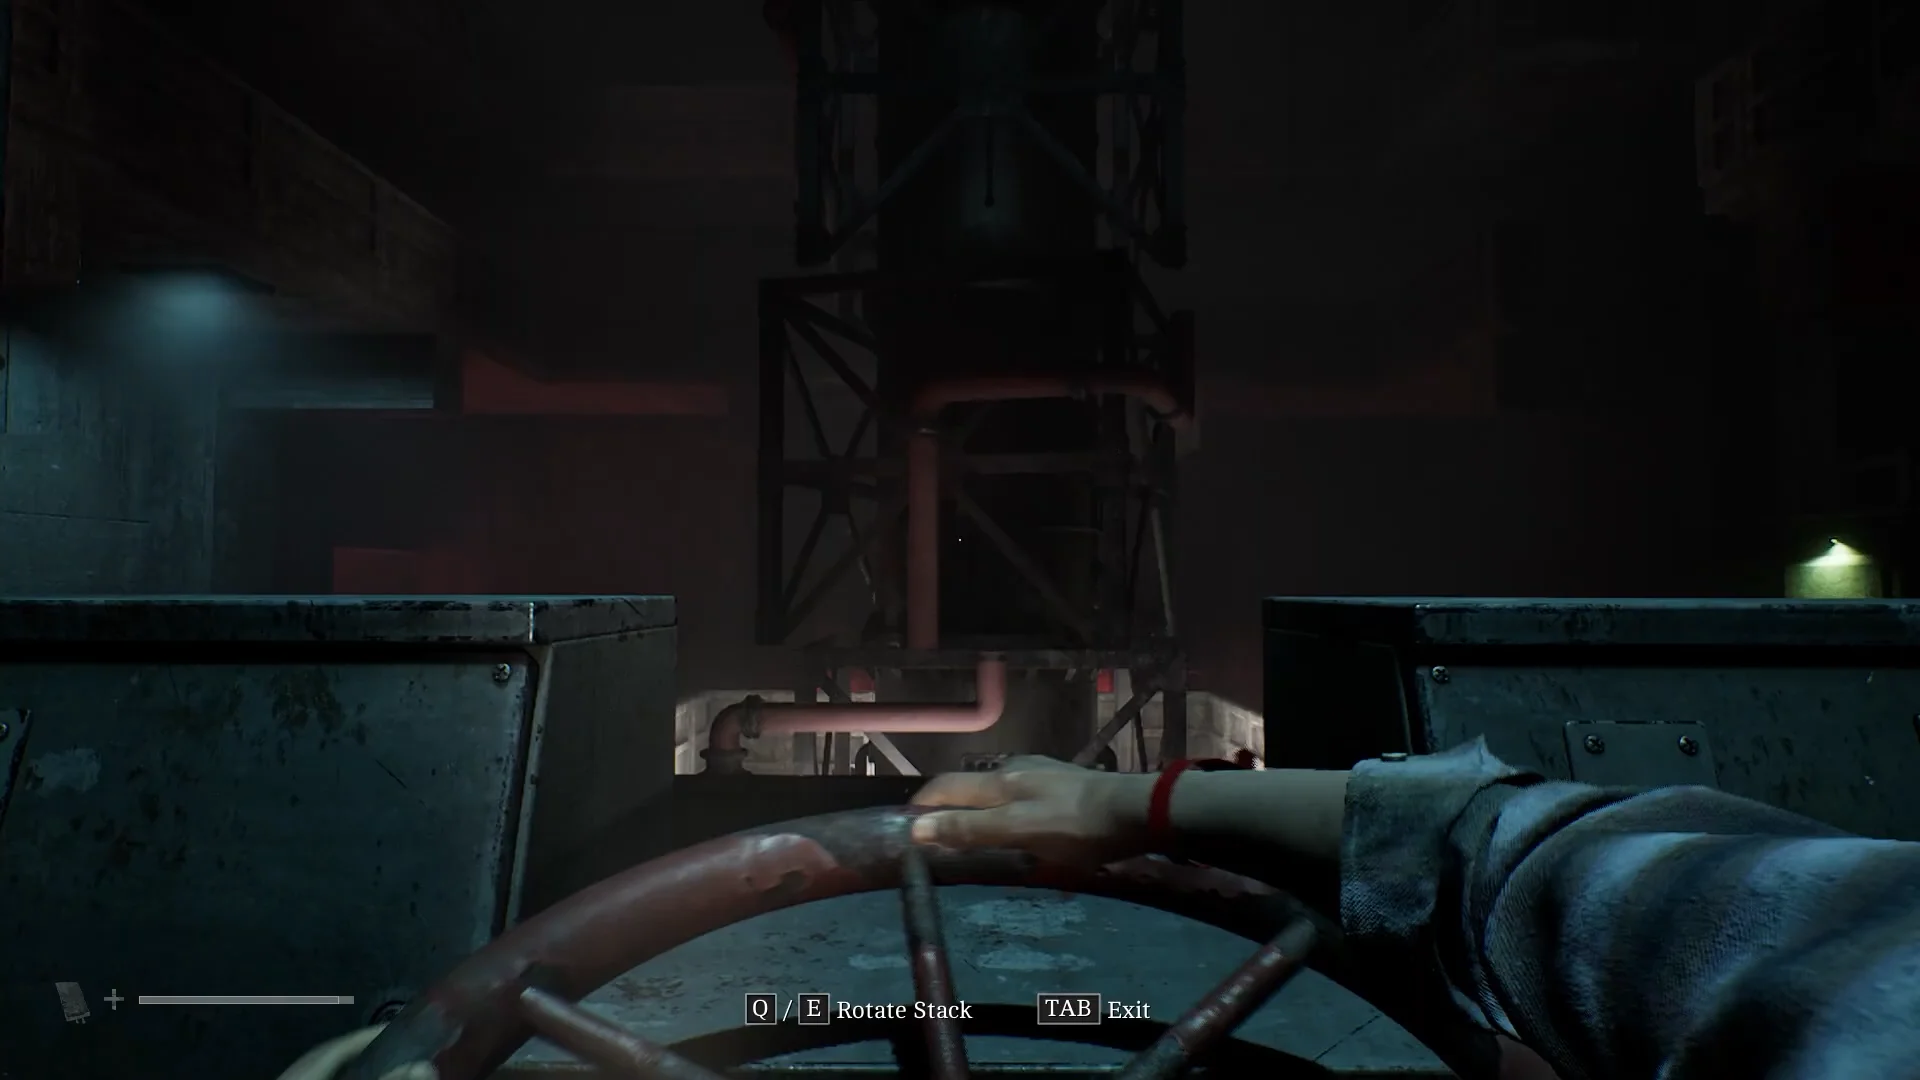
A red valve wheel appears on each floor, controlling the neighboring pipe segment. Repeat the same process at every level: rotate the wheel until its section matches the column, take the lift up one stop, and do it again. The turn counts listed below give the required alignment.
| Floor | Valve turn |
|---|---|
| Floor 1 | Right twice |
| Floor 2 | Left once |
| Floor 3 | Left twice |
| Floor 4 | Right twice |
Run the flow test and ignite
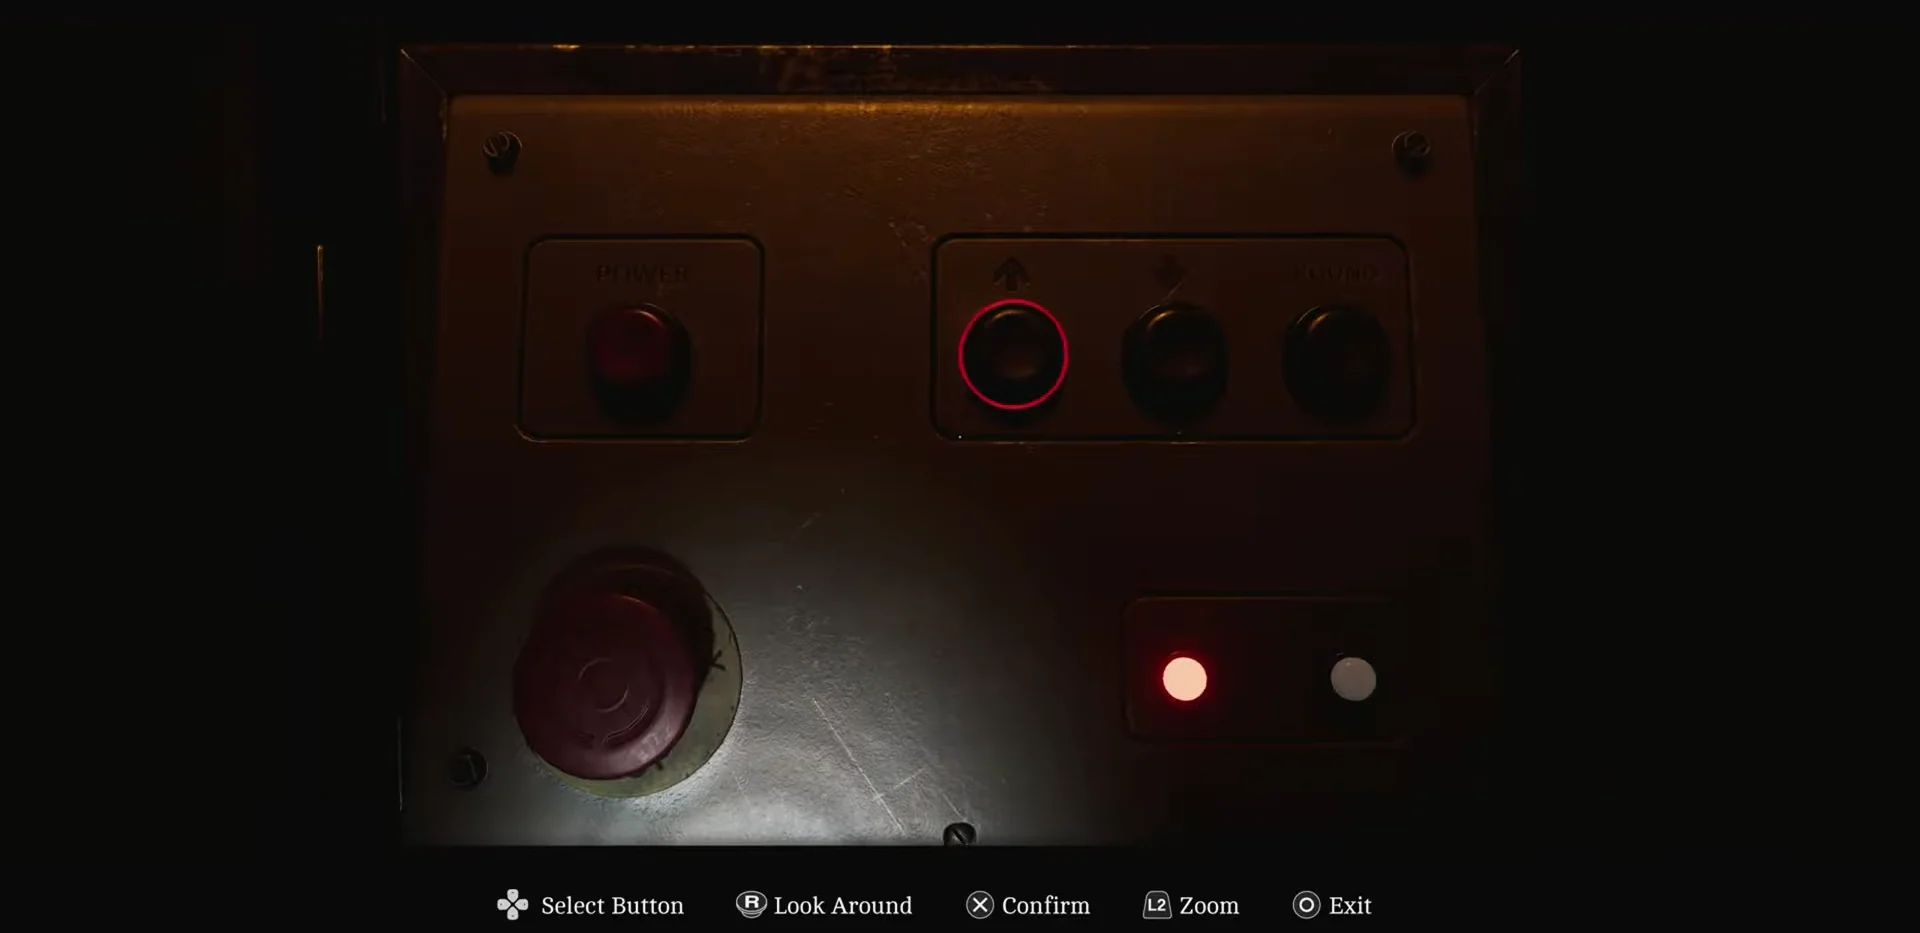
At the Command Console, inspect the status column first. Outlet, Inlet, and each of the four Section indicators need to be green. An amber or dark light identifies a floor whose wheel needs more rotation; go back up with the lift and continue turning that valve.
Leaving the flare stack room
After the system comes online, cross to the room’s side opposite the console. Find the yellow light beside the rubble pile. Darkness makes the way ahead easy to miss, but a narrow opening sits left of the debris. Crouch through that gap to exit the area and continue Part 6.